Just ordered a set of S2K clocks.
Have to work out the VSS signal first.
FEW BITS OF INFORMATION TO SHARE - Cause I'm good Like that - Not sure how accurate any of it is

-----------------------------
older honda vss needs about 14hZ to equal 10mph The S2000 cluster needs 540hZ to equal 10
130- needs 175hZ S2K Cluster needs 5450hz.
---------------------------------------------


-------------------------------------------------
honda vss outputs 4000 pulses per mile (approximately)
the s2000 vss outputs 145000 pulses per mile
given a ratio off 36.25
----------------------------------------
White LED conversion
http://www.hondahookup.com/forums/showt ... hp?t=48394
----------------------------------------
THINK I'LL JUST BUY A CONVERTER

Clocks arrived, just need to source the connectors from a breakers and order the VSS convertor from the states.
http://www.rywire.com sell the S2K cluster plugs - in process of ordering those.
more to come.....
FEB 2007
First Test - VIDEO CLICKY - turn the bass up


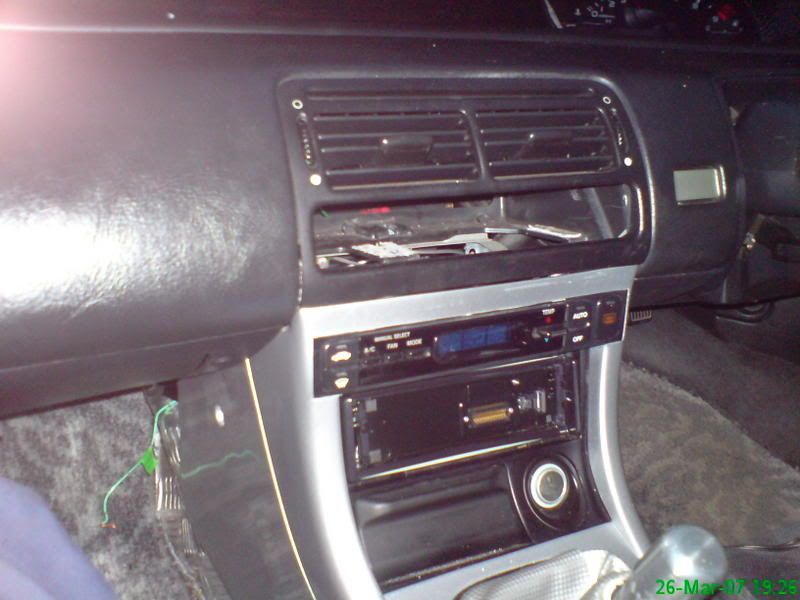
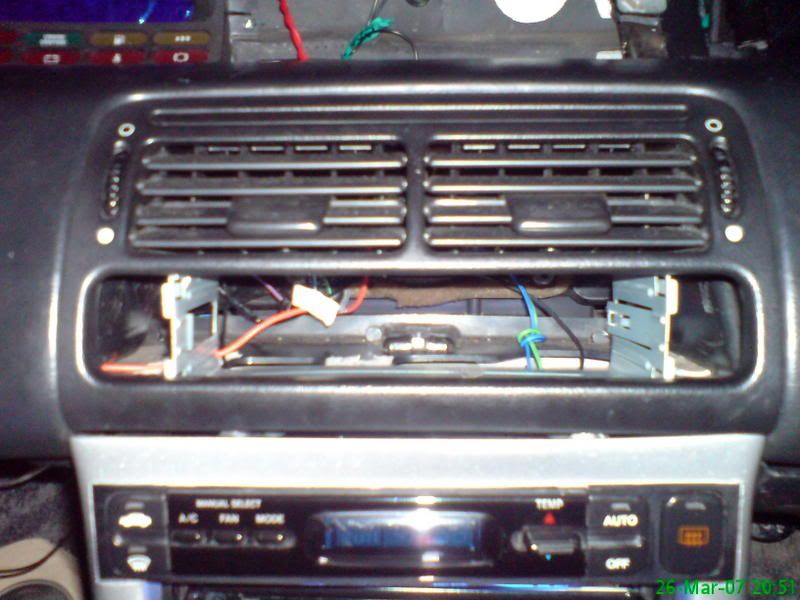
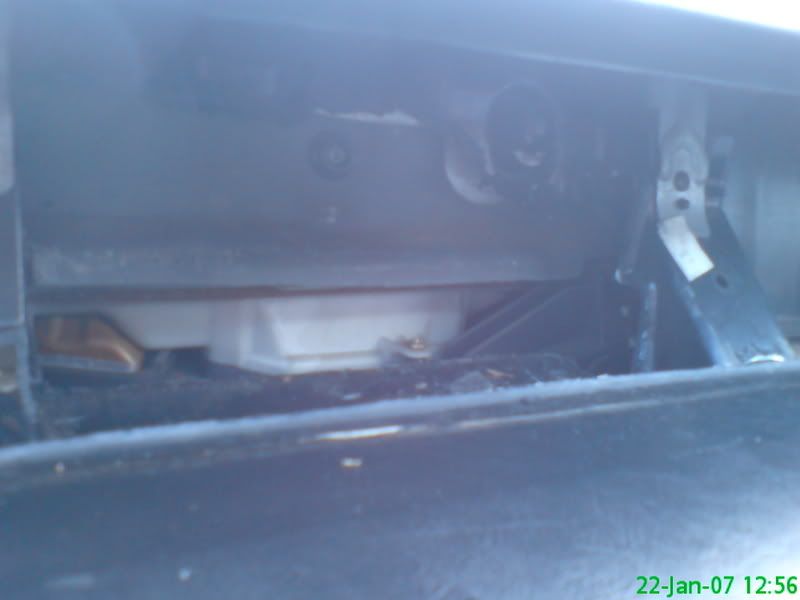
chopped out rear of dash to accept clocks. I was originally going to put the clocks in the centre, but might put them in the 'OEM' position. I made the wiring long enough to be able to do this.
Speedo Convertor - All wired in now, accepted signals and bouncing the converted signal back out. However the clocks aint responding, so need to check that out
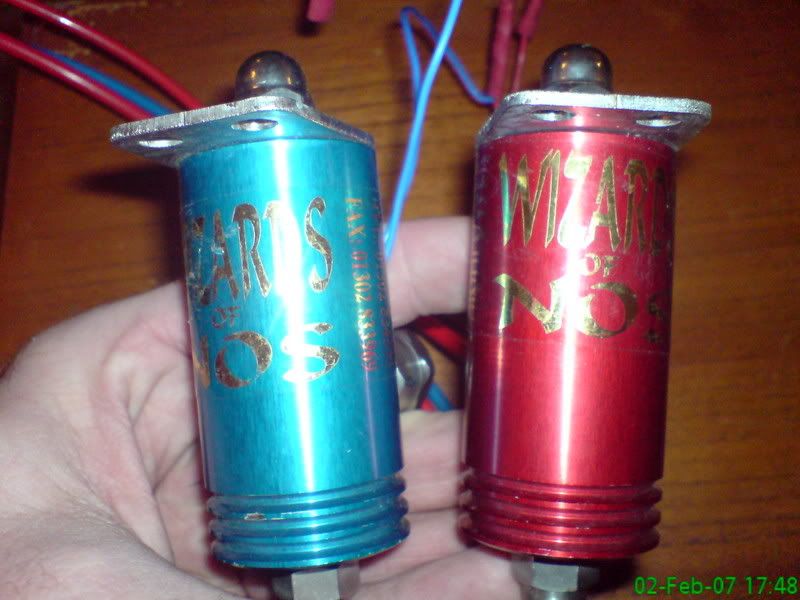
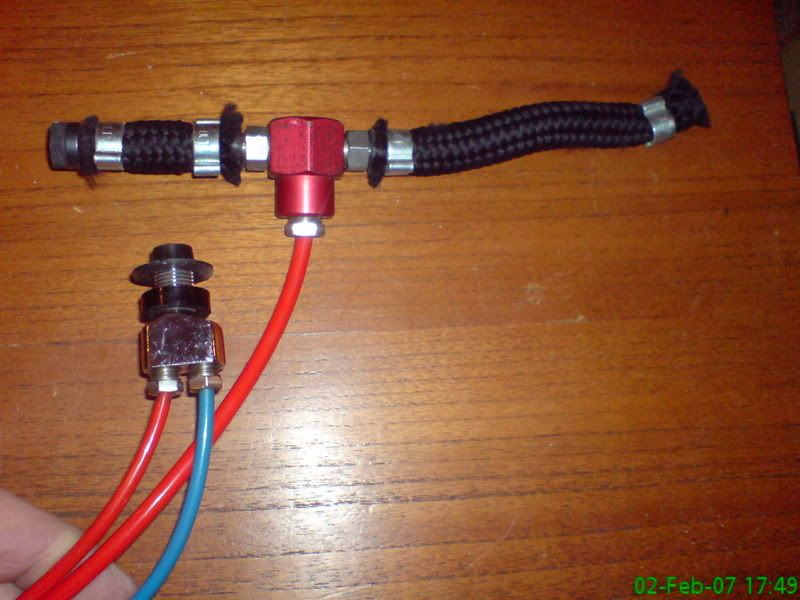
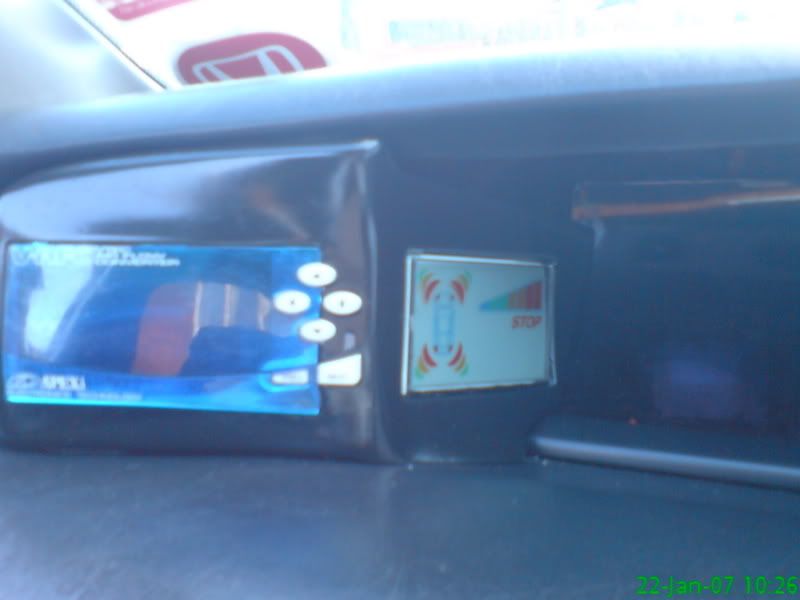
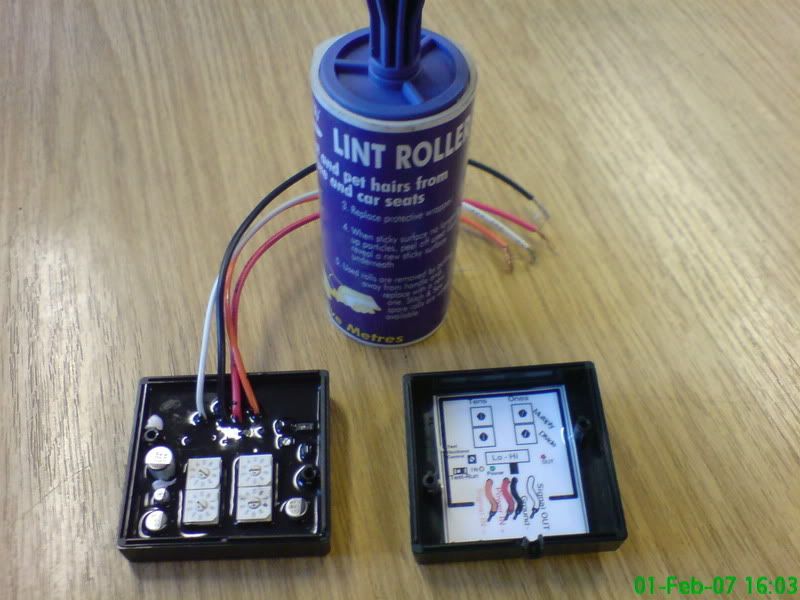 VSS converter
At a ratio of 36/1 it reads in kilometres (ish), as you might expect, at a ratio of about 24/1 it reads in mph It's not calibrated quite right ATM, but it's close enough for now.
UK S2000 models have the MPH/KPH switch. The JDM models are KPH only.
Not sure which model I have, but I only have 4 buttons
Brightness (-)
Brightness (+)
Trip A/B swop
Trip reset
Unless there's a button combination?

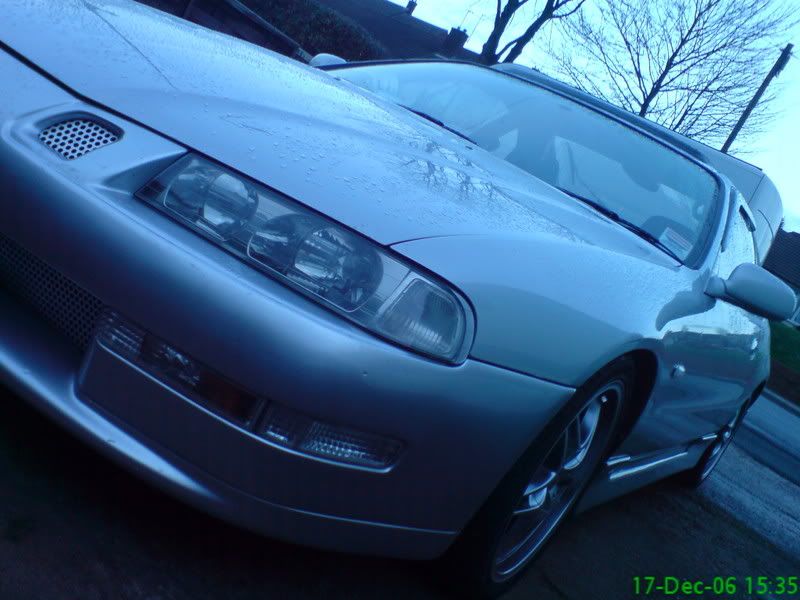
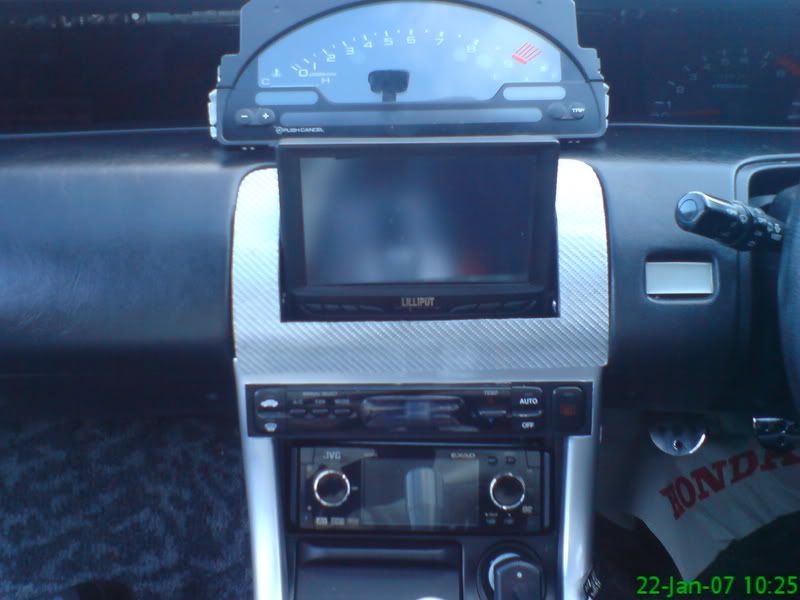
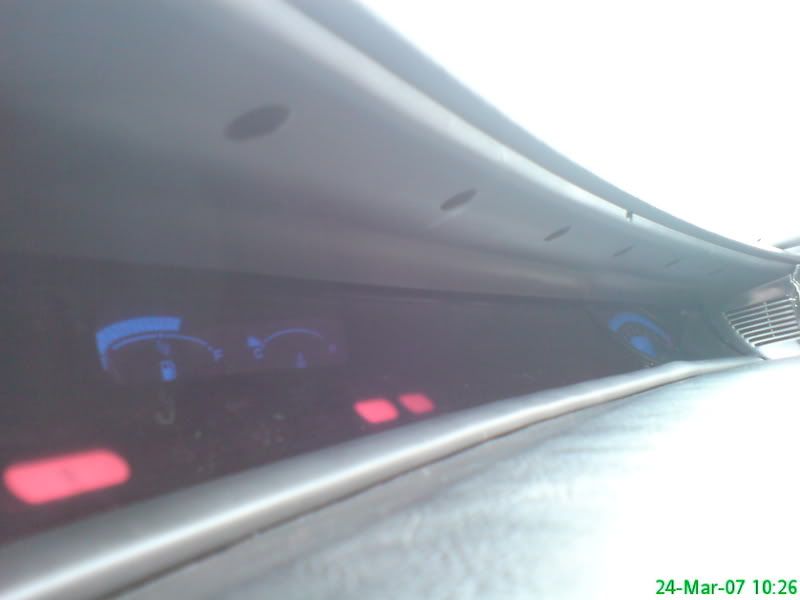
Have decided to mount the s2k cluster infront of the steering wheel.
I want the end result to look as oem as possible (unusual for me), so have used the original prelude cluster front (clear glass). Because of space restrictions the circuit boards will no longer be mounted in the s2k cluster, but attached to the underside of the dash top.
I decided last week I would stick with the prelude warning lights as I wasn't that impressed with the s2k versions. With using the OEM prelude cluster front, I have no choice as the s2k warning lights are now obscurred, so...it'll be out with the soldering iron again!!
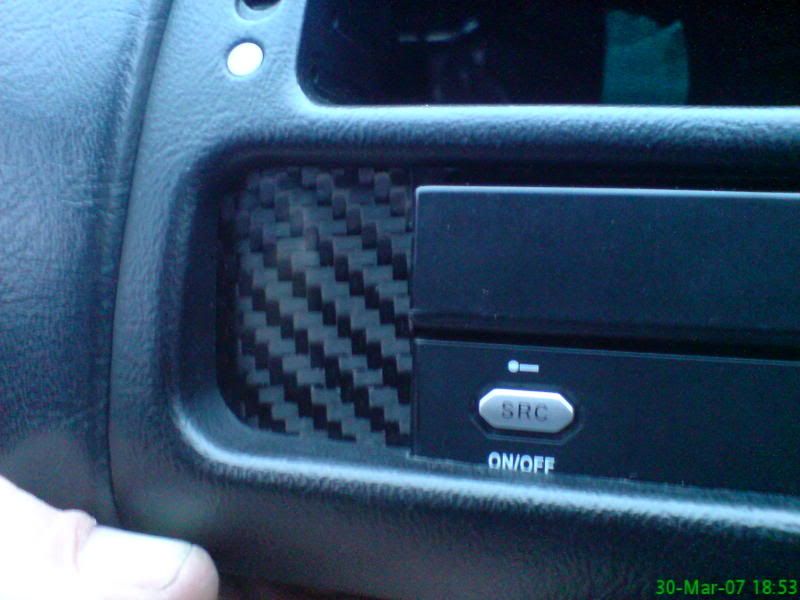
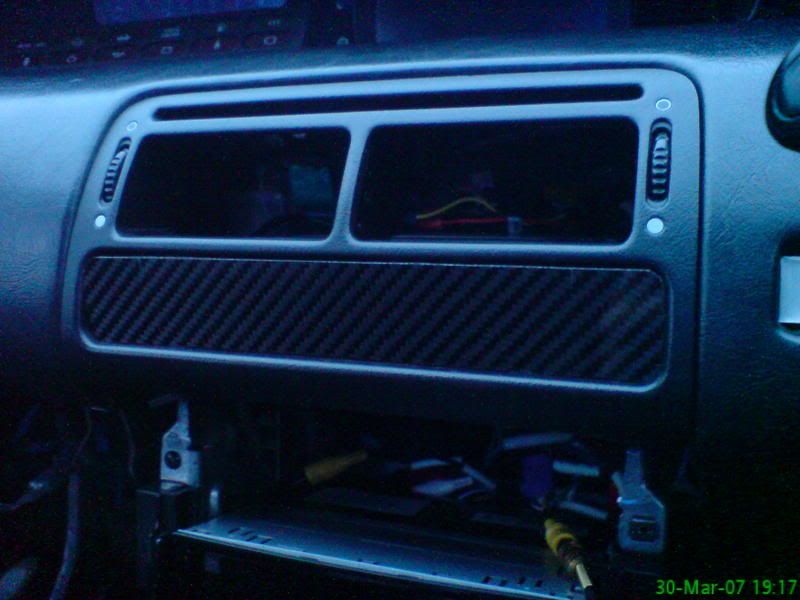
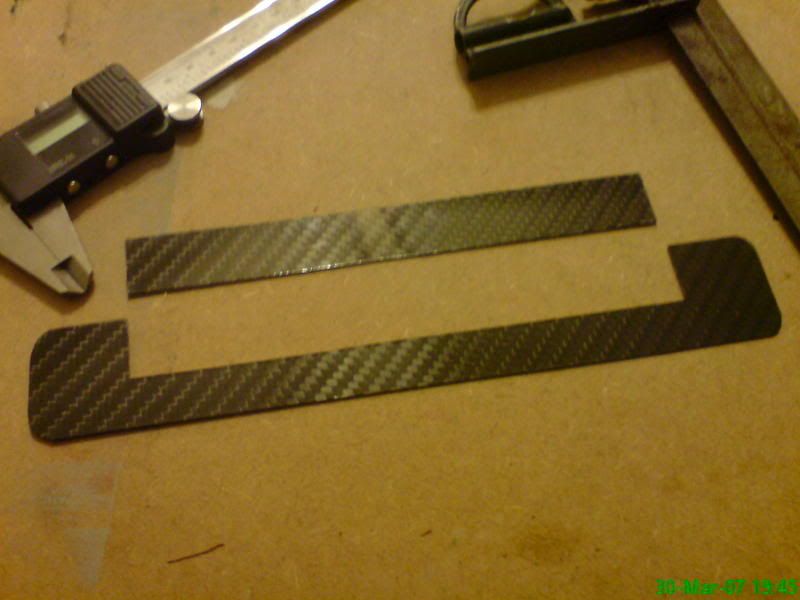
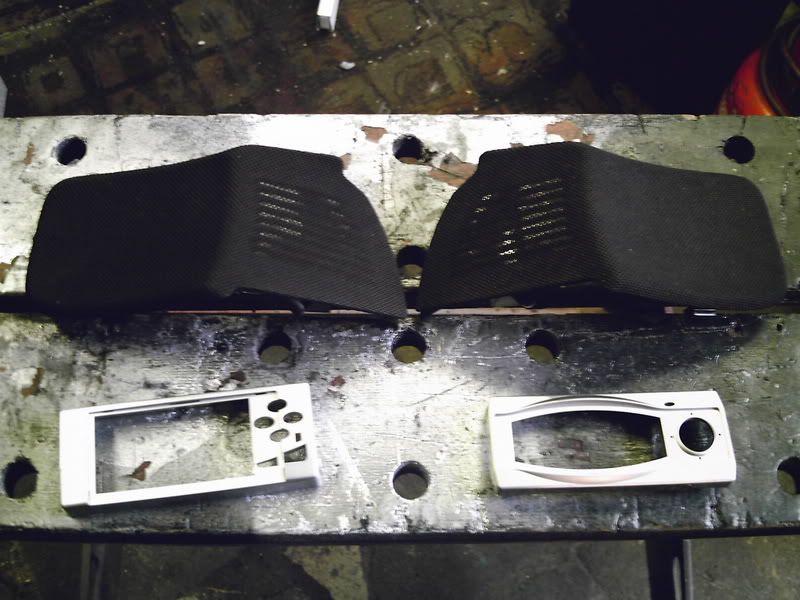
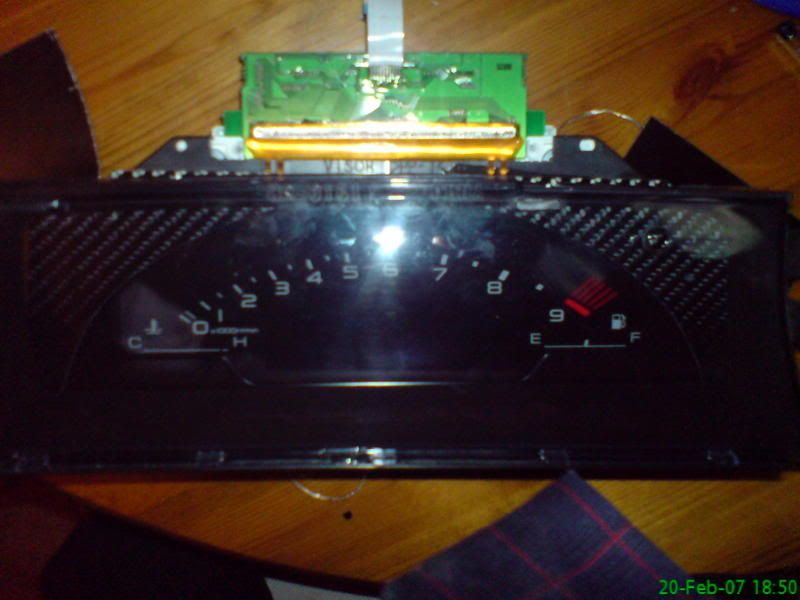
Started making a carbon fibre cluster cover to tidy everything up as there would be a few gaps otherwise.
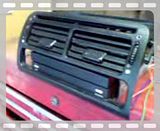
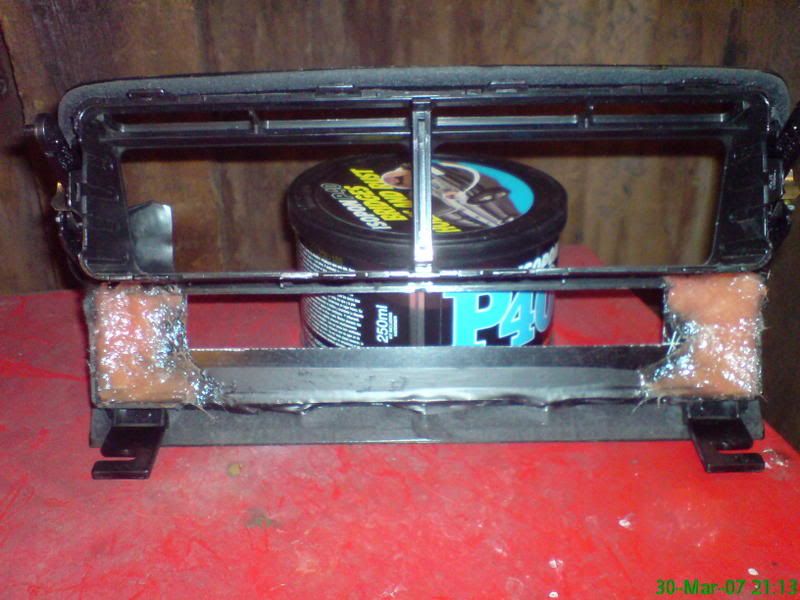
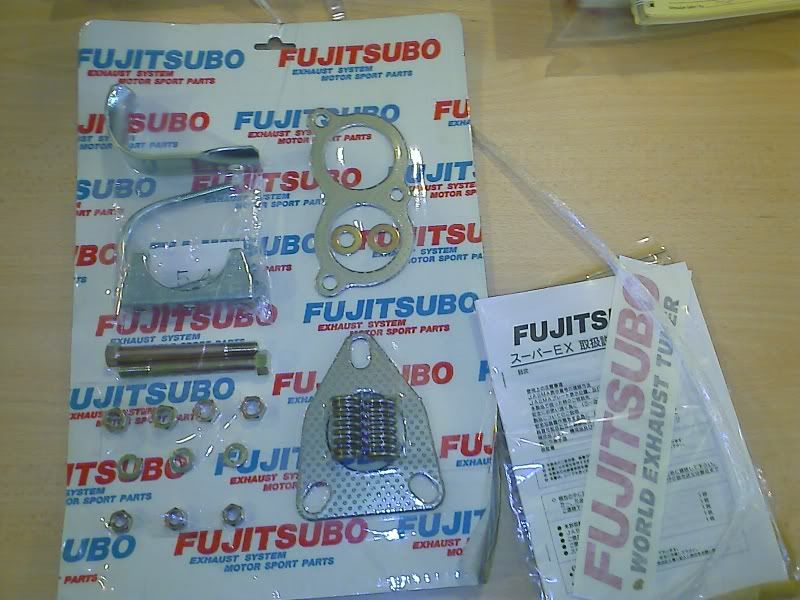
S2K clocks with fixing brackets.....

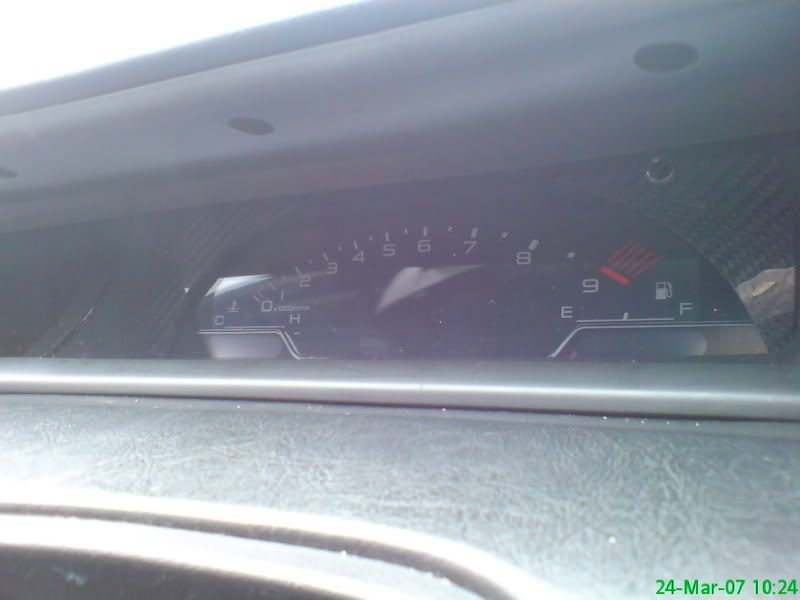
...with prelude cluster front (notice the gaps).....
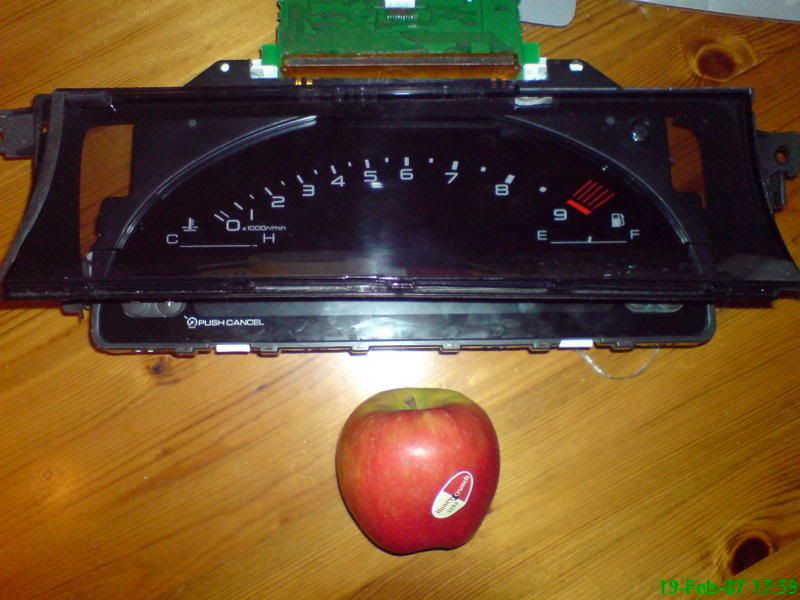
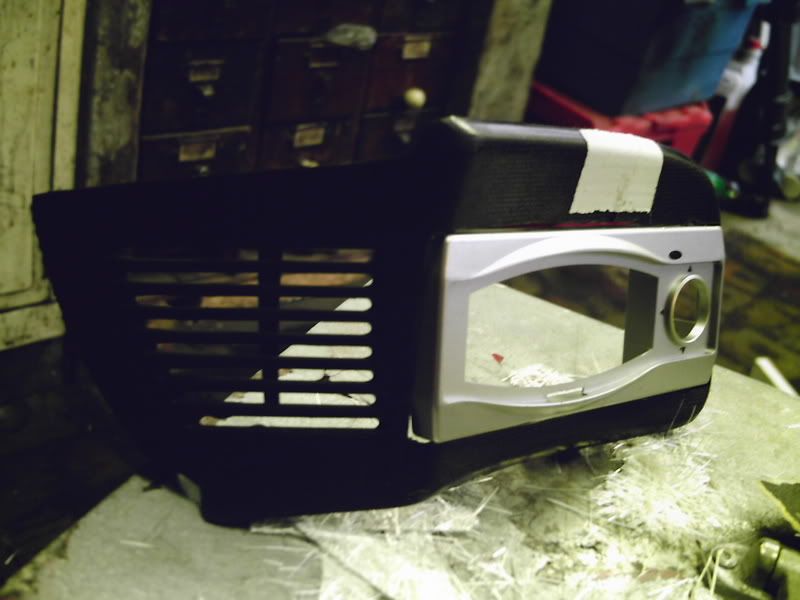
...carbon fibre in place to fill the gaps - and no fruit
 MARCH 2007
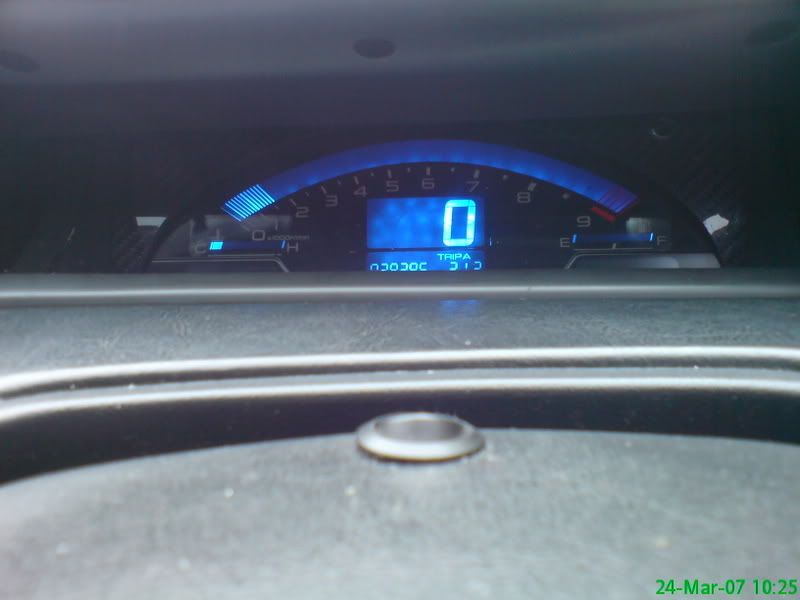
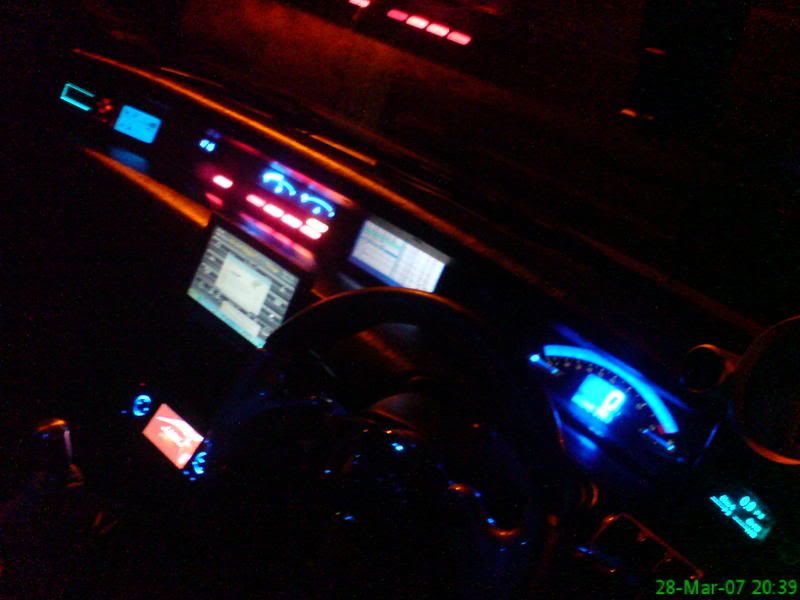
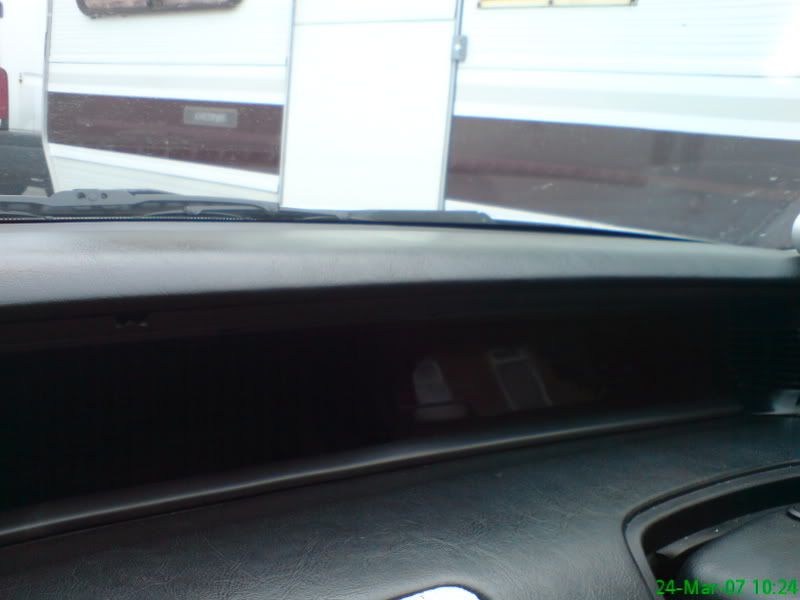
Ignition Off
Ignition On - Not 100% happy with the fitment of the carbon, but it will do for now
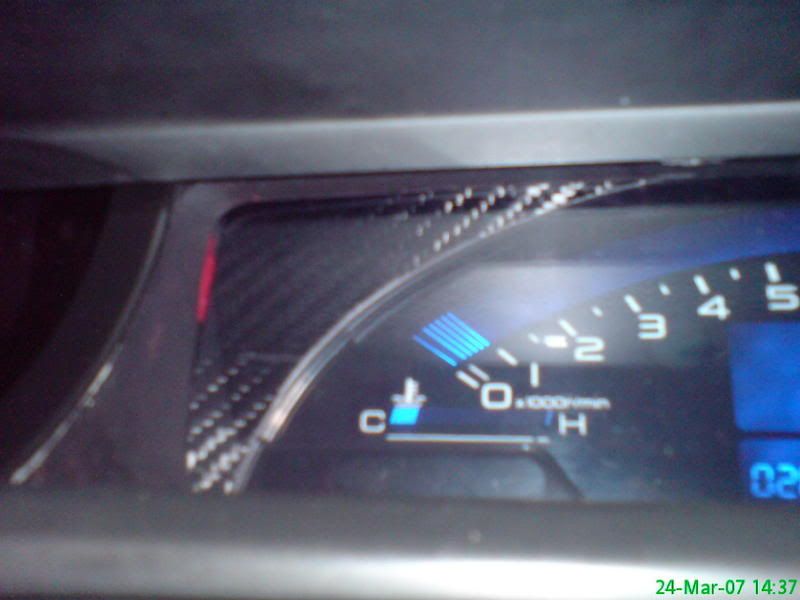
Due to the angle of the picture, the odo is not fully visible in the picture below