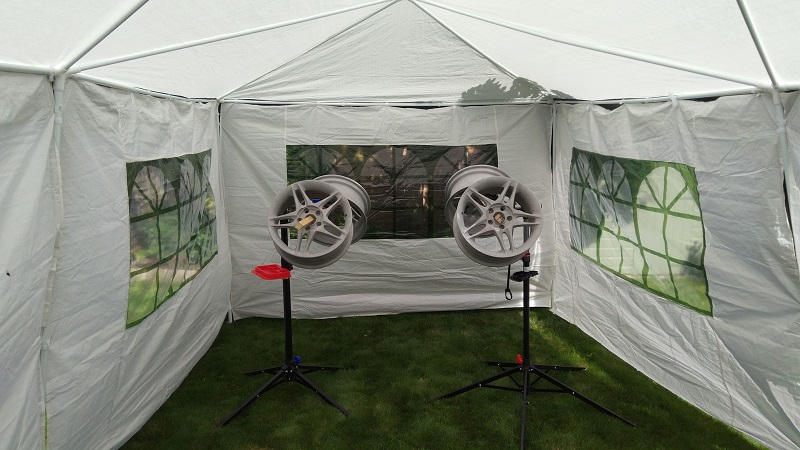
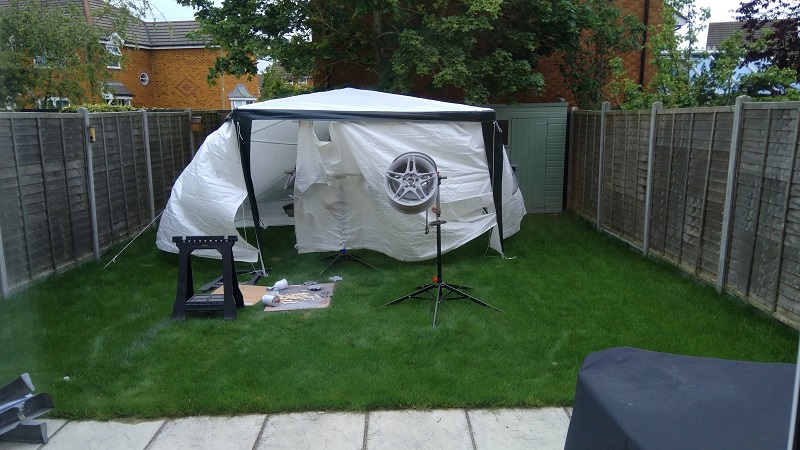
To try and keep bits off, gazebo went up - not sure if it helped or not
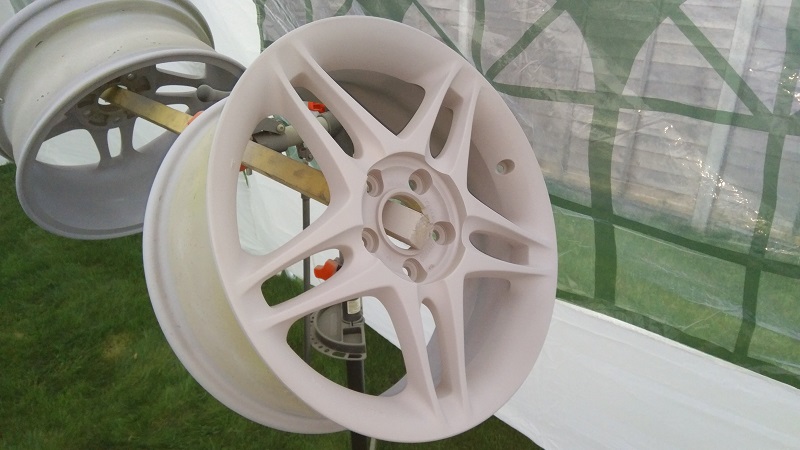
2k etch primer on - went on very thin and watery, but dried/set much better with very little run or problems... Wheels had been sandblasted and had a texture of pumice stone.
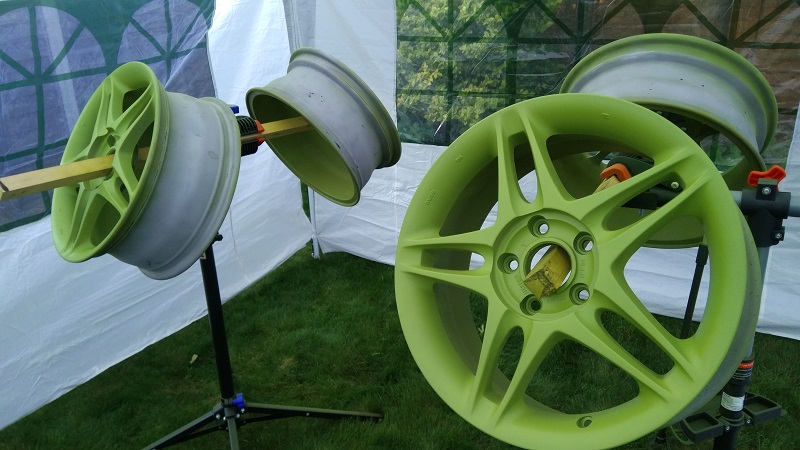
Some of the runs - looked worse than it was - the etch primer was very thin, and i used a cheap spray gun which had a far too big a nozzle (1.5mm)
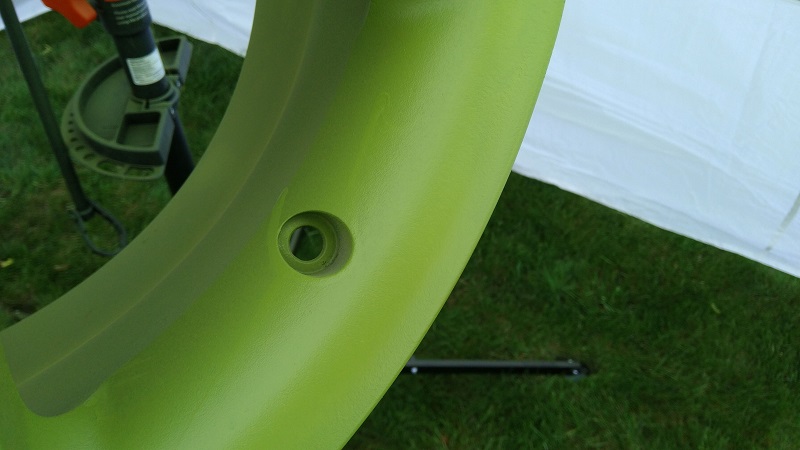
Aldi half price bicycle stand and piece of wood - not ideal but better than nothing. This is the high build 2k primer going on. Some areas were very coarse and like pumice stone, some places not as bad - turns out i'm not a paint sprayer... I think the trick is to try and apply a nice continous stream of paint. I was probably being to delicate , depositing far too little paint over a long period of time. This gave me much more work to do when sanding it down...
Don't leave the gazebo up in the wind - came back from work one day to find it 3m further down the garden. No damage to the wheels or gazebo or garden thankfully.
With the aid of a lazy susan and some celebration tubs, wheels and center caps were painted in pairs today, using the wheelpaints.co.uk 1k solvent based Honda standard silver. I had to thin it down 20% thinners as it was quite thick. Decided to paint them in pairs (rather than 1 at a time or 4 in one go) so that any colour mismatch I could put on either side of the car. Didn't know how much paint to mix, so mixed up 2 pots for 2 separate sessions as I also didn't have enough space to store/move/manipulate the wheels to paint the face and the back at the same time. Strangely, the paint even when thoroughly stirred, exhibited a black film/streak on the surface. This persisted despite thorough shaking, and even when thinned in the cup, and then when in the gun. There were times when the gun was depositing inconsistent colour. One centre cap had to have a going over again, but the wheels in the most all dried to be near identical colour...
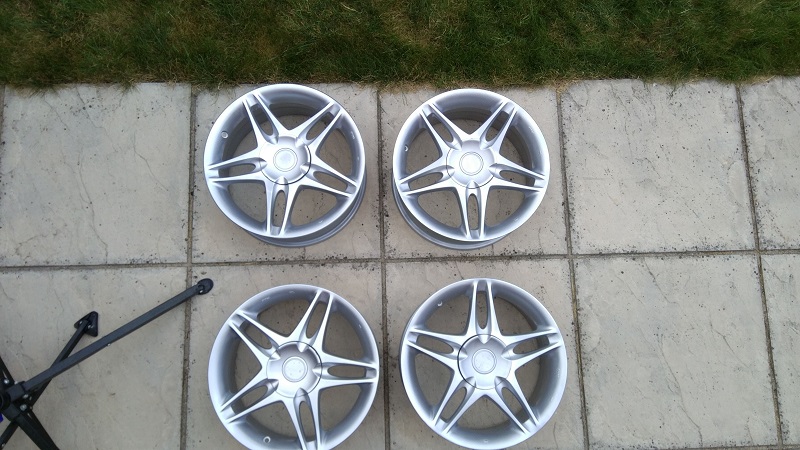
Annoyed I missed some filling/prep on the area of damage by the spoke at the bottom, I spent hours doing it so no idea how i missed that bit! I have the Honda logos, but they have paint on from a previous owner, so they need some very high grade wet sandpaper to remove the old over spray before I stick them back to the centre caps. This wheel came out near perfect otherwise...
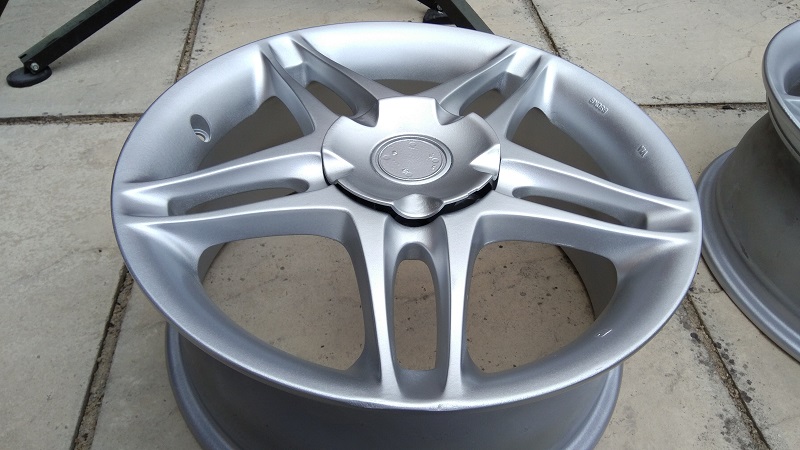
And this one, you can make out some slight pitting in the primer (on the inside of the spoke) which couldn't be removed by sanding before painting. I can only assume when i applied the primer i didn't do a thick enough coat, or it didn't mix/apply well. It was smooth to the touch, but its not that noticeable. When fitted and moving, no one will notice it (but ill still be annoyed its there!)
From afar they look 100%
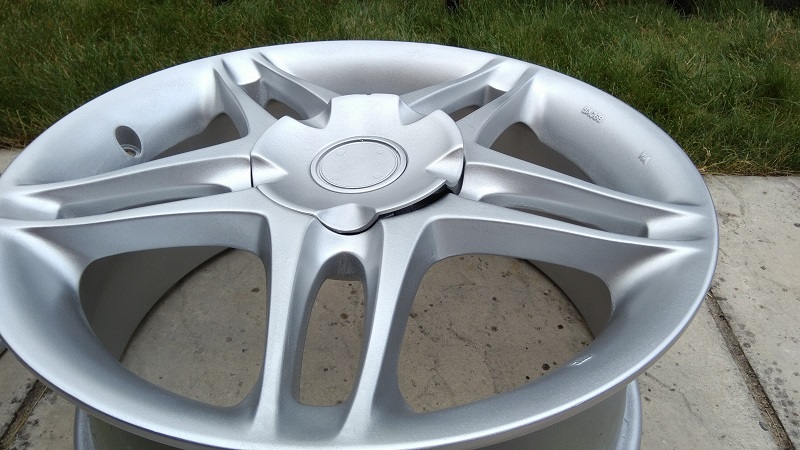
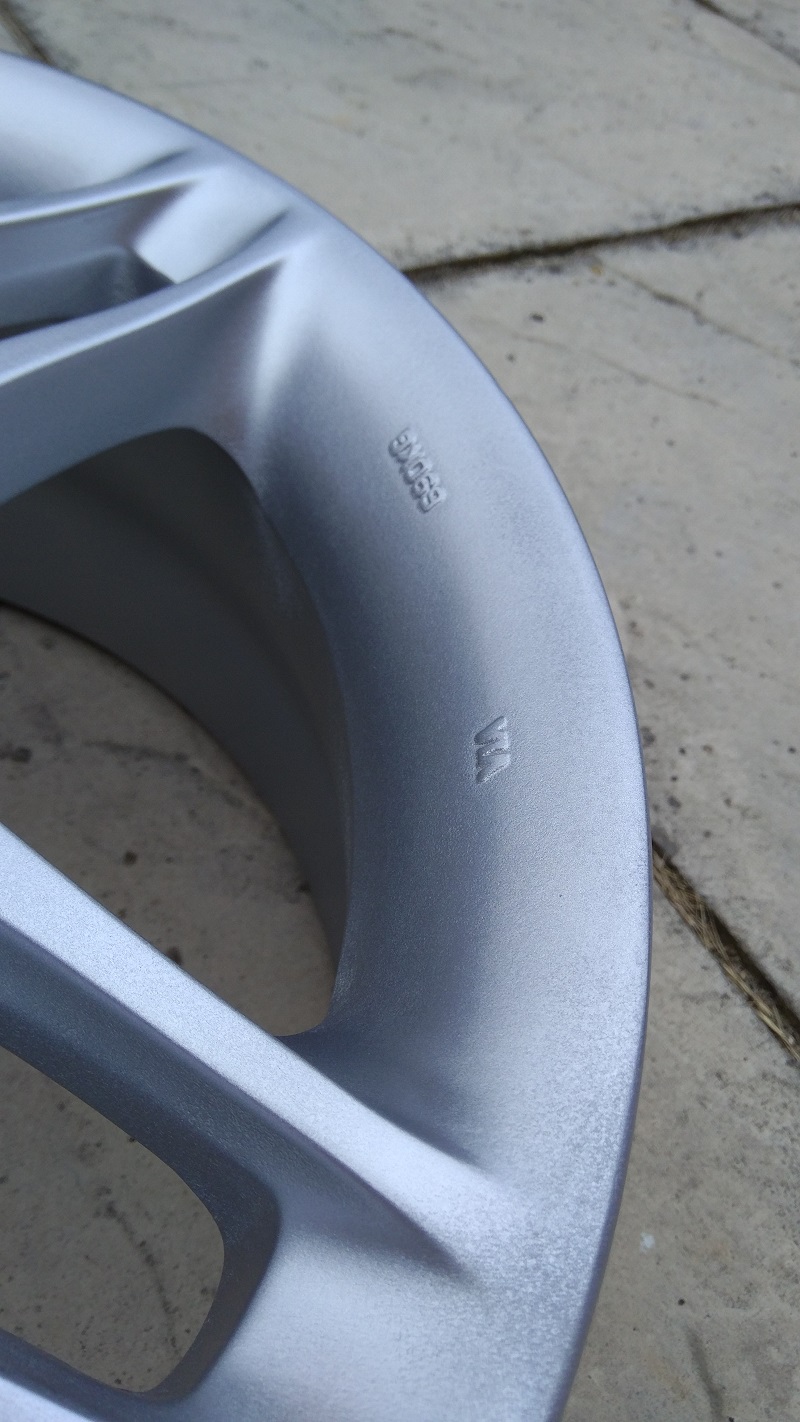
The first pair came out great, but the second pair I seemed to screw up more on - perhaps I accidentally adjusted the gun (now I see why they have gun stands as a thing!). Some larger runs on this one. I'm hoping the paint will harden up and i can remove some of it by light sanding with high grade paper tomorrow before lacquering.
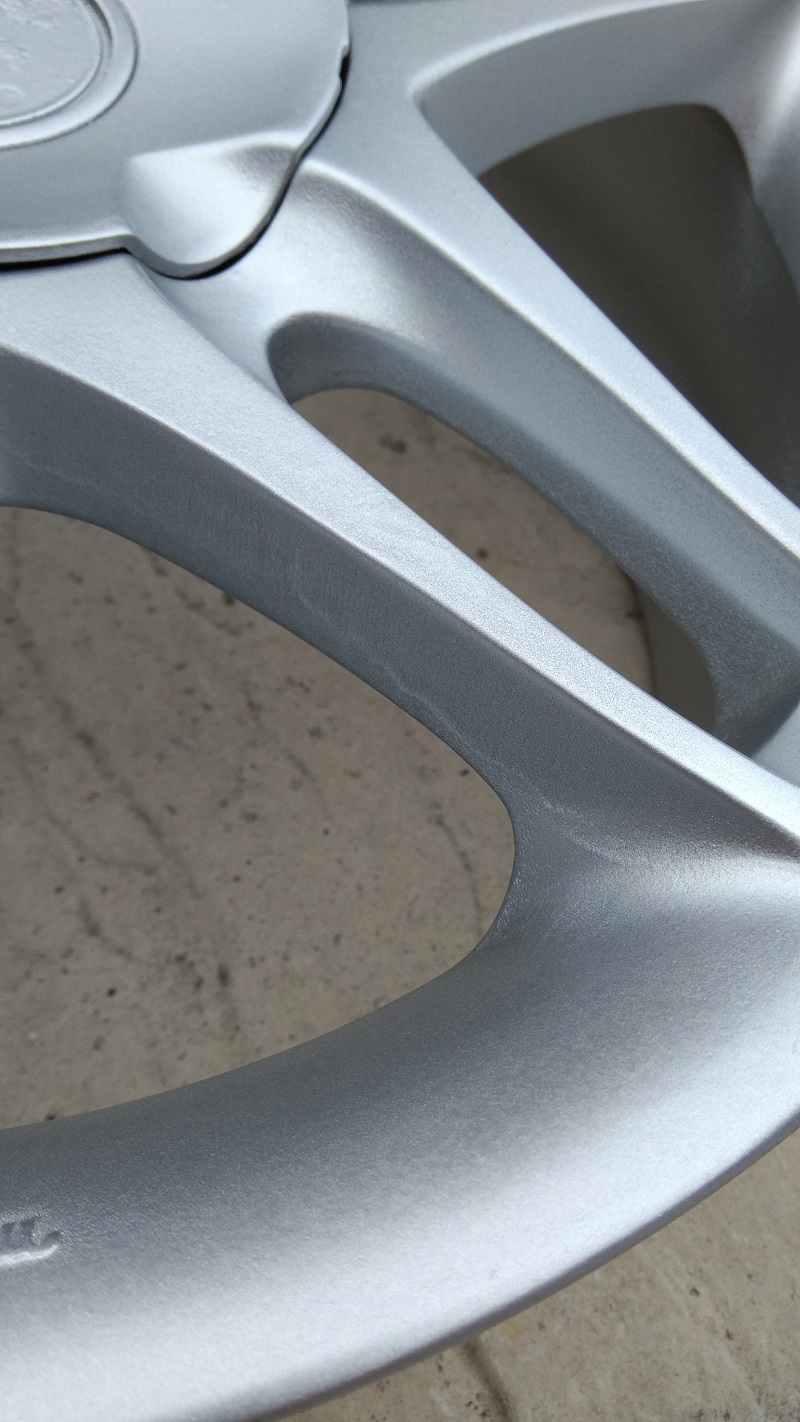
some more runs visible here, also some roughness in between the spokes where I was too harsh in my removal of old paint (in the same way the paint gun struggles to get paint in the crevice, so too must have the sand blaster).
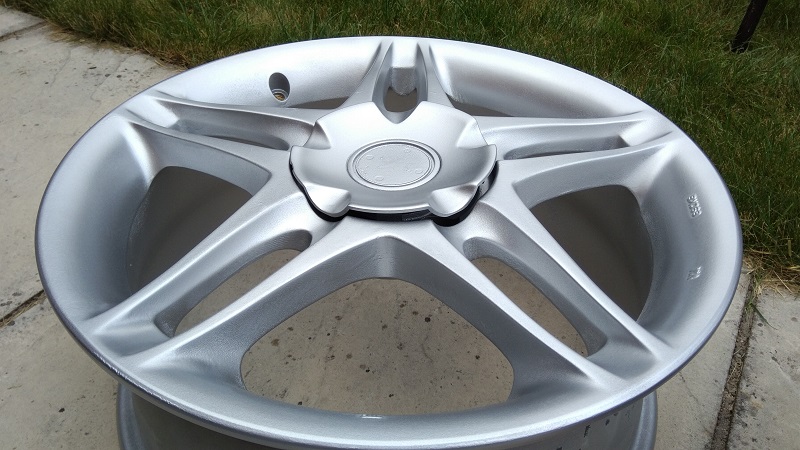
All in all they will come out looking OK, but not show room quality, not up to OE spec... I'm not sure what you'd get for £50/wheel at a refurb place, but probably a slightly better job than this , and in my eyes probably worth it. Whilst there is some merit in learning and trying, at the end of the day i'm down a good chunk of hours and probably a couple of hundred quid.
Makes me question whether i have the patience to repaint the damaged Motegi kit i picked up , or leave it to the experts...
Also if anyone has a single ATR wheel nut let me know, i only seem to have 19 of the low profile ones (and the original 16inch wheel ones are too long to fit under the centre caps).


