Page 1 of 2
DIY Alloy refurb
Posted: Tue Aug 26, 2014 8:19 pm
by S7EVE
My wife doesn't seem to share my satisfaction following a lot of hours spent manually prepping my old standard 5th gen alloys for refurb. I know it's been done before but thought I would share my achievement with you all.
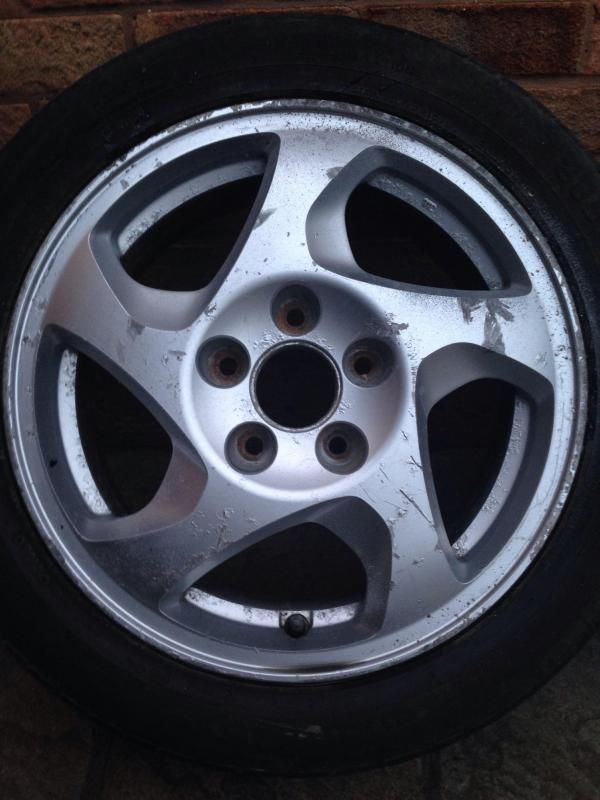
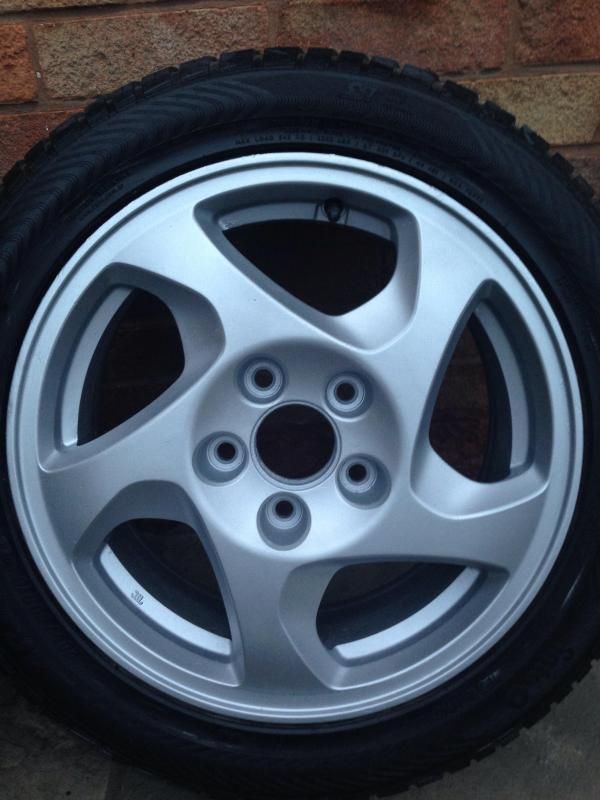
Old blistered, scratched, dinked standard alloys manually refurbed ready for refitting to the car. Before and after pics below. Hope you like. One wheel has probably taken 4 hours. 3 to go!
BEFORE
FINISHED
Centre caps also completed but not yet fitted.

Posted: Tue Aug 26, 2014 8:27 pm
by rob quilter
Nice work.

Posted: Tue Aug 26, 2014 8:29 pm
by jsalas623
Looks good! What was the process to do this? My clear coat on my rims is getting pretty bad so would prefer to remove this
Posted: Tue Aug 26, 2014 8:32 pm
by Ash.Z
Looks good bud.
Posted: Tue Aug 26, 2014 8:39 pm
by mercutio
very nice job
Posted: Tue Aug 26, 2014 8:47 pm
by Doggo

How'dya do that?
Posted: Tue Aug 26, 2014 9:11 pm
by mr_drc
Nice work did you high build prime? The sanding by hand is a bitch ! I get mine soda blasted now much easier costs a £1 per inch

Posted: Tue Aug 26, 2014 9:27 pm
by S7EVE
Thanks for positive feedback chaps, hard graft but worth it seeing the results.
jsalas623 wrote:Looks good! What was the process to do this? My clear coat on my rims is getting pretty bad so would prefer to remove this
After several chemical cleans I sanded down with 150 sand paper by hand. Wet and dry sanded the wheel down to ensure it all felt smooth. 2 coats of primer, 4 coats of smooth hammerite. From my research I shouldn't need laquer, we'll see!
Will take a picture when their complete and back on car.
Cheers guys.
Posted: Tue Aug 26, 2014 10:51 pm
by Sailor
Excellent.
Posted: Tue Aug 26, 2014 11:12 pm
by wurlycorner
Looks excellent, well done!

