Page 3 of 4
Posted: Mon Aug 17, 2015 1:49 pm
by Rudelude
Good vid, if a bit long... Ludes sure do sound good... I miss mine now.... But at least I know it's stored safely till I get back to UK.
Posted: Thu Aug 27, 2015 10:13 am
by Drax
Posted: Thu Sep 17, 2015 11:31 pm
by Drax
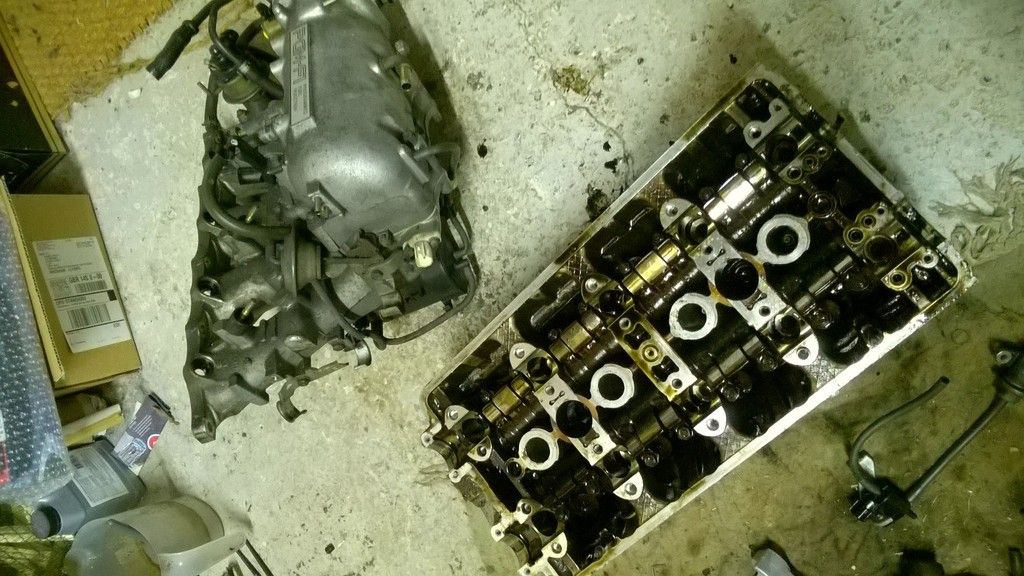
i had his head sent to the machine shop for a skim, nice job done too

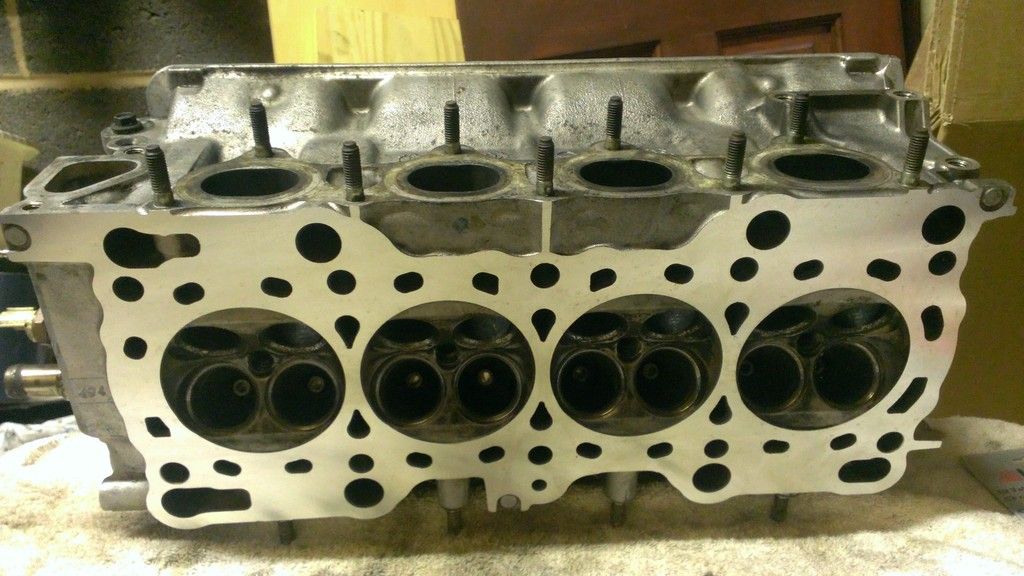
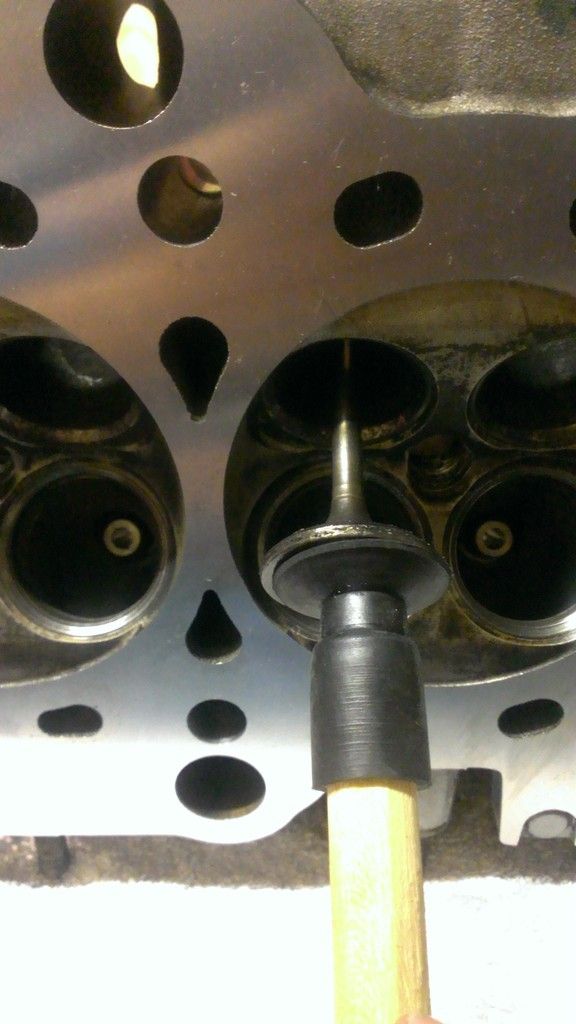
lapped the valves ready to go back in
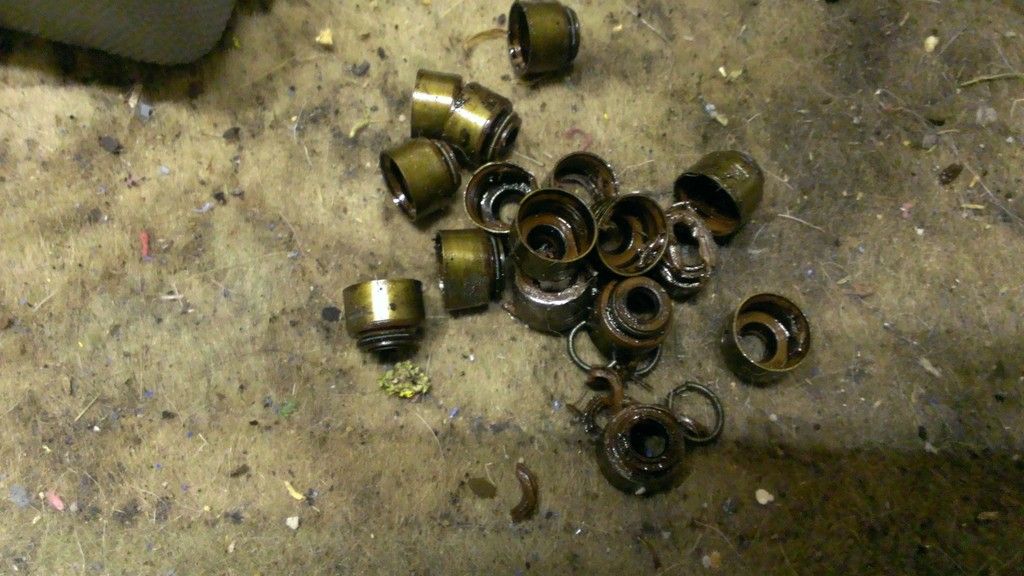
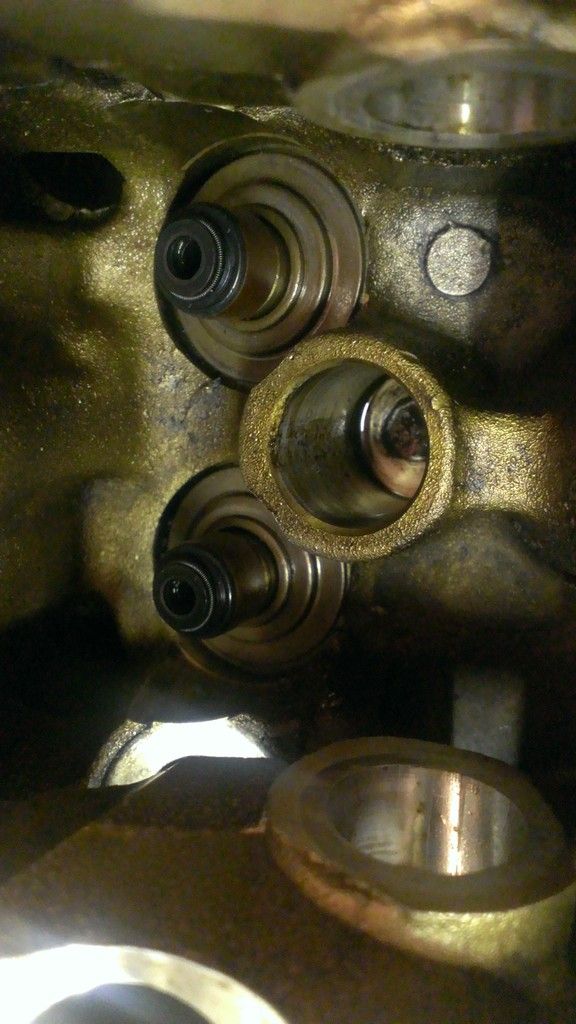
intake stem seals went in ok
but after double checking...
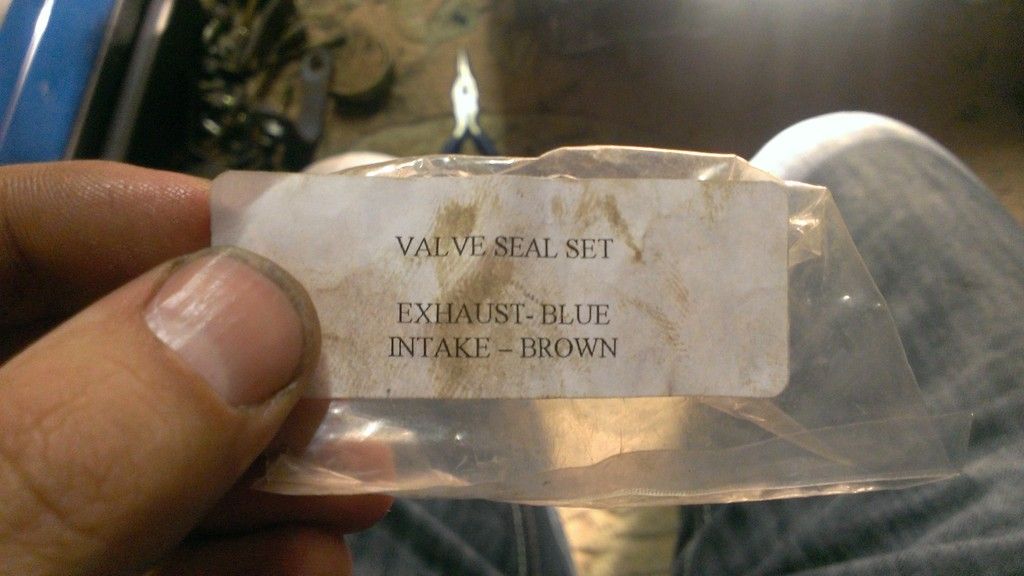
ive found the exhaust stem seals in the replacement kit are too big compared to the origonals (which 16x were all brown btw) compared to the 8x blue and 8x brown in the new kit.

Posted: Tue Sep 29, 2015 12:52 pm
by Drax
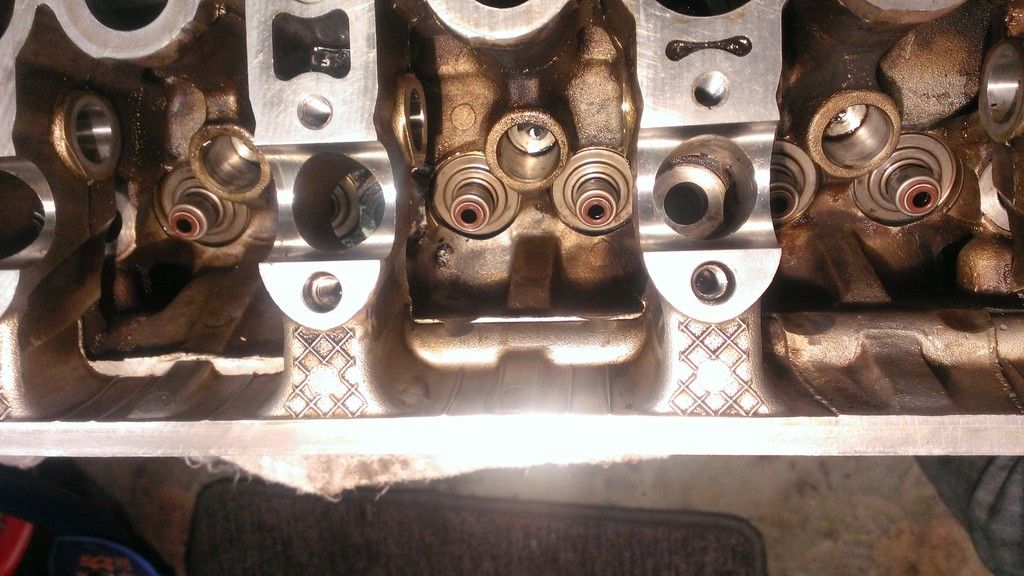
after some OEM stem seals came in, they fitted a treat
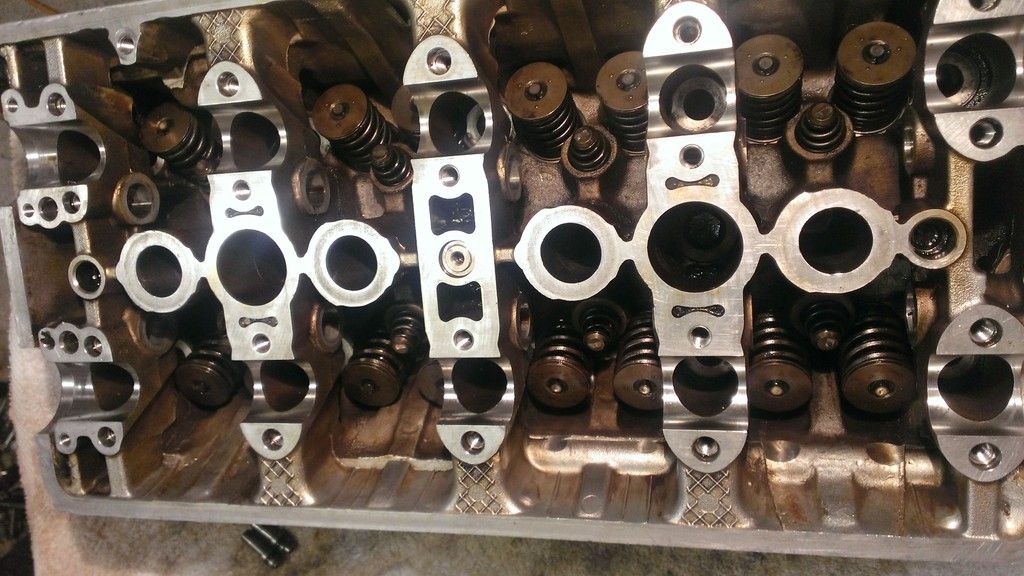
so put the valve seats back in, along with the valves, valve springs and retainers.
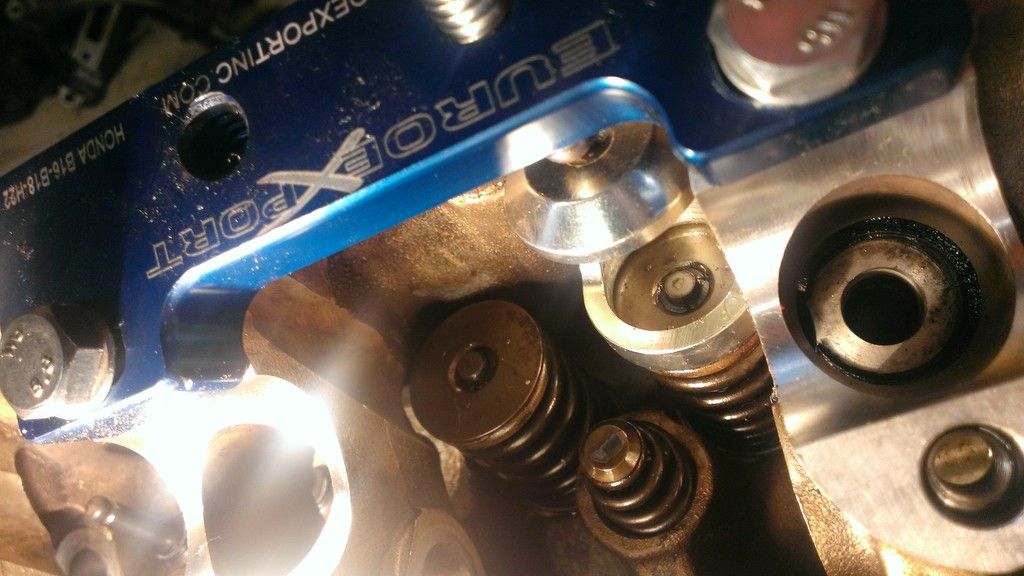
after checking that the tighter end of the valve springs go at the bottom, I also found that the intake and exhaust springs were different heights, so after checking I found the exhaust springs are the slightly taller ones than the intake.
all back and fitted along with the LMA's
just the old intake gasket to remove now, being a stubborn b*tch - even gasket remover has little effect on it
Posted: Mon Nov 09, 2015 11:45 am
by Drax
stuff off

and more
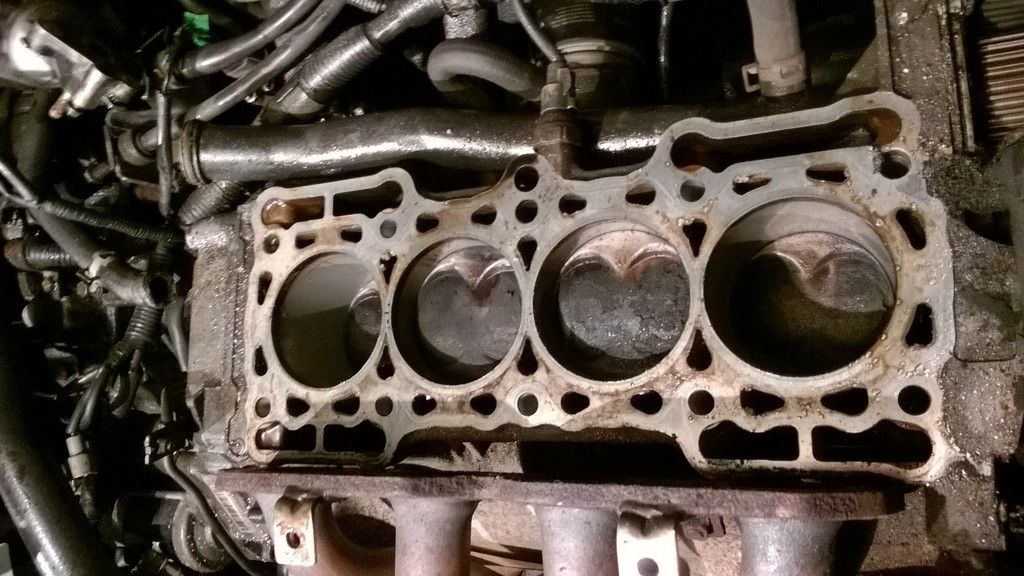
head off
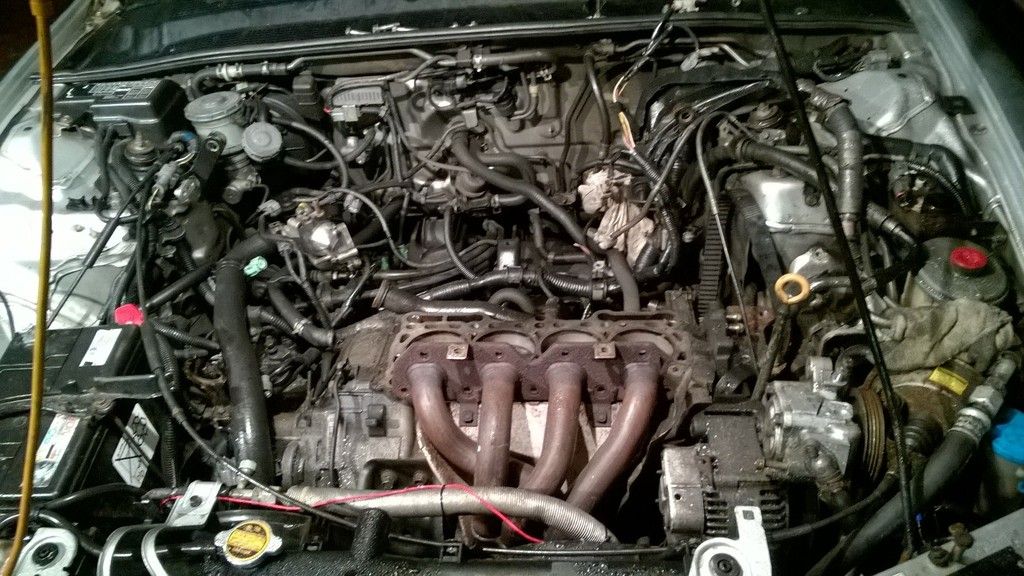
really choked up pistons so need to clean them off
the loom connector to the vac canister underneath the inlet mani snapped off so I repaired that last night with a spare I have on an old loom, crank pully came off eventually after a metricfucktonne of force was applied and belt covers are removed so need to swap water pump and belts next, then head back on hopefully tonight and 2moz eve
Posted: Mon Nov 09, 2015 12:32 pm
by alinton
Yikes!
Nice work!
Posted: Fri Dec 18, 2015 3:00 pm
by Drax
eventual (SLOW) progress with this.
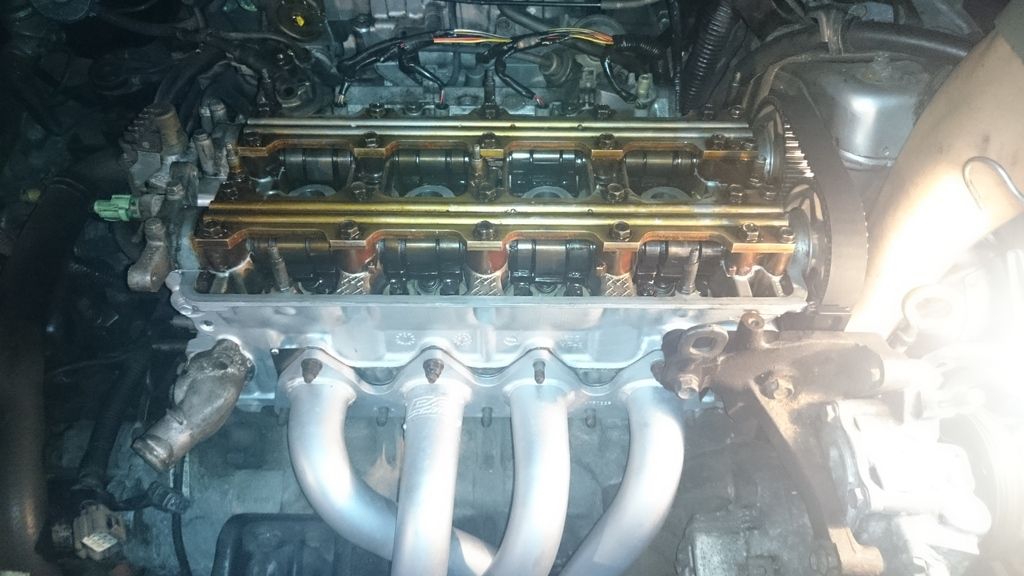
new headgasket went on, along with refurbed head.
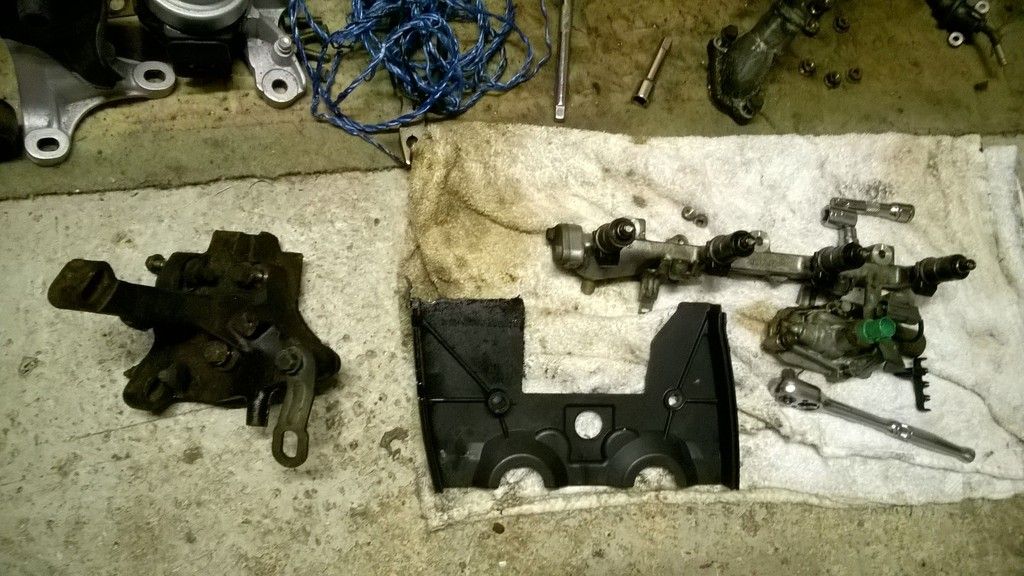
replacement exhaust manifold and downpipe (DC Sports) was welded up as it came with a replacement flexi, then installed with a new lambda sensor and modified o2 sensor for the decat installed.
autotensioner went on then broke, so we had to use my h23 manual tensioner instead. then the main nut hole in the block for holding the tensioner on had rounded the first few threads

so we had to buy a odd sized thread cutter with a tap & die kit. #ballache.
but it worked
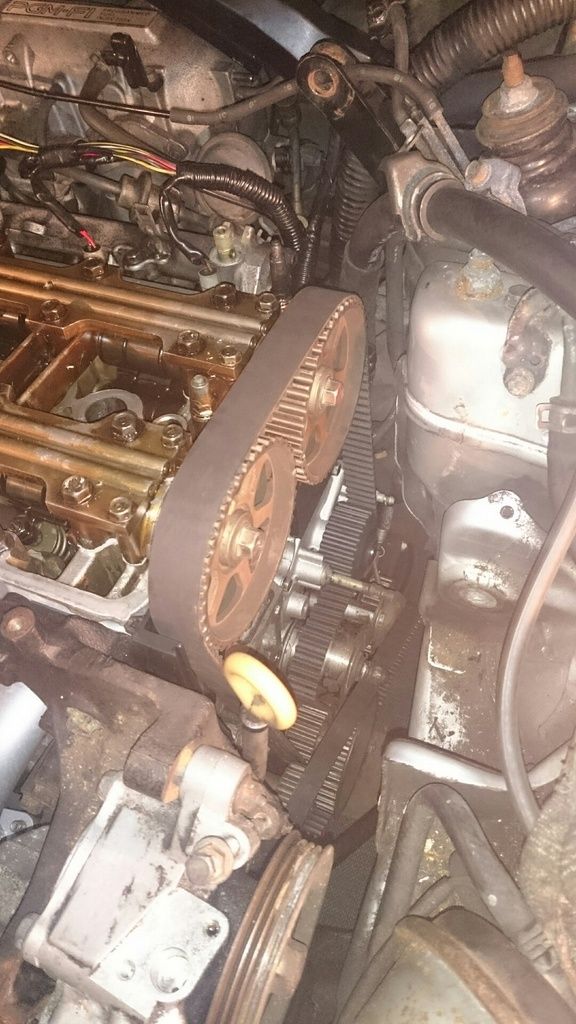
Thom put on the cambelt and balance shaft belt then i went to check it one night and the timing was off on both
so re-did all that last night, corrected the cambelt, balance shaft belt and also spaced out the manual tensioner pulley a bit more as the cambelt was catching.
(mid process)
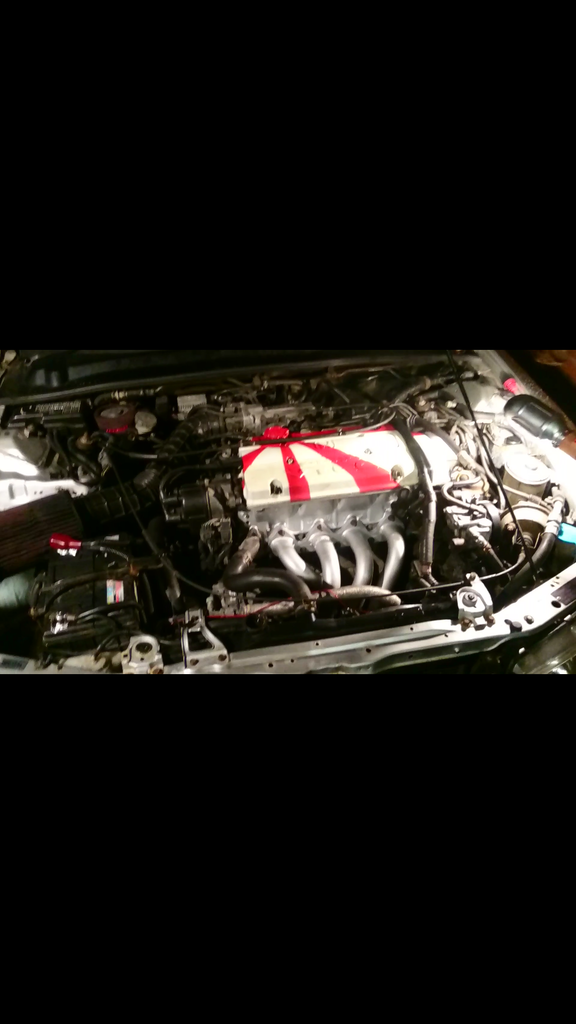
covers back on. engine mount back on.
(looking much smarter, just before engine mount went back on)
Posted: Fri Dec 18, 2015 3:17 pm
by Vtecmec
Posted: Wed Dec 23, 2015 9:35 am
by Drax
and (via jobby works phone camera) its done and running sweet-as
Posted: Wed Dec 23, 2015 11:49 am
by Vtecmec