Bi-Xenon Retrofits 2020.
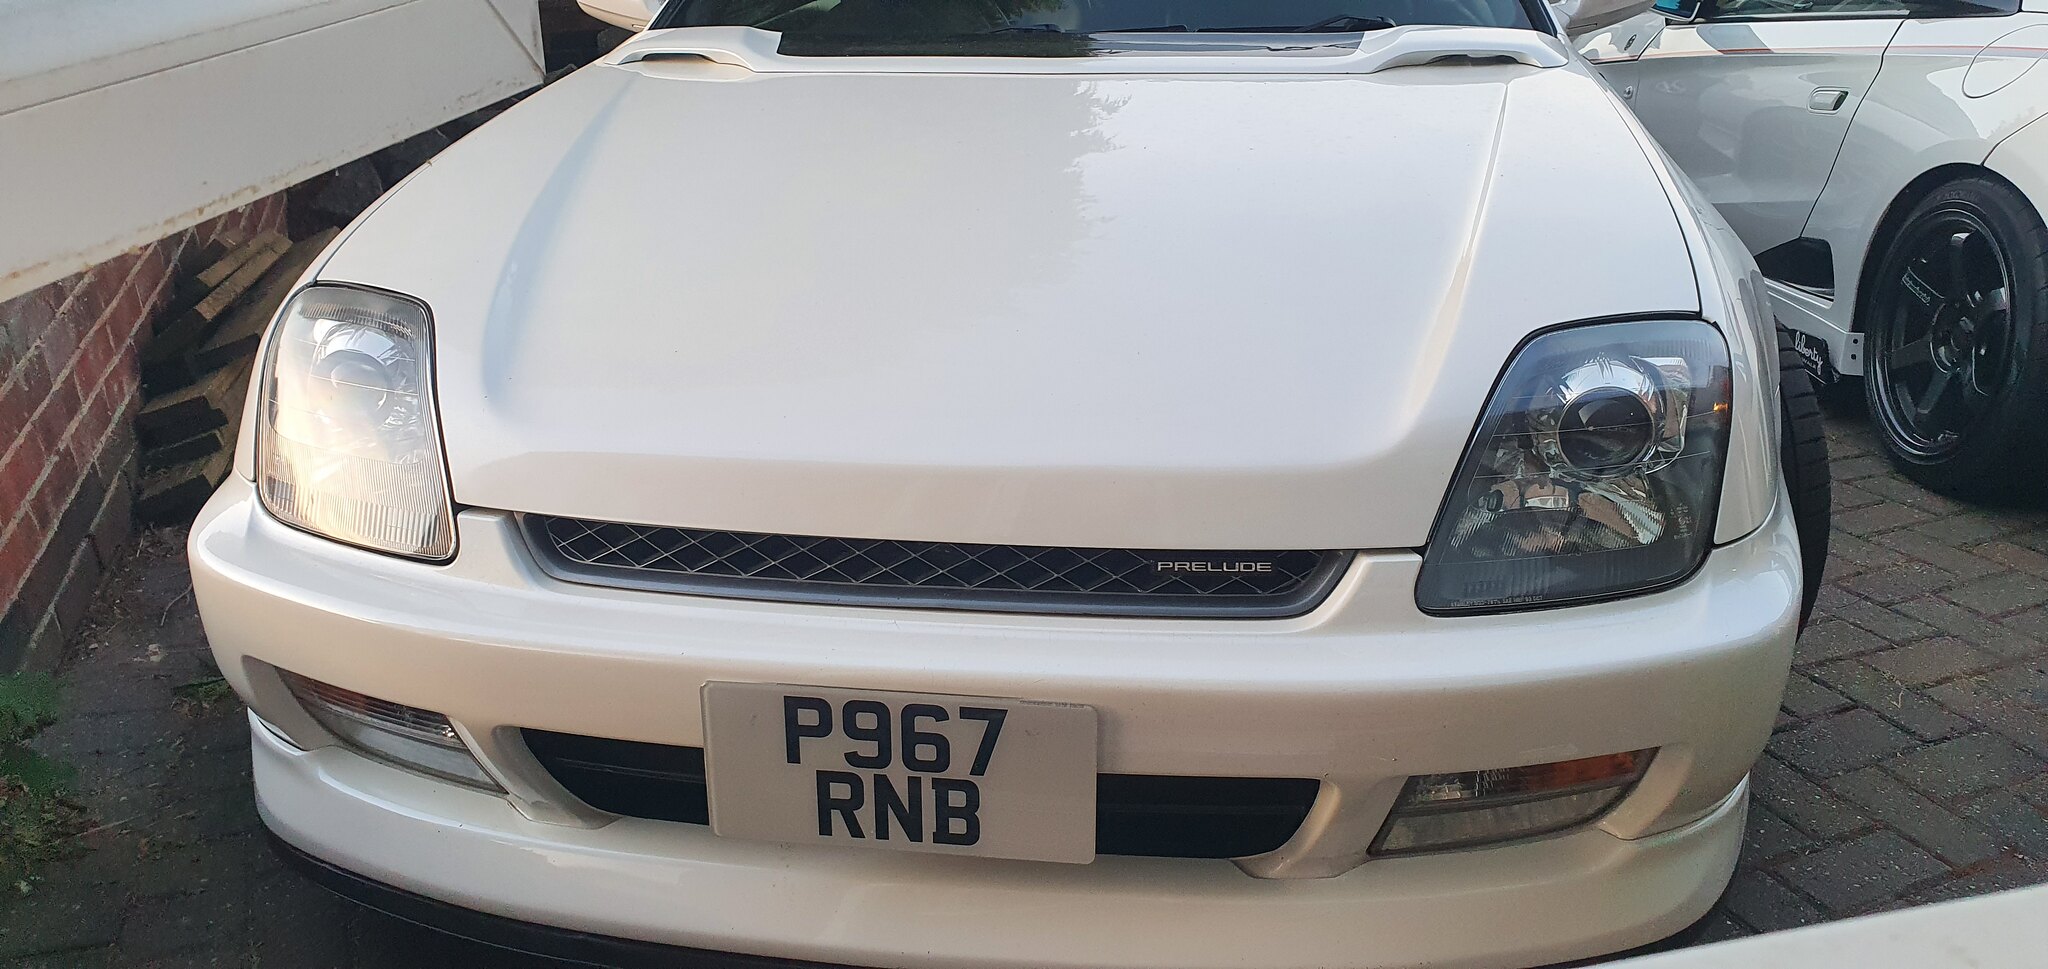
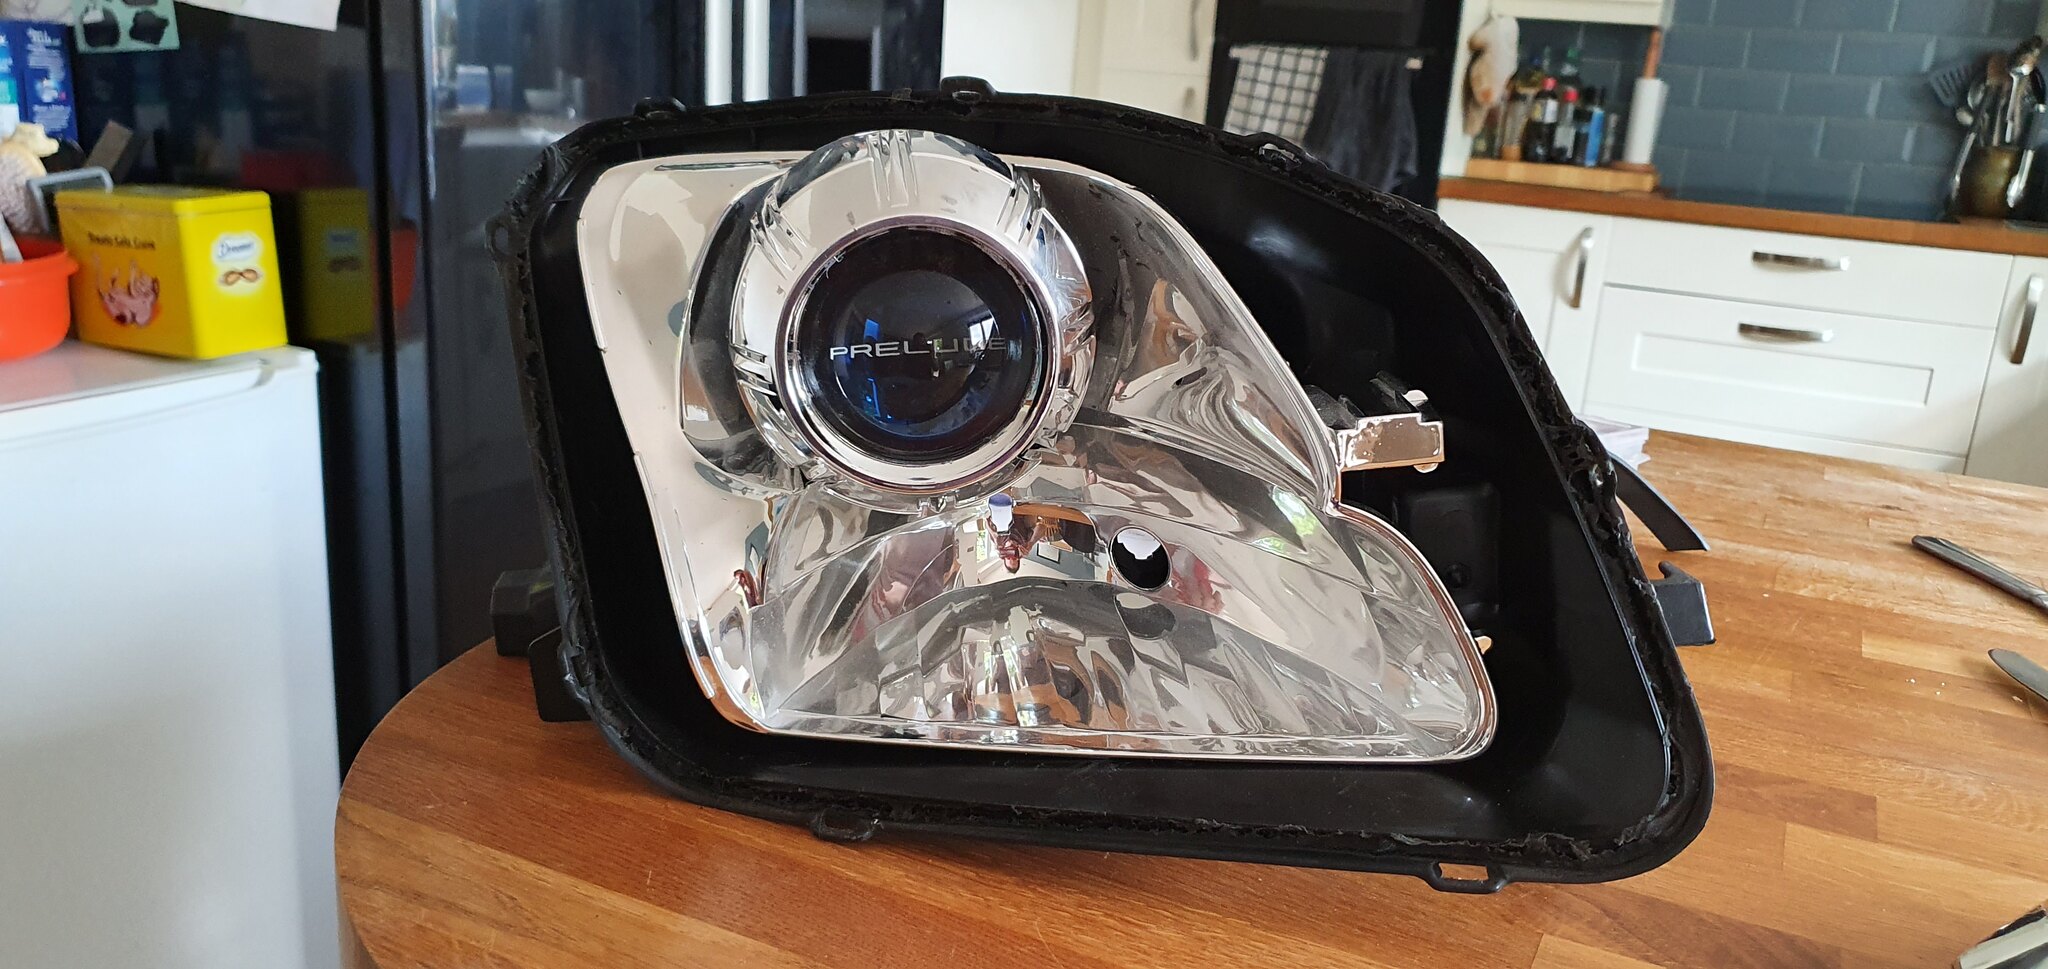
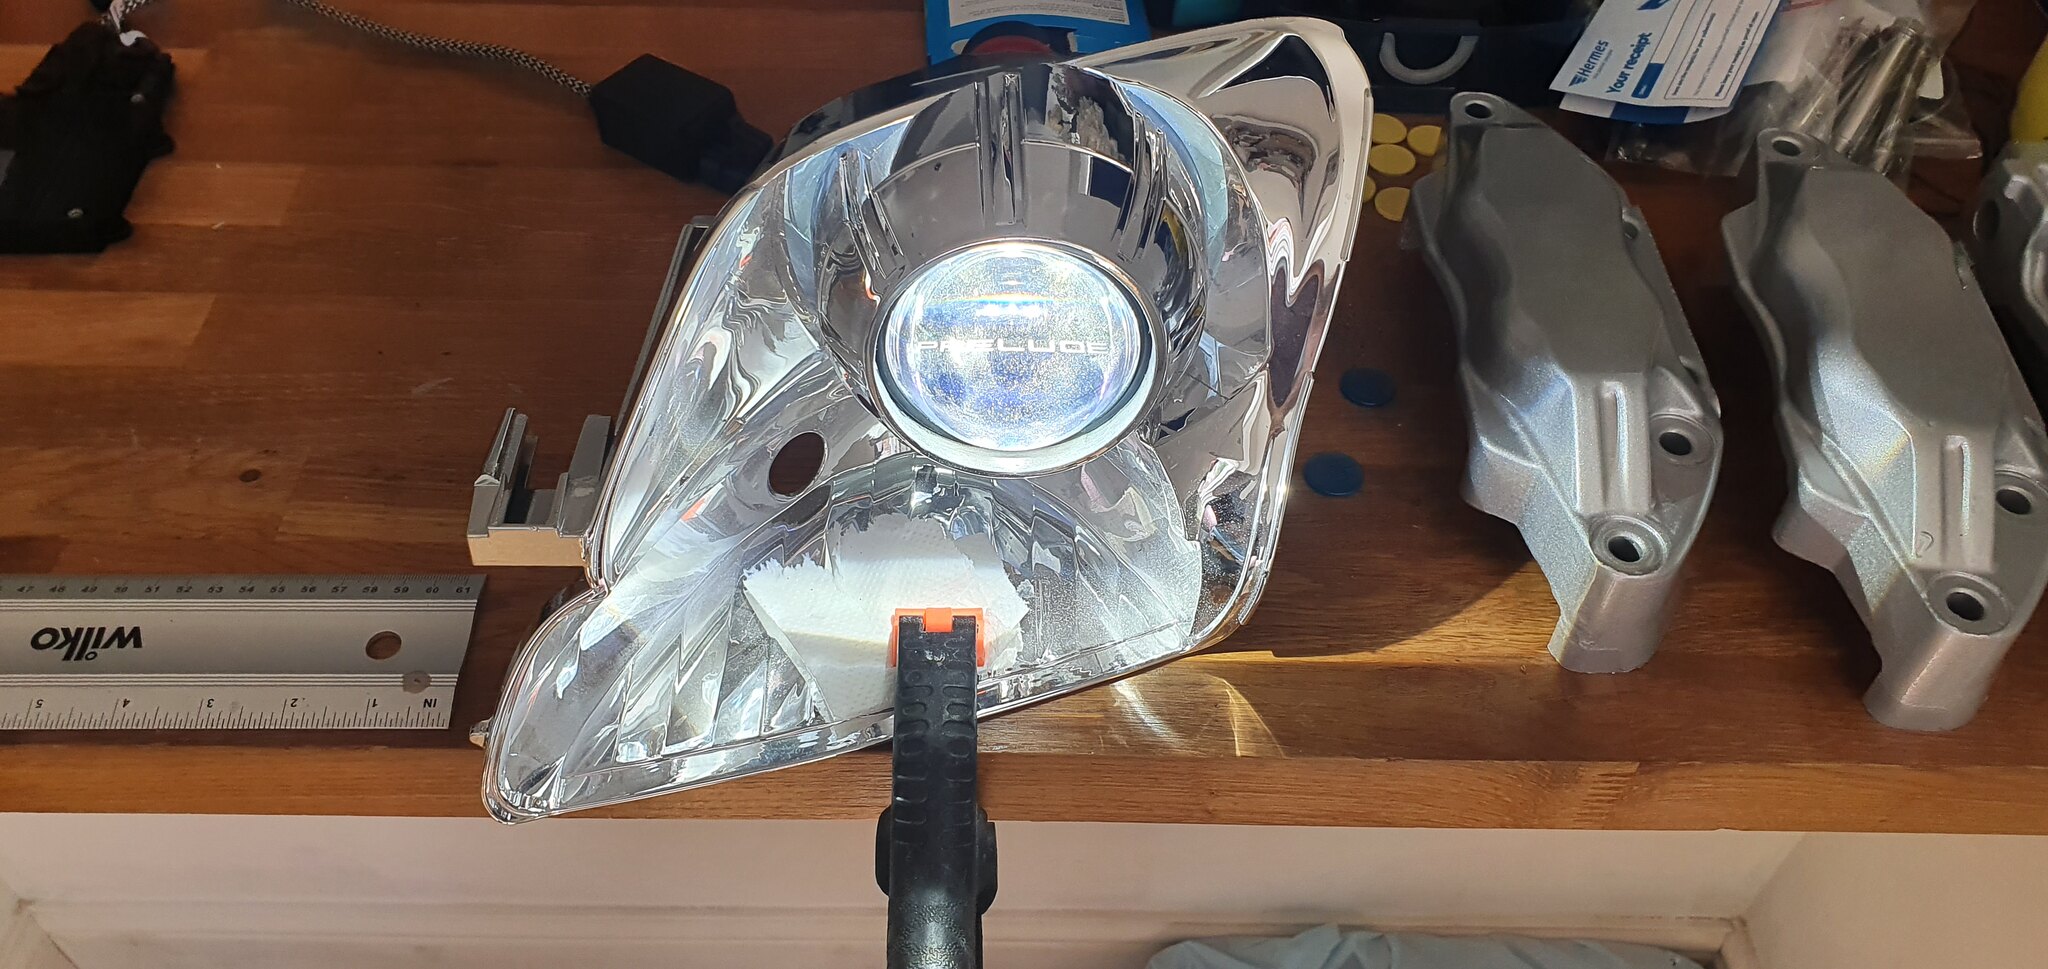
So my current retrofits are showing their age. The projectors are from 2008 era and technology has moved on and they have some flaws from the person who retrofitted them. ie the left projector mounted incorrectly and twisted so the cutoff isnt flat.
So i decided to got for Morimoto D2S 5.0 Bi xenons with extra Morimoto 2 Stroke LED high beams for added high beam brightness.
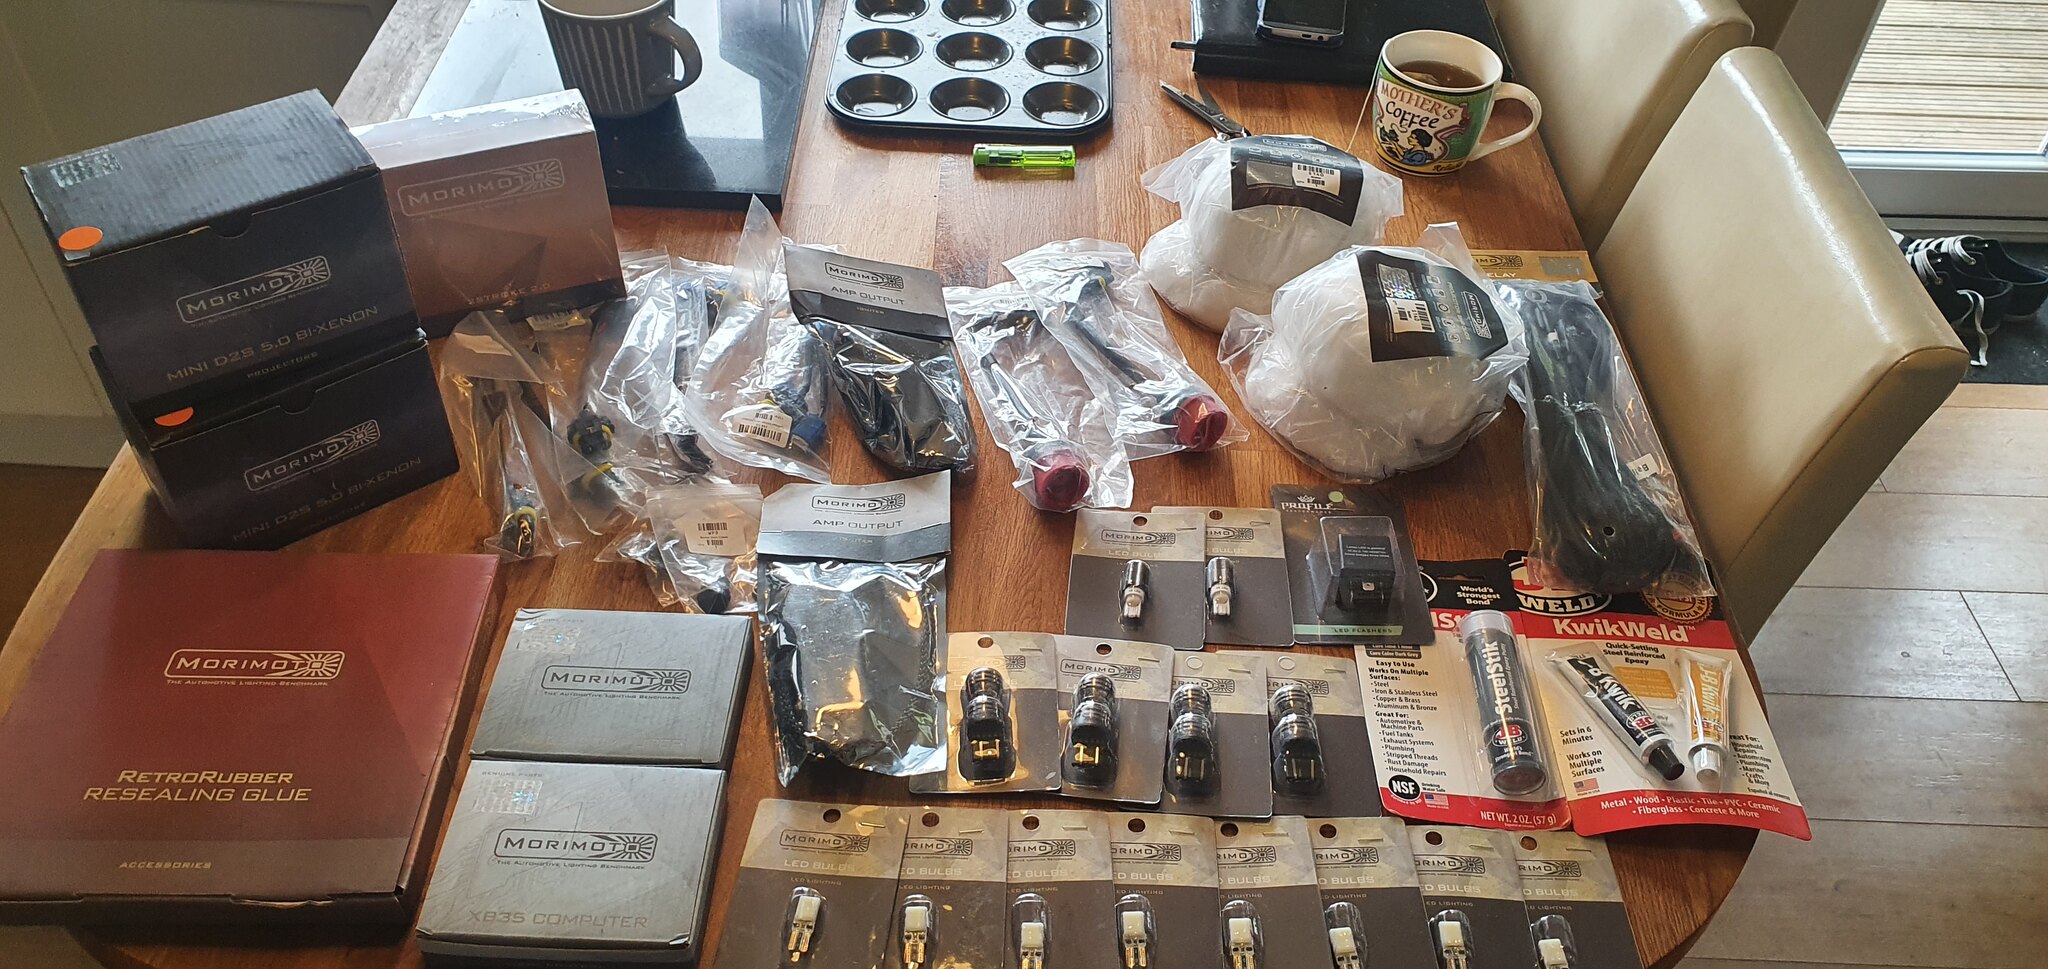
The kit arrived from The Retrofit Souce in the USA. £190 customs charge

Around £600 in parts and shipping and
Custom lense etching, JB weld glues and putty, butyl rubber to seal, various many LED bulbs, shrouds and H1 wiring harness, morimoto xb ballests and igniters.
BUT LOOOOOOOOK.

I didnt get photos of these next steps but its straight forward.
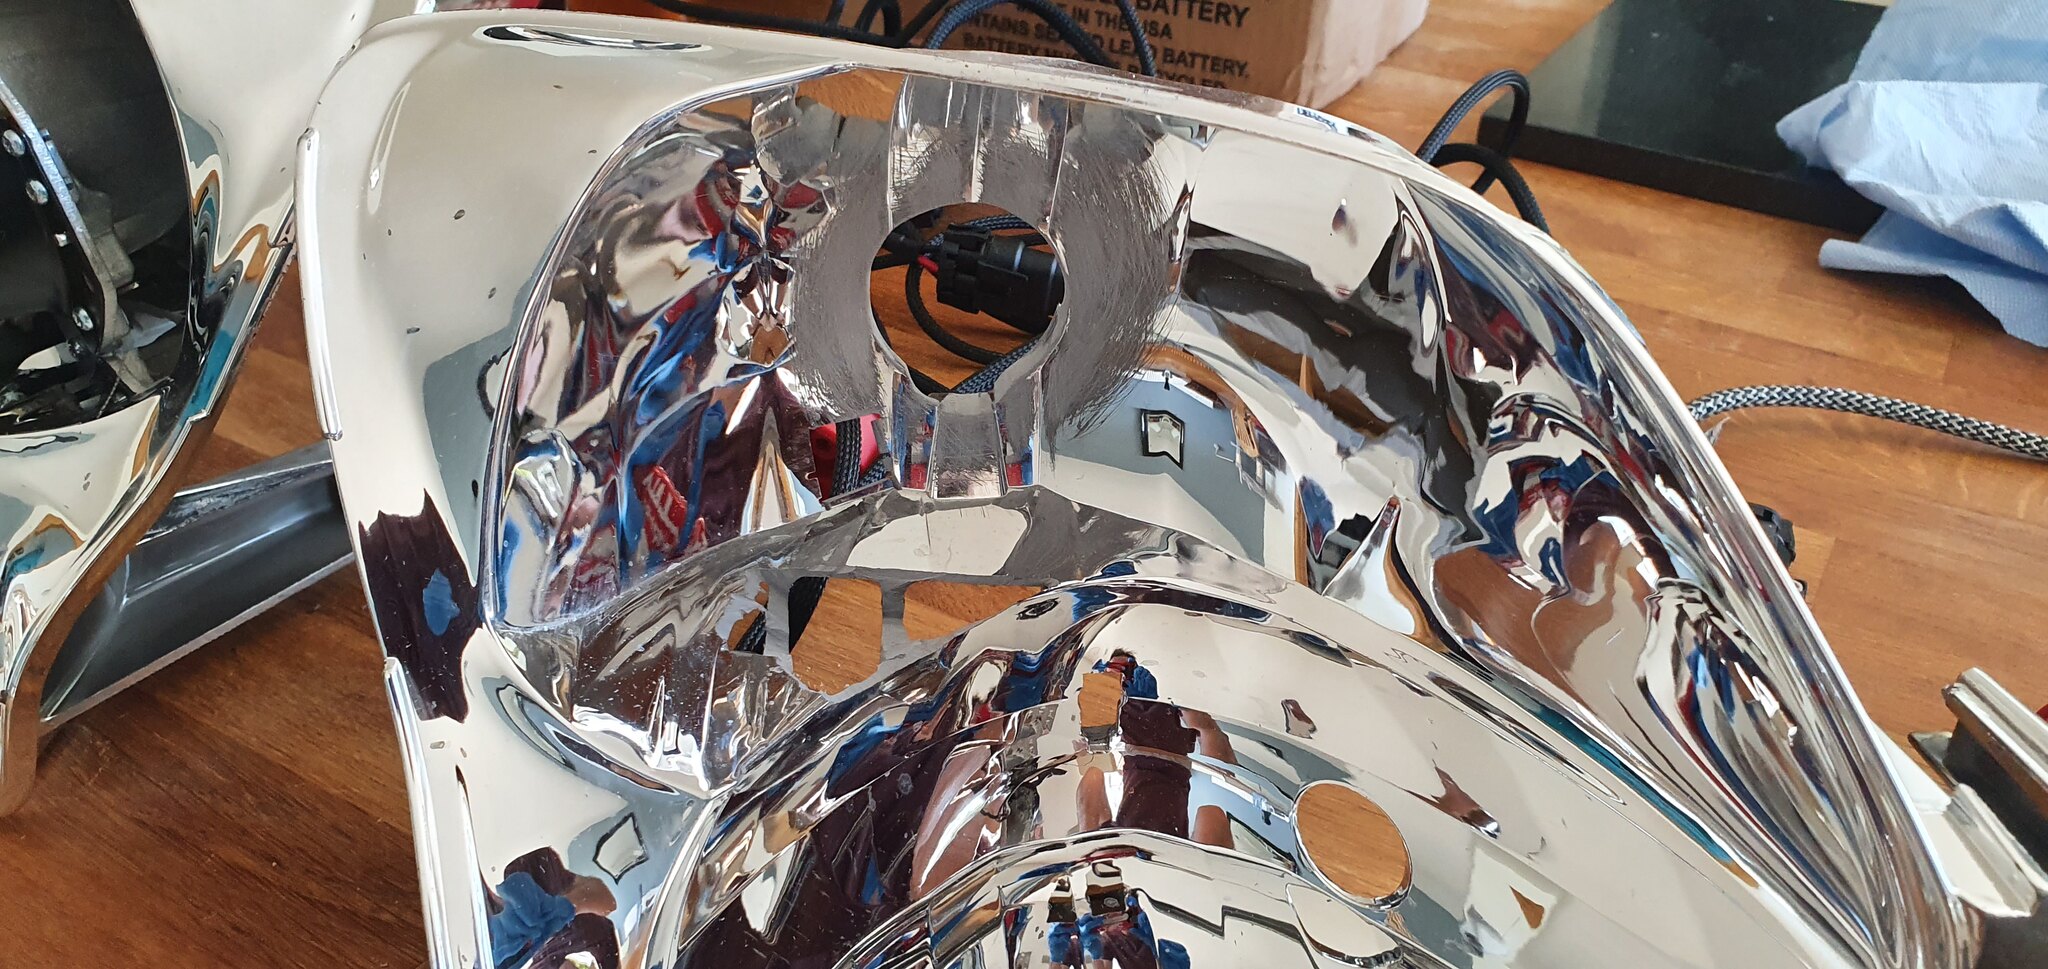
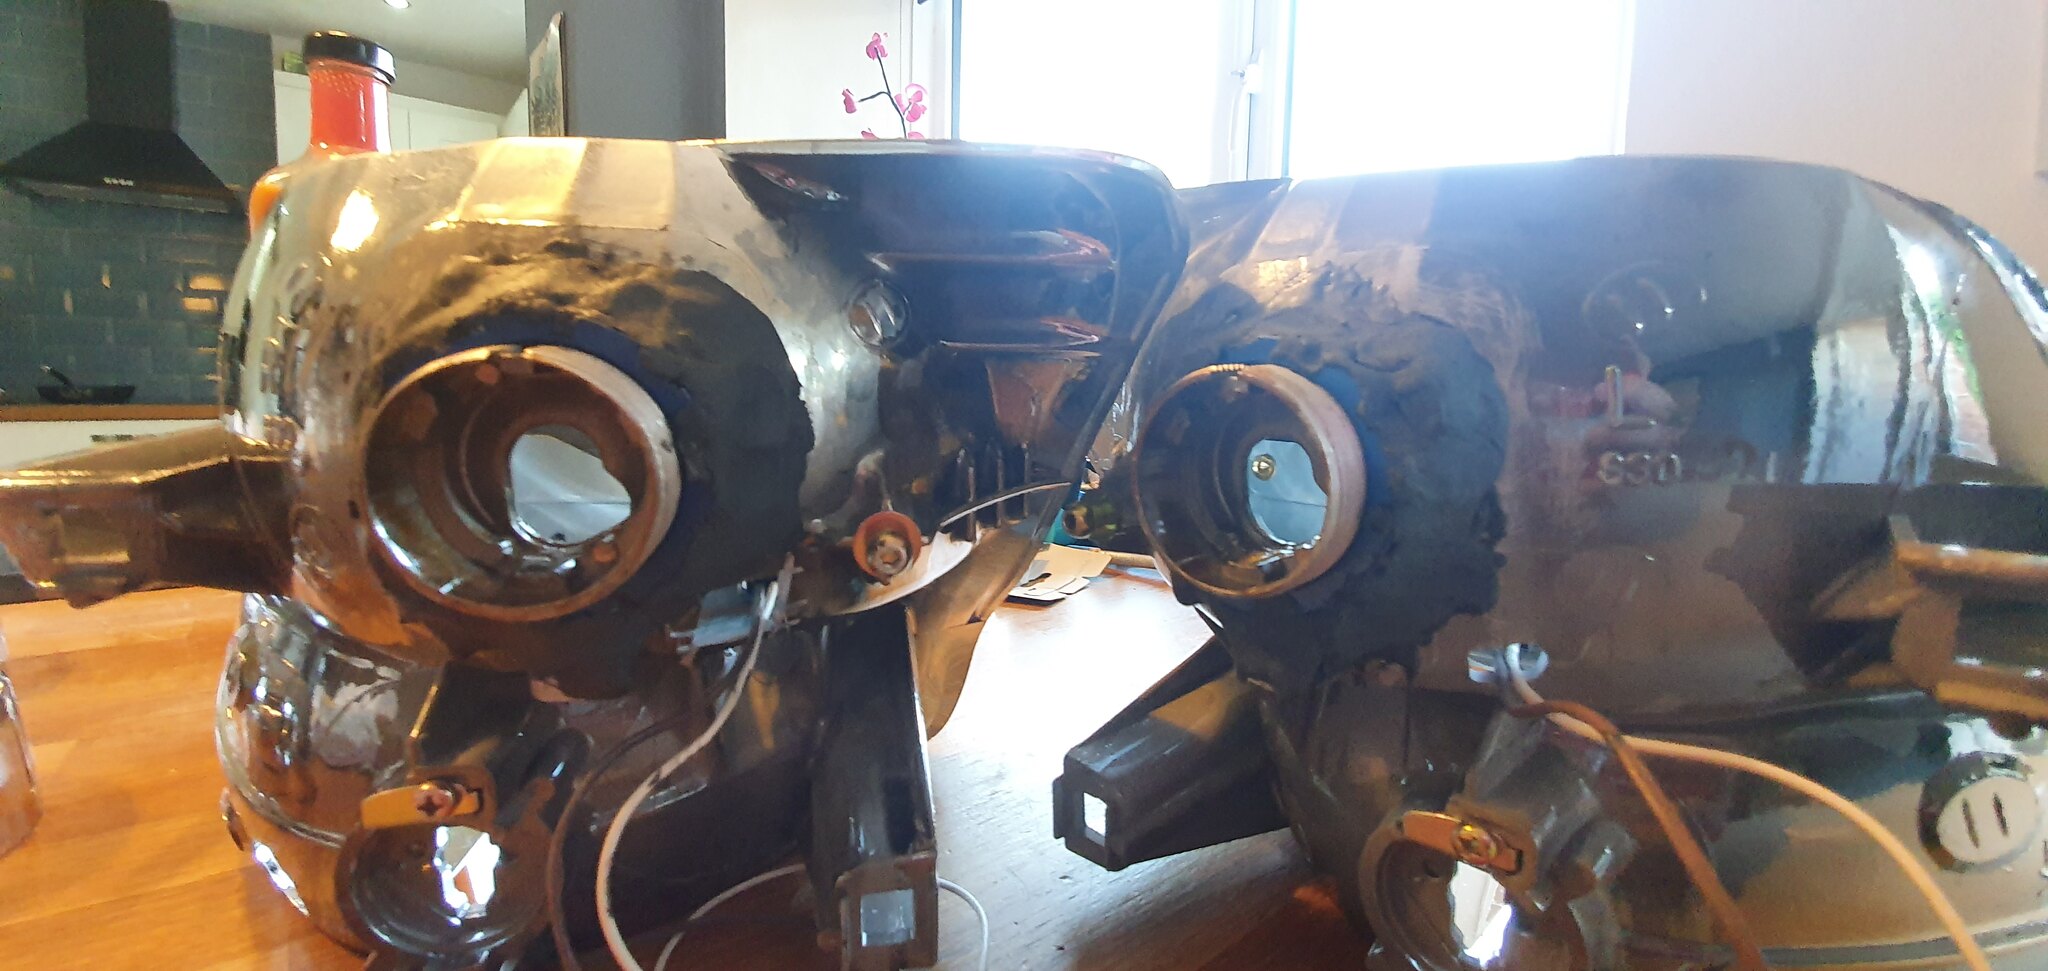
- So first things you want to do is open the lights up. You can use the oven method but its easier to use a heatgun on 600degs and heat the edges of the headlights up for a few minutes. Start prying away and use force and they will eventually come away.
- Once free put the lenses to one side and remove the bulbs, bulb holders and glare sheids. All cross head screwdrivers. Easy.
- Then you will want to start unscrewing the height and angle screws so they come out. Once out only the single ball joint will be holding the reflector bowl to the black base. You have to pull hard to pop it out.
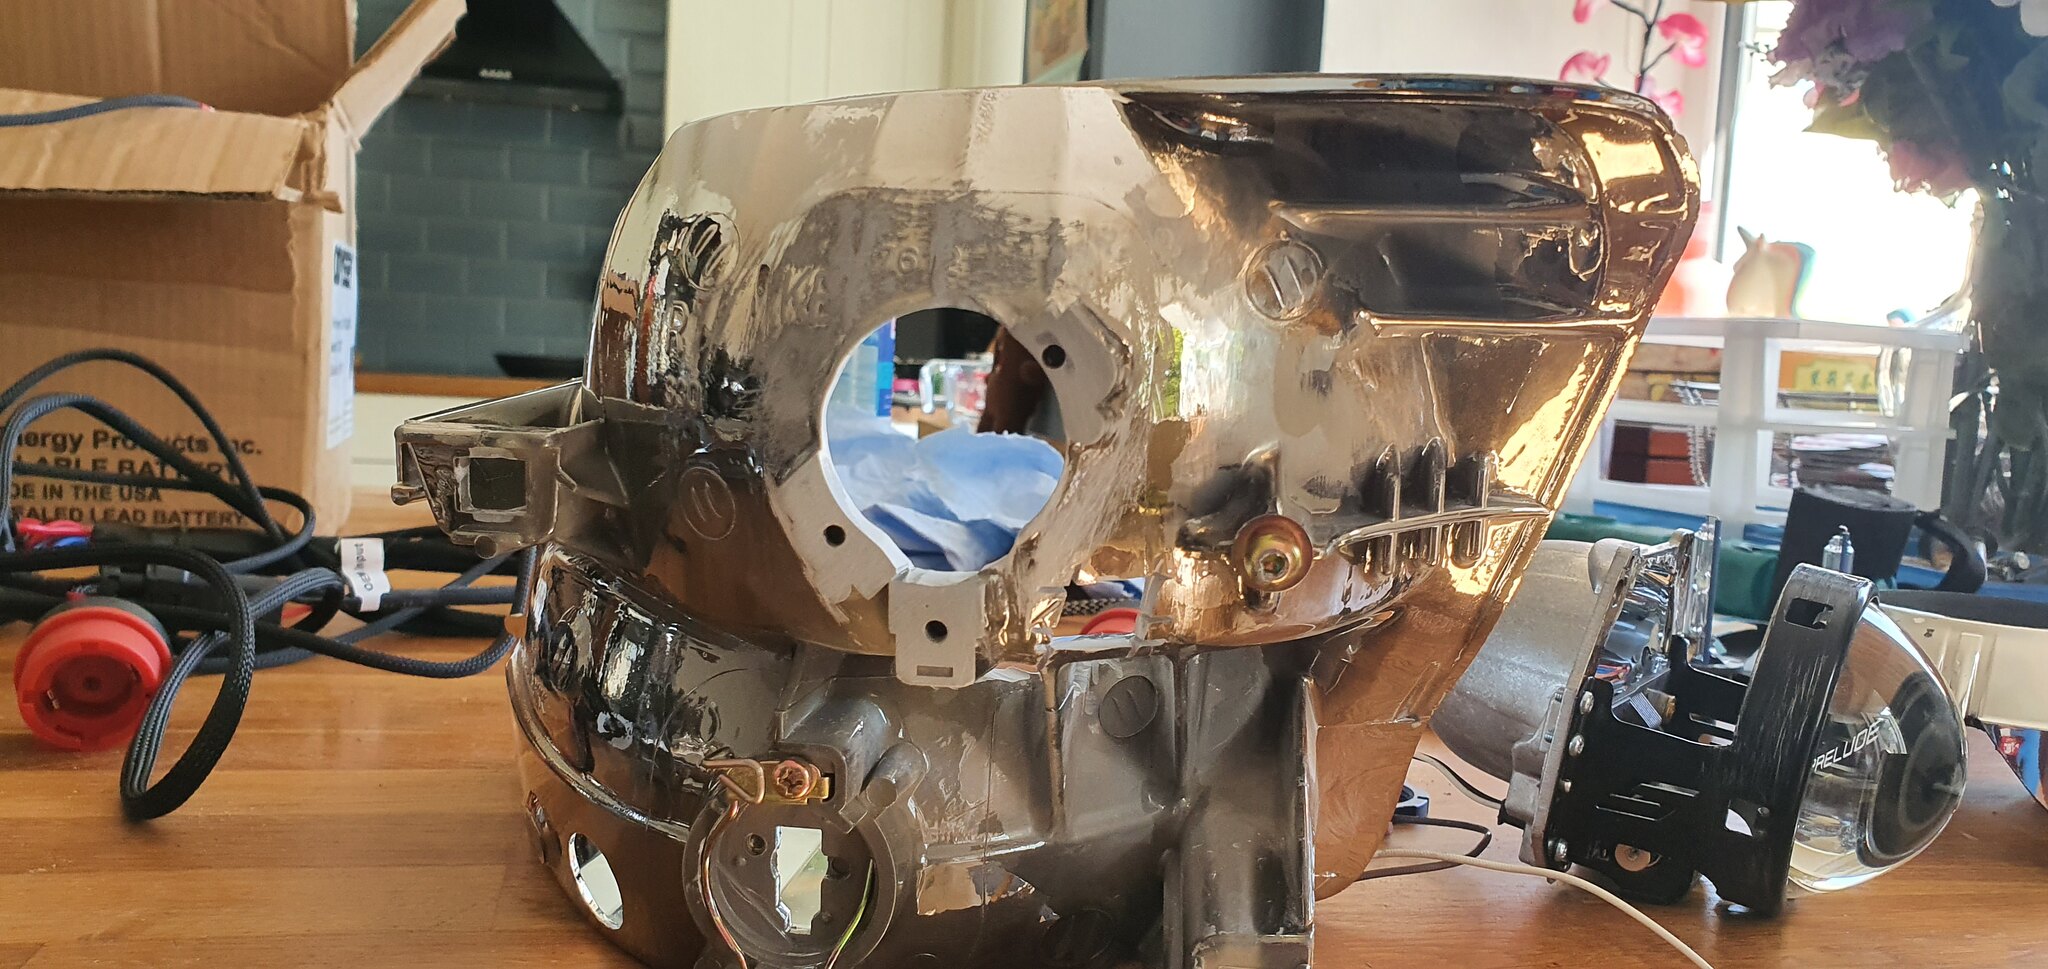
-Now since the low beam is the upper beam on 5th Gens this is where they will be mounted. I drilled and dremeled the light holes out for the projectors thread fits into the hole.
All modern retrofit projectors come with a thread to mount the projectors where possible. Far easier than the nut and both method of old.

You can see the tread and locking nut here.

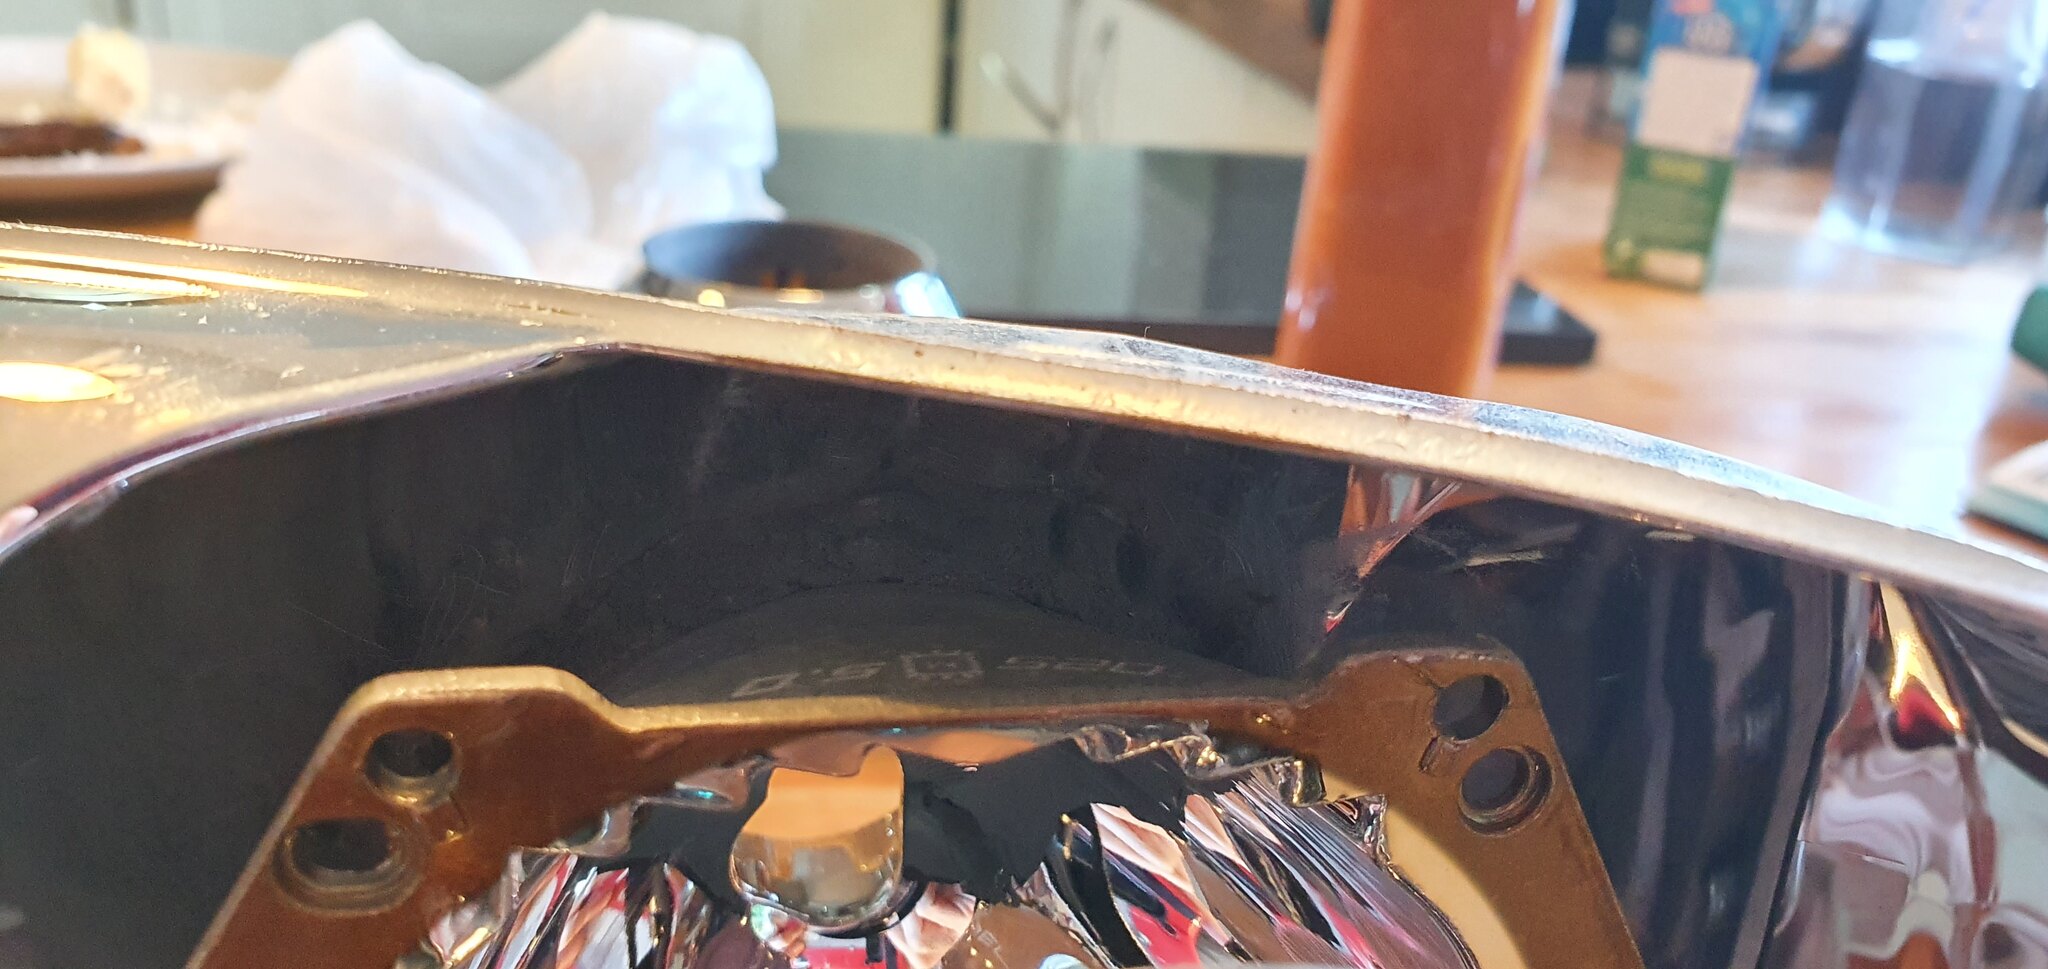
You have to cut some of the bottom of the reflector so the projectos body sits flat.

Here you can see the final cut so the projector mounts properly and the area was scuffed so any JB weld sticks.
Before finally mounting the projector i wanted to mount the shrouds and test fit and see what works. Start but cutting the shroud bit by bit and constantly test fitting, cut more, test fit, cut. Easier than it sounds.
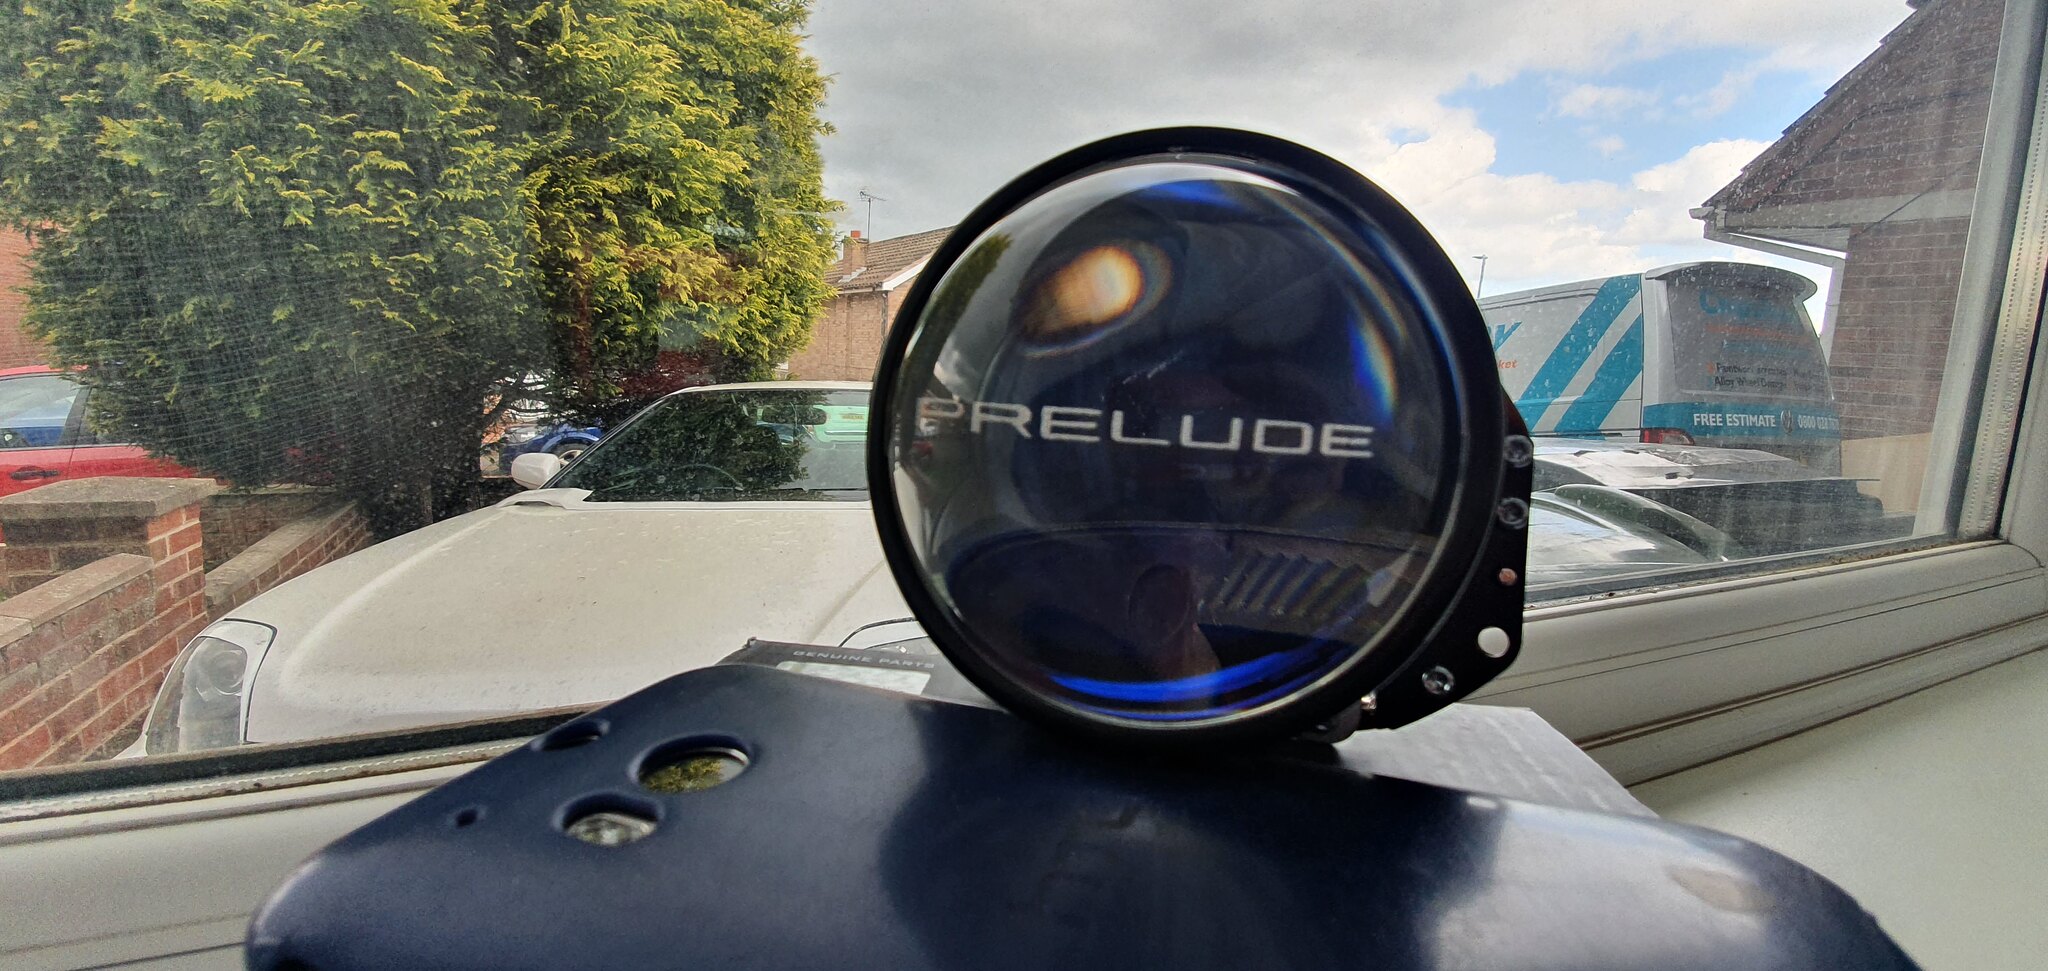
Bullet shroud
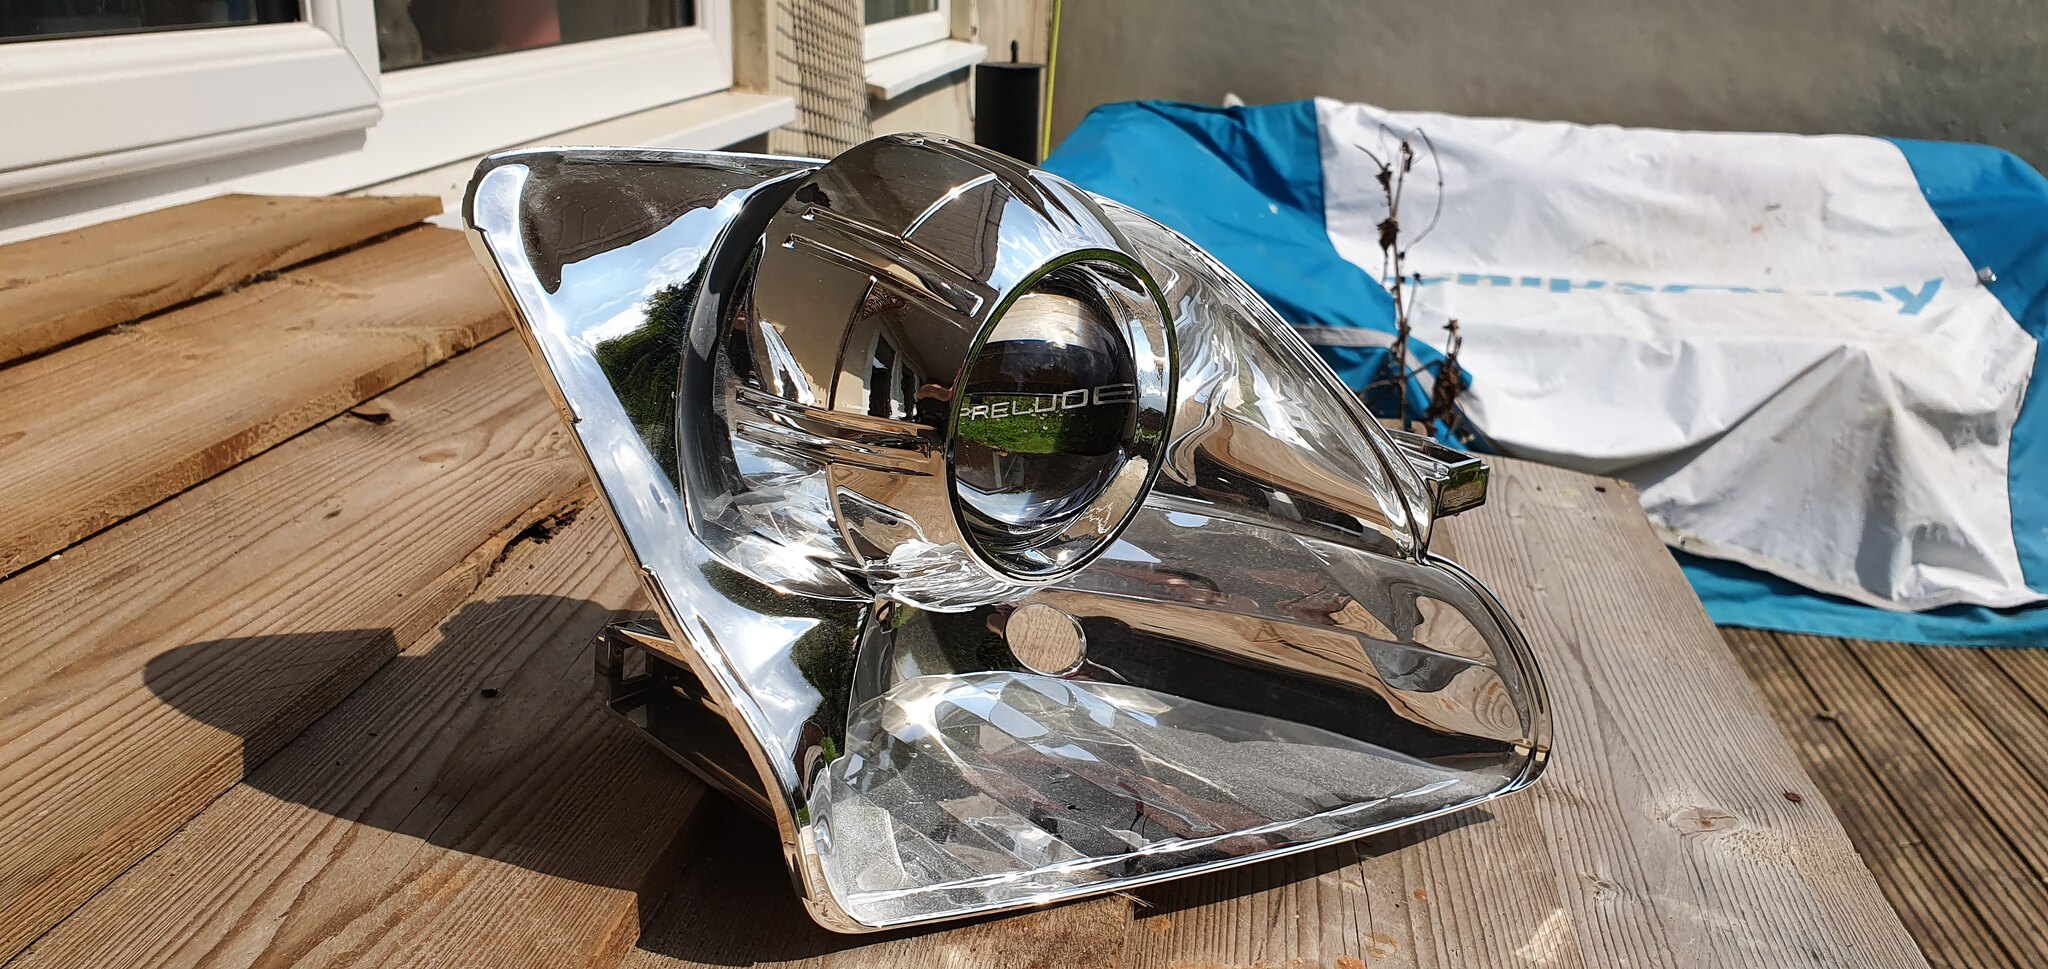


E46 shroud that i currently have. This didnt cover enough of the projector so i decided not to use it.

Next step was to adjust the bullet shroud more and test fit into the housing with the lense to see if it clears.


Hard to see but i cut the top of the inner light surround (that most paint black) to allow a bit of adjustment.

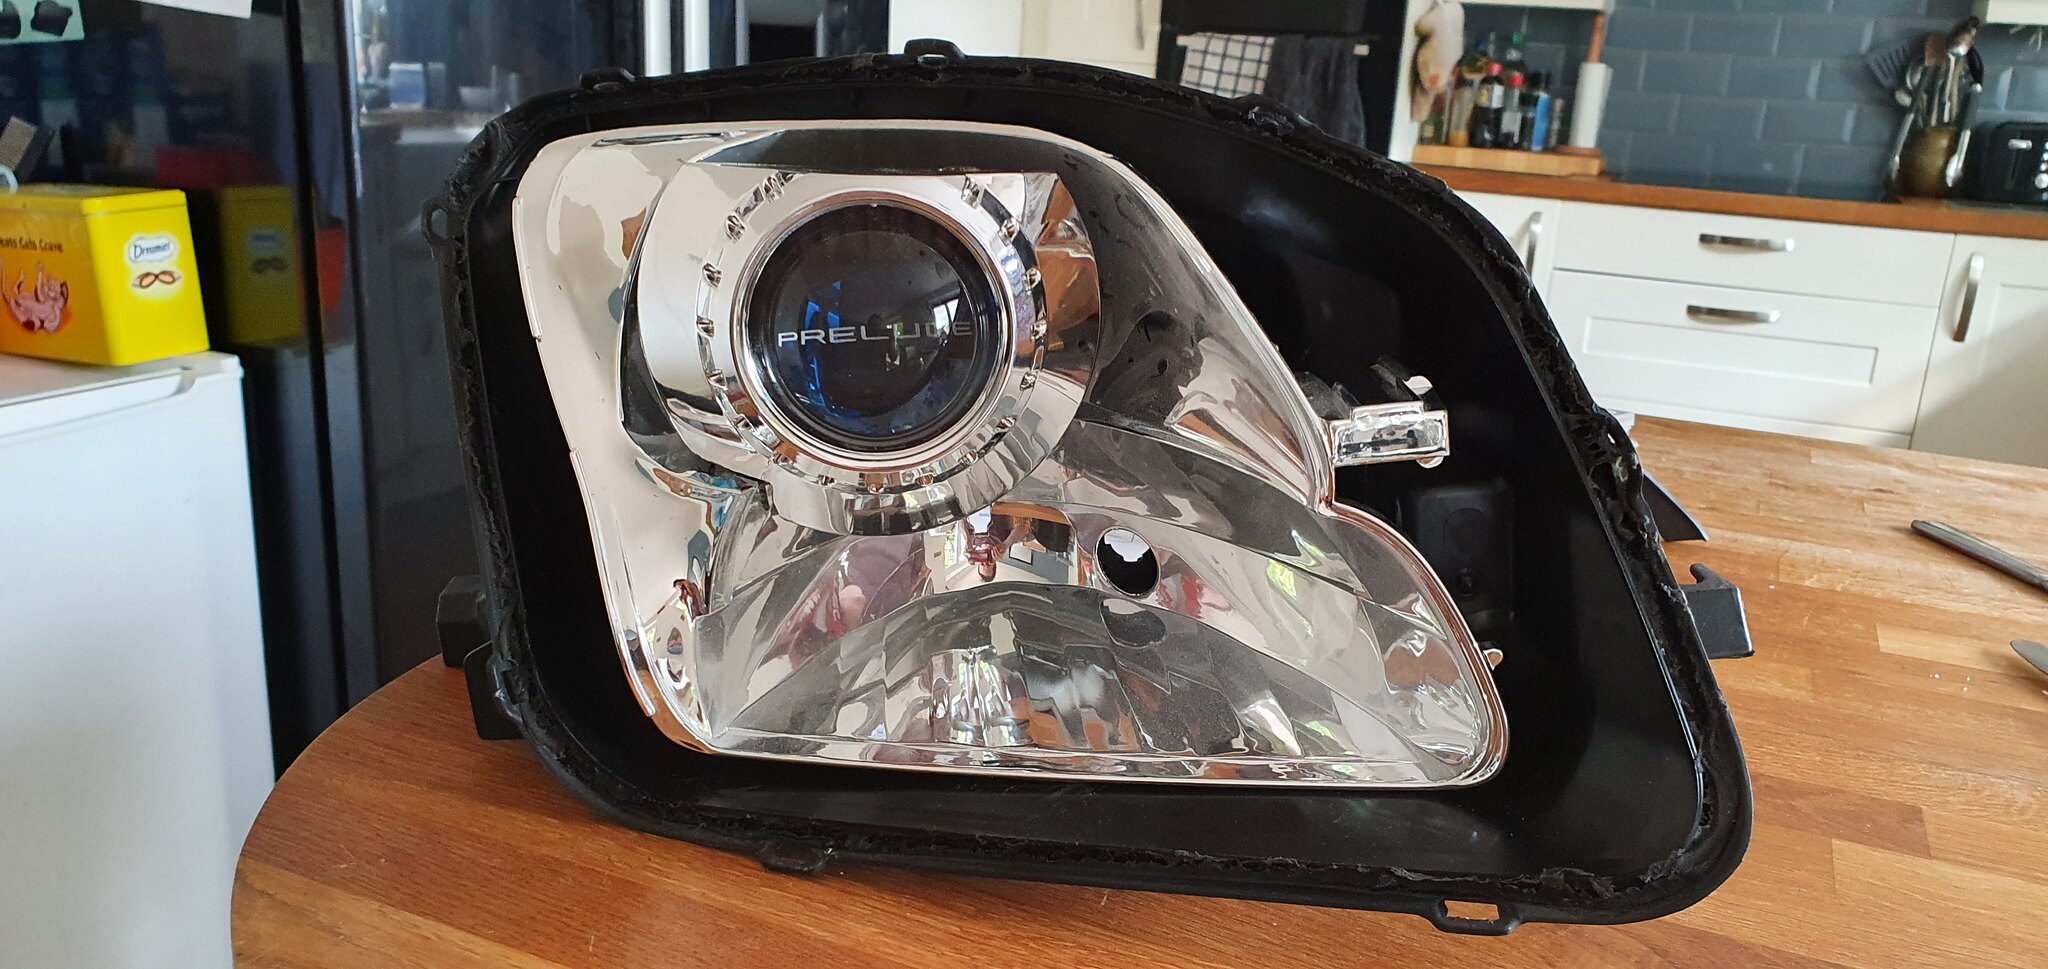
Next stage is aiming the lights so the projectors light is flat before tightening the locknut and using jb weld to lock into place.
I use a spare battery and wired in the hid system and clamped the lights on the breakfast bar and aimed in the kitchen.


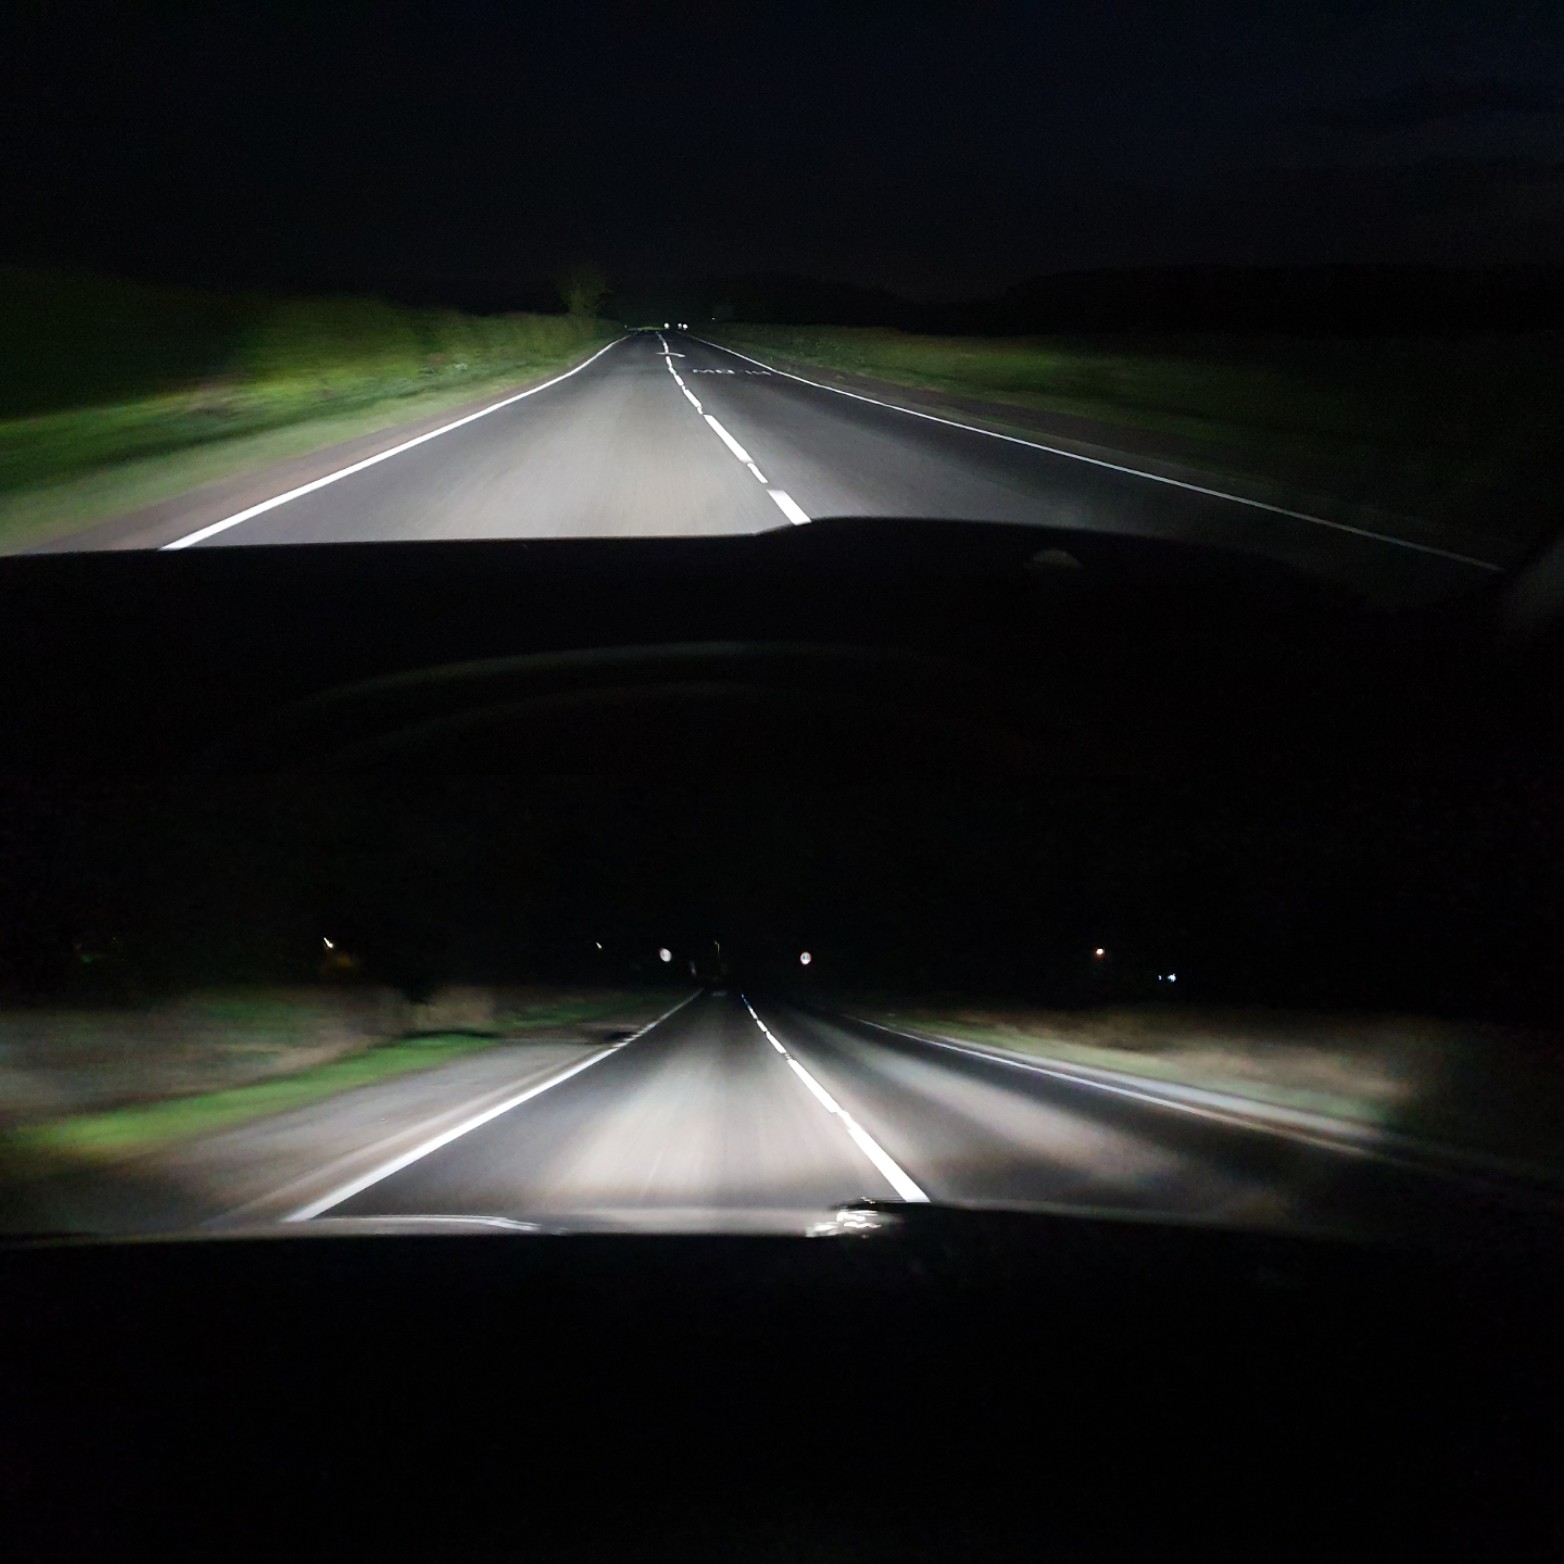
And the light spread is flat and level. Once level, tighten the locknuts and check nothing has moved. Blow compressed air to remove dust and degrease ready for the JD weld.

I use JB Weld Kwikweld 2 part epoxy. and applied it around the mounting shaft so it flows into the lock. It sets in 5mins and hardnes within an hour. Waited an hour and then used JB Steelstik to went crazy and forced it into the front side of the reflectors as well as the rear. This also sets within 5 mins.
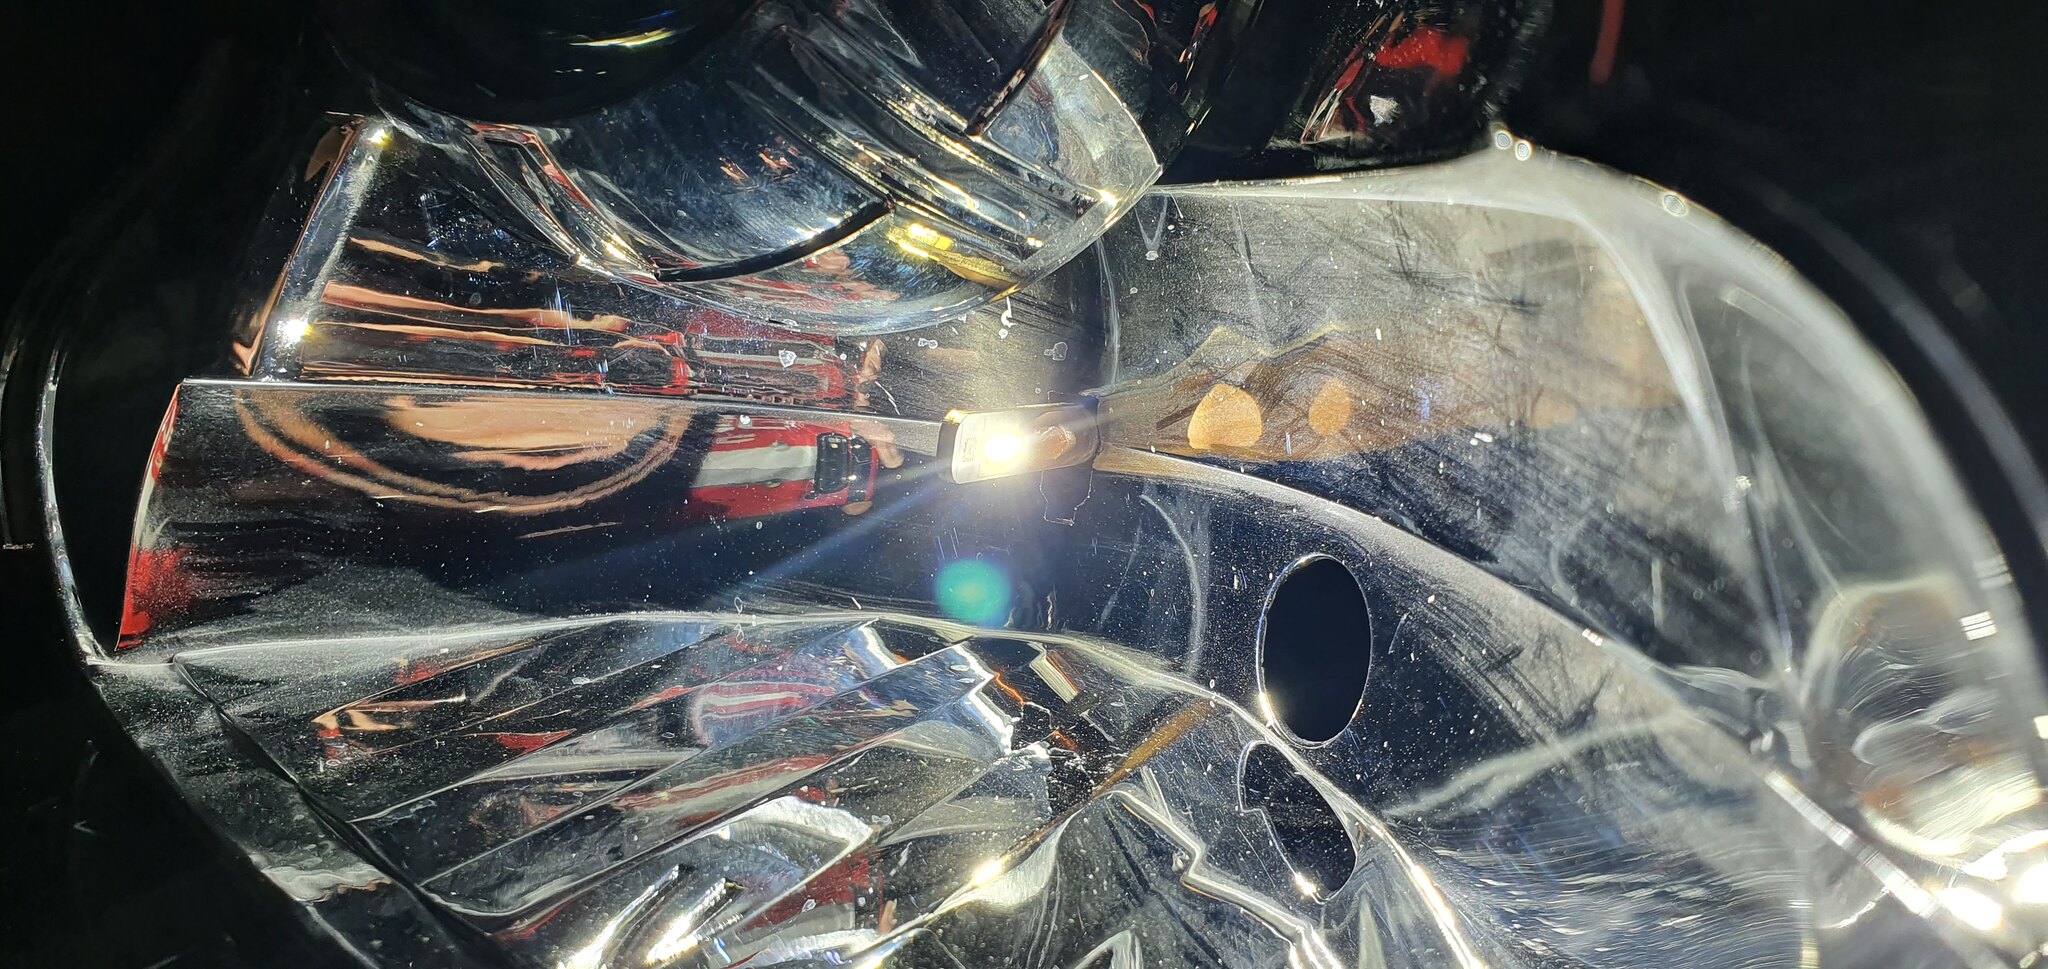
Also note i cut another hole in the reflector bowl for the high beam wire to feed through. The high beam is a solenoid that moves the cutoff plate inside the projector and releases the full light output.
Here i though id test the Morimoto 2 stroke 2.0 h1 led bulb in the high beam slot of the light and see how bright it is. No other light is on in the house, just this led bulb. Quite bulkt at the rear because its actively cooled with a fan and ecu.


Finally for the day i mounted the shroud to the projectors. A bit of jb weld around the inside of the shroud and it glues to the projector surround.