Page 1 of 2

Bio's 'Lude

Posted: Mon Jul 23, 2012 7:39 pm
by Bio
Hi guys,

So I never really got round to doing this some time ago, I figure it's time (especially since I need some advice :lol: )

I bought her back in 2010 (when prices were still high) so payed a little over the odds as I had driven a fair few and every single one had something pretty wrong with it.
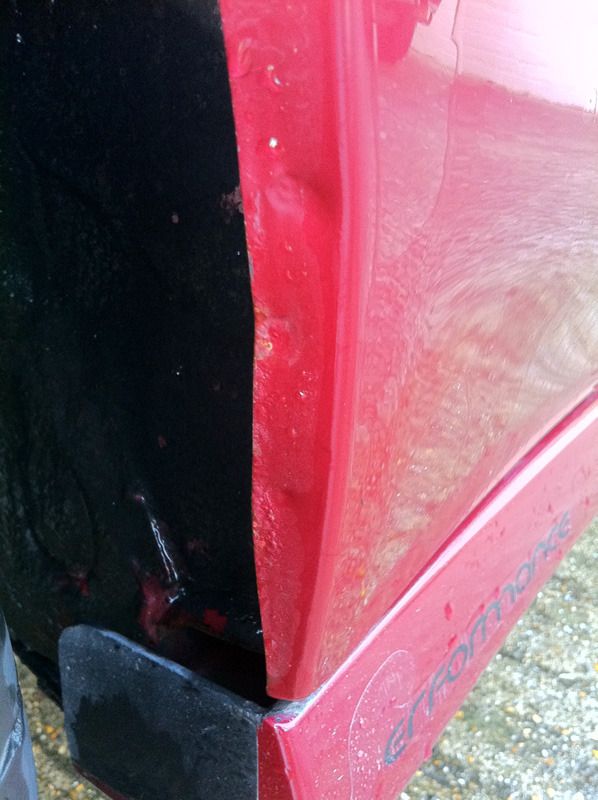
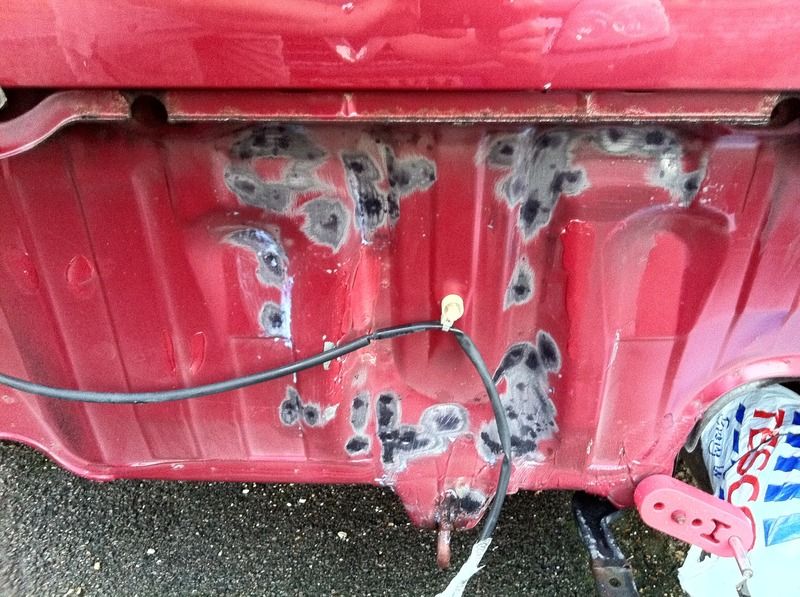
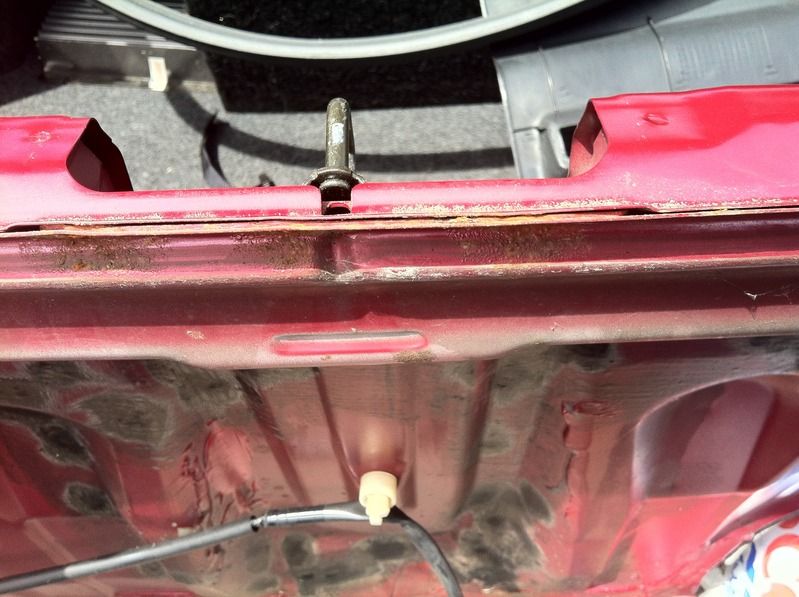
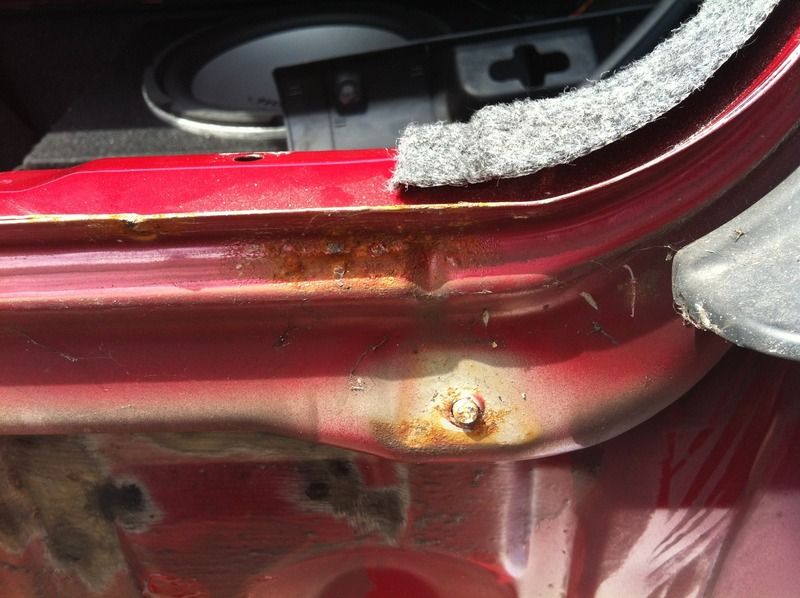
One I drove was dodgy as hell, clutch was clearly knackered but had the Motegi kit on it, there was rust in places I didn't want to even thing about so I left it. Another was a member of PUK down near me as it turned out who claimed the car to be immaculate but it had a football sized dent in one of the wings, and was rusting around the sills yet was claimed to be *discoloured* paint.
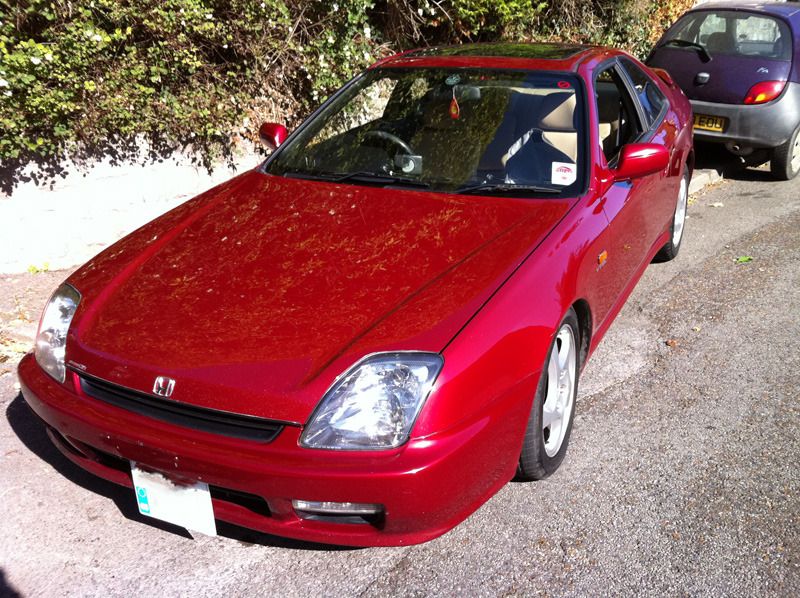
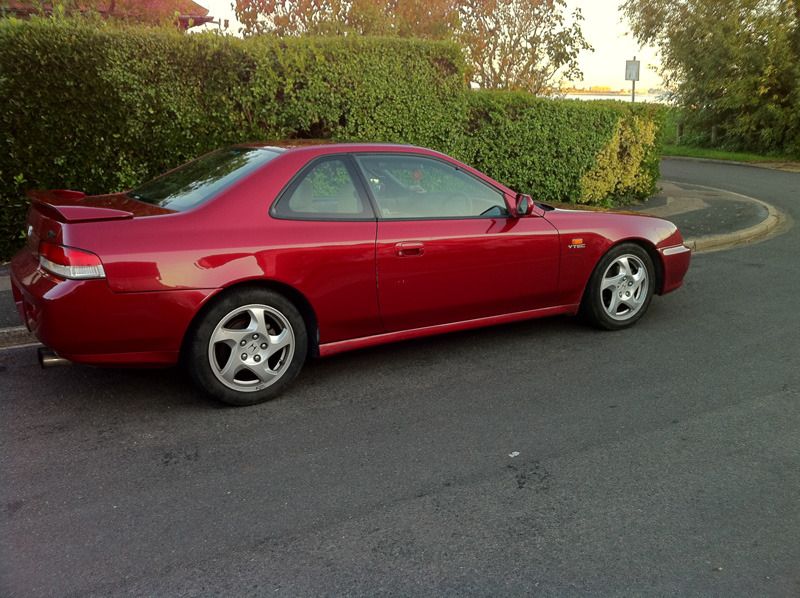
So I drove to Bristol for this one, sold as 4WS not working, but was generally OK on paintwork, no Motegi but cream leather interior, stainless back box, and 91k on the clock, which at the time with slim choice, was good for the money.

Went to see the chap and instantly fell in love with the car because it was more honest than any other I'd seen.

The day I bought her:
Image

Image

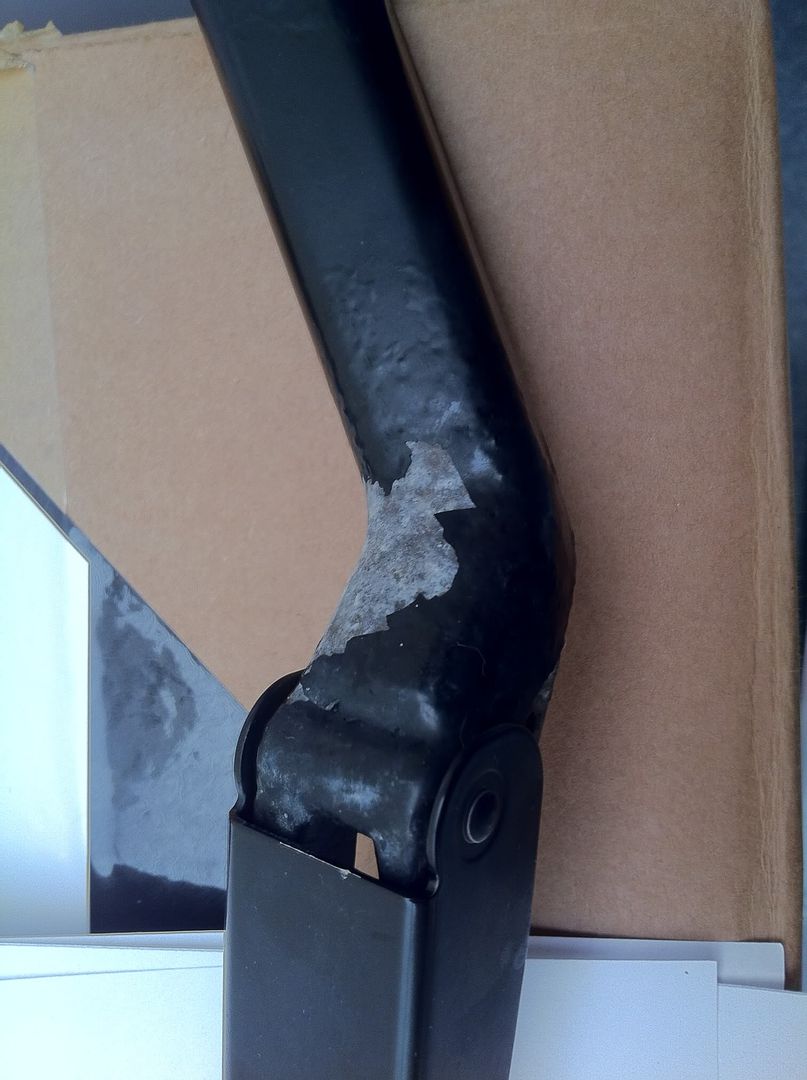
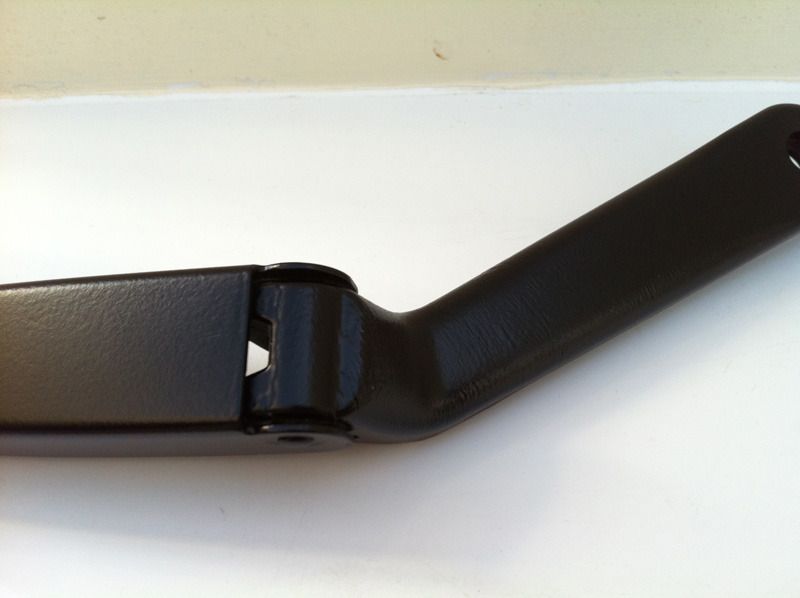
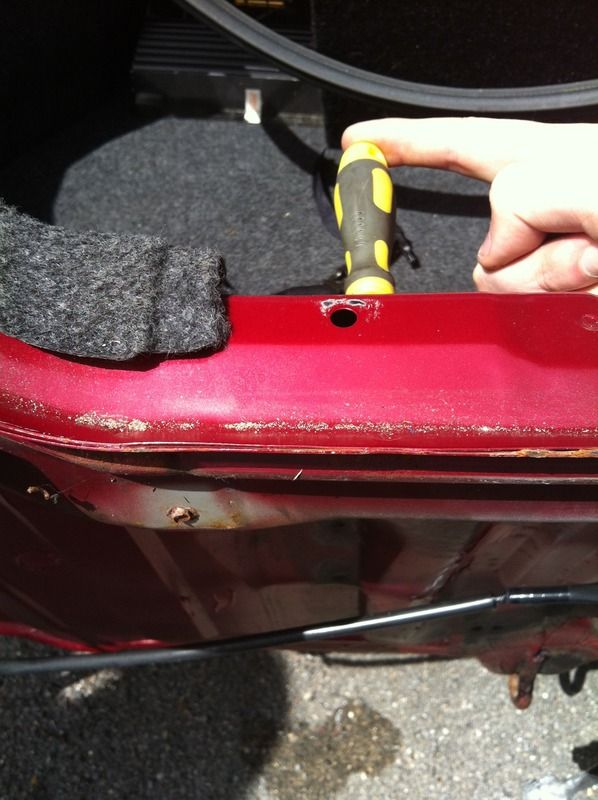
Since then I have changed the cambelt, don't a few little bits like replace the mats, had a stuck calliper replaced, had the valves adjusted and all the usual bits.
I also removed the ebay induction and went back to a stock airbox to gain more low end which did help, but only a little.

Posted: Mon Jul 23, 2012 7:41 pm
by mercutio
looks a nice lude i like the colour 8-)

Re: Bio's 'Lude

Posted: Mon Jul 23, 2012 7:45 pm
by Bio
Bringing it more up to date recently I had to re-build the rear drivers calliper because it ceased... AGAIN on the way home :roll:
That's all good so I thought I'd tackle some of the other tasks like sorting out my wiper arms and other little rust spots that have been appearing.

Wiper arms before:
Image

After:
Image

Not great because they are quite scratched where I took a crimp wire wheel to them to get the old off, but OK enough that nobody will really notice they aren't awesome unless they are really looking hard :)

Posted: Mon Jul 23, 2012 7:46 pm
by nickyboy
The alloys are on the correct right side! That's very rare :)

Lovely lude mate, any more interior pics?

Posted: Mon Jul 23, 2012 7:46 pm
by mercutio
they look fine to me 8-)

Re: Bio's 'Lude

Posted: Mon Jul 23, 2012 7:54 pm
by Bio
So while working on her recently, I noticed a couple of bubbles start to appear under the boot closure gasket area.
I figured I'd best tackle it and ordered up some Bilt Hamber gear and crack on. It's a hidden enough place that I can re-spray it myself and nobody will notice :lol:

Tonight I finally decided to crack on!

I removed the rear bumper to find some rust spots, but nothing that a wire wheel, hydrate 80 and some paint wont cure!

Image

I also decided "hey, while I have the bumper off, I should remove the arch trims and get rid of those rust catchers!" :roll:

What did I find?
Yeah you guessed it...

Image

So after a few expletives, and calming down with a beer and some food (thanks to the lady) I've decided I need to figure out what to do!
This is on the drivers rear arch and lord knows I can't spray (particularly well at least) or weld (at all) so what do you guys think I should do?
I guess the saving grace is I have caught it NOW rather than 6 months down the line. Any ideas what it will cost to fix? Is it worth it on a totally base model 2.2?

Still pretty upset as I know it's not going to be cheap, but I've grown attached to her over the last 2 years and 6000 miles I've run in her that I can't bare the thought of letting it just go and buying a new one in a years time that will equally need lots of work doing...

Re: Bio's 'Lude

Posted: Mon Jul 23, 2012 7:56 pm
by Bio
Thanks guys for the posts, sorry was trying to hit this all in one!
No interior pics sadly but I could go out and get a couple, but I need to hoover it first.
The wheels WERE on the right side, until I had the fronts changed by the tyre monkeys who managed to get them on the wrong sodding way so my fronts and rears are opposite directions and it looks like poo :roll:

Re: Bio's 'Lude

Posted: Fri Aug 03, 2012 1:38 pm
by Bio
So having still not decided what to do regarding the arches, whether to do them myself or give them to someone, I decided I'd continue on with the existing boot area stuff that I was doing.

I buzzed back all the rust spots and hydrated them:
Image

Notice how bad the bumper mounting beam was!
I couldn't have that on the car, and I had to remove it anyway to be able to continue working on the rust under the boot gasket so off it came, buzzed it back, Deox-Gel removed the rest of the mank and by christ there was a LOT, it was pretty much rotten, check these out if you have the bumper off!

Image
Hydrate 80 on and at work. Sadly I didn't take a full pic of the scale of the task. There was a LOT of crap removed. I think it's more hydrate and paint than metal now!

Painted it back up ready to be mounted. Chose to go with Hammerite as it'll never be seen anyway:
Image

Been on nights lately so not been able to actually do anything to it.
Finished the shift rotation this morning so after a couple hours kip decided to hit it some more.

Pulled the boot gasket off to see just what lie beneath.
Yeah I'm sure you can imagine it's not pretty:

Image
Image

What I have noticed however, is that EVERY rust point seems to revolve around where the body has been welded/riveted together. Kind of strange so I'm wondering if there is a problem with the way they treated these areas or the metal they used.

There is also a secondary issue, other than buzzing that back is going to be a total kebab, 2 of the mounting bolts snapped clean off for the bumper bar and I need an operational car within a week because of my next shift pattern!
Issue is (and I didn't realise it at the time) that the boot is double skinned in that area so replacing the existing is a no-go, and I don't much fancy drilling it out and letting all those shavings make their way between the skins, of course I can use some kind of cavity wax which should alleviate that, but I wouldn't be able to get a secure fixing.

There are however a couple of holes in the inner skin with direct access to the outer that would allow me to drill a hole from the inside outwards and replace the bolts, they are a bit higher up so it also means modifying the mounting bar:

Image

Anyone have any thoughts on this or had to tackle this problem before? Kinda scratching my head right now!

Posted: Fri Aug 03, 2012 1:55 pm
by Lude-dude
honestly IMO I wouldnt worry about it

enjoy & drive the nuts off the prelude

buy another prelude/shell one day

Ive got rust fixed, and more appears you will just keep chasing it

thats my experience anyway

can you drill out the old stud, and use some bolts?

Re: Bio's 'Lude

Posted: Fri Aug 03, 2012 1:59 pm
by Bio
I would love to get the old stud out and put bolts in but there is literally no access to the existing mount point because of the second skin :(