Congratulations to vtecmec for winning May/June's Lude Of The Month, with his DIY Turbo BB1 build.

>>> Click Here For Profile <<<

Image

Vtecmec's 4th Gen

Tell us all about your Lude, you know you want to ...
User avatar
wurlycorner
Ye are glad to be dead, RIGHT?
Posts: 21217
Joined: Sat May 19, 2012 3:33 pm
My Generation: 4G
Location: Chelmsford, Essex
Has thanked: 1958 times
Been thanked: 239 times

Vtecmec's 4th Gen

Post by wurlycorner » Wed Oct 13, 2021 2:02 pm

Vtecmec wrote:
Tue Oct 12, 2021 9:10 pm
Image
2 sexy motors :twisted:

This build has been an epic journey, such great work.

User avatar
Brozilla
Posts: 186
Joined: Mon Apr 20, 2015 9:46 am
My Generation: 5G
Has thanked: 25 times
Been thanked: 52 times

Vtecmec's 4th Gen

Post by Brozilla » Wed Oct 13, 2021 2:15 pm

Wow, in-dash LCD is impressive work. I thought my gauge setup was something, but this is on a whole another level.

User avatar
Vtecmec
LotM Winner
Posts: 5378
Joined: Fri Aug 06, 2010 5:43 pm
My Generation: 4G
XBOX GamerTag: vtecmec
Location: East Midlands
Has thanked: 121 times
Been thanked: 347 times

Vtecmec's 4th Gen

Post by Vtecmec » Thu Oct 28, 2021 7:18 pm

Right peeps, made some decent progress on this.

So, after quickly throwing the car together to get to a few shows at the end of the season, it is time to take a little more care and attention to matters.

The log manifold I had is not the best design, effectively cylinders 1 and 4 fire directly into each other, this not only will affect efficiency and power, but it also affected the smooth delivery on full throttle. Oh, and it looked jobby.

So I thought I'd have a bash at making my own, something that would help the gasses out of the engine better than the log, but also one that would allow me to reintroduce air con at a point.

So I went out and bought some schedule 10 304 stainless pipe bits, a stainless steel exhaust flange and the v-band that came with the turbo and set to it.

I played around with some positioning that would allow the alternator to return to its stock location, therefore allowing the air con compressor to be refitted.

Something like this:

Image

Final position:

Image

I took some mild steel bar and welded the flange to the v band ring in that position to leave a jig:

Image

Just a jigsaw:

Image

This was more work than I'd initially planned for:

Image

Image

Coming together:

Image

Image

Image

There we are:

Image

My welding improved significantly along the journey, if I ever do this again, it should look better:

Image

I then gave it a good clean and spent half an hour with a bit of metal polish:

Image

Image

And on the car:

Image

Image

A bit of a colour change after running the car to temp to check all was well:

Image

Image

To try to prevent the manifold cracking, which happens due to the weight of the turbo hanging off it, I braced the turbo from underneath with a rose joint to take the weight but allow a little movement for heat expansion, hopefully that means less stress on the pipework:

Image

Dino
Posts: 1690
Joined: Wed Jul 20, 2011 1:30 pm
My Generation: 4G
Location: Monmouth
Has thanked: 1 time
Been thanked: 8 times

Vtecmec's 4th Gen

Post by Dino » Thu Oct 28, 2021 9:26 pm

Very nice work Paul..looks great 8)

User avatar
RattyMcClelland
Moderator
Posts: 9195
Joined: Wed Aug 04, 2010 10:02 pm
My Generation: 5G
PSN GamerTag: RattyMcClelland
Location: Leicestershire
Been thanked: 182 times

Vtecmec's 4th Gen

Post by RattyMcClelland » Fri Oct 29, 2021 9:23 am

Yep that looks like a "profeshunal with a semi" made, money paid product. :clap: well done.
Image

User avatar
Drax
Moderator
Posts: 6266
Joined: Wed Dec 22, 2010 4:05 pm
My Generation: 4G
Location: Wrexham, North Wales
Has thanked: 16 times
Been thanked: 379 times

Vtecmec's 4th Gen

Post by Drax » Fri Oct 29, 2021 1:03 pm

outstanding work 8) :clap: :hail:
2.2 JDM DOHC SI-VTEC LSD TCS 4WS ABS BB1 MANUAL 1992
Image
FOR PAUL

User avatar
Vtecmec
LotM Winner
Posts: 5378
Joined: Fri Aug 06, 2010 5:43 pm
My Generation: 4G
XBOX GamerTag: vtecmec
Location: East Midlands
Has thanked: 121 times
Been thanked: 347 times

Vtecmec's 4th Gen

Post by Vtecmec » Fri Nov 19, 2021 9:41 pm

So I've been working on the car to get it ready for its winter hibernation, there are a few niggles with the car that I wanted to get resolved so when spring springs I can just get on with driving it.

Top of the list was the wheel alignment. Now on the day of the fire I had been to get this done relatively local to me, though this was the second time they'd had a go at it and it still was not right.

Looking at the hunter printout that was provided showed that whilst all the numbers were green and showing ok, the rear wheels were only just within spec and effectively set pretty much straight ahead, whereas really it needs about 2 degrees of toe in to keep the car stable. Also the car pulled to the left slightly and the steering wheel was not centered when driving. Just shows that even with the right tools, a lack of application can get things wrong.

As ever, I decided that this was now best done by myself. So I went out and bought a laser alignment system and set to it. I also bought a camber alignment kit to get that right too.

The front camber was off on the n/s by about a degree from the o/s, probably a by product of lowering the car, I've checked everything and nothing is bent.

So I slotted the upper wishbone a little to bring the camber into where the o/s sits.

Image

Measuring camber:

Image

That sorted that but adjusting that moved the toe of that side out slightly.

Image

A few spins of a spanner later and we were back in business at the front.

Image

So on to the rear.

Image

The gauge shows a shade of toe, and as the car was pulling to the left slightly, to correct this I tweaked the rear right in slightly (the rear wheels steer the car), bringing the car back to zero and hopefully correcting the steering. To confirm this I used the camber kit and a laser pointer to check the rear thrust relative to the front.

Image

Spot on. Car drives perfectly straight.

Now it was just a matter of adjusting each side at the rear by 1 degree, which with these gauges was easy peasy.

A test drive confirmed the car travelling in a straight line still and now feeling much better on the road. :thumbup:

I made a little surround for the EDFC control unit, so it sits quite nicely in the old ashtray slot. I also tweaked the colour to better match the OEM dash.

Image

The interior colours seem pretty well coordinated now:

Image

Keeping things in the interior, the handbrake button has looked tatty since I've owned the car, with the chrome peeking off, so I bought a brand new OEM one and fitted it. Old and new:

Image

Sweet.

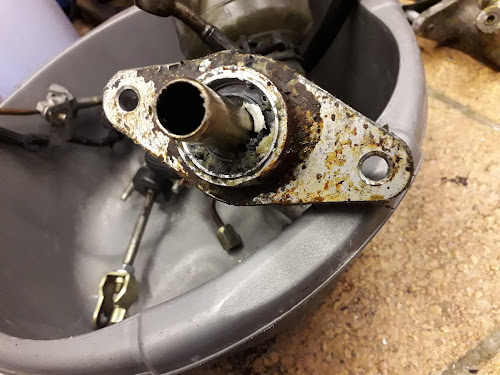
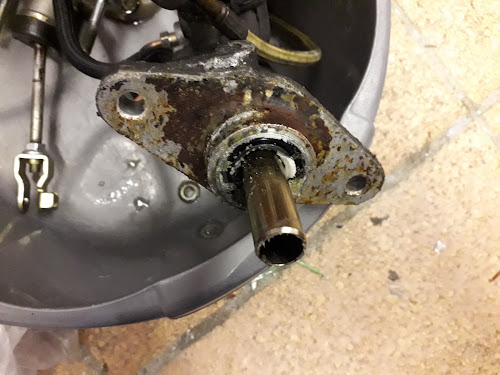
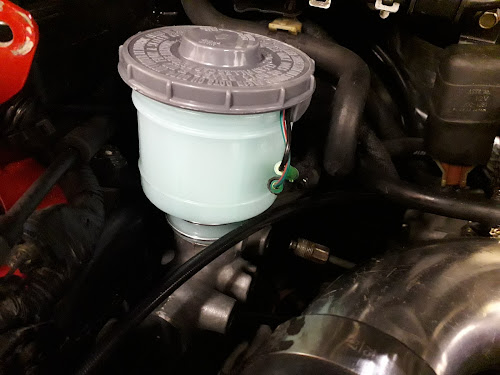
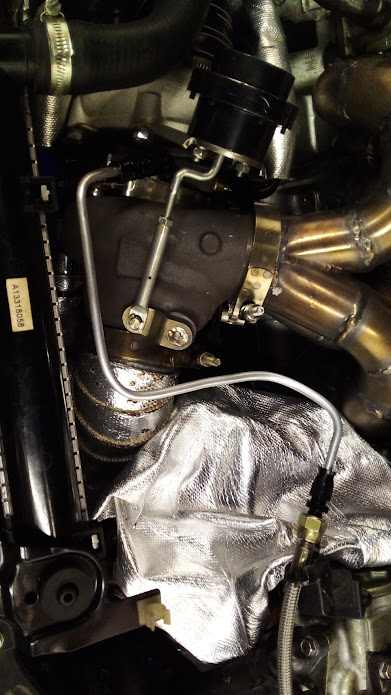
Let's not stop there, the fuel pressure regulator was showing odd pressures sometimes, I'd saved it from the fire but I don't think it came out 100%, so I fitted a new one of a slightly different design and took the opportunity to tidy the pipework up a little, the FPR is now mounted to the chassis rather than the intake, which I think will do it well in the long run:

Image

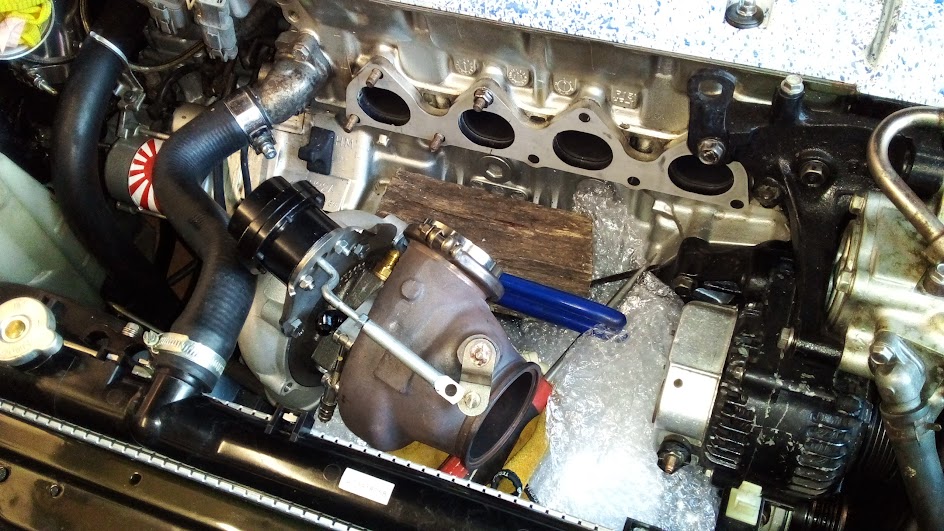
Speaking of the fire, as exciting as driving at 60 mph with flames spitting out of the bonnet was, I'm really wanting to avoid a repeat performance.

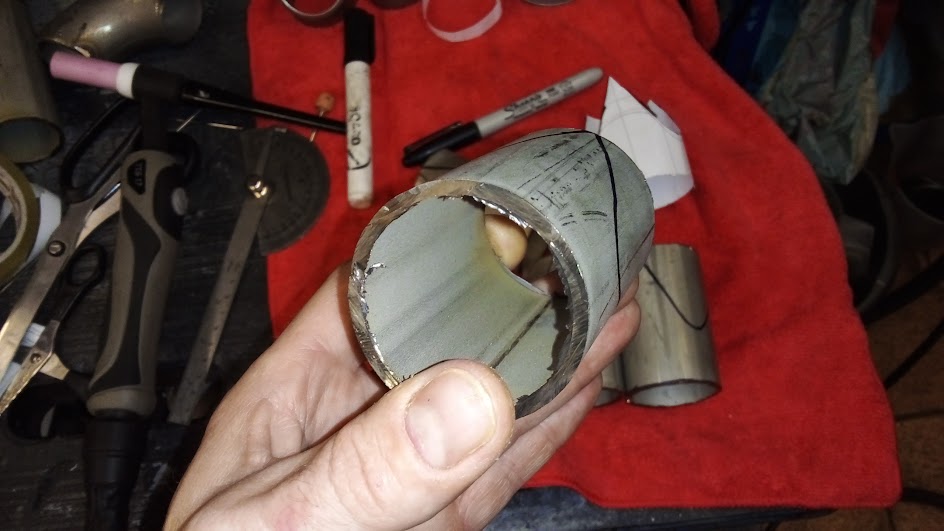
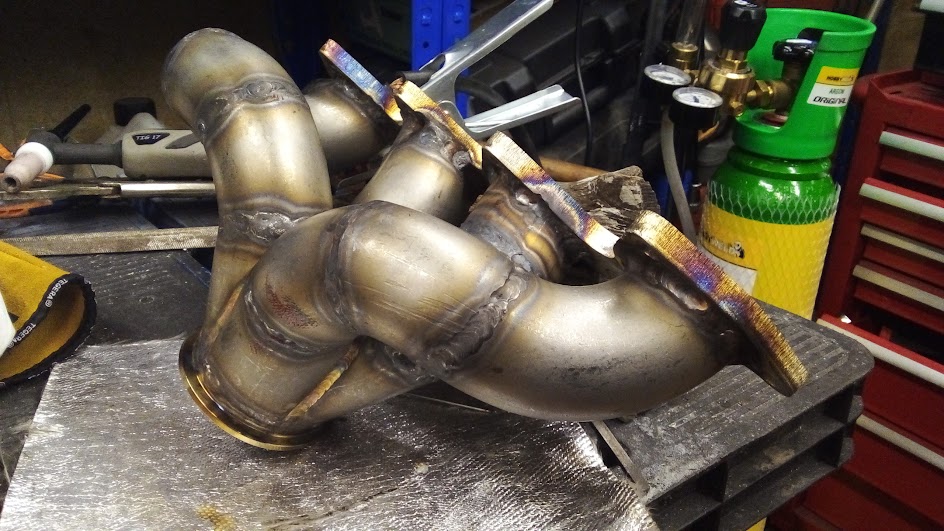
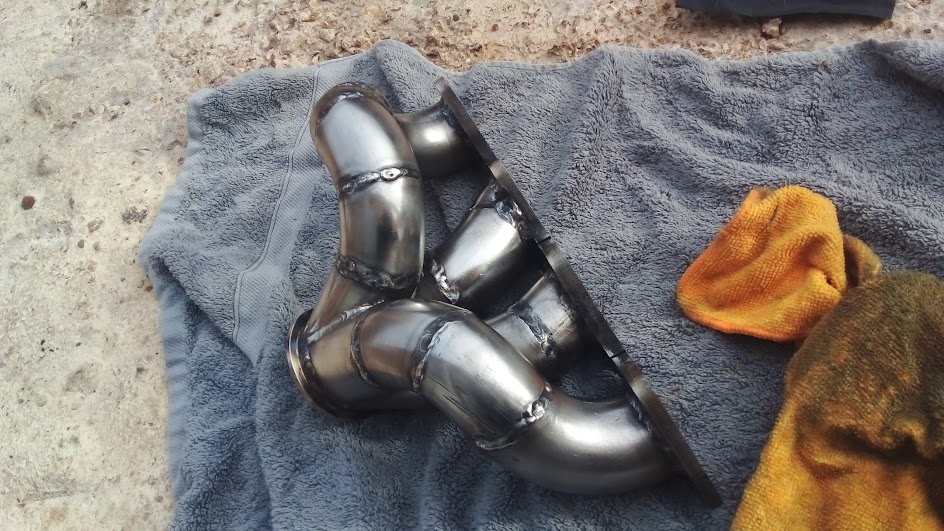
As the fire seemed to have been caused by the flexible oil feed pipe melting due to getting too hot as it was in the turbo's 'area of influence', I decided to fit a hard line for the closest parts. This is a test and we'll see how it goes, but I much prefer this to flexible lines wrapped in blankets.

Image

Also, because I have no life really, I decided I did not like the rocker cover and went and painted it red and finished it with a matt lacquer:

Image

Next job on the list is to make some robust heatshields for the alternator, aircon and power steering (similar to the OEM but larger) so I can lose the blanket solution I have in place currently.

User avatar
RattyMcClelland
Moderator
Posts: 9195
Joined: Wed Aug 04, 2010 10:02 pm
My Generation: 5G
PSN GamerTag: RattyMcClelland
Location: Leicestershire
Been thanked: 182 times

Vtecmec's 4th Gen

Post by RattyMcClelland » Fri Nov 19, 2021 10:01 pm

Fully approve of the Matt red rocker cover, my style, OEM plus.
And that EDFC just sits perfectly in that ash tray slot.
Image

User avatar
Vtecmec
LotM Winner
Posts: 5378
Joined: Fri Aug 06, 2010 5:43 pm
My Generation: 4G
XBOX GamerTag: vtecmec
Location: East Midlands
Has thanked: 121 times
Been thanked: 347 times

Vtecmec's 4th Gen

Post by Vtecmec » Mon Feb 07, 2022 8:27 pm

Right then, I've done a bit....

So, not liking the textile based heat wrap/blankets under the bonnet, I set out to make something a little more robust. First was to fab something to go between the turbo area and alternator/steering pump.

I make this as a first draft:

Image

Image

I then made something a bit OEMish to sit above the manifold and to the side of it.

Image

I'm happy with the top one as a first and final product but ended up remaking the one on the left hand side.

Wanting to get the air filter in an easy to maintain locatrion as well as avoiding some heatsoak, I went about making a bit of an enclosure for it.

Image

Image

Image


It turned out pretty well in the end:

Image

Bought a new cover for the washer bottle to replace the slightly melted one....

Image

After that I decided I needed to fix the same issue with the brake master cylinder, the plastics were well grotty so I thought it best to whip the whole thing off and give it a recon.

Of course a can of worms were opened, this is how it looked once prised off the brake booster:

Image

Image

Image

Image

Can't have that really.

So I stripped the cylinder down, cleaned it all up and replaced the innards:

Image

I did the same with the brake booster too:

Image

Rust removed:

Image

Primed:

Image

Painted:

Image

And a new bottle on the cylinder:

Image

Some more heat shield to go around the turbo:

Image

The down pipe previously employed vband clamps to join to the exhaust, which always seemed to leak slightly, so I set about making something a bit more reliable. I also wanted to get a small flex section in there, to allow the turbo manifold a bit of room to expand without putting stress on the exhaust section:

Test fitting:

Image

Tacked together:

Image

Nestled in place with a full compliment of heat shields:

Image

I also redid the oil feed to the turbo again, its now about as far from a heat source as possible and it has its own little shield just for a belt and braces approach.

The power steering pump got a lick of paint at some point too, an aftermarket battery tie down added and freshly made earth straps:

Image

Image

Image

I also spotted the clutch slave cylinder weeping a little fluid, so I swapped that out and the master too along with an uprated braided line (no pics).

I also picked up this cool sales brochure from Japan:

Image

Which gave me some inspiration:

Image

User avatar
toadster
Posts: 1854
Joined: Thu Feb 16, 2012 5:21 pm
My Generation: 5G
Location: Norfolk
Has thanked: 57 times
Been thanked: 136 times

Vtecmec's 4th Gen

Post by toadster » Mon Feb 07, 2022 8:49 pm

Lo :D
Great work :mrgreen:
Looks superb 👍
Cheers ;)
Toadster
Image

Post Reply

Return to “Lude Profiles”