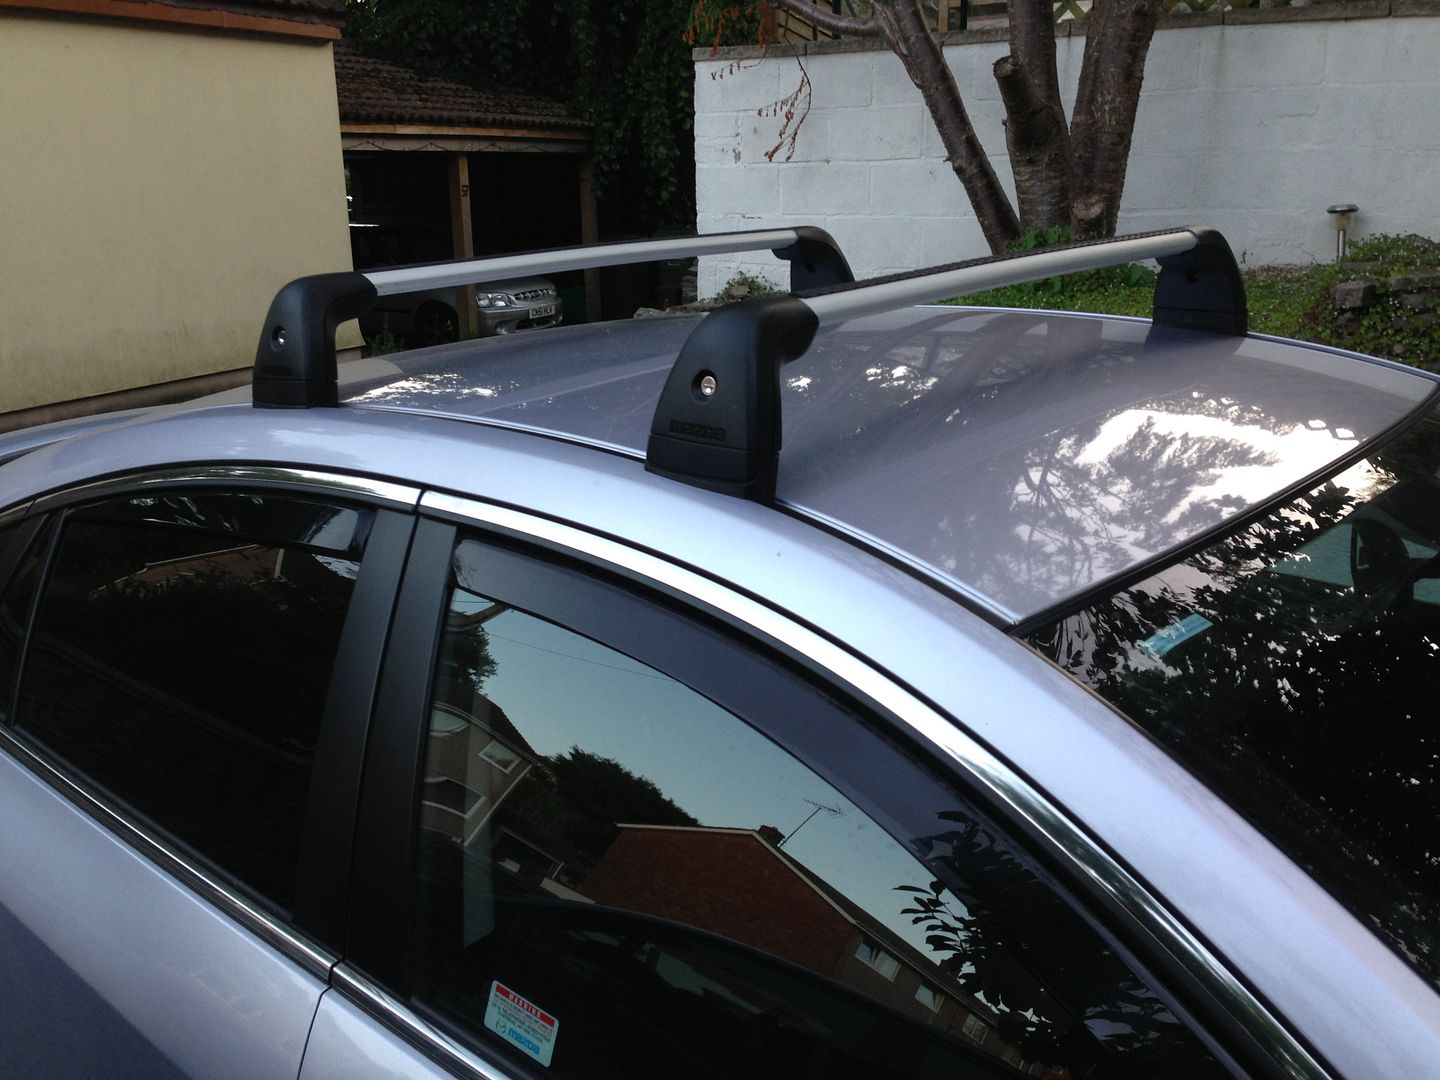
Some more updates on the 6 following my shear lack of being able to take a pic of the roof bars and box!

Before I went on my hols, OEM Mazda aluminium aero bars fitted:
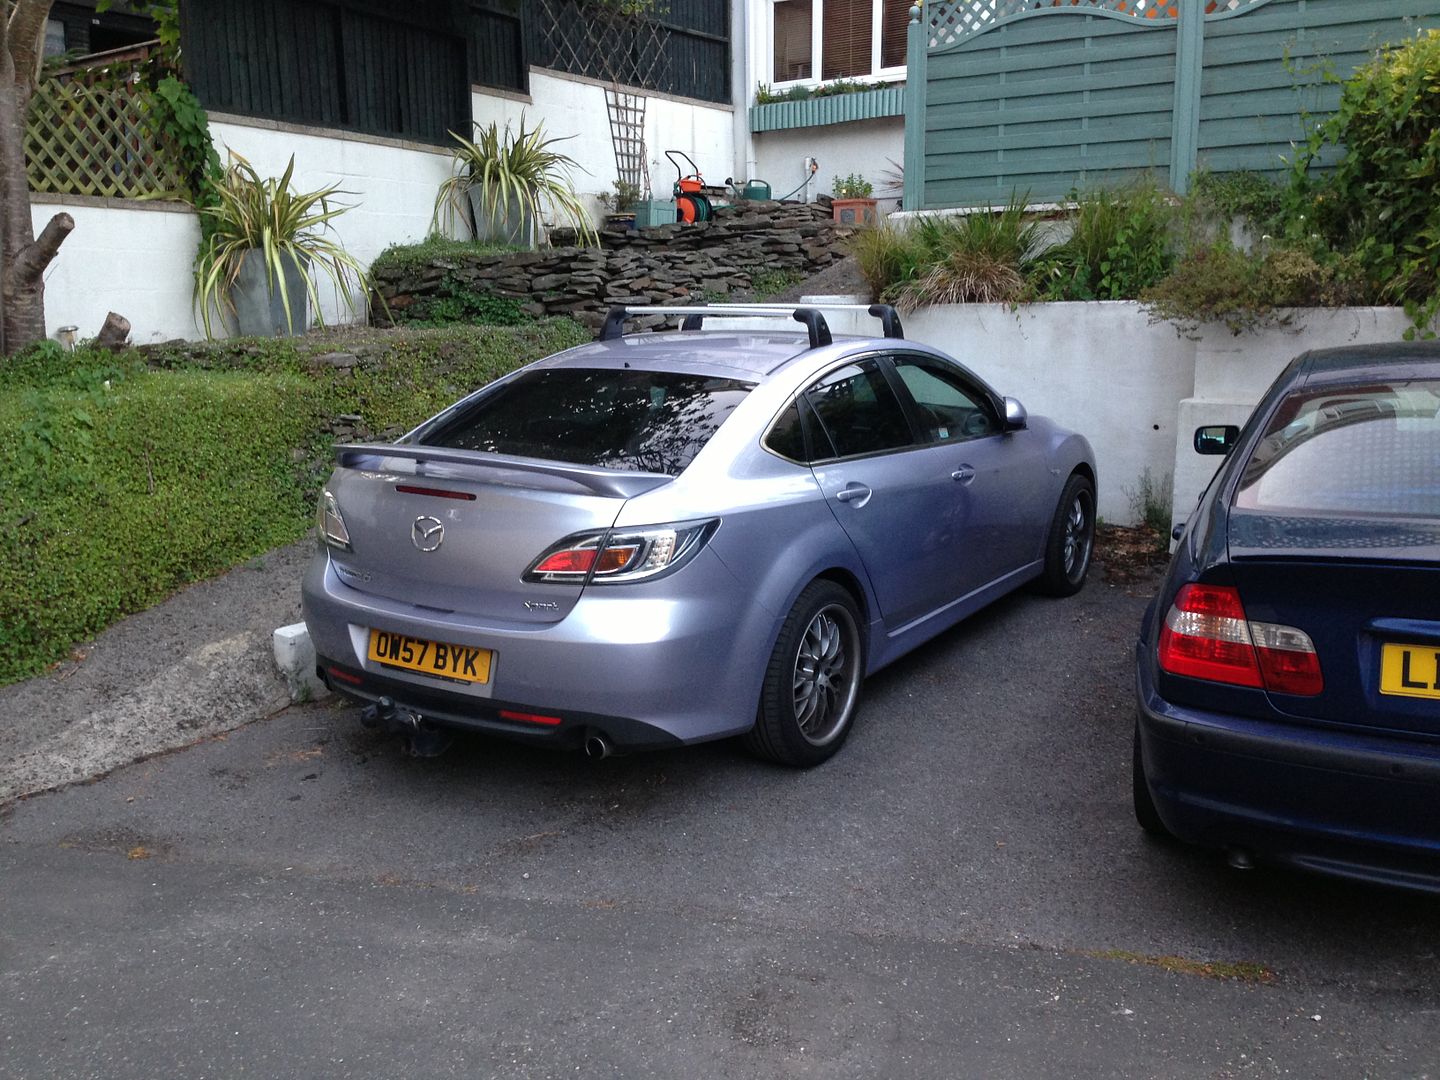
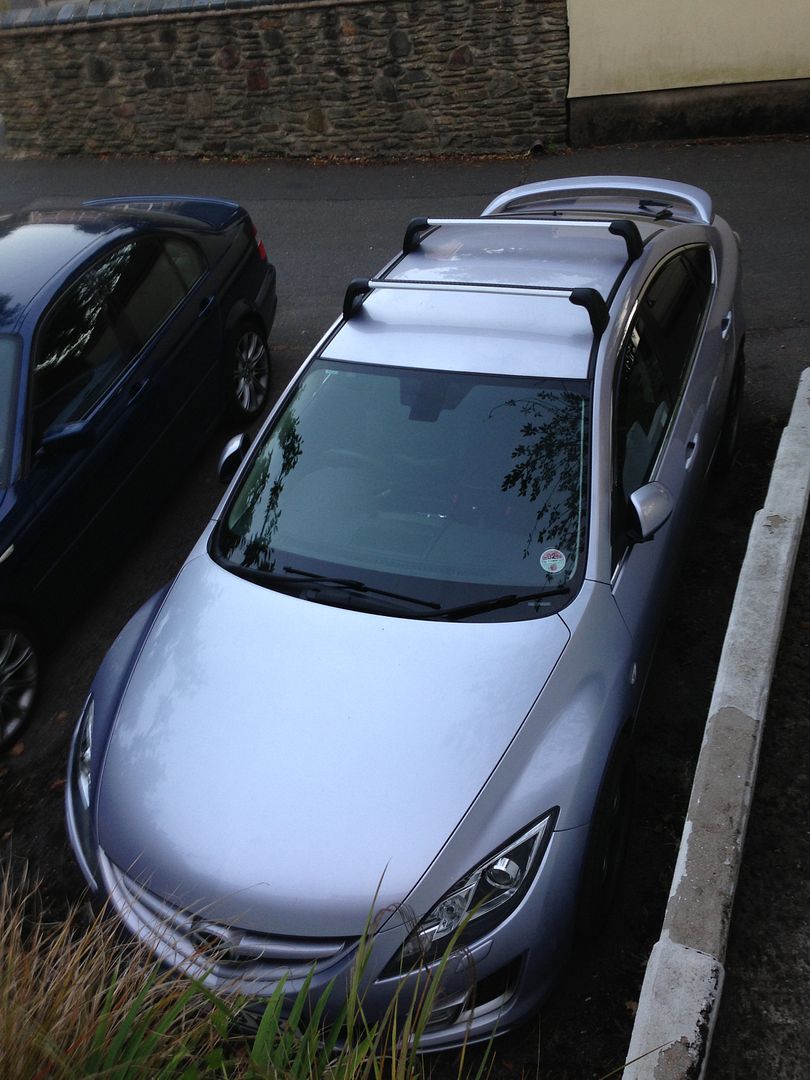
Then on went the roofbox, although this was after the hols, so dirty car and the box now adorning some surf stickers picked up along the way:
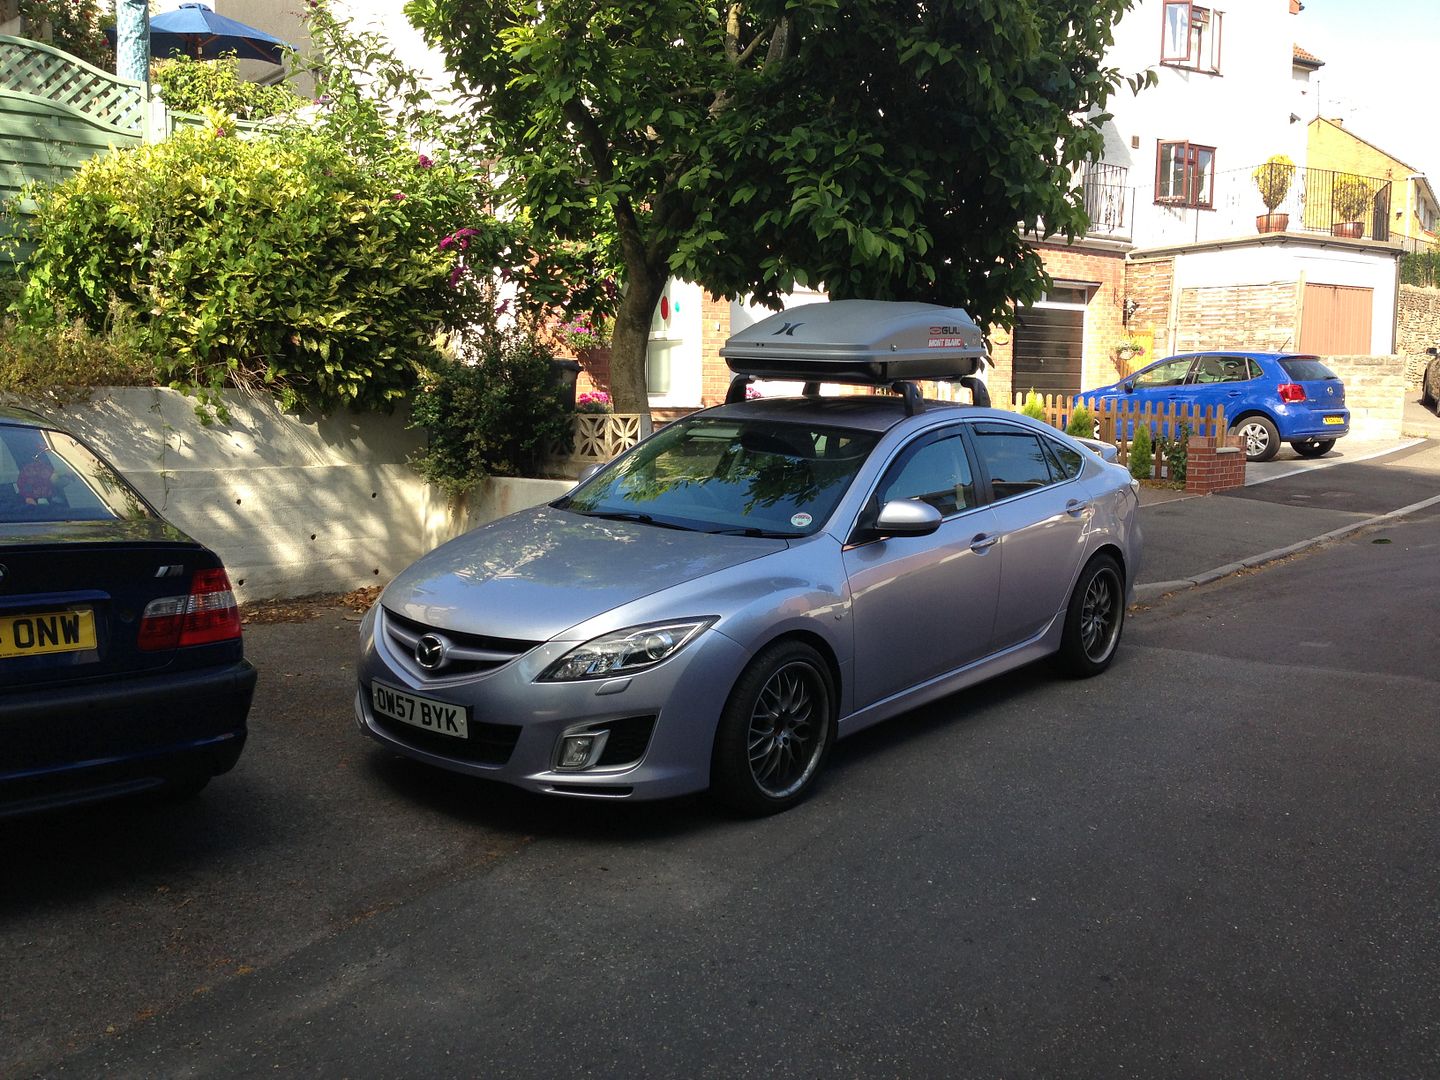
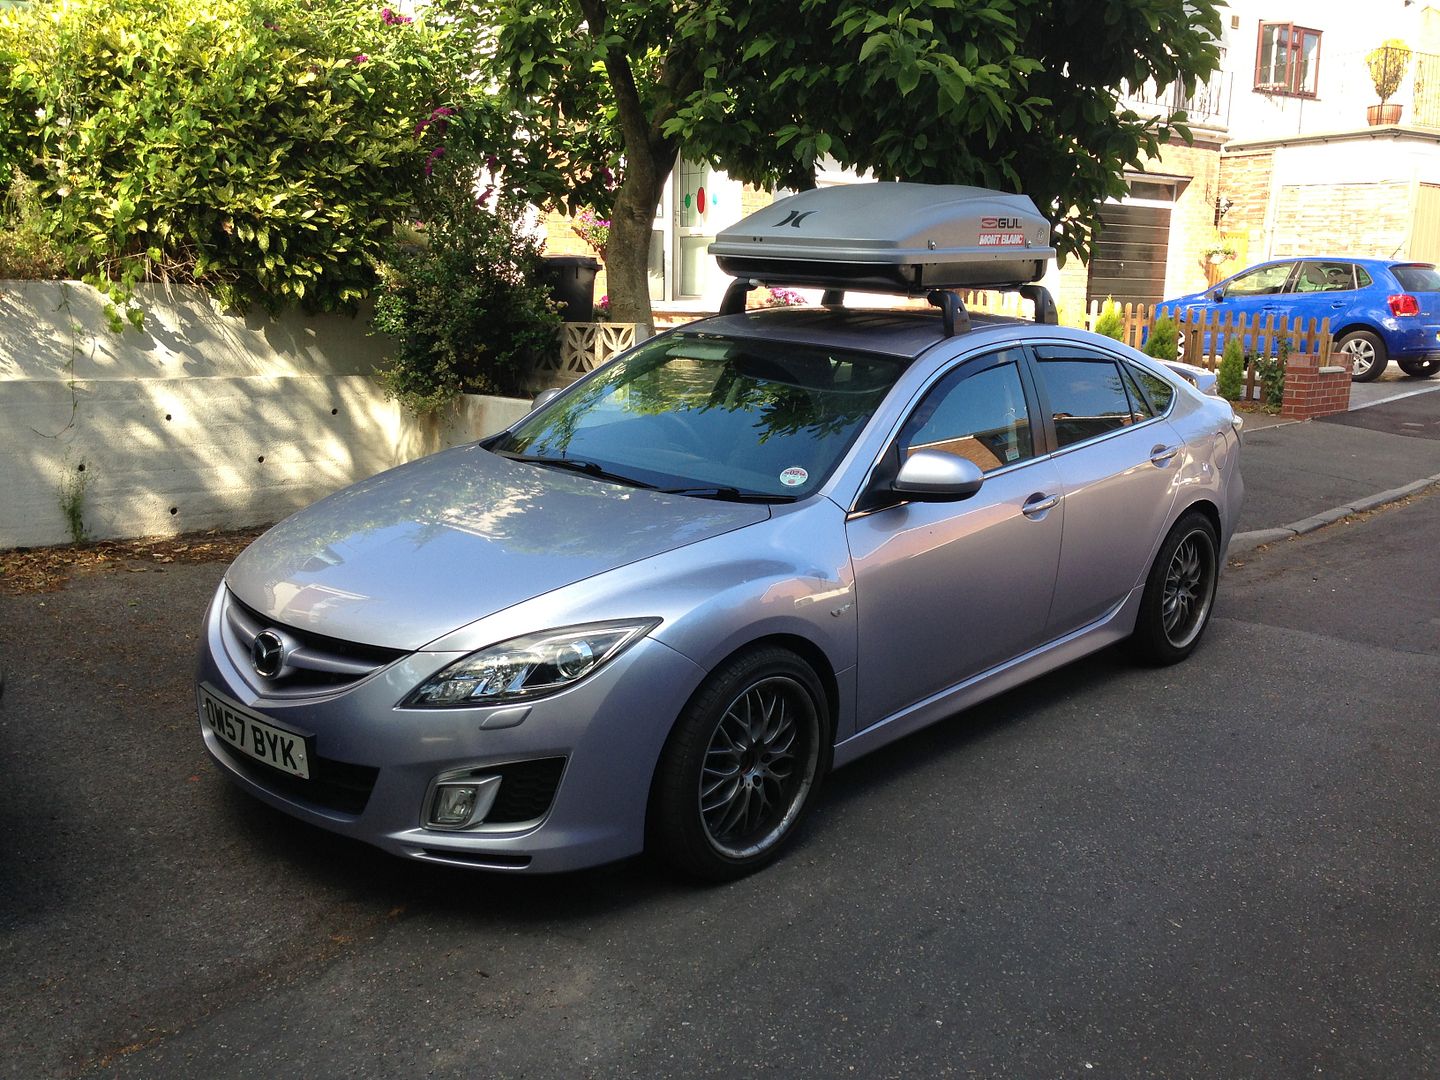
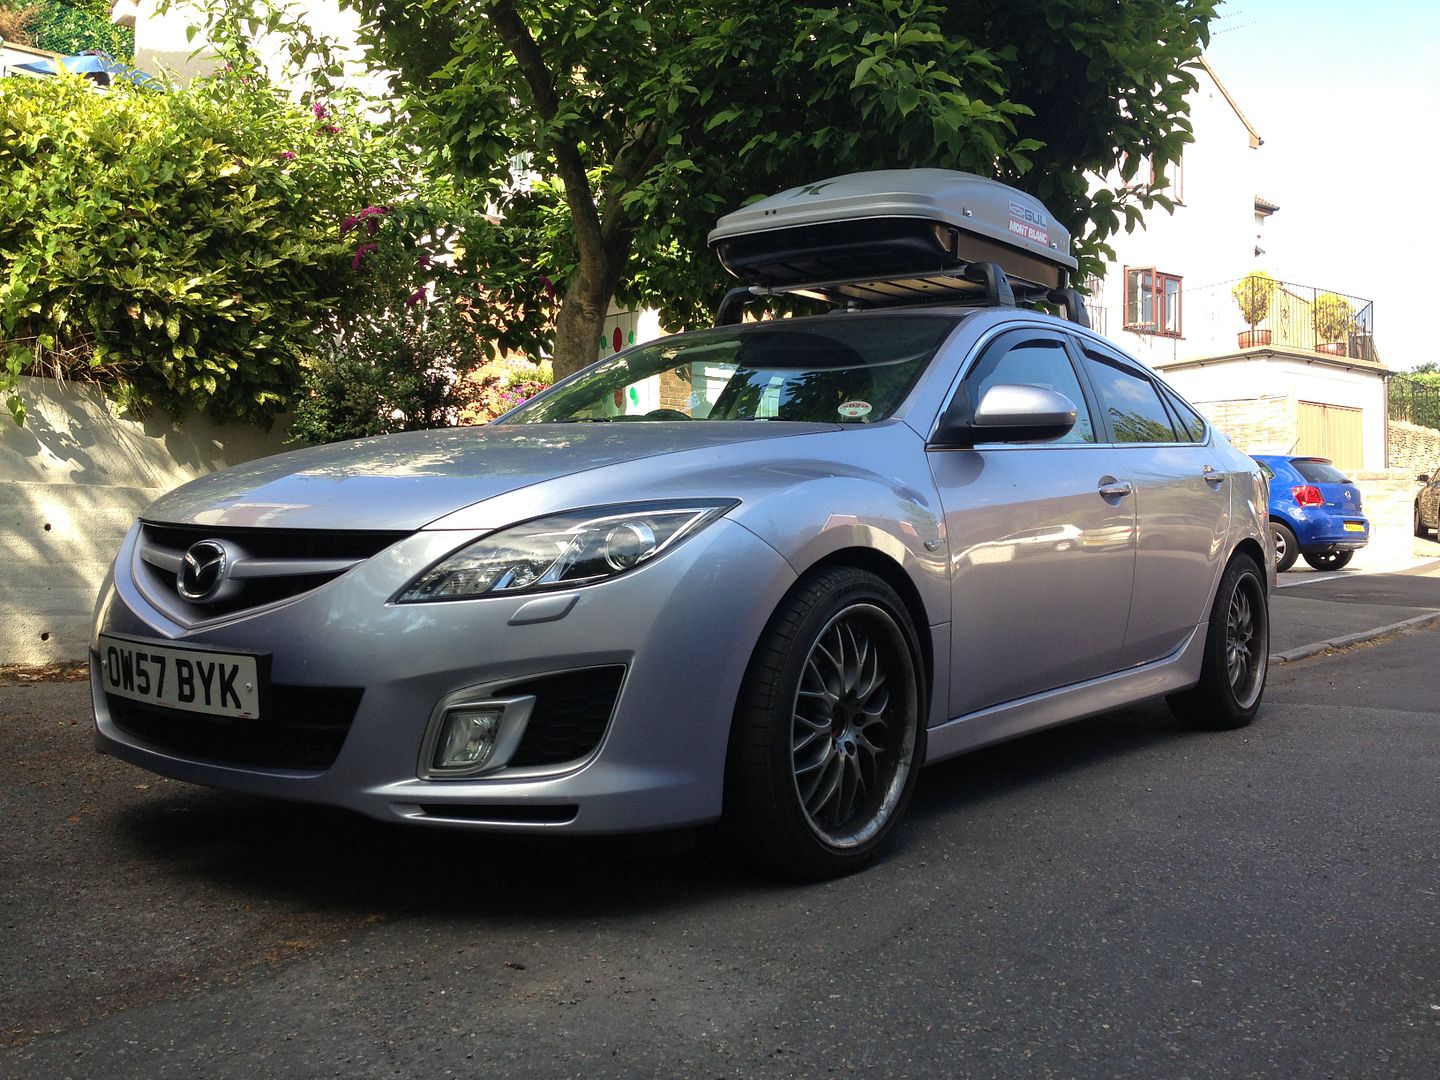
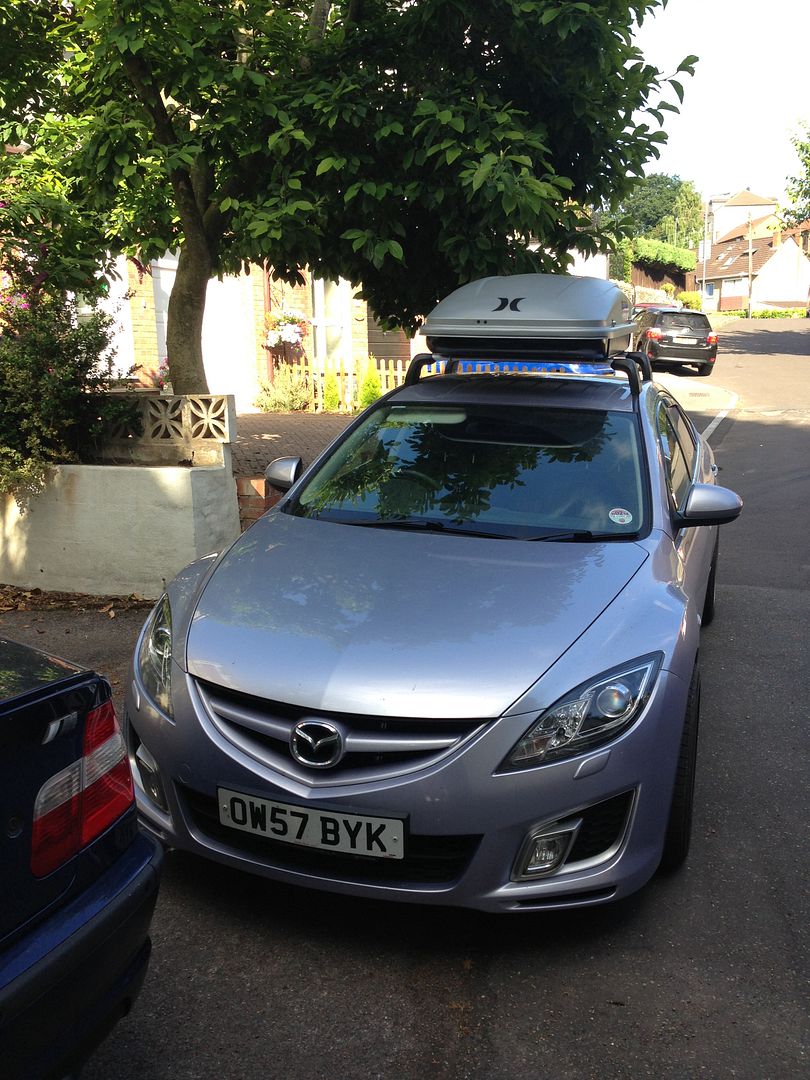
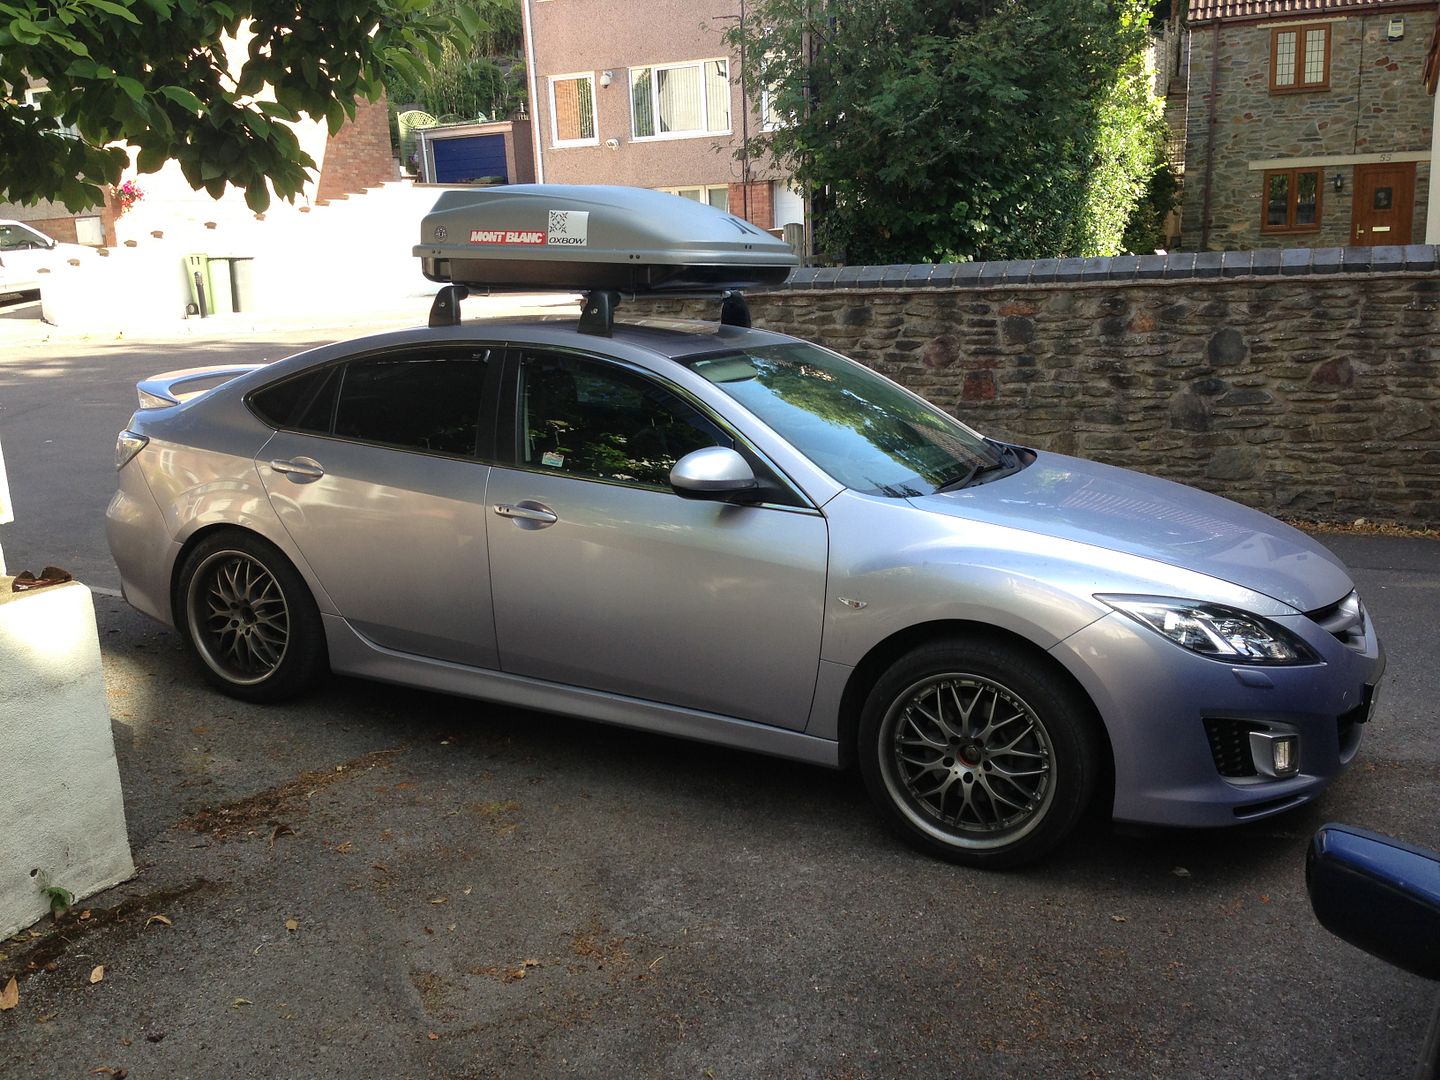
I think it looks pretty cool for a family holiday wagon.

The other major thing I did before loading the car up and heading to Devon was to sort out the rear rubbing arches from my too low offset wheels. Big thanks to Cebul for use of his arch rolling tool and to Ratty for posting it down to me (plus the added gunk I had to remove from the roller!

).
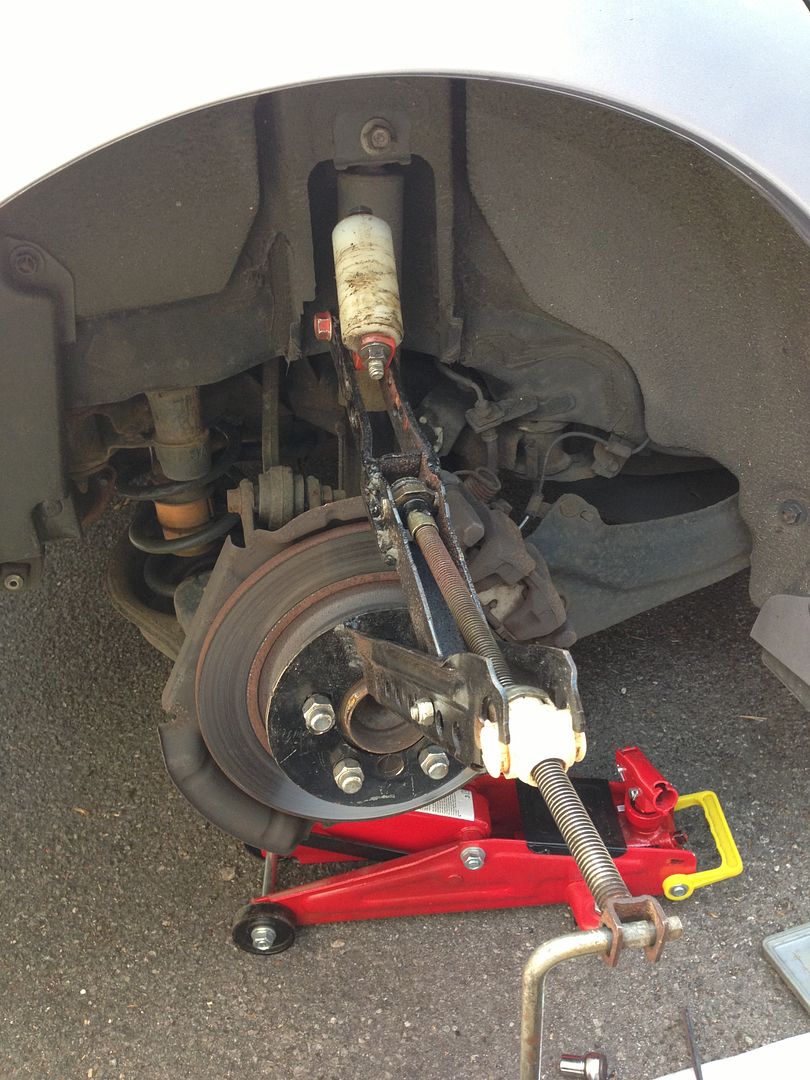
So I jacked the car up and removed the wheels one side at a time. Then I Fitted the arch rolling tool, which took some head scratching to get the millions of adjustments to get the right distance to the arch and the right angle of the roller right. It needs adjusting as you roll further and further. The other point to add is that my slim internal drive ali wheel nuts were too small to secure the arch roller. Out came the old Mazda nuts and it was secured. A word of warning for anyone wanting to buy or borrow one to use. Here’s the setup:
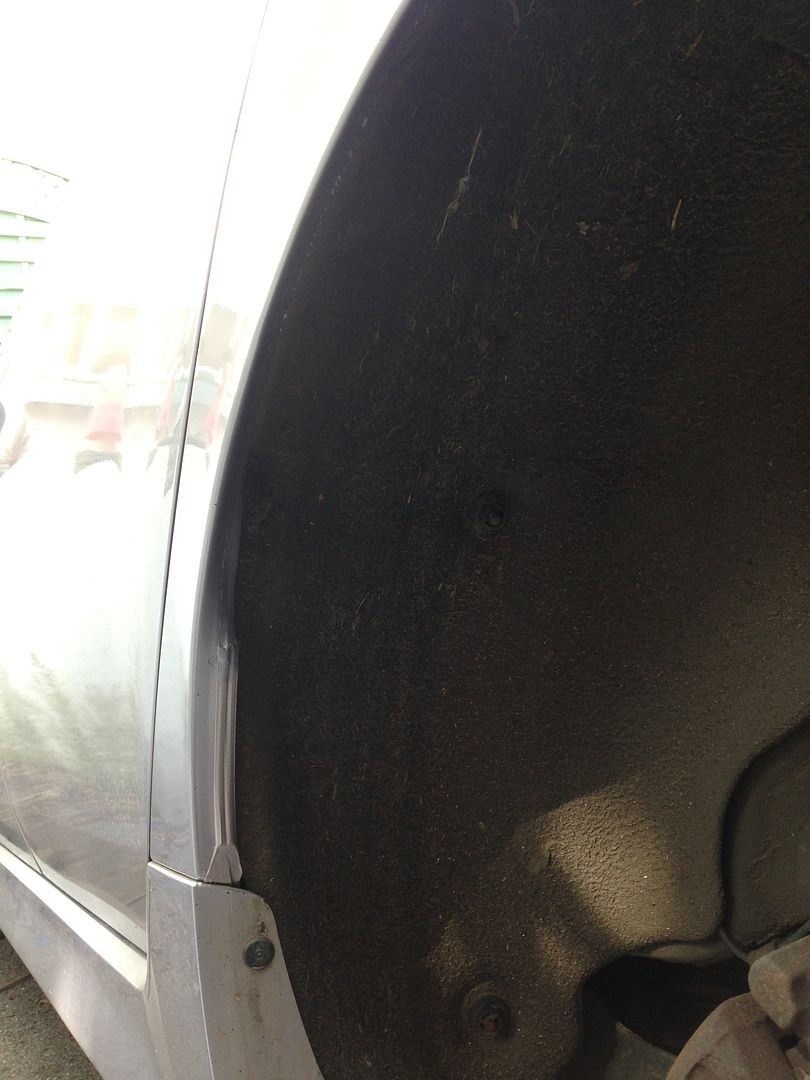
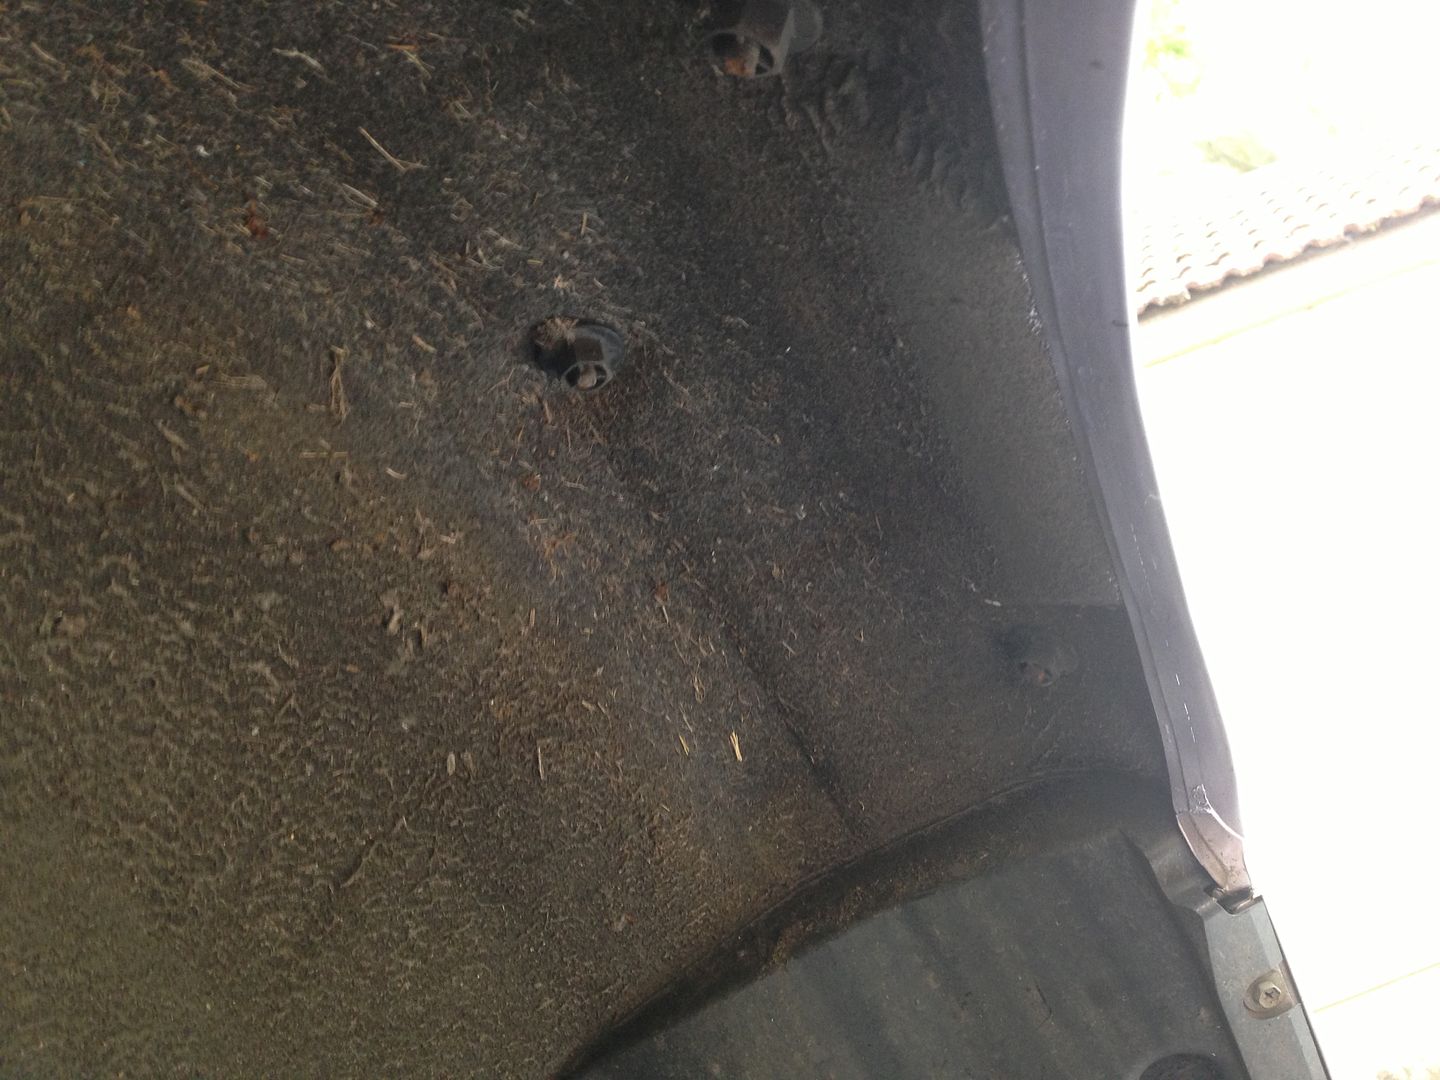
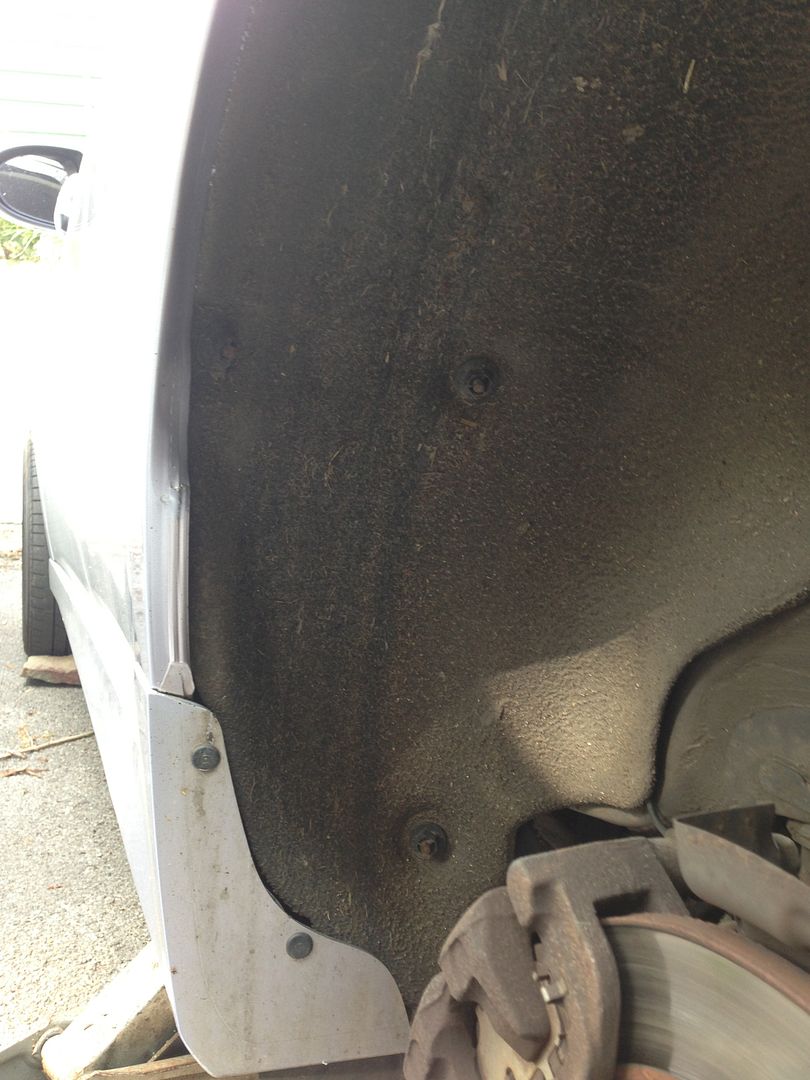
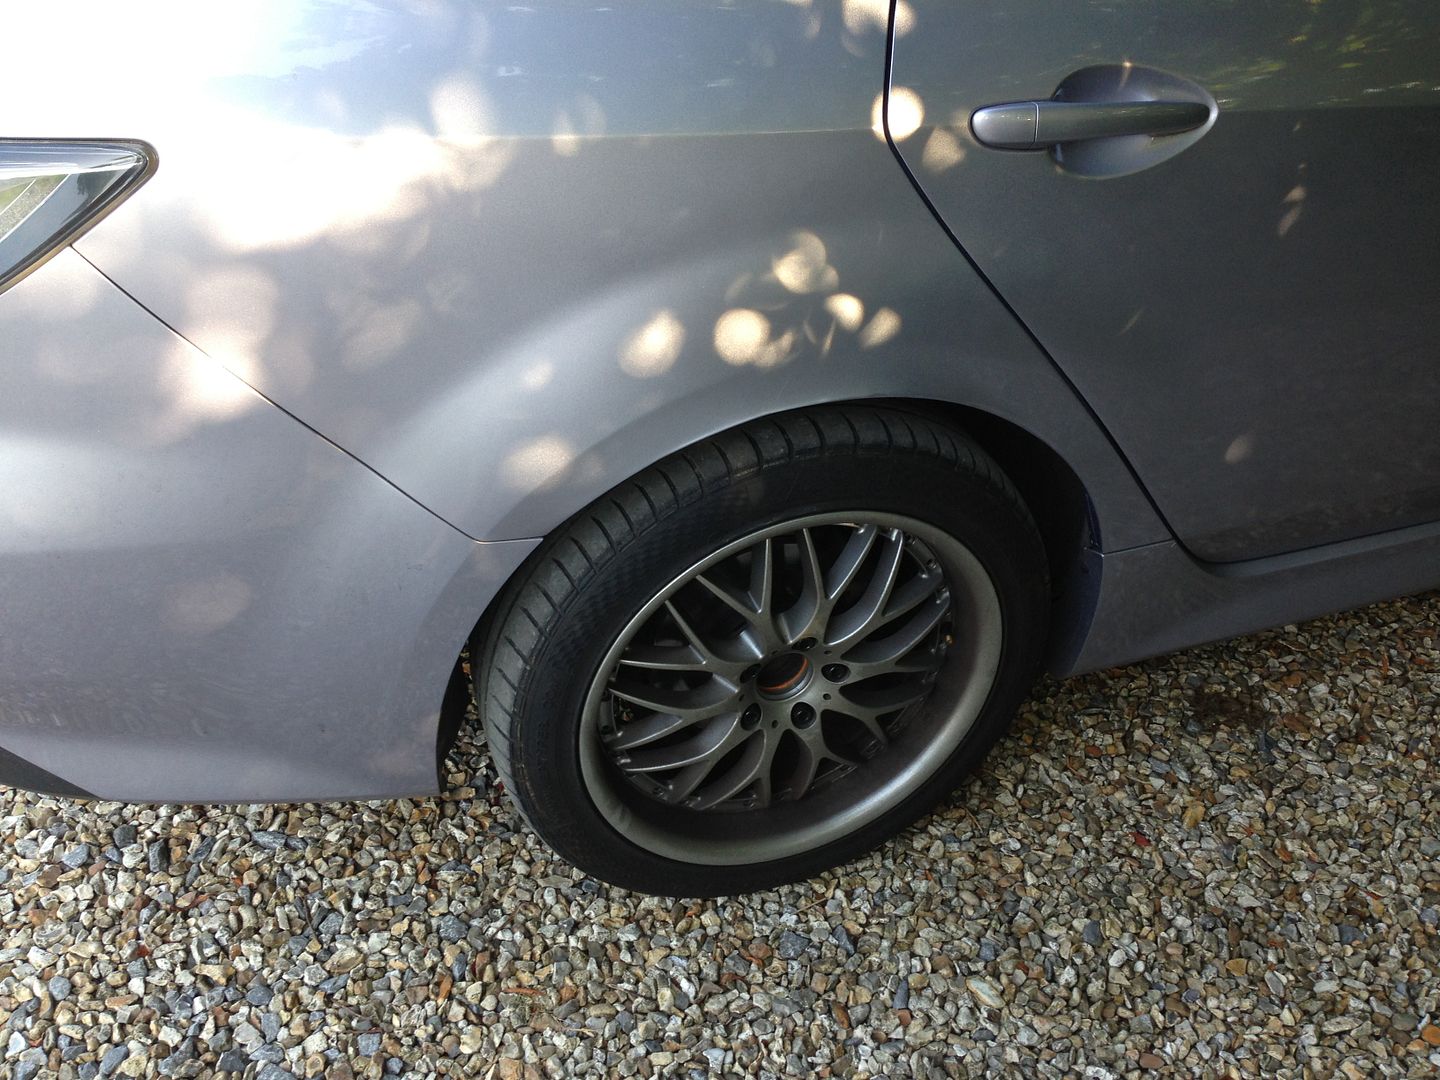
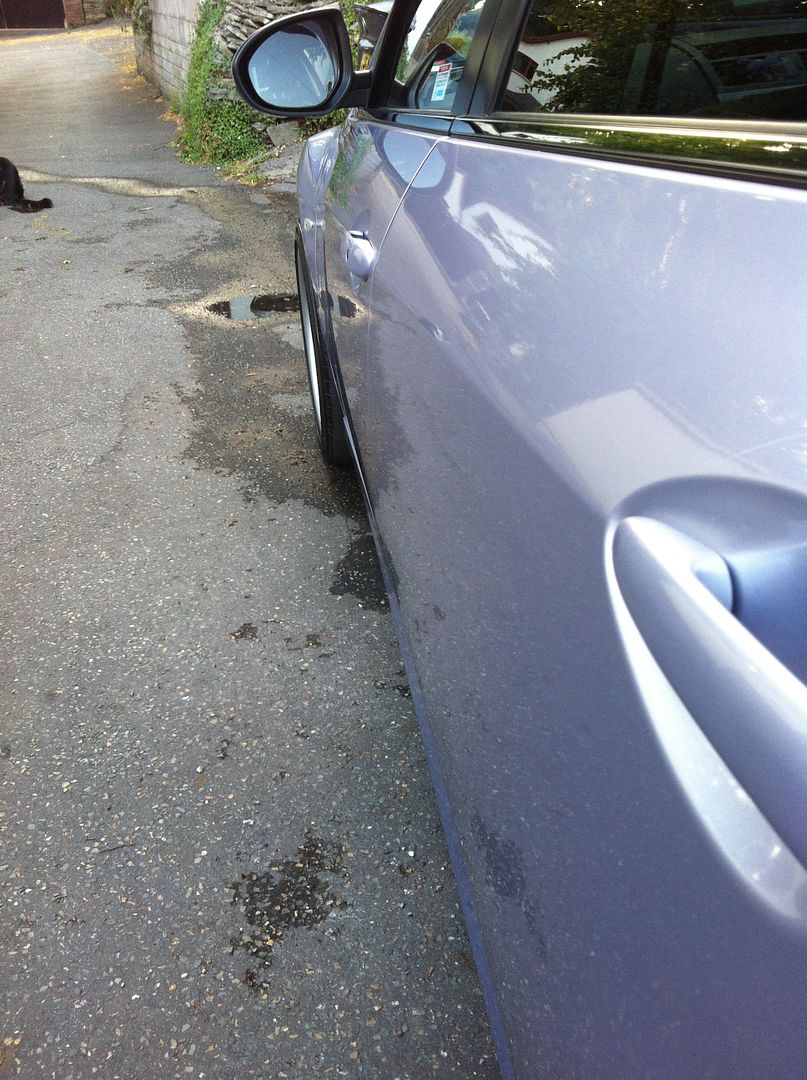
These pics show the offending lip – not too dissimilar to our ludes arches:
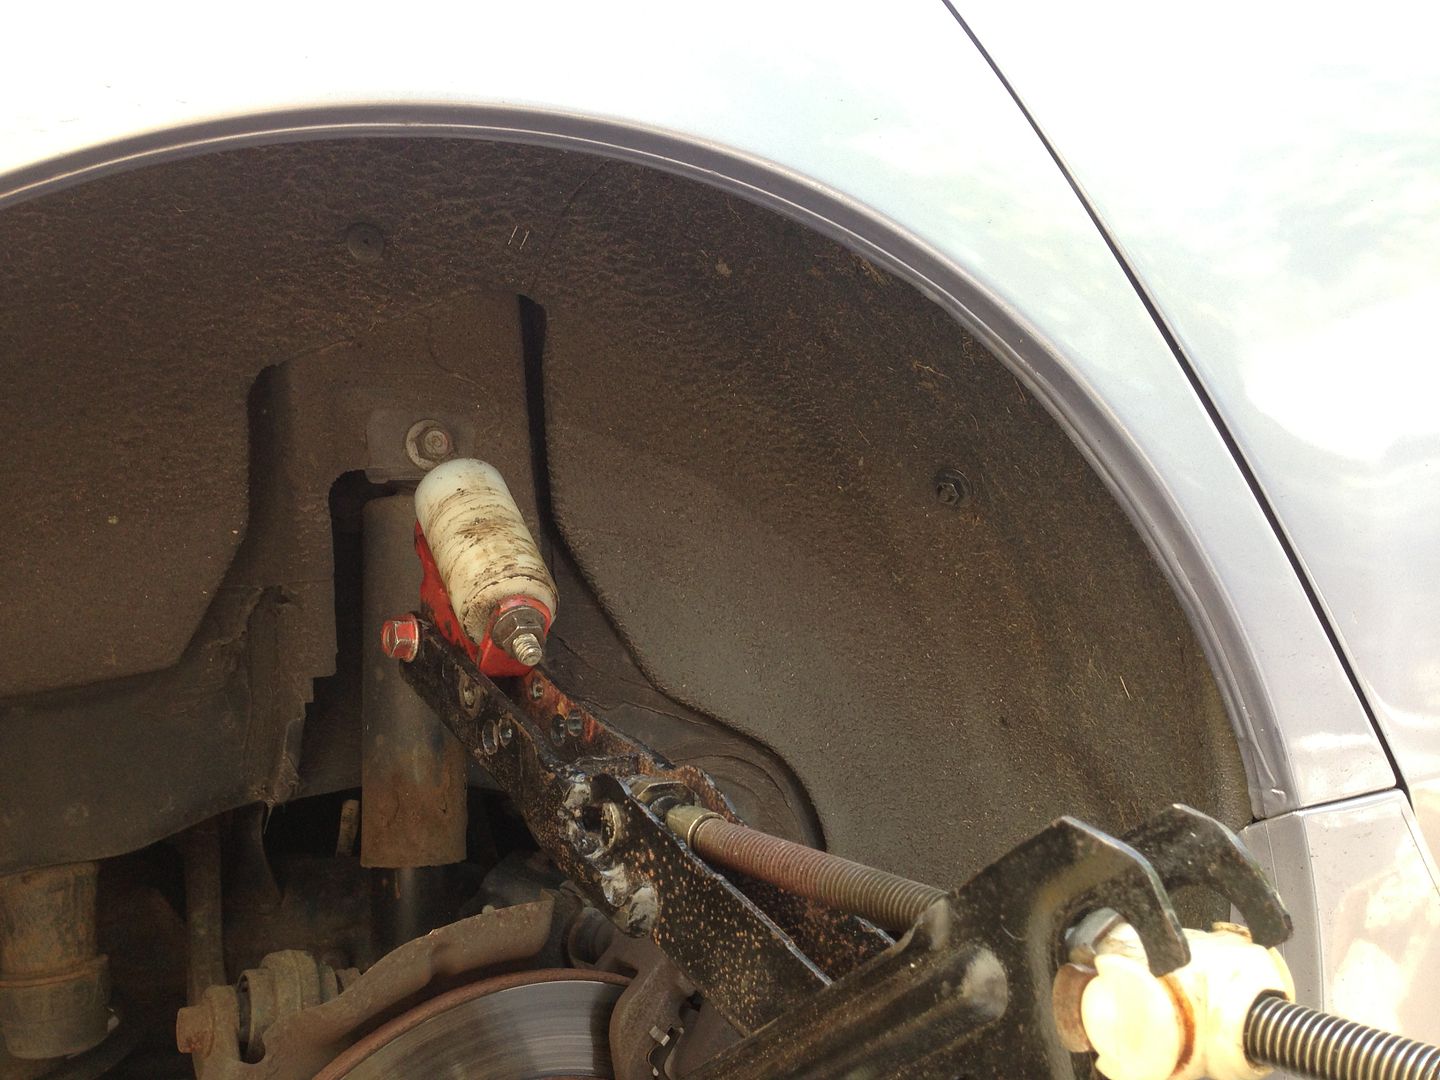
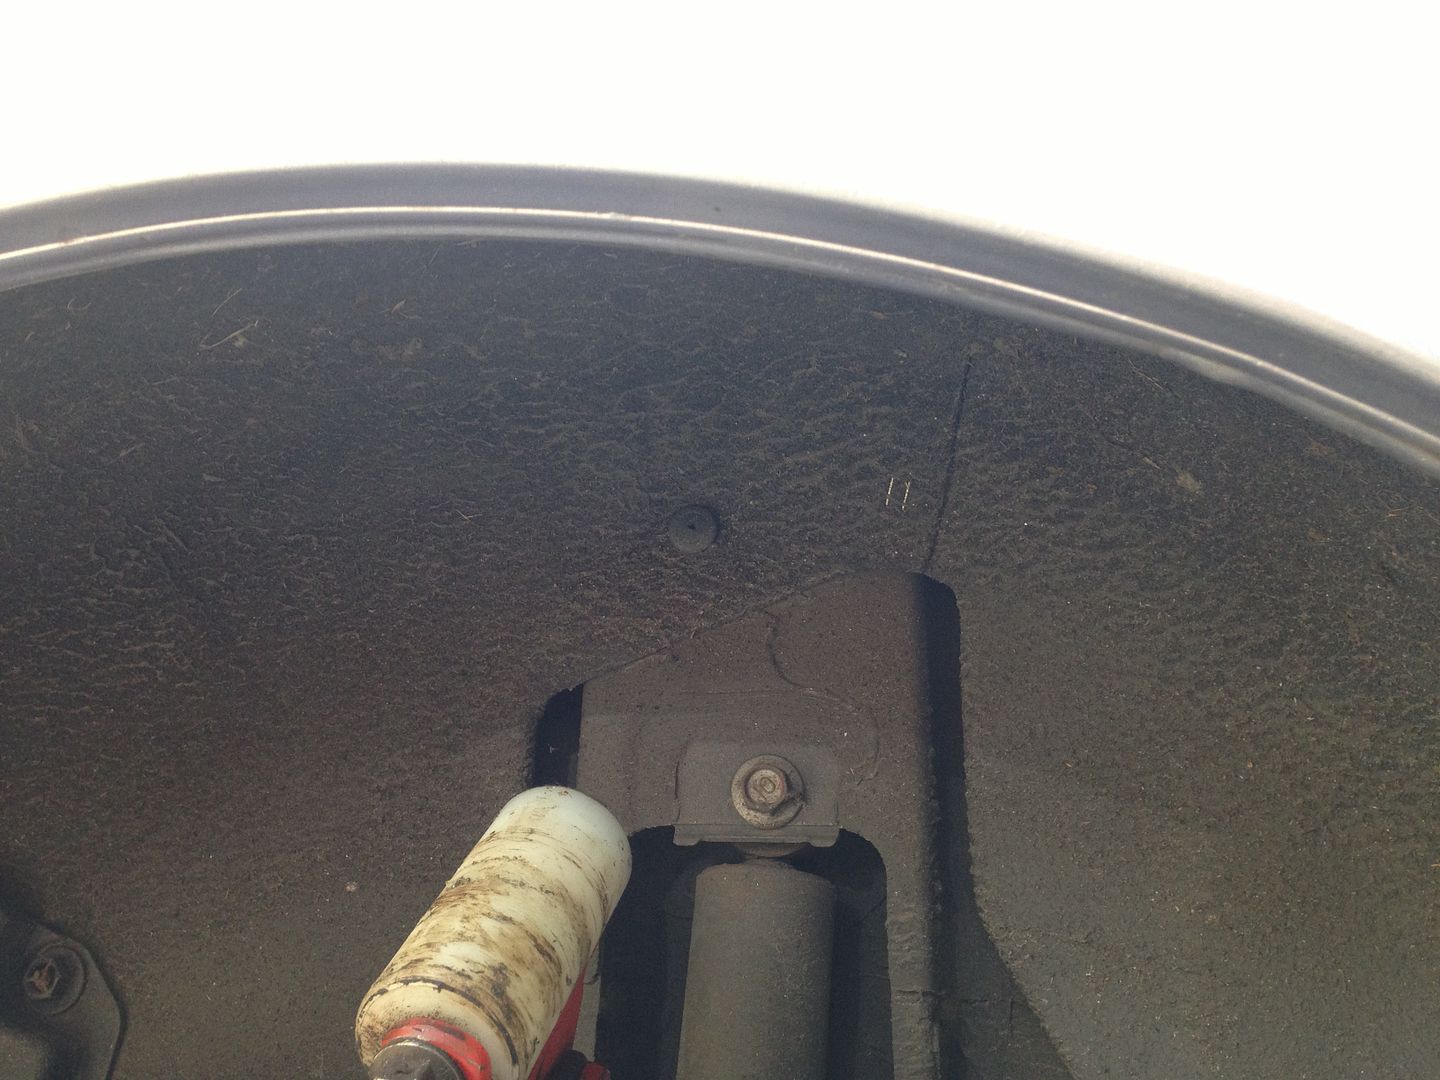
That bump on the lip is the seam sealer between the inner and outer panels. The minute you start to roll the arches this simply falls off. More on that later.
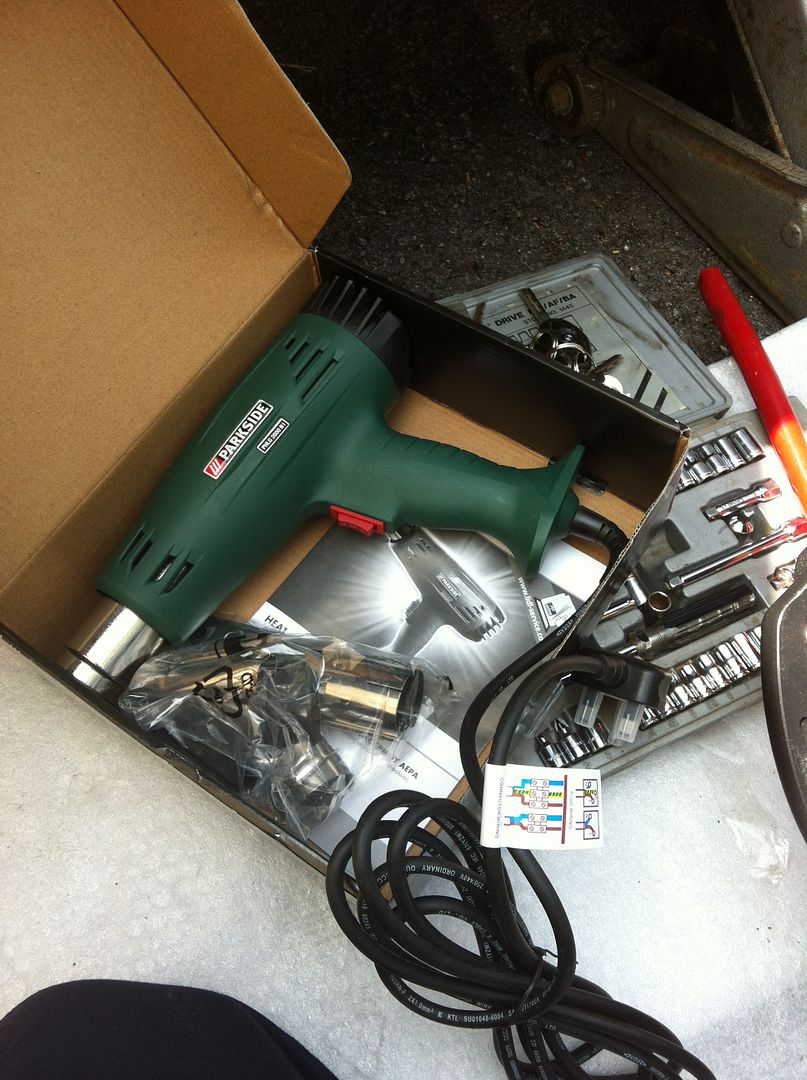
Next up is to heat the arches up. This is in the theory to not crack the paint while bending the metal arch panels. I say theory as its hard not to crack the paint. I realised my old heat gun had packed up a year or so ago, so picked up a cheap £9.99 jobby from Lidl:
Now don’t be stingy here, make sure you take plenty of time to heat up the arches, but also make sure to keep it moving over the panel, concentrate in one place and you’ll damage the paint. Watch some you tube clips of some of the professionals and you’ll see they spend more time heating up than rolling.

Also stop rolling and reheat it too.
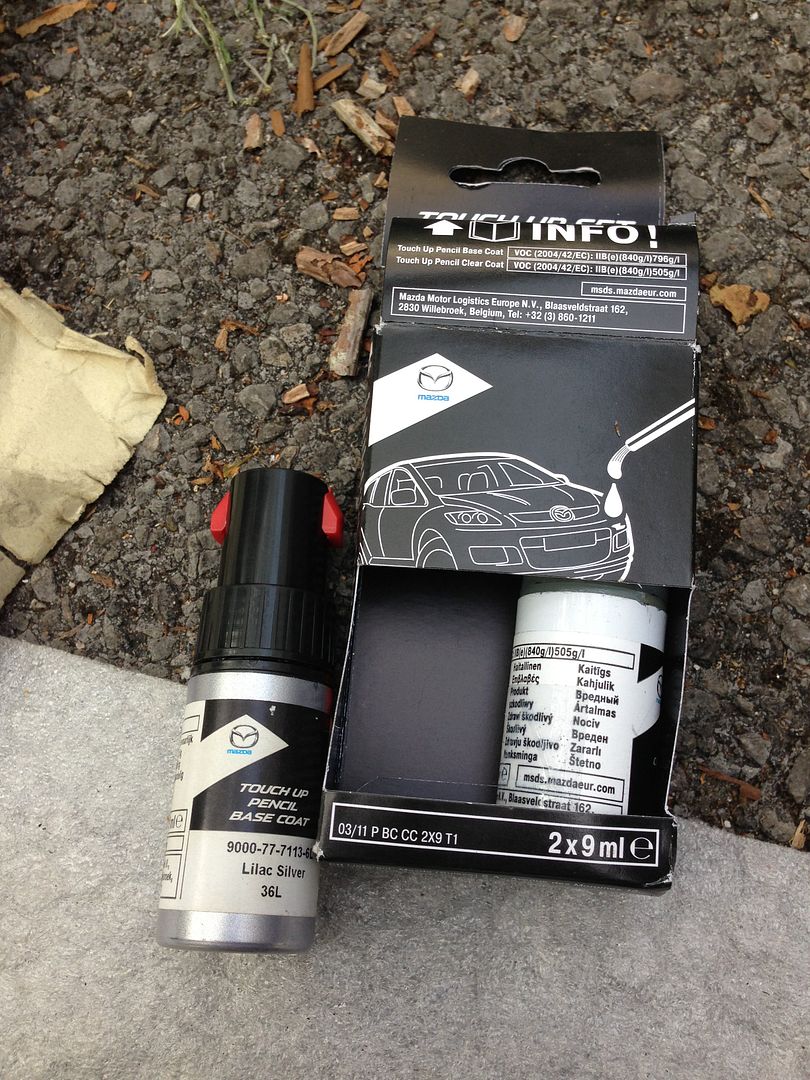
Once all the seam sealer had come off, I was left with an open join and no paint on metal. I touched up the paint with some genuine mazda 2 part pens:
But I still need to seam seal the panel gap (+ Some BH Dynax UB in there for good measures). Just awaiting delivery.
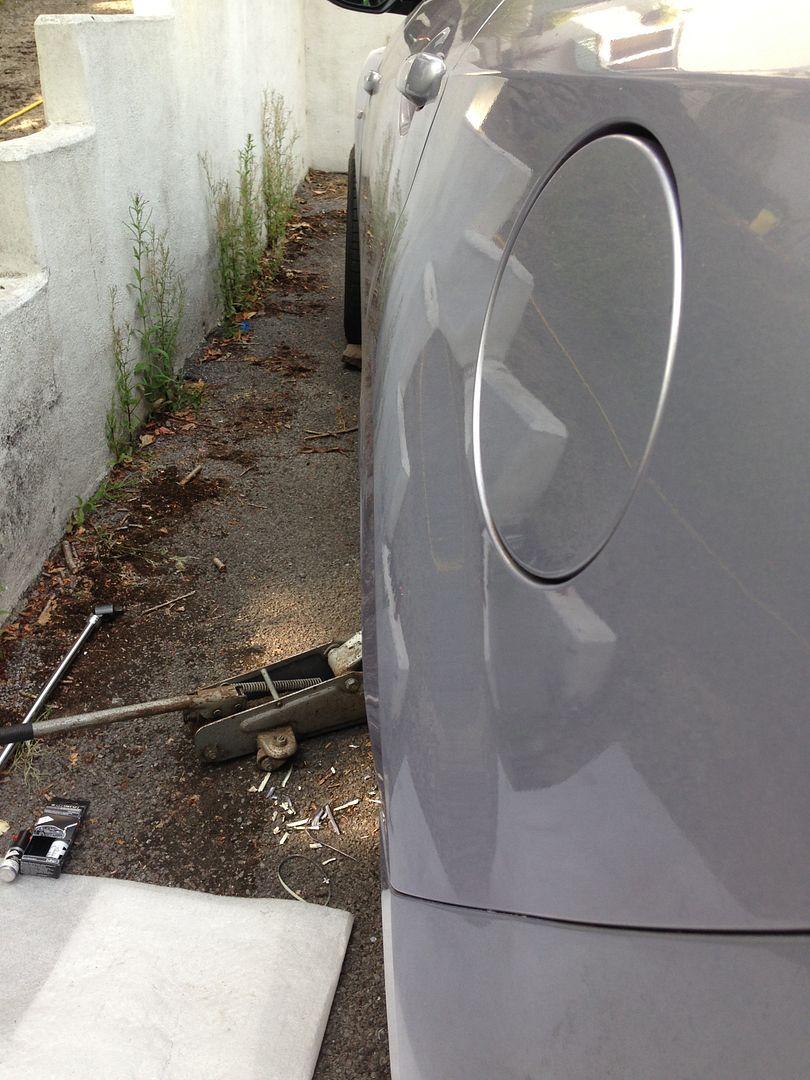
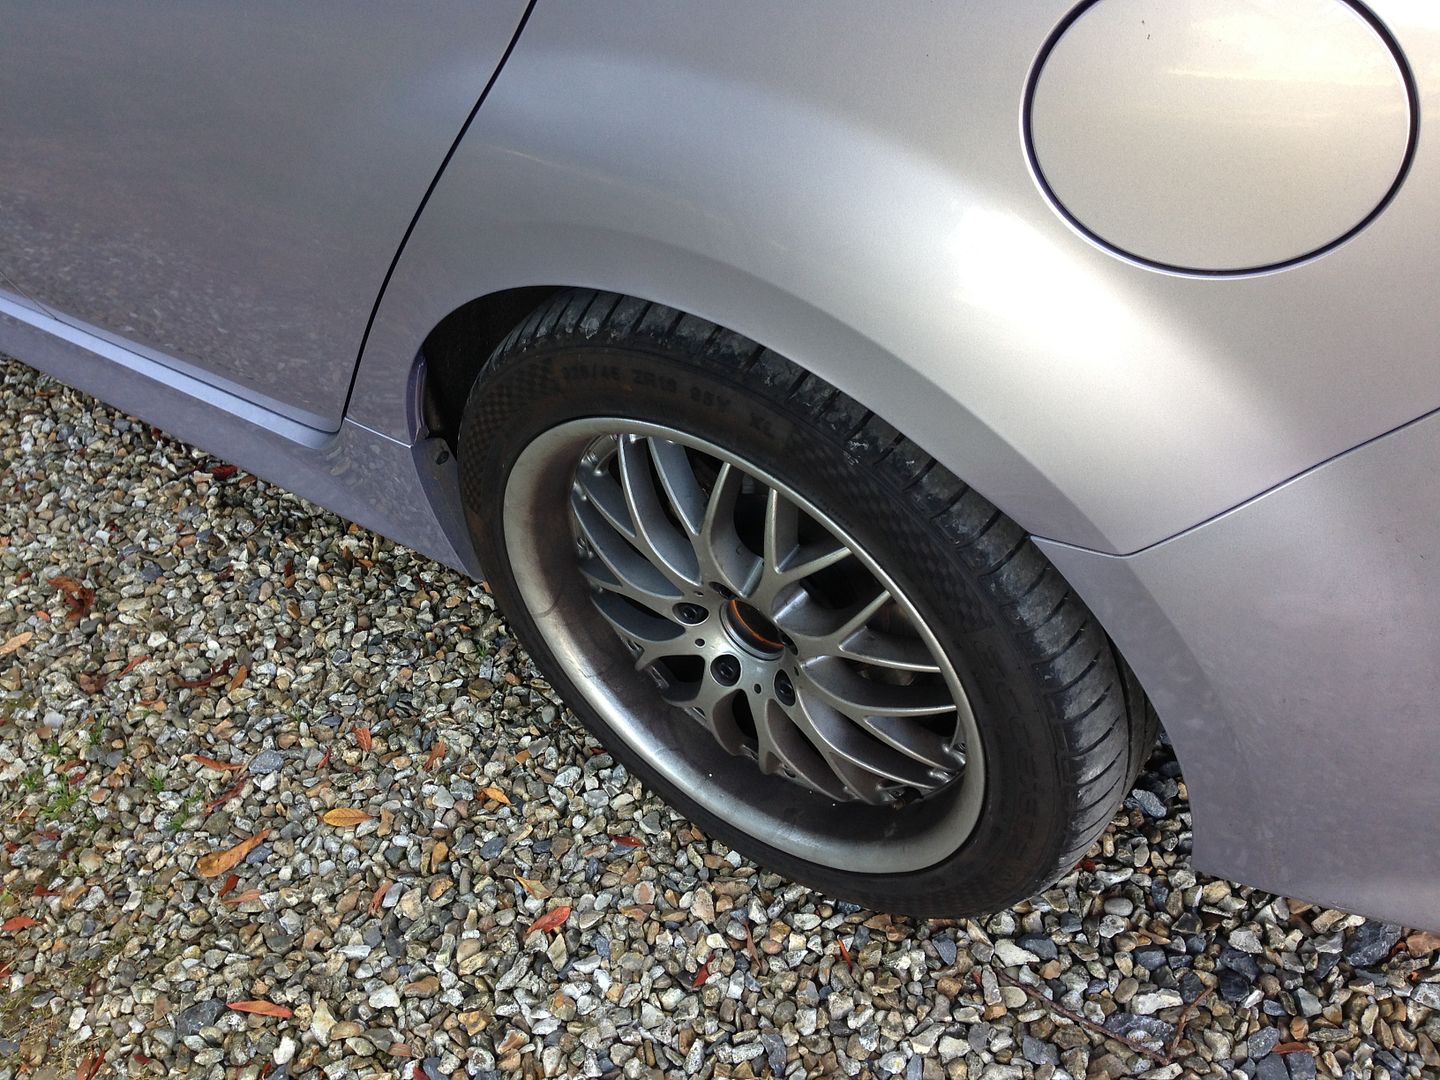
The finished article:

In hindsight, I just needed the lip rolled, but I continued with it and made the flat finish of the formed quarter panel into a slight flare for good measures. I definitely didn’t want them to rub again and I still have plans to lower it. The flare is quite noticeable from the line of the bumper:
Annoying Part:
When I bought this Mazda 6 the drivers arch had a sratched line on the metal of the lip which had started to surface corrode. I had a smart repairer clean it up before I picked it up from the garage. It looked fine on first reflection, plus it sits under the lip, you’d never see it. Just as long as the rust was gone and it was sealed again.
My points about heating the paint to let it stretch to avoid cracking paint worked on the second good arch, but the repaired one cracked and showed a very poor repair, he’d even added a little filler in there – no need from what I could see. I would have thought this fresher paint would have been more willing but maybe the paint choice is cheap cr@p? I don’t know. But I was left with an arch lip with a couple of small recesses from broken filler and some small hair line cracks. I had to touch these areas up with the touch up pen, it looks 75% better but certainly can’t leave it like that – so I’ll need that redoing, hopefully by someone more competent. You can kind of see here, the touch up pen really highlights the lip edge:
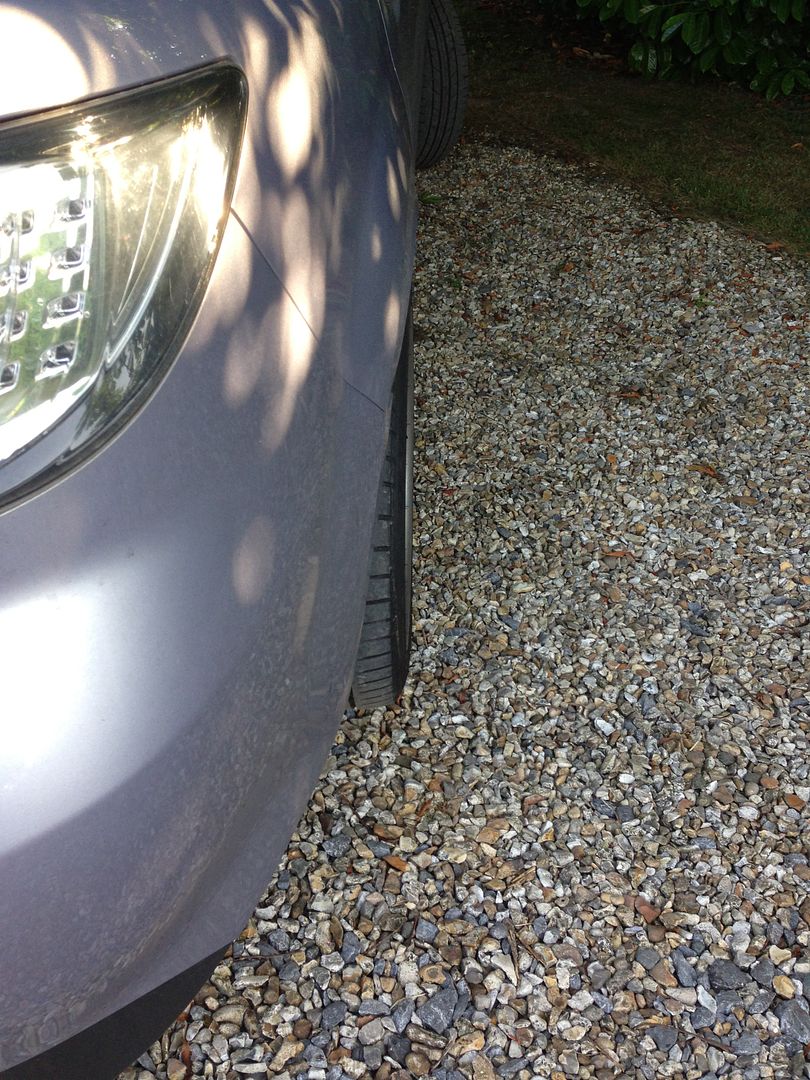
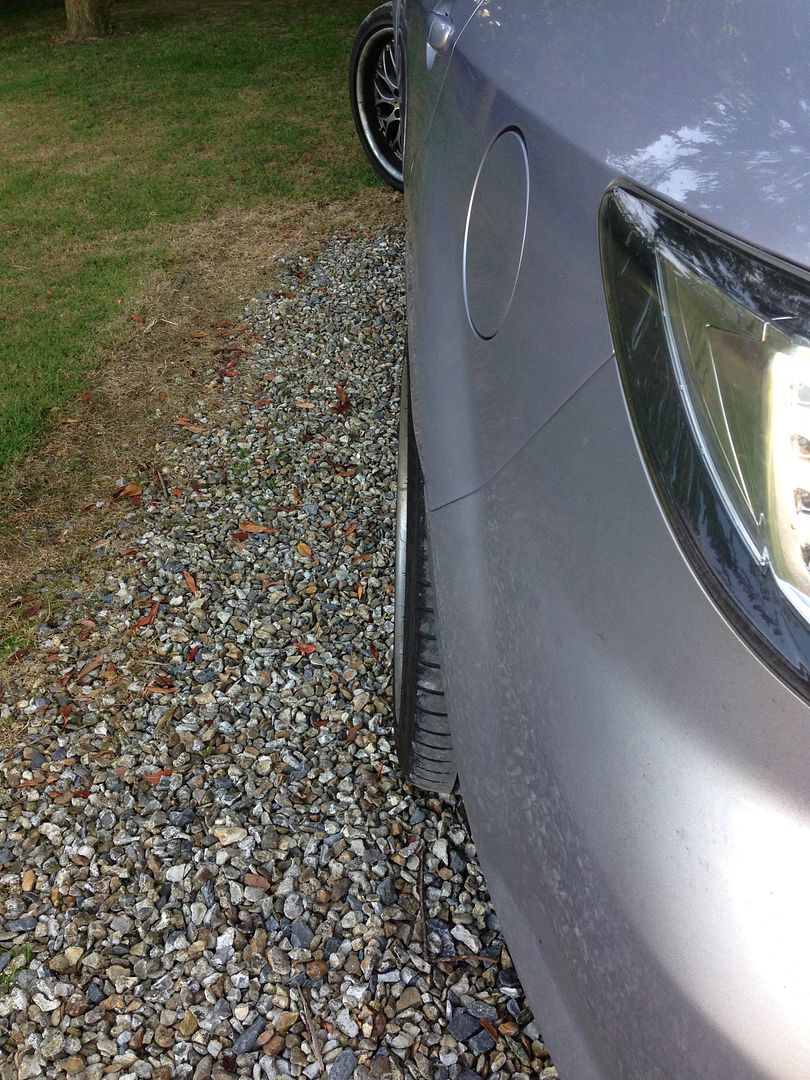
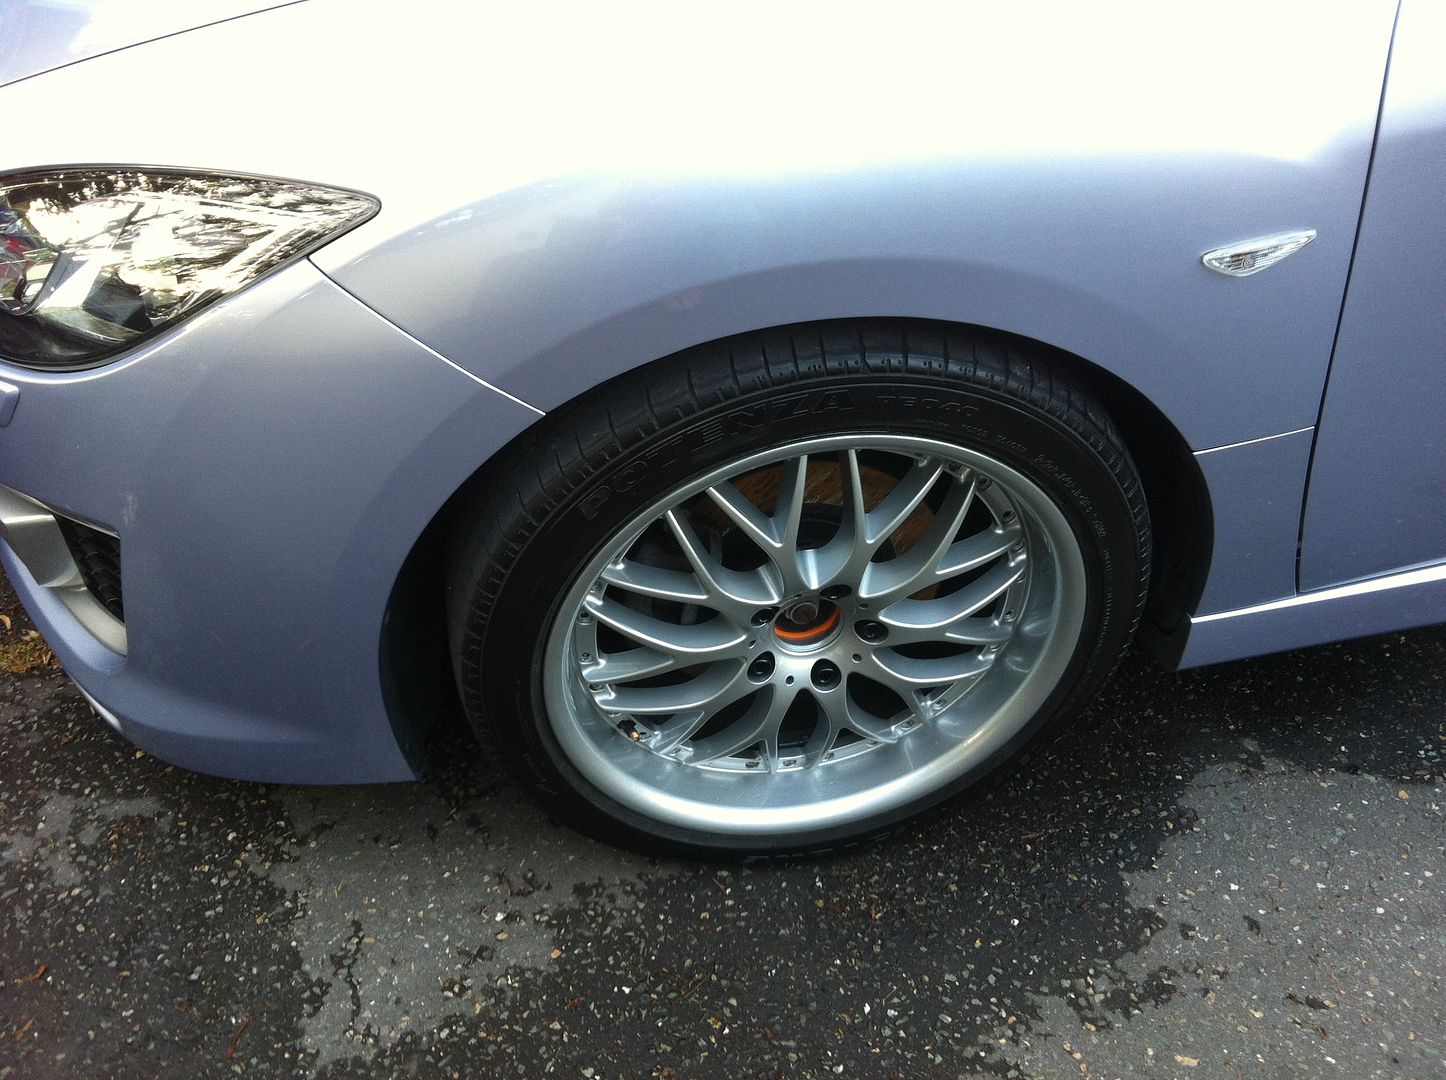
Other side on the other hand went near as dammit perfect for a first time arch roll:
You can start to see a slight lighter colour to the edge which is the arch lip slightly protruding, usually an aspect of adding a flare to the arches as opposed to just rolling the inside lips up.
Overall I’m happy with it and it worked most importantly! Fully stocked car and miles of driving, speed bumps, etc and the rubbing has completely gone.
The fully loaded car also showed me what she’ll look like lowered at the back – can’t wait to do that when money permits. No pics though, you’ll have to wait for that!

Final thing was to give it a 4 hour cleaning session (outside only!) on Sunday afternoon after removing the bars and box:
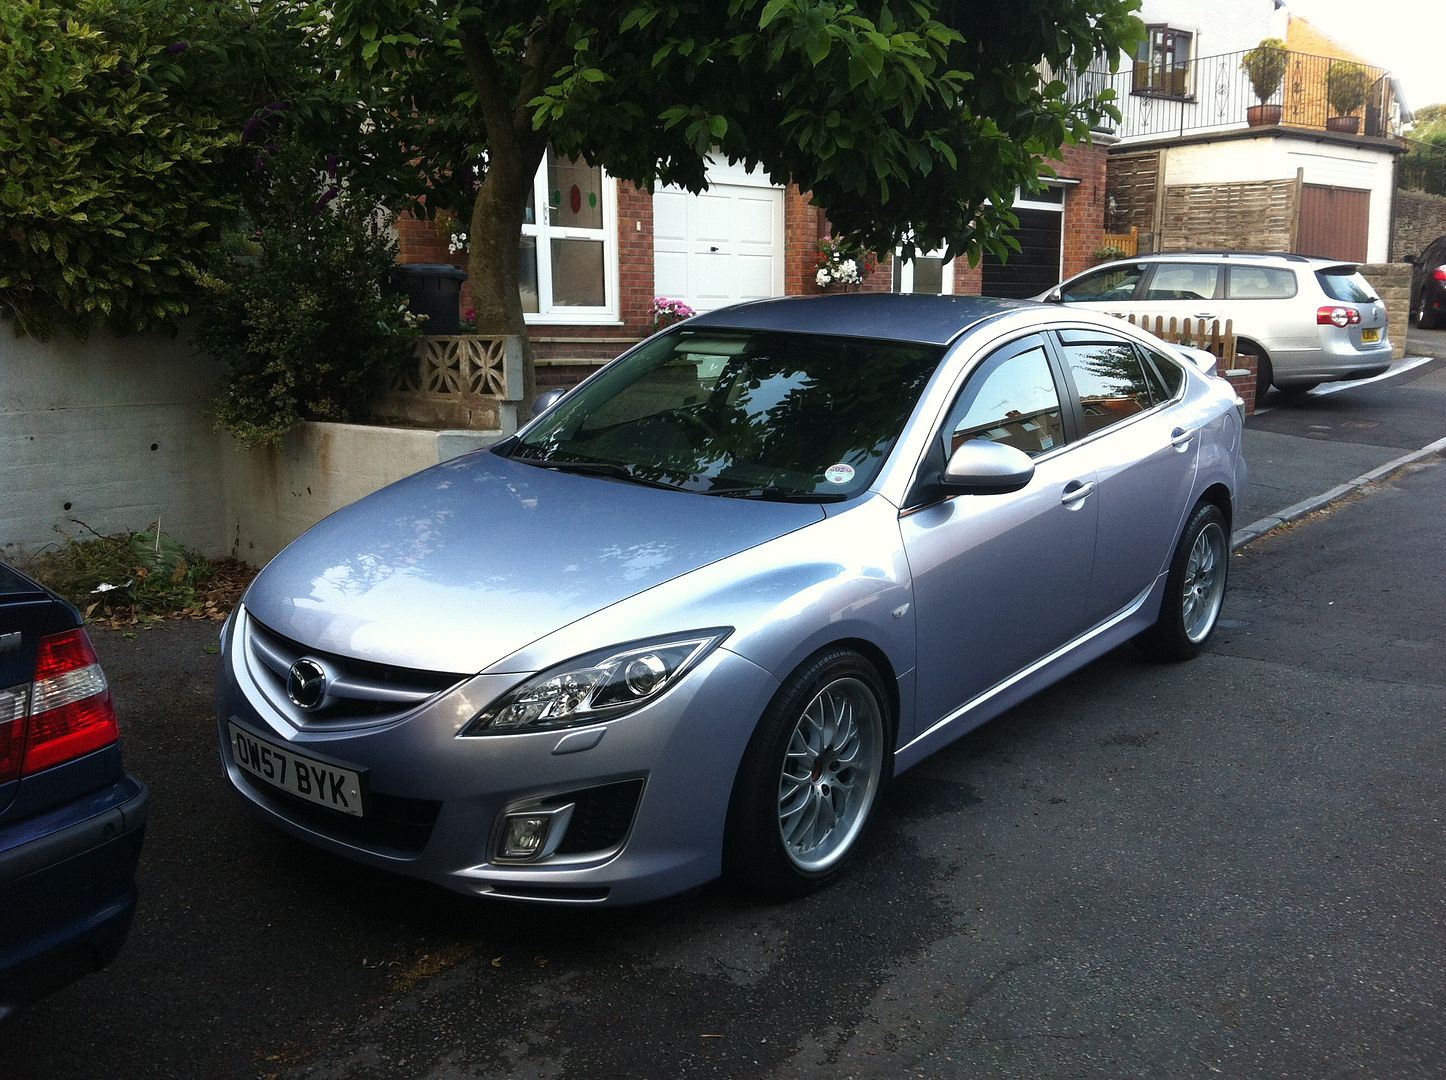
Still awaiting for some Mazda centre emblems to put the caps on. I did also finally add the correct spigot rings while the wheels were off.
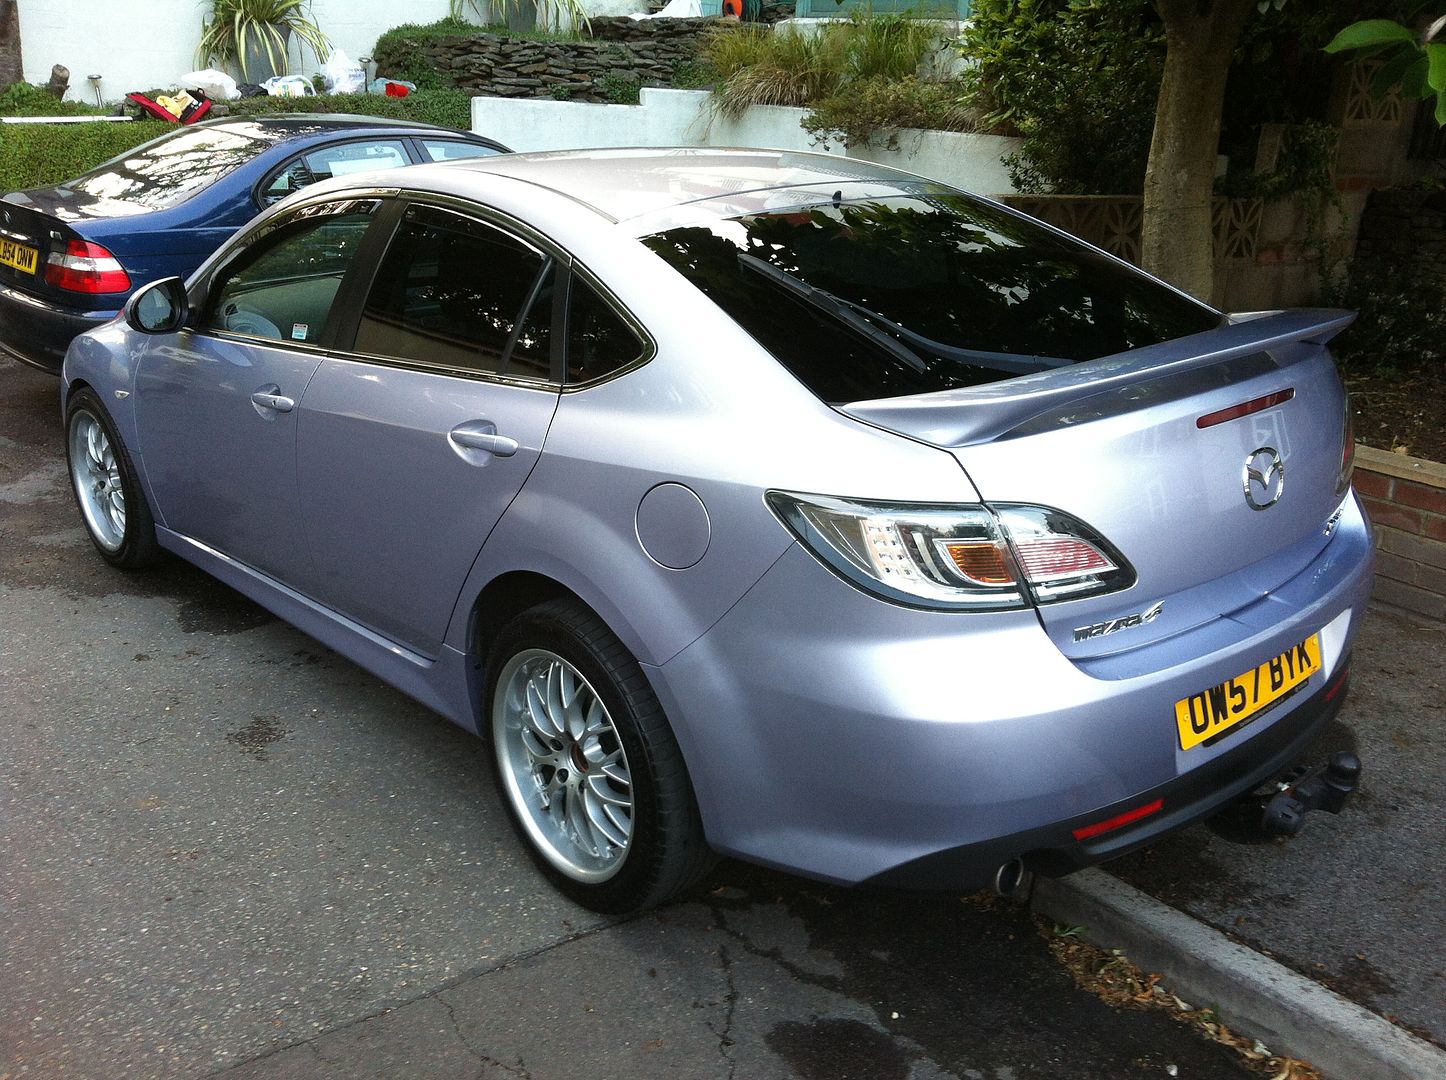
CLEAN!
Cheers,
Rob