ok so bit of an up date, been working away in liverpool and edinburgh last couple of weeks
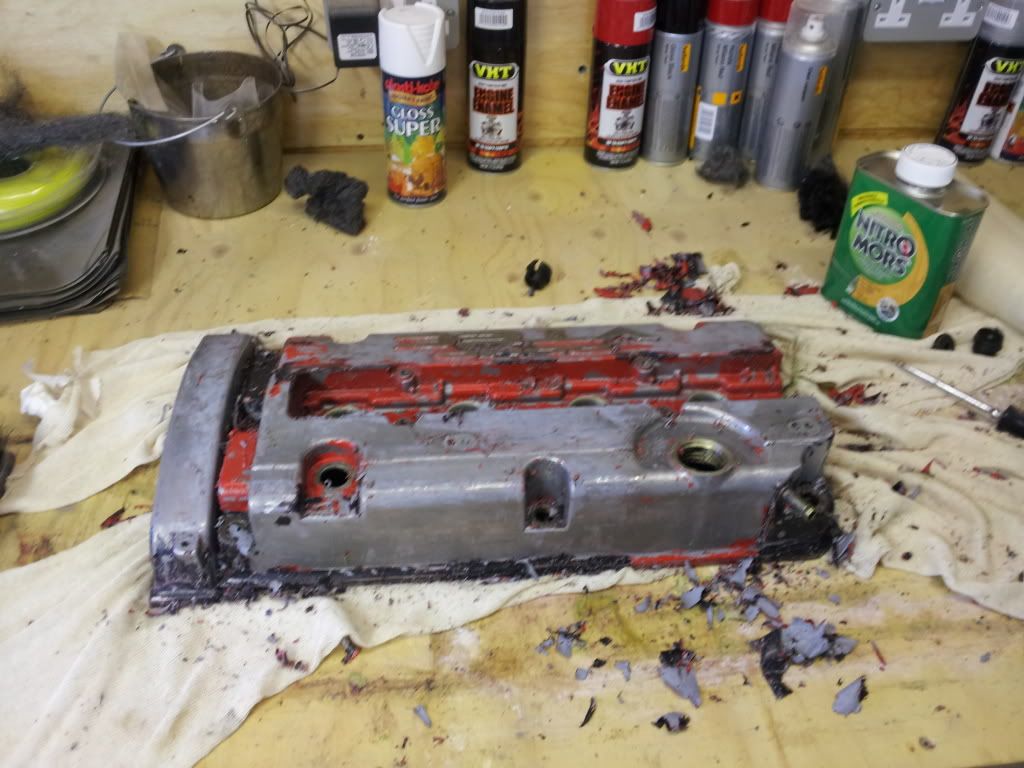
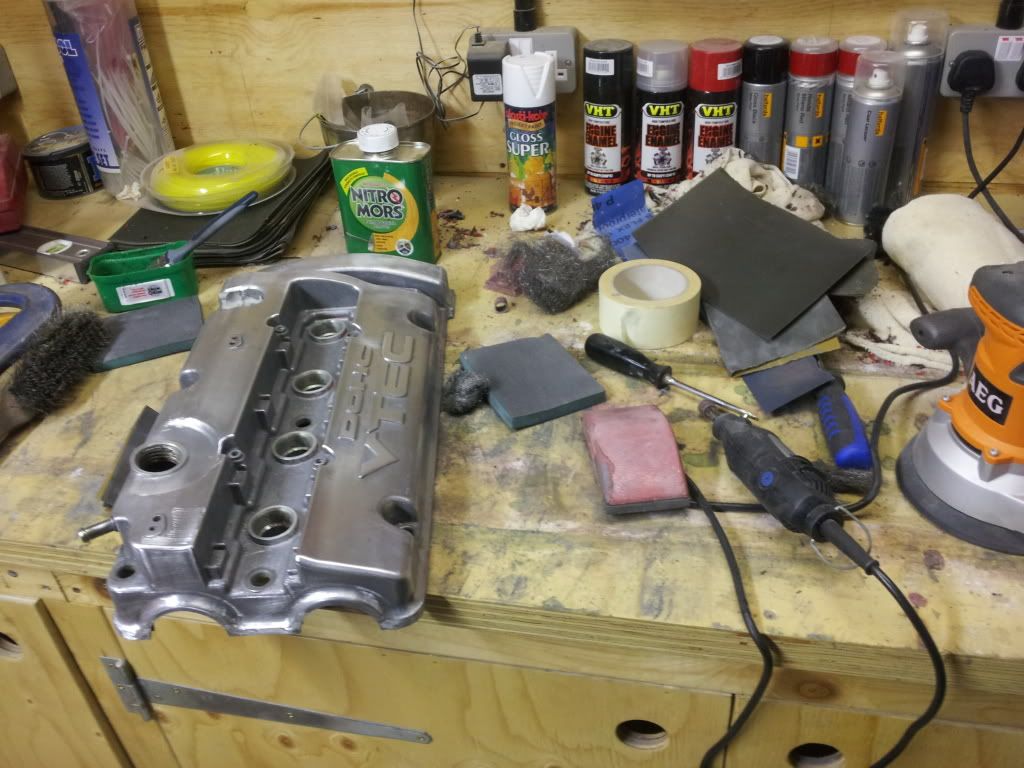
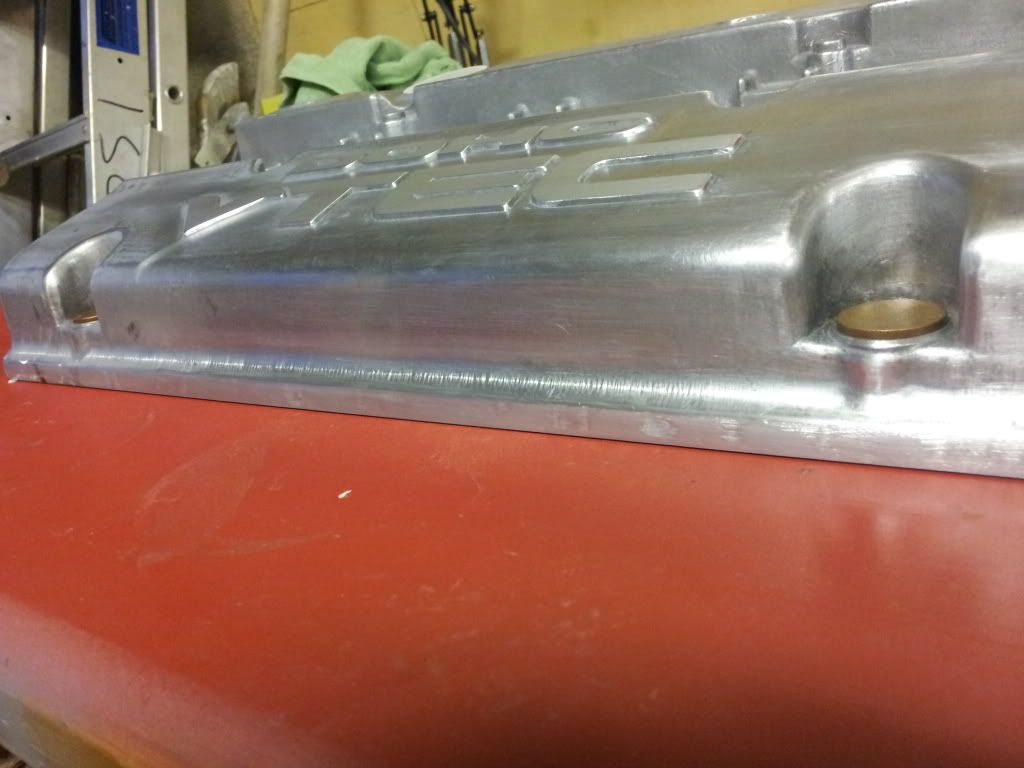
So first off, i finnished sanding off the to ridge line and all the moulding marks all over the cover, i then filled and sanded a few low spots with Isopons Metalik filler, and here its masked up ready for the first coat of acid etch primer
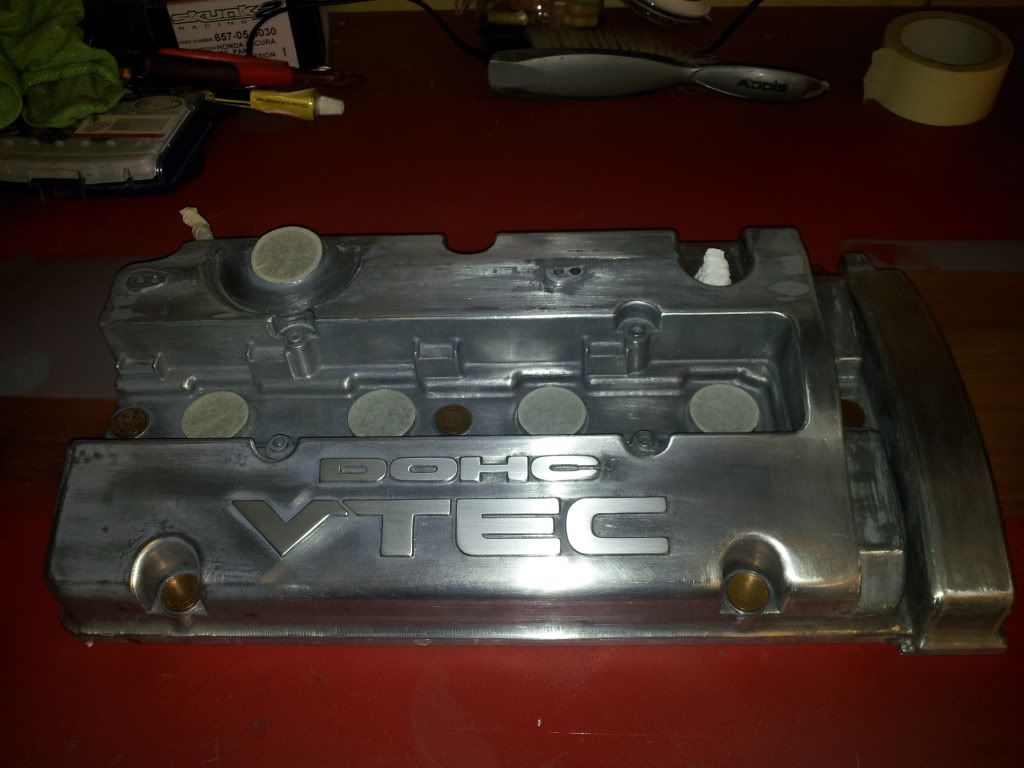
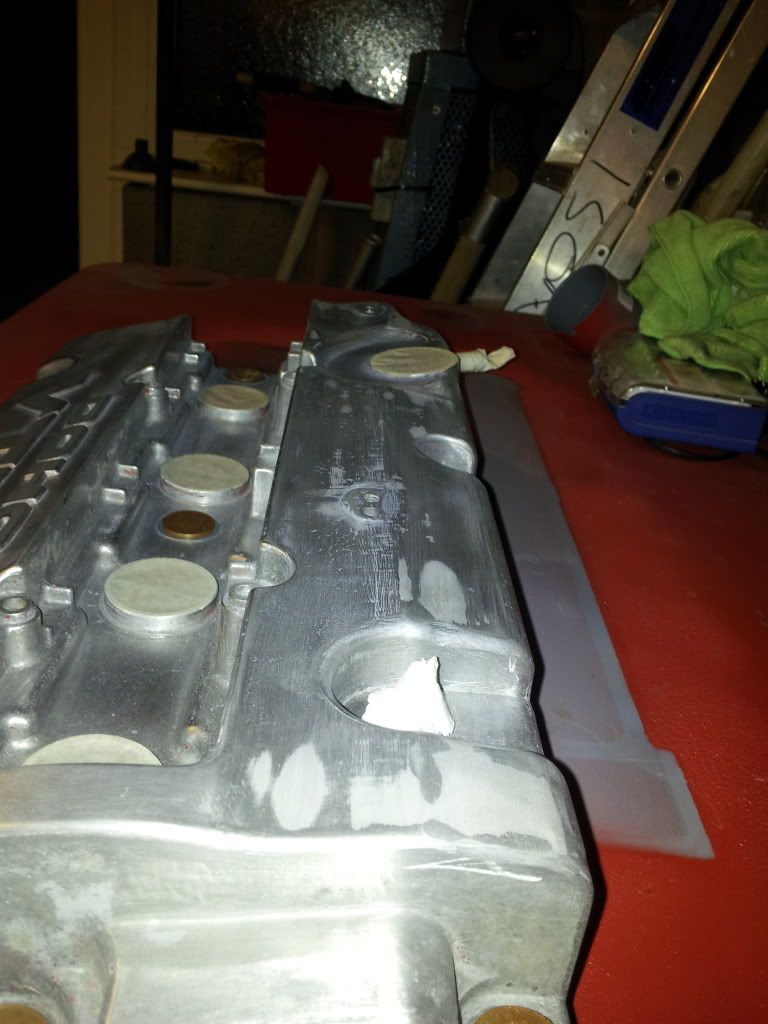
I stole nath's idea for pennies to mask the washer holes

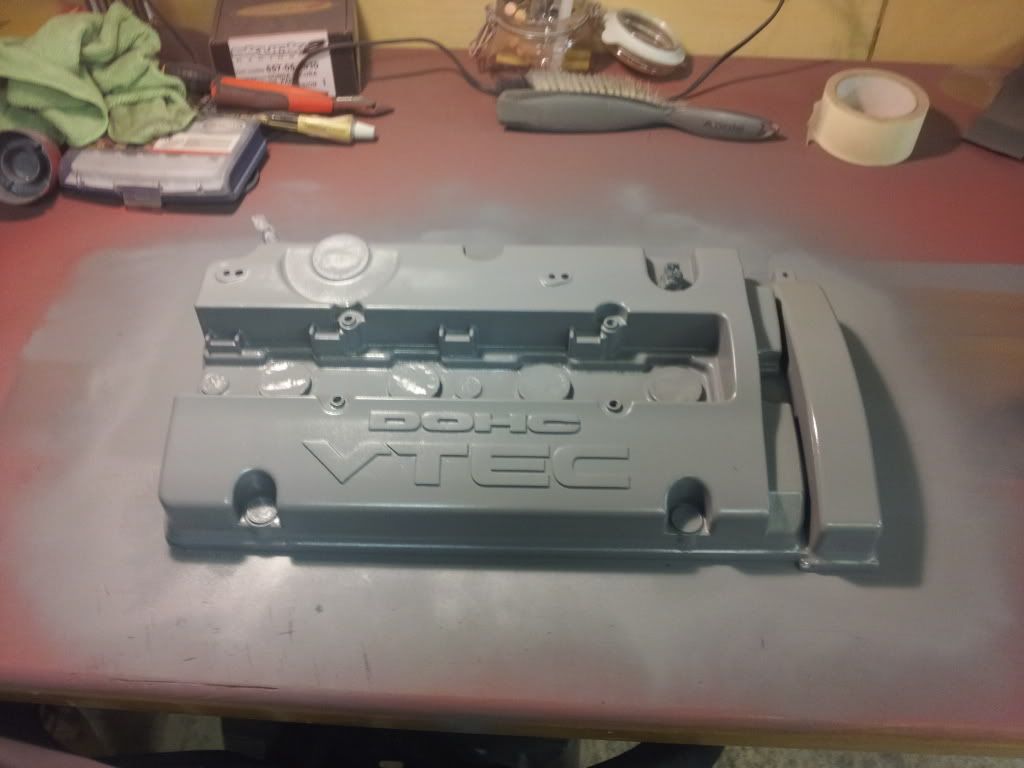
And heres the final coat of 3 acid etch primer coats
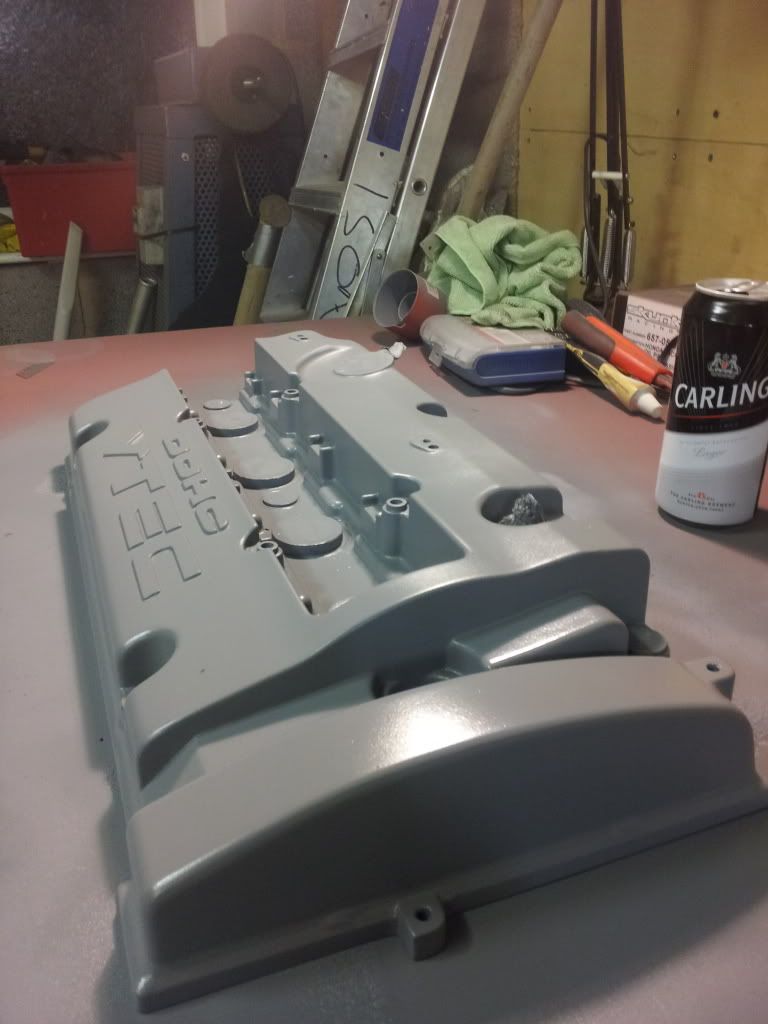
Next step will be a 400 grit flat back and 3 coats of Upol high build primer