

As some of you will be aware I have had a dreadful time replacing my remote central locking.
Honda's Prelude 5th Gen uses a multiplex system which is very complicated, for what should be 2 earth wires for Lock and Unlock.
After thinking I was going mad, I asked for help from an auto electrician mate and he confirmed I was sane and My car did NOT have the wires for an aftermarket system. He usually just installs a slave 2 wire motor to most installs in cars where the passenger side does not have a motor (actuator), and/or there is no lock/unlock switch in the dash or cabin.
So, I went on ebay and bought a £3 2 wire slave motor. 2 days later, and postman Pat came aknocking.
http://www.ebay.co.uk/itm/140454587590? ... 1439.l2649
When wiring the 2 wire motor, you need to follow instructions on the alarm for 'adding extra actuators'.
Here goes.
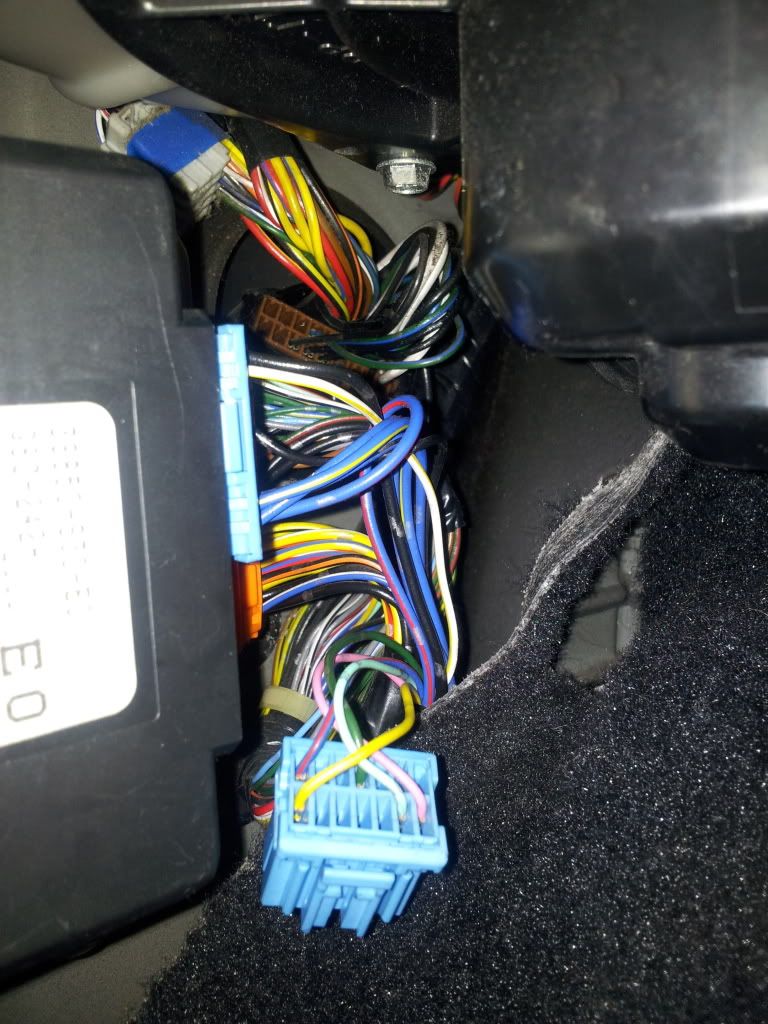
1. As all the manuals and guides suggest, this 14 pin blue multiplug located at the multiplex ECU in the passenger kick panel does not have the black/white and blue/orange wires for lock/unlock.
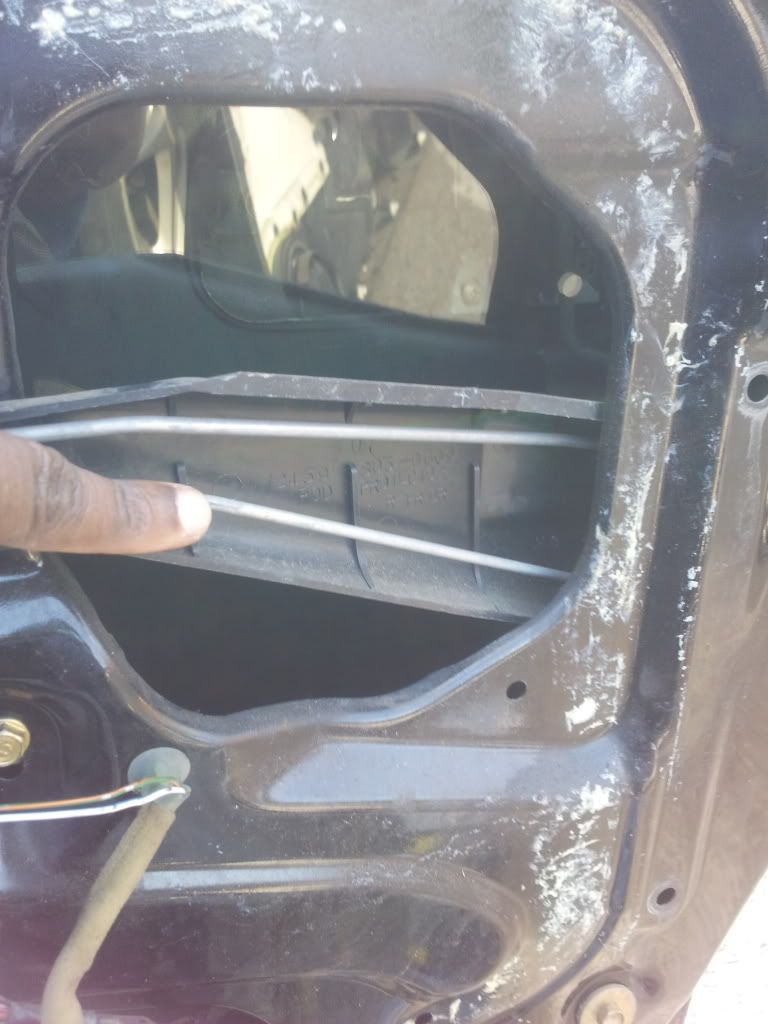
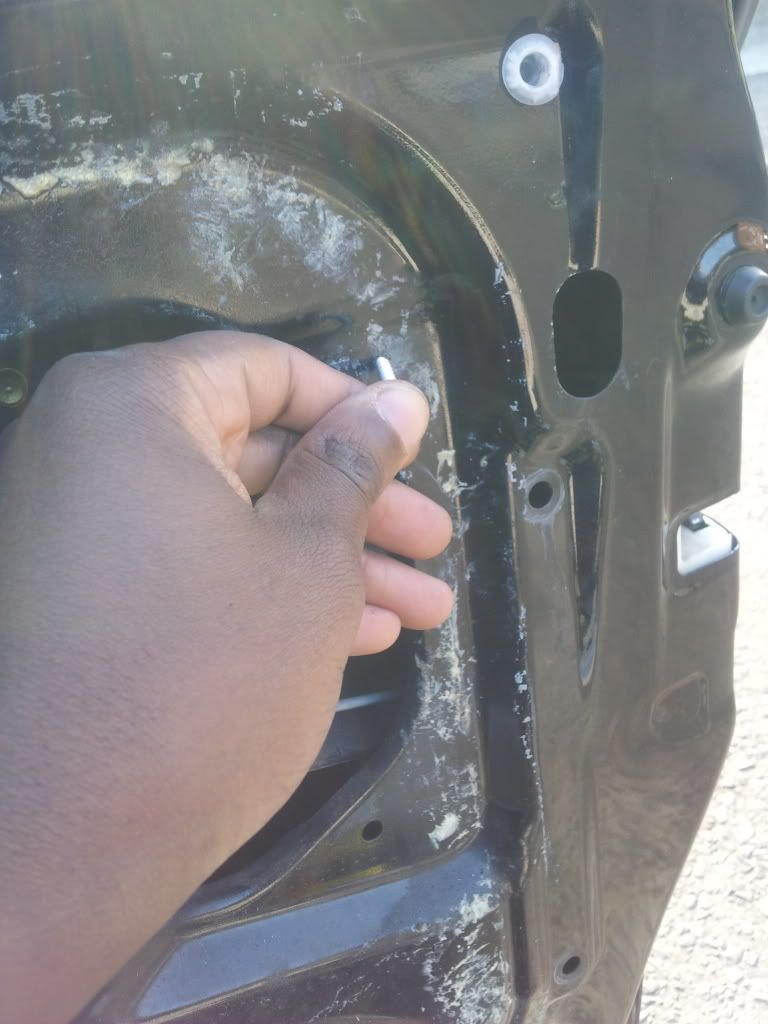
2. Now to find an installation point. The actuator has to run parallel to the lock rod.
I chose here.

3. The bar I am pointing at is what we need to work with
4. After offering the actuator and mounting bracket to the car for measurements, I pre-installed the motor to the bracket, then marked the drill points.
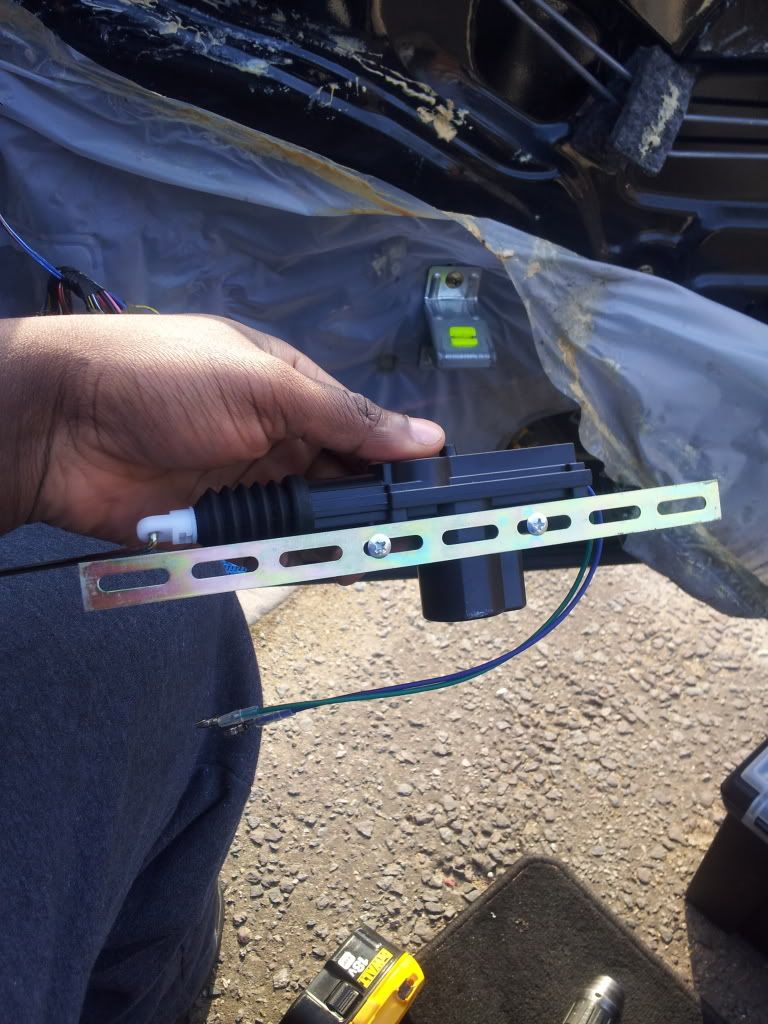
5. First hole
6. Second hole
7. All mounted
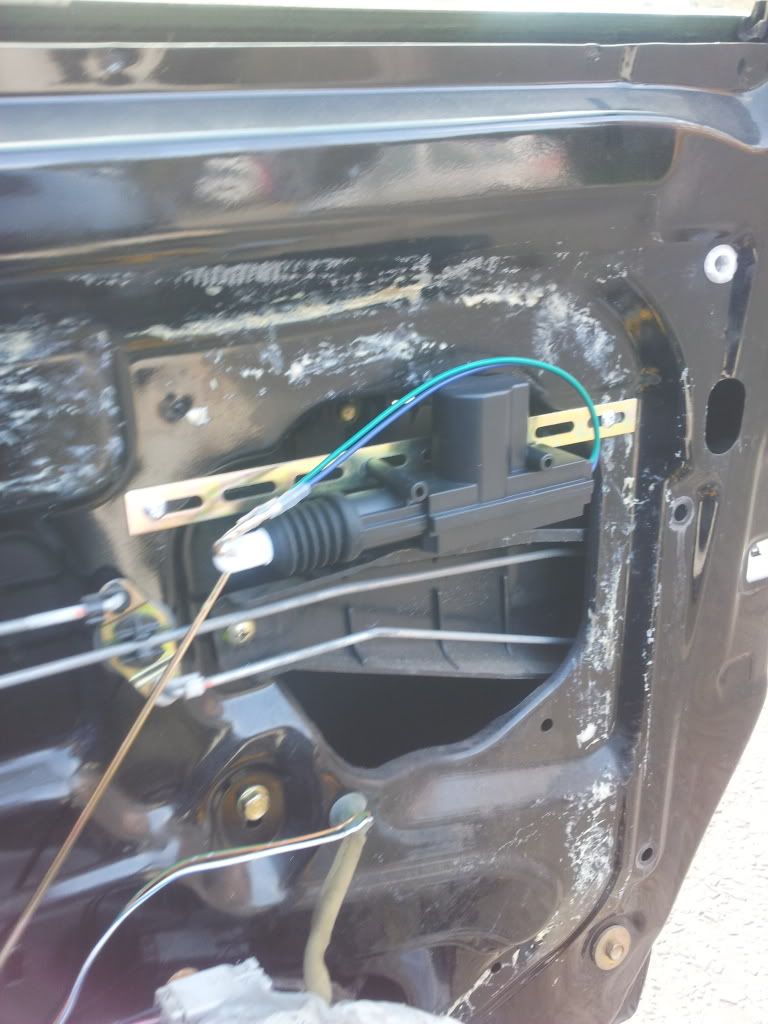
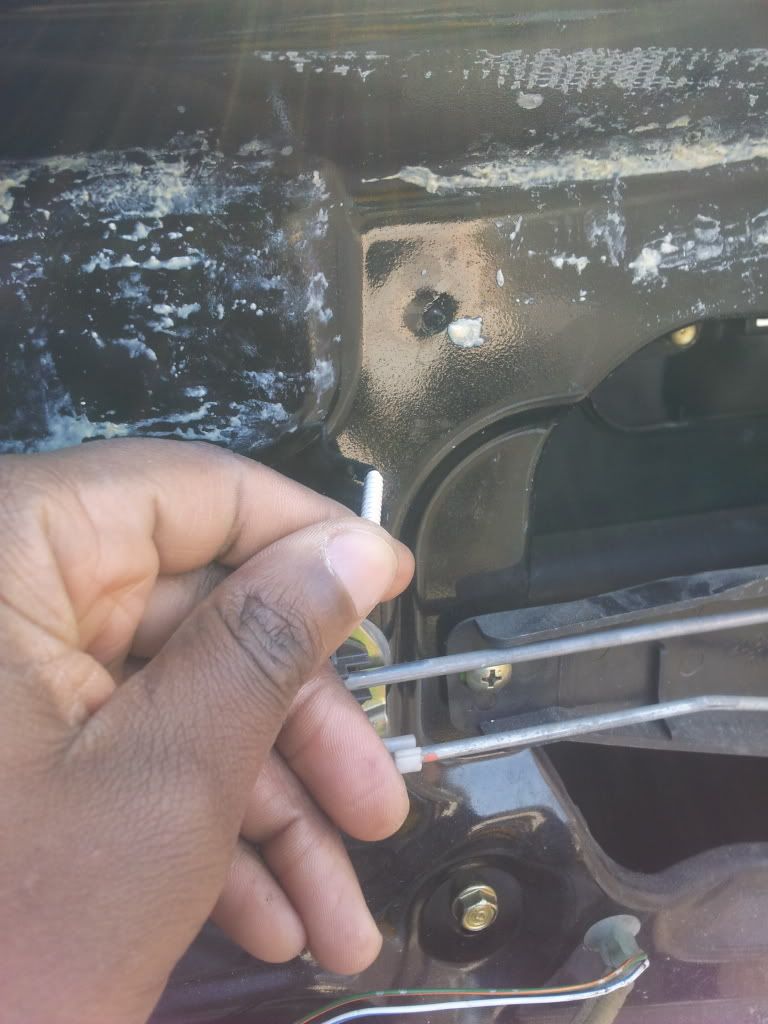
8. Now to marry the rods
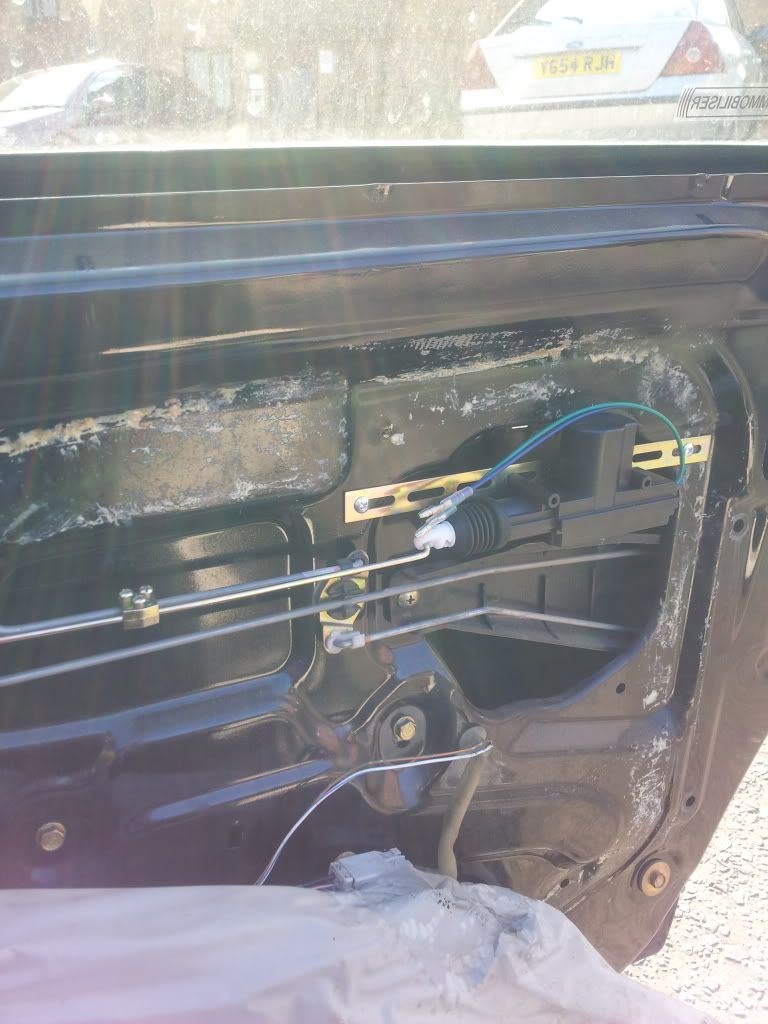
9. I the run two wires, drilled a new hole with a grommet for the wires to enter the cabin and carried on with the install.
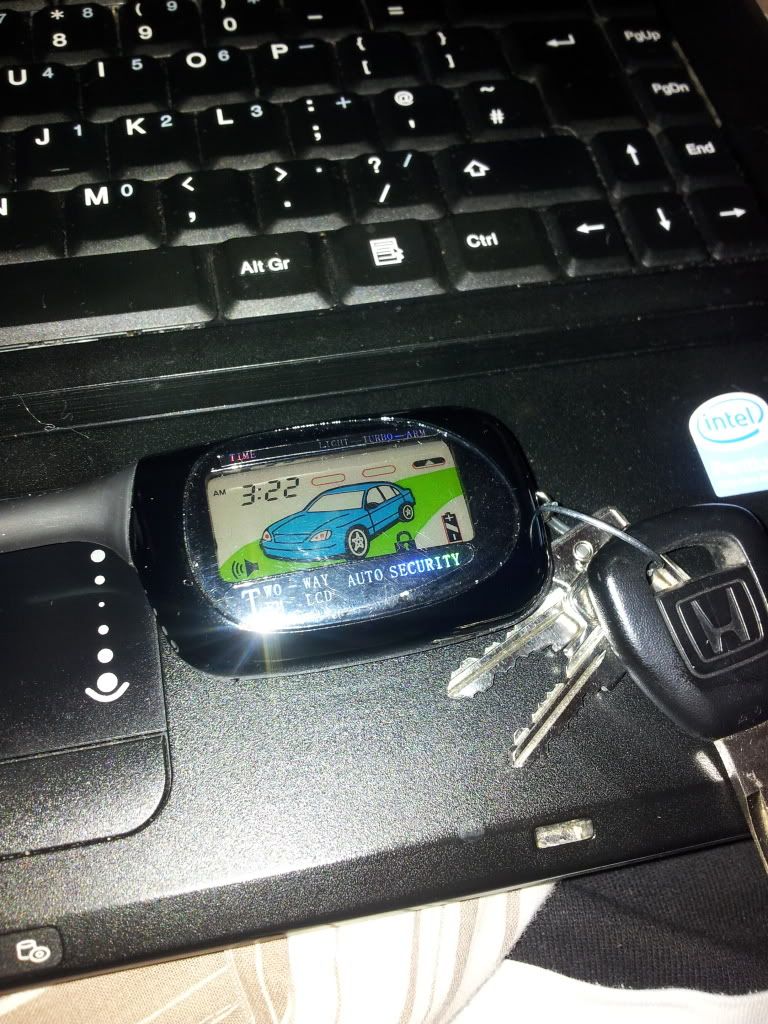
This took me about 30 mins. Now I can use this
I will make other posts later.
J
