To get access to the timing belts you first need to (if you need info on how to do this see the service manuals http://www.ludegeneration.co.uk/wiki/in ... ce_Manuals)
Remove the auxiliary belts (alternator/air con & power steering)
Remove the crank pulley (warning this may be on tight, it is rated at 180 lb/ft)
Refit the crank pulley key into the key way to lock the crank and its pulleys together
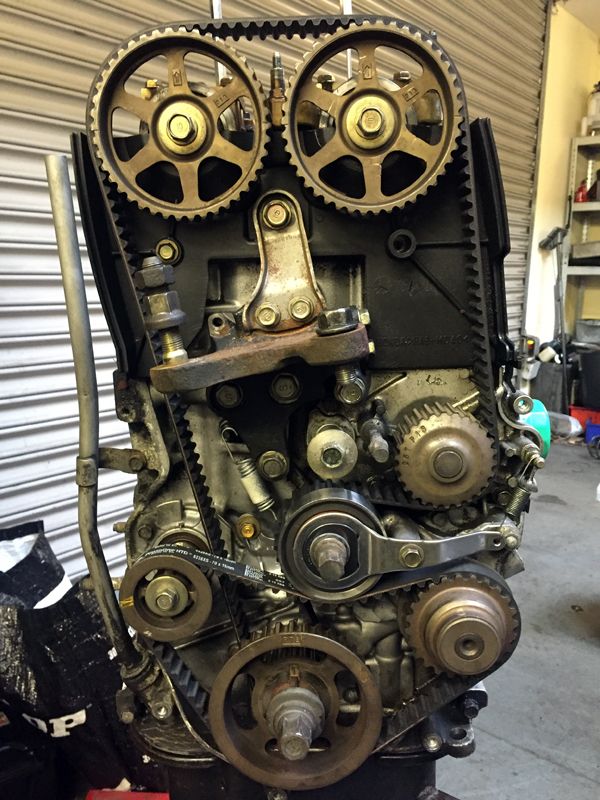
Remove the timing belt covers
Set engine to TDC by rotating the crank until the timing marks align
If you have a timing locking kit lock the rear balance shaft and cams (I recommend locking the cam in place as it is very easy to have these a tooth or two out!!!)
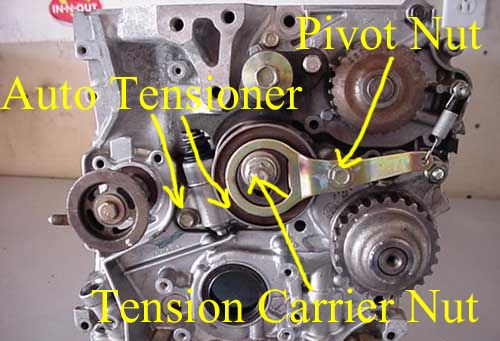
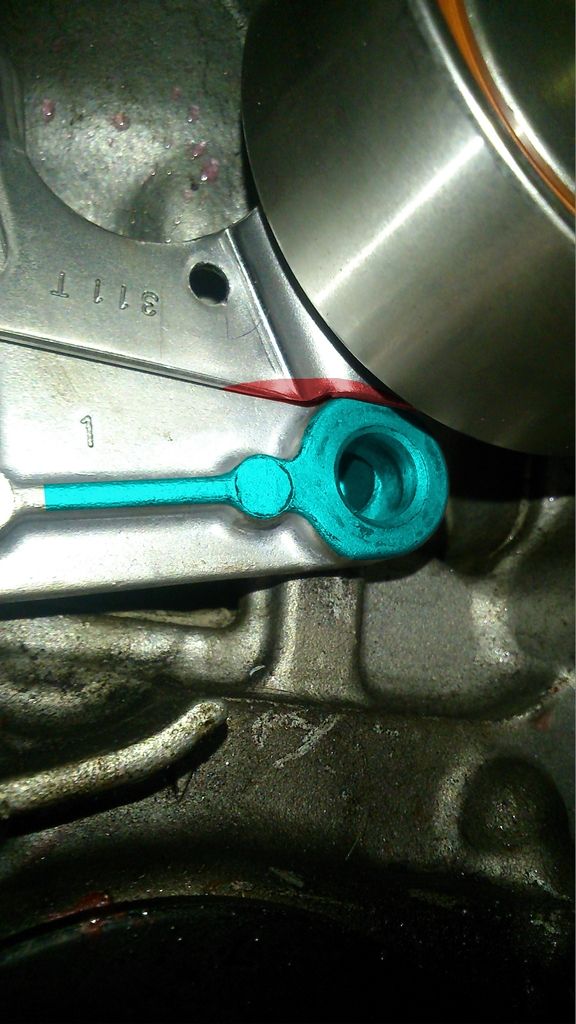
Remove the balance belt by taking the nut off the tension carrier and the pivot nut to release the tension and slip the belt off.
Remove the balance belt tensioner pulley to get access to the timing belt auto tensioner.
Remove the auto tensioner - I just undo its bolts and remove the tensioner
Remove the timing belt by sliding the balance belt crank pulley forward to create room for the belt to come off.
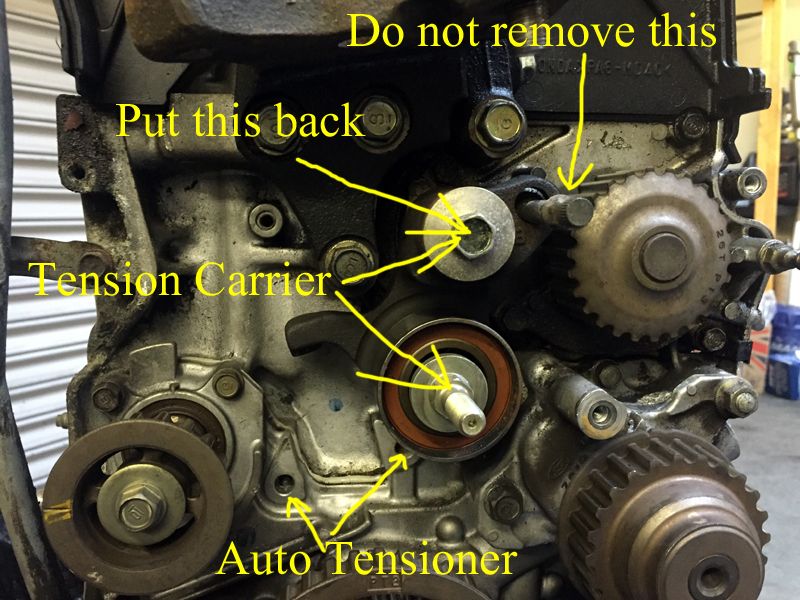
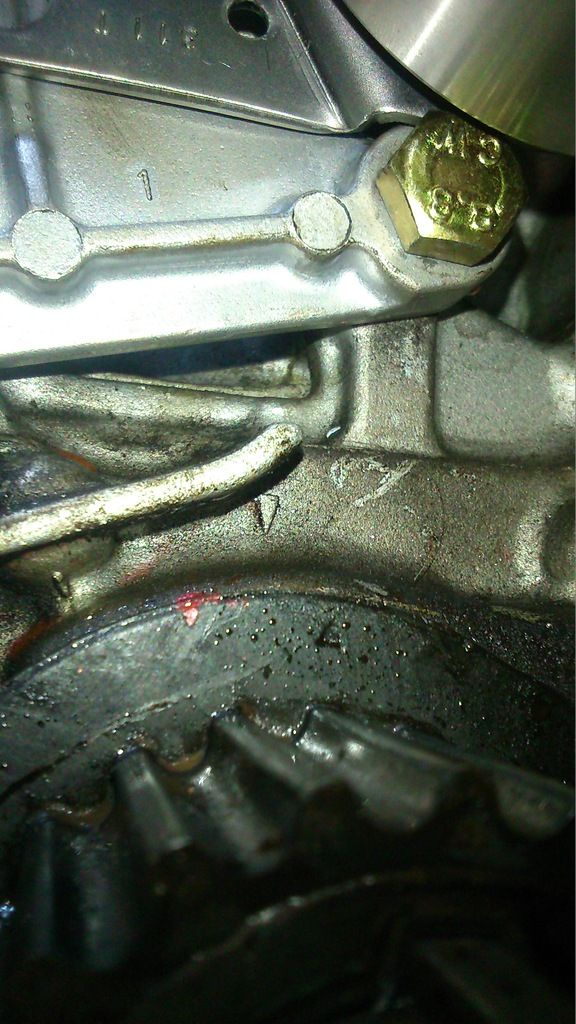
Remove the bolts from the tension carrier and remove the carrier and the main tensioner pulley. You have now removed everything you need to and are ready to install the new H23 manual tensioner. Before installing the H23 tensioner put back the top tension carrier bolt as this assists holding the water pump in place.
H23 Tensioner
In the H23 manual kit is the following:
13404-PT0-004 - ADJUSTER COMP., BALANCER BELT
13415-PT0-000 - BRACKET, BALANCER BELT ADJUSTER
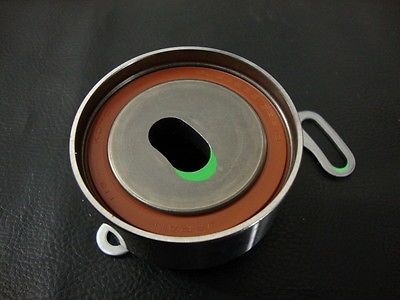
14510-PT0-004 - ADJUSTER COMP., TIMING BELT
14516-PT2-000 - SPRING COMP., TIMING BELT ADJUSTER
14521-P14-A00 - PLATE, ADJUSTER
90014-P14-A00 - BOLT, TIMING BELT ADJUSTER BASE
90015-PT0-000 - BOLT, TIMING BELT ADJUSTER SPRING
90016-PT0-000 - BOLT, TIMING BELT ADJUSTER
90140-P14-A00 - WASHER, PLAIN (11MM)
You will also need a bolt with a 10mm head, the usual Honda bolt of that size.
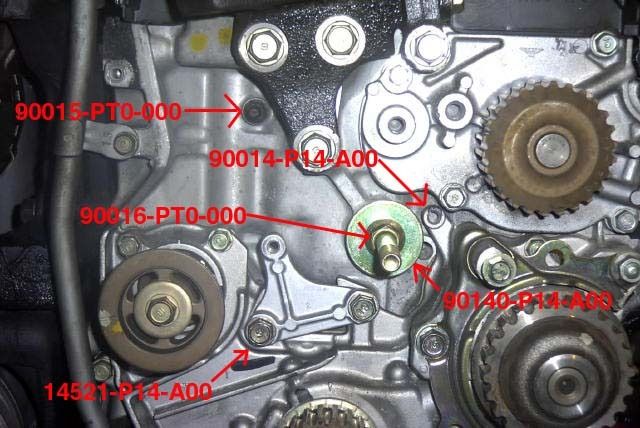
Install the following parts as show in the above pic. There is only one suggestion I would make, take the 90014-P14-A00 - BOLT, TIMING BELT ADJUSTER BASE and install first!!! There is not a lot of room to get a socket in there if you install other bits first. When installing 14521-P14-A00 - PLATE, ADJUSTER use the bolts from the old auto tensioner.
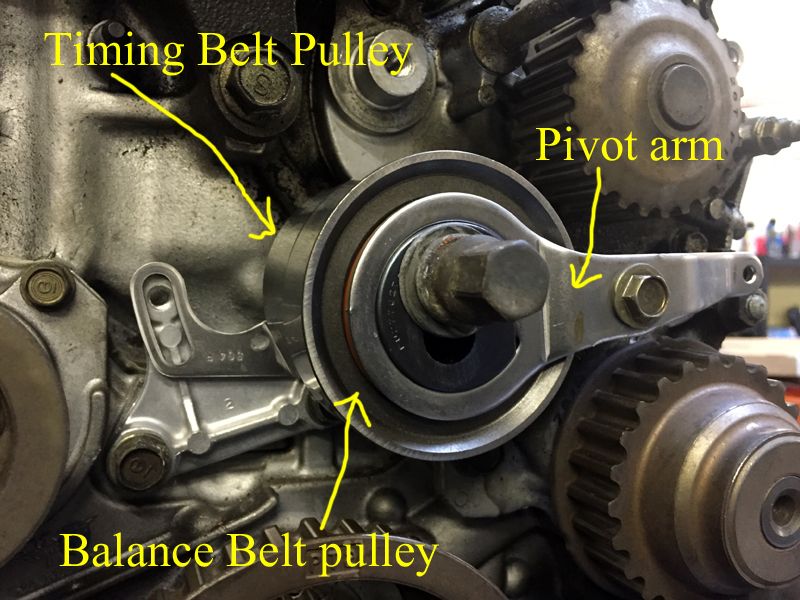
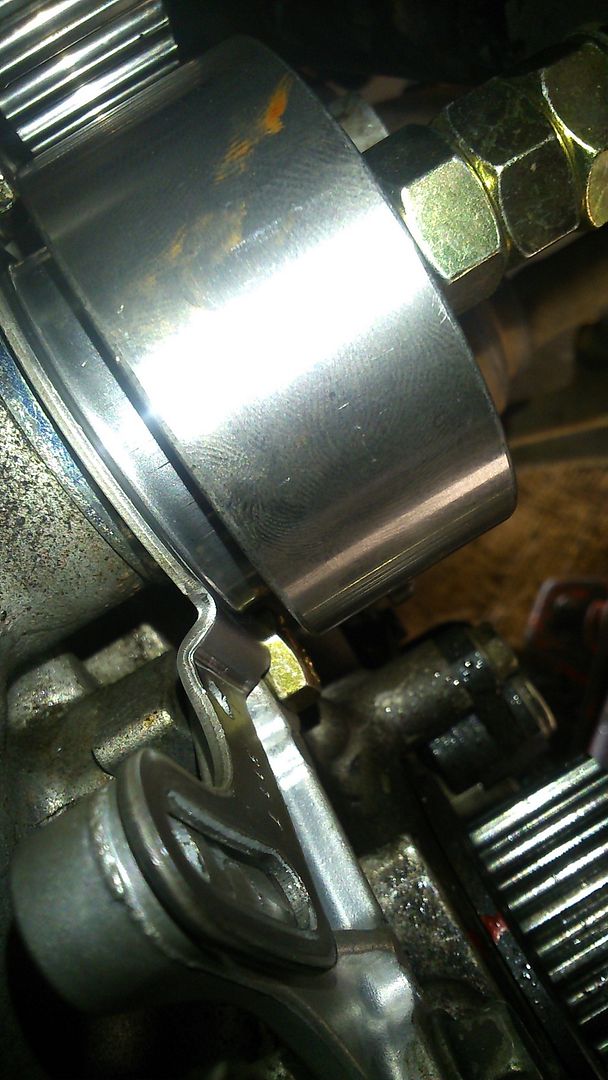
Take the timing belt adjuster pulley (14510-PT0-004) and place it over the adjuster pulley bolt (90016-PT0-000)
Take the balance belt adjuster pulley and slip over the top of the timing belt adjuster pulley, secure in place with the original washer and nut. Use the new pivot arm and bolt in place with the original bolt.
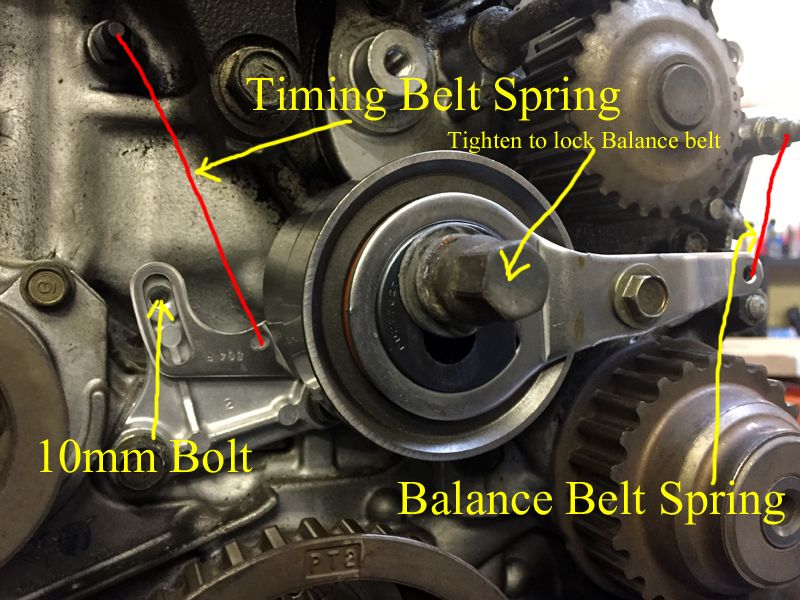
Install the springs for the timing belt adjuster and balance belt. Use a pair of pliers to squash the ends of the balance belt spring, as it can be loose fitting, so to make sure that it does not fall off.
Install the new timing belt and once tensioned use a 10mm bolt to lock the adjuster in place. The H22 timing belt on the H23 tensioner is a tight fit. It is a two man job made easier by one person pushing the belt from behind with a spanner while the other person squeezes the belt over the cam gears.
Install the balance shaft belt and lock the adjuster in place by tightening the tension carrier nut (pictured above).
When the both belts are installed and the adjusters tightened, rotate the crank a few times to check that all timing marks return to their proper positions.
Pic of the whole kit installed: