How To: Remove rear wiper and bung
Posted: Mon Jan 30, 2012 2:21 pm
Hi all! 
Copied over from
Here is the same ebay link I got my blanking grommet from if someone wants to get another batch of 5:
32mm Blanking Grommet
Well finally fitted it today – rear wiper is long gone!
Took lots of pics and figured lets do a how to as I do like to write a load of cr@p!
HOW TO REMOVE REAR WIPER AND INSTALL BLANKING GROMMET
Tools needed:
- Socket set – you will use a 10mm & 12mm bit
- Small flat head screwdriver (to pry things off)
- 23mm spanner/socket – or an adjustable spanner/pliers
- Silicone & Silicone gun
Time: 30mins (maybe quicker if your not taking pics at each stage! )
)
Skill: Easy Peasy!
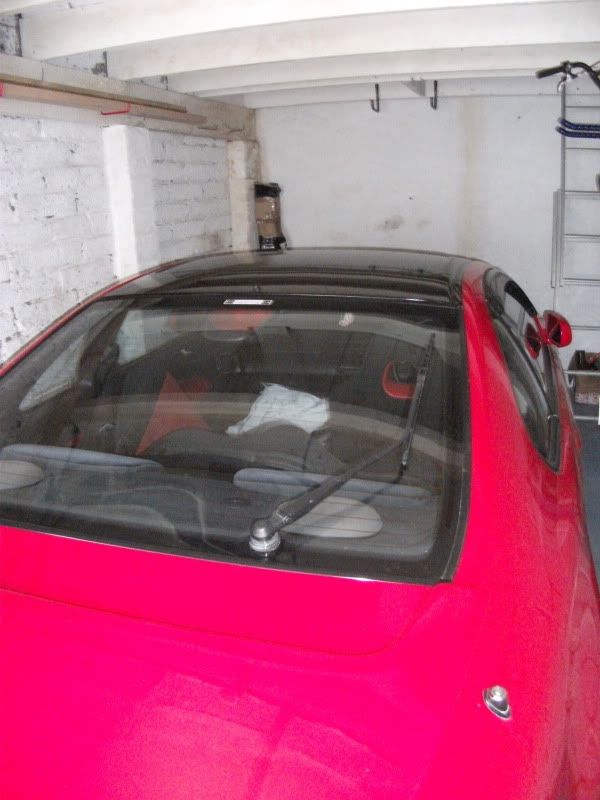
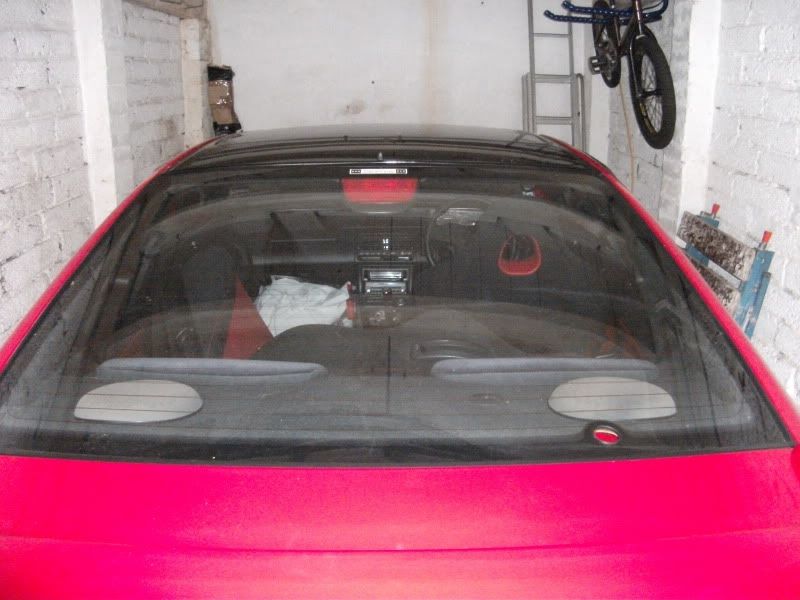
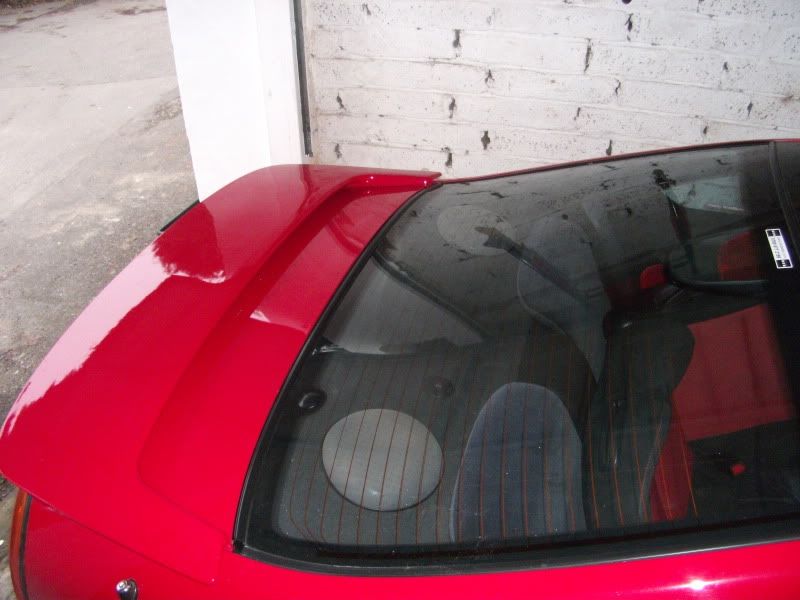
Quick before pic of the offending wiper (yes it needs a clean!):
First off, you need to remove the cap that covers the wiper arm bolt:

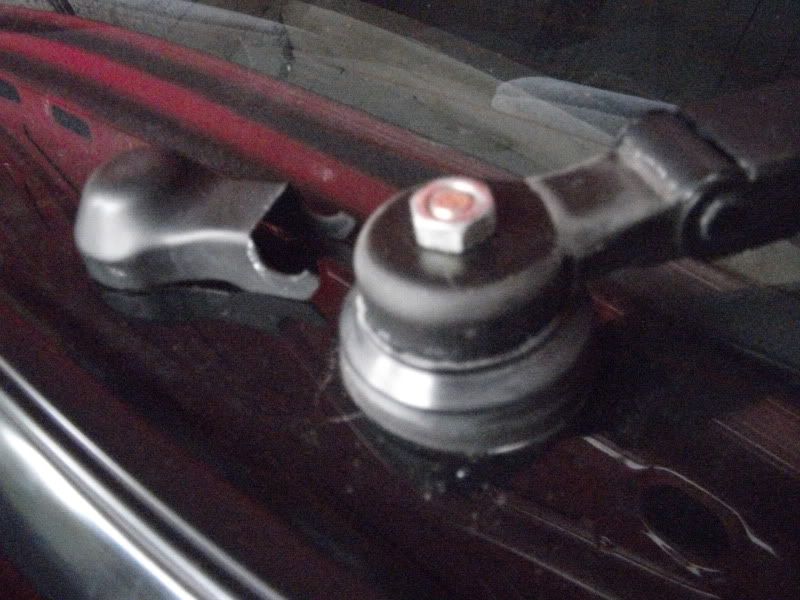
This exposes the 12mm nut that holds the wiper arm onto the motors spline.
Undo this nut and gently wriggle and prise the wiper arm off.
Then you’ll be left with this:
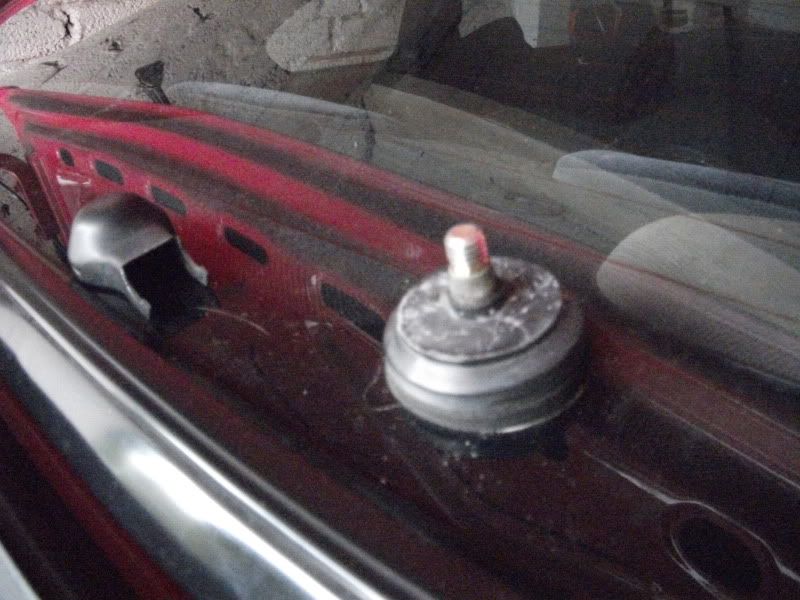
Then you can prise off the next item – a black cover, like so:
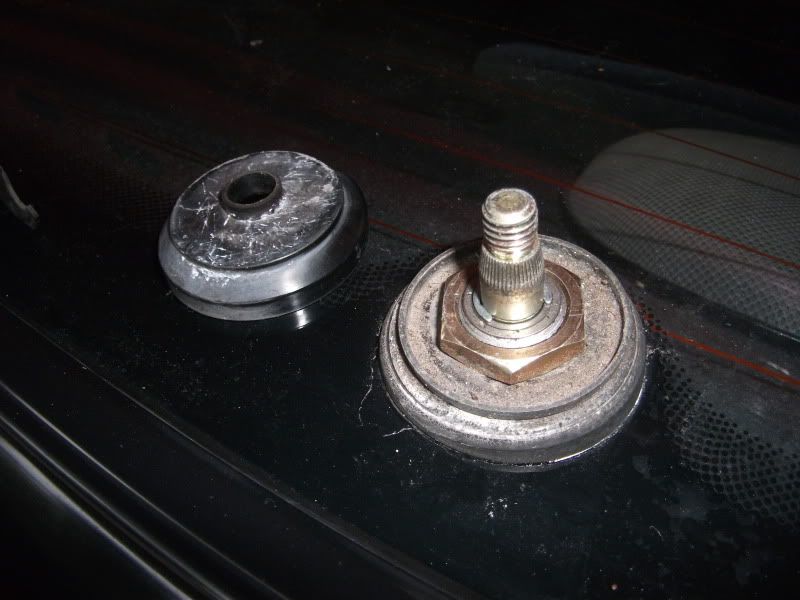
This exposes the flat 23mm nut that holds the motor spline on the outside of the glass.
Undo this nut and remove, like so:
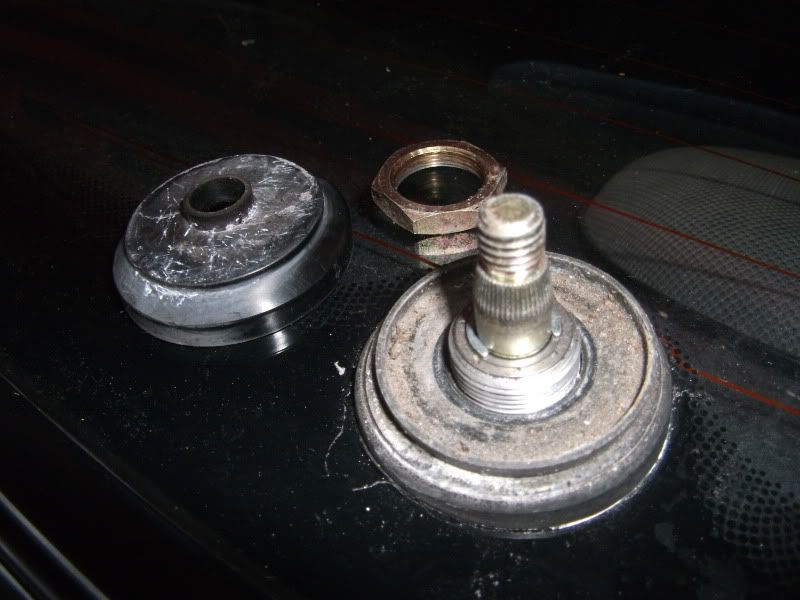
This is the last item securing the motor up top.
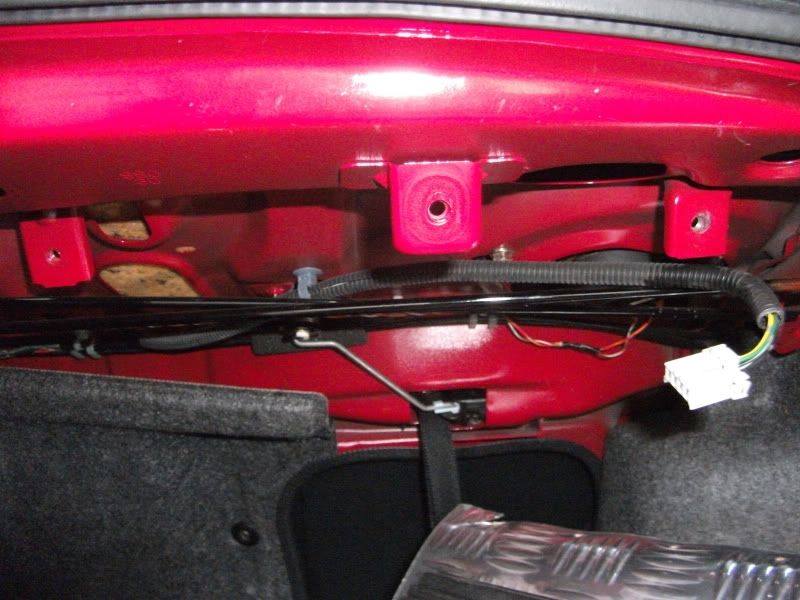
Now we go inside the boot to remove the motor.
Here’s what it looks like:
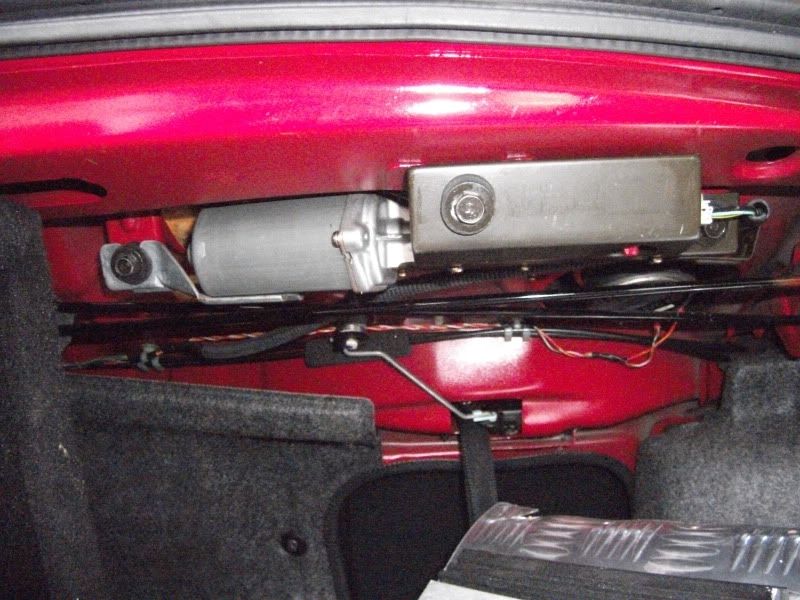
Firstly, remove the electrical connector, which is on the right hand side of the above pics.
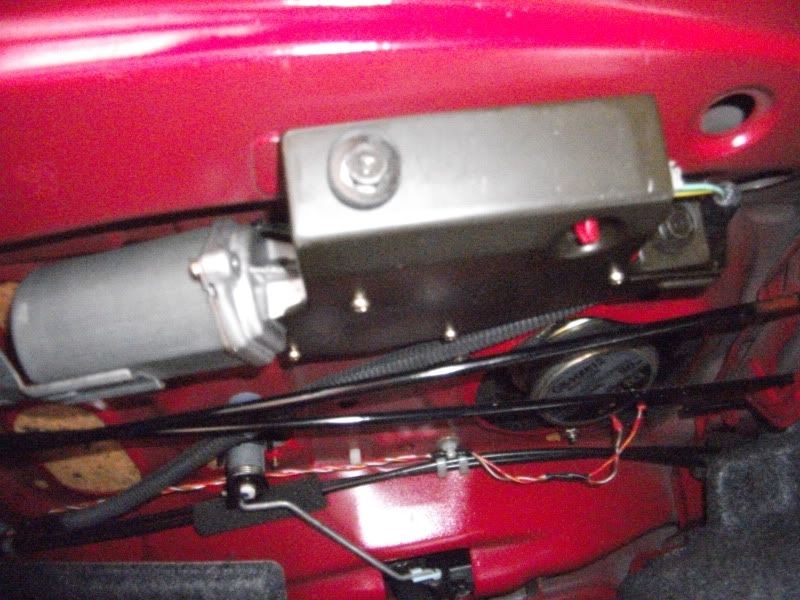
Now remove the three 10mm headed bolts you can see – one left, one middle and one right. The unit will then drop down a little but rest on one of the boot torsion bar bits, like so:
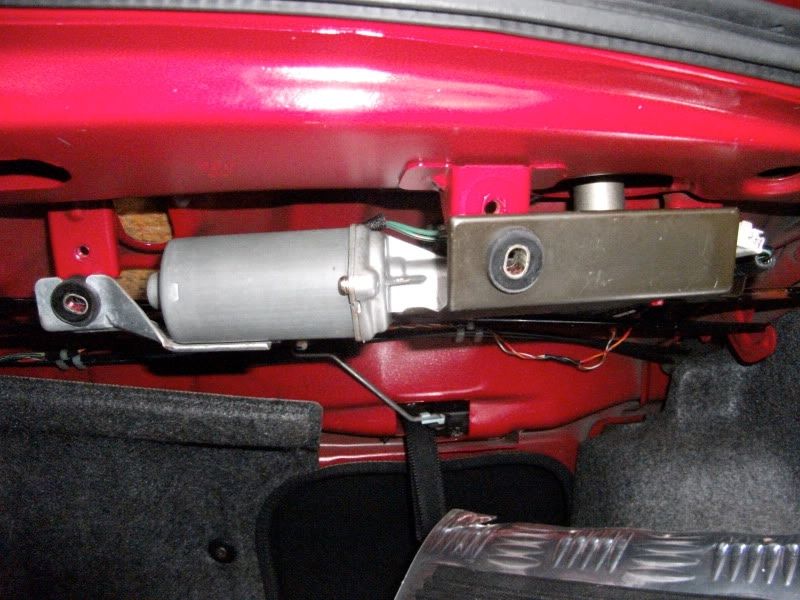
No pull the motor towards you and wiggle the spline out of the hole.
Now she looks like this:
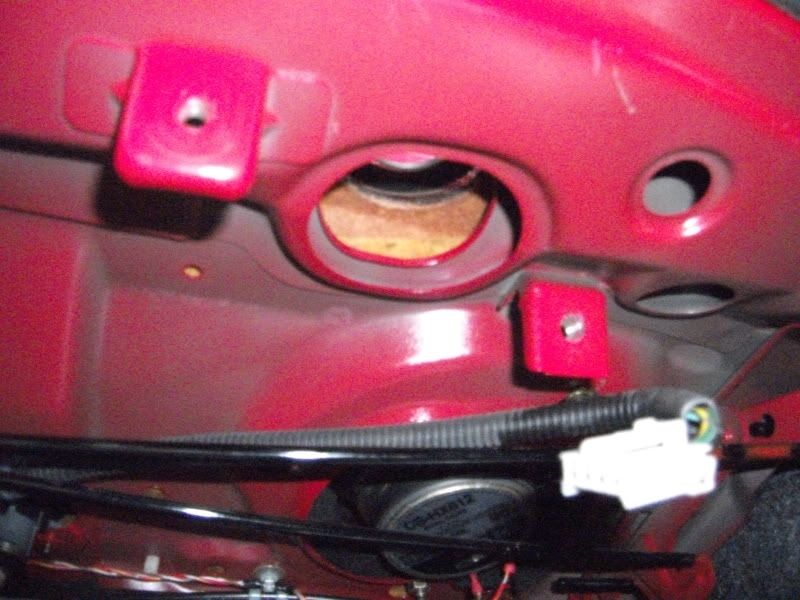
All gone!
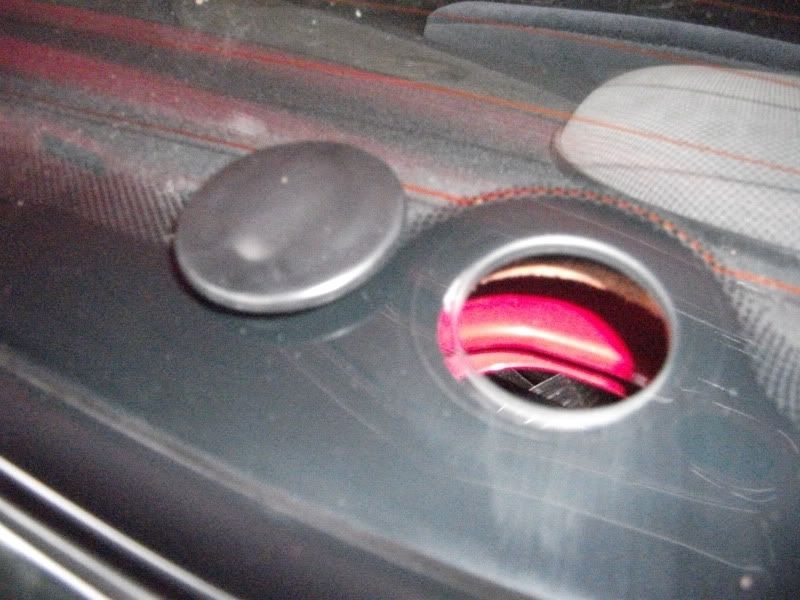
Now back up top – there is another top cap to remove and then prise out the huge monstrosity of a rubber grommet, like so:
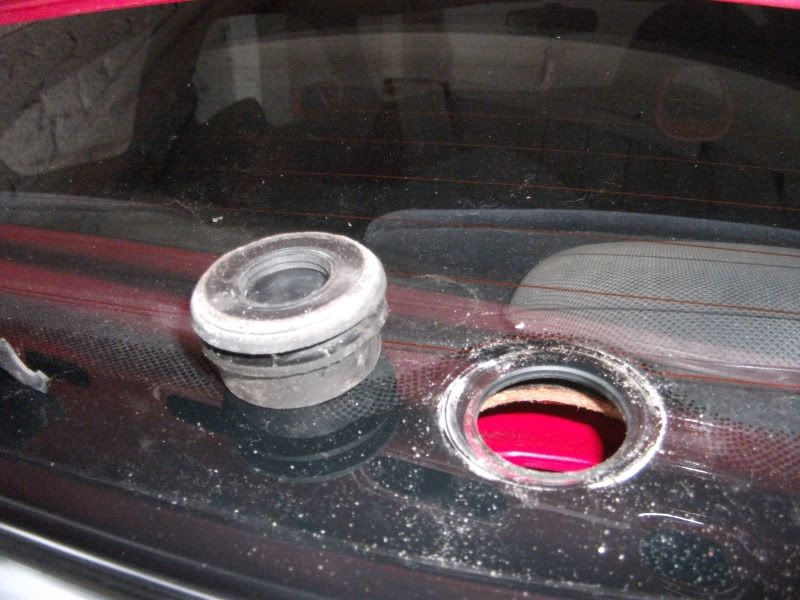
I gave the glass a good clean to remove all the markings from the grommet – cleans up easily.
Agh! What about this massive HOLE I’m left with?
Oh yes – we had these all along!
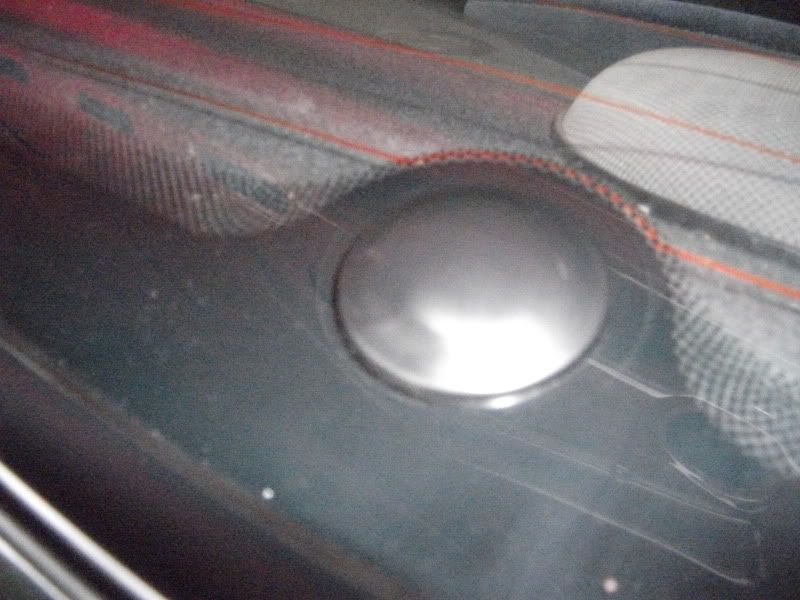
It’s a little fiddly, but press in the blanking grommet – I got about two thirds in by hand and then holding down those parts I pushed in the rest with a small screwdriver (very small electrical one)
Have a feel inside and make sure the bottom lip is actually pushed into the other side of the glass.
These grommets are for a 32mm hole. The actual size of the hole is about 31mm so is a snug fit and domes up slightly. Looks absolutely fine though. Hard to find a 31mm size though.
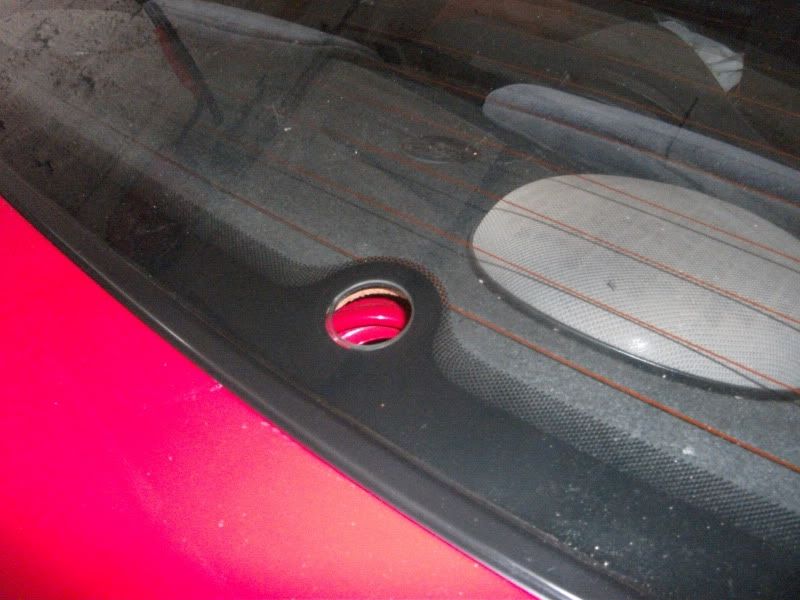
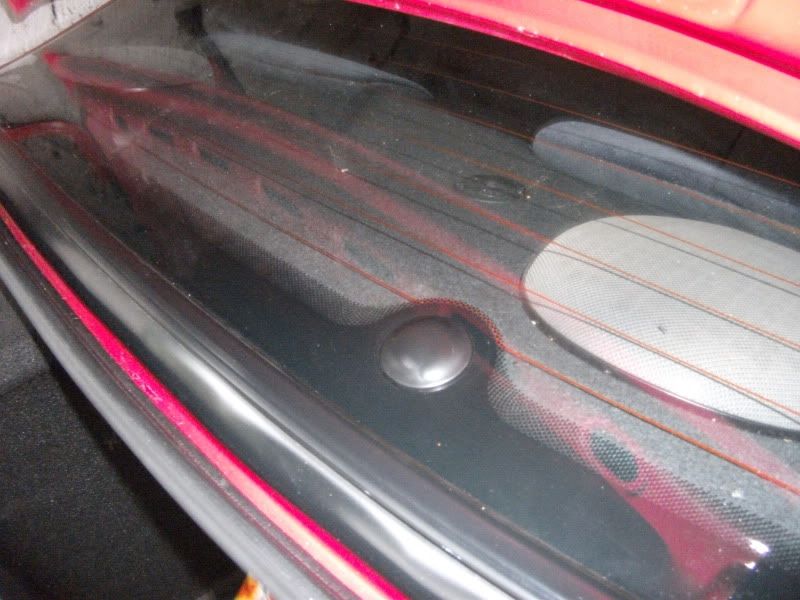
Here is the end result:
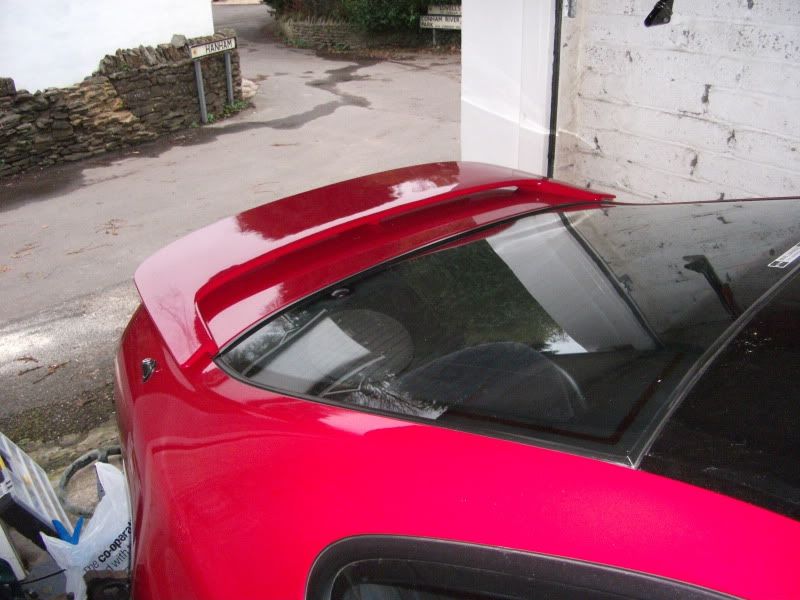
Much improved I think you’ll agree. The rear wiper is hardly used – especially how clean I tend to keep the car – water just beads off anyway. Plus the wiper was hardly subtle and ruined all the smooth lines of the Prelude. Flows a lot better now and looks a lot cleaner and ‘finished’ in my eyes. Plus it also has a bit of weight to the motor and arm for all you weight saving hungry luders out there.
Last thing I would strongly advise you to do is secure the grommet and waterproof it 100% with some silicone sealant to the underside.
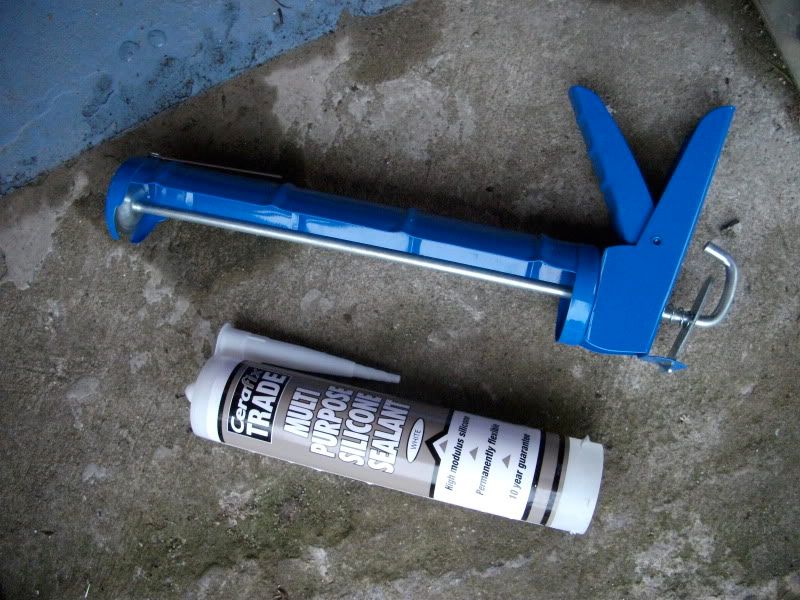
I actually still need to do this! I had time, but realised I only had white silicone in the garage. The very edge of the hole in the glass doesn’t have the black paint on the inside all the way up to the edge. It’s fine as it is being dark below. But white silicone would stand out like a sore thumb! So I need to get some clear or black preferred to finish it off next weekend.
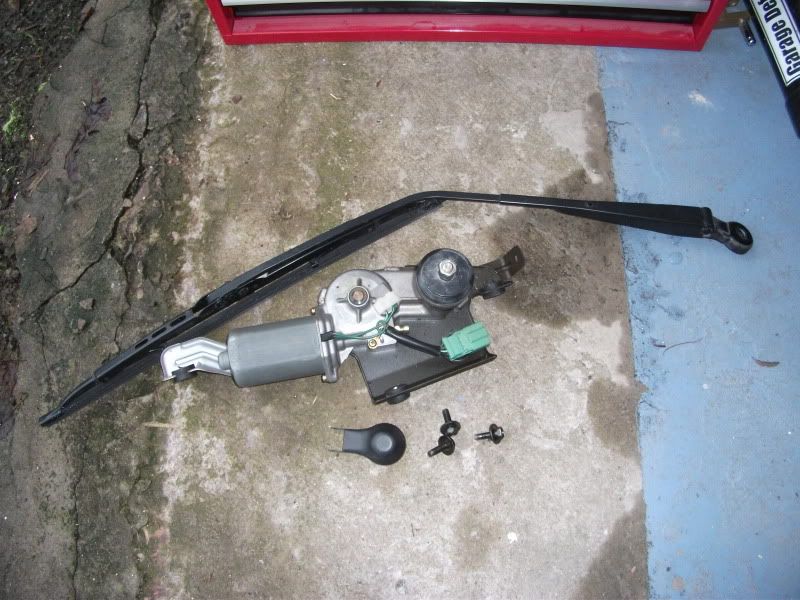
Here is a pic of everything removed:
BEFORE:
AFTER:
Overall, I’m a very happy man – such a quick simple mod that transforms the rear end/side profile of the car and saves weight.
Hop this encourages more to do the same.
Cheers,
Rob
Copied over from
Here is the same ebay link I got my blanking grommet from if someone wants to get another batch of 5:
32mm Blanking Grommet
Well finally fitted it today – rear wiper is long gone!
Took lots of pics and figured lets do a how to as I do like to write a load of cr@p!
HOW TO REMOVE REAR WIPER AND INSTALL BLANKING GROMMET
Tools needed:
- Socket set – you will use a 10mm & 12mm bit
- Small flat head screwdriver (to pry things off)
- 23mm spanner/socket – or an adjustable spanner/pliers
- Silicone & Silicone gun
Time: 30mins (maybe quicker if your not taking pics at each stage!
Skill: Easy Peasy!
Quick before pic of the offending wiper (yes it needs a clean!):
First off, you need to remove the cap that covers the wiper arm bolt:
This exposes the 12mm nut that holds the wiper arm onto the motors spline.
Undo this nut and gently wriggle and prise the wiper arm off.
Then you’ll be left with this:
Then you can prise off the next item – a black cover, like so:
This exposes the flat 23mm nut that holds the motor spline on the outside of the glass.
Undo this nut and remove, like so:
This is the last item securing the motor up top.
Now we go inside the boot to remove the motor.
Here’s what it looks like:
Firstly, remove the electrical connector, which is on the right hand side of the above pics.
Now remove the three 10mm headed bolts you can see – one left, one middle and one right. The unit will then drop down a little but rest on one of the boot torsion bar bits, like so:
No pull the motor towards you and wiggle the spline out of the hole.
Now she looks like this:
All gone!
Now back up top – there is another top cap to remove and then prise out the huge monstrosity of a rubber grommet, like so:
I gave the glass a good clean to remove all the markings from the grommet – cleans up easily.
Agh! What about this massive HOLE I’m left with?
Oh yes – we had these all along!
It’s a little fiddly, but press in the blanking grommet – I got about two thirds in by hand and then holding down those parts I pushed in the rest with a small screwdriver (very small electrical one)
Have a feel inside and make sure the bottom lip is actually pushed into the other side of the glass.
These grommets are for a 32mm hole. The actual size of the hole is about 31mm so is a snug fit and domes up slightly. Looks absolutely fine though. Hard to find a 31mm size though.
Here is the end result:
Much improved I think you’ll agree. The rear wiper is hardly used – especially how clean I tend to keep the car – water just beads off anyway. Plus the wiper was hardly subtle and ruined all the smooth lines of the Prelude. Flows a lot better now and looks a lot cleaner and ‘finished’ in my eyes. Plus it also has a bit of weight to the motor and arm for all you weight saving hungry luders out there.
Last thing I would strongly advise you to do is secure the grommet and waterproof it 100% with some silicone sealant to the underside.
I actually still need to do this! I had time, but realised I only had white silicone in the garage. The very edge of the hole in the glass doesn’t have the black paint on the inside all the way up to the edge. It’s fine as it is being dark below. But white silicone would stand out like a sore thumb! So I need to get some clear or black preferred to finish it off next weekend.
Here is a pic of everything removed:
BEFORE:
AFTER:
Overall, I’m a very happy man – such a quick simple mod that transforms the rear end/side profile of the car and saves weight.
Hop this encourages more to do the same.
Cheers,
Rob
