How to: PAS Removal
Posted: Thu Feb 16, 2012 9:44 am
This will talk you through the stages of removing PAS completely. Simply removing the belt from the pump will not suffice as you'll be fighting to force the fluid through the rack each time you turn. However once you have followed these steps there is no simple means of putting it back again, so please make sure this is something you know you want to do 
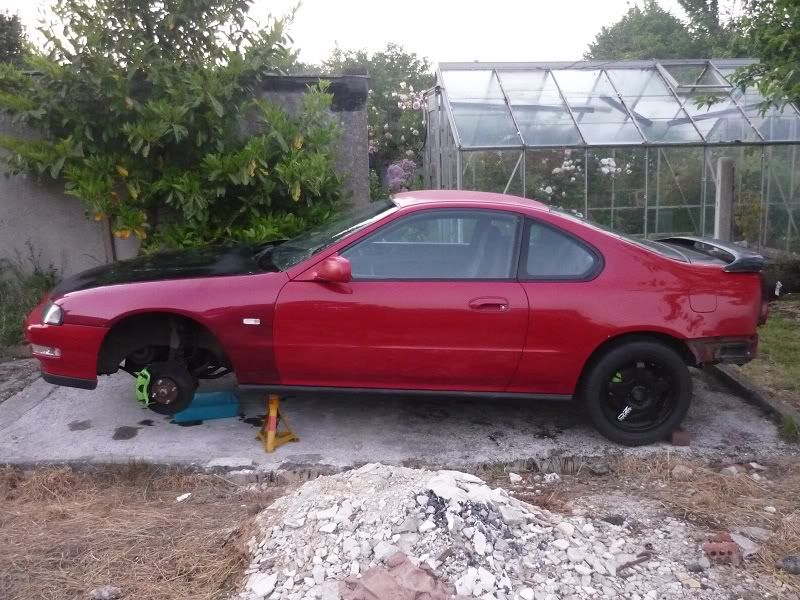
So... Firstly I jacked the car up. Removing the wheels firstly helped with getting in and out from under the car, plus also allowed a bit more light under there. But I mainly did this as she's going to be parked up for a while and I didn't want the tyres drying out...
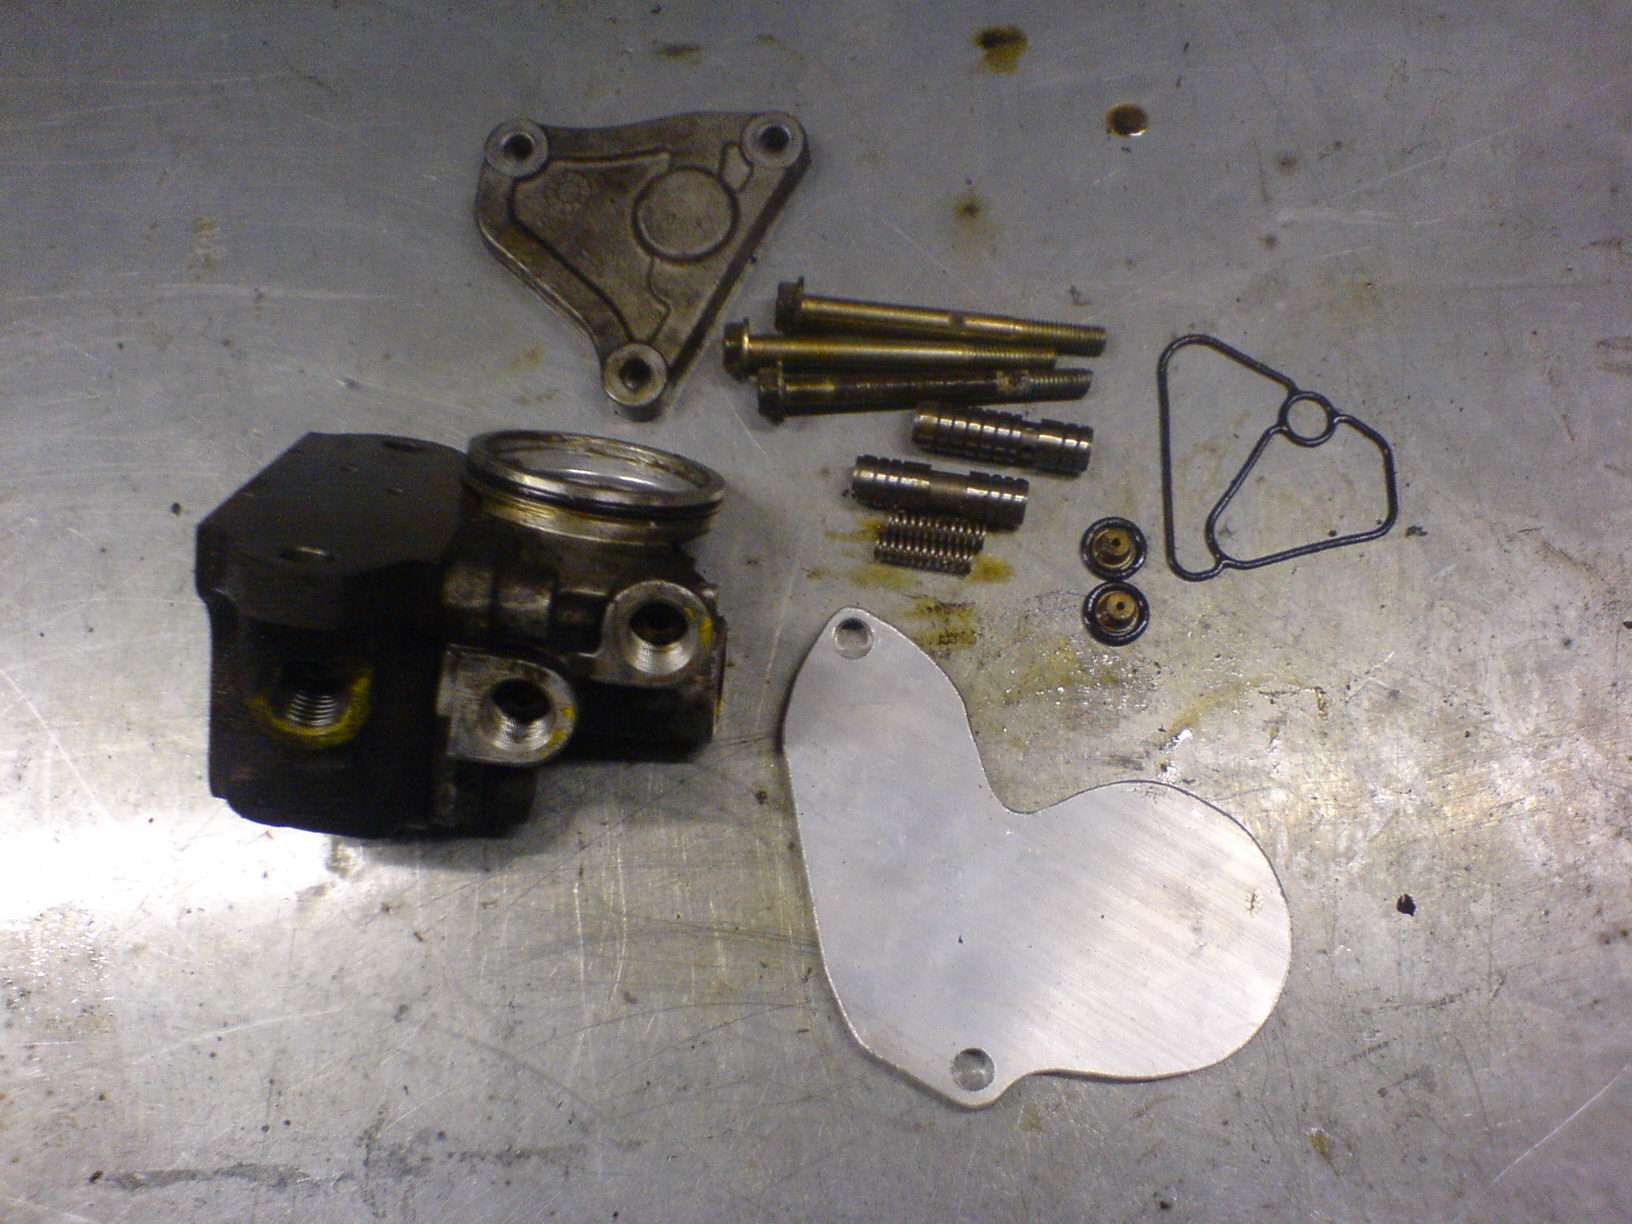
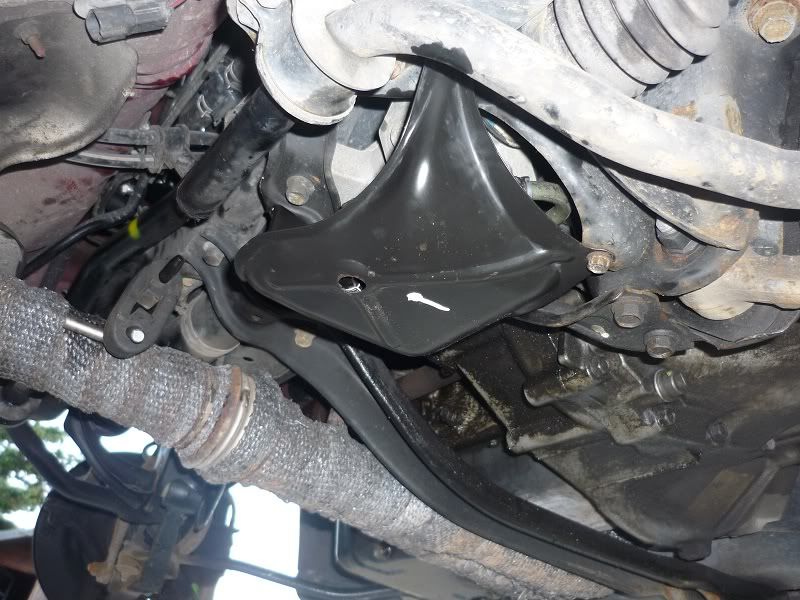
Once under the car I started by removing the three 10mm bolts to remove the protective cover...
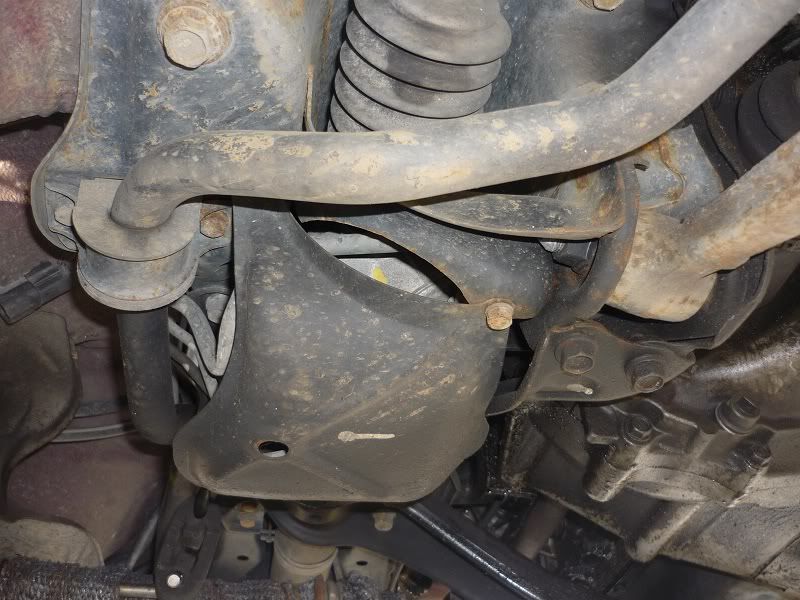
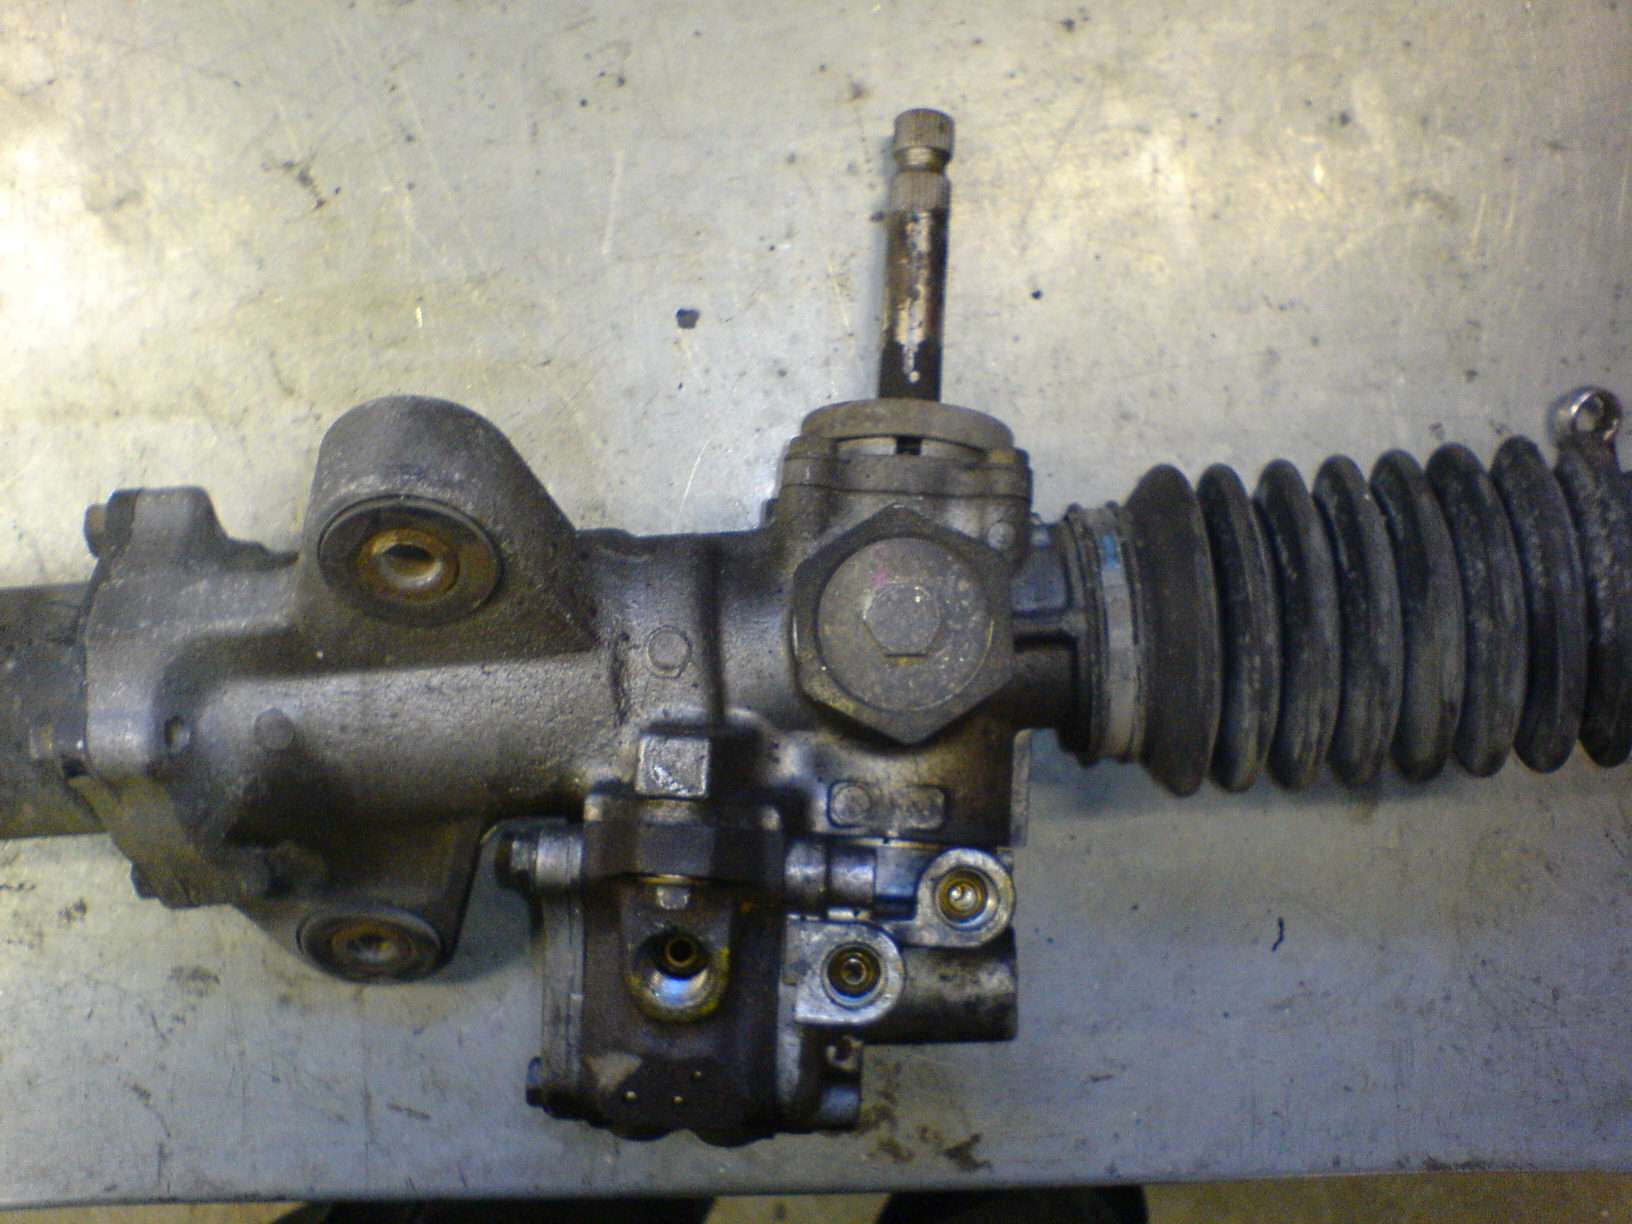
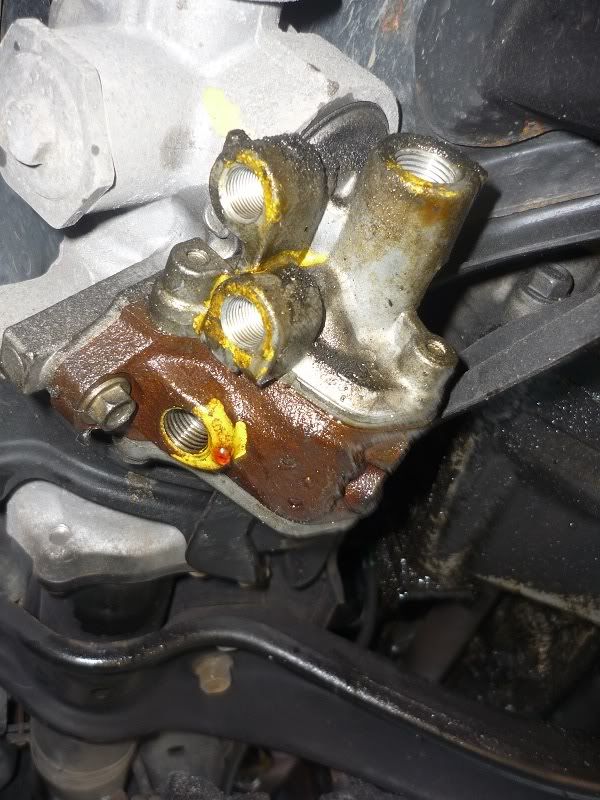
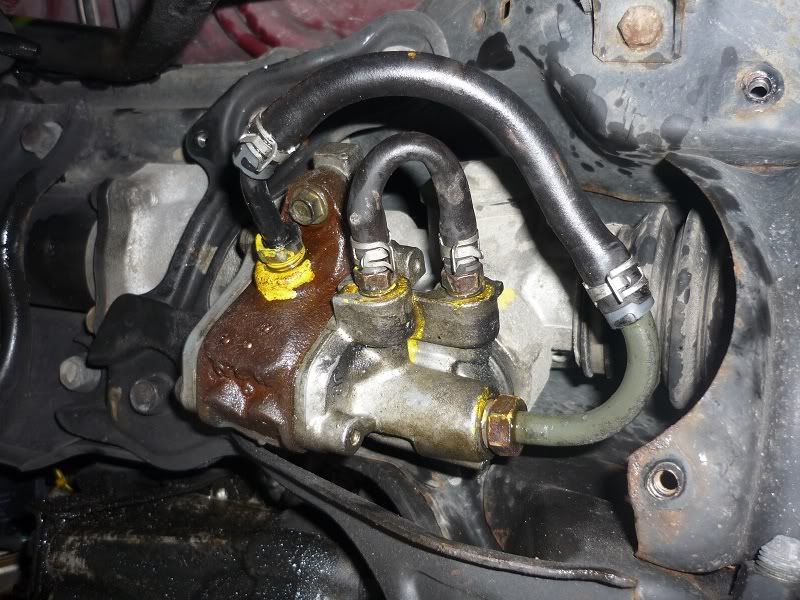
Once removed, that revealed the four pipes to contend with...
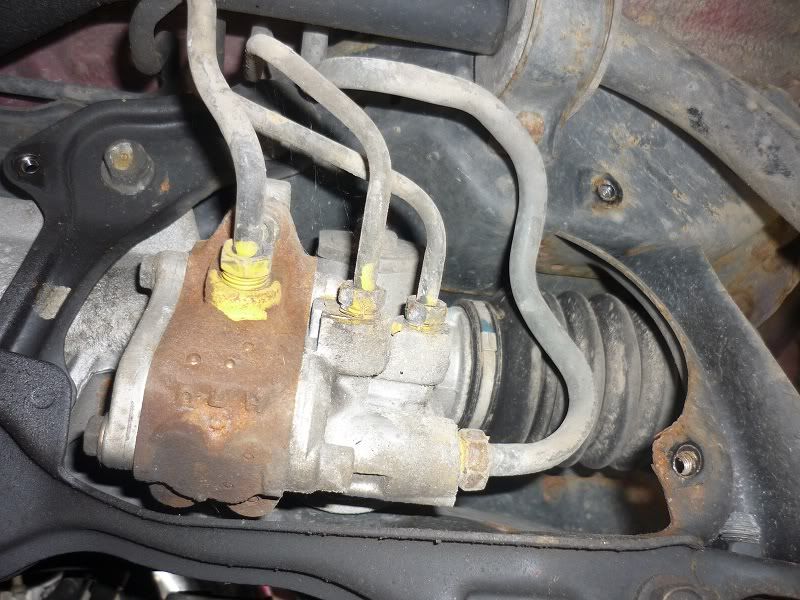
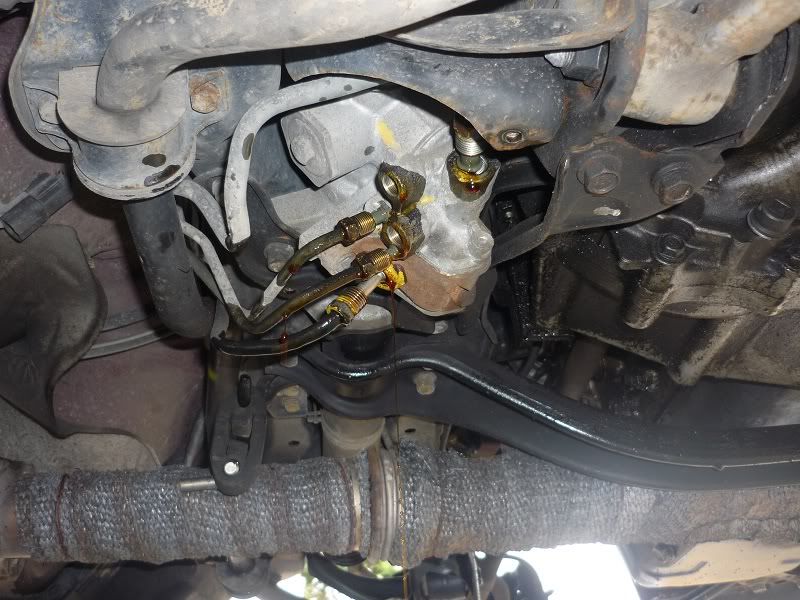
I carefully loosened and pulled the four pipes from the block and allow the fluid to drain into a suitable container... I chose a deep tray (the cat's old litter tray) to allow for splutter as I then turned the wheels from full lock to full lock to force as much of the fluid out as possible...
The less fluid in the steering rack, the less resistance there will be. You'll never get it all out, but the remaining dregs will act as a lubricant, so this is fine.
Whilst the fluid is draining I took the opportunity to stand again and start removing the components from the engine bay. I started with the belt and pump itself and then removed all the connecting pipework as I went. This made things easier and means I also don't have to describe every pipe to be removed to you
When doing this be careful as there will still be fluid in some of the pipes. It was also a lot easier to cut some of the pipes as well. Put it this way, once you've moved it, you'll realise you'll never want to put it back again, so you may as well make it as easy as possible to remove by cutting through When I came to removing the pipework from behind the block this is where things got awkward. It's very tight behind there and there are a few plastic clips and 10mm-bolted-down-brackets to remove which are a real pain! I persisted and eventually got them  I found it easier to remove my induction kit as well.
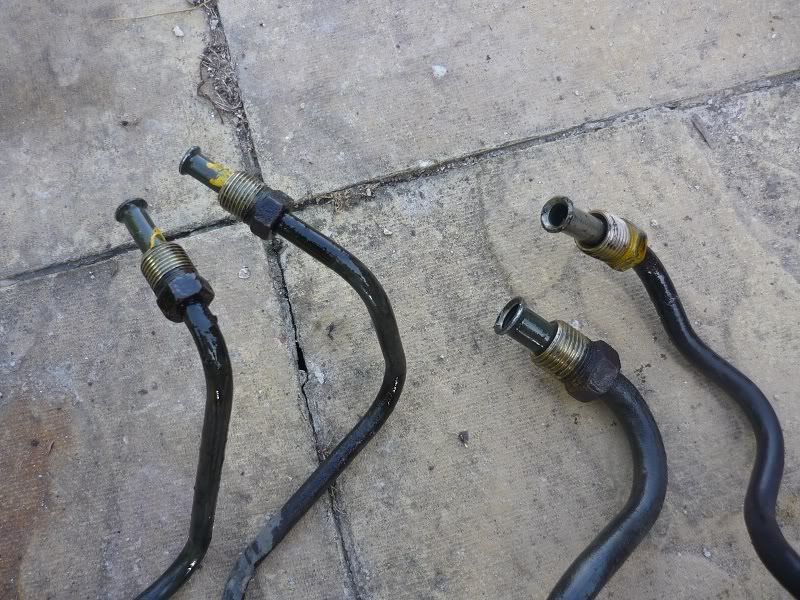
For the last bit of pipework (to the steering rack) I needed to remove these from underneath the car again. I needed to keep the ends of these bits, so made sure the ends weren't damaged...
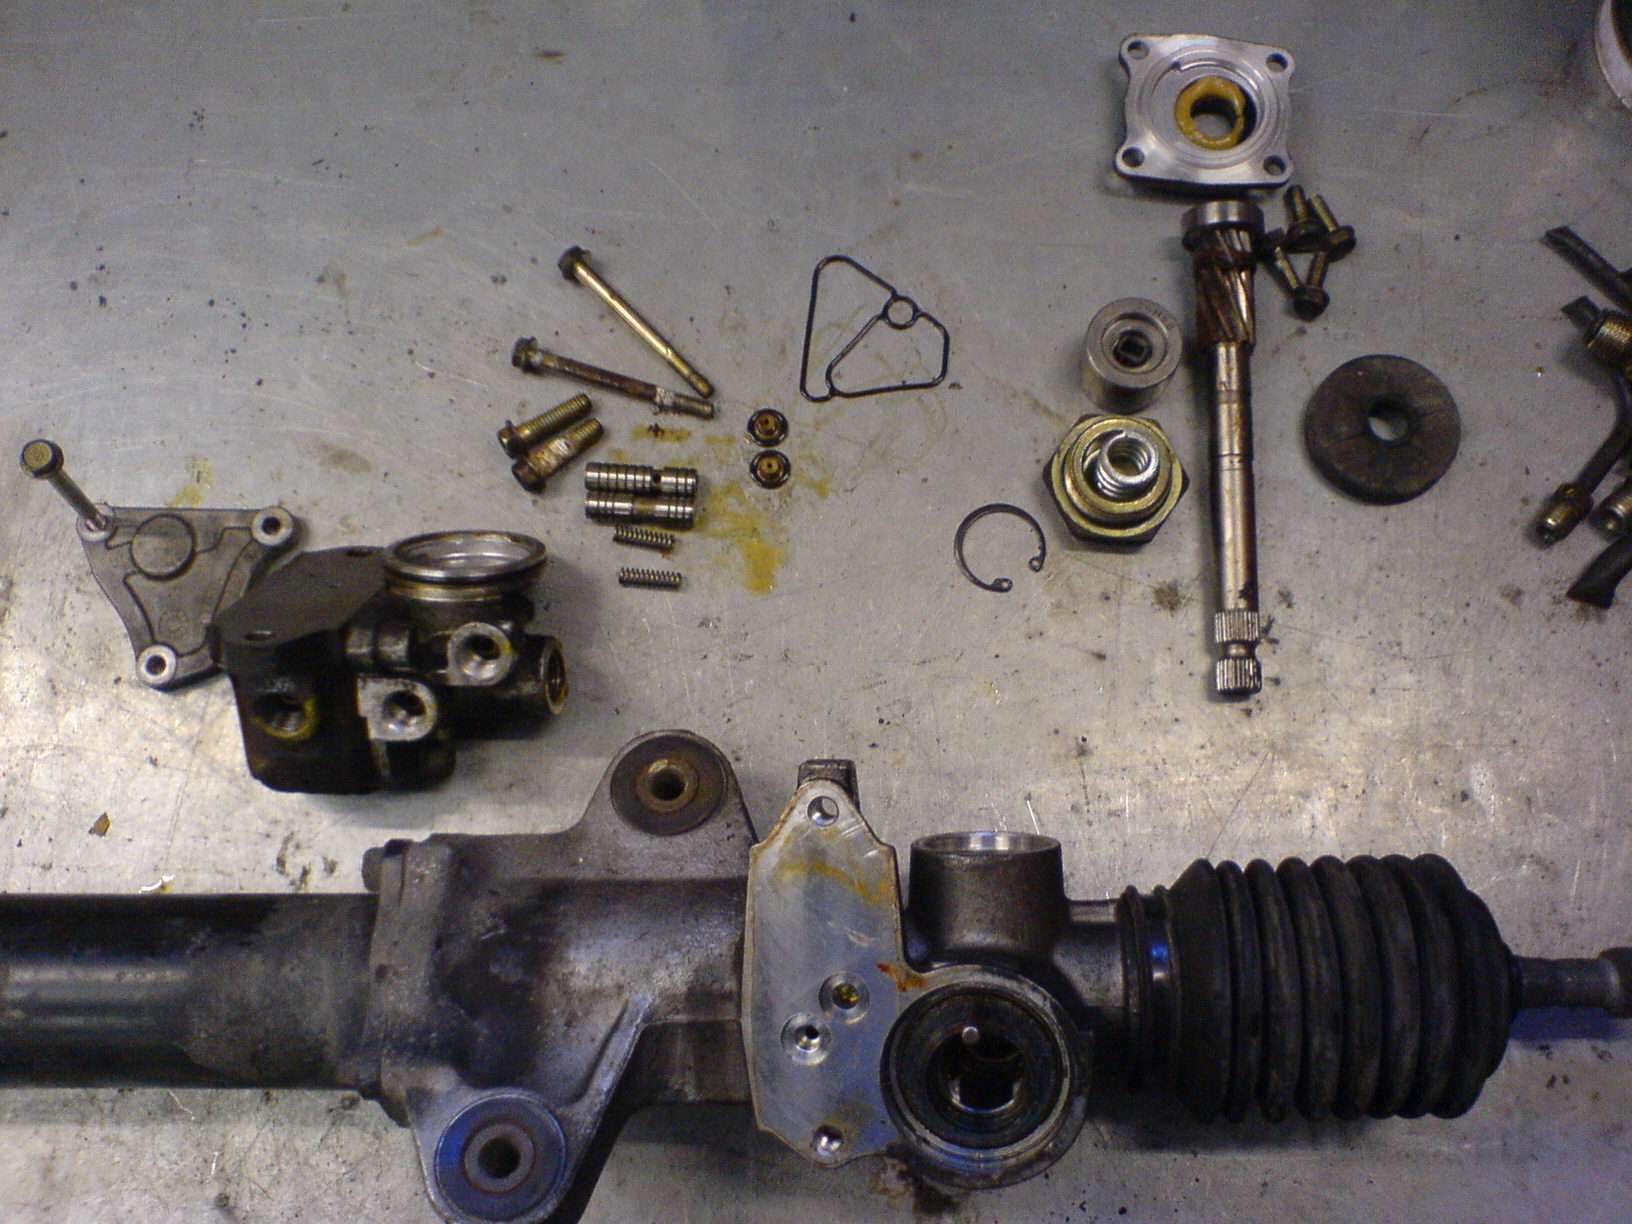
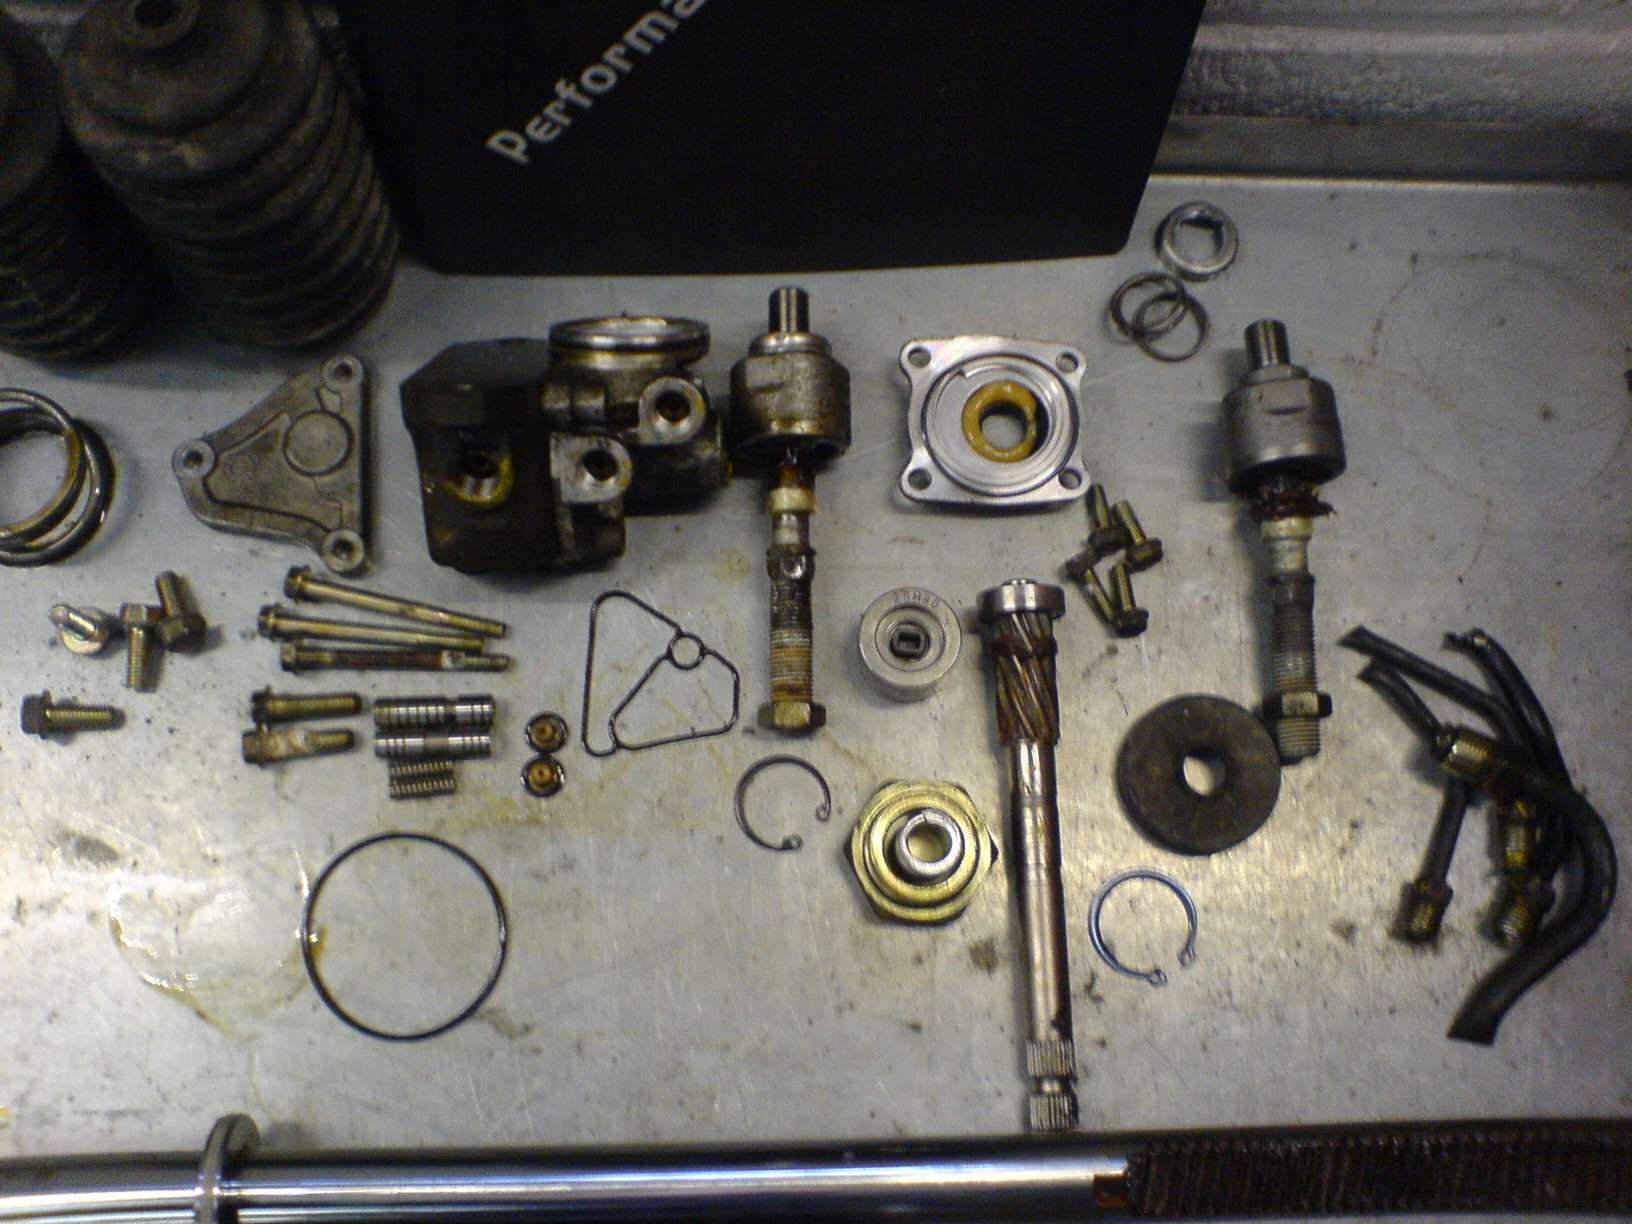
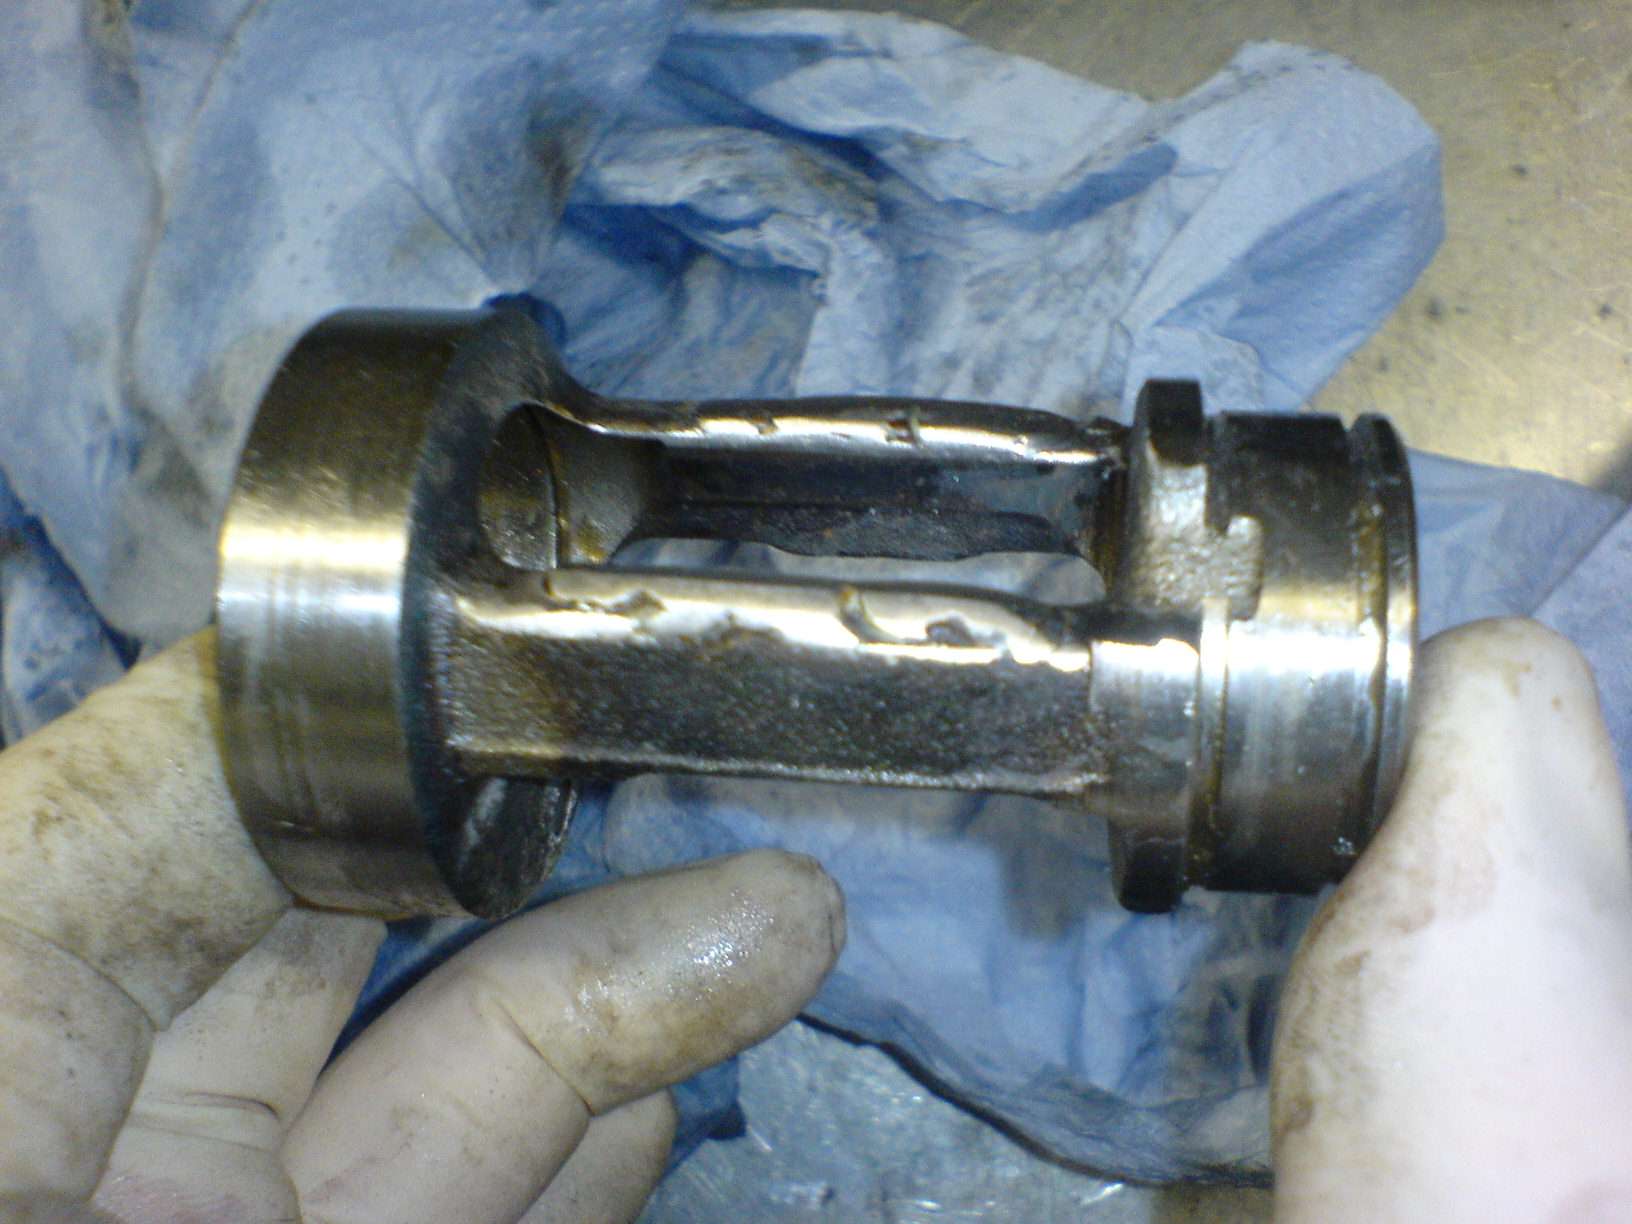
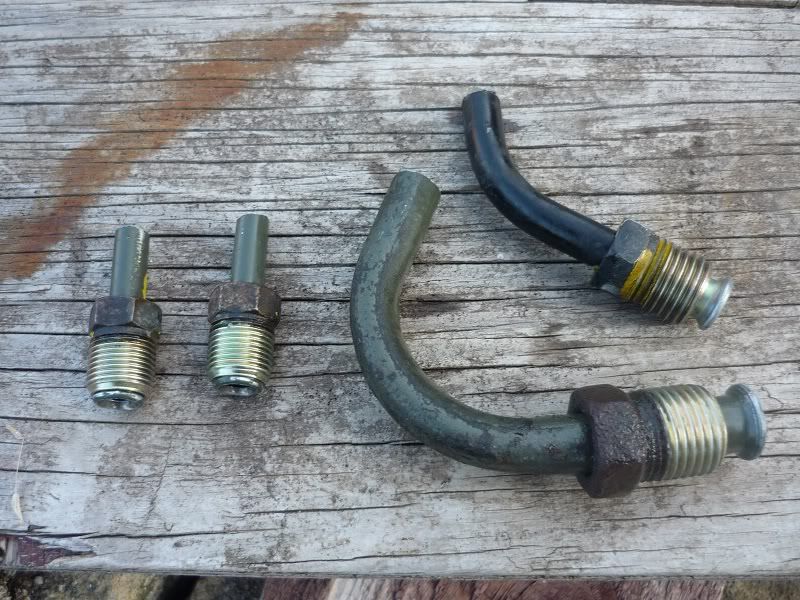
Once removed, all I had remaining of the PAS was this...
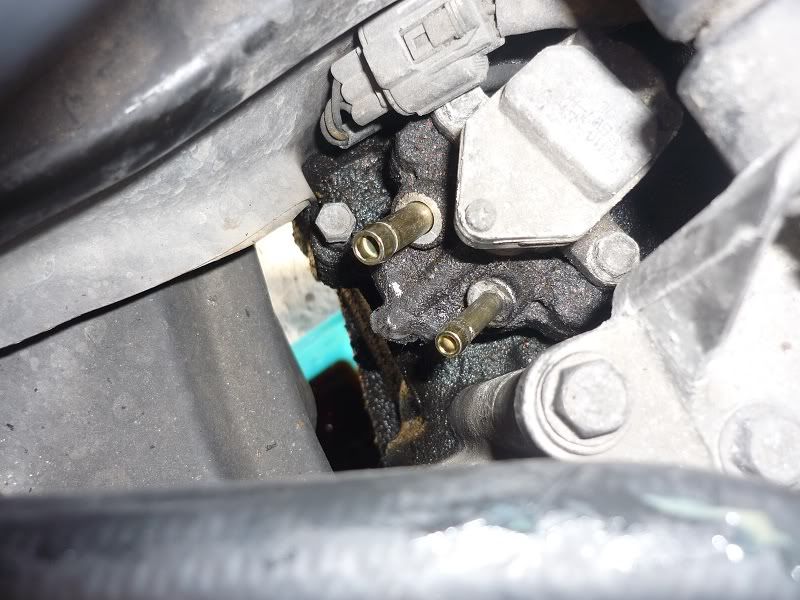
I then cut off the ends of the pipes like this...
Filed down the sawed-off ends and de-burred them. Making sure they were clean with no sworf.
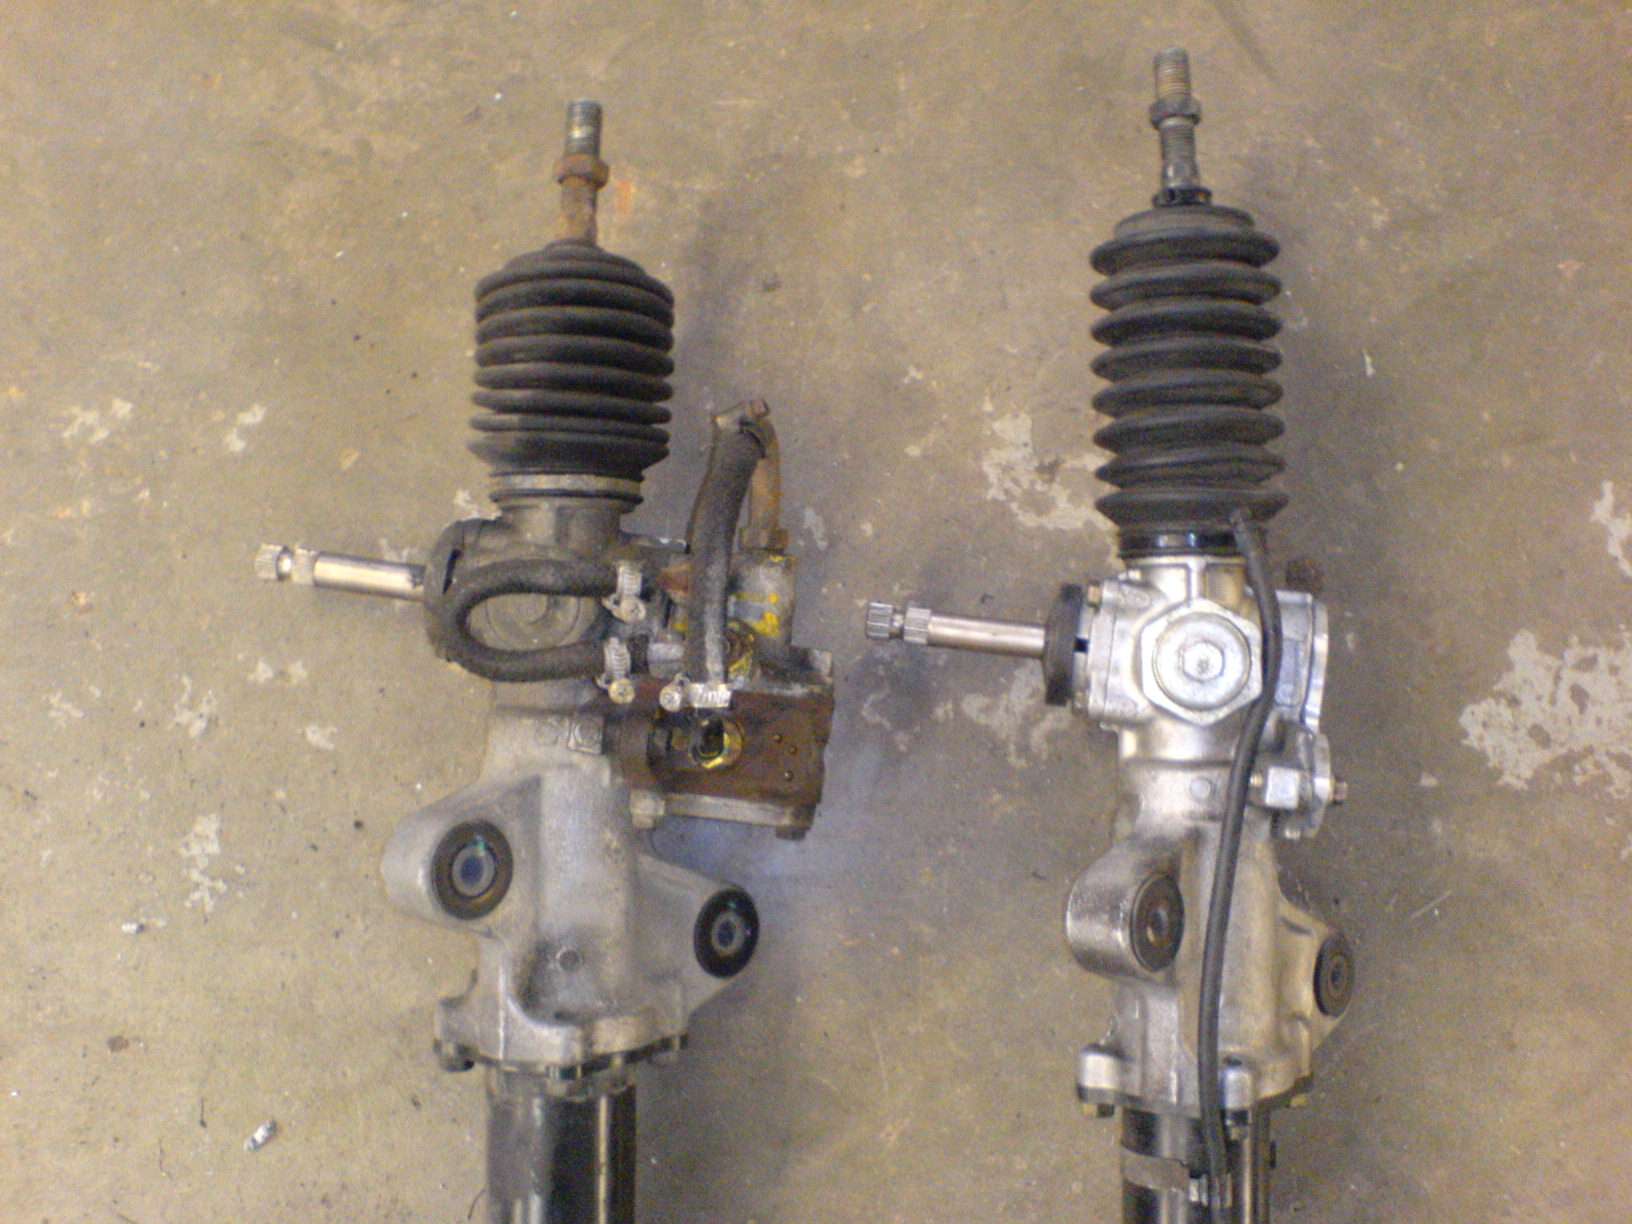
These then needed to be re-connected to the steering rack like so...
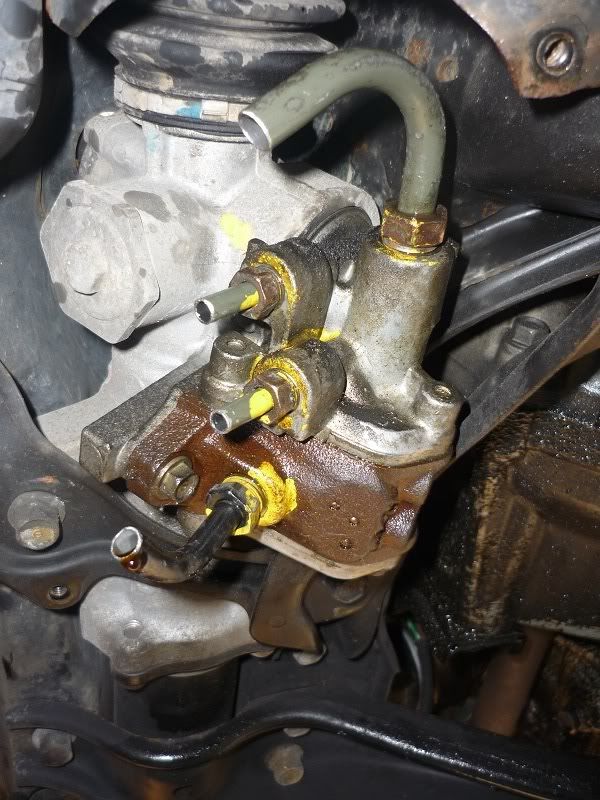
I made sure the two larger pipes are roughly pointing towards one-another.
Then by salvaging some appropriate rubber pipe from everything that had been removed, I found two lengths and cut to size. I made sure these were of a reasonably tight fit and cut off any dried/cracked ends and connected up the pipe work in this sequence...
I salvaged some clamps as well.
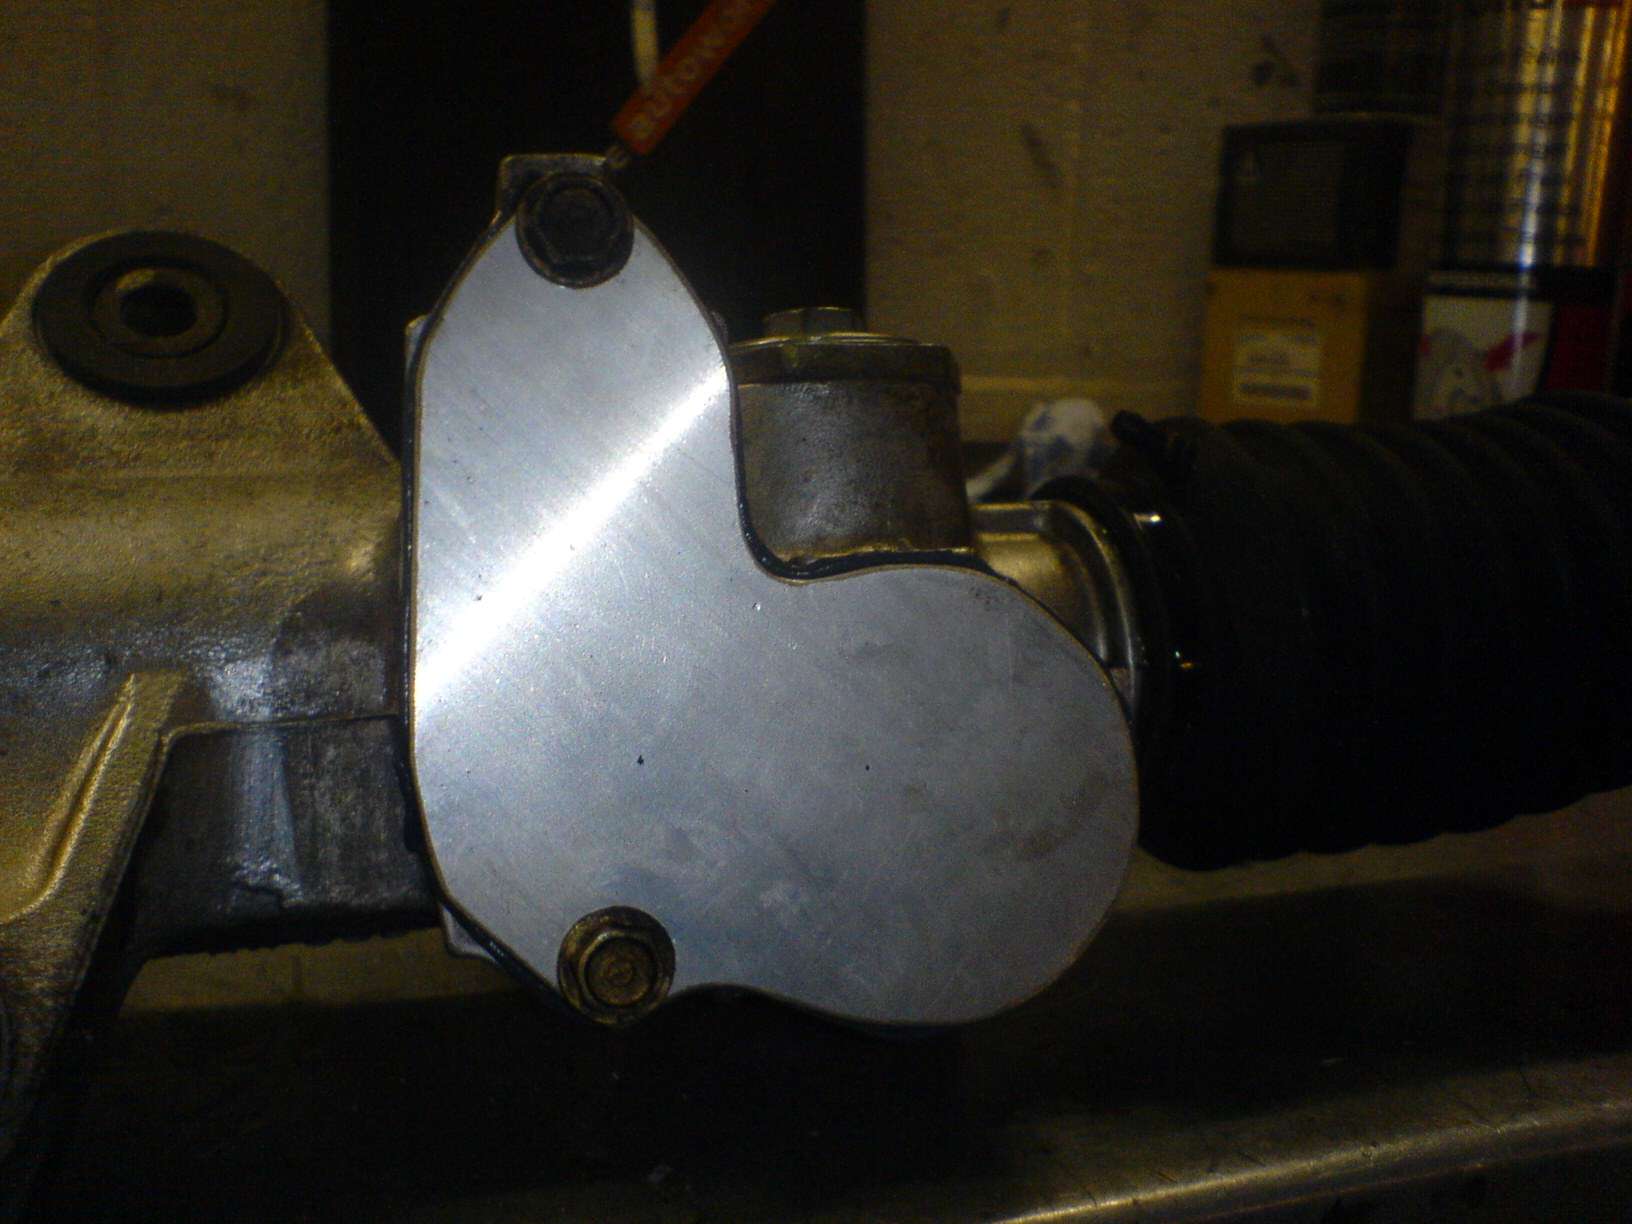
Then I refit my freshly cleaned protective sheild...
Now I was done under the car
This just leaves one more connection to make...
These two pipes found under the throttle body...
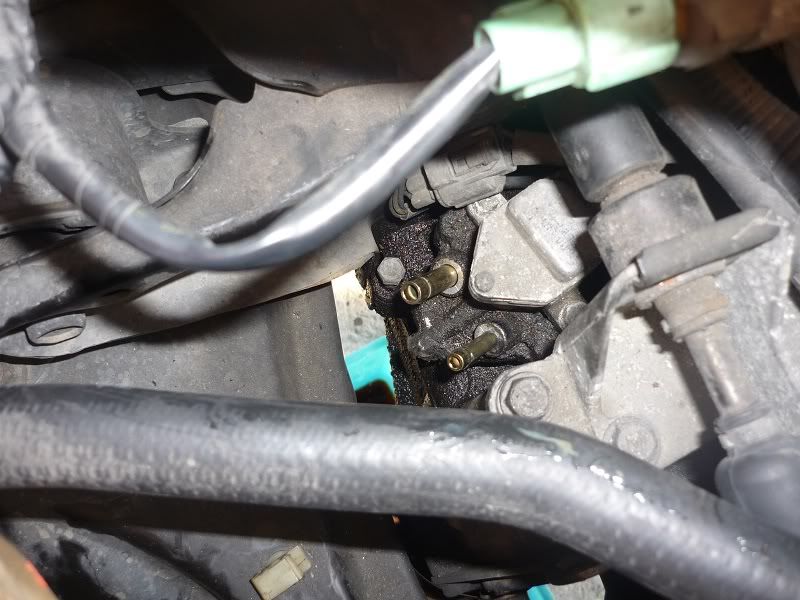
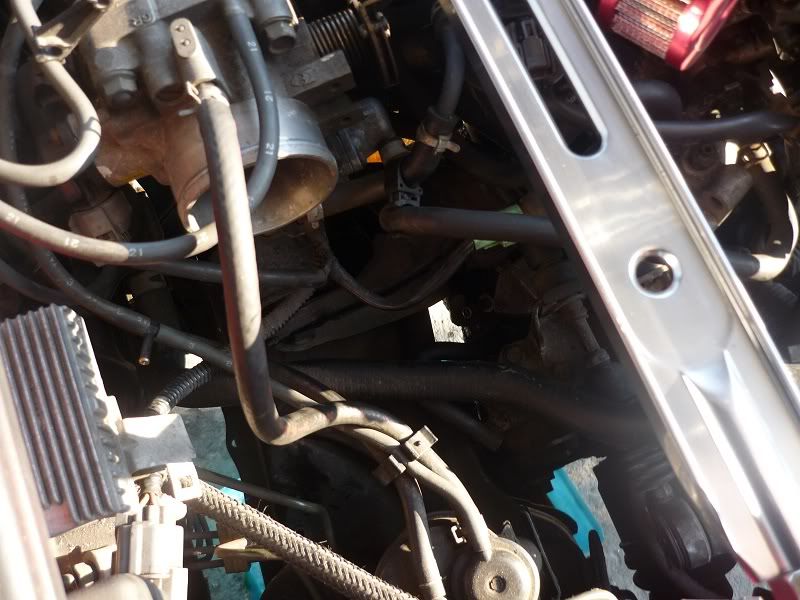
I've not yet connected them. It's only a short connection to make. A length about 10cm long should do it, but one OD is 8mm, where as the other is 6mm and I have no such pipe to salvage. But I shall connect these up before anything else is done.
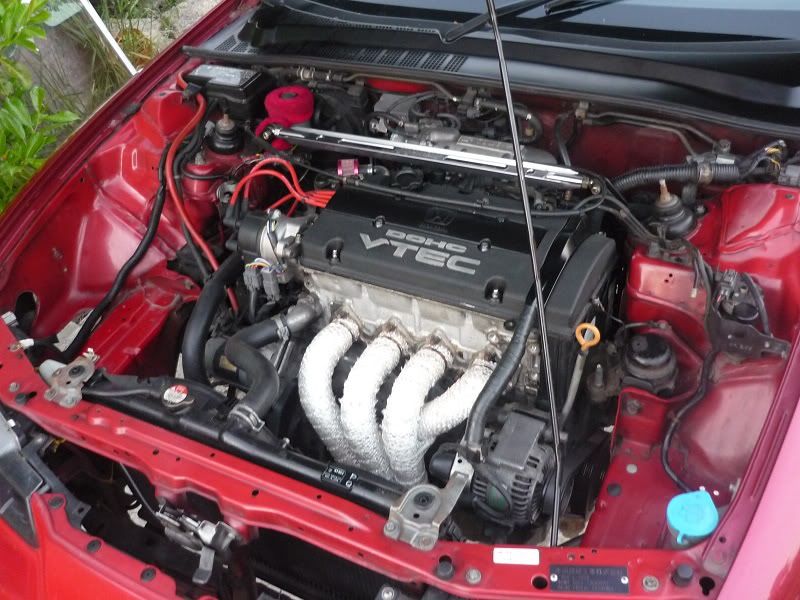
En Voila!... Power Assisted Steering removed
And look how much gumph has been removed ...

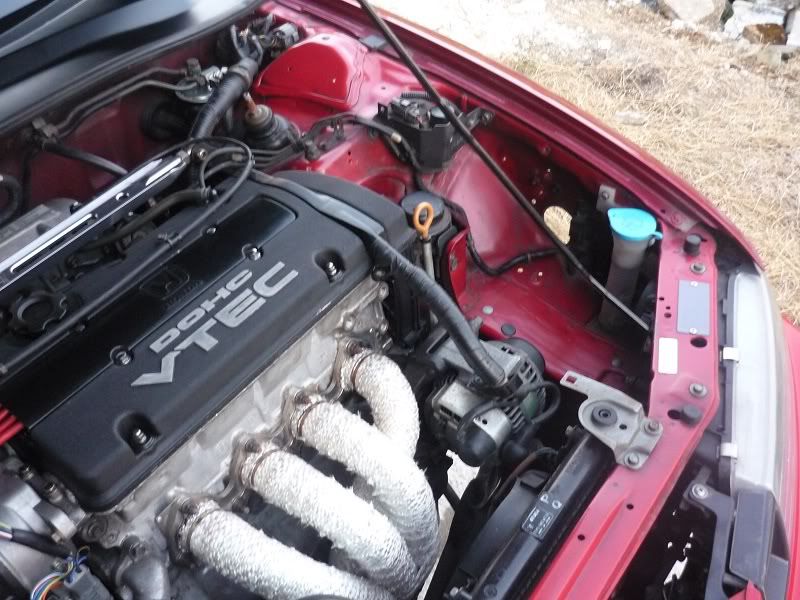
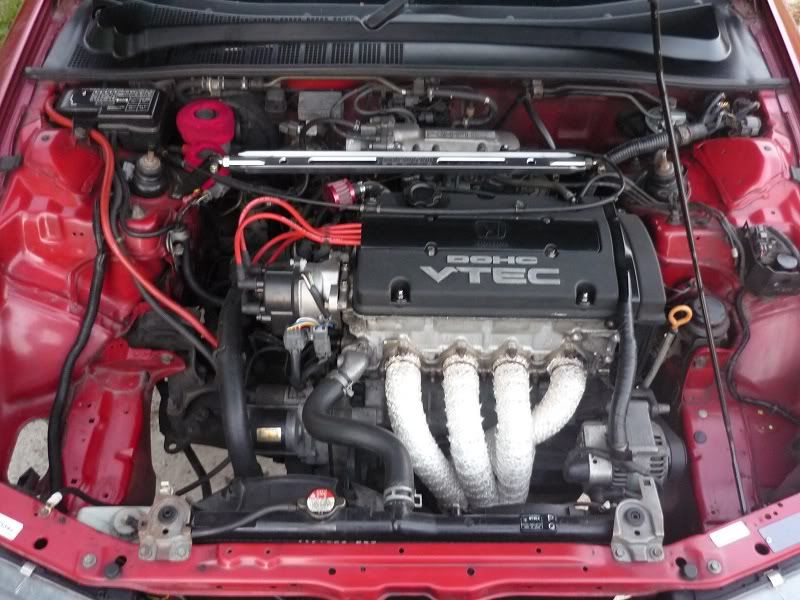
And look how much clearer she is now to! (remember I've already removed my aircon) ...
...
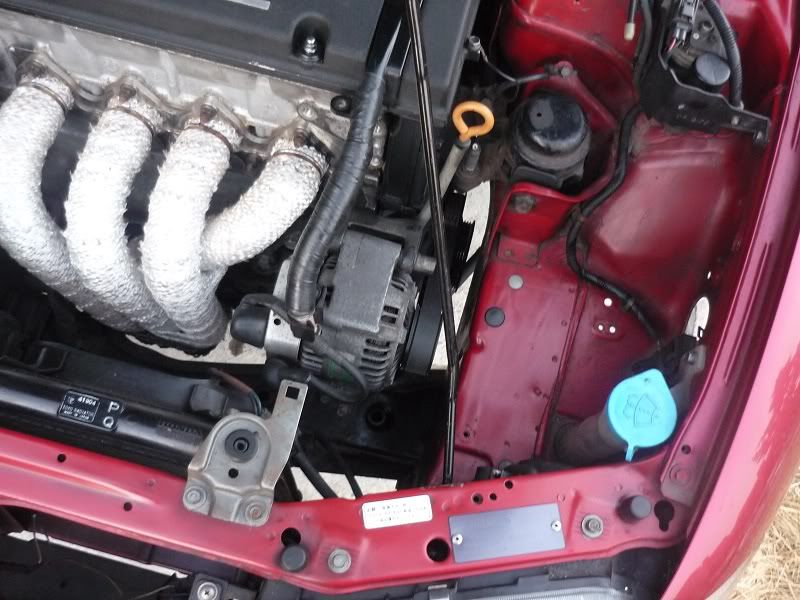
Excuse how grubby she is though
So... Firstly I jacked the car up. Removing the wheels firstly helped with getting in and out from under the car, plus also allowed a bit more light under there. But I mainly did this as she's going to be parked up for a while and I didn't want the tyres drying out...
Once under the car I started by removing the three 10mm bolts to remove the protective cover...
Once removed, that revealed the four pipes to contend with...
I carefully loosened and pulled the four pipes from the block and allow the fluid to drain into a suitable container... I chose a deep tray (the cat's old litter tray) to allow for splutter as I then turned the wheels from full lock to full lock to force as much of the fluid out as possible...
The less fluid in the steering rack, the less resistance there will be. You'll never get it all out, but the remaining dregs will act as a lubricant, so this is fine.
Whilst the fluid is draining I took the opportunity to stand again and start removing the components from the engine bay. I started with the belt and pump itself and then removed all the connecting pipework as I went. This made things easier and means I also don't have to describe every pipe to be removed to you
When doing this be careful as there will still be fluid in some of the pipes. It was also a lot easier to cut some of the pipes as well. Put it this way, once you've moved it, you'll realise you'll never want to put it back again, so you may as well make it as easy as possible to remove by cutting through
For the last bit of pipework (to the steering rack) I needed to remove these from underneath the car again. I needed to keep the ends of these bits, so made sure the ends weren't damaged...
Once removed, all I had remaining of the PAS was this...
I then cut off the ends of the pipes like this...
Filed down the sawed-off ends and de-burred them. Making sure they were clean with no sworf.
These then needed to be re-connected to the steering rack like so...
I made sure the two larger pipes are roughly pointing towards one-another.
Then by salvaging some appropriate rubber pipe from everything that had been removed, I found two lengths and cut to size. I made sure these were of a reasonably tight fit and cut off any dried/cracked ends and connected up the pipe work in this sequence...
I salvaged some clamps as well.
Then I refit my freshly cleaned protective sheild...
Now I was done under the car
This just leaves one more connection to make...
These two pipes found under the throttle body...
I've not yet connected them. It's only a short connection to make. A length about 10cm long should do it, but one OD is 8mm, where as the other is 6mm and I have no such pipe to salvage. But I shall connect these up before anything else is done.
En Voila!... Power Assisted Steering removed
And look how much gumph has been removed
And look how much clearer she is now to! (remember I've already removed my aircon)
Excuse how grubby she is though