
Congratulations to vtecmec for winning May/June's Lude Of The Month, with his DIY Turbo BB1 build.
>>> Click Here For Profile <<<

>>> Click Here For Profile <<<
weather strip
weather strip
so ive got a weather strip, can anyone take a pic of the underneath of theres so i can see the clips? as mine seems a bit loose..... cheers in advance 
-
Pushki

- Supporter 2015
- Posts: 2635
- Joined: Sat Aug 07, 2010 9:21 pm
- My Generation: 4G
- PSN GamerTag: Luigi_Black
- Location: Bluff Creek
- Has thanked: 2 times
- Been thanked: 10 times
Re: weather strip
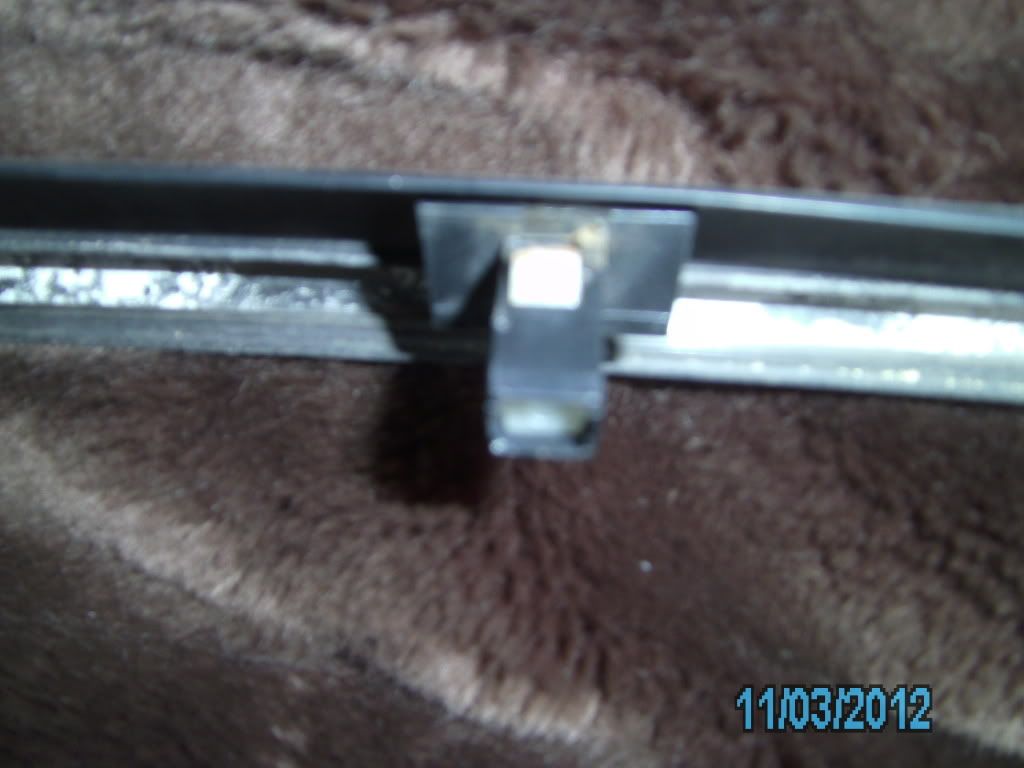
This is a picture of one of the clips just as I was taking it off.
I replaced the square washer with a new piece of neoprene cut to shape.

Hope this helps.
I replaced the square washer with a new piece of neoprene cut to shape.
Hope this helps.


-
vanzep

- Supporter 2016
- Posts: 6977
- Joined: Sun Jan 29, 2012 6:38 pm
- My Generation: 4G
- Location: Edinburgh
- Has thanked: 254 times
- Been thanked: 394 times
Ive just fitted one yesterdays so i should be able to help...
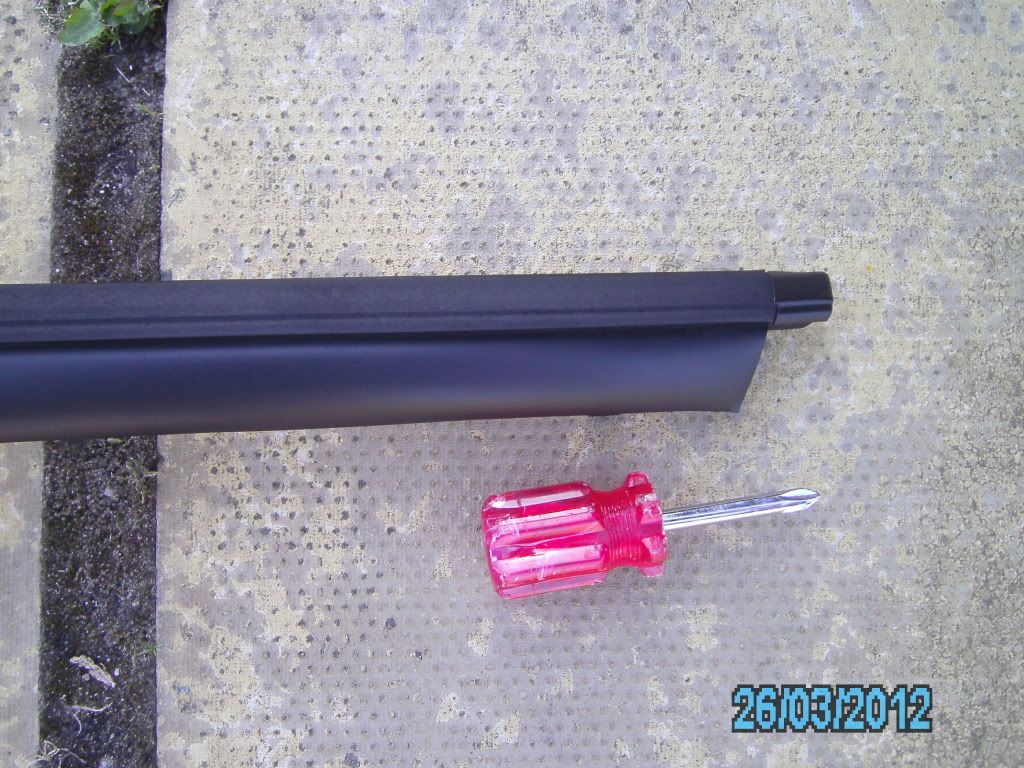
Here is pic of how it should look from underneath.
After i had ripped the old one out i reshaped all the mounting holes in the bodywork where the clips fit , scraped the old gaskets off and put a fair amount of rtv silicone around the hole edges and slotted the new one into place and then tightened all the screws starting from the middle and working out to the edges. The screws take a lot of turning till they tighten up. And thats it-I didnt bother with any sealant along the rubber strip as i dont think its necessary if its fitted correctly.
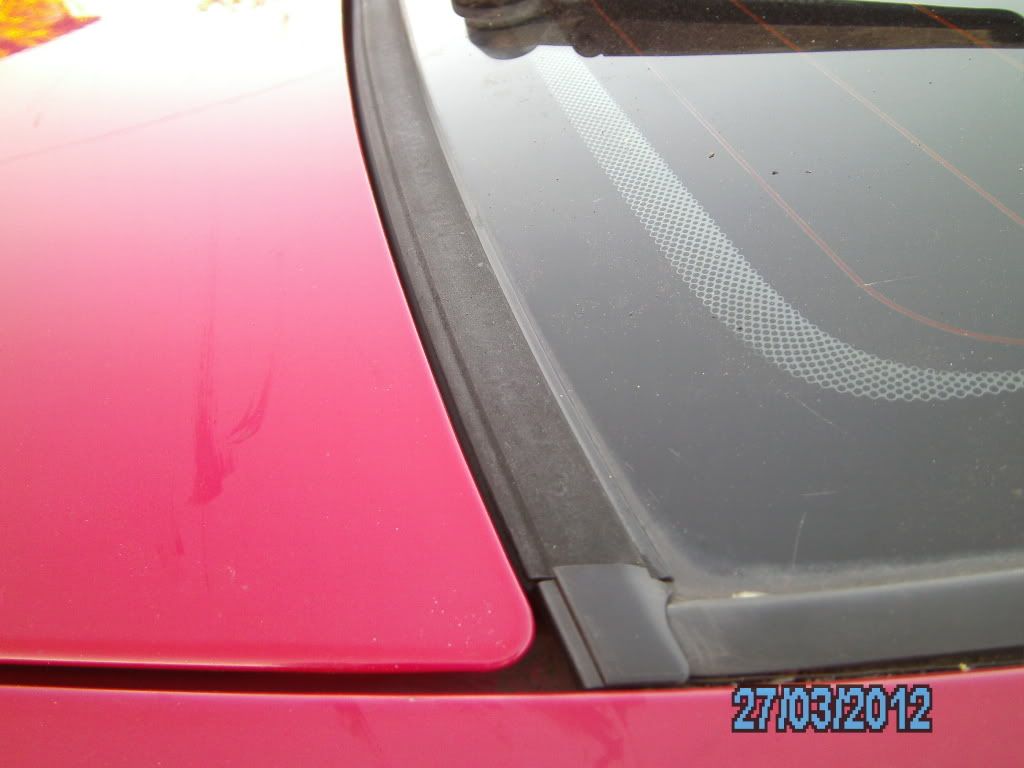
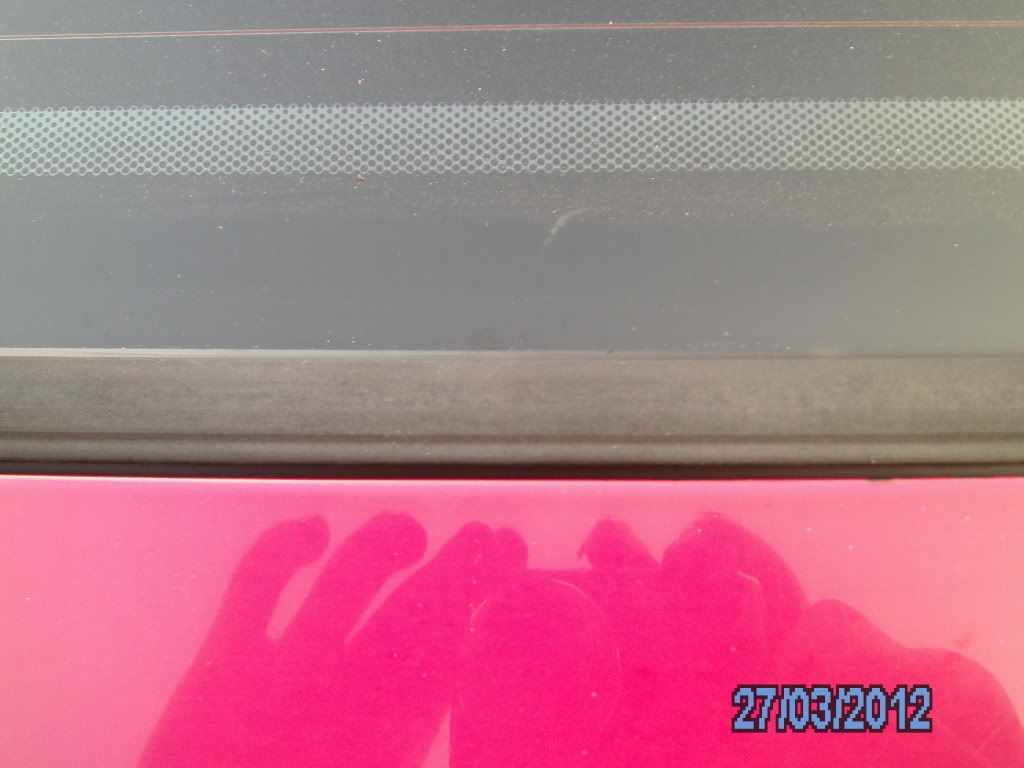
and a couple of pics of it fitted
Here is pic of how it should look from underneath.
After i had ripped the old one out i reshaped all the mounting holes in the bodywork where the clips fit , scraped the old gaskets off and put a fair amount of rtv silicone around the hole edges and slotted the new one into place and then tightened all the screws starting from the middle and working out to the edges. The screws take a lot of turning till they tighten up. And thats it-I didnt bother with any sealant along the rubber strip as i dont think its necessary if its fitted correctly.
and a couple of pics of it fitted
1996-2000 1993 EG9 Blue Civic 1.6 Vti - Traded in against the BB4
2000-2019 1994 2WS BB4 Milano Red JDM Prelude Si VTEC LSD
2015 on > 1991 4WS BB1 Phantom Pearl Grey JDM Prelude Si VTEC LSD
2021 ON > 1998 2WS BB6 White Pearl JDM Prelude Si VTEC
2000-2019 1994 2WS BB4 Milano Red JDM Prelude Si VTEC LSD
2015 on > 1991 4WS BB1 Phantom Pearl Grey JDM Prelude Si VTEC LSD
2021 ON > 1998 2WS BB6 White Pearl JDM Prelude Si VTEC