5G Window Scraper Seal Trim Restoration
Posted: Thu May 11, 2017 9:07 pm
Here's a video showing before & after:
Here's some photos of what it looked like before:
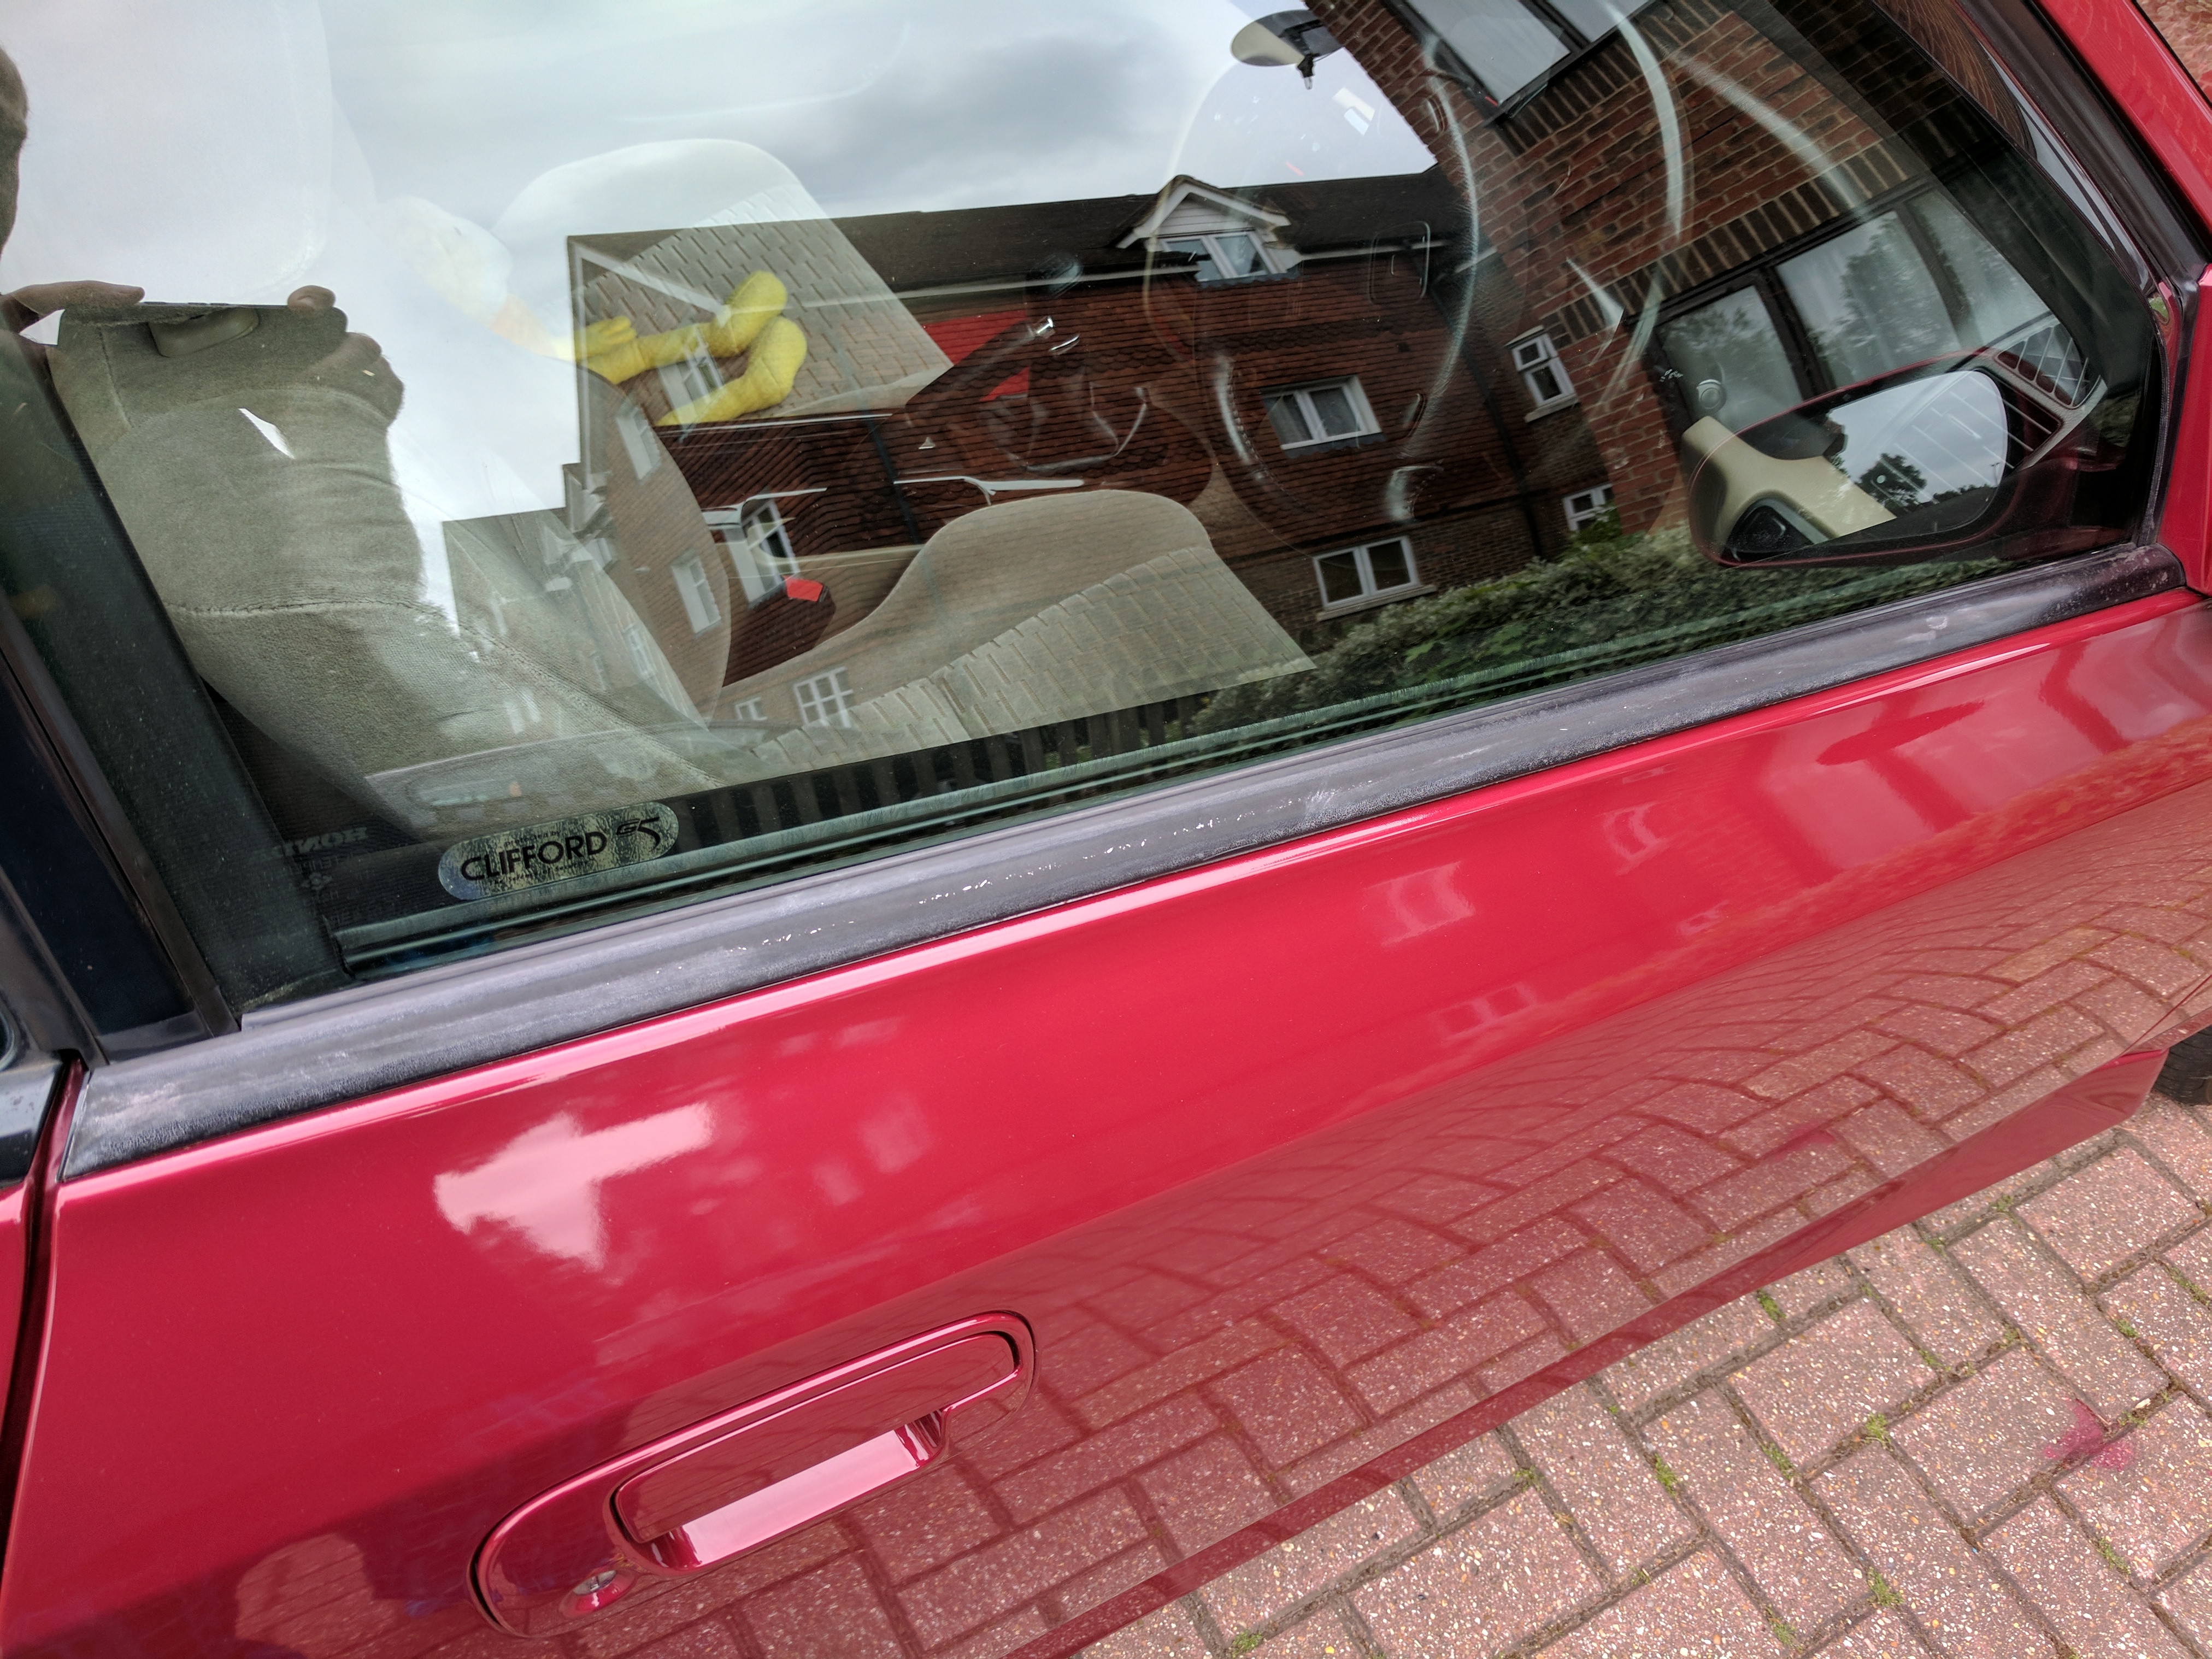
After over 17 years, the rubber has perished. It was rough and the metal underneath was visible in patches. This is common on 5G Preludes. It was quite an eye sore and let my car down.
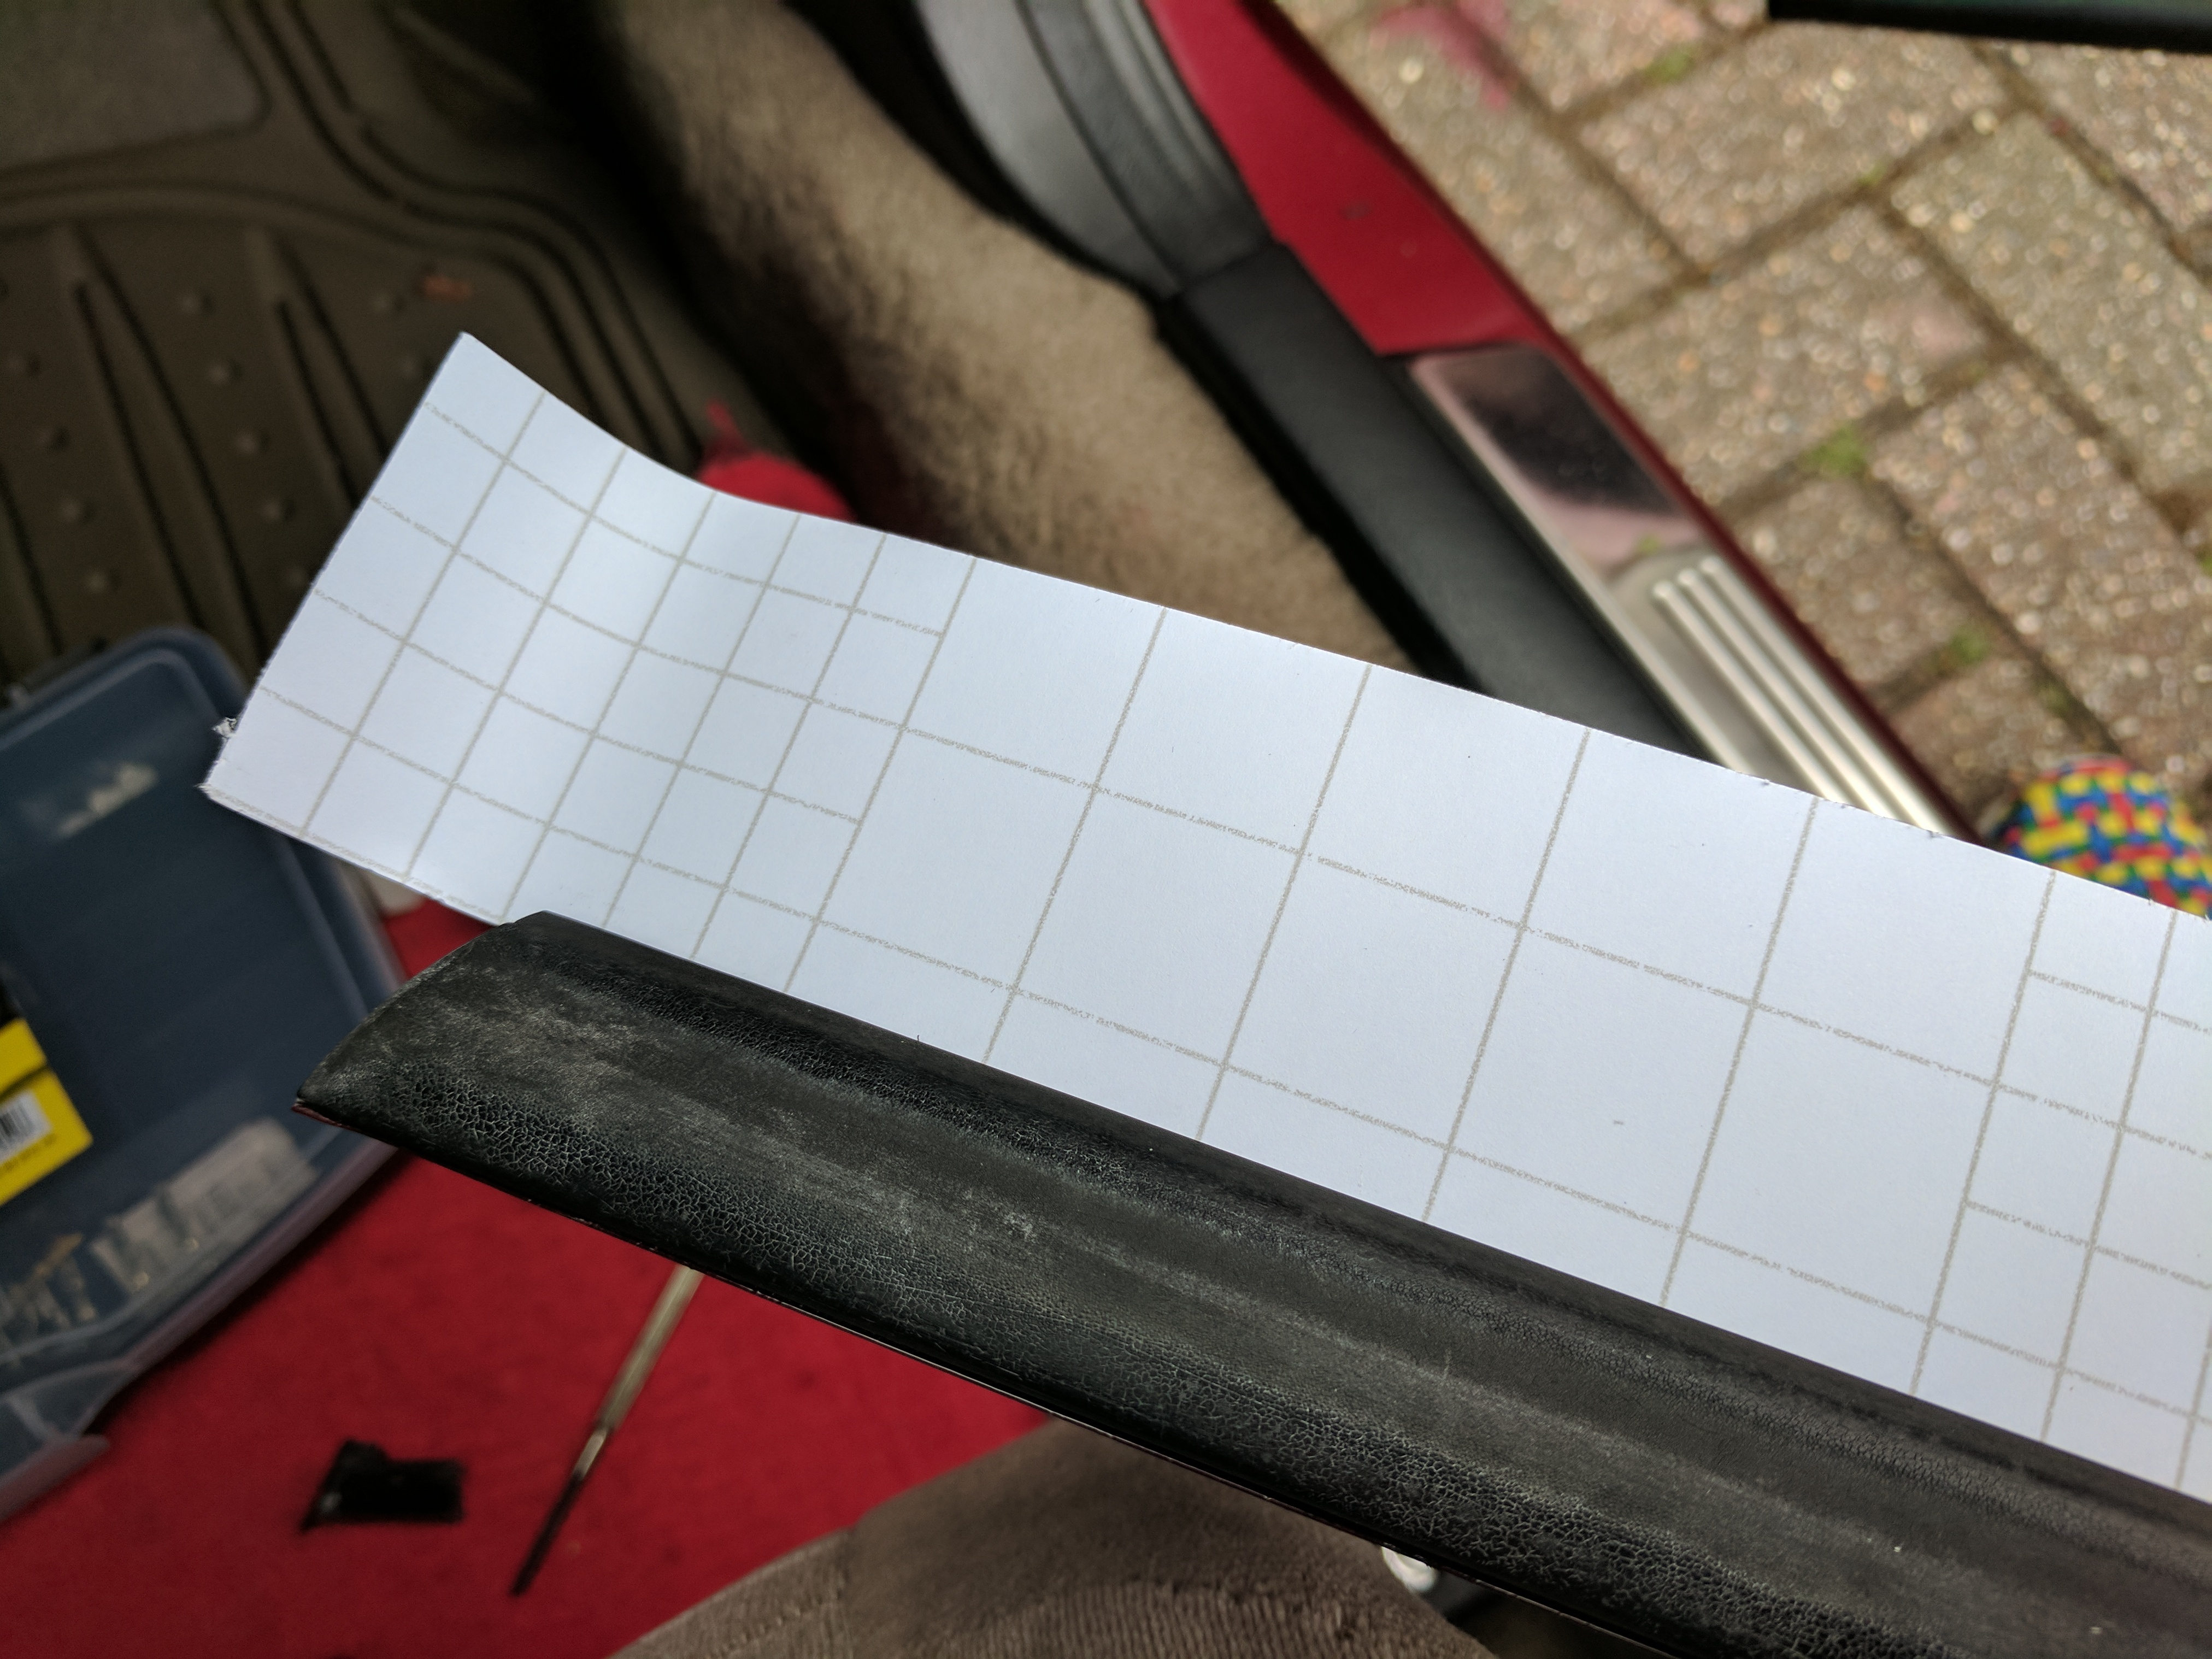
I purchased a 1.5m x 0.30m sheet of black satin vinyl wrap through eBay for £8.99 which should be more than enough while allowing for a few mishaps along the way:
http://www.ebay.co.uk/itm/151141327589
You should start by cleaning up the window scraper seal trim. I just washed it while washing the car. As the old rubber was porous, I wanted to avoid using chemicals like white spirits to clean to them up because I was worried they might soak in to the rubber which wouldn't help later on.
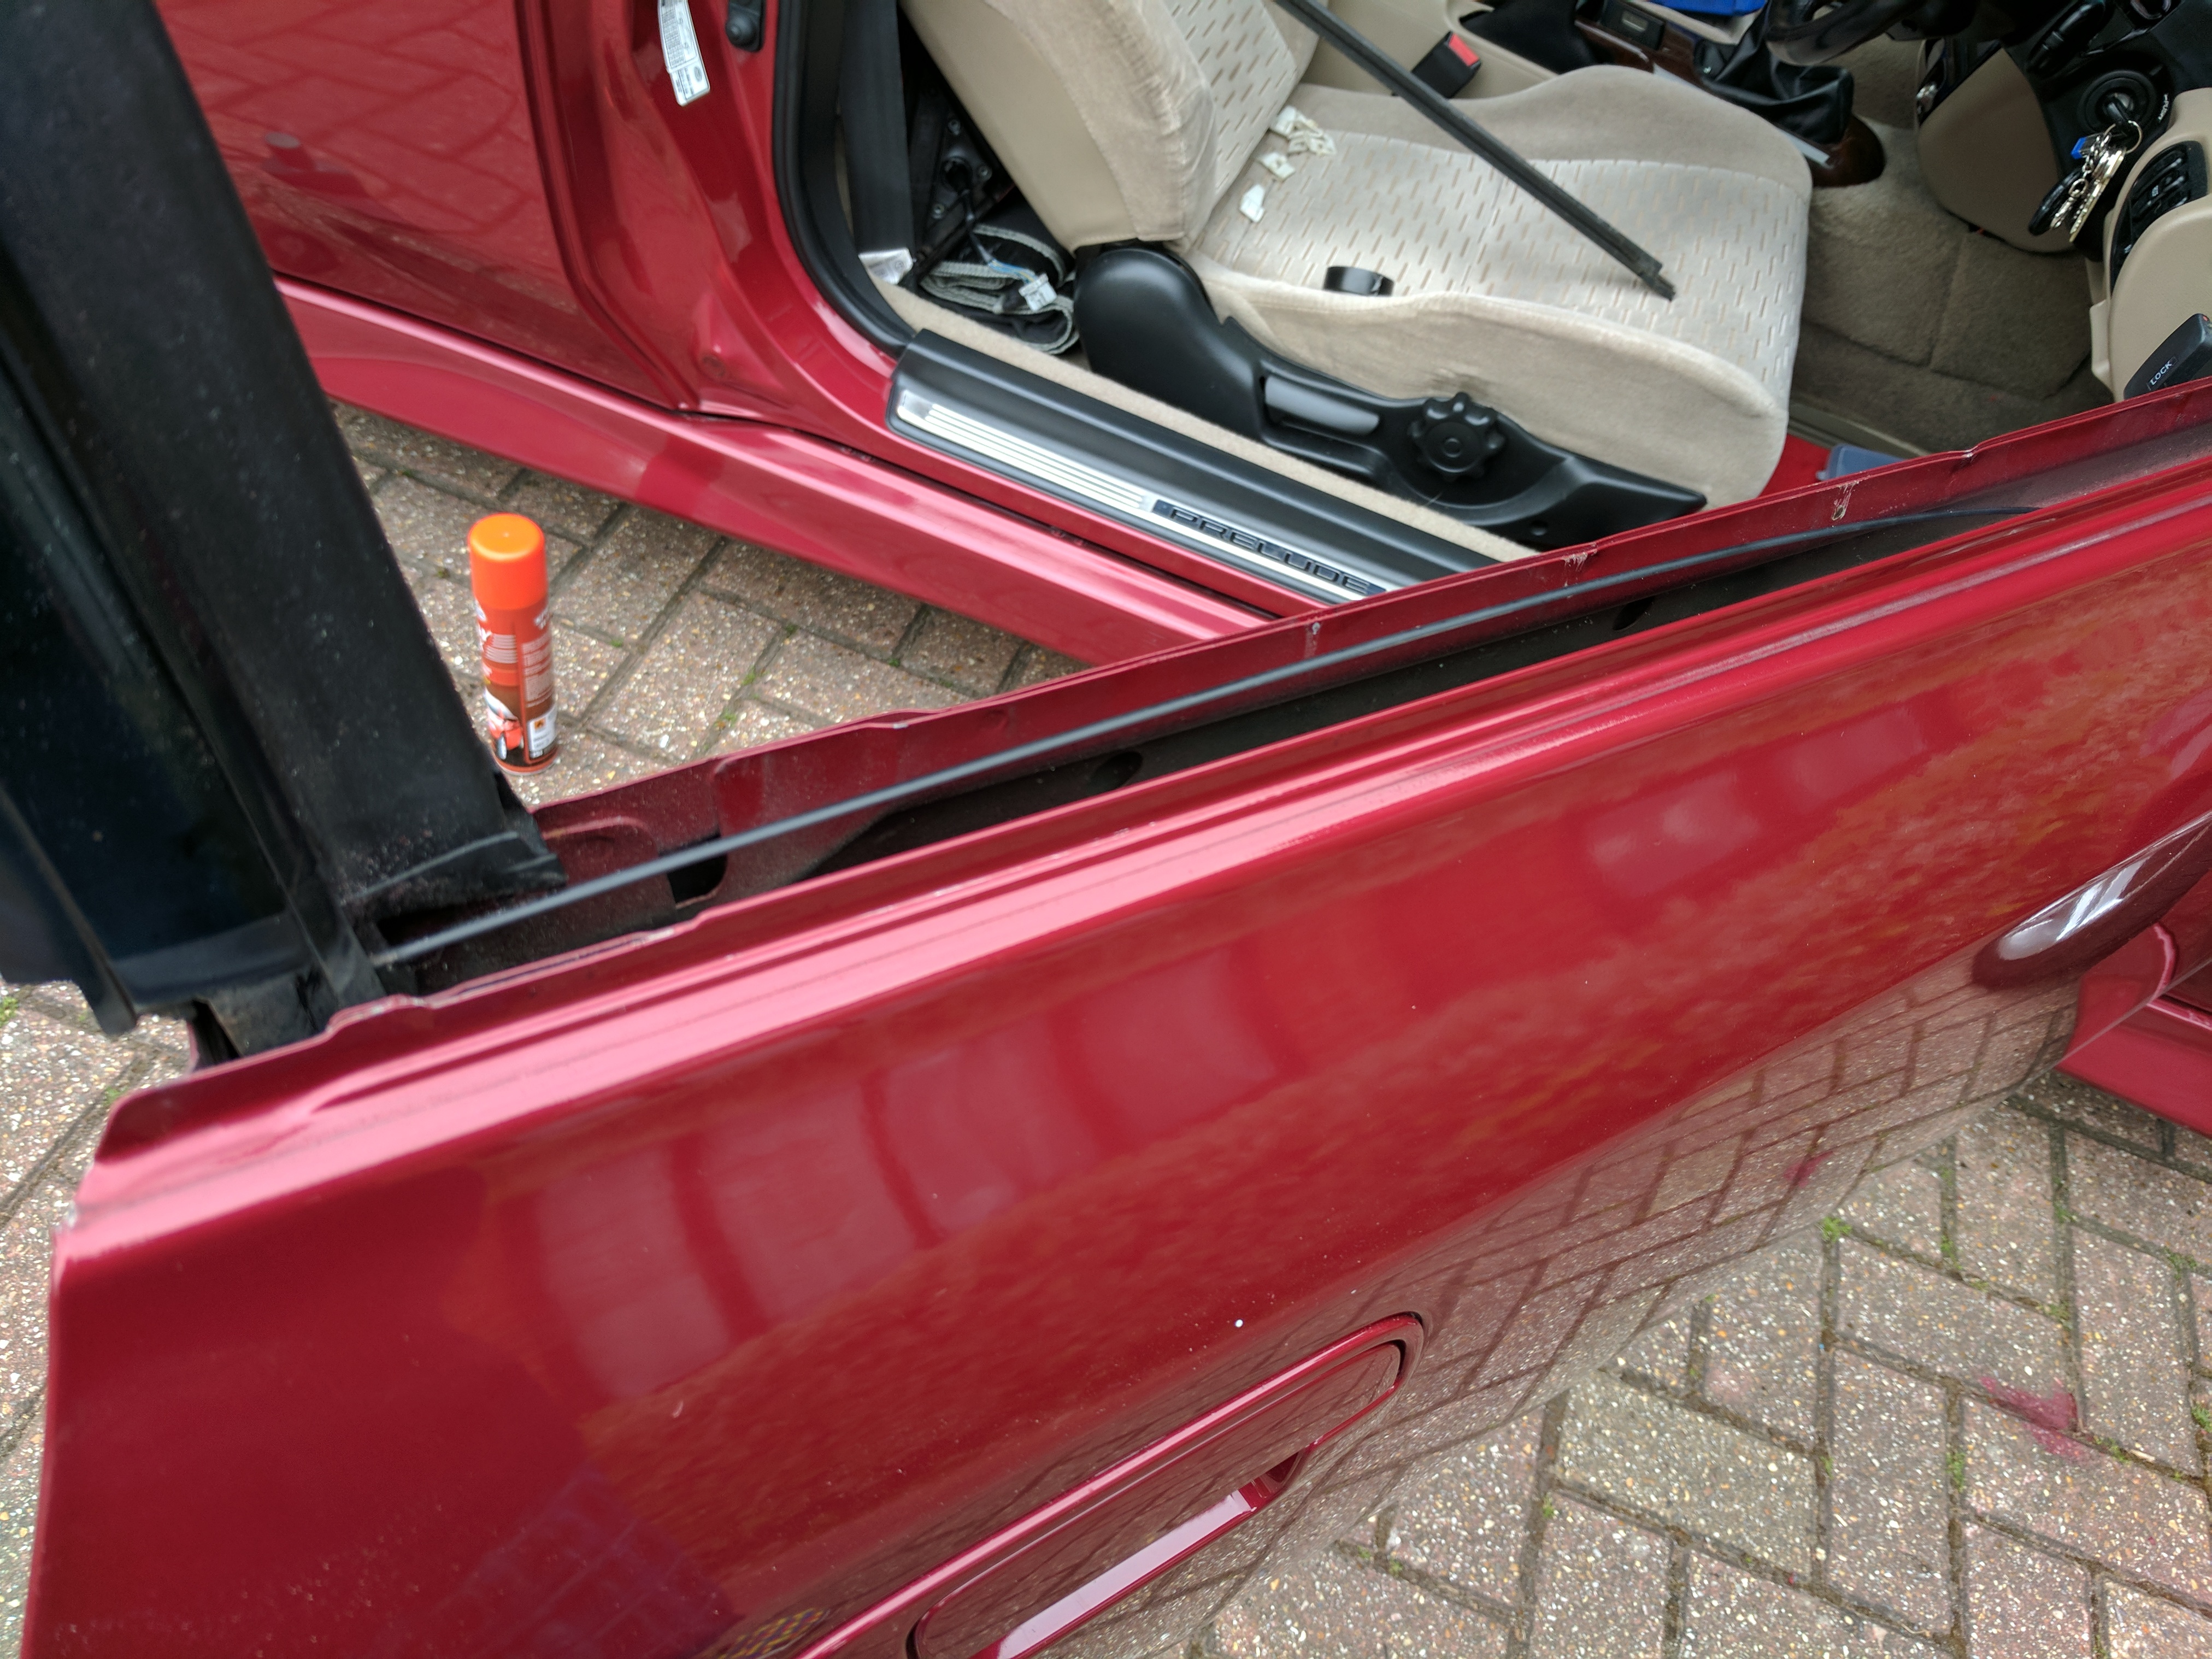
I removed the inside door panel and the wing mirror. It doesn't seem possible to cleanly remove the window scraper seal trim without breaking its clips, or at least some of them. There's 6 on each side. Luckily I already had a handful of spares from a breaking Prelude I visited last summer. So to remove it, you'll need to just pull it up, start at one end and work your way along. Like I said, clips will break so you'll need replacements when refitting.
Once you've removed the seal, this gives you the opportunity to satisfy your OCD tendencies by cleaning & waxing the area beneath.
You'll also need to clean the underside of the scraper seal so the black vinyl wrap sticks to it properly. To make sure the trim is extra clean, stick a strip of duck tape on it and pull it off. Do this a few times to make sure any ingrained dirt has been pulled away.
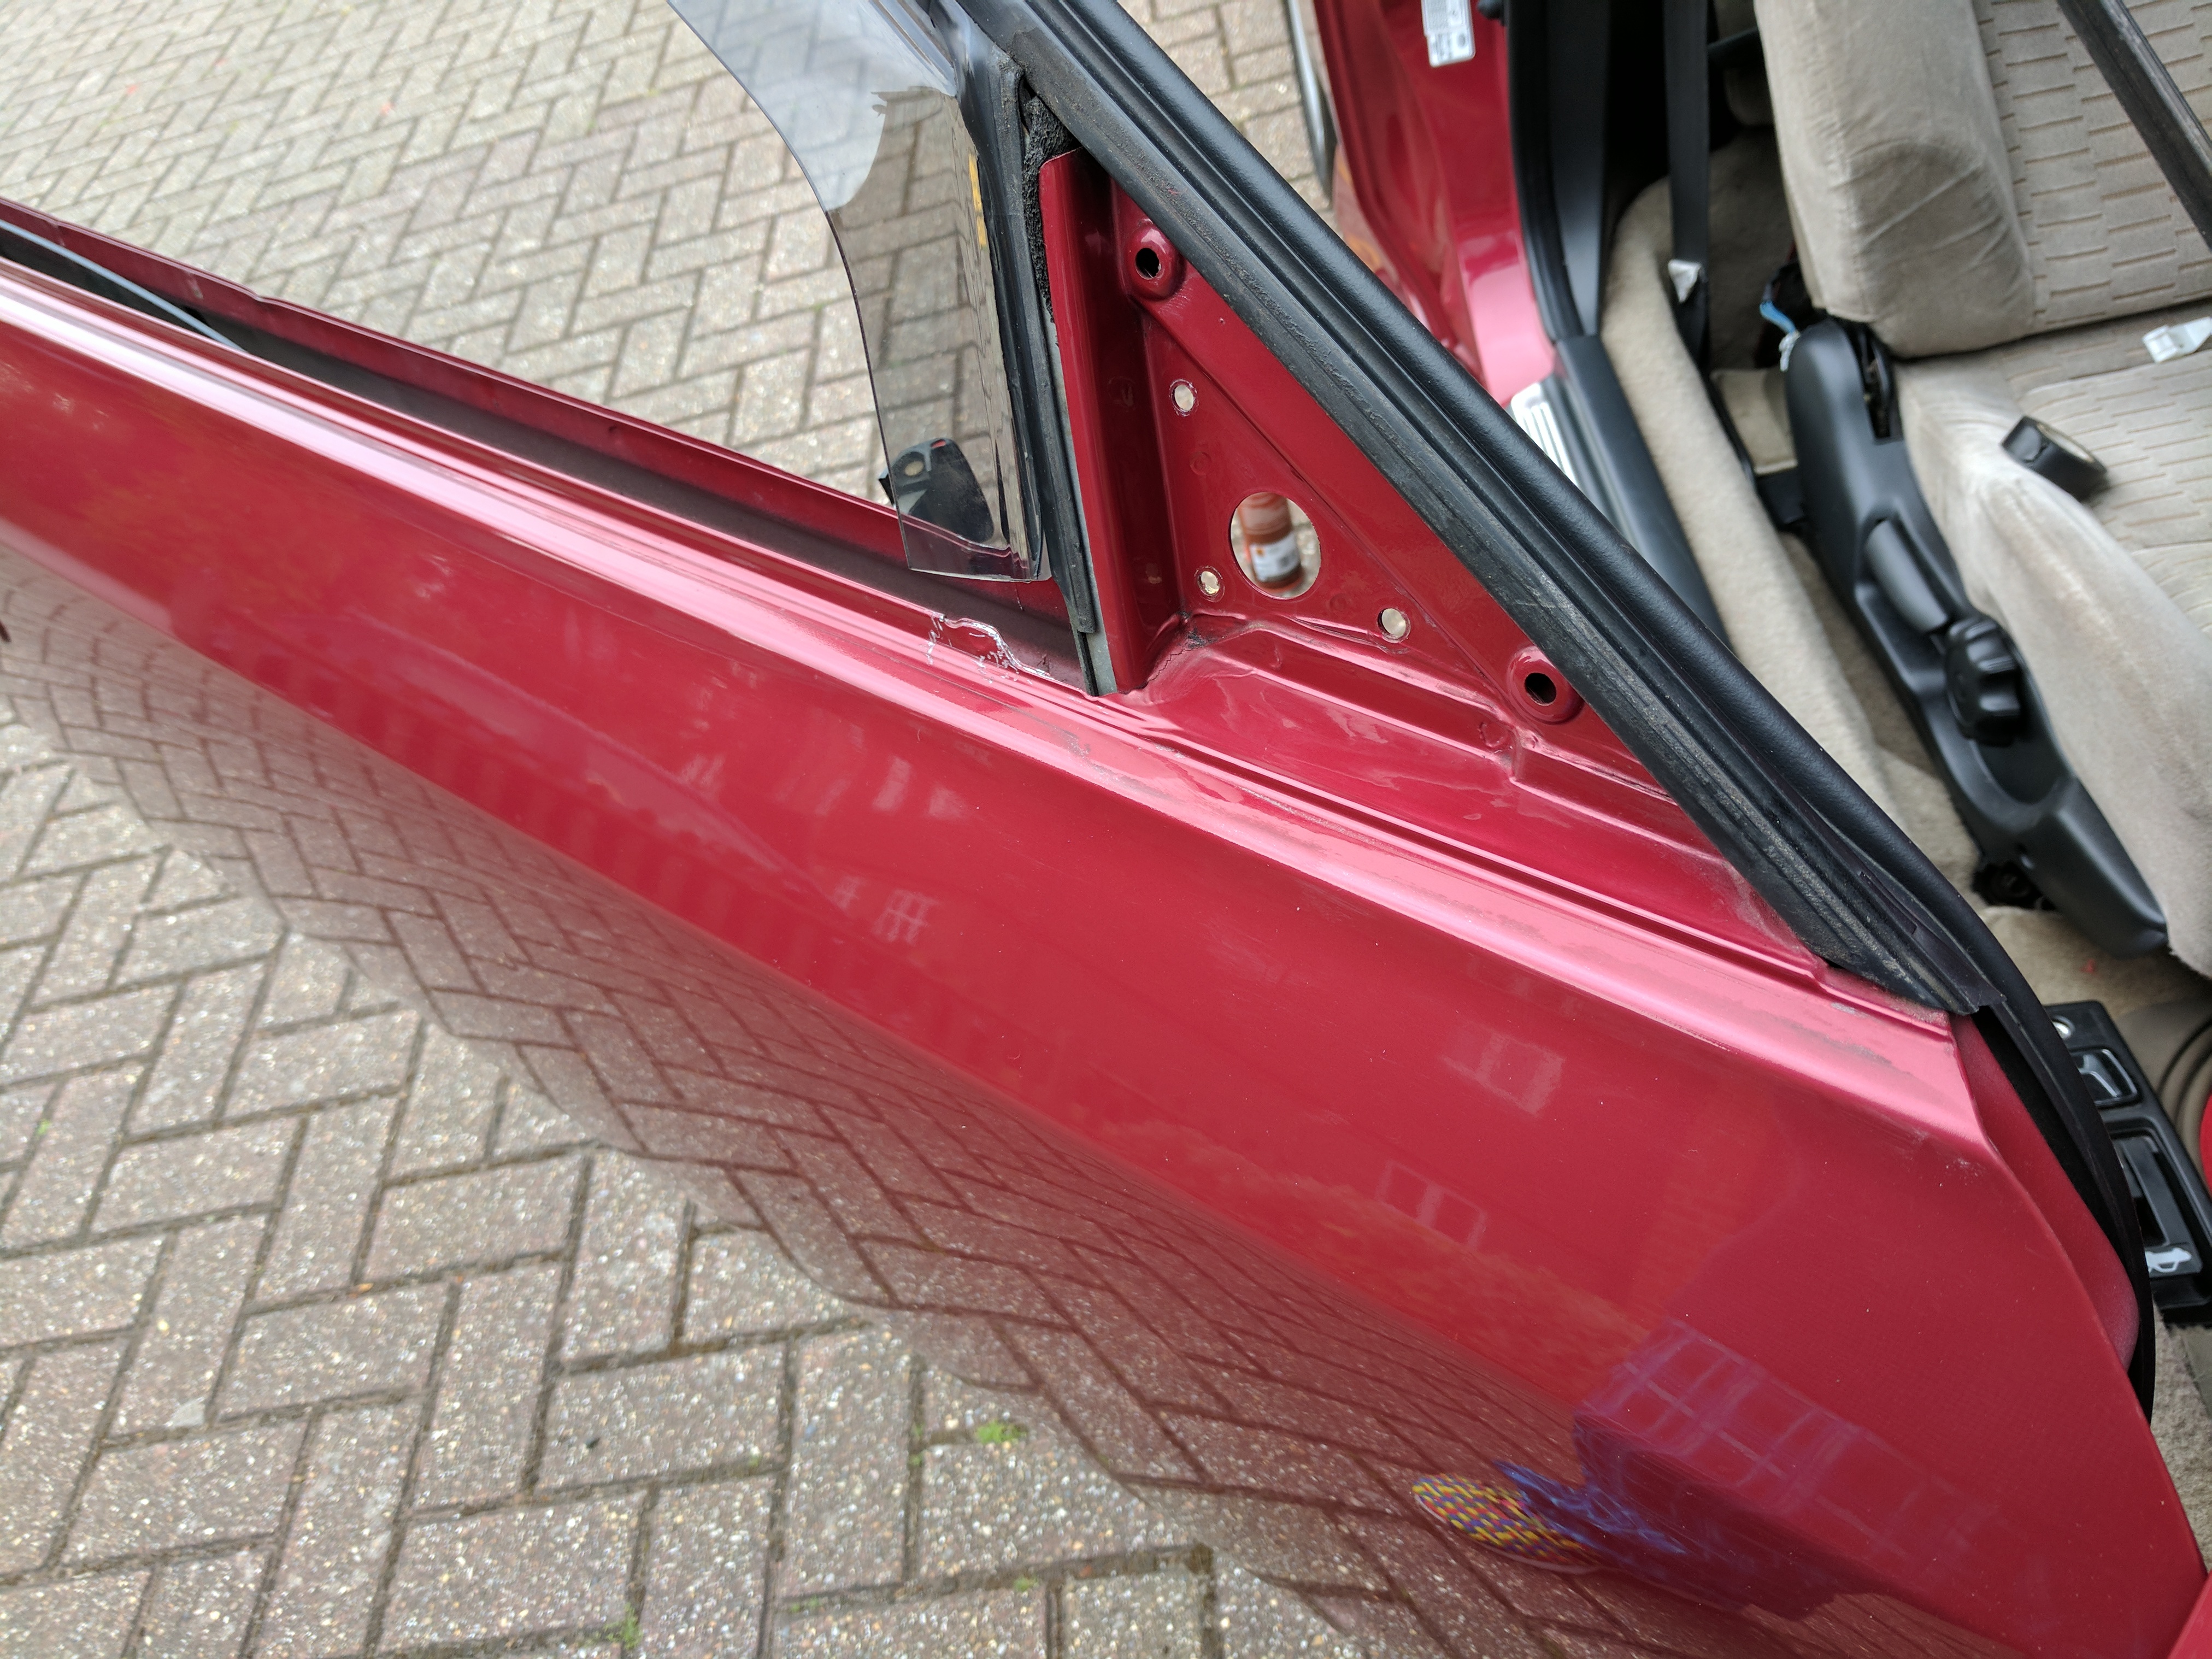
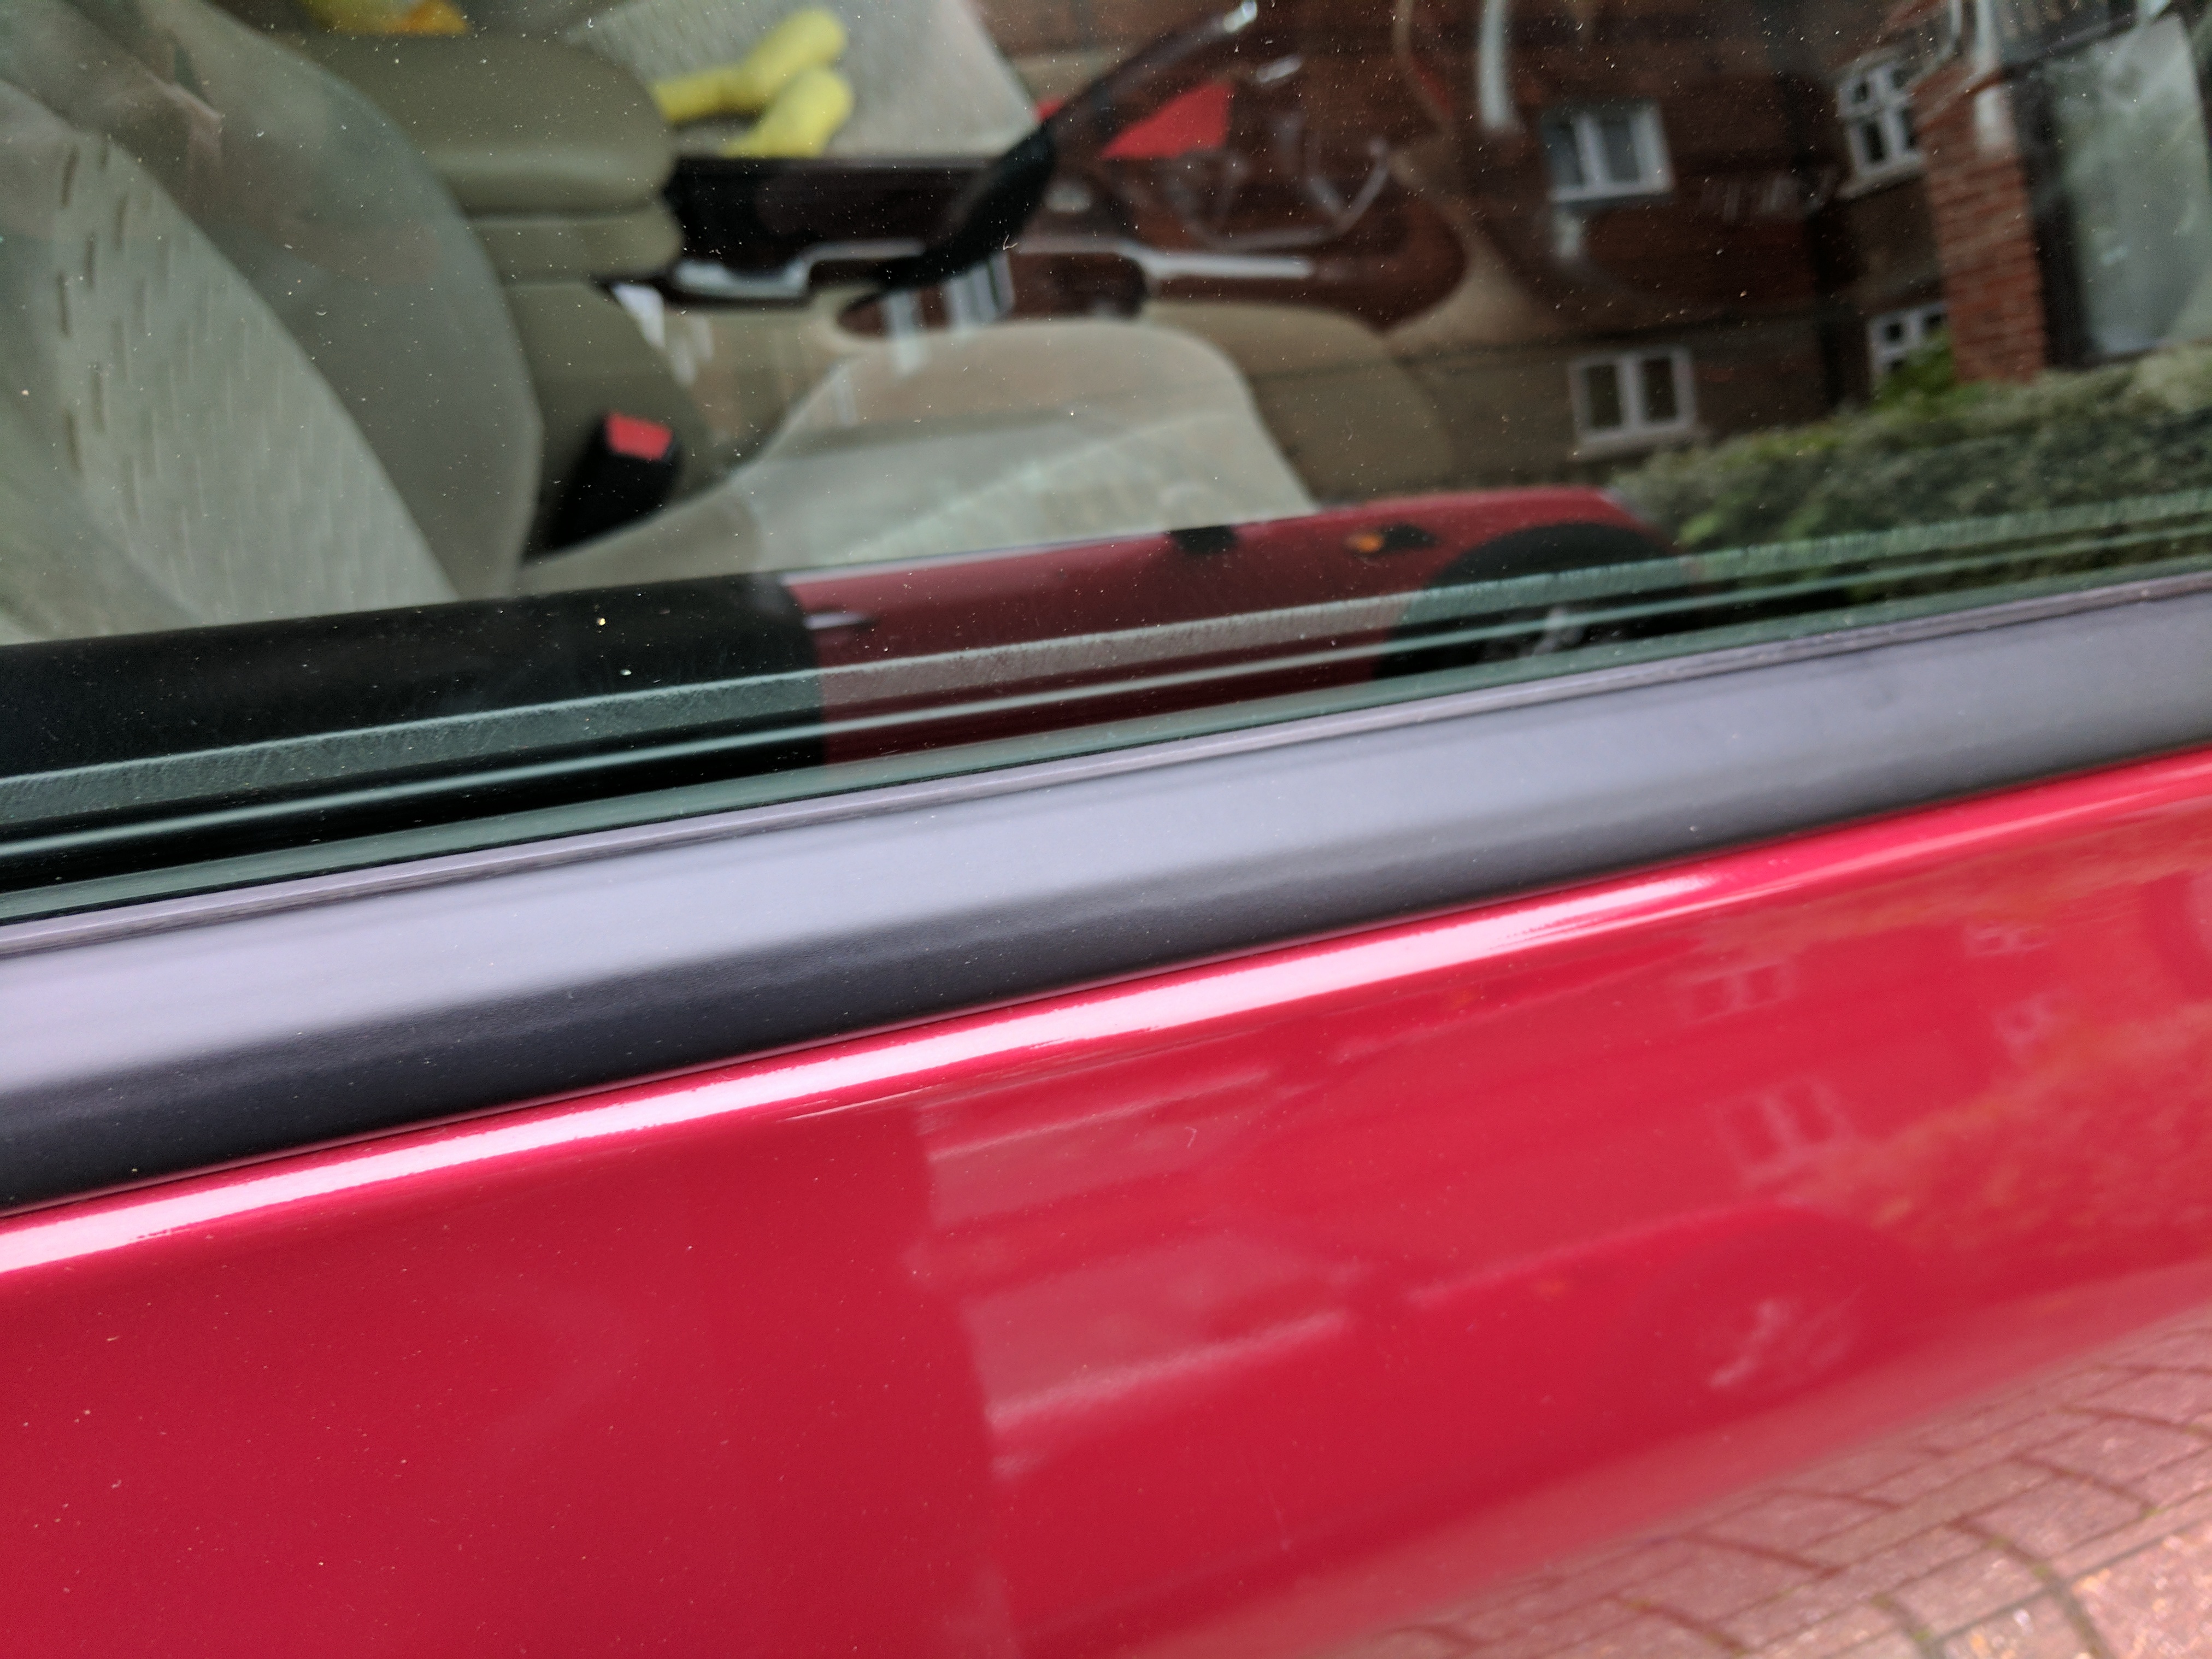
Remove the window scraper seal trim end cap and cut off a slightly oversized strip of wrap which is about 1.5 cm wider and maybe 2 cm longer than the actual window scraper seal trim. Insert it into the gutter which runs along the length between the curved trim and the window scraper. Here's a pic showing what I mean:
Slowly and carefully peel off the backing. I pulled it off, sliding the peeled backing along inside the gutter, keeping it all level. While doing so, apply gentle pressure to the top edge of the wrap ensuring it is as deep in as possible (it only goes in a few mm, so not a lot). Once you've done that, carefully fold it over the curved section making sure there are no air bubbles. When that's one, simply fold over your excess 1 cm of wrap underneath and at both ends make sure it's stuck secure.
If you're a perfectionist, you'll probably mess this up a few times, hence why it's a good idea to buy more than just the minimum amount of wrap required. I was successful on my third try.
To make sure the wrap has stuck inside that gutter, run one of those cotton bud sticks along the inside. Using a cloth, give it a firm wipe all over to make sure the wrap is stuck down all over. Push the end cap back in.
Slide back on a set of unbroken clips and put it back on to the door. You'll hear a satisfying click when the clips secure in the door.
Sorted. Here's the finished product:
I've only done the driver's side so far as I have only 3 unbroken clips left (and lots of spare broken clips). So before I do the passenger's side, I'm waiting for these to arrive:
http://www.ebay.co.uk/itm/151541354736
These cost only £2.81 including P&P for 15. They aren't original Honda clips, but to me they look identical apart from the colour - original Honda clips are white whereas these are blue and a hell of a lot cheaper. These are expected to take about a month to arrive from China, but there are alternatives on eBay with quicker delivery but a bit more expensive. If you want to buy from Honda, the part number for a clip is 91527-SZ3-003, however I can't find this using Lings so maybe that part number has been superseded? Alternative part number are on that eBay listing above.
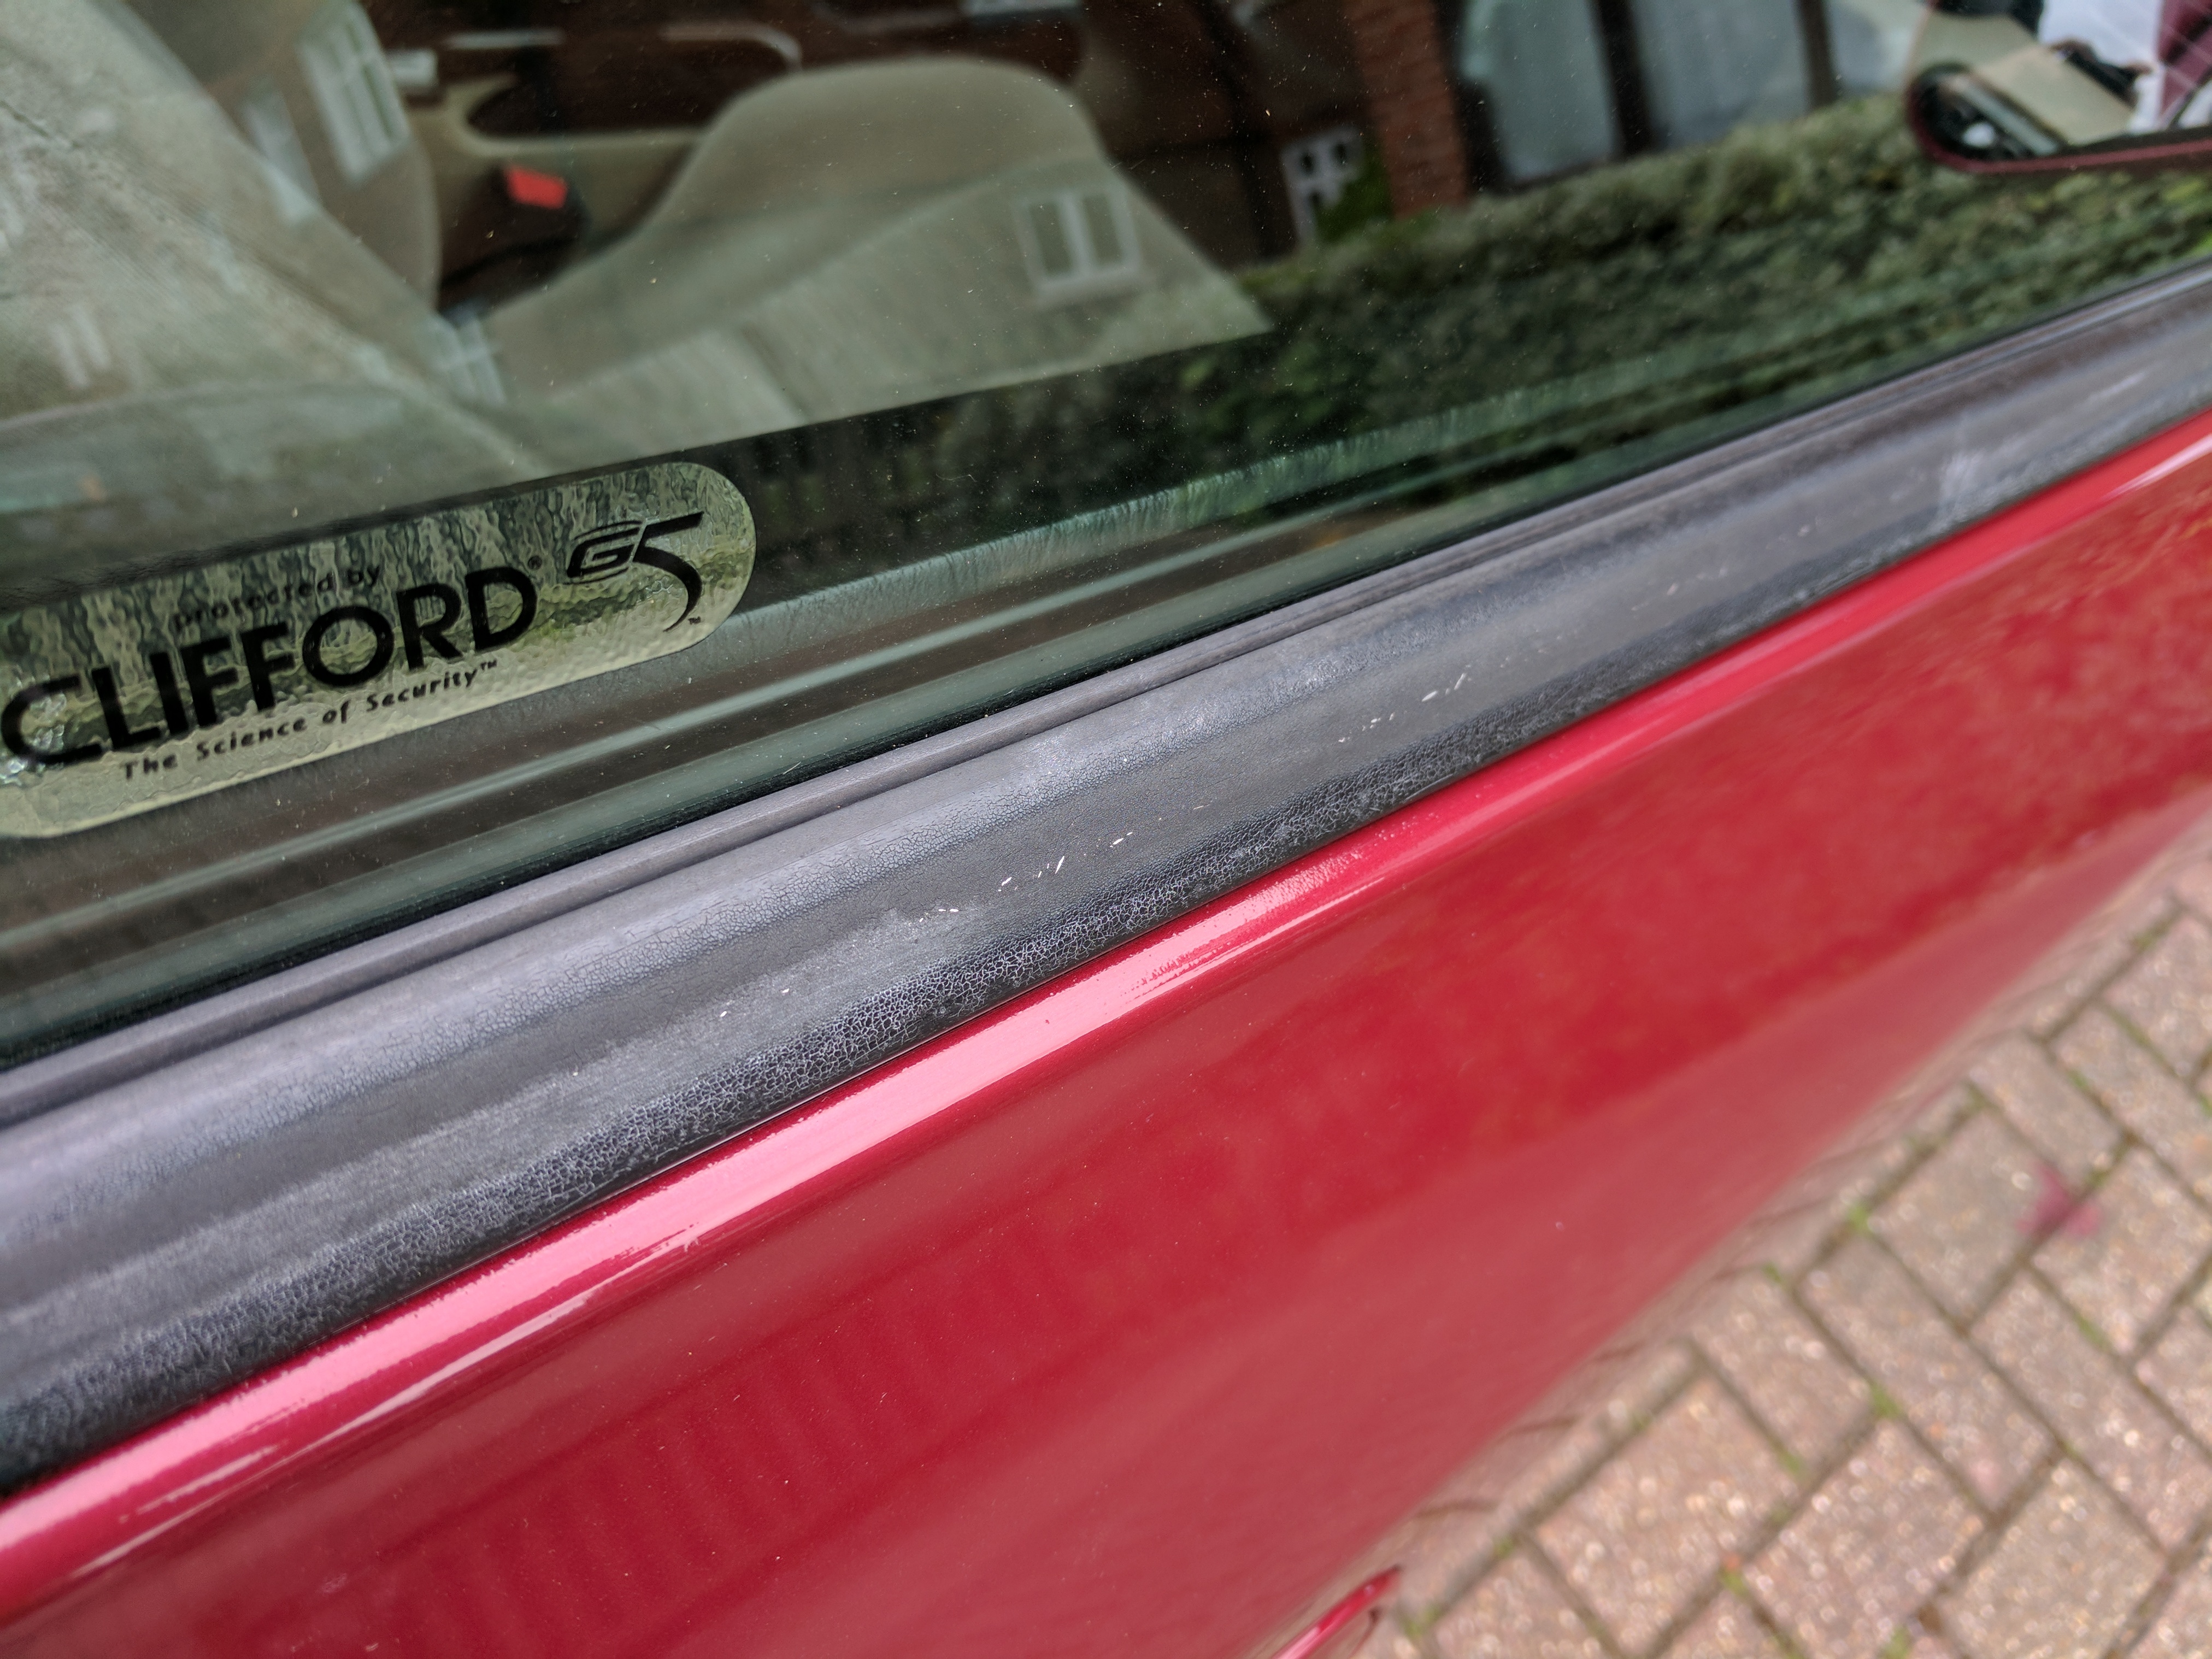
Here's some photos of what it looked like before:
After over 17 years, the rubber has perished. It was rough and the metal underneath was visible in patches. This is common on 5G Preludes. It was quite an eye sore and let my car down.
I purchased a 1.5m x 0.30m sheet of black satin vinyl wrap through eBay for £8.99 which should be more than enough while allowing for a few mishaps along the way:
http://www.ebay.co.uk/itm/151141327589
You should start by cleaning up the window scraper seal trim. I just washed it while washing the car. As the old rubber was porous, I wanted to avoid using chemicals like white spirits to clean to them up because I was worried they might soak in to the rubber which wouldn't help later on.
I removed the inside door panel and the wing mirror. It doesn't seem possible to cleanly remove the window scraper seal trim without breaking its clips, or at least some of them. There's 6 on each side. Luckily I already had a handful of spares from a breaking Prelude I visited last summer. So to remove it, you'll need to just pull it up, start at one end and work your way along. Like I said, clips will break so you'll need replacements when refitting.
Once you've removed the seal, this gives you the opportunity to satisfy your OCD tendencies by cleaning & waxing the area beneath.
You'll also need to clean the underside of the scraper seal so the black vinyl wrap sticks to it properly. To make sure the trim is extra clean, stick a strip of duck tape on it and pull it off. Do this a few times to make sure any ingrained dirt has been pulled away.
Remove the window scraper seal trim end cap and cut off a slightly oversized strip of wrap which is about 1.5 cm wider and maybe 2 cm longer than the actual window scraper seal trim. Insert it into the gutter which runs along the length between the curved trim and the window scraper. Here's a pic showing what I mean:
Slowly and carefully peel off the backing. I pulled it off, sliding the peeled backing along inside the gutter, keeping it all level. While doing so, apply gentle pressure to the top edge of the wrap ensuring it is as deep in as possible (it only goes in a few mm, so not a lot). Once you've done that, carefully fold it over the curved section making sure there are no air bubbles. When that's one, simply fold over your excess 1 cm of wrap underneath and at both ends make sure it's stuck secure.
If you're a perfectionist, you'll probably mess this up a few times, hence why it's a good idea to buy more than just the minimum amount of wrap required. I was successful on my third try.
To make sure the wrap has stuck inside that gutter, run one of those cotton bud sticks along the inside. Using a cloth, give it a firm wipe all over to make sure the wrap is stuck down all over. Push the end cap back in.
Slide back on a set of unbroken clips and put it back on to the door. You'll hear a satisfying click when the clips secure in the door.
Sorted. Here's the finished product:
I've only done the driver's side so far as I have only 3 unbroken clips left (and lots of spare broken clips). So before I do the passenger's side, I'm waiting for these to arrive:
http://www.ebay.co.uk/itm/151541354736
These cost only £2.81 including P&P for 15. They aren't original Honda clips, but to me they look identical apart from the colour - original Honda clips are white whereas these are blue and a hell of a lot cheaper. These are expected to take about a month to arrive from China, but there are alternatives on eBay with quicker delivery but a bit more expensive. If you want to buy from Honda, the part number for a clip is 91527-SZ3-003, however I can't find this using Lings so maybe that part number has been superseded? Alternative part number are on that eBay listing above.