Congratulations to vtecmec for winning May/June's Lude Of The Month, with his DIY Turbo BB1 build.
>>> Click Here For Profile <<<

>>> Click Here For Profile <<<
5th Gen Central Locking headache
-
mercutio

- LotM Winner
- Posts: 14958
- Joined: Sun Aug 08, 2010 8:45 pm
- My Generation: 5G
- Location: Sunny Manchester
- Has thanked: 1 time
- Been thanked: 3 times
- Contact:
wait till i get round to posting about retrimming the door cards 
bristol_bb4 wrote:ahhh a 5th gen, i love 5th gens
Dino wrote:I loves the 5th gen really.... just dont quote me on it...
4thgenphil wrote:Mines 4 1/4 unches mate, sorry
http://www.ludegeneration.co.uk/profile ... -t618.html
-
funkmasterjay
- Posts: 231
- Joined: Tue Jan 31, 2012 9:31 pm
- My Generation: 5G
- Location: South Essex
I guess that's also a pain then.
Well, as part of installing the alarm, I also have to run wires for a new bonnet switch and the siren. I tell you what, I don't know how the hell people run power cables through for amps. Eventually, I had an old CD changer 7 pin cable that I used. That means I have 7 wires - 1 for siren, one for bonnet switch and the rest will be for boost gauge, oil temp gauge and oil pressure gauge and it will all look stealth. Joy I guess.
J


-
funkmasterjay
- Posts: 231
- Joined: Tue Jan 31, 2012 9:31 pm
- My Generation: 5G
- Location: South Essex
sorry guys. Just realised I did not post the solution on here in case someone does a search for the same topic.
I posted in my main thread, but I suppose I better post the pics on here for closure.
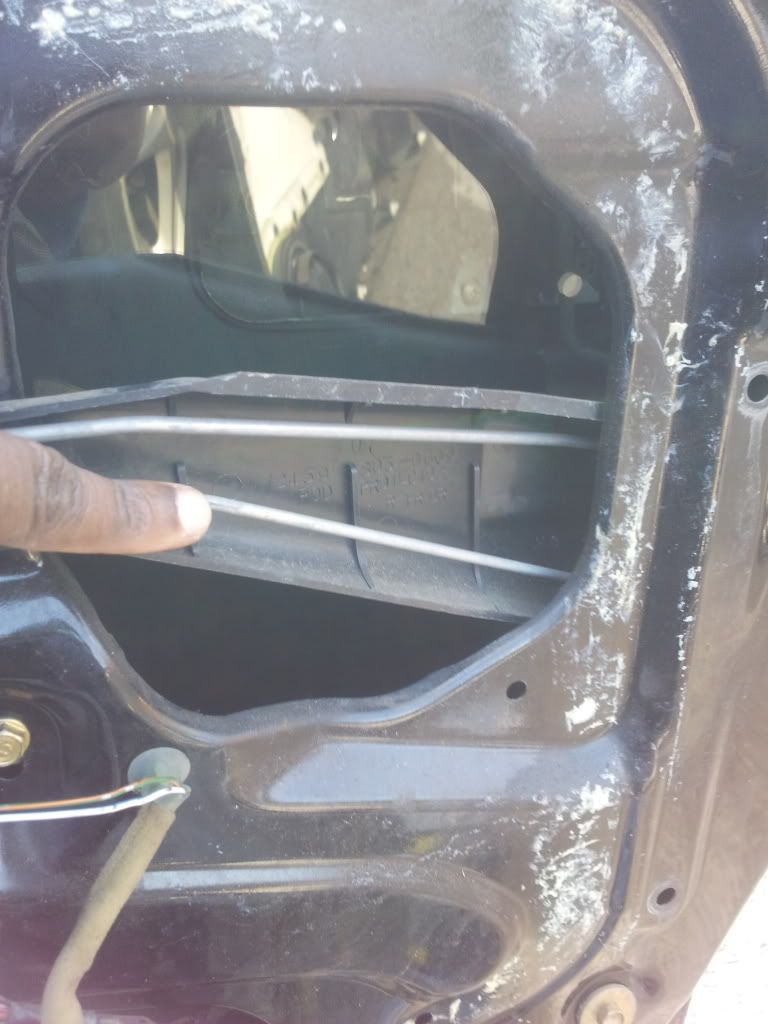
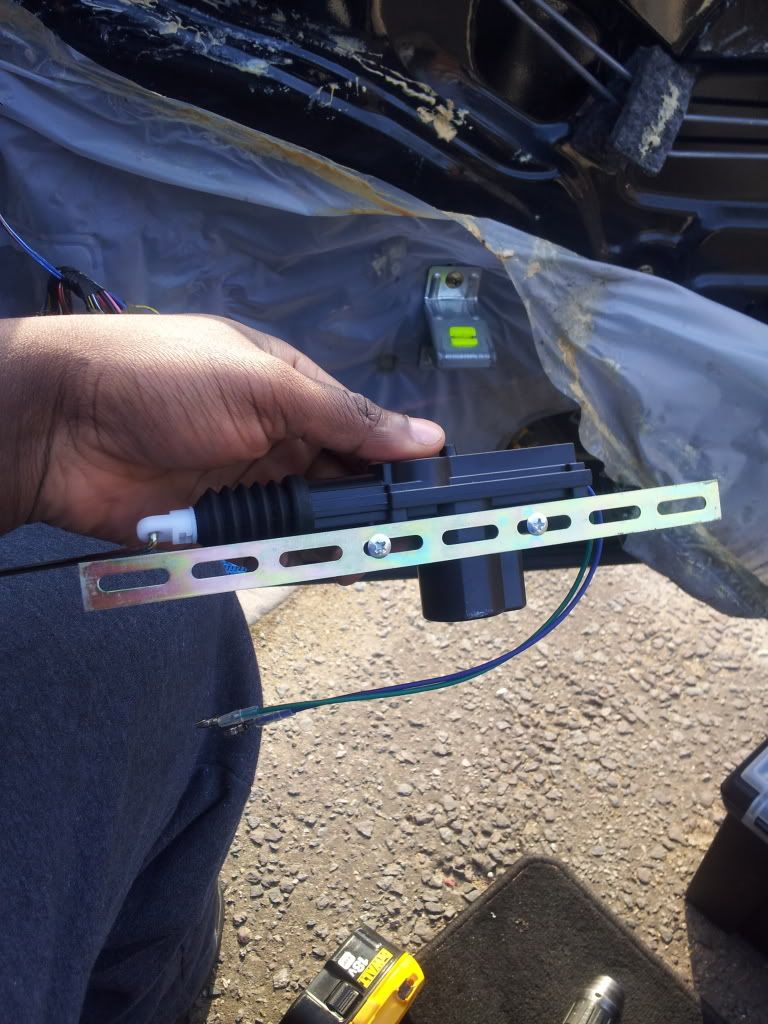
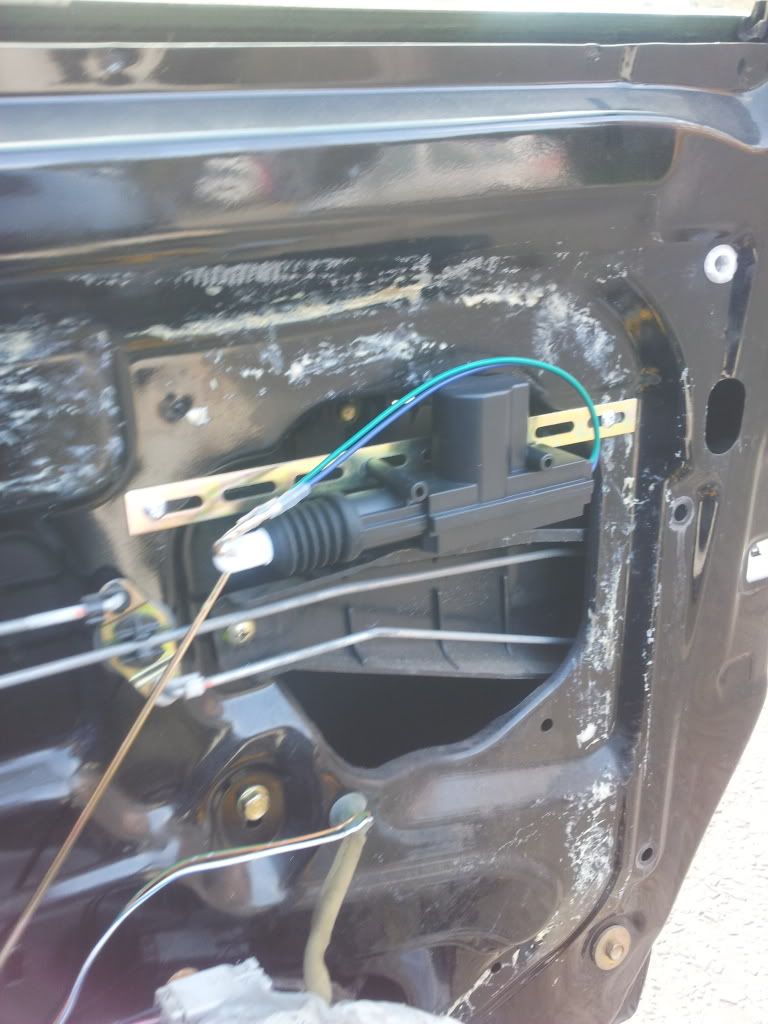
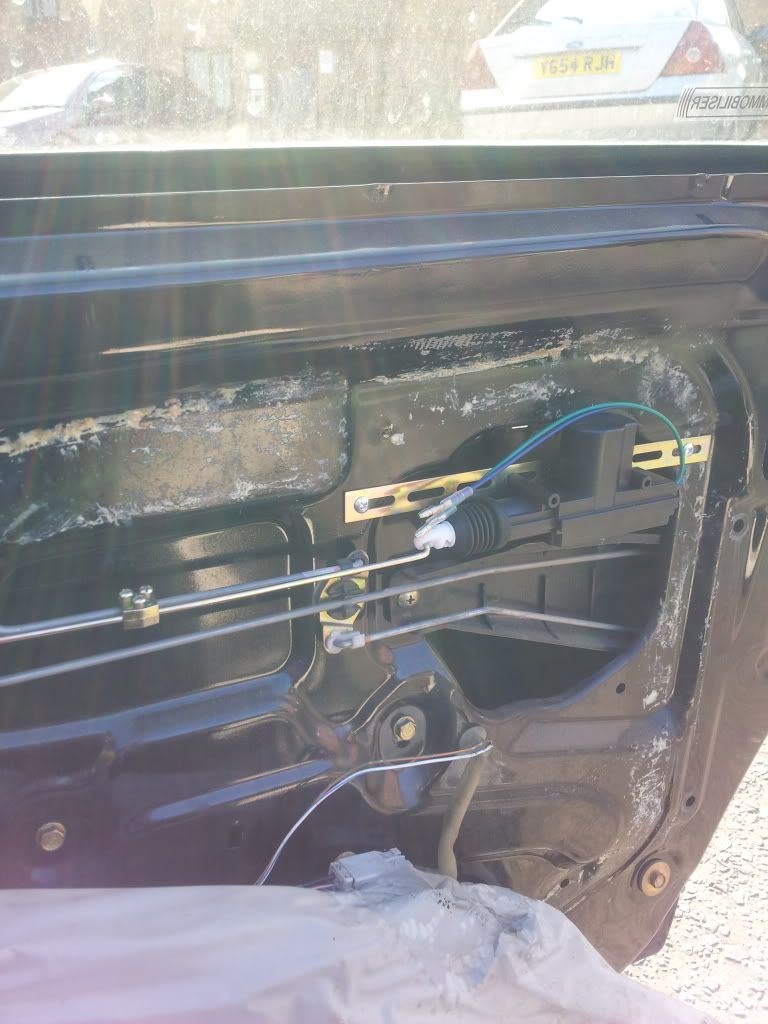
I bought a cheap 2 wire locking actuator from eBay. It came with brackets, screws and clip to latch onto the rod mechanism.
It took less than 30 mins to install, and the way to wire it to an aftermarket alarm is 'switching polarity'.
Exposed rods

The rod needed
Bracket fitted
One hole drilled
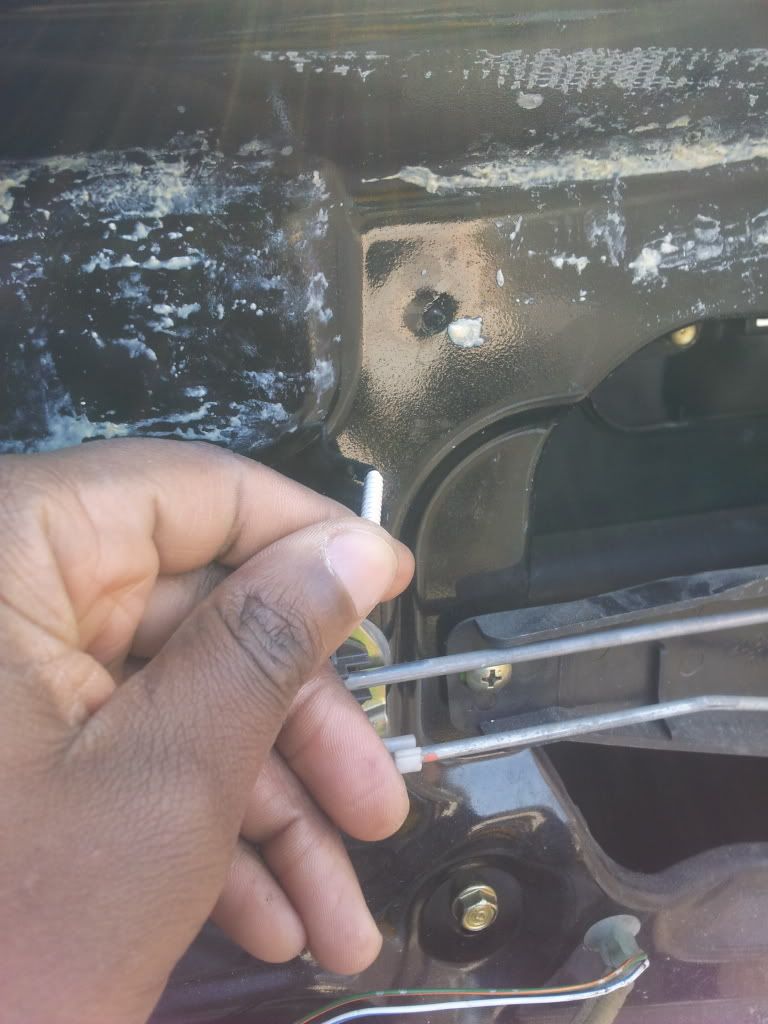
Second hole drilled
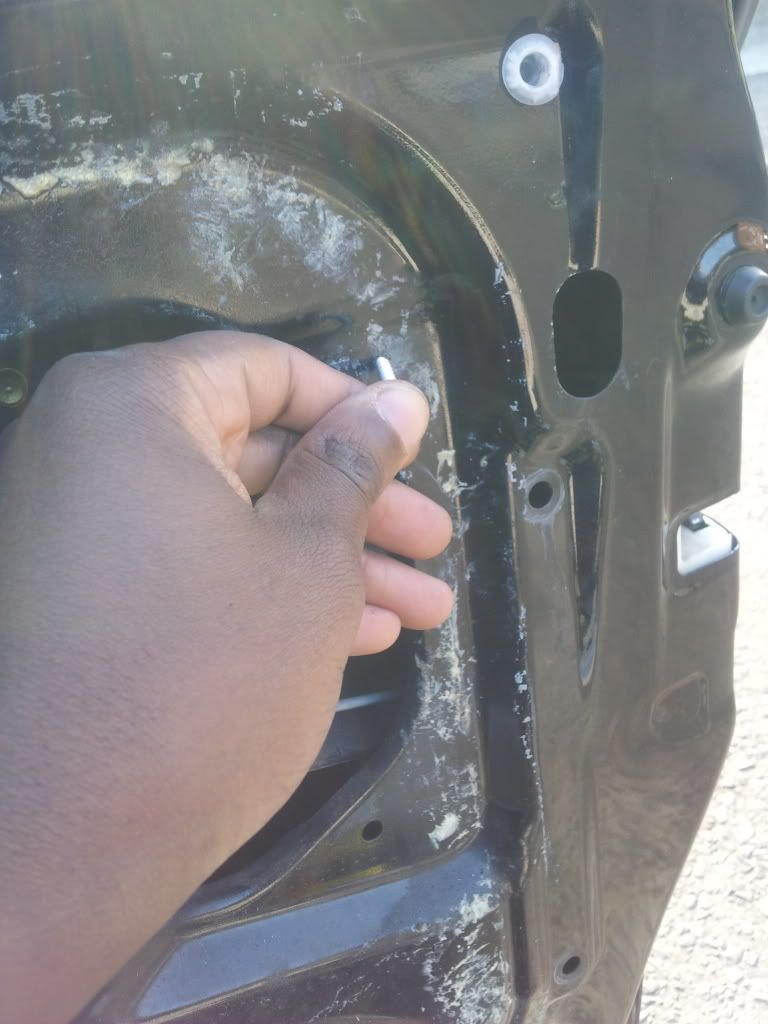
Installed
There.
I posted in my main thread, but I suppose I better post the pics on here for closure.
I bought a cheap 2 wire locking actuator from eBay. It came with brackets, screws and clip to latch onto the rod mechanism.
It took less than 30 mins to install, and the way to wire it to an aftermarket alarm is 'switching polarity'.
Exposed rods
The rod needed
Bracket fitted
One hole drilled
Second hole drilled
Installed
There.