Right
@newkid pics galore...
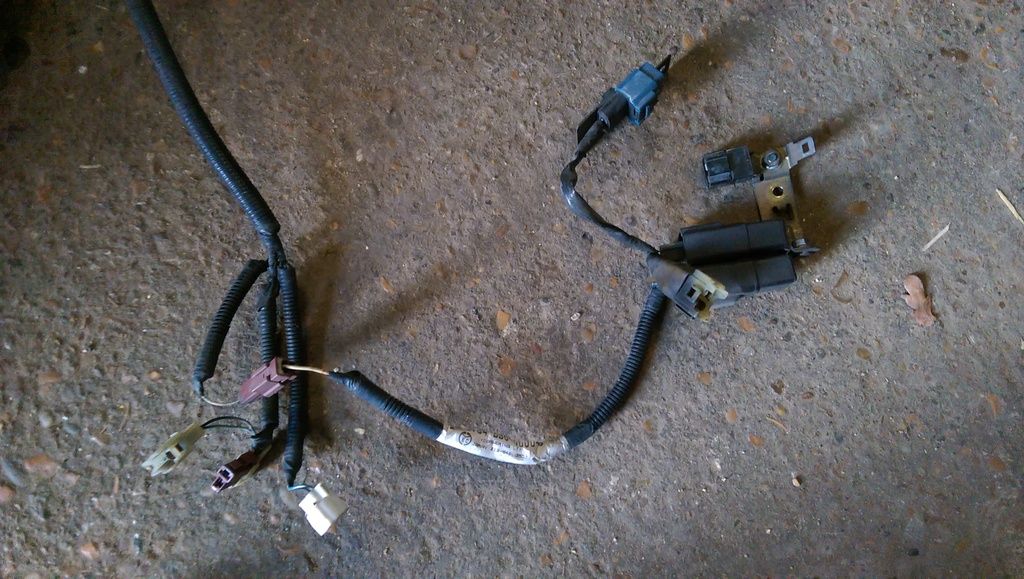
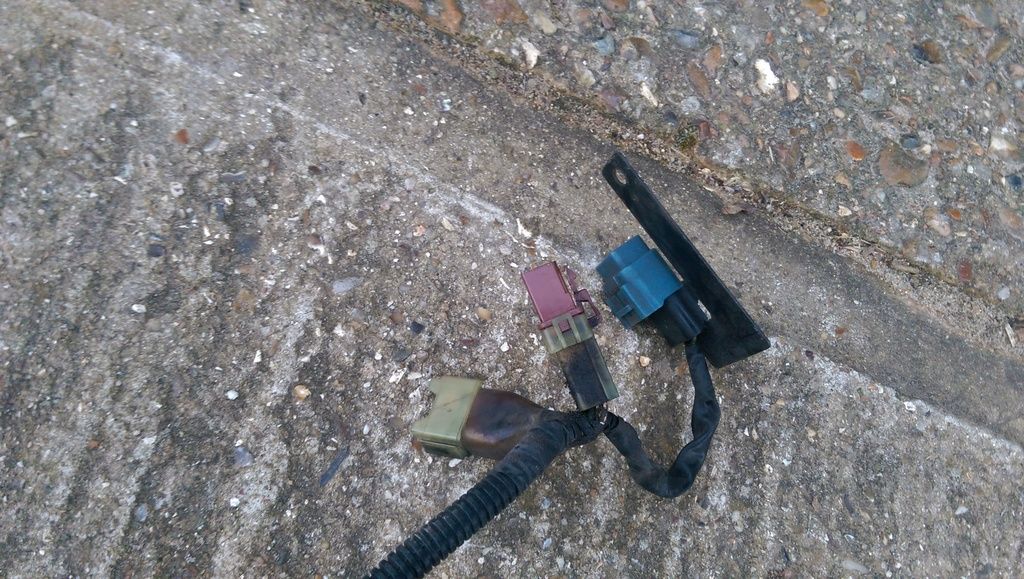
This is the full complete set up;
All plug 'n play.
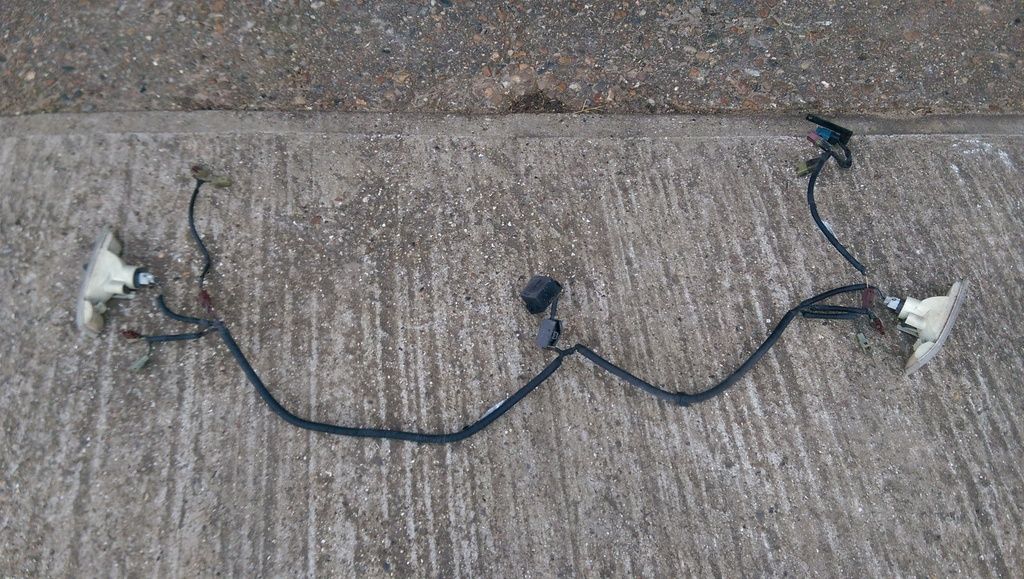
Close up of drivers side gubbins;
Loop-through connection to sidelight;
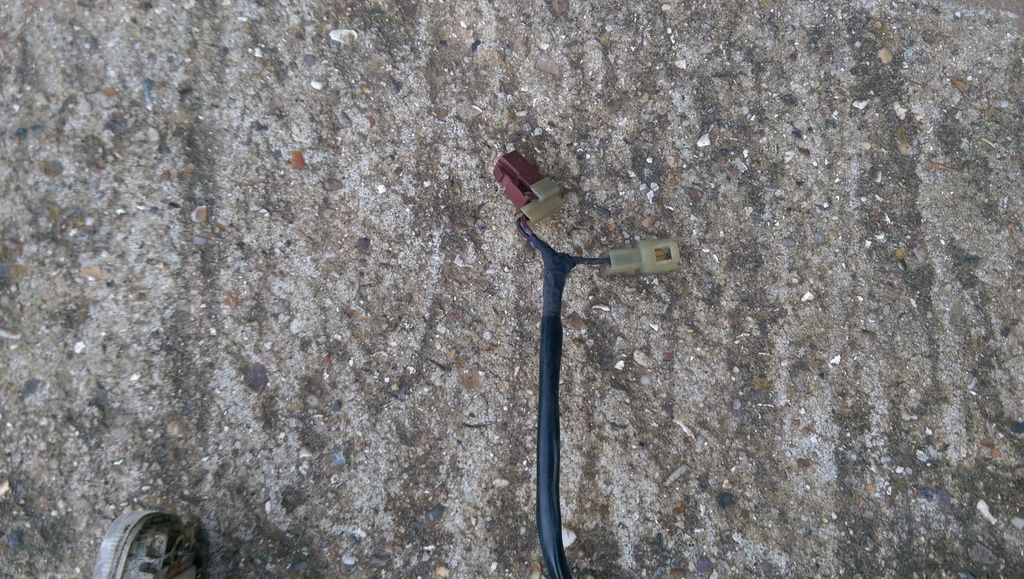
Loop-through connection to indicator and connector to corner light;
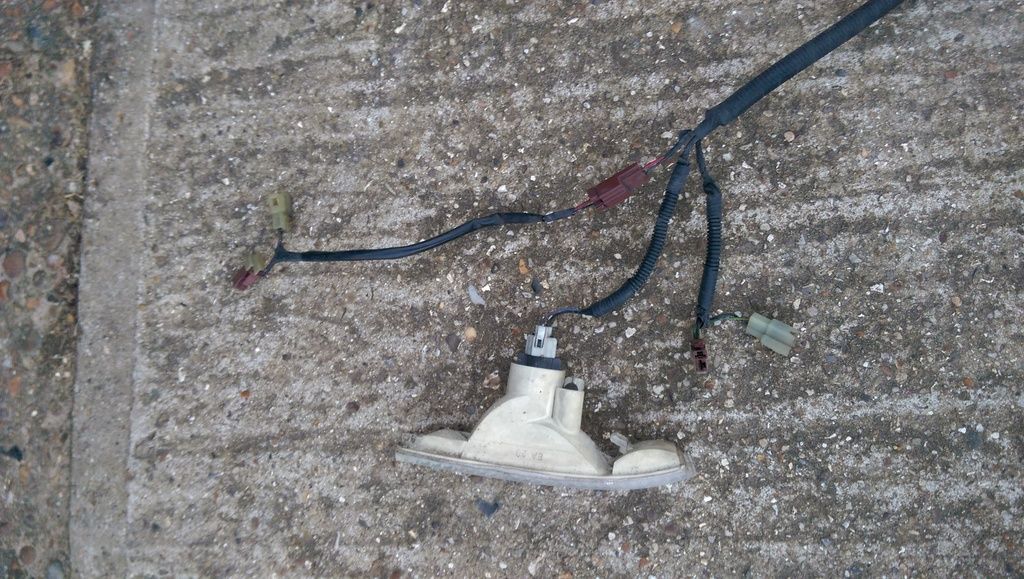
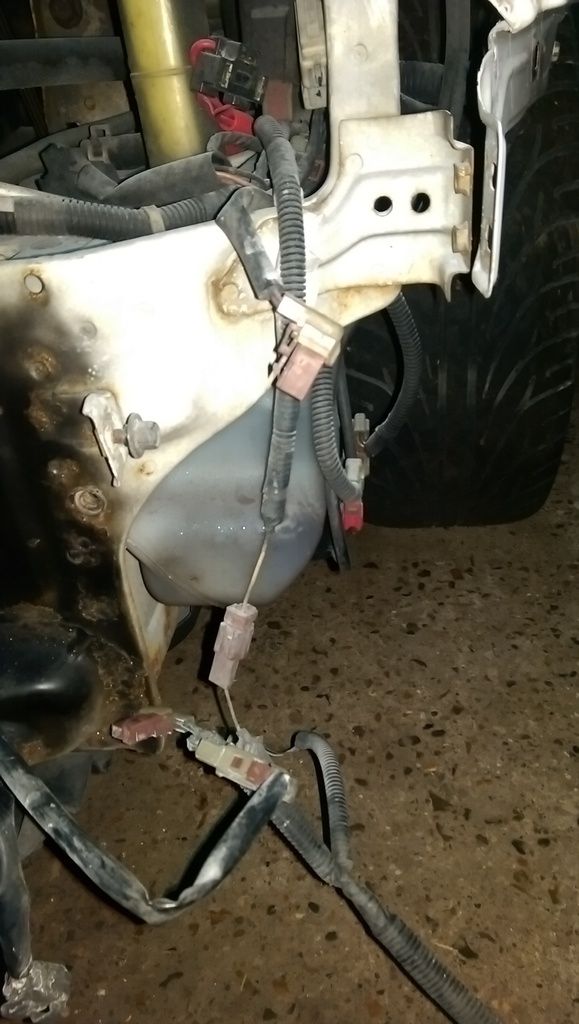
Close ups of passenger side gubbins;
Loop-through connection to indicator and connector to corner light;
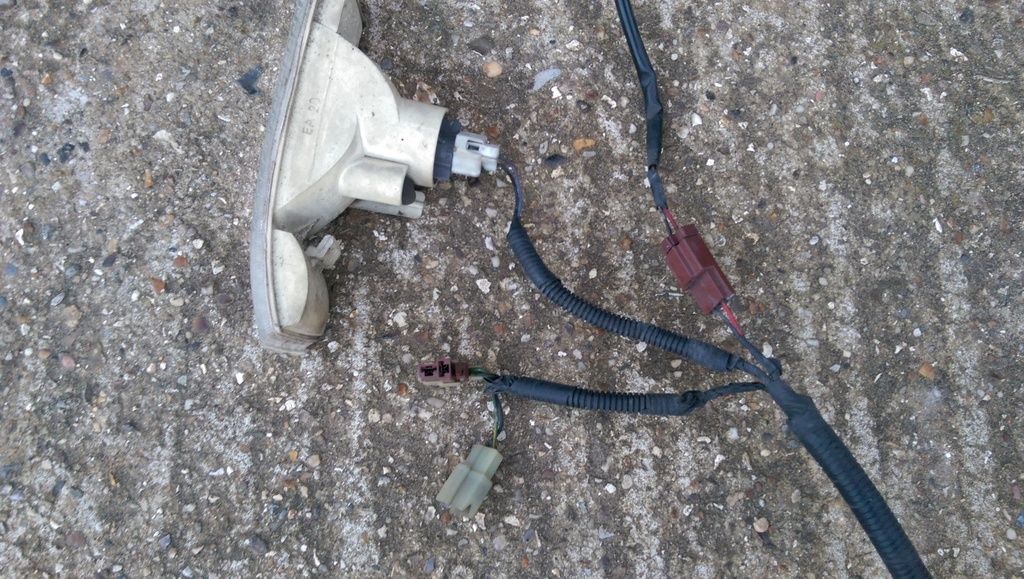
Loop-through connection to a/c compressor/fan relays (1 plug and 1 socket white/brown) plus an extra relay or fuse (not sure which, not investigated, the blue thing)
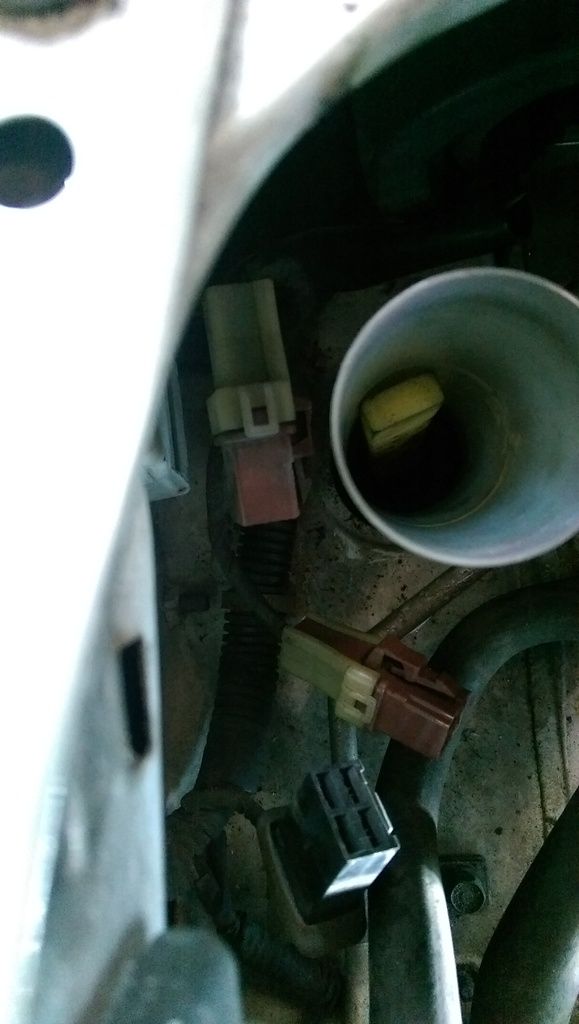
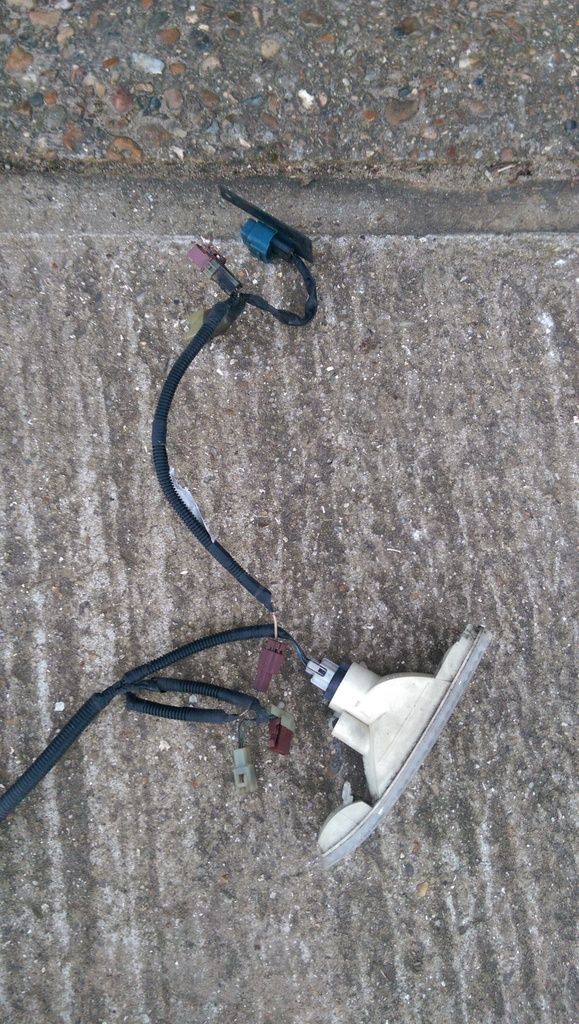
This is the connections all in place, on the drivers side;
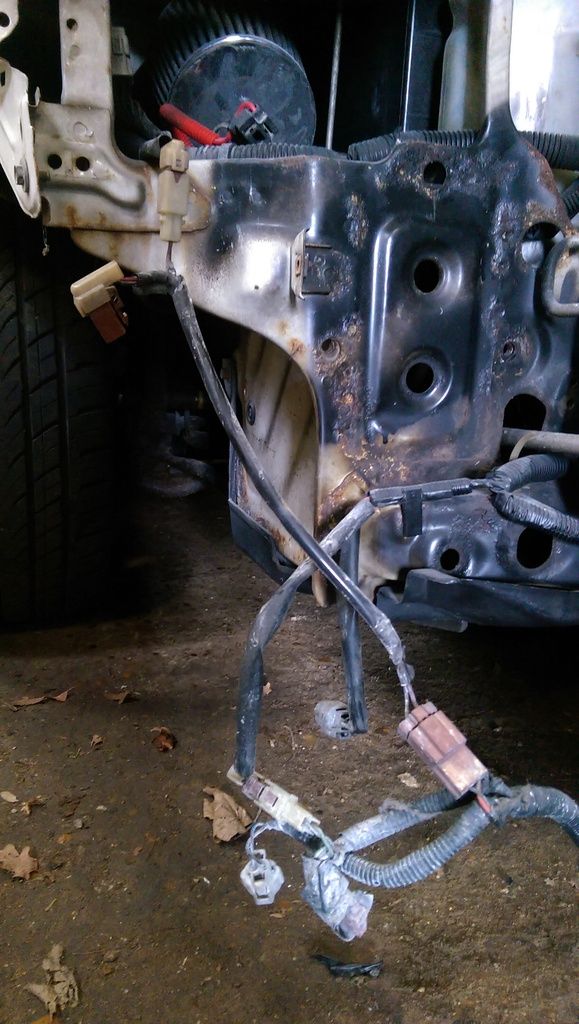
Up close, top connections;
At the top, the loom is plugged into the standard loom sidelight plug and you can see there is a loop-through plug that connects onto the sidelight instead.
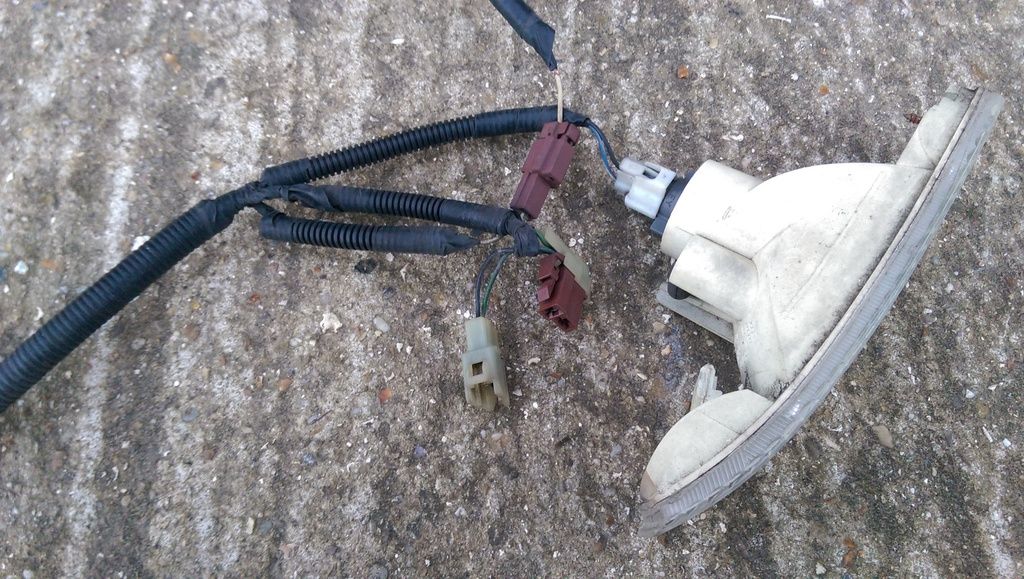
Up closer, bottom connections;
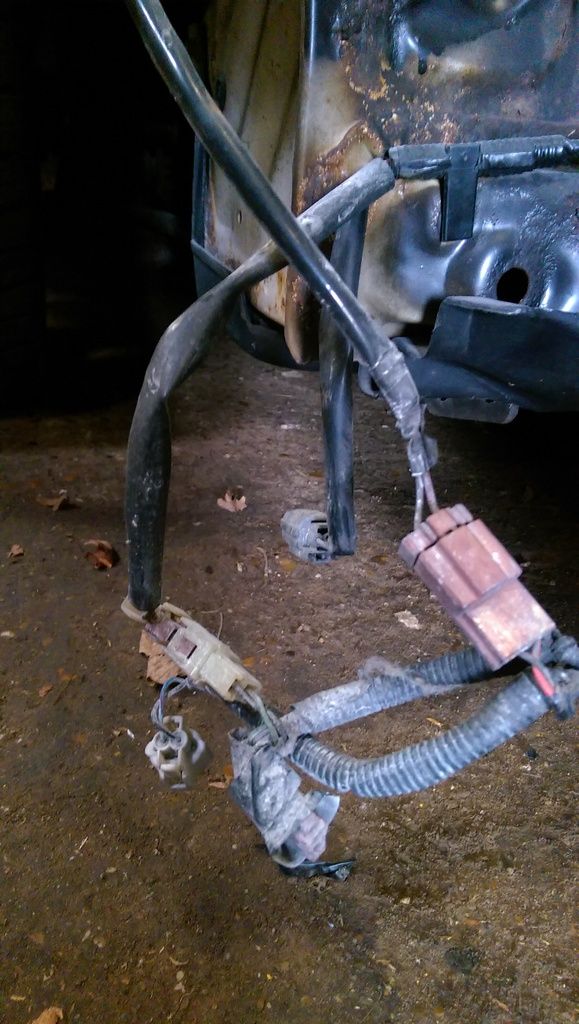
At the bottom, you can see it is plugged into the standard loom indicator plug (brown plug into clear connector) with the loop-through plug that then connects to the indicator instead (that's the brown plug at the bottom, wrapped in black insulating tape for some reason).
The other white plug bottom LHS is the connector to the corner light itself. (Grey plug centre-background is the foglight plug)
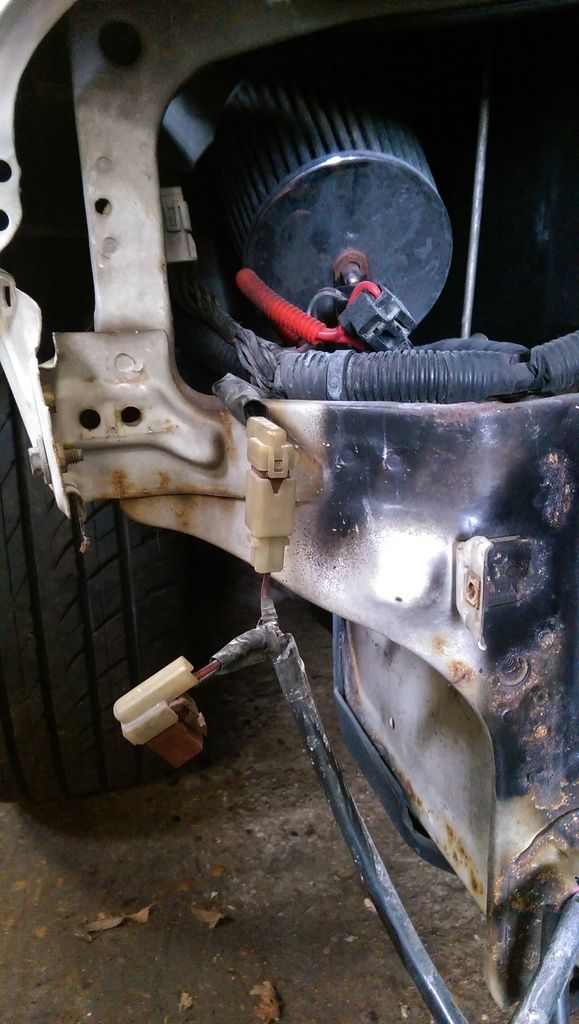
Passenger side (not come out too clearly, sorry

);
Top brown plug (loose) is the sidelight plug. This is left as normal on passenger side.
The loom you can see directly behind that disappearing off to the side chassis rail, is the corner light wiring, that connects to the A/C fan/compressor relays (for power)
never looked to see if the wiring diagram is in the service manual tbf... might be? Cause stuff like dsp is!