

Love the subtleness of this lude.
Very nice work
Congratulations to vtecmec for winning May/June's Lude Of The Month, with his DIY Turbo BB1 build.
>>> Click Here For Profile <<<

>>> Click Here For Profile <<<
My 1999 Honda Prelude 2.2vti BB8 5th Gen Project - Page 7
-
CARRisma

- Posts: 902
- Joined: Tue May 01, 2012 11:30 am
- My Generation: 5G
- Location: Horley, Surrey
- Has thanked: 20 times
- Been thanked: 38 times
- Contact:
I used to, then switched to K&N for a few years. During June / July I reverted to a OEM Honda air filter and noticed no performance reduction. So I'll be sticking with them for now on and will notify my insurance company come renewal to knock the price down a bit.Gorgon wrote:Great example
I think most with the A8/TypeS intake use K&N, I think Carrisima has a Green Cotton (??) one.
2000 Honda Prelude 2.2 VTi (H22A8 / BB8).

-
prelude_h22
- Posts: 758
- Joined: Tue Jul 24, 2012 6:35 pm
- My Generation: 5G
- Has thanked: 8 times
- Been thanked: 22 times
Re: My 1999 Honda Prelude 2.2vti BB8 5th Gen Project
Hi All
Well I have finally achieved one of my personal ambitions with the thanks to my wife for organising it and paying for it for my birthday
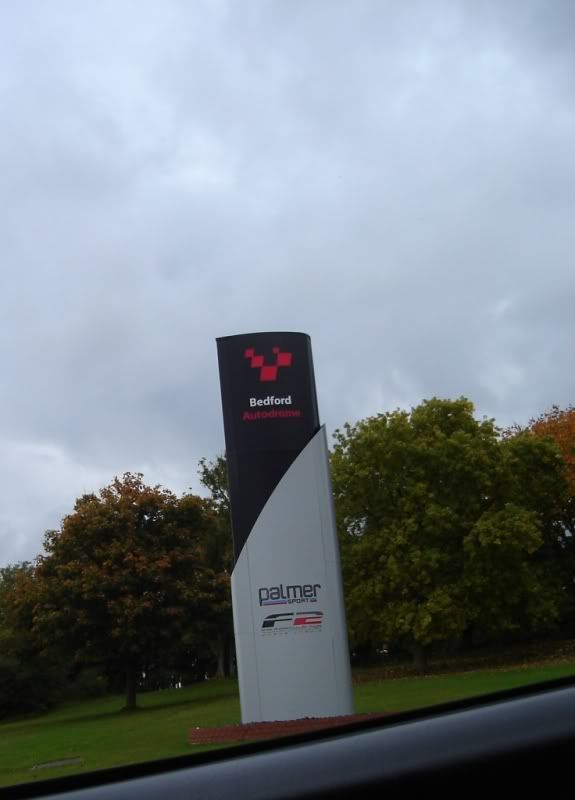
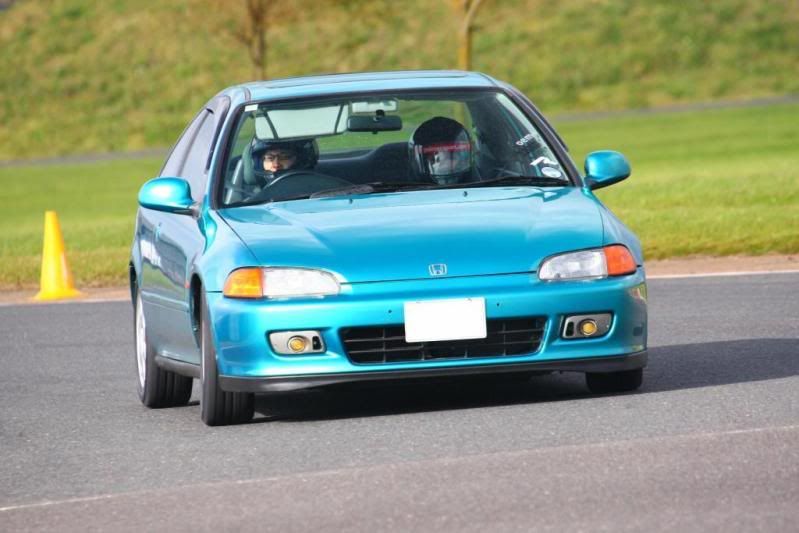
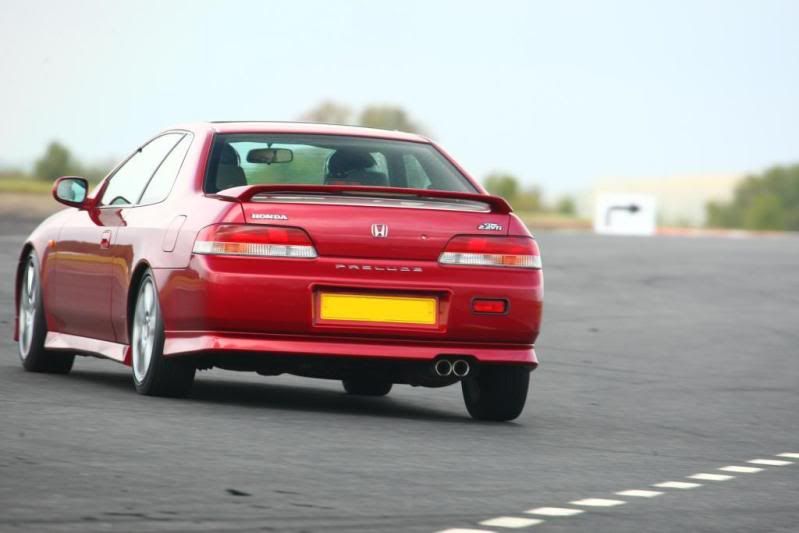
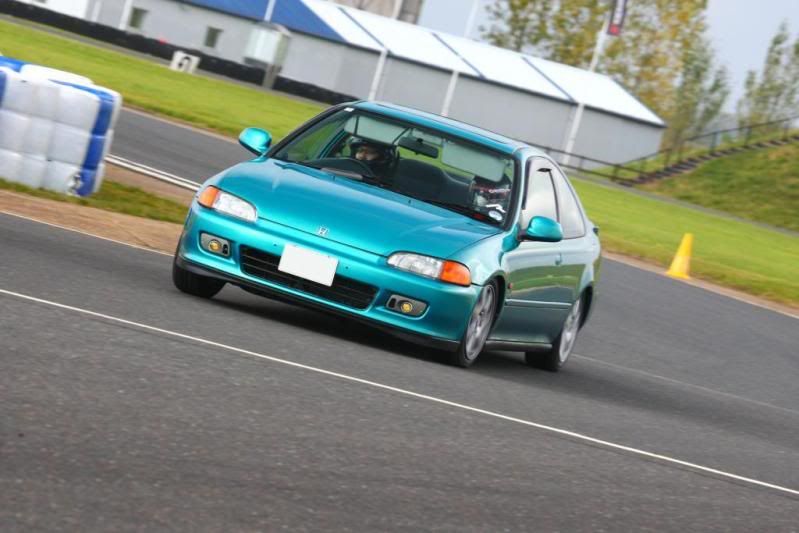
A novice track day was scheduled for the 15th October at Bedford Autodrome with Club MSV (with it being a novice day all the drivers will be of the same confidence level)
Feeling fairly nervous the day before I did all I could to prep the car for the day. Thanks to various advice from fellow members and the internet this included:
1- Service – Change Oil only – Shell 5w/40 (A full service will be performed the following week)
2- Check spark plugs – clean/brush spark plugs
3- Tighten all wheel nuts to 90nm
4- Remove locking nuts from wheels – just in case you have a puncture – Easier to change
5- Check oil
6- Clean EGR valve
7- Check tyre pressures
8- Check air filter
9- Check rocker cover bolts – tighten to 12nm
10- Check brake fluid
11- Check power steering fluid
12- Check exhaust – All sections
13- Body panels – loose – all skirting – fog light housings lose?
14- Unload all unnecessary items from boot – Spare wheel?
15- Remove all items from glove box
16- Wash car
17- Set suspension settings 16 front and 8 rear to start with
18- Remove all boot interior lining to make it much easier to adjust the rear suspension (will be replaced after the track day)
The day began with signing on, filling in forms, showing licences and choosing the correct size helmet. A spot of lunch and then a 30 min briefing whereby one of the onsite team members explained the basics of taking a corner, various rules of the track what to do when things go wrong and what all the flags mean.
Then all attendees did a slow 2 laps to familiarise ourselves with the track. Then it was all go.
We had from 1pm until 4pm to go on the track and come off as we pleased (open pit lane)
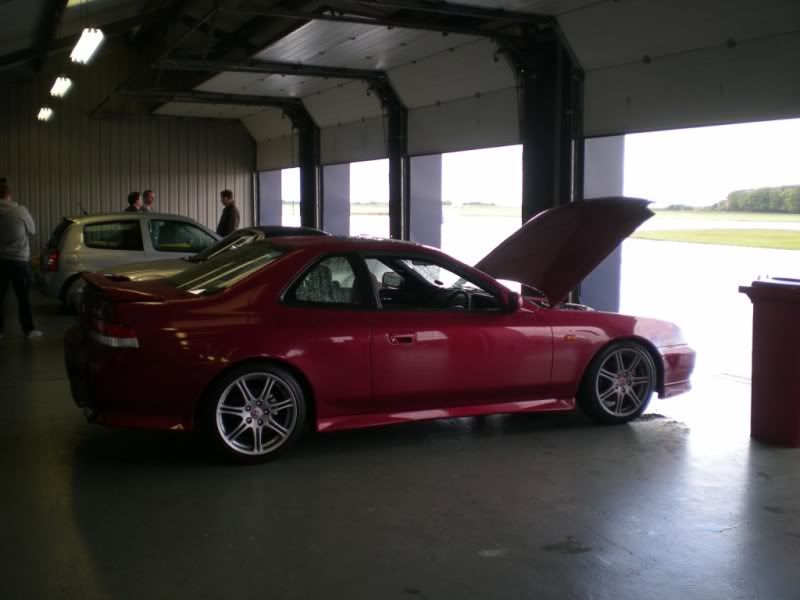
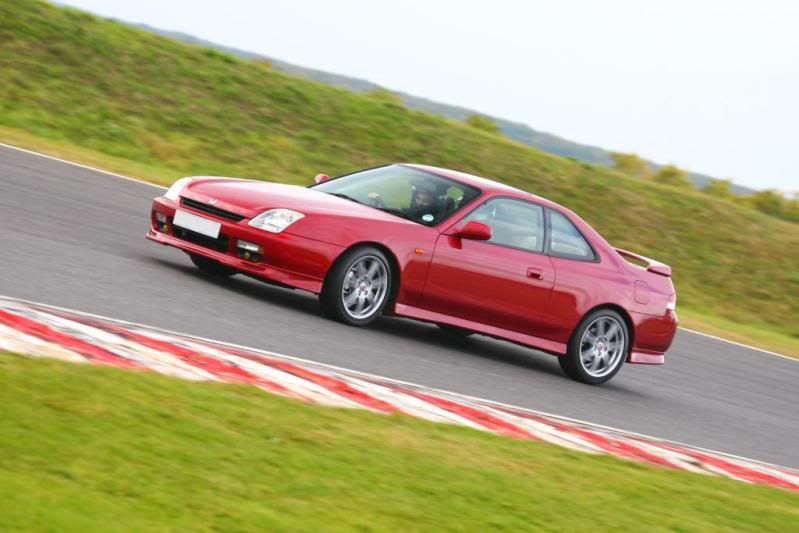
It was great fun although I didn’t take the prelude too its full limit it was all about enjoying the car, taking the correct lines of the track and not having to worrying about your speed and public road users.
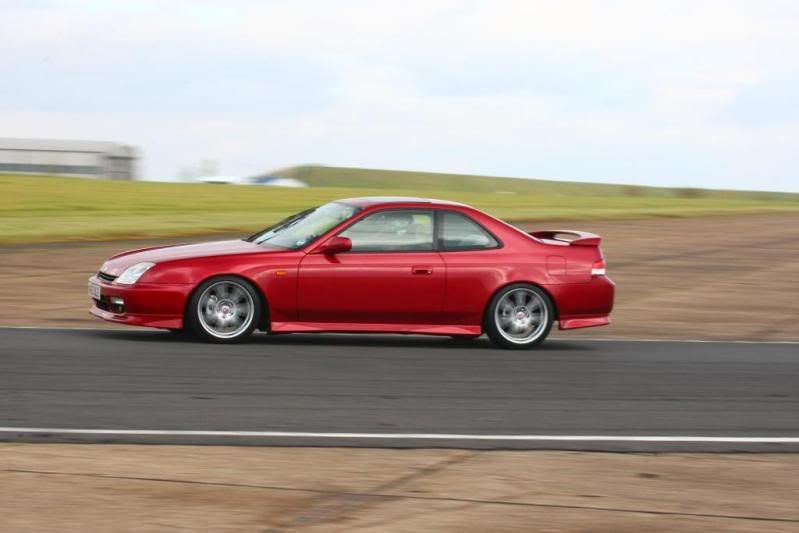
The prelude handled really well, infact I was so amazed by the handling of the prelude. The suspension was set at 32 front and 28 rear (35 being the most stiff). The 4 wheel steer didn’t cause any problems and really helped with two of the really tight hairpins
All the work done came together really well and all complimented each other from the suspension setting, Bridgestone tyres and the brakes.
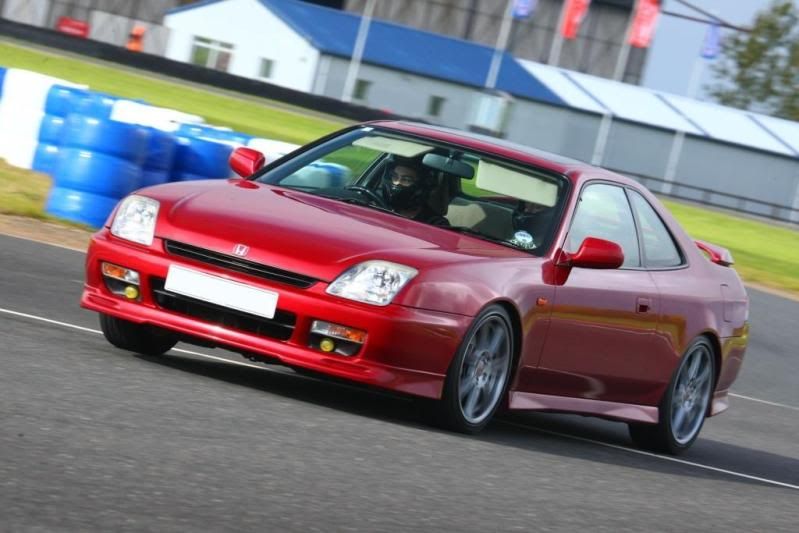
One thing about being on track is your brakes really have to work hard. With the previous brake overhaul my prelude brakes really performed well. With the full braking system only having ds2500 pads, Castrol react fluid, new front discs, refurbed rear callipers, new rear discs and pads I never felt any brake fade at all and the discs never warped.
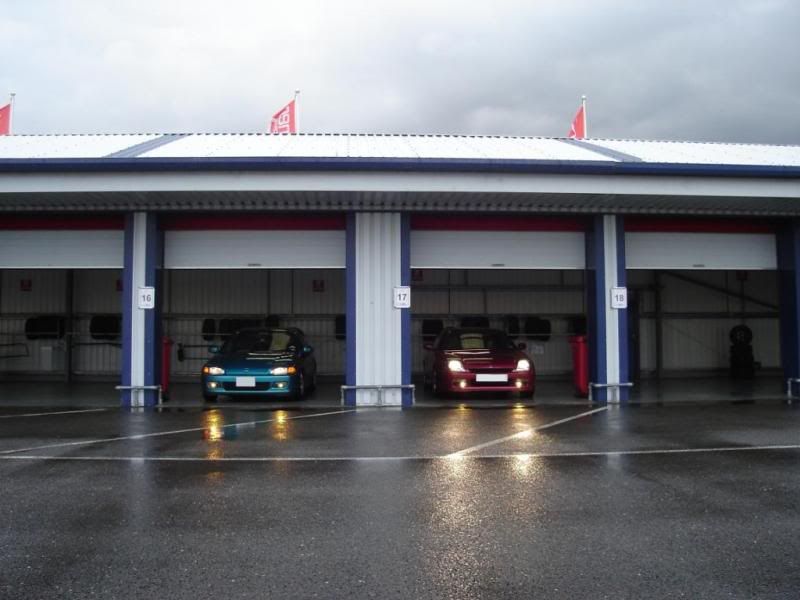
Everyone was well behaved and a pleasure to chat too. Their was a whole host of various cars there ranging from an Aston martin DB9 to various MX5s, Standard Mondeo, civic EK4, Civic coupe and various Audi’s and Bmw;s
The disadvantage is I want to upgrade the clutch, flywheel, install a short shifter and maybe a remap. Lol. (shall see how funds pan out but will most likely not happen)
The only issue I had is that the prelude was rather heavy and could do with maybe alittle more torque and power but I wasn’t disappointed at all not in the slightest bit.
No issues occurred with the car by the end of the session and we were able to drive home problem free (Good old Honda)
It was an awesome day and I would highly recommend it to anyone who loves driving their car. Everything we do to our cars (i.e. tuning and upgrading) all makes sense out on track it all just works.
We hope to do another track day maybe next year
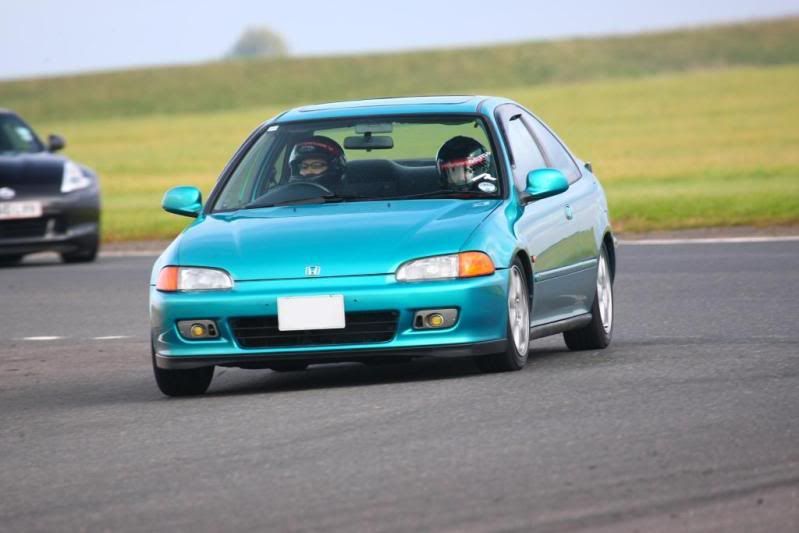
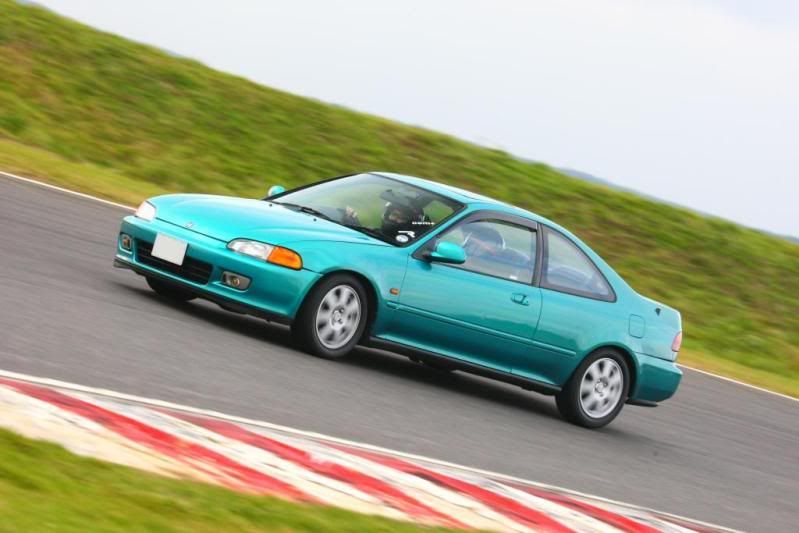
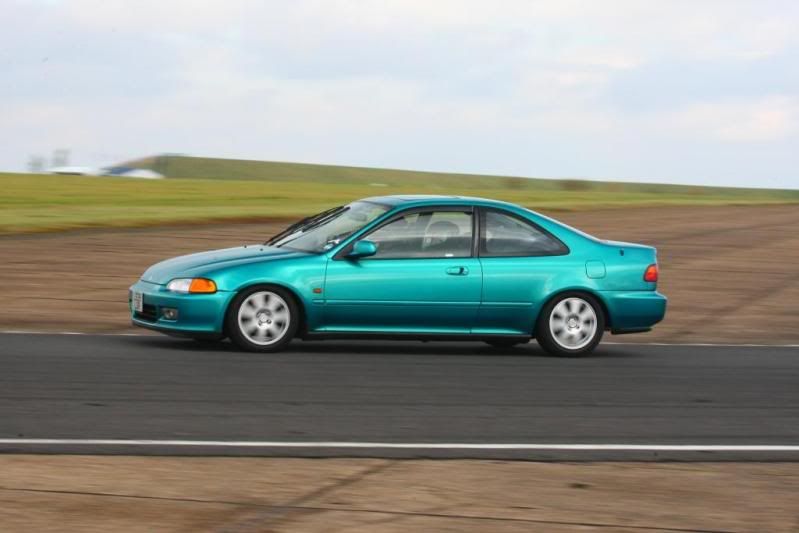
Here are some pictures of the day (my brother also attended in his b16 EJ coupe now outputting 187BHP)


Thanks guys
Well I have finally achieved one of my personal ambitions with the thanks to my wife for organising it and paying for it for my birthday
A novice track day was scheduled for the 15th October at Bedford Autodrome with Club MSV (with it being a novice day all the drivers will be of the same confidence level)
Feeling fairly nervous the day before I did all I could to prep the car for the day. Thanks to various advice from fellow members and the internet this included:
1- Service – Change Oil only – Shell 5w/40 (A full service will be performed the following week)
2- Check spark plugs – clean/brush spark plugs
3- Tighten all wheel nuts to 90nm
4- Remove locking nuts from wheels – just in case you have a puncture – Easier to change
5- Check oil
6- Clean EGR valve
7- Check tyre pressures
8- Check air filter
9- Check rocker cover bolts – tighten to 12nm
10- Check brake fluid
11- Check power steering fluid
12- Check exhaust – All sections
13- Body panels – loose – all skirting – fog light housings lose?
14- Unload all unnecessary items from boot – Spare wheel?
15- Remove all items from glove box
16- Wash car
17- Set suspension settings 16 front and 8 rear to start with
18- Remove all boot interior lining to make it much easier to adjust the rear suspension (will be replaced after the track day)
The day began with signing on, filling in forms, showing licences and choosing the correct size helmet. A spot of lunch and then a 30 min briefing whereby one of the onsite team members explained the basics of taking a corner, various rules of the track what to do when things go wrong and what all the flags mean.
Then all attendees did a slow 2 laps to familiarise ourselves with the track. Then it was all go.
We had from 1pm until 4pm to go on the track and come off as we pleased (open pit lane)
It was great fun although I didn’t take the prelude too its full limit it was all about enjoying the car, taking the correct lines of the track and not having to worrying about your speed and public road users.
The prelude handled really well, infact I was so amazed by the handling of the prelude. The suspension was set at 32 front and 28 rear (35 being the most stiff). The 4 wheel steer didn’t cause any problems and really helped with two of the really tight hairpins
All the work done came together really well and all complimented each other from the suspension setting, Bridgestone tyres and the brakes.
One thing about being on track is your brakes really have to work hard. With the previous brake overhaul my prelude brakes really performed well. With the full braking system only having ds2500 pads, Castrol react fluid, new front discs, refurbed rear callipers, new rear discs and pads I never felt any brake fade at all and the discs never warped.
Everyone was well behaved and a pleasure to chat too. Their was a whole host of various cars there ranging from an Aston martin DB9 to various MX5s, Standard Mondeo, civic EK4, Civic coupe and various Audi’s and Bmw;s
The disadvantage is I want to upgrade the clutch, flywheel, install a short shifter and maybe a remap. Lol. (shall see how funds pan out but will most likely not happen)
The only issue I had is that the prelude was rather heavy and could do with maybe alittle more torque and power but I wasn’t disappointed at all not in the slightest bit.
No issues occurred with the car by the end of the session and we were able to drive home problem free (Good old Honda)
It was an awesome day and I would highly recommend it to anyone who loves driving their car. Everything we do to our cars (i.e. tuning and upgrading) all makes sense out on track it all just works.
We hope to do another track day maybe next year
Here are some pictures of the day (my brother also attended in his b16 EJ coupe now outputting 187BHP)
Thanks guys

-
rob quilter

- Supporter 2014
- Posts: 5331
- Joined: Mon Aug 09, 2010 1:40 pm
- My Generation: 5G
- PSN GamerTag: robquilter
- Location: Derby
Noice!

PERFORMANCE PARTS FOR JAPANESE CARS - http://WWW.TOKYOSQUAD.COM
FOLLOW US ON FACEBOOK - http://WWW.FACEBOOK.COM/TOKYOSQUAD
FOLLOW US ON FACEBOOK - http://WWW.FACEBOOK.COM/TOKYOSQUAD

-
prelude_h22
- Posts: 758
- Joined: Tue Jul 24, 2012 6:35 pm
- My Generation: 5G
- Has thanked: 8 times
- Been thanked: 22 times
Re: My 1999 Honda Prelude 2.2vti BB8 5th Gen Project
Hi All
It’s been a while since I have done any updates to the prelude mainly due to work and busy weekends.
Although whatever spare time I do have I try to enjoy the car as much as I can.
Since my last update I have managed to get a few things done
These include:
• New 225/45/R17 Uniroyal Rain sport Tyres
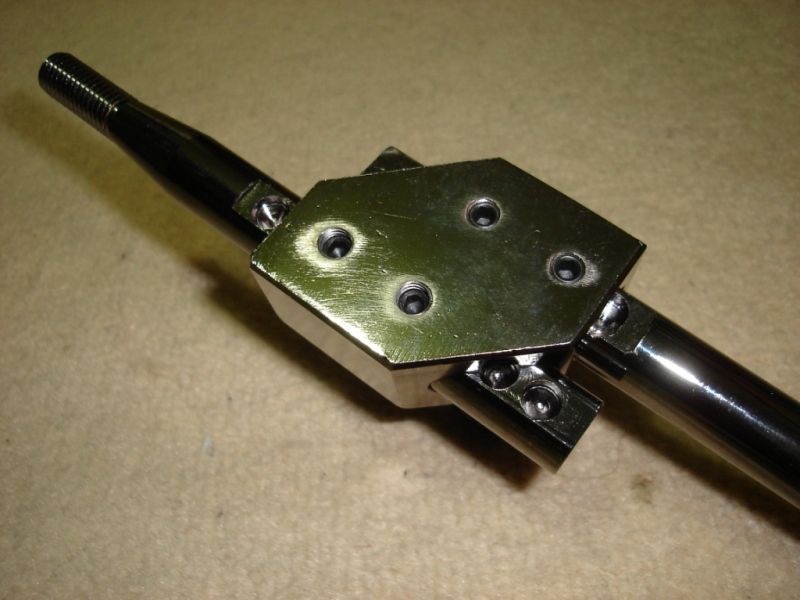
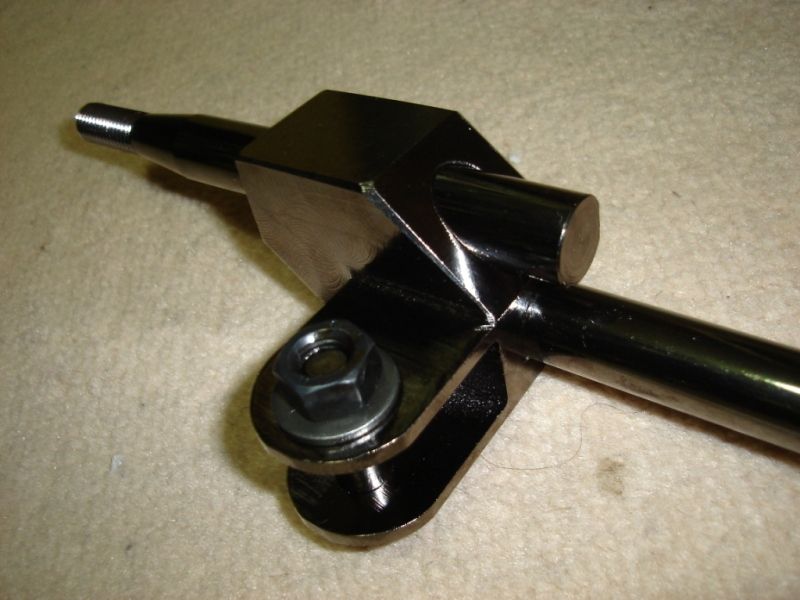
• Short Shifter From JTC Customs
• New Front ARB Bushes
• New Front and Rear Drop links
• Replacement New Bonnet Insulator
• Genuine Honeycomb Grill with Prelude Emblem
• Re-instalment of the JDM Rear Bumper including Front JDM Reg Plate
• Removal of Uniroyal Tyres and Instalment of Hankook 205/45/R17 Tyres
• Full Rear Bumper Re-spray including Blending where Necessary
Date: 18-11-12
It began after the track day where I needed new tyres due to the current tyres being well used on track. They were still ok but I thought I’d splash out on new tyres all round for the Prelude. With the Bridgestone tyres being quite noisy on the road I really wanted more comfort and a softer ride.
Due to some very good reviews the Rain Sports 2’s stood out from the crowd so I opted for them in the 225/45 R17 size.
Got my mate at Northway tyres to install them for me but I had to increase the height of the Meister R coilovers around 10mm from its current ride height this was due to slight rubbing issues on the front arch liner when going over speed bumps or taking corners fast.
The ride was a lot better, smoother, softer and reduced road noise. I was fairly happy with them. The only drawback was that I lost the fabulous handling of the prelude when compared to the Bridgestone tyres and its stiff side walls. I wasn’t too fussed at this moment as it would be a fairly long time until I do another track day.
Parts Purchased
Supplier: Camskill
Web: http://www.camskil.co.uk
Part: 4x Uniroyal Rainsports 2 Tyres 225-45-R17
Rain Sports Installed
Increased height a further 10mm
Date: 01-01-13
I really wanted a short shifter for the prelude but after much research through fellow members and the forum a short shifter wasn’t really readily available for the 5th gen due to its shifting mechanism and lack of demand.
P spec and JTC customs were the only companies that made a proper short shifter for the 5th Gen.
Apparently P-Spec went out of business some time ago now but I managed to find them on ebay selling some custom made gearknobs. I messaged them on there but they said they have never made them for many years now and have no further plans to do so.
So I managed to contact JTC customs. At first it was slow and email responses took weeks, but I finally got through to Tommy the owner. He mentioned he was busy getting all the shifters made and dealing with demand and a new website.
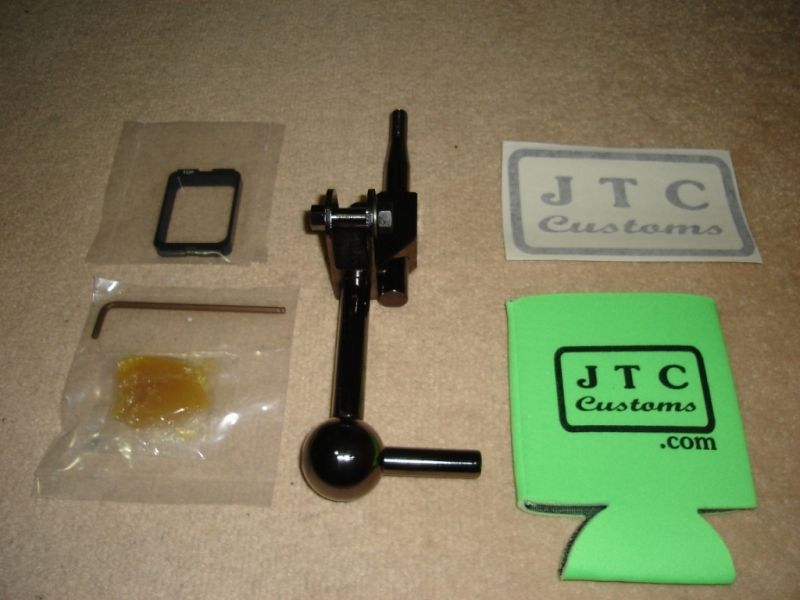
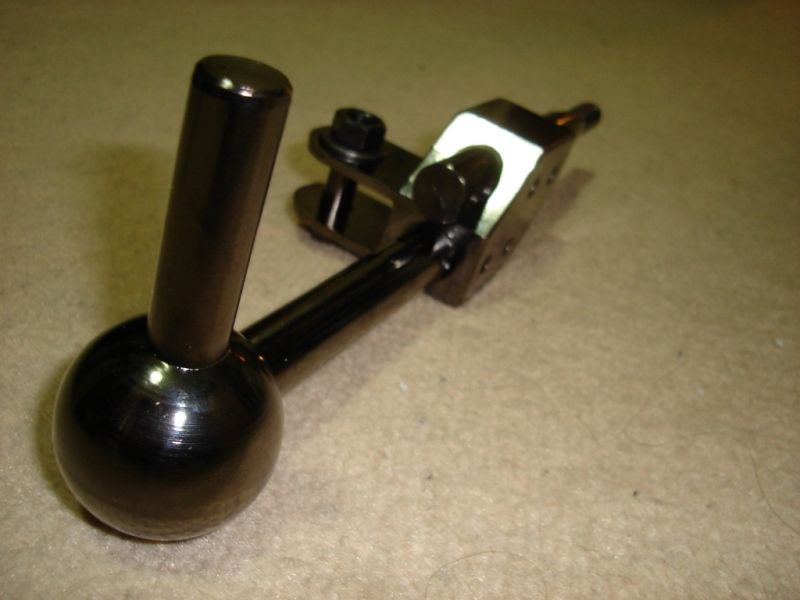
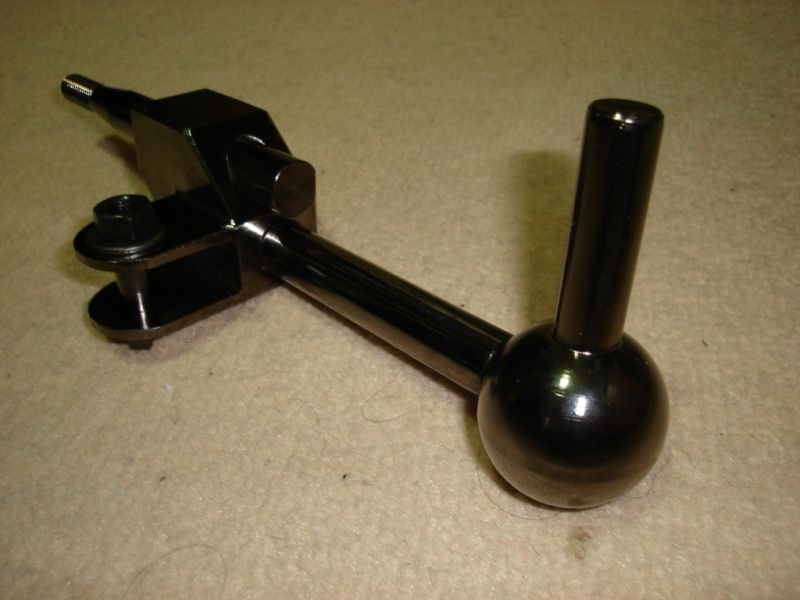
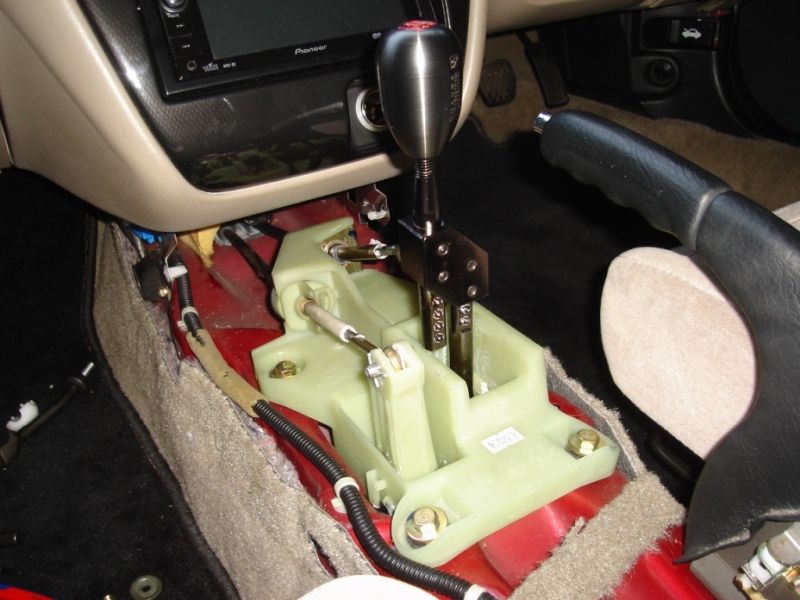
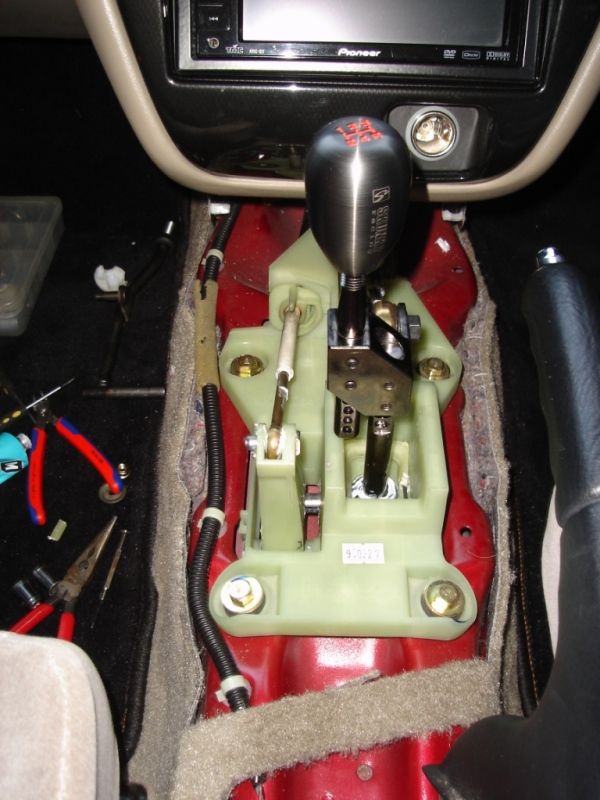
I ordered the 5th Gen short shifter when it finally came into stock on the 29th Dec 2012 where I placed an order via their new website. Tommy kept in contact and answered all my queries very efficiently and even sent me a link on how to install it. The shifter then arrived on the 2nd Jan 2013. Super fast postage from USA.
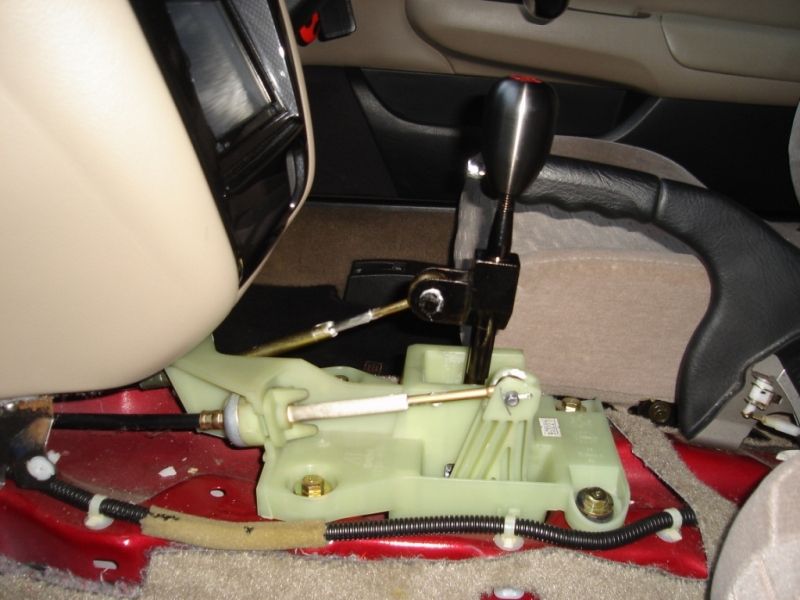
I managed to install it without any drama with only the shifter ball joint bracket being a little difficult to remove. I had to break it in the end to free the OEM shifter.
Link to installation is here for your info
http://www.preludepower.com/forums/show ... p?t=352123
The shifter totally changes the gear change feeling. It’s so much tighter and gives you that racing feel. A highly recommended worth while mod.
He still has them in stock but he mentions demand is very high in the USA at the moment for these
http://www.jtccustoms.com/products/JTC- ... rt-shifter
The costs works out to be £120 including the best shipping option (tracked and insured)
Parts Purchased
Supplier: JTC Customs
Web: http://www.jtccustoms.com
Part: Prelude 97-00 Short Shifter
Part Number: JTC-9701HP
Date: 23-02-13
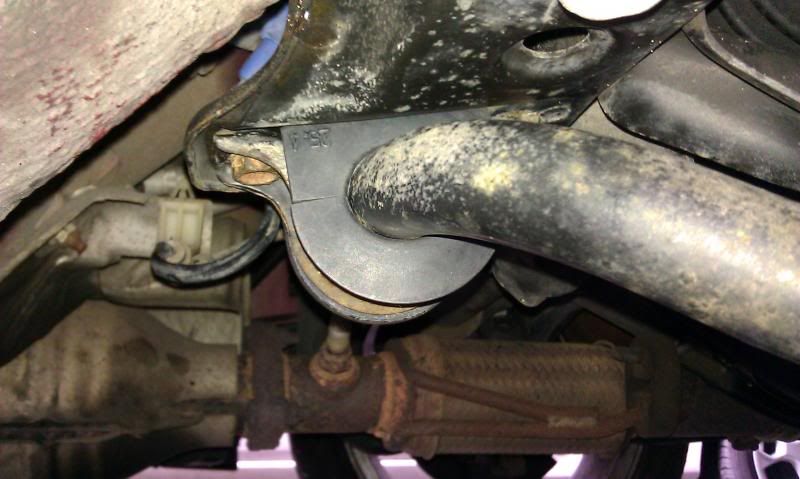
All of a sudden when driving the prelude to work I noticed a slight knocking sound when accelerating or moving off. The knocking wasn’t really a knocking more of a faint one and more of a sound like brakes being unstuck when moving off (so the sound of brakes seized to a brake disc and then you moving off) that kind of sound.
The sound never occurs when going over bumps or driving normally and only seems to occur when accelerating and sometimes braking hard
The car seems to drive fine, I had a quick check under the bonnet and all suspension bolts are ok, all nuts and bolts seem to be. The dampers themselves seem ok nothing obvious.
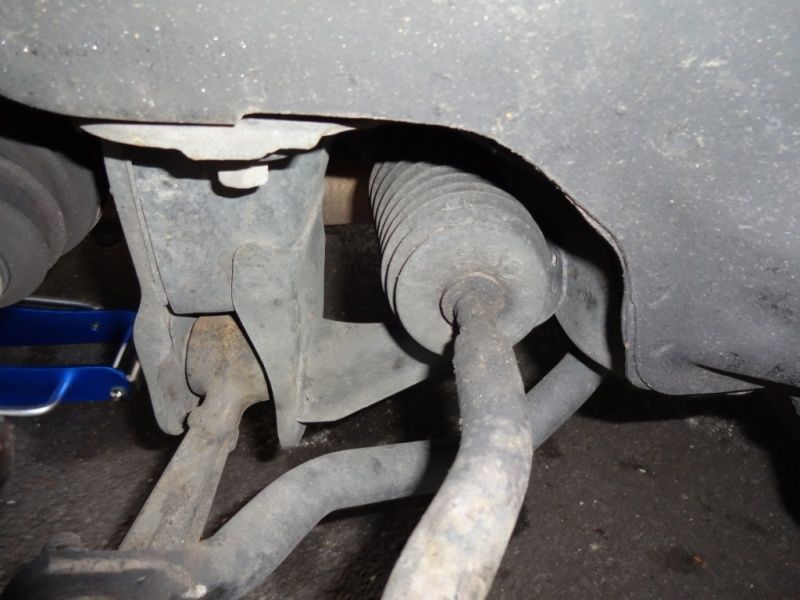
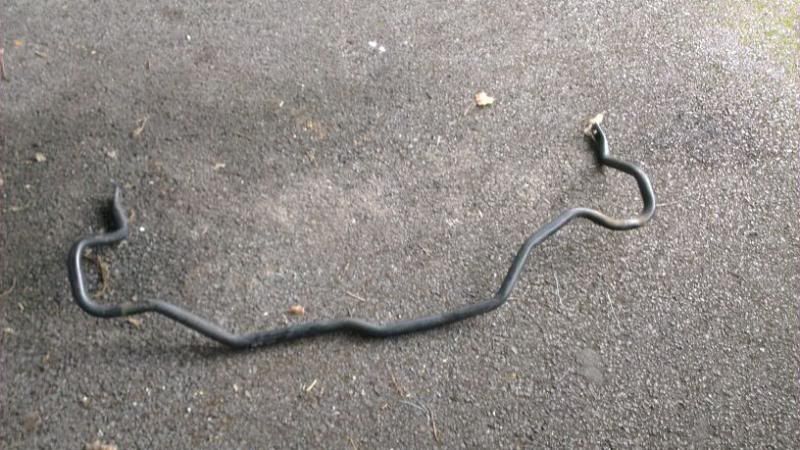
Then the guys on the forum mentioned it could be something called a drop link. These are situated on the ends of both front and rear anti roll bars.
I then thought it wouldn’t hurt to change them so sourced a set of front and rear drop links and also a set of front anti roll bar bushes (the rears were still in good condition)
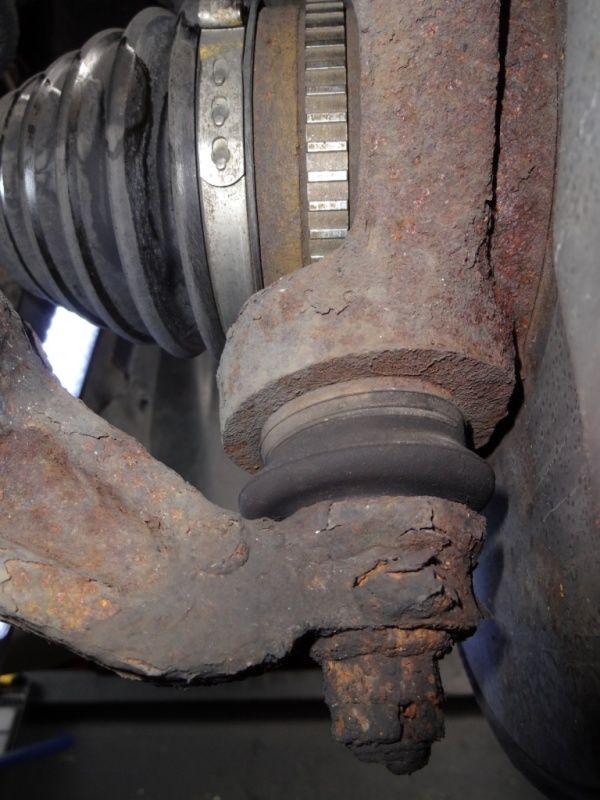
Initial Observations
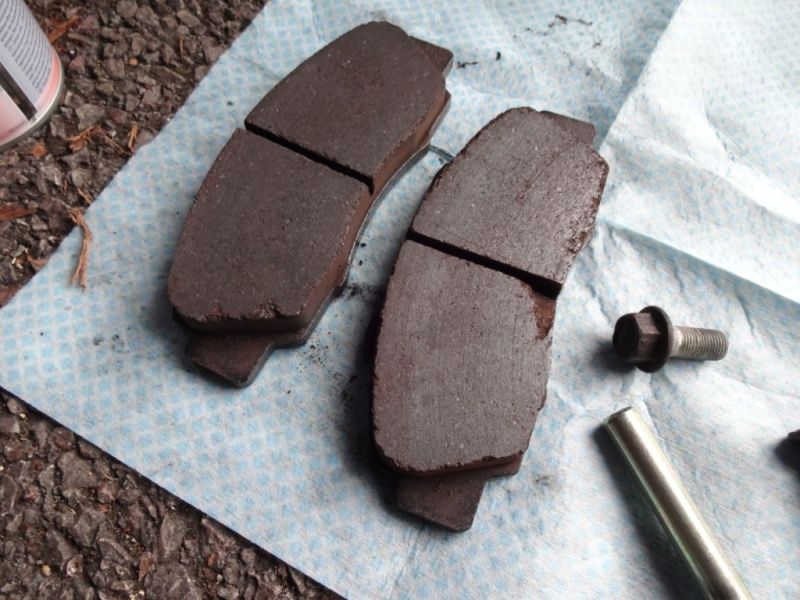
Passenger side DS2500 brake pads
Passenger side ARB bush
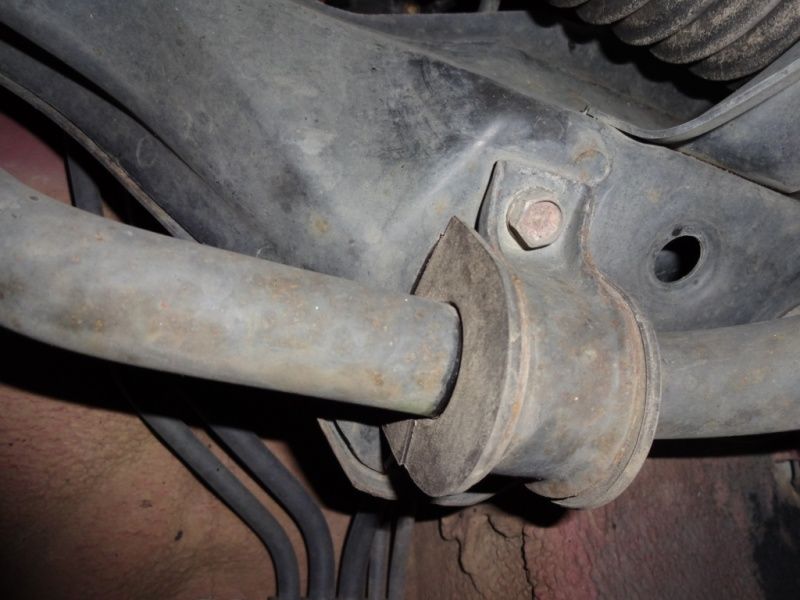
Drivers ARB bush
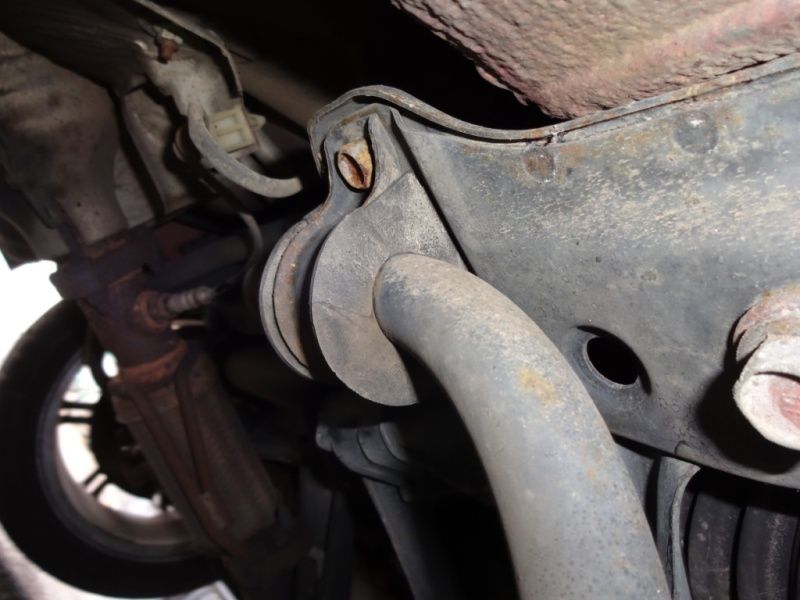
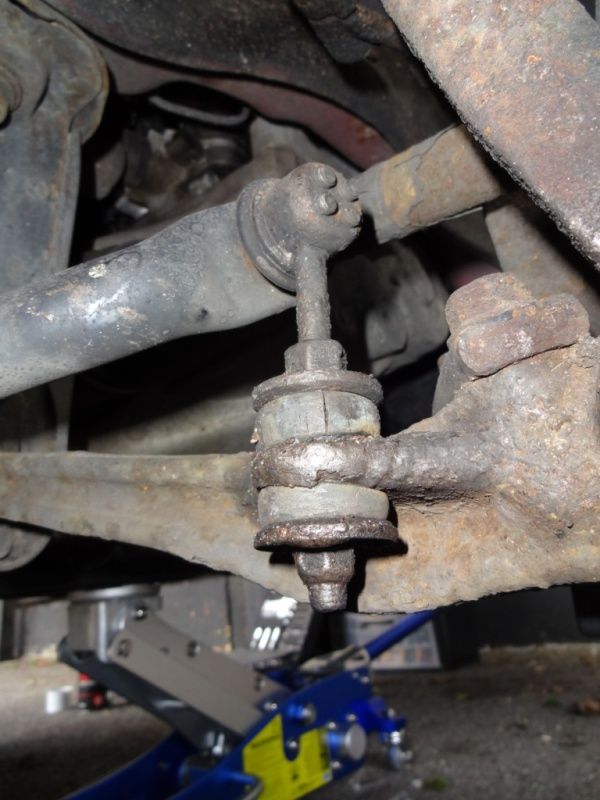
Passenger Side Drop link
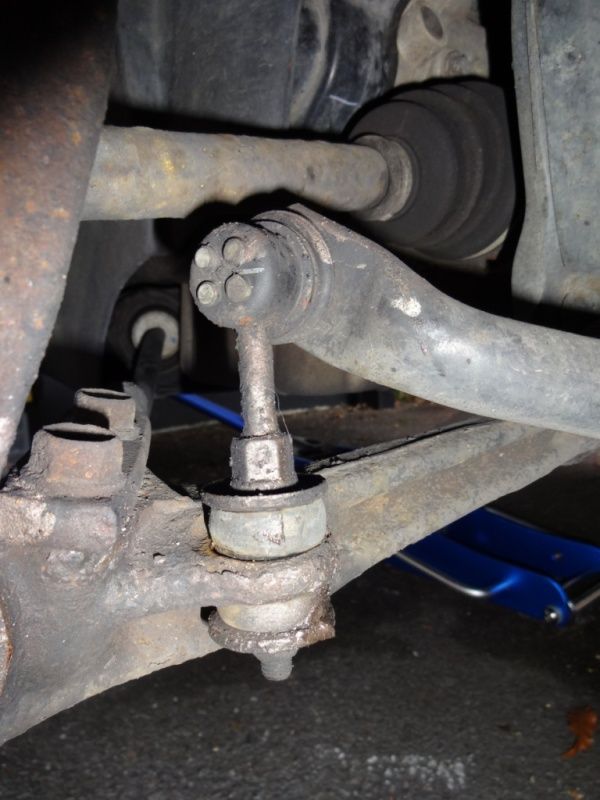
Drivers Side Drop link
Other pics

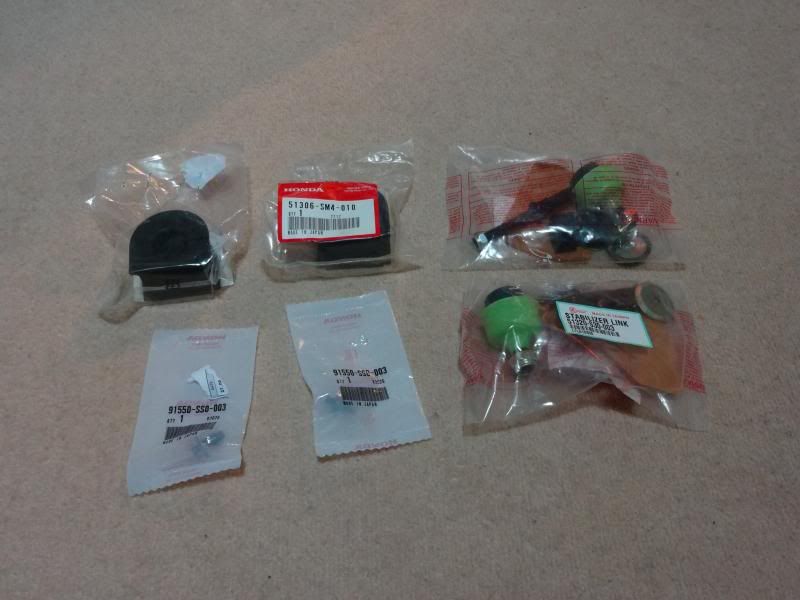
Items Bought
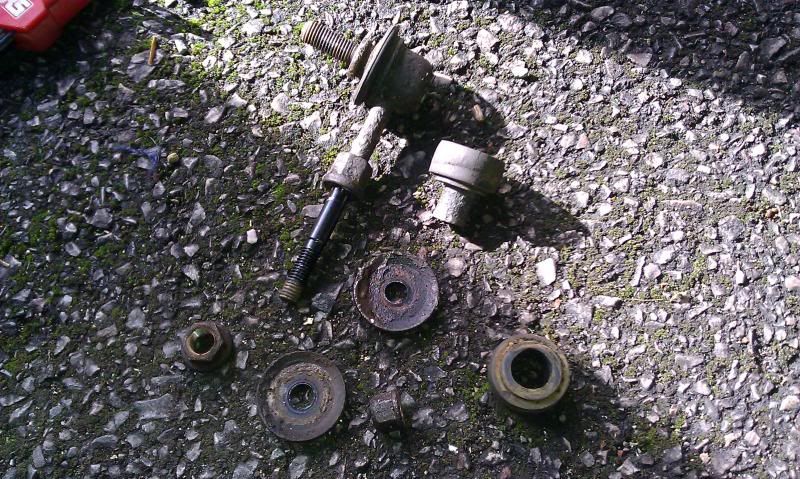
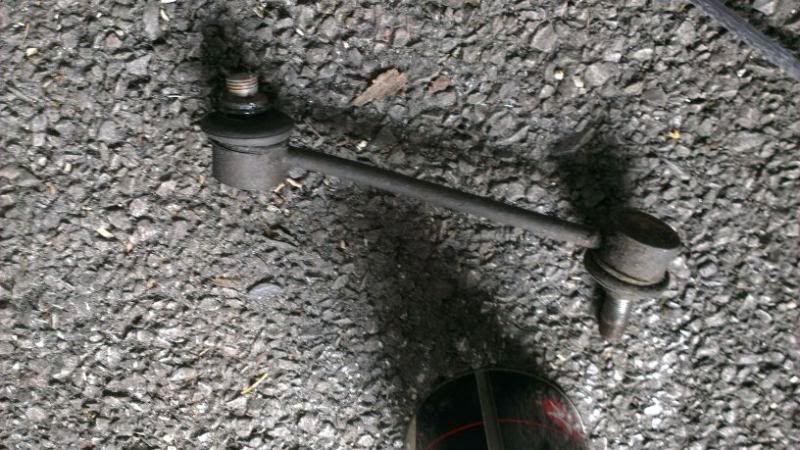
OLD Front Drop links Removed
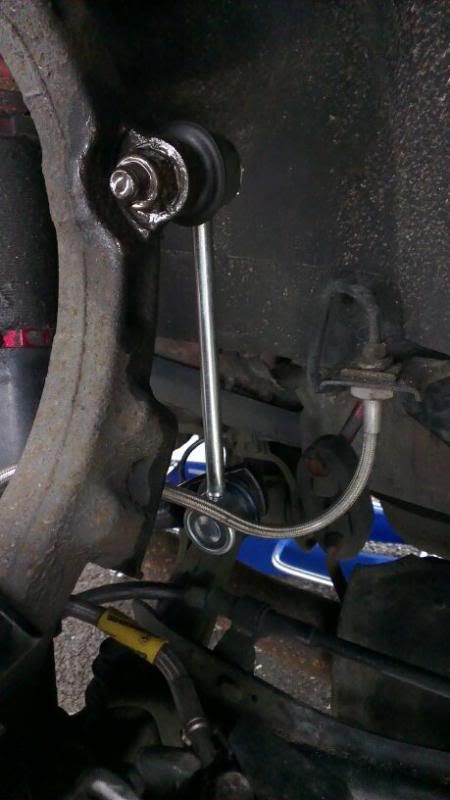
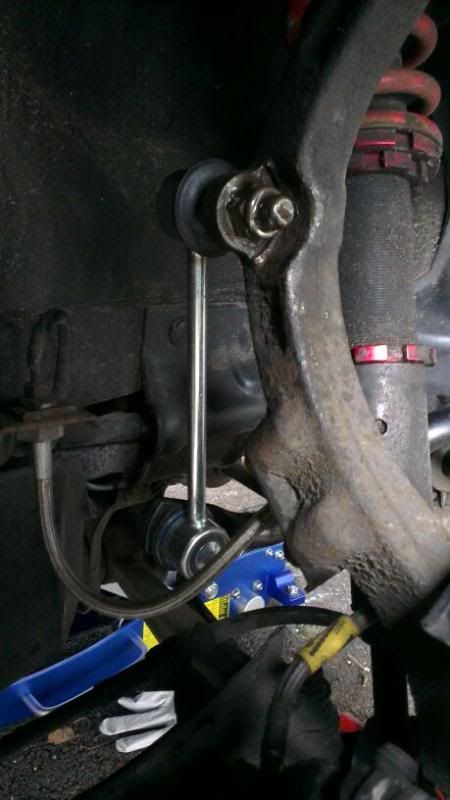
NEW Front Drop links Installed
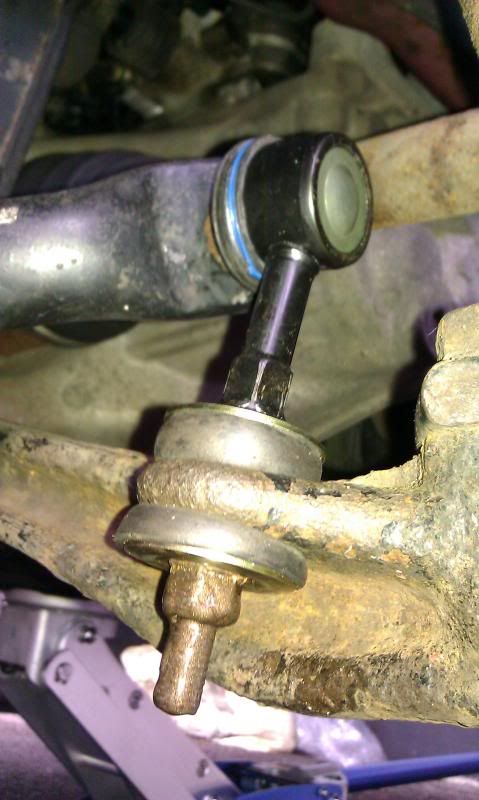
NEW Front ARB Bushes Installed
OLD Rear Drop links Removed
NEW Rear Drop links Installed
The fronts came off pretty well and were pretty straight forward, however the driver’s side top bolt of the rear drop link was seized and the only way I could remove it was to saw it off. I decided to unbolt the rear anti roll bar and slide it out of the car with the drop link still attached. It worked; it took around 20 mins to saw off the seized bolt.
With all the drop links replaced the noise disappeared and I haven’t heard it since
Thanks to all for your help guys
Parts Purchased
Supplier: John Langdon (Ebay user: langdon4x4)
Ebay item number: 221204289925
Part: Pair of Front Drop links
Part Number: 51320-S30-003
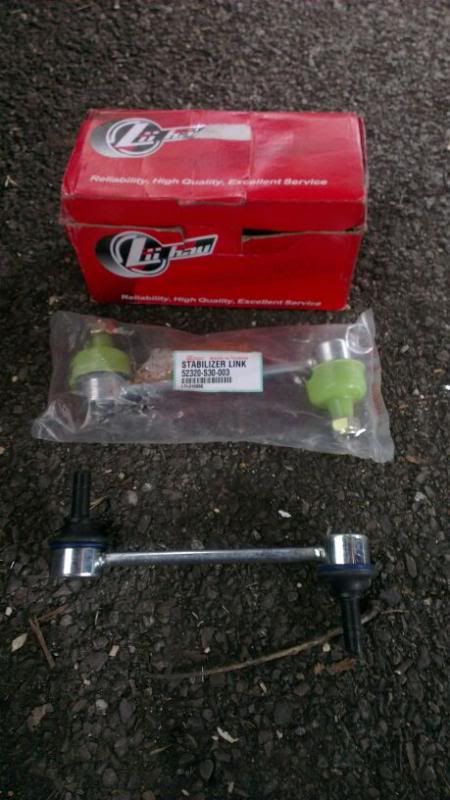
John Langdon did not have any rear drop links in stock so I had to look else where, but by sheer luck a forum member Secla had a brand new unused rear set which he did not need.
Many thanks to both John and Secla for helping me out
Supplier: Forum Member: Secla
Unwanted brand new packaged
Part: Pair of Rear Drop links
Part Number: 52320 S30 003
Supplier: Honda
Part: Front ARB Bushes x2
Part Number: 51306-SM4-010
Date: 06-03-13
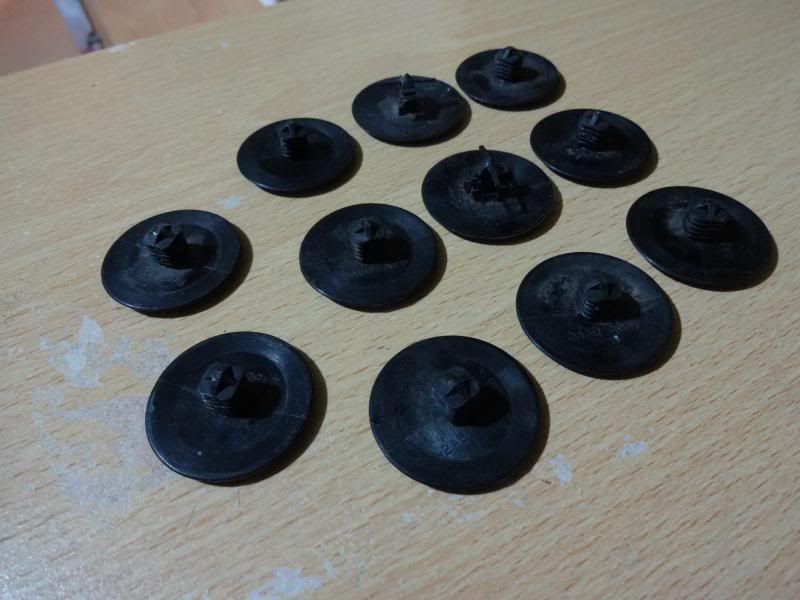
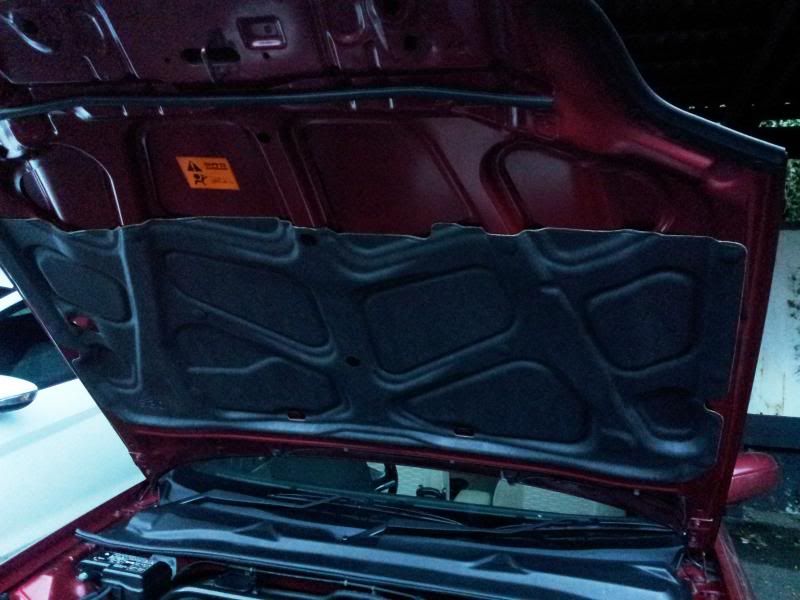
I managed to source a brand new bonnet insulator at only half price. I know a lot of people remove this part but I really wanted to replace this because when it rains the bonnet tends to give off steam as the bonnet gets really hot and thus causing the rain on the bonnet to heat up a little. I found this really annoying. I managed to source the clips from a forum member and the part direct from Honda.
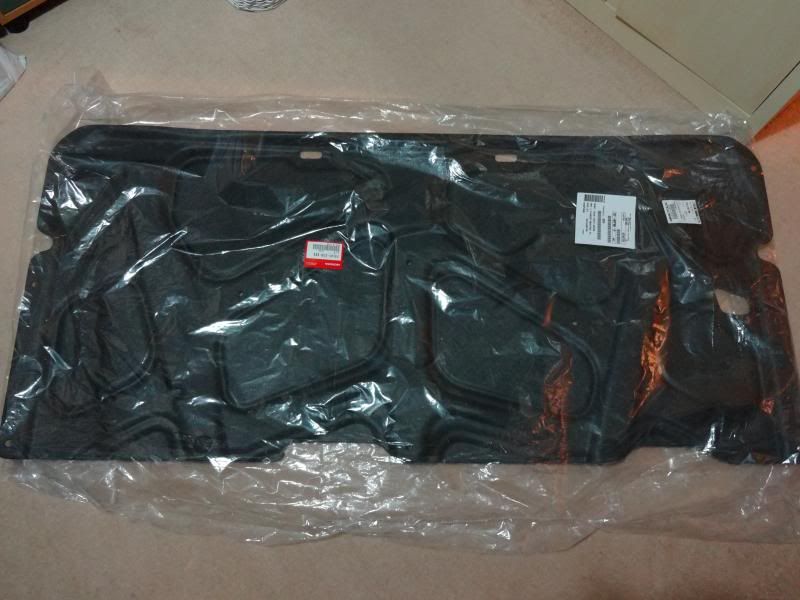
Supplier: Hendy Honda Parts
Brand New Genuine Honda Part
Part: Bonnet Insulator
Part Number: 74141-S30-000
Supplier: Forum Member: CrankmasterII
From a Prelude being broken
Part: Bonnet Insulator clips
Date: 25-05-13
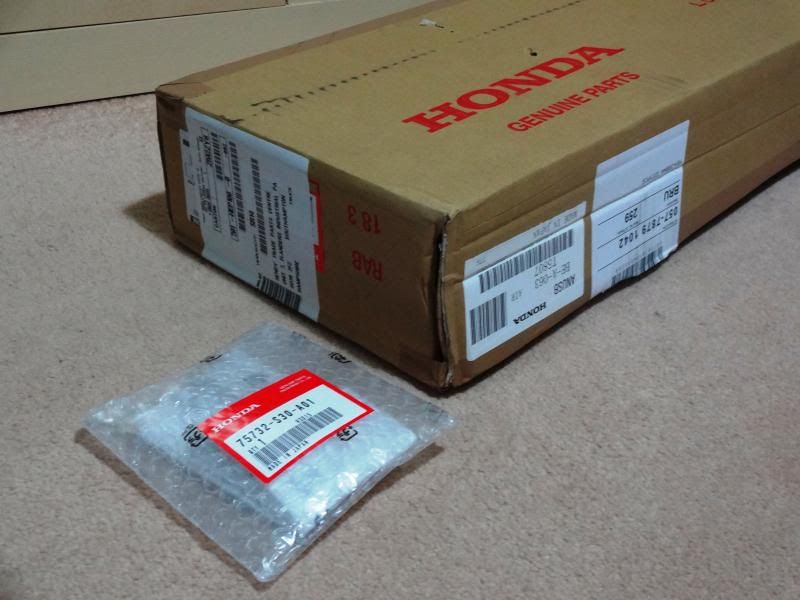
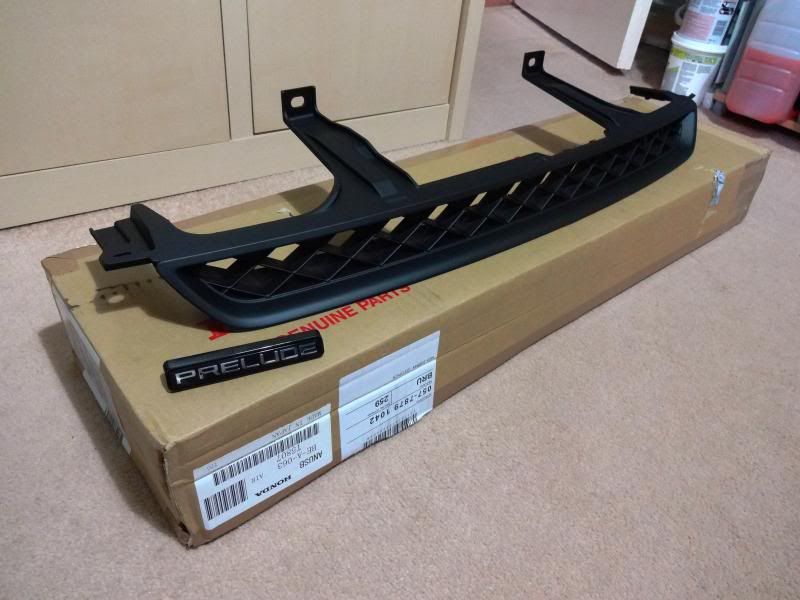
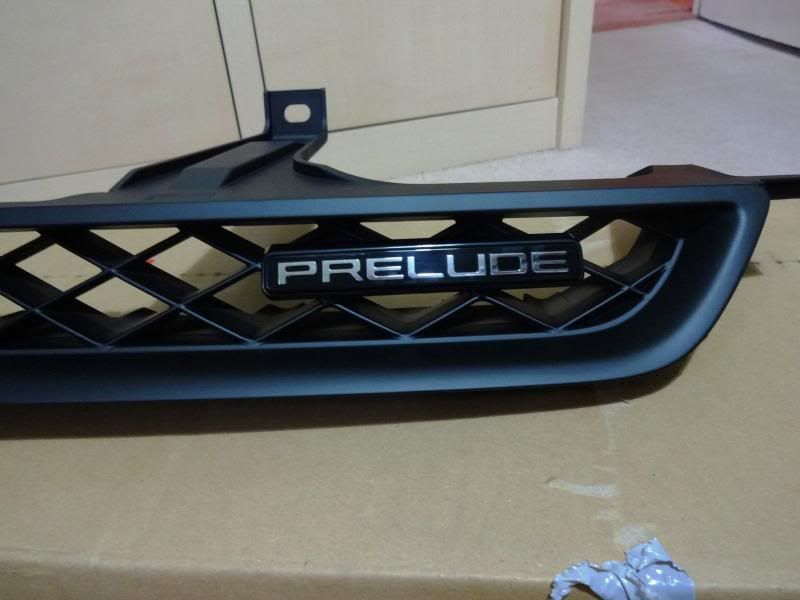
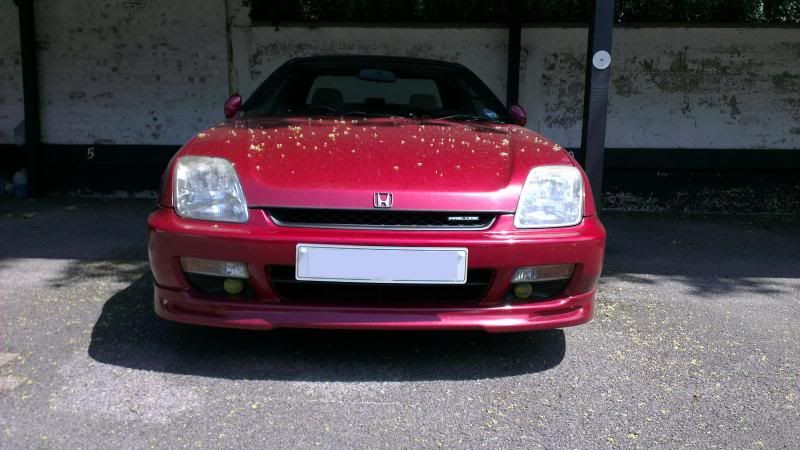
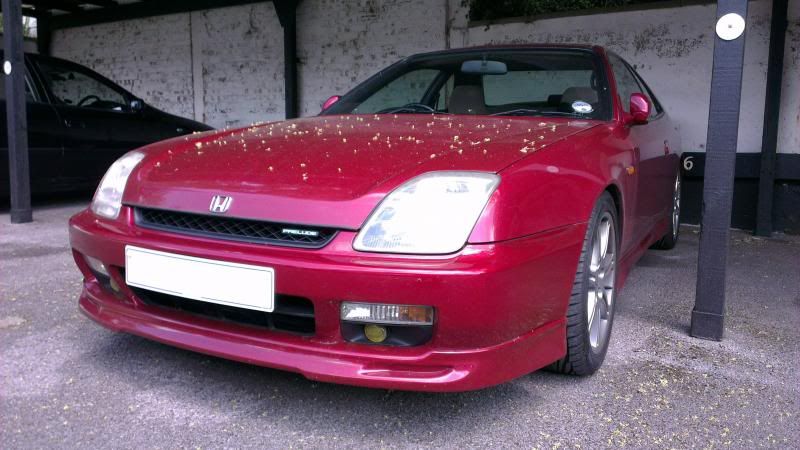
I’ve always wanted a honeycomb grill but never got round to finding one second hand on the forum or eBay. I then found out that it was still available to buy direct from Honda. The prices that they go second hand were not much different compared to buying new from Honda. I also grabbed this chance to buy the “prelude” emblem badge for the grill too.
Thanks to Toaster and other forum members for helping confirm the part numbers
Before
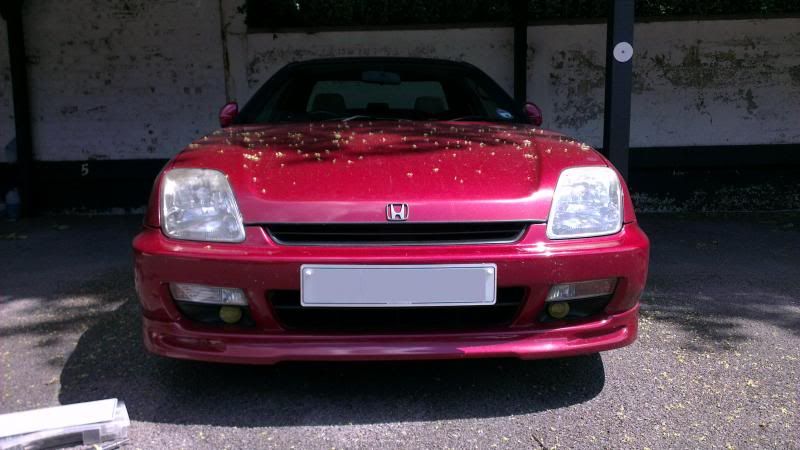
After
Supplier: Hendy Honda Parts
Brand New Genuine Honda Part
Part: Prelude Honey Comb Grill
Part Number: 71121-S30-911ZB
Supplier: Hendy Honda Parts
Brand New Genuine Honda Part
Part: Prelude Emblem Badge for Honey Comb Grill
Part Number: 75732-S30-A01
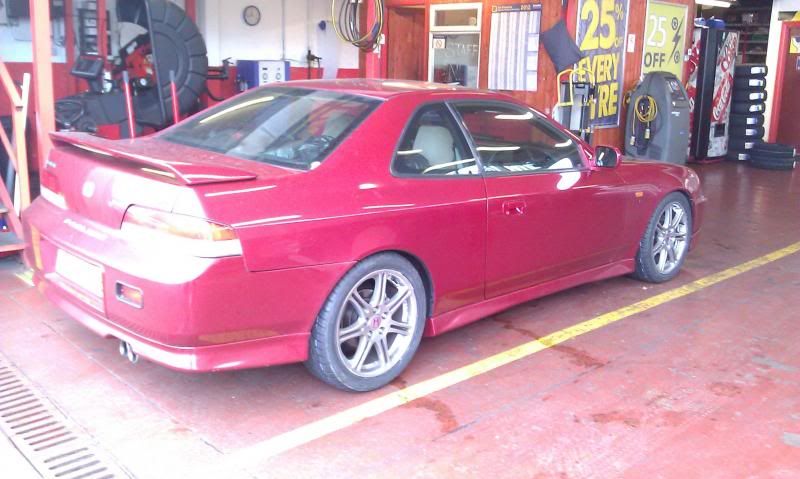
Date: 19-06-13
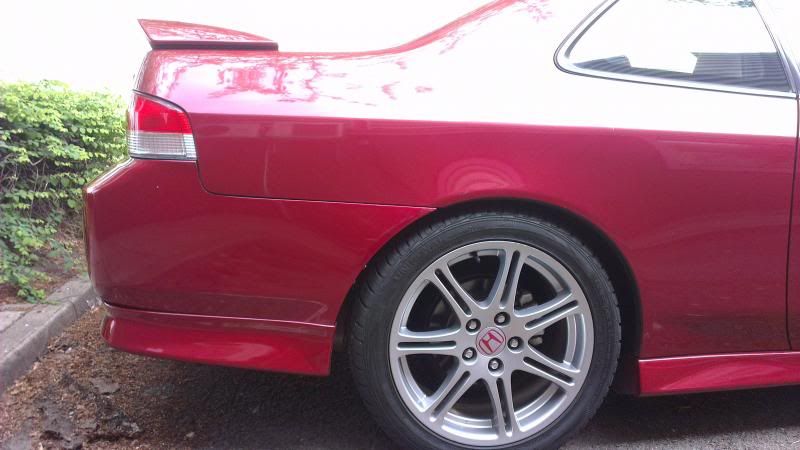
One day I looked back on images of my prelude when it had the rear JDM bumper and I thought the JDM rear bumper really suited the rear end of the prelude. I was determined to get the bumper back on the car. Unfortunately the first time round the bumper was re-sprayed without the car and there was a significant colour difference between the rear quarter and the bumper itself.
This really annoyed me so I decided to go to someone else to get the work done.
I located a spray shop near me called “BOWRON MOTOR CARE” who a local friend recommended to me. They deal with body work day in and day out and specialise in classic car restoration. So spraying a prelude rear bumper would be a piece of cake for them.
I initially took the car down midweek for them to have a look and they agreed they can match the colour the best they can and blend it in if necessary. I booked the car in on the following Saturday 22nd June and within a week the work was completed. Good communications throughout keeping me up to date with any issues or problems along the way.
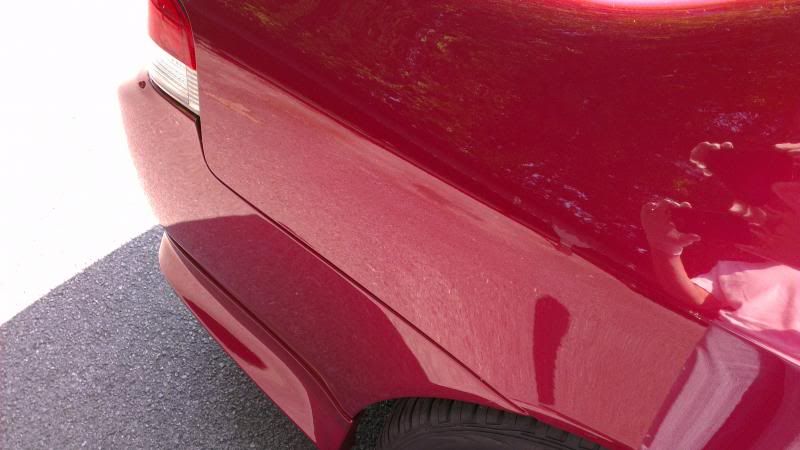
The blending of the bumper to the rear quarter was excellent and you cannot notice the difference between the new paint on the bumper and the existing paintwork on the rear quarter, a top job and very happy with the finish.
Highly recommended
Colour Differences of Rear Quarter and Rear Bumper
It’s rather difficult to capture the finish of paintwork using a normal camera phone but ill try anyway
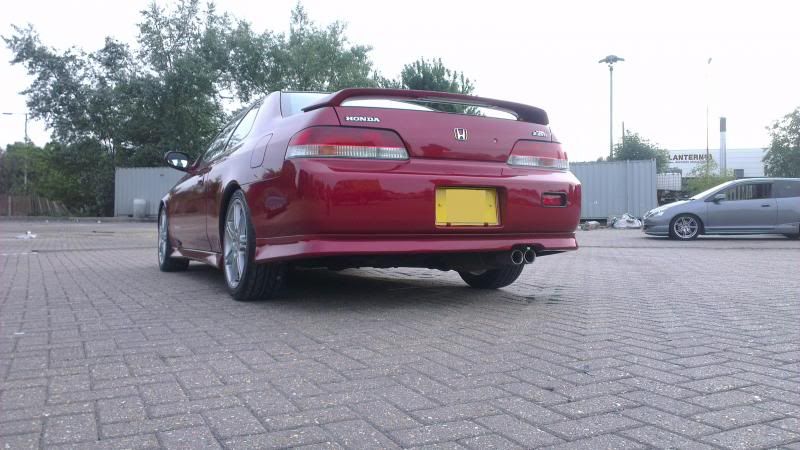
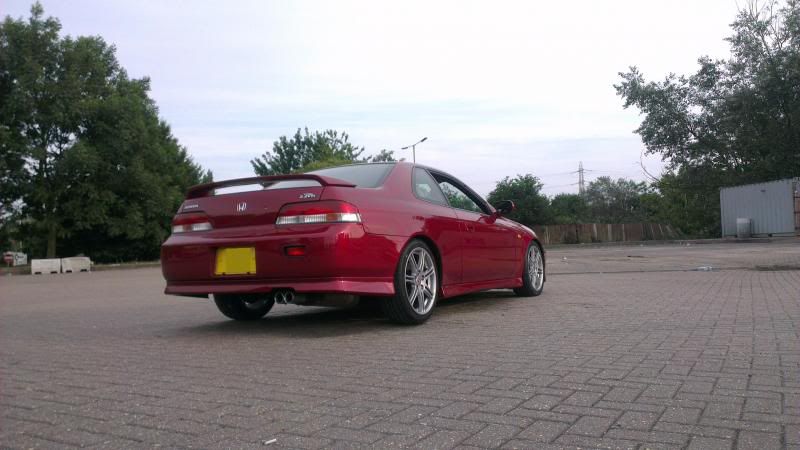
Results after Re-spray & Colour Blend
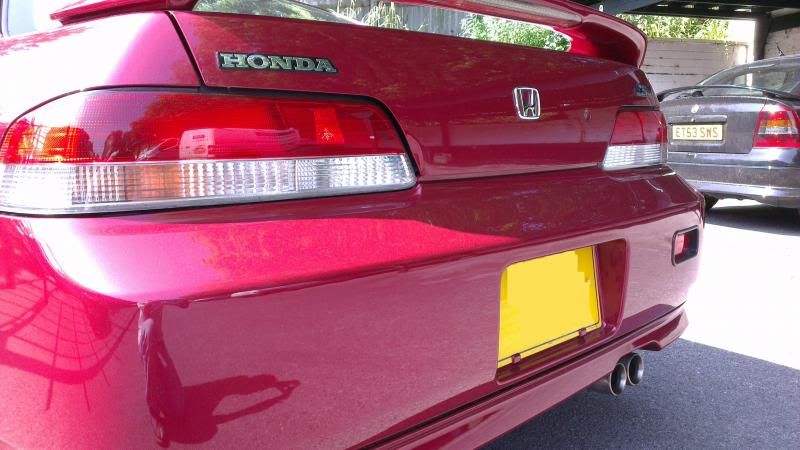


With the JDM rear bumper complete I also purchased and installed a front JDM number plate to complete the import look
Supplier: Bowron MotorCare
Part: To Re-spray Rear Bumper and Blend Quarter Panels Where Necessary
Part Number: N/A
Supplier: Make My Plates.co.uk (on Ebay)
Part: Import 12 x 6 Inch Number Plate
Part Number: N/A
Date: 09-07-13
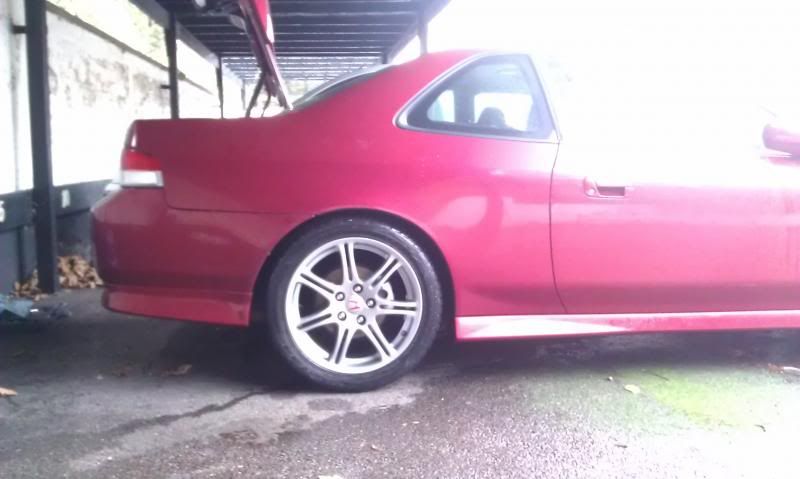
With a potential track day at the end of the year I thought it would be time to change over the tyres. I decided to go back to the 205 width size tyre which was originally on the prelude motegi and EP3 wheels. The 205 tyre gave a more responsive drive.
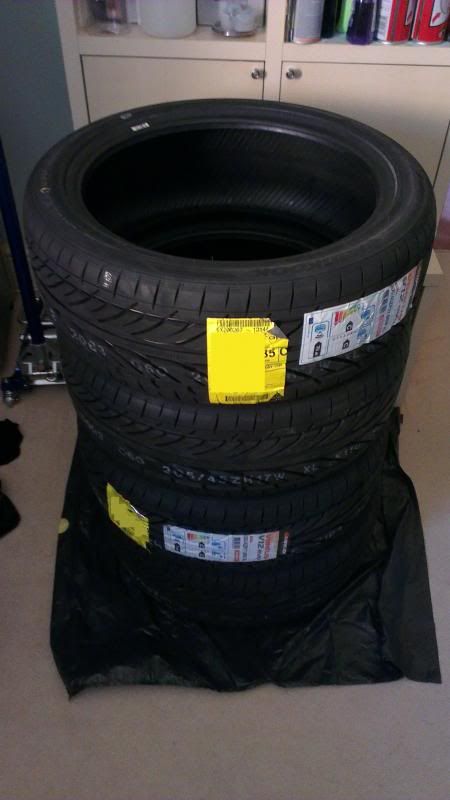
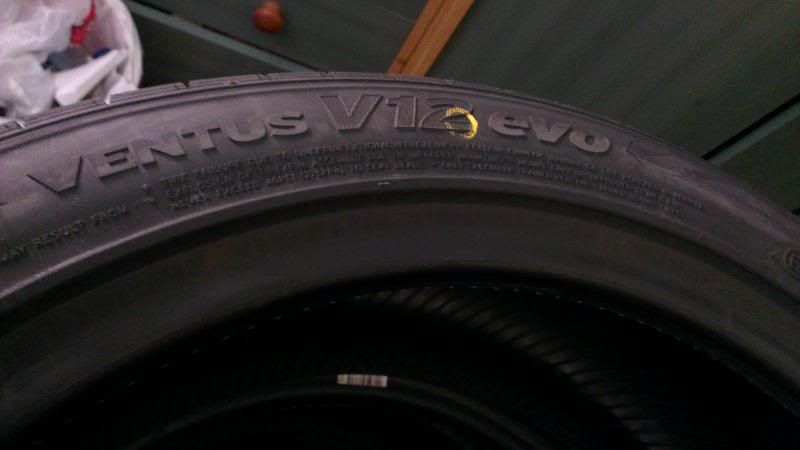
With lots of choice and not a big budget I decided to go for the Hankook EVO v12 tyre. The missus helped purchase these J so saved me a few bob
The Hankooks aren’t too bad – it does have a slightly soft side wall but the handling and grip is still pretty good. The noise levels are still quite low which is a plus point. I shall see how they perform on track.
As soon as these were purchased recommendations on the forum started flooding in and the Neuton NT5000 tyre caught my eye. Rave reviews on tyre reviews.co.uk and very good statistics too. I will be willing to try those as my next set
With the tyres installed I re-lowered the car 10mm to the height I originally had it when i had the Bridge-stone tyres
Supplier: Camskill
Web: http://www.camskil.co.uk
Part: 4x Hankook EvO V12 Tyres 205-45-R17
Date: 14-07-13
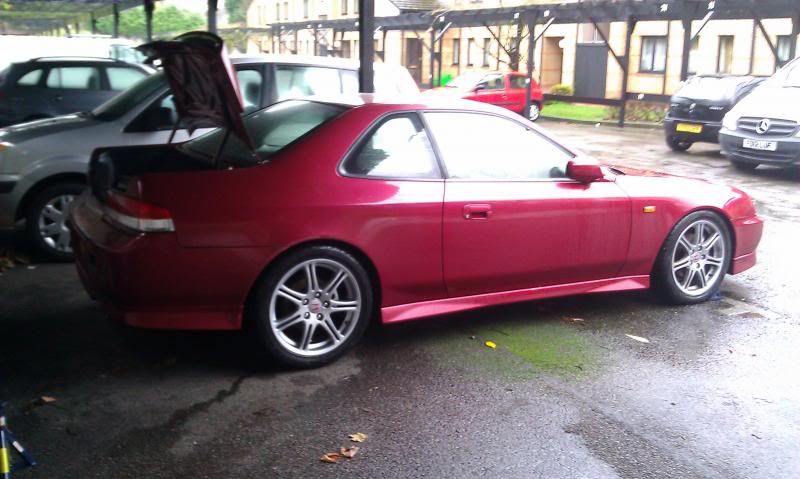
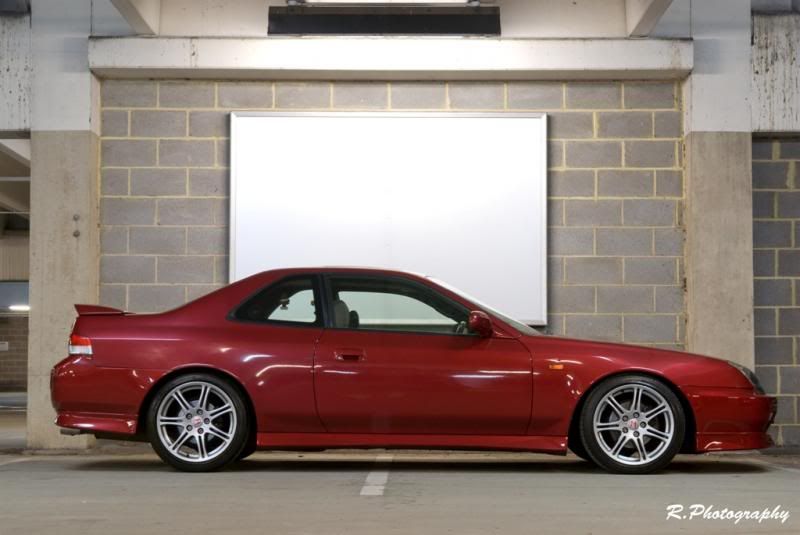
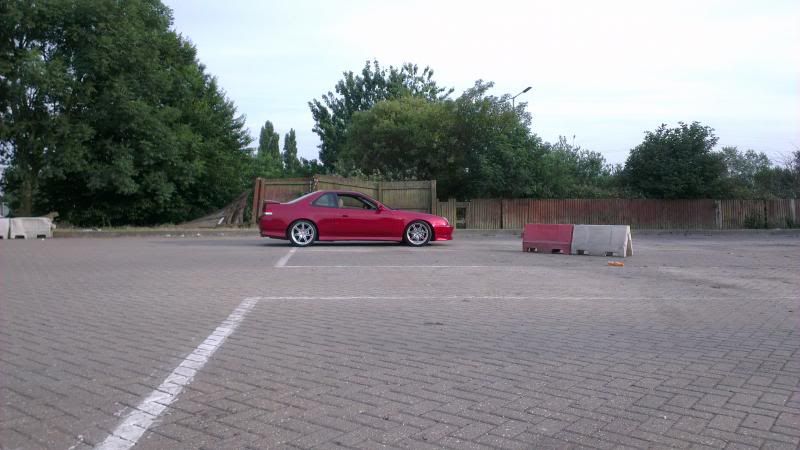
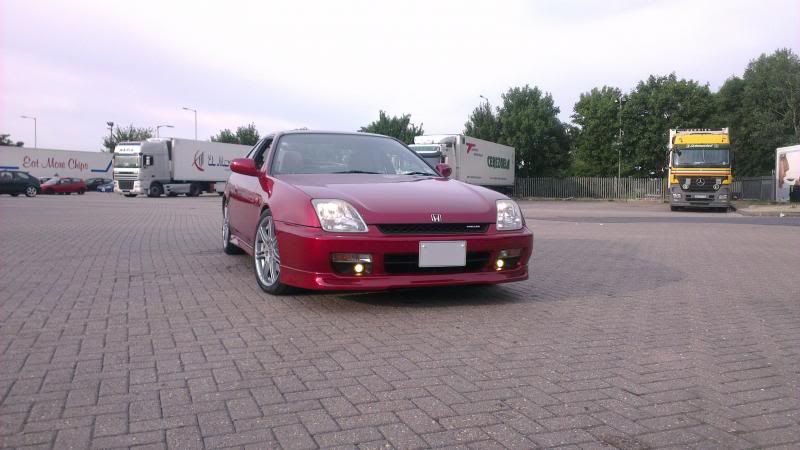
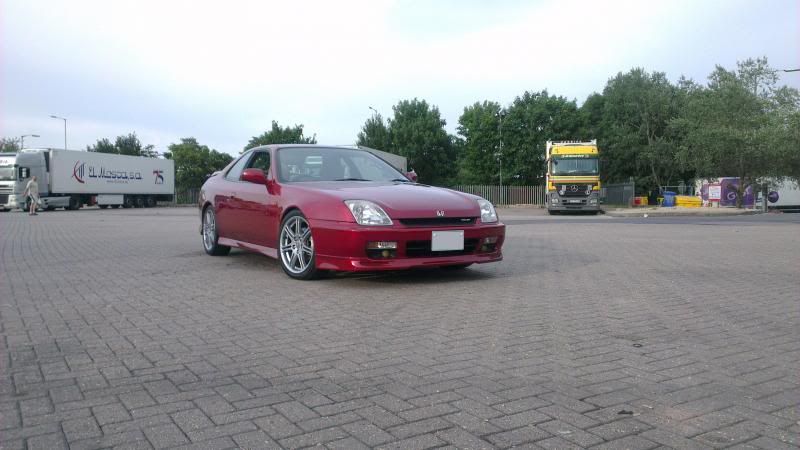
This is how she stands today – Pics taken at South Mimms Part 2 on 14th July 2013
(We arrived pretty late so the majority already left)
It was a good opportunity to get some updated pictures though
After a Wash and Polish
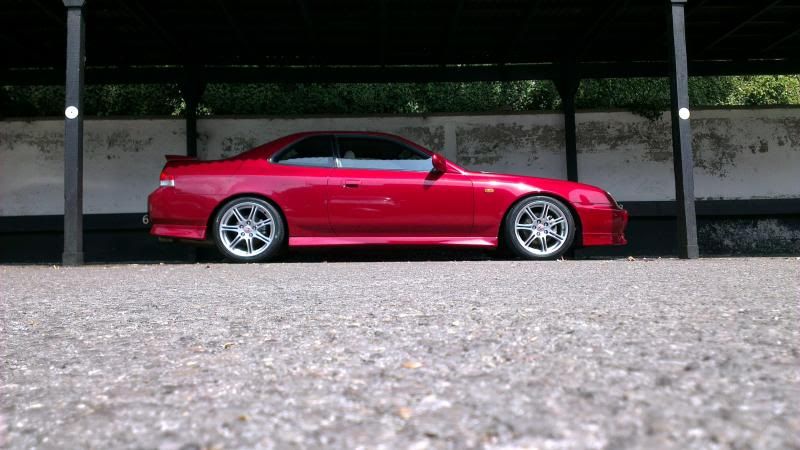
At South Mimms

Remaining Wish List
With my wish list almost coming to an end I only have a few things I need to do now.
• Purchase 3 x Bottles of MTF Transmission Fluid
• Install previously purchased Genuine Honda ATR clutch
• Install previously purchased Competition Clutch Ultra Lightweight Flywheel
Thanks Guys
It’s been a while since I have done any updates to the prelude mainly due to work and busy weekends.
Although whatever spare time I do have I try to enjoy the car as much as I can.
Since my last update I have managed to get a few things done
These include:
• New 225/45/R17 Uniroyal Rain sport Tyres
• Short Shifter From JTC Customs
• New Front ARB Bushes
• New Front and Rear Drop links
• Replacement New Bonnet Insulator
• Genuine Honeycomb Grill with Prelude Emblem
• Re-instalment of the JDM Rear Bumper including Front JDM Reg Plate
• Removal of Uniroyal Tyres and Instalment of Hankook 205/45/R17 Tyres
• Full Rear Bumper Re-spray including Blending where Necessary
Date: 18-11-12
It began after the track day where I needed new tyres due to the current tyres being well used on track. They were still ok but I thought I’d splash out on new tyres all round for the Prelude. With the Bridgestone tyres being quite noisy on the road I really wanted more comfort and a softer ride.
Due to some very good reviews the Rain Sports 2’s stood out from the crowd so I opted for them in the 225/45 R17 size.
Got my mate at Northway tyres to install them for me but I had to increase the height of the Meister R coilovers around 10mm from its current ride height this was due to slight rubbing issues on the front arch liner when going over speed bumps or taking corners fast.
The ride was a lot better, smoother, softer and reduced road noise. I was fairly happy with them. The only drawback was that I lost the fabulous handling of the prelude when compared to the Bridgestone tyres and its stiff side walls. I wasn’t too fussed at this moment as it would be a fairly long time until I do another track day.
Parts Purchased
Supplier: Camskill
Web: http://www.camskil.co.uk
Part: 4x Uniroyal Rainsports 2 Tyres 225-45-R17
Rain Sports Installed

Increased height a further 10mm


Date: 01-01-13
I really wanted a short shifter for the prelude but after much research through fellow members and the forum a short shifter wasn’t really readily available for the 5th gen due to its shifting mechanism and lack of demand.
P spec and JTC customs were the only companies that made a proper short shifter for the 5th Gen.
Apparently P-Spec went out of business some time ago now but I managed to find them on ebay selling some custom made gearknobs. I messaged them on there but they said they have never made them for many years now and have no further plans to do so.
So I managed to contact JTC customs. At first it was slow and email responses took weeks, but I finally got through to Tommy the owner. He mentioned he was busy getting all the shifters made and dealing with demand and a new website.
I ordered the 5th Gen short shifter when it finally came into stock on the 29th Dec 2012 where I placed an order via their new website. Tommy kept in contact and answered all my queries very efficiently and even sent me a link on how to install it. The shifter then arrived on the 2nd Jan 2013. Super fast postage from USA.
I managed to install it without any drama with only the shifter ball joint bracket being a little difficult to remove. I had to break it in the end to free the OEM shifter.
Link to installation is here for your info
http://www.preludepower.com/forums/show ... p?t=352123
The shifter totally changes the gear change feeling. It’s so much tighter and gives you that racing feel. A highly recommended worth while mod.
He still has them in stock but he mentions demand is very high in the USA at the moment for these
http://www.jtccustoms.com/products/JTC- ... rt-shifter
The costs works out to be £120 including the best shipping option (tracked and insured)
Parts Purchased
Supplier: JTC Customs
Web: http://www.jtccustoms.com
Part: Prelude 97-00 Short Shifter
Part Number: JTC-9701HP
Date: 23-02-13
All of a sudden when driving the prelude to work I noticed a slight knocking sound when accelerating or moving off. The knocking wasn’t really a knocking more of a faint one and more of a sound like brakes being unstuck when moving off (so the sound of brakes seized to a brake disc and then you moving off) that kind of sound.
The sound never occurs when going over bumps or driving normally and only seems to occur when accelerating and sometimes braking hard
The car seems to drive fine, I had a quick check under the bonnet and all suspension bolts are ok, all nuts and bolts seem to be. The dampers themselves seem ok nothing obvious.
Then the guys on the forum mentioned it could be something called a drop link. These are situated on the ends of both front and rear anti roll bars.
I then thought it wouldn’t hurt to change them so sourced a set of front and rear drop links and also a set of front anti roll bar bushes (the rears were still in good condition)
Initial Observations
Passenger side DS2500 brake pads
Passenger side ARB bush
Drivers ARB bush
Passenger Side Drop link
Drivers Side Drop link
Other pics
Items Bought


OLD Front Drop links Removed

NEW Front Drop links Installed

NEW Front ARB Bushes Installed

OLD Rear Drop links Removed

NEW Rear Drop links Installed


The fronts came off pretty well and were pretty straight forward, however the driver’s side top bolt of the rear drop link was seized and the only way I could remove it was to saw it off. I decided to unbolt the rear anti roll bar and slide it out of the car with the drop link still attached. It worked; it took around 20 mins to saw off the seized bolt.

With all the drop links replaced the noise disappeared and I haven’t heard it since
Thanks to all for your help guys
Parts Purchased
Supplier: John Langdon (Ebay user: langdon4x4)
Ebay item number: 221204289925
Part: Pair of Front Drop links
Part Number: 51320-S30-003
John Langdon did not have any rear drop links in stock so I had to look else where, but by sheer luck a forum member Secla had a brand new unused rear set which he did not need.
Many thanks to both John and Secla for helping me out
Supplier: Forum Member: Secla
Unwanted brand new packaged
Part: Pair of Rear Drop links
Part Number: 52320 S30 003
Supplier: Honda
Part: Front ARB Bushes x2
Part Number: 51306-SM4-010
Date: 06-03-13
I managed to source a brand new bonnet insulator at only half price. I know a lot of people remove this part but I really wanted to replace this because when it rains the bonnet tends to give off steam as the bonnet gets really hot and thus causing the rain on the bonnet to heat up a little. I found this really annoying. I managed to source the clips from a forum member and the part direct from Honda.


Supplier: Hendy Honda Parts
Brand New Genuine Honda Part
Part: Bonnet Insulator
Part Number: 74141-S30-000
Supplier: Forum Member: CrankmasterII
From a Prelude being broken
Part: Bonnet Insulator clips
Date: 25-05-13
I’ve always wanted a honeycomb grill but never got round to finding one second hand on the forum or eBay. I then found out that it was still available to buy direct from Honda. The prices that they go second hand were not much different compared to buying new from Honda. I also grabbed this chance to buy the “prelude” emblem badge for the grill too.
Thanks to Toaster and other forum members for helping confirm the part numbers


Before

After


Supplier: Hendy Honda Parts
Brand New Genuine Honda Part
Part: Prelude Honey Comb Grill
Part Number: 71121-S30-911ZB
Supplier: Hendy Honda Parts
Brand New Genuine Honda Part
Part: Prelude Emblem Badge for Honey Comb Grill
Part Number: 75732-S30-A01
Date: 19-06-13
One day I looked back on images of my prelude when it had the rear JDM bumper and I thought the JDM rear bumper really suited the rear end of the prelude. I was determined to get the bumper back on the car. Unfortunately the first time round the bumper was re-sprayed without the car and there was a significant colour difference between the rear quarter and the bumper itself.
This really annoyed me so I decided to go to someone else to get the work done.
I located a spray shop near me called “BOWRON MOTOR CARE” who a local friend recommended to me. They deal with body work day in and day out and specialise in classic car restoration. So spraying a prelude rear bumper would be a piece of cake for them.
I initially took the car down midweek for them to have a look and they agreed they can match the colour the best they can and blend it in if necessary. I booked the car in on the following Saturday 22nd June and within a week the work was completed. Good communications throughout keeping me up to date with any issues or problems along the way.
The blending of the bumper to the rear quarter was excellent and you cannot notice the difference between the new paint on the bumper and the existing paintwork on the rear quarter, a top job and very happy with the finish.
Highly recommended
Colour Differences of Rear Quarter and Rear Bumper


It’s rather difficult to capture the finish of paintwork using a normal camera phone but ill try anyway
Results after Re-spray & Colour Blend


With the JDM rear bumper complete I also purchased and installed a front JDM number plate to complete the import look
Supplier: Bowron MotorCare
Part: To Re-spray Rear Bumper and Blend Quarter Panels Where Necessary
Part Number: N/A
Supplier: Make My Plates.co.uk (on Ebay)
Part: Import 12 x 6 Inch Number Plate
Part Number: N/A
Date: 09-07-13
With a potential track day at the end of the year I thought it would be time to change over the tyres. I decided to go back to the 205 width size tyre which was originally on the prelude motegi and EP3 wheels. The 205 tyre gave a more responsive drive.
With lots of choice and not a big budget I decided to go for the Hankook EVO v12 tyre. The missus helped purchase these J so saved me a few bob
The Hankooks aren’t too bad – it does have a slightly soft side wall but the handling and grip is still pretty good. The noise levels are still quite low which is a plus point. I shall see how they perform on track.
As soon as these were purchased recommendations on the forum started flooding in and the Neuton NT5000 tyre caught my eye. Rave reviews on tyre reviews.co.uk and very good statistics too. I will be willing to try those as my next set
With the tyres installed I re-lowered the car 10mm to the height I originally had it when i had the Bridge-stone tyres


Supplier: Camskill
Web: http://www.camskil.co.uk
Part: 4x Hankook EvO V12 Tyres 205-45-R17
Date: 14-07-13
This is how she stands today – Pics taken at South Mimms Part 2 on 14th July 2013
(We arrived pretty late so the majority already left)
It was a good opportunity to get some updated pictures though
After a Wash and Polish

At South Mimms


Remaining Wish List
With my wish list almost coming to an end I only have a few things I need to do now.
• Purchase 3 x Bottles of MTF Transmission Fluid
• Install previously purchased Genuine Honda ATR clutch
• Install previously purchased Competition Clutch Ultra Lightweight Flywheel
Thanks Guys