BUILD PART 5) – Build (Cont’d) – Rad, skirts, mirrors, etc
Radiator fitment & fans
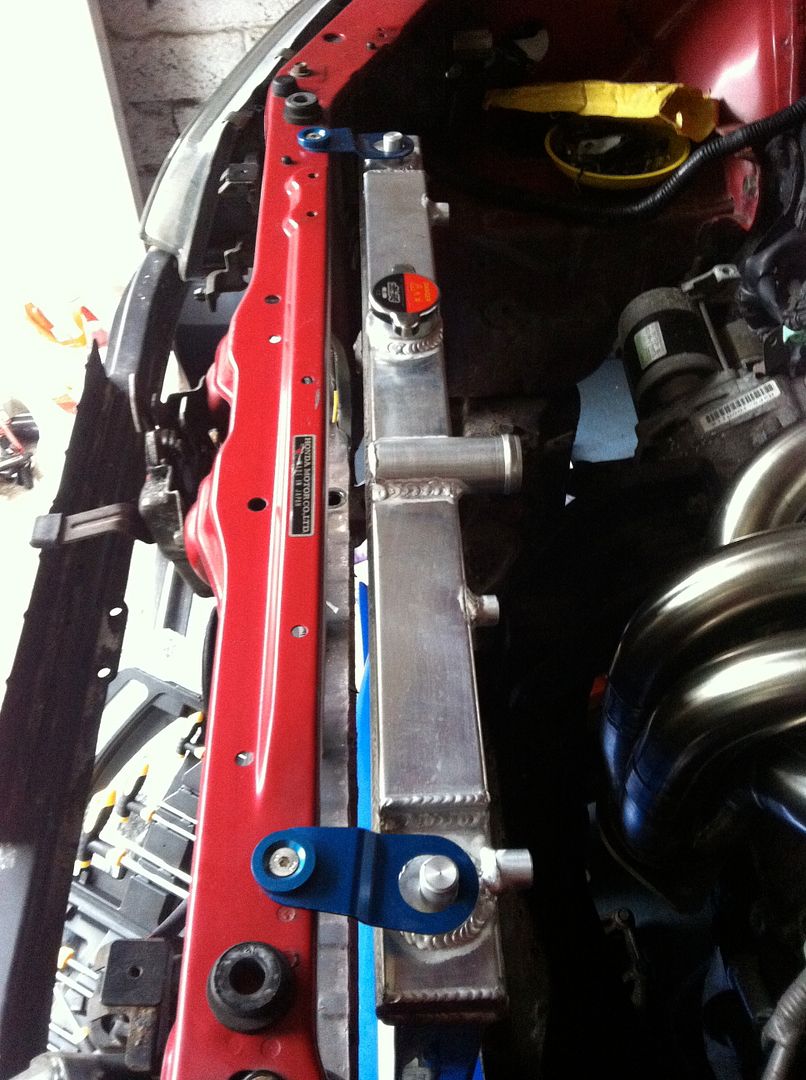
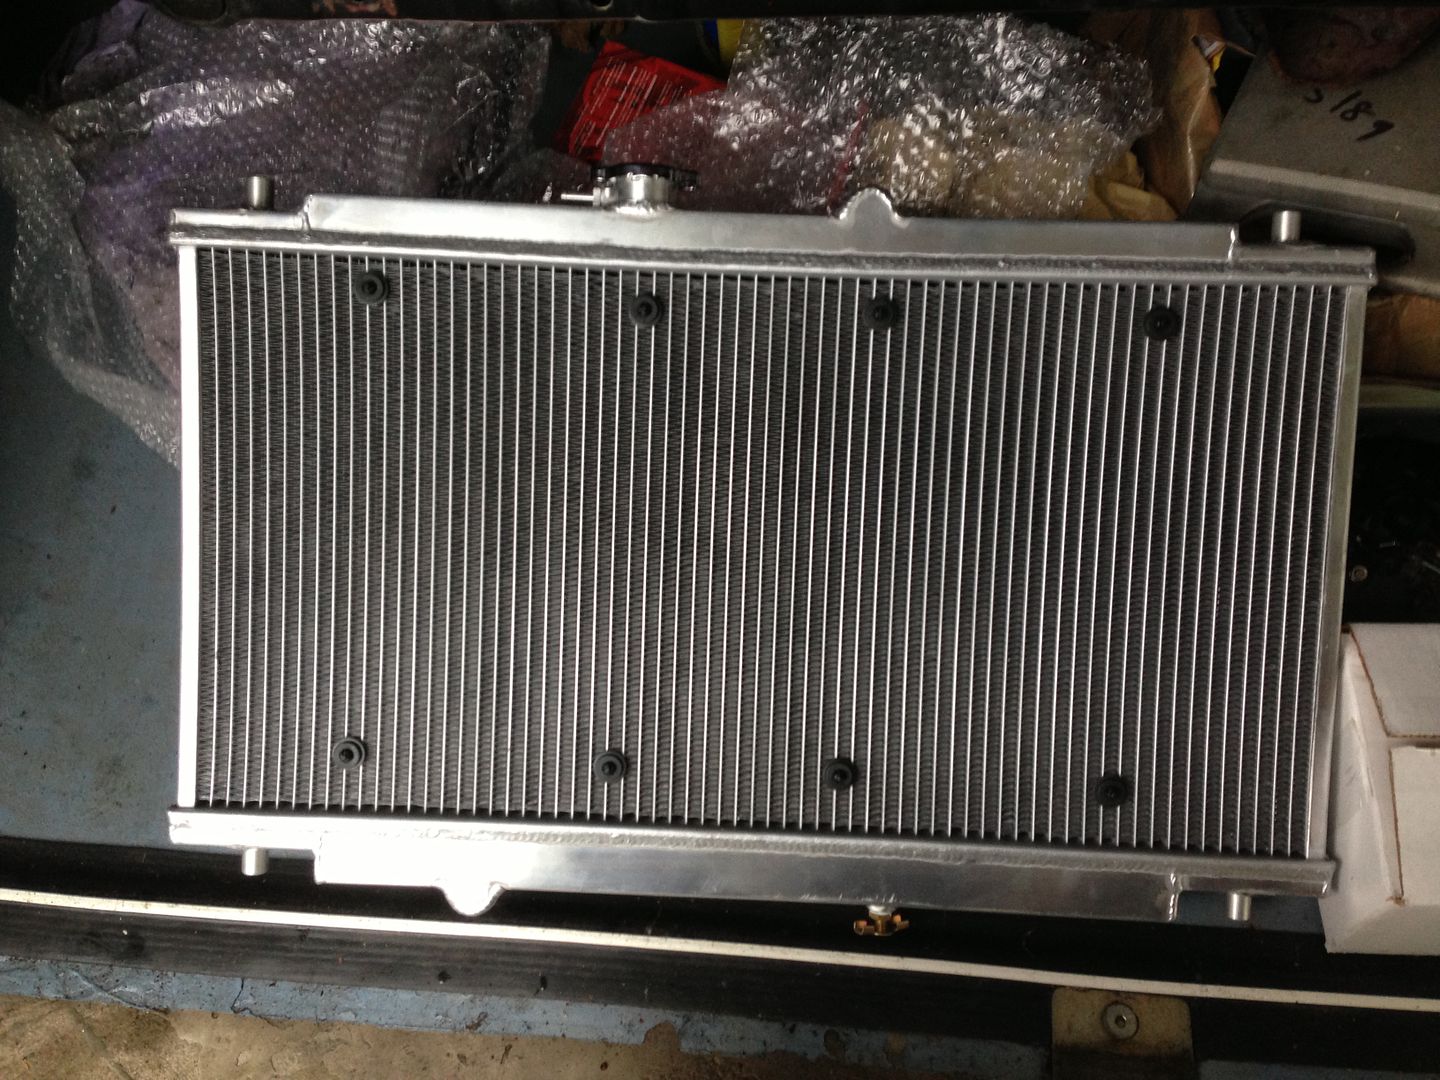
I attempted to test fit the aluminium rad I’d bought a while ago with the used Tegiwa mounts, it is a little odd as the rad is for a 5th gen, they are shorter in height and not as wide as the 4th gens.
I tried two variations of mounting hole locations, the first is to use the OEM rad mounts inner bolt holes but that moves the rad away from the slam panel slightly, see here:
Not ideal, I guess I could have done some ducting in aluminium to the Mugen bumpers opening? But more work to my ever growing list!
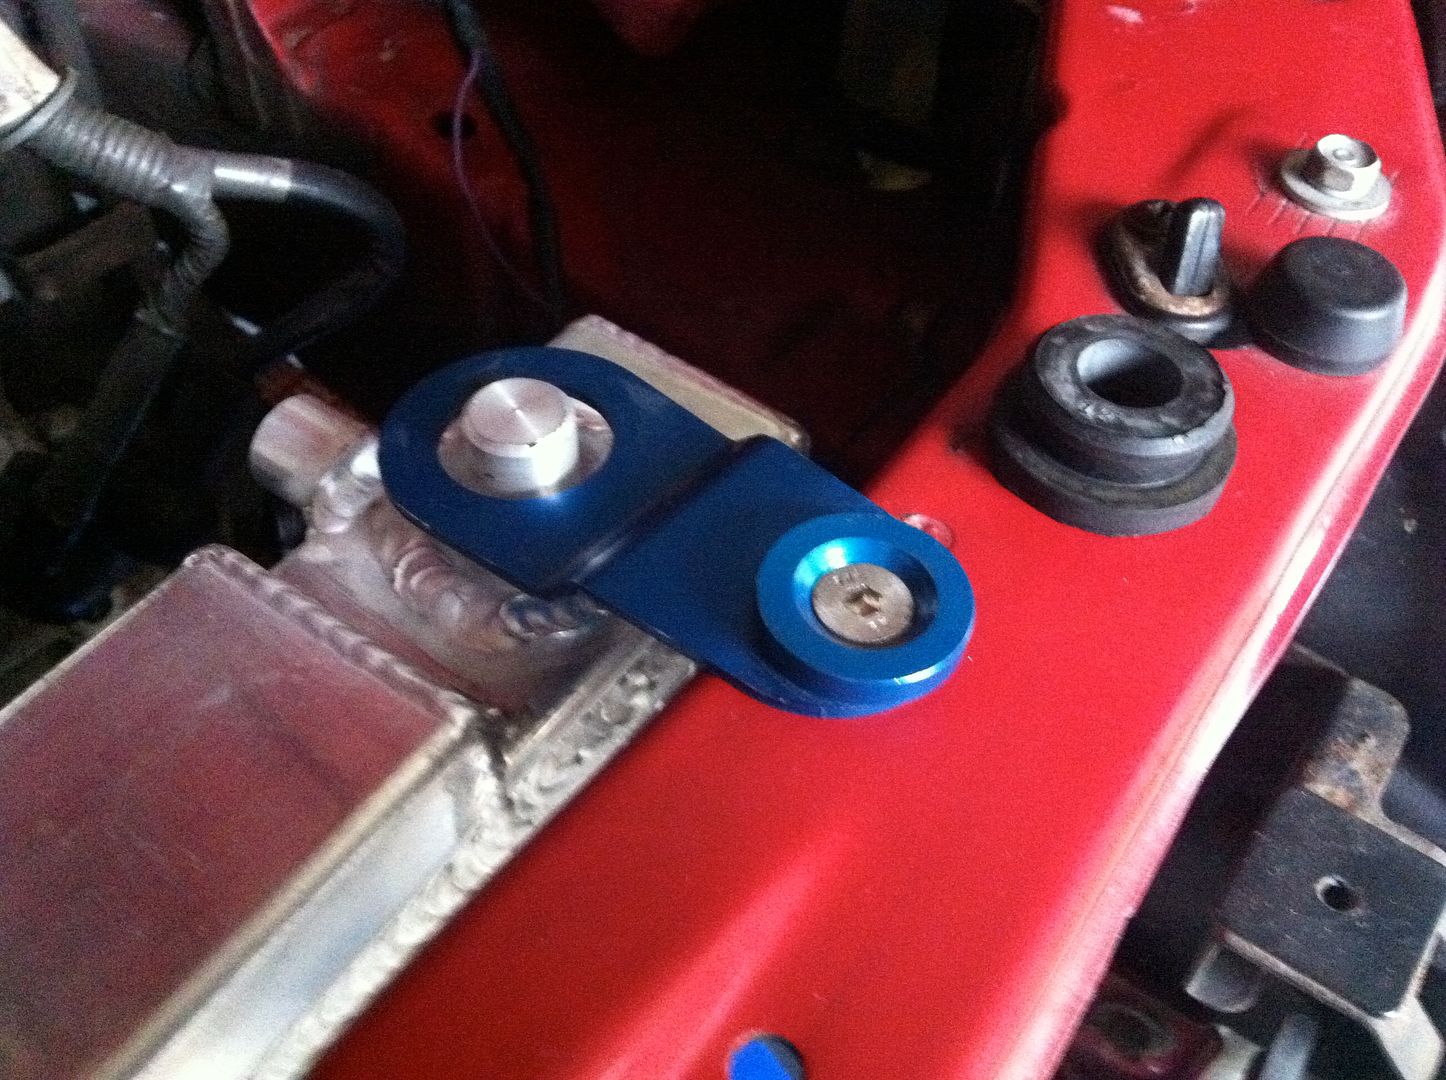
Second option, was the outer bolt holes which fits it perfect, however the lip of the rad mounts means the mount won’t sit flush. I think a washer or two will sort this out??
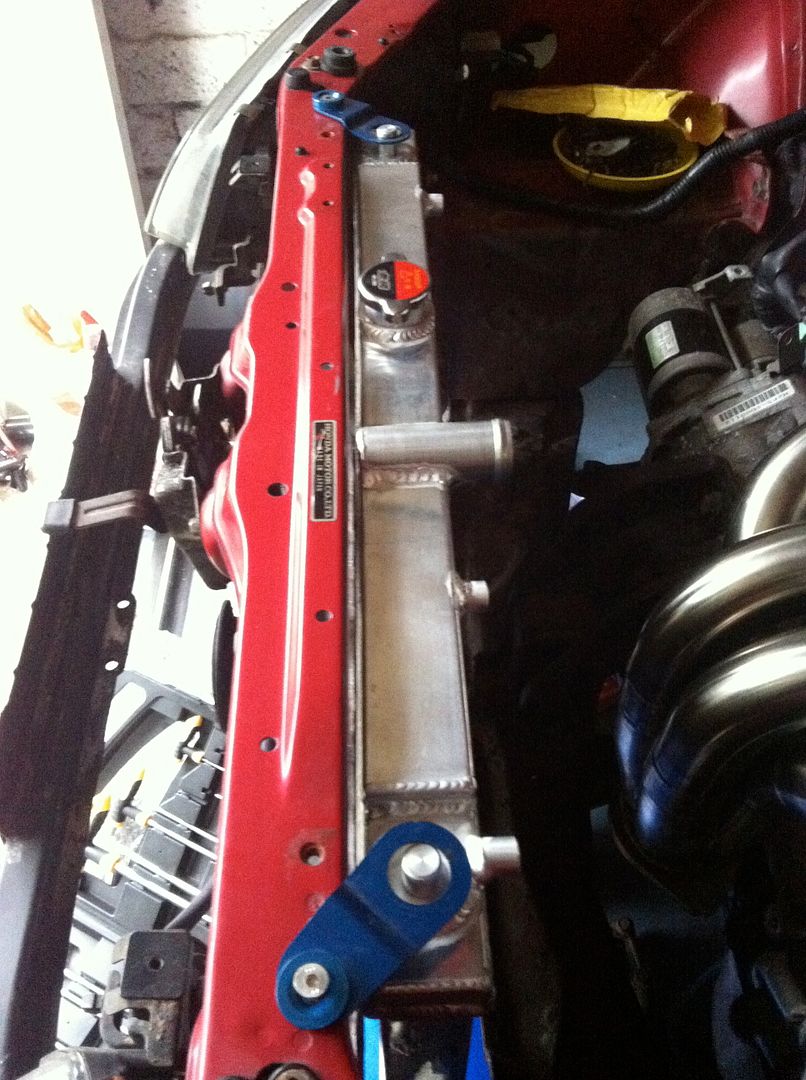
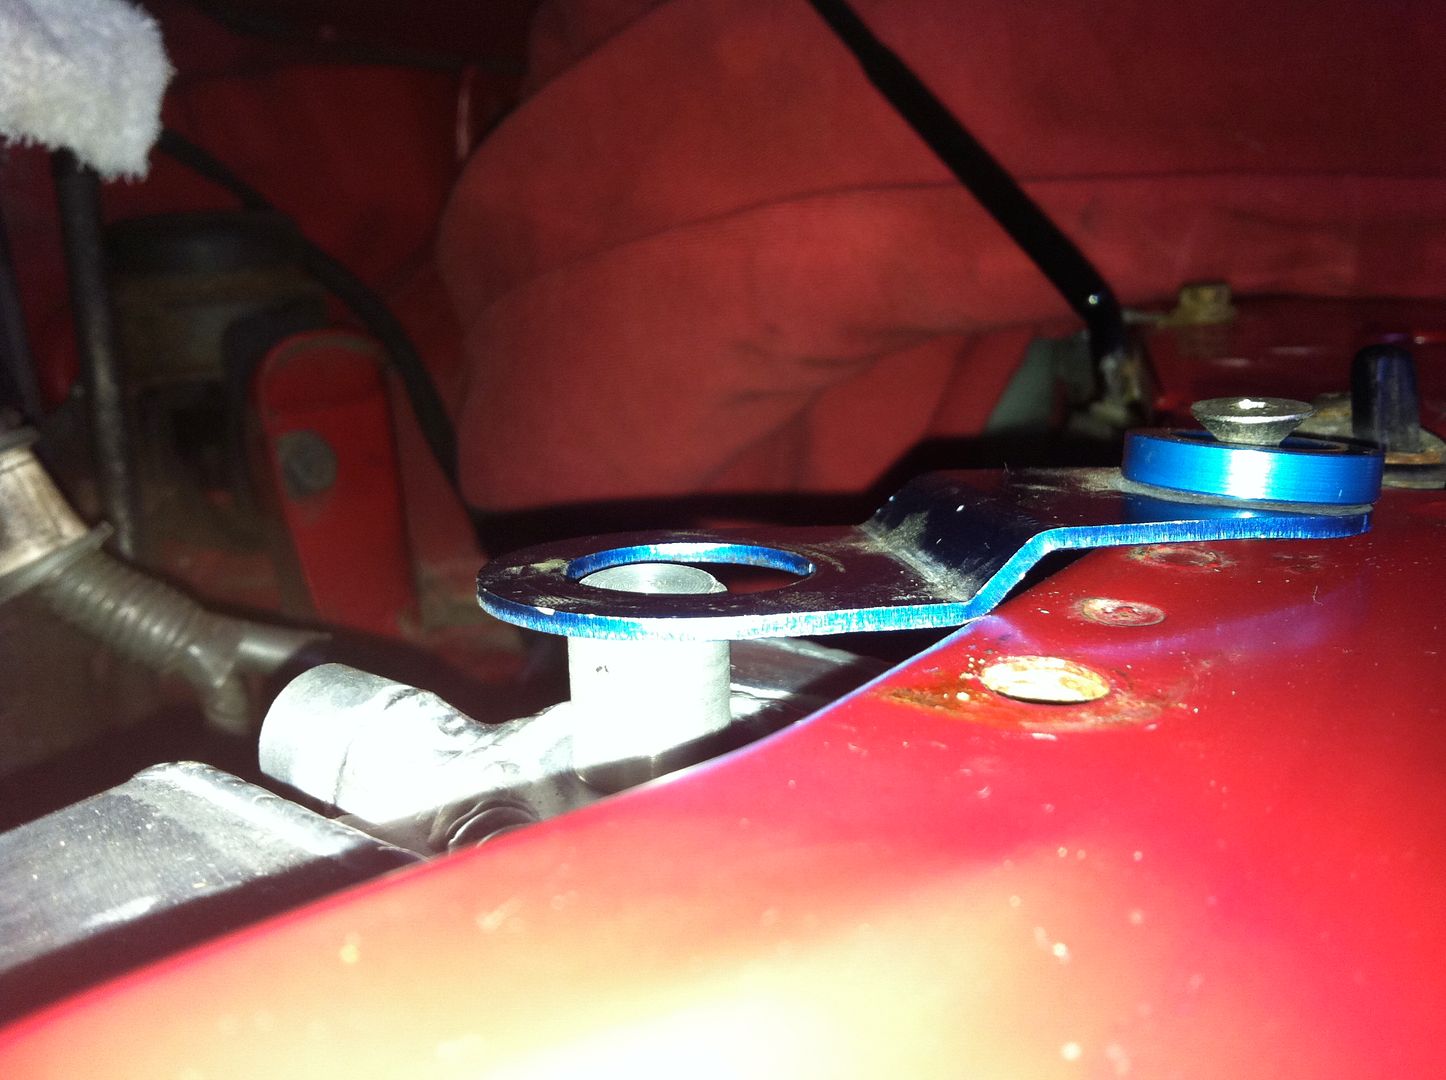
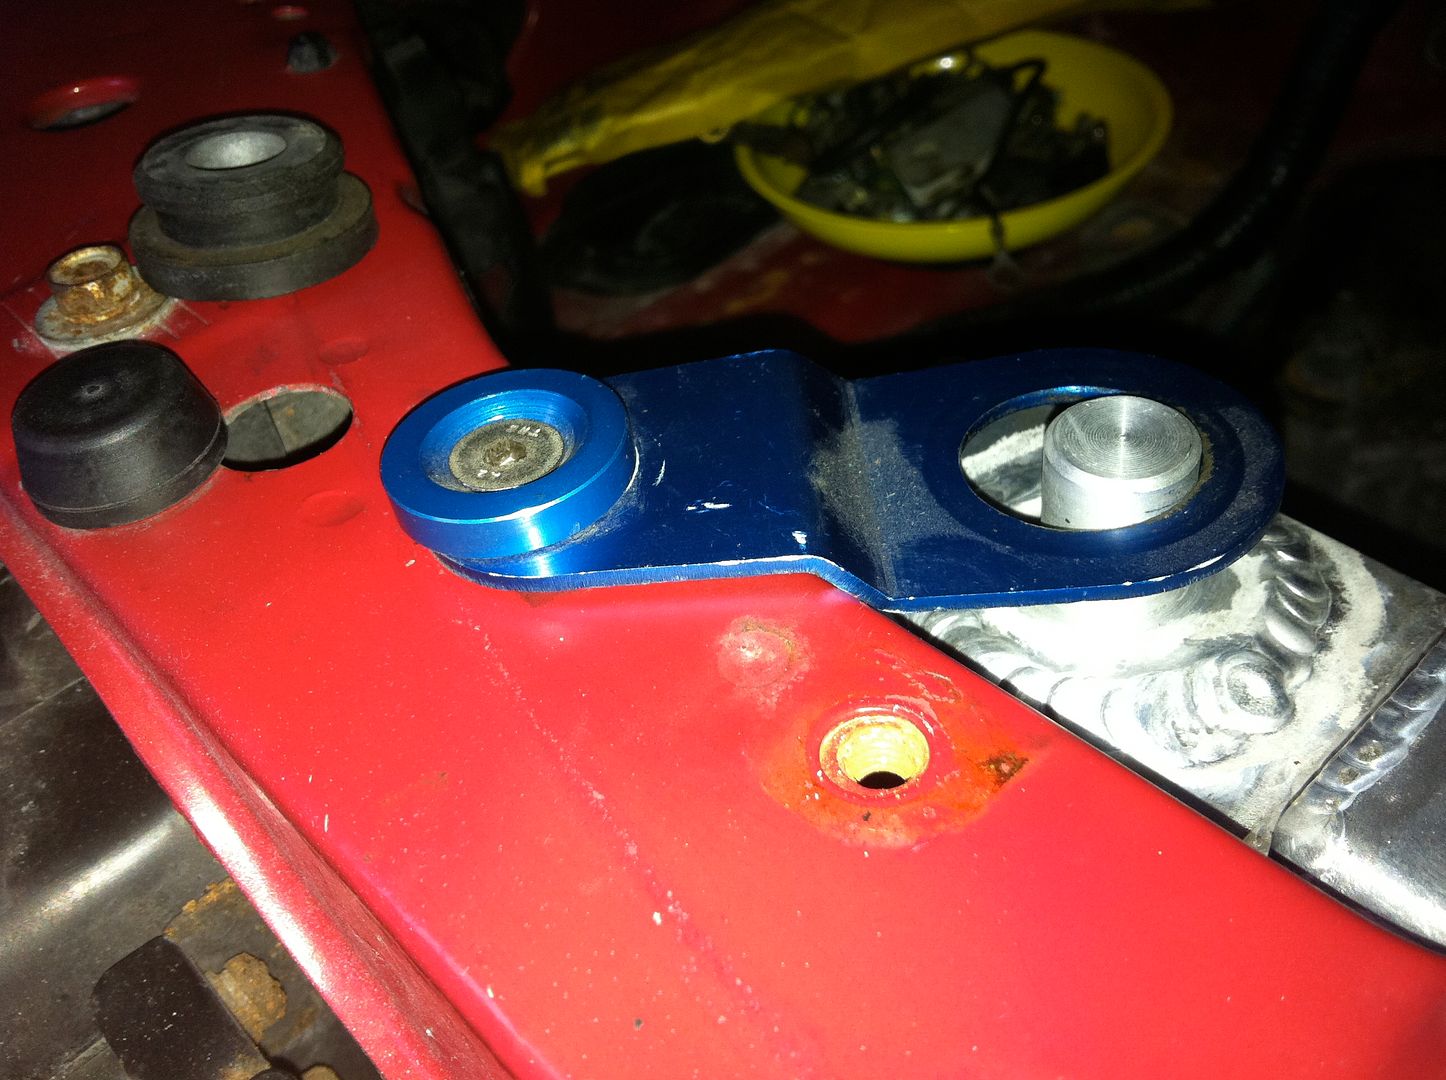
This wrong application of radiator also needs new mounts to the bottom as they sit inwards more than the 4th gen one. I picked up some black Mishimoto brackets from Nathan on here (thanks bud):
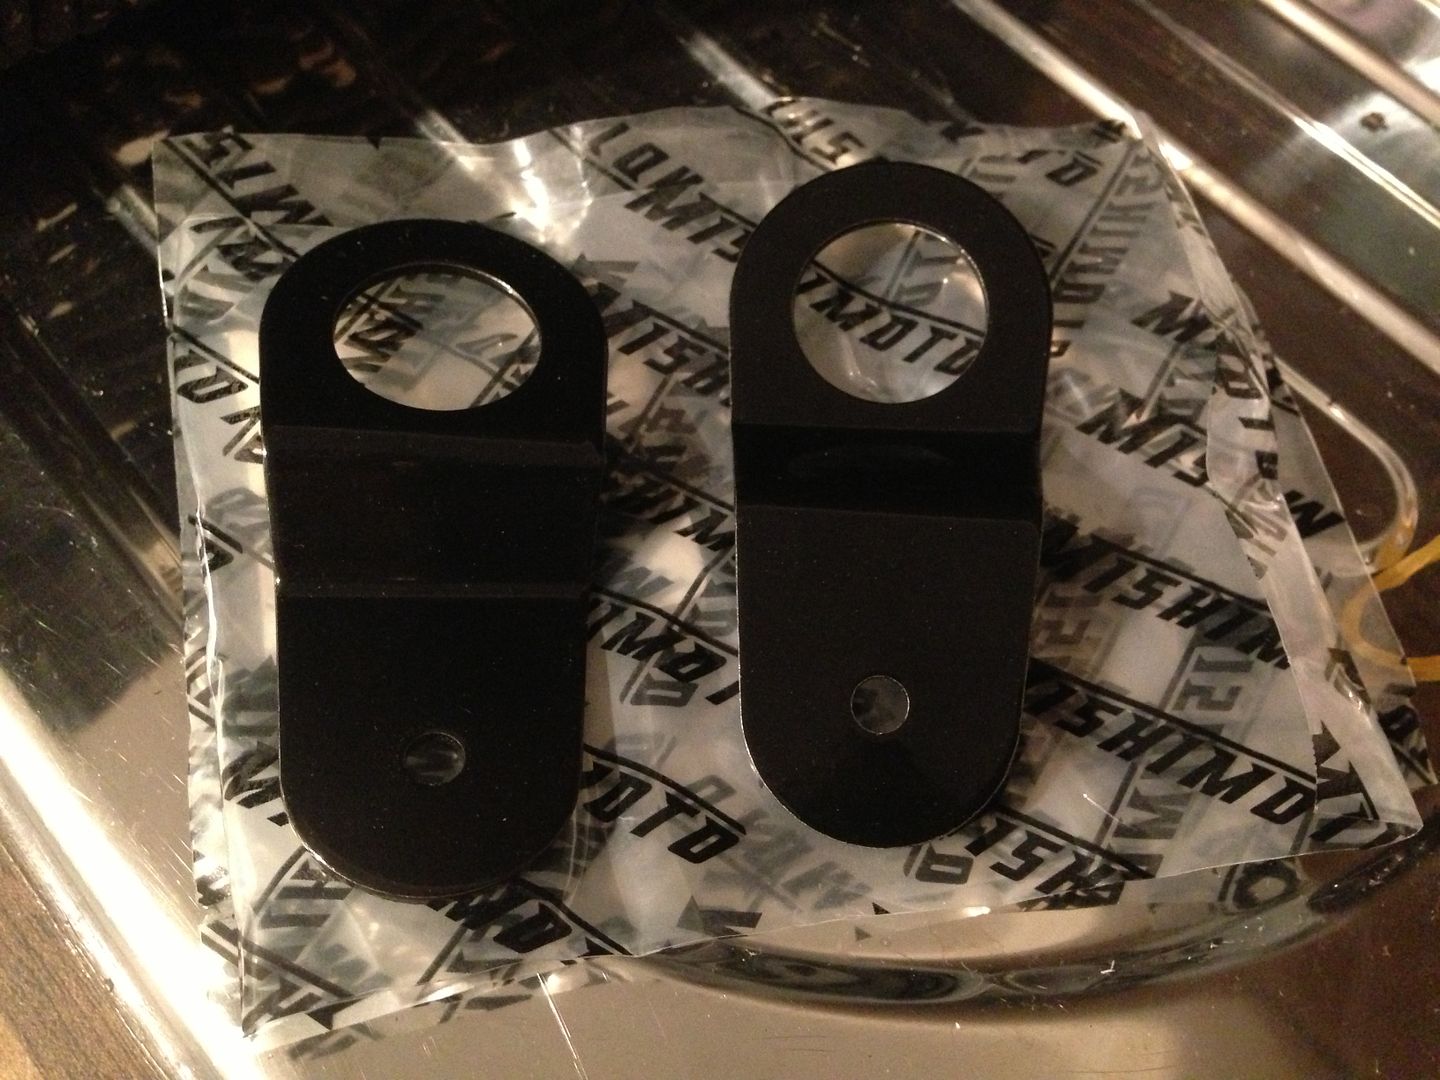
So plan was to use these up top and the blue ones down below.
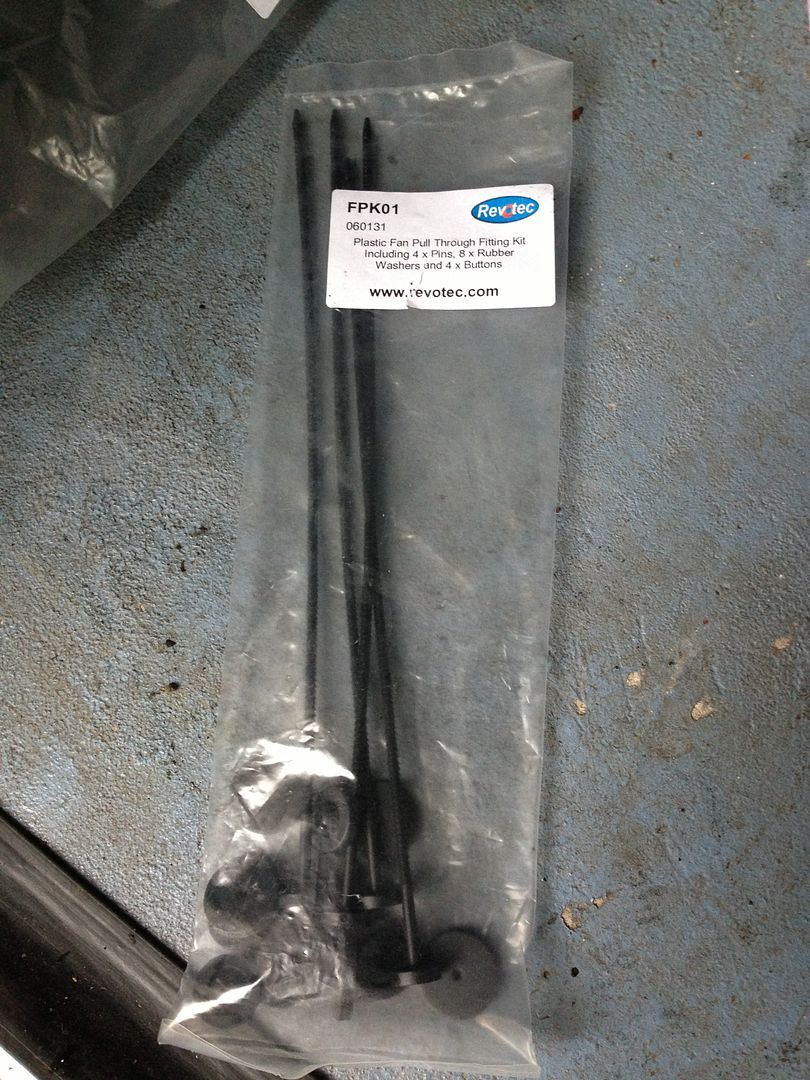
Then I moved on to fitting my rad fans to the ali rad using my Revotec fixing kit:
During and finished install:
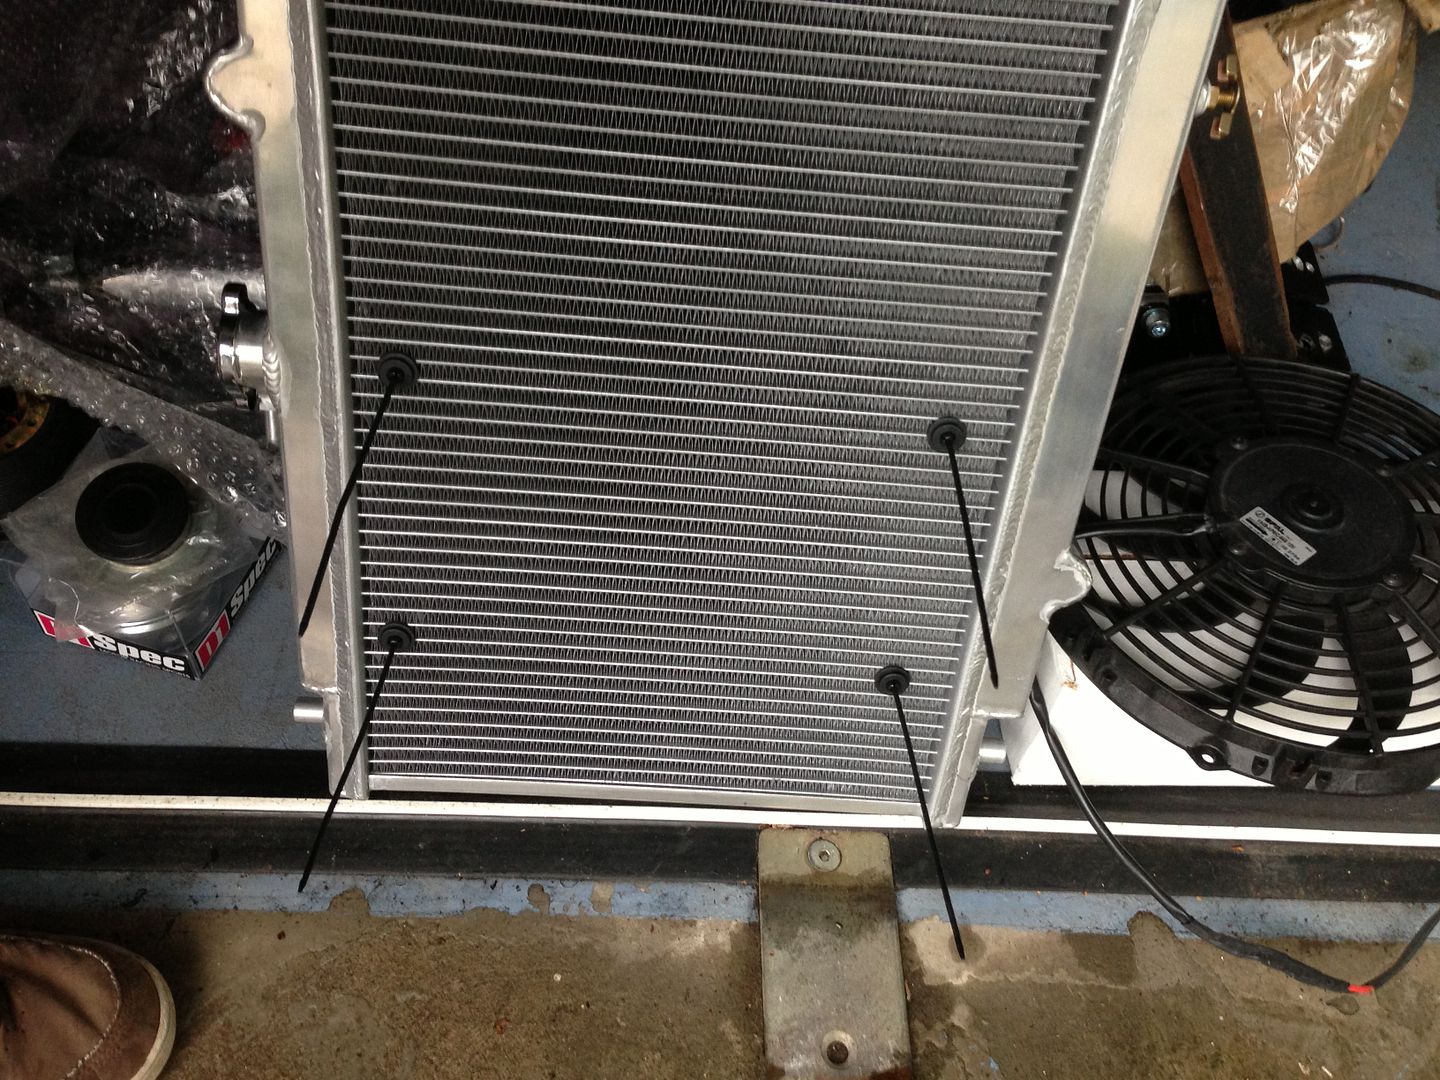
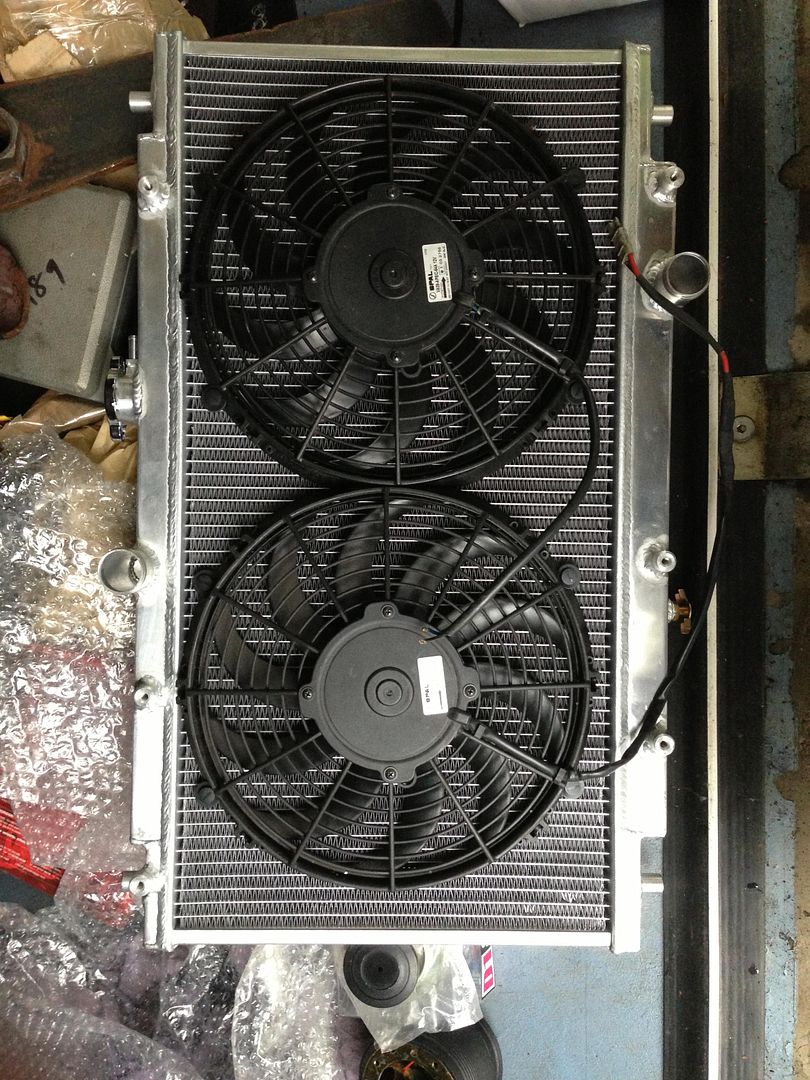
At this point, they just needed wiring up to the original rad fan connection (no A/C obviously). I hope the electrical supply to the one OEM fan is man enough for the new two ones? We shall see. I’ll fit an override switch eventually too, but more on electrics later.
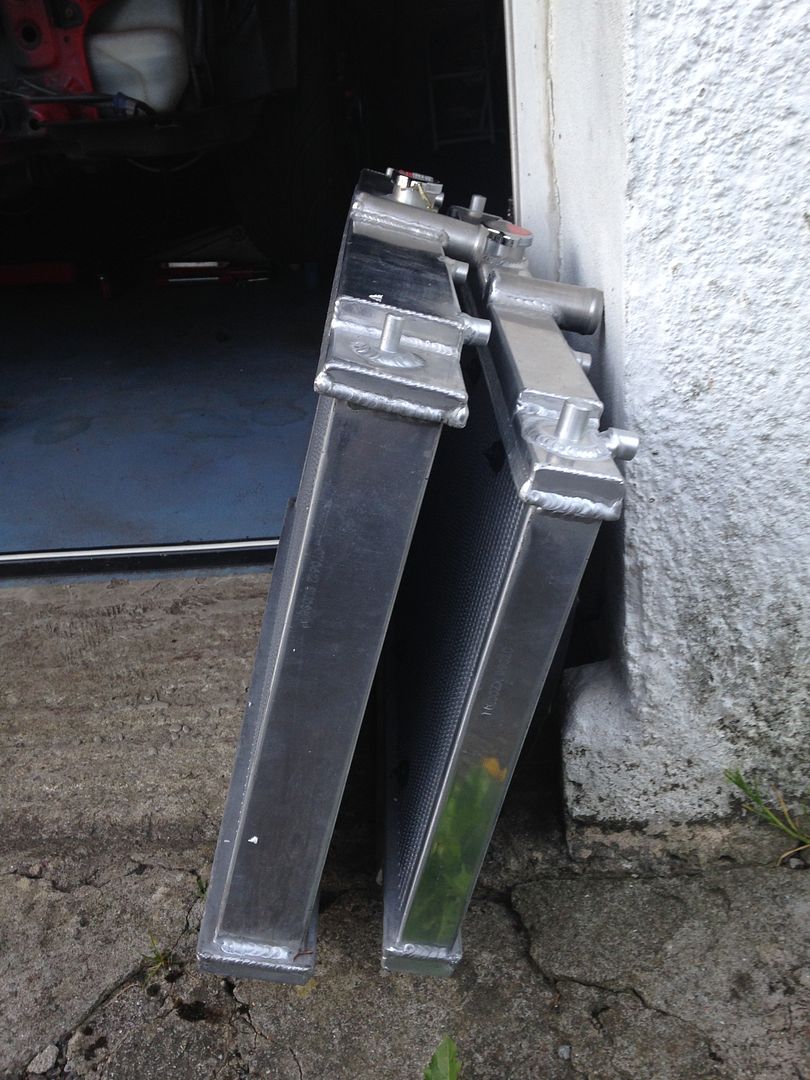
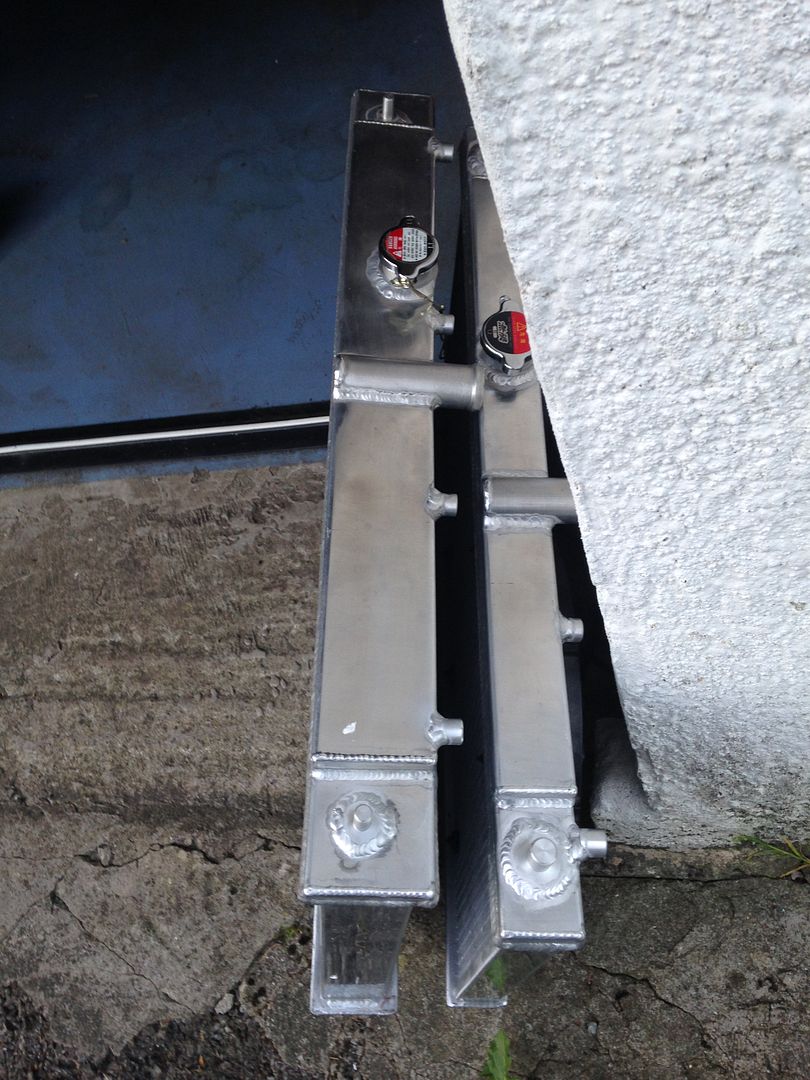
However, not happy with the fitment and my constant quest to snap up bargains on ebay I then picked up a ‘4th gen’ specific fitment which is made by Japspeed. It was new and cheap so thought it was worth a punt, plus it is somewhat chunkier than the old one, so more cooling capacity:
However, it doesn’t fit.

It will after some minor angle grinding to the bottom mounts and the lower part of the slam panel. Annoying, but I can’t not use it as it’s such a larger capacity and once some bits are trimmed it will fit to the original mount location. So more work! Nothing seems to be straight forward on this build. I also need to buy new rad mounts to transfer the rads over.
 Mugen side skirt brackets
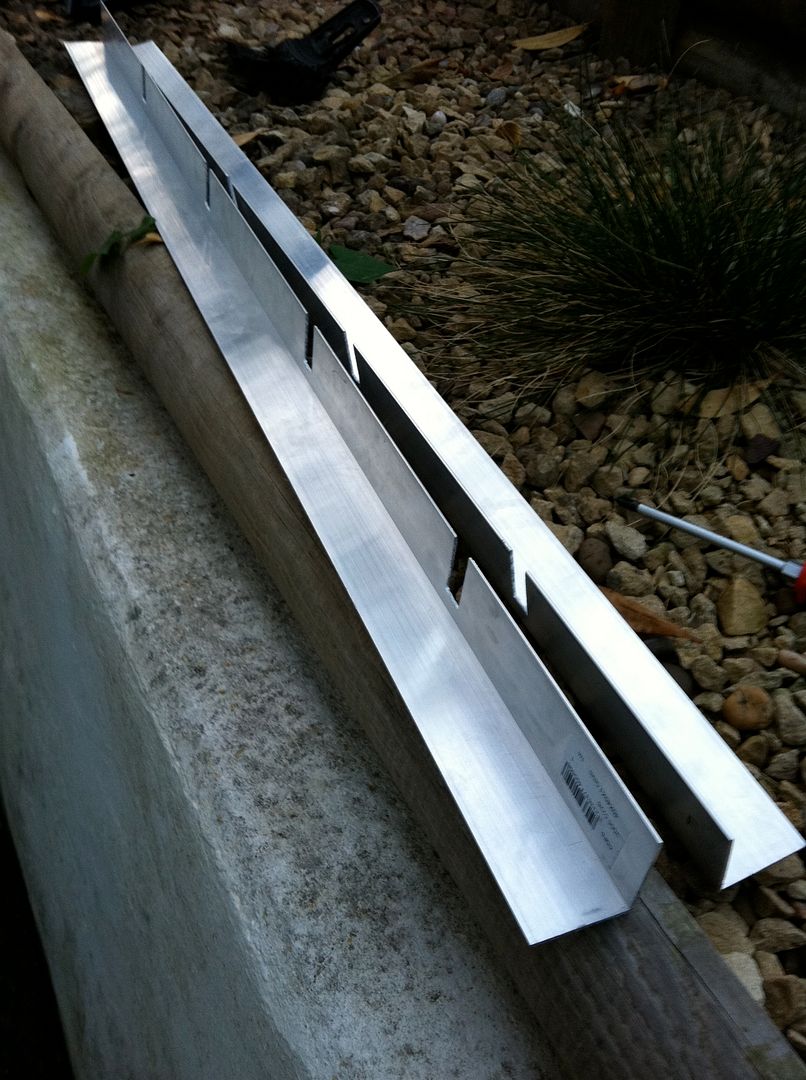
Next up was to make some new brackets for my Mugen skirts. The skirts are readily painted and waiting to go on. The main bracket that attaches these skirts is a long angle piece of aluminium. The dimensions of the original Mugen bracket are as follows (I got these from various sources):
‘L’ shaped aluminium angle – section is 4 x 4cm, overall length 99.7cm long.
There are 4 slits in the angle where the original skirt clips fit to fix to them OEM locations on the body sills. These are 1.4cm wide x 3cm deep into the angle (see pics below).
These slits are cut in as follows, starting from 0.0cm through to 99.7cm, these are the points at where cuts were made for the slits: 14.2cm, 15.6cm, 34.2cm, 35.6cm, 56.8cm, 58.2cm, 78.8cm, and 80.2cm…in total those 8 points will make the 4 slits measuring 1.4cm wide.
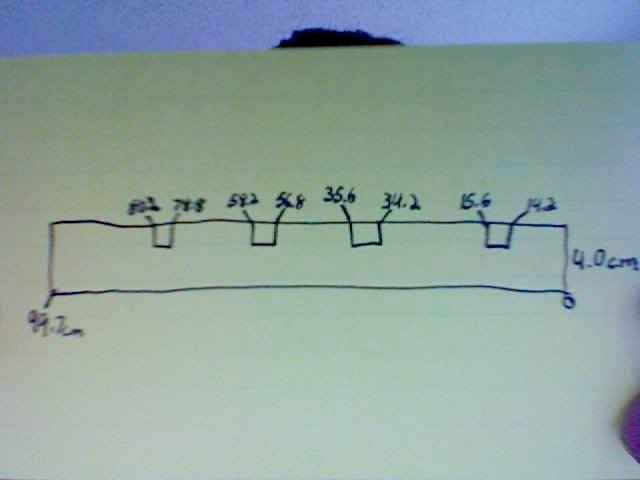
Luckily B&Q sell the exact same dimensioned aluminium angles at a metre length – just 0.3cm over but no need to trim it down as they fit fine
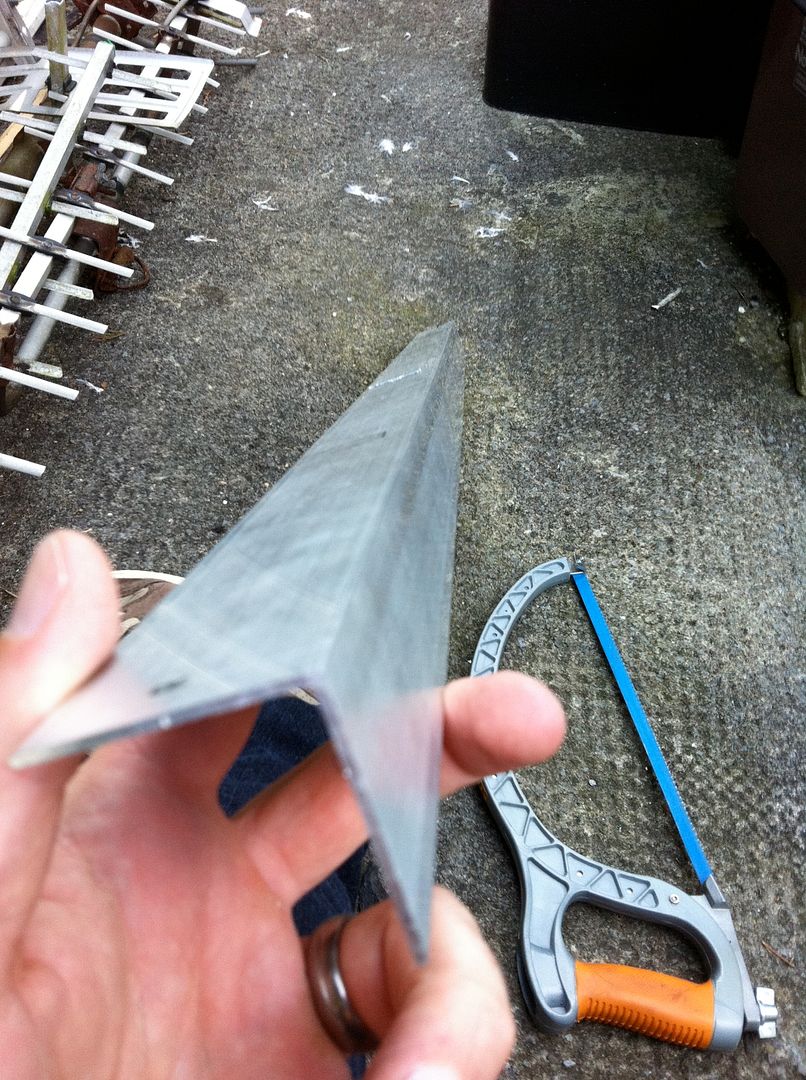
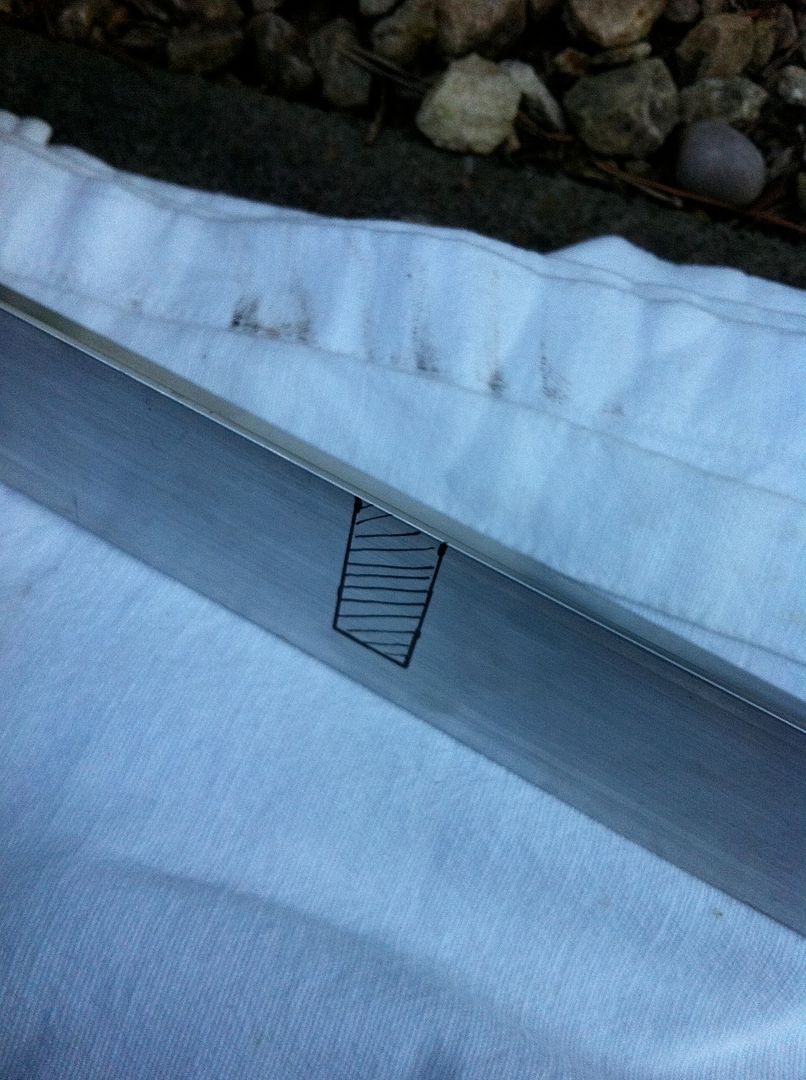
Measured up the areas to cut:
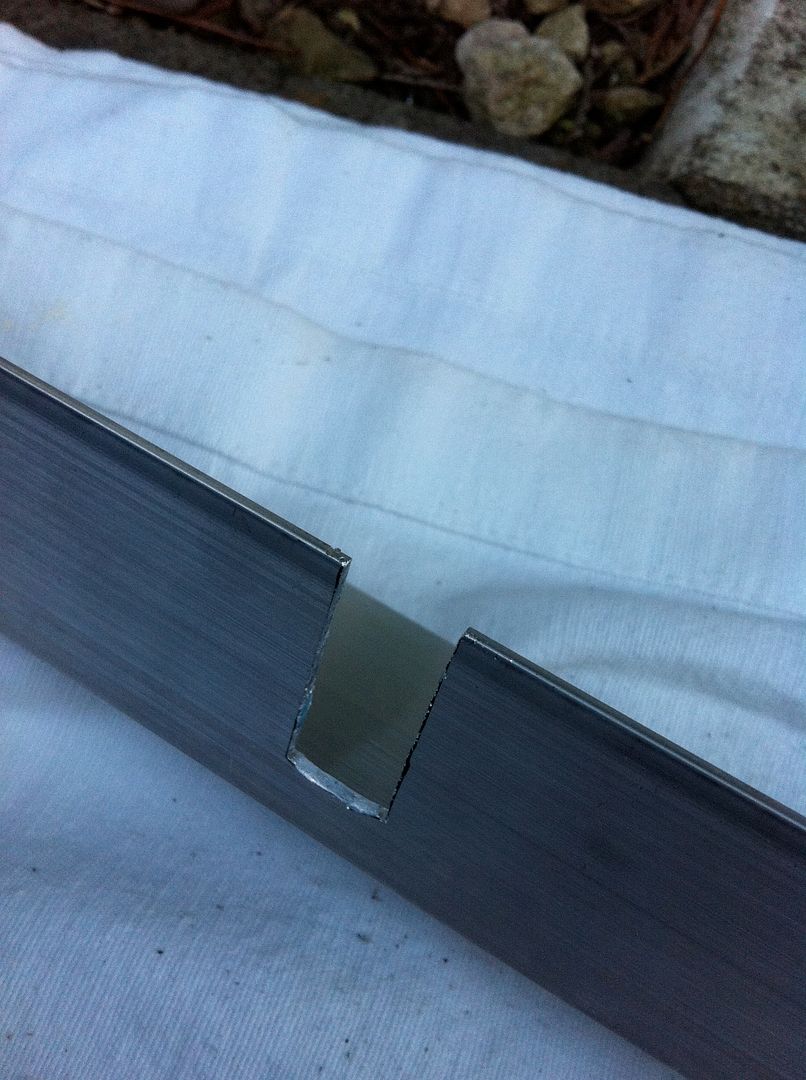
So they’re ready – there is a thin sheet of plexiglass or something on the originals to stop it marking the paint on the bodys sills, but think I’m just gonna throw on some padded tape.
Only thing left is to replicate a couple of the small mounts I already have and I can fit the skirts. Close but no cake for this one either.
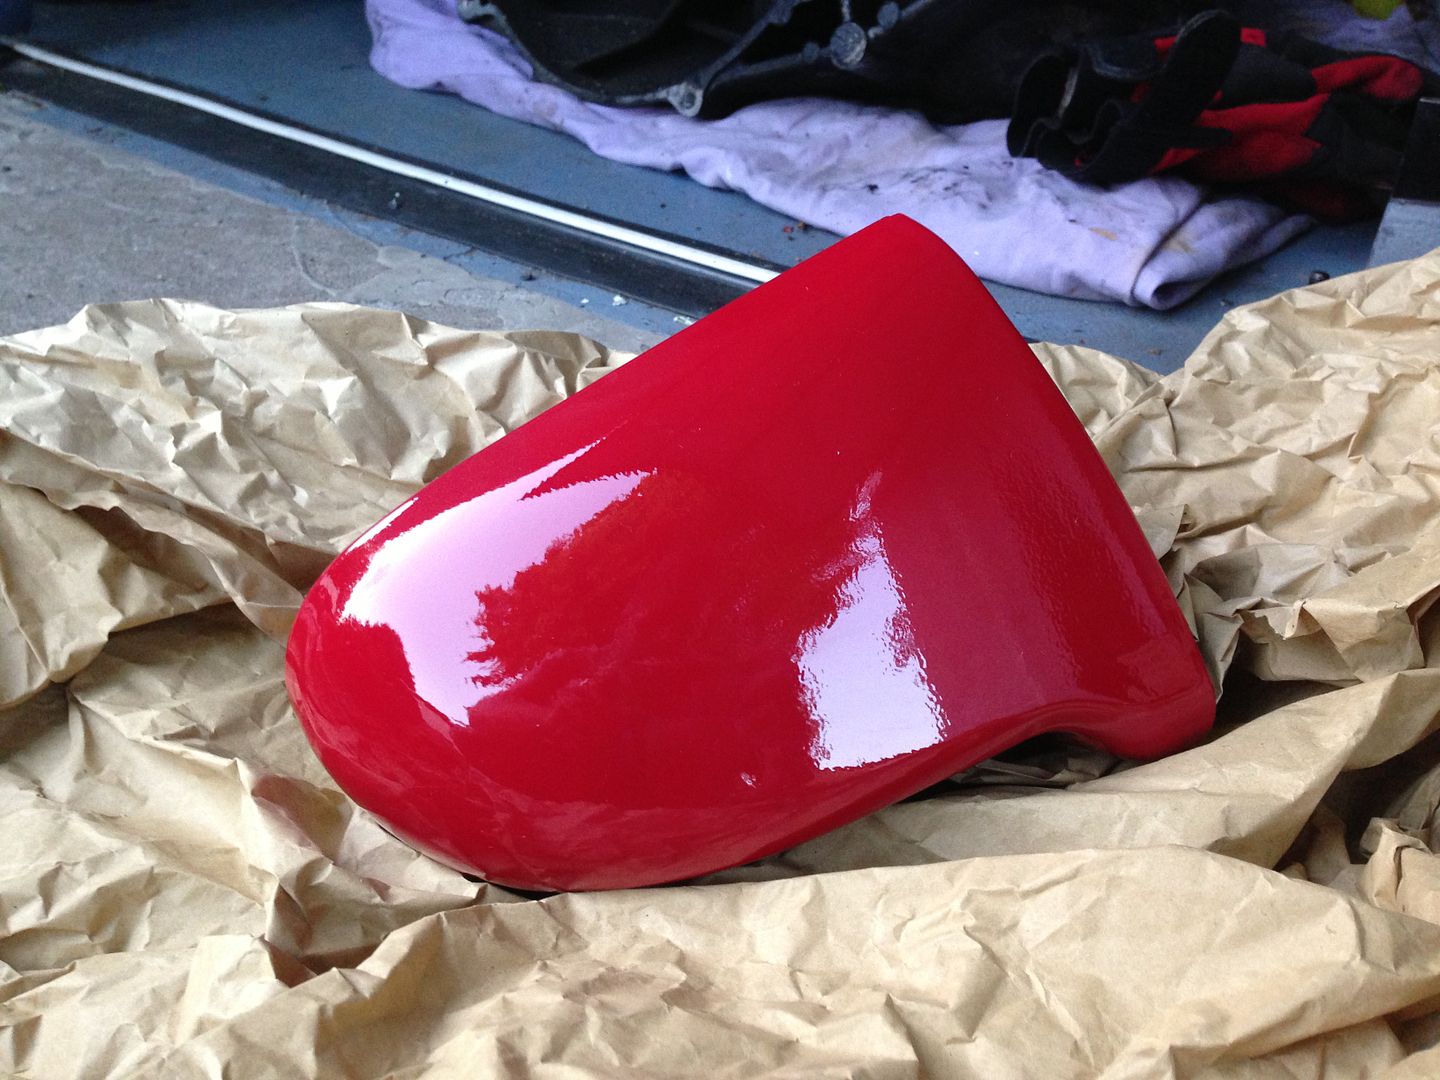
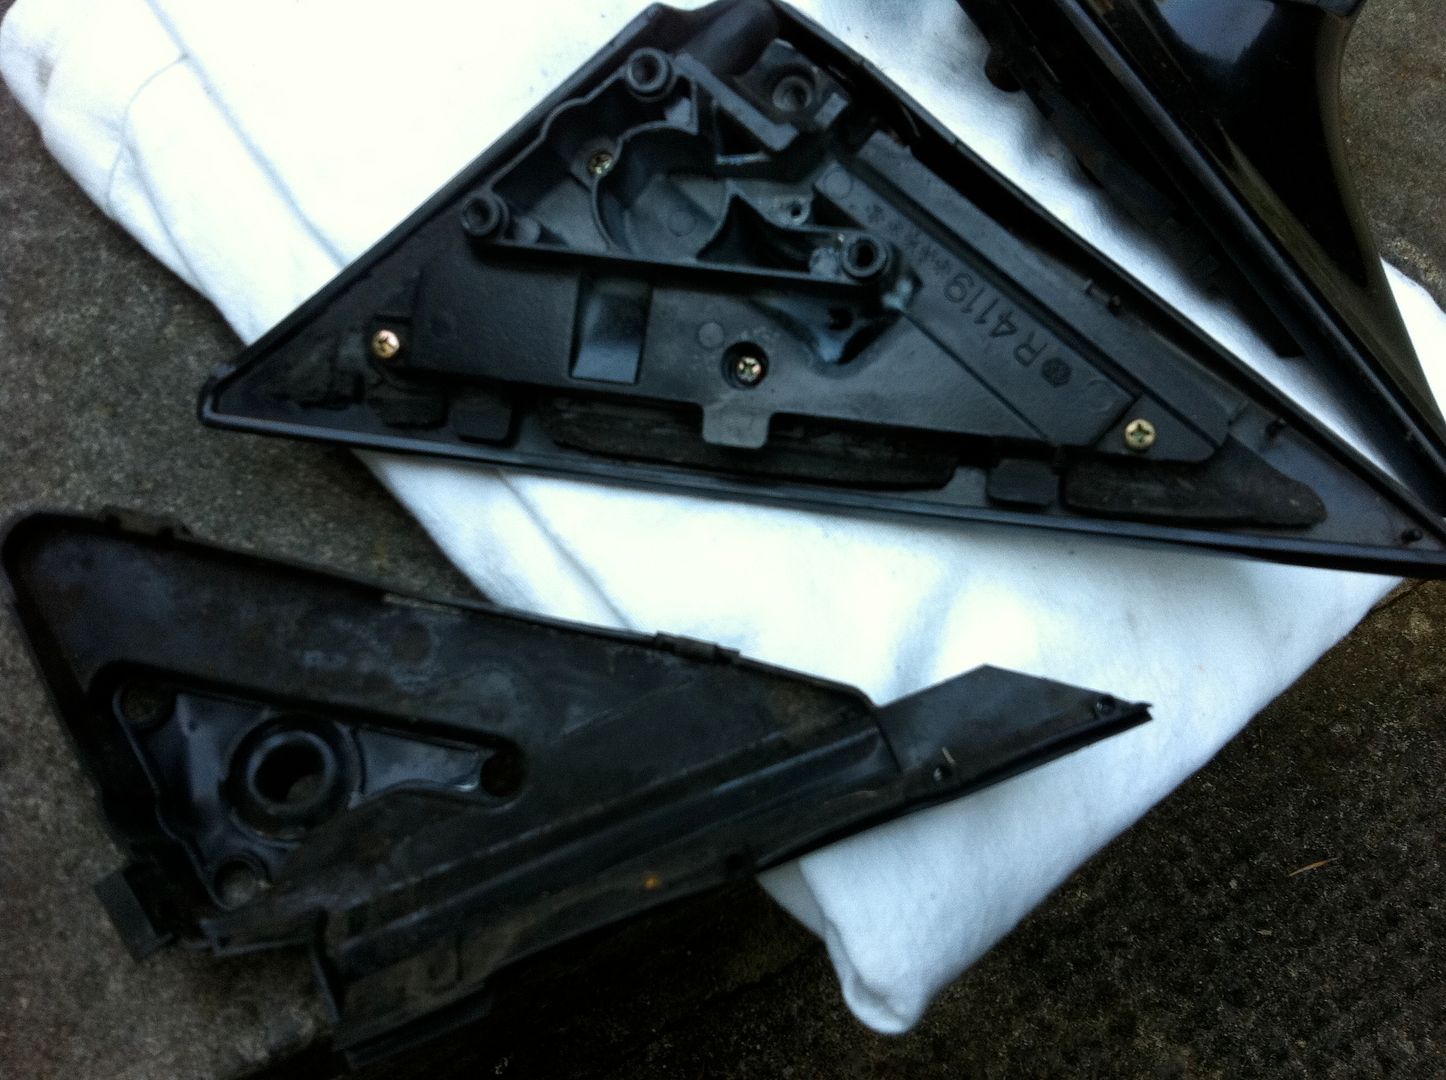
Custom Mirror Baseplates
For a while now I’ve had my Spoon replica plastic mirrors sprayed up and awaiting fitment:
However, they came with EG baseplates. I tried to modify it to fit but it was too far off to work on the Prelude.
So I bought a spare set of OEM Prelude mirrors to butcher up, firstly I disassembled them:
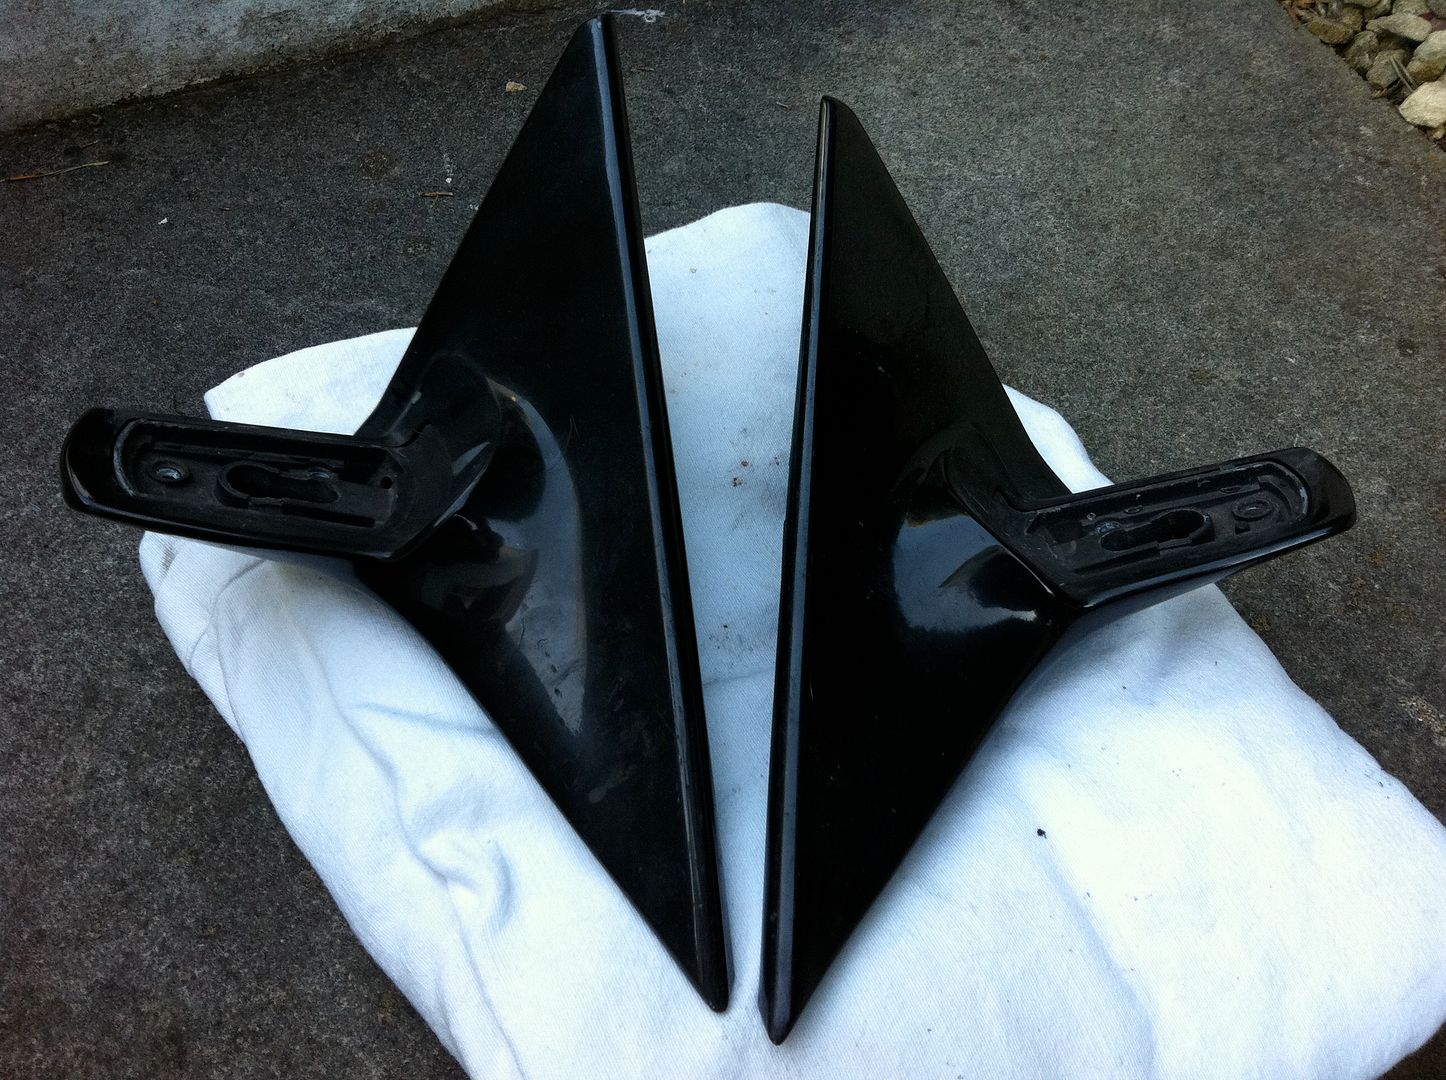
Plan was to lose the projecting part, cut it back, and smooth out the baseplate to screw the Spoon mirrors to, while retaining the factory fixing of the baseplate. Easy right?
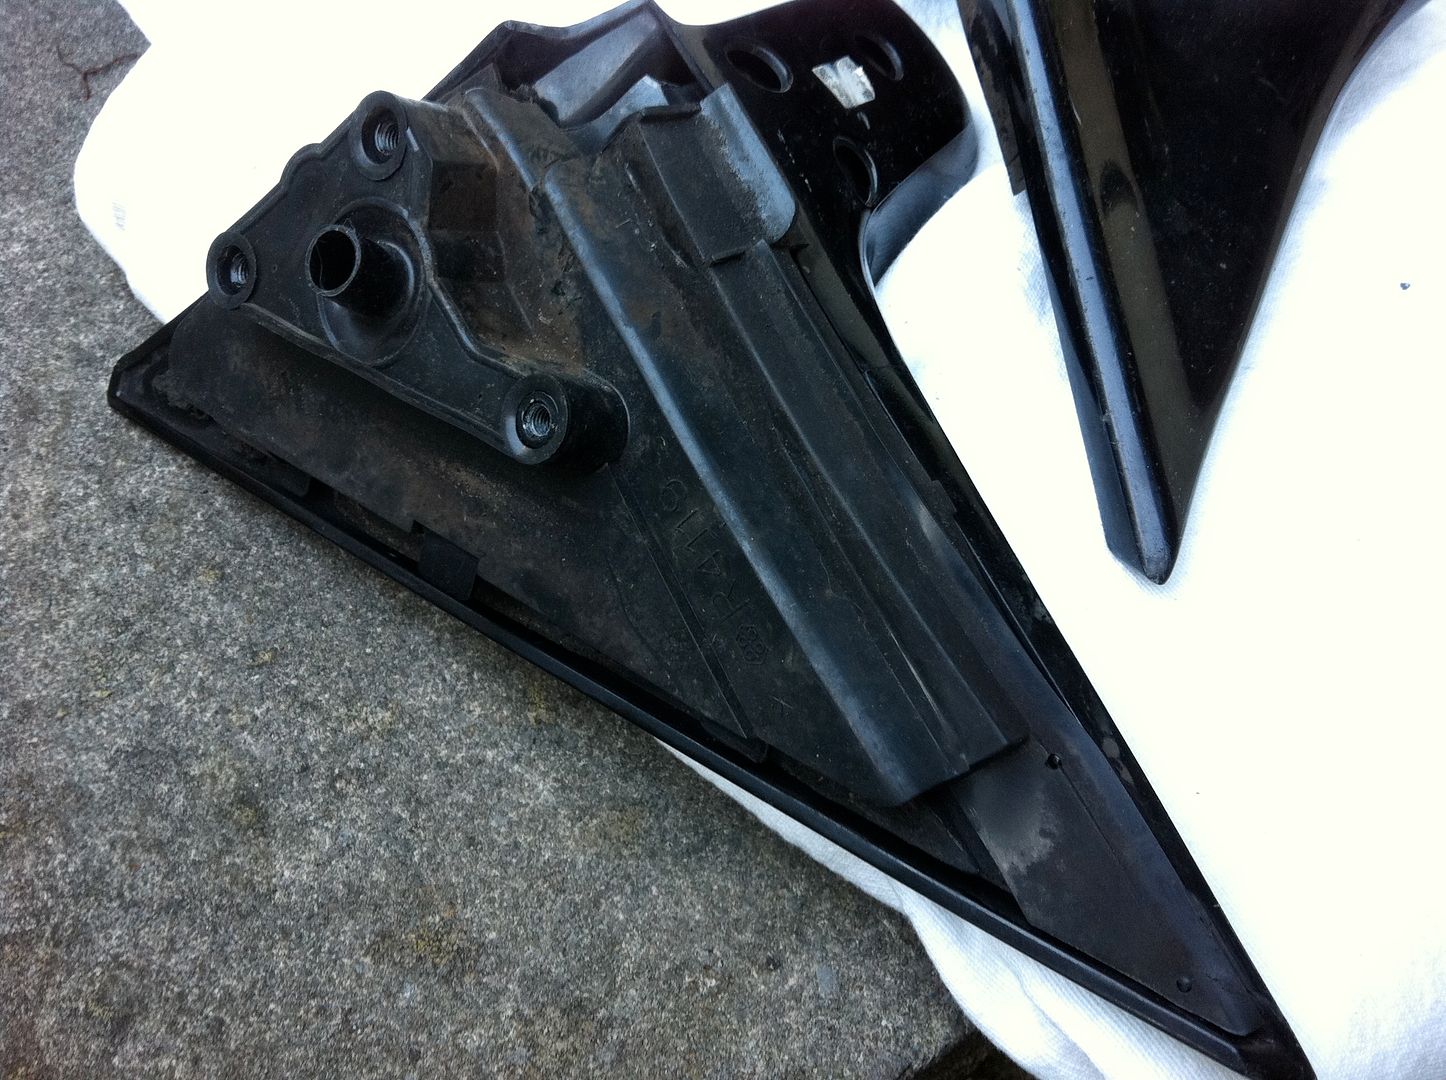
The easy part was the plastic front:
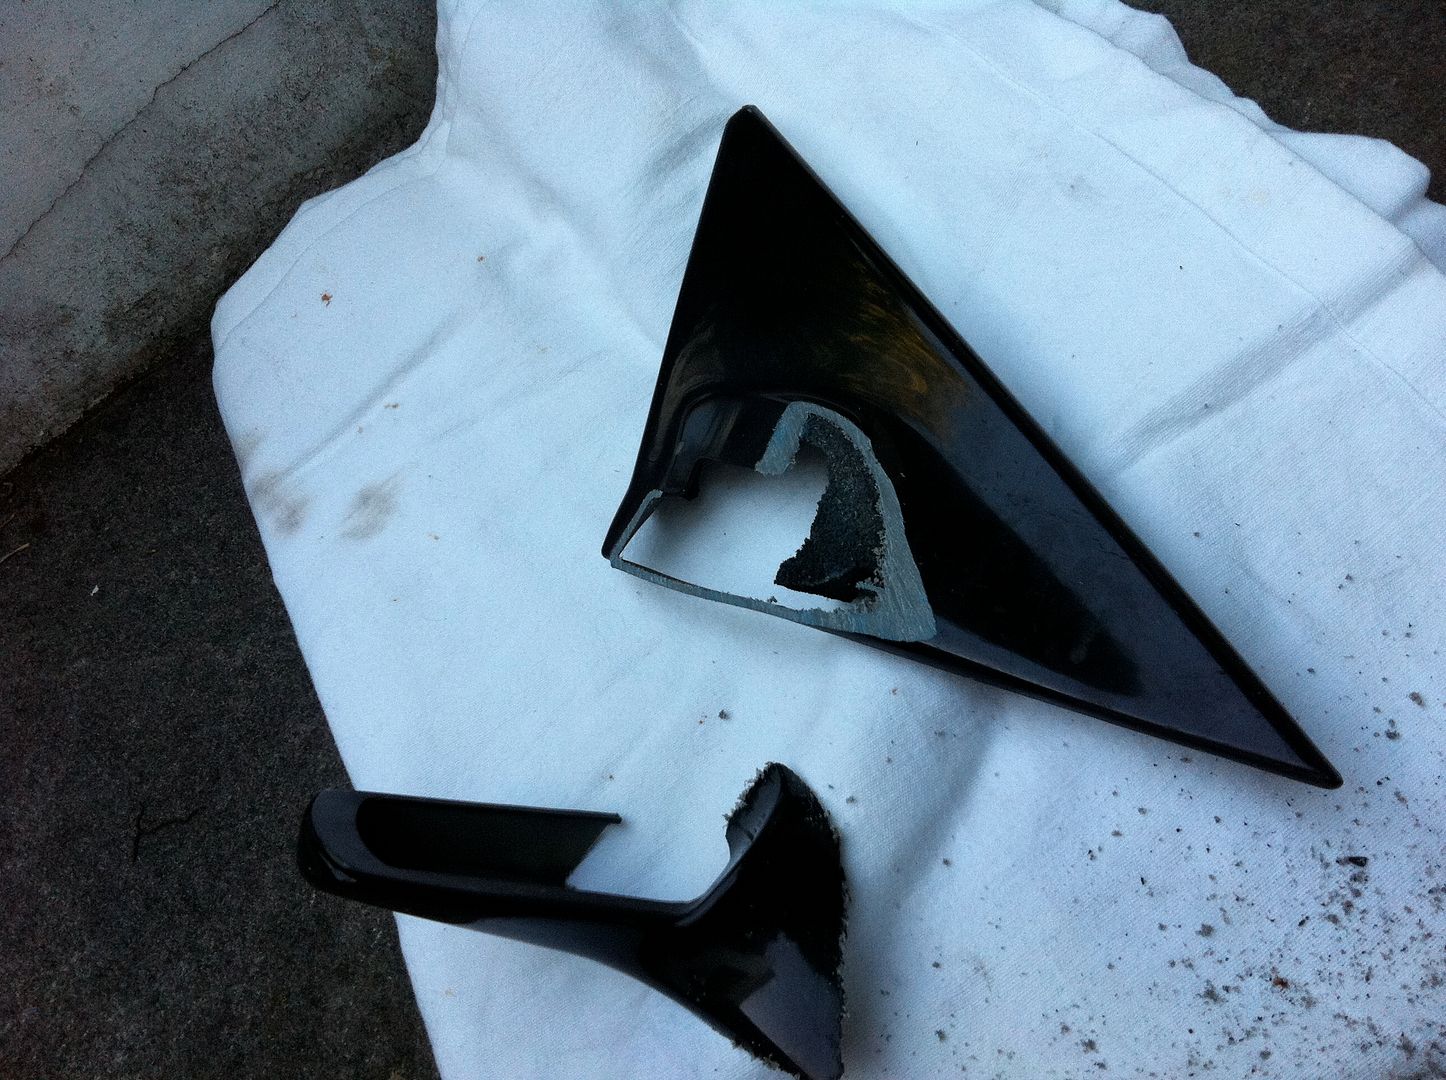
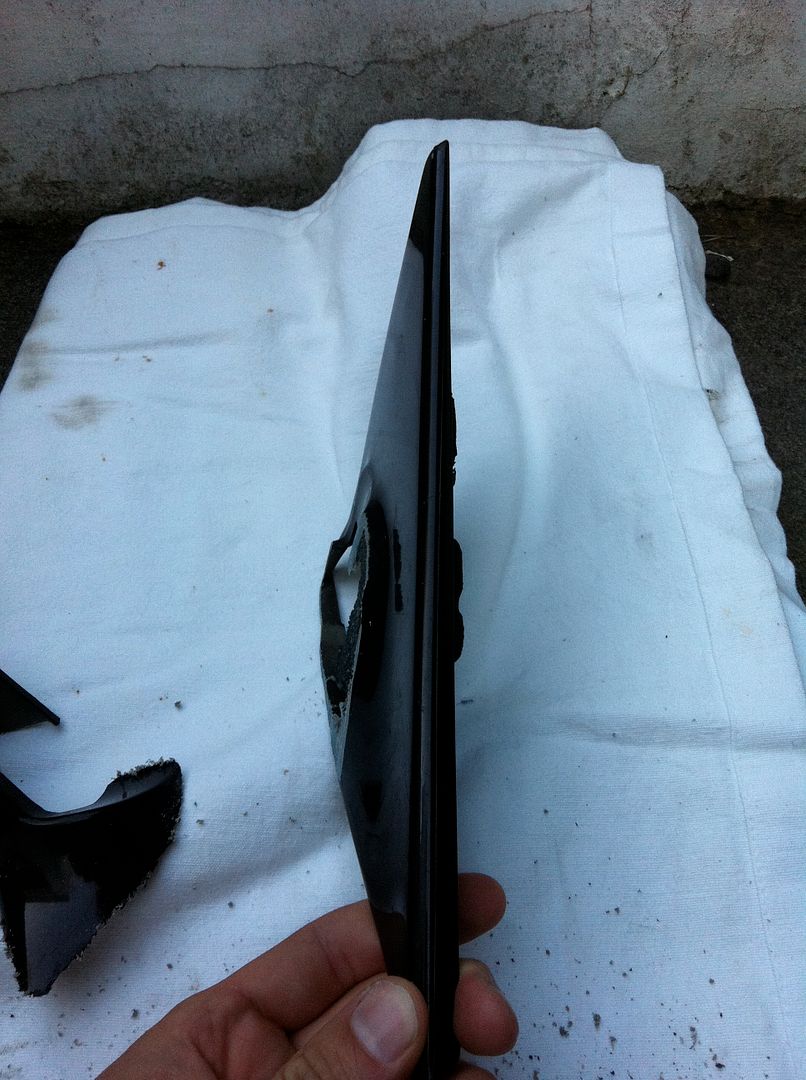
But these metal inners are pretty chunky cast pieces of metal – probably what makes the OEM mirrors so damn heavy:
I’ve nearly cut through one out of the two, which has taken ages with just a hacksaw!
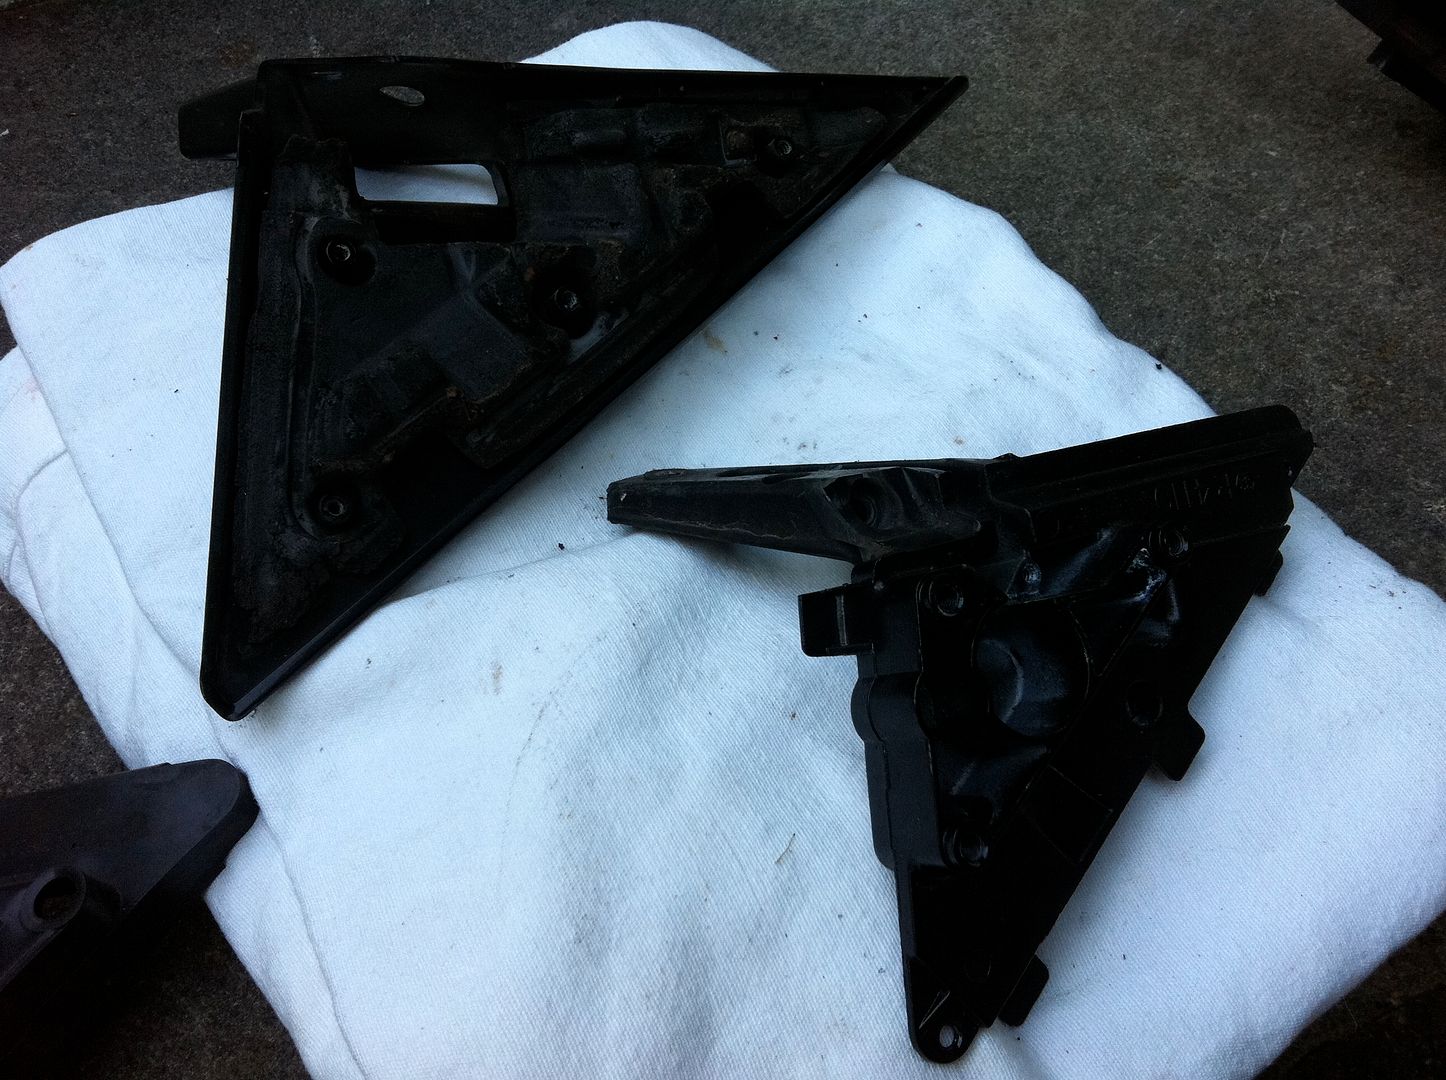
I parked this as it was a bit of a ballache. So another task still to finish, then it’s on to fibreglassing the front plastic bit flat. So more to do here – not doing well am I?
Thinking I may order some DC2 baseplates from the states to make my life easier – I have far too much to do!
So after all this unfinished work I felt a hole needed to be filled. Retail therapy is always good. What have I added to my parts cave now?

A while ago now I picked up a genuine and uber rare Jackson Racing gearknob. It was originally intended for an MX5. I took a punt and low and behold it fit the same thread as our Preludes. Forget your weighted Skunk2 knobs, this thing is a beast and has a fair chunk of weight behind to ‘aid the throw’:
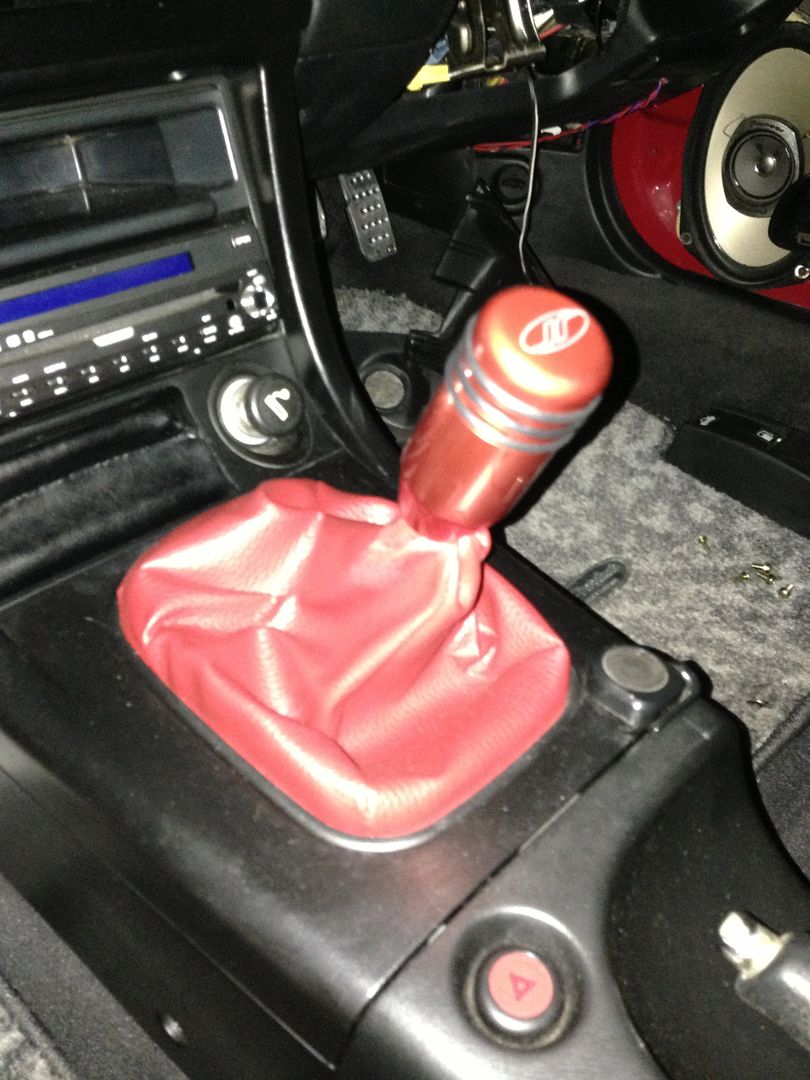
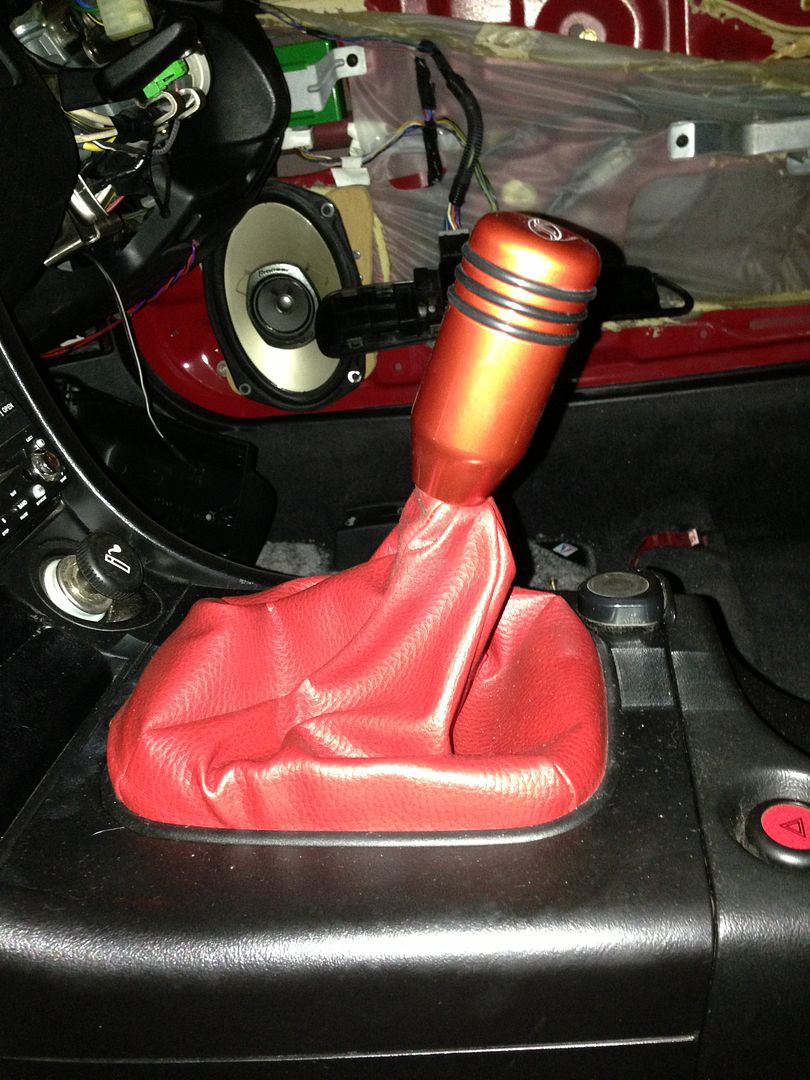
However, a couple of weeks later I also picked up a very tasty gearstick extender, it’s a little more robust than the usual type you find form Tegiwa and the like. Plus it has a grooved area to hold your boot area up to:
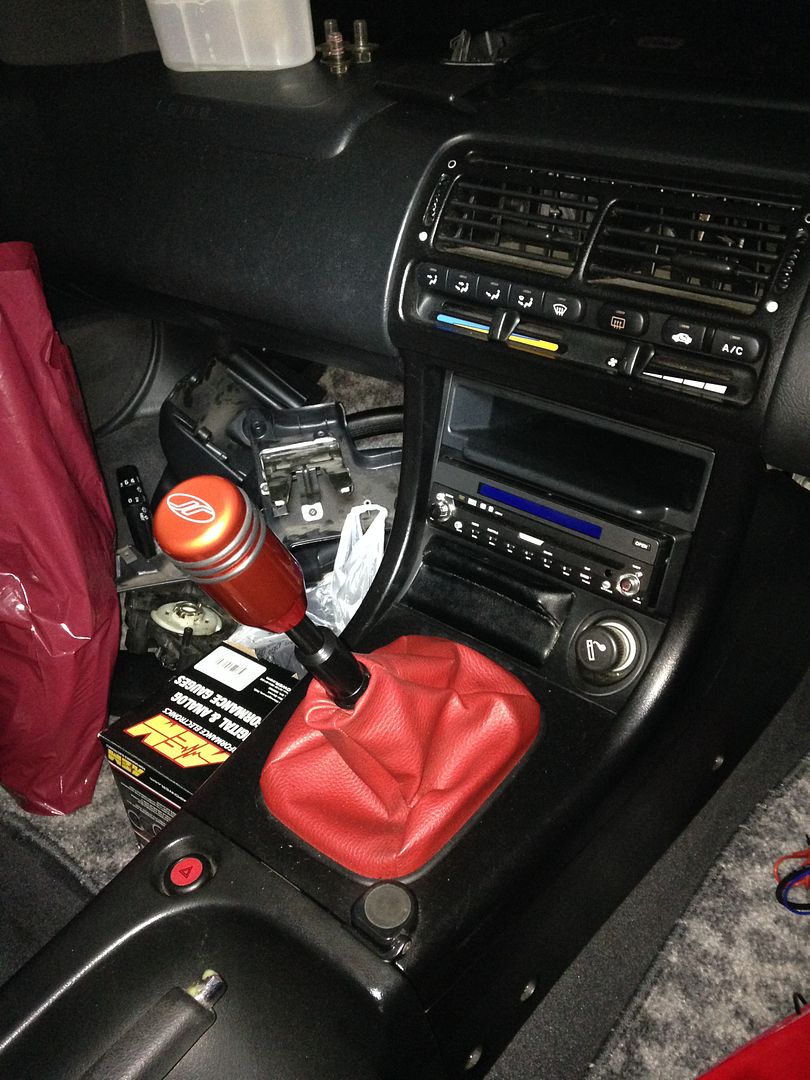
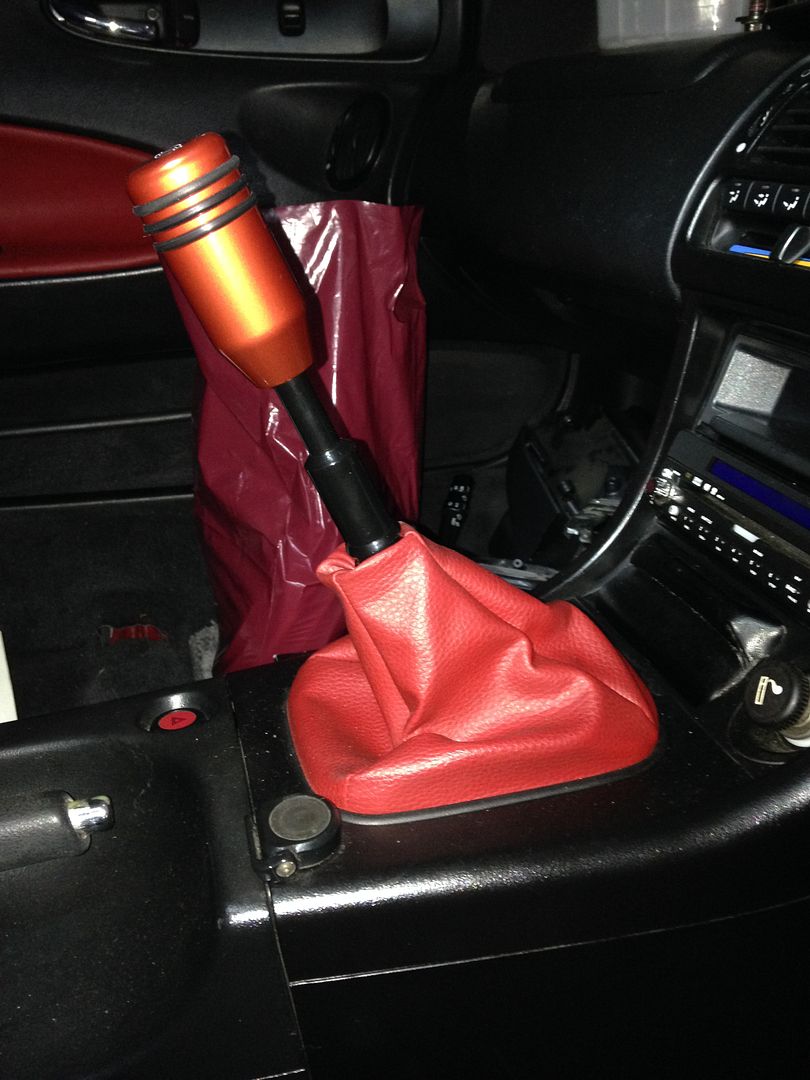
Pretty chunky setup!
Other bits I’ve picked up along the few months…
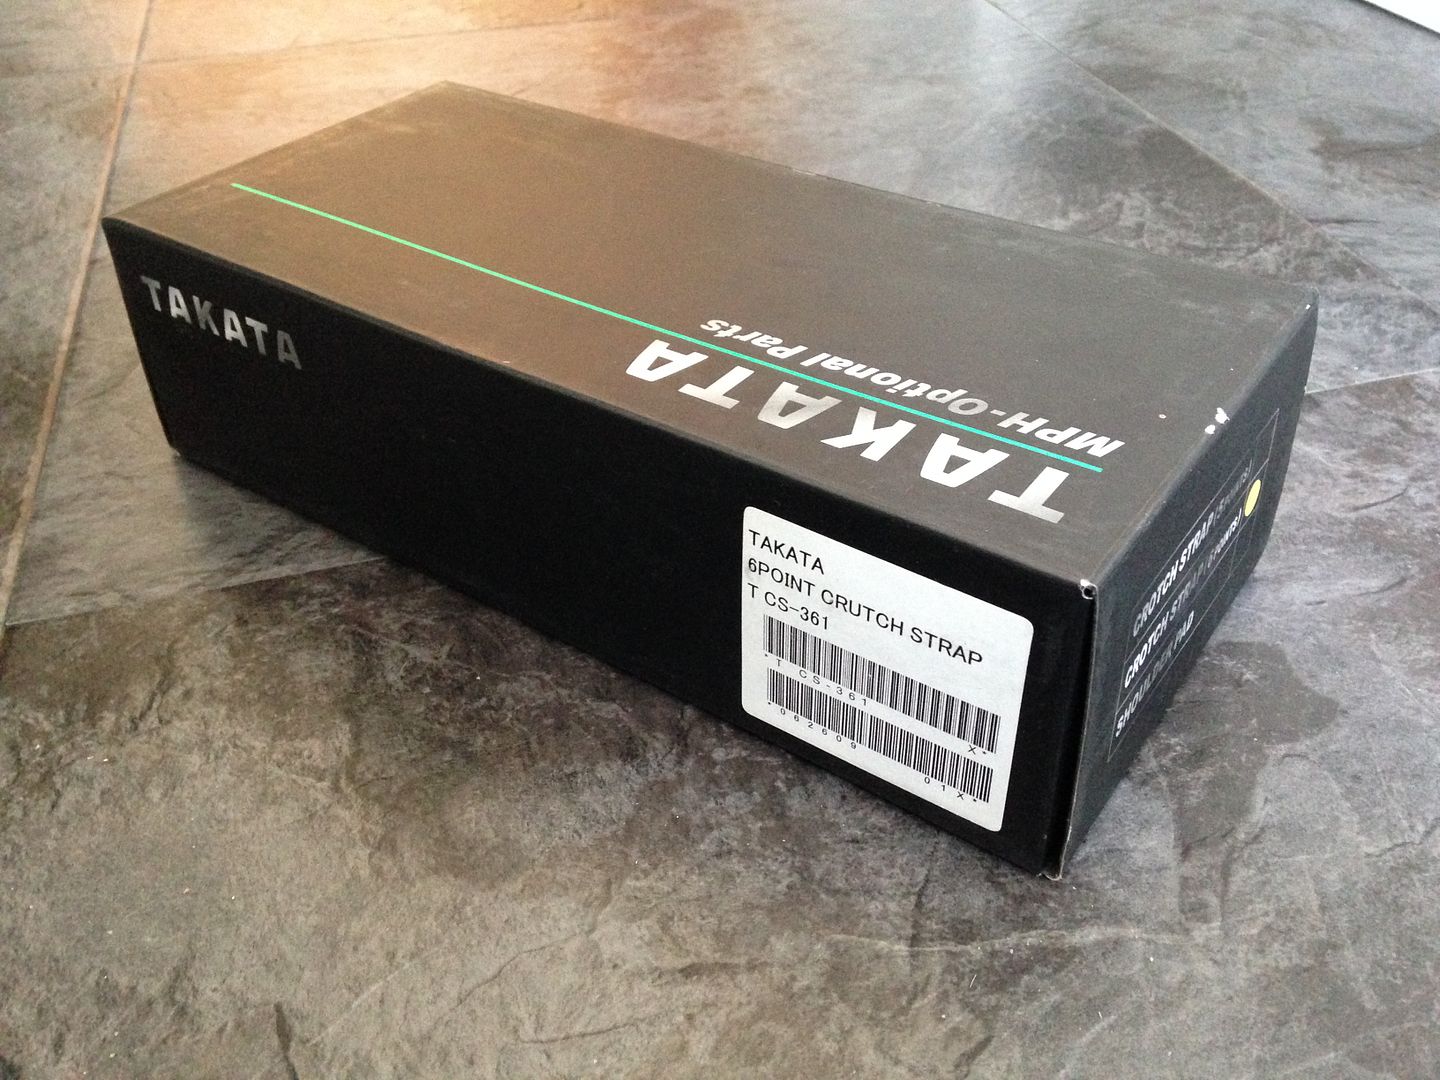
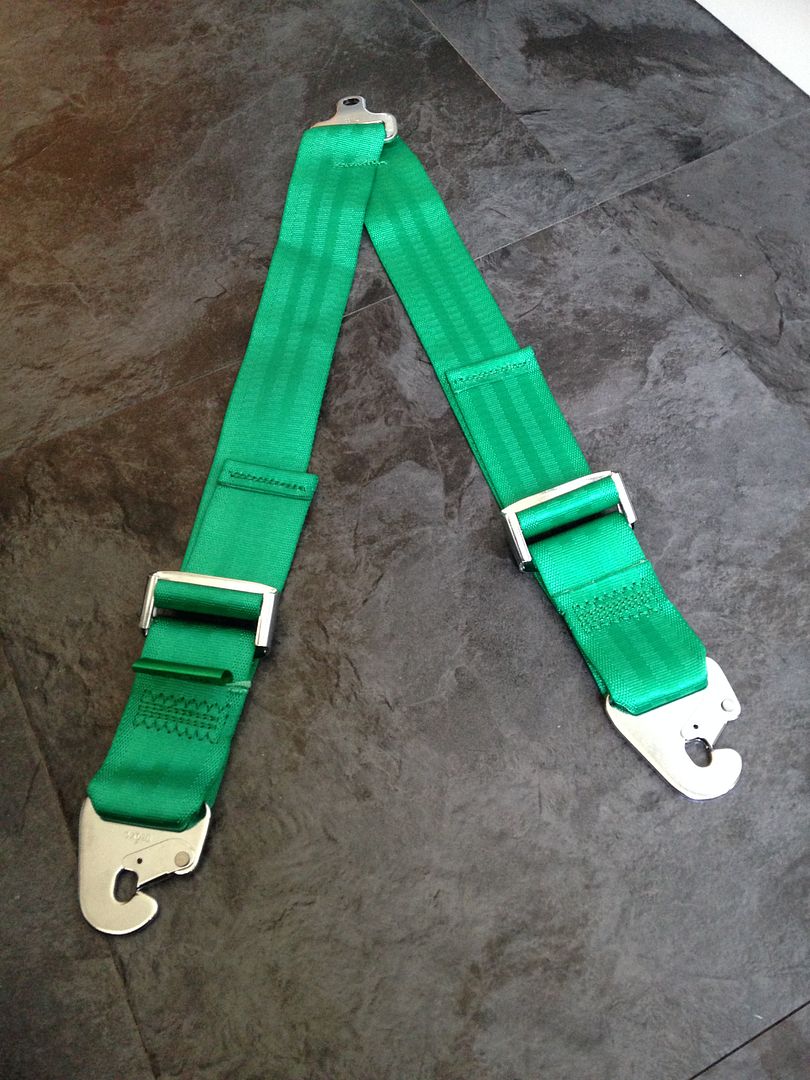
Add-on 6 point crotch strap to my Takata MPH-341:
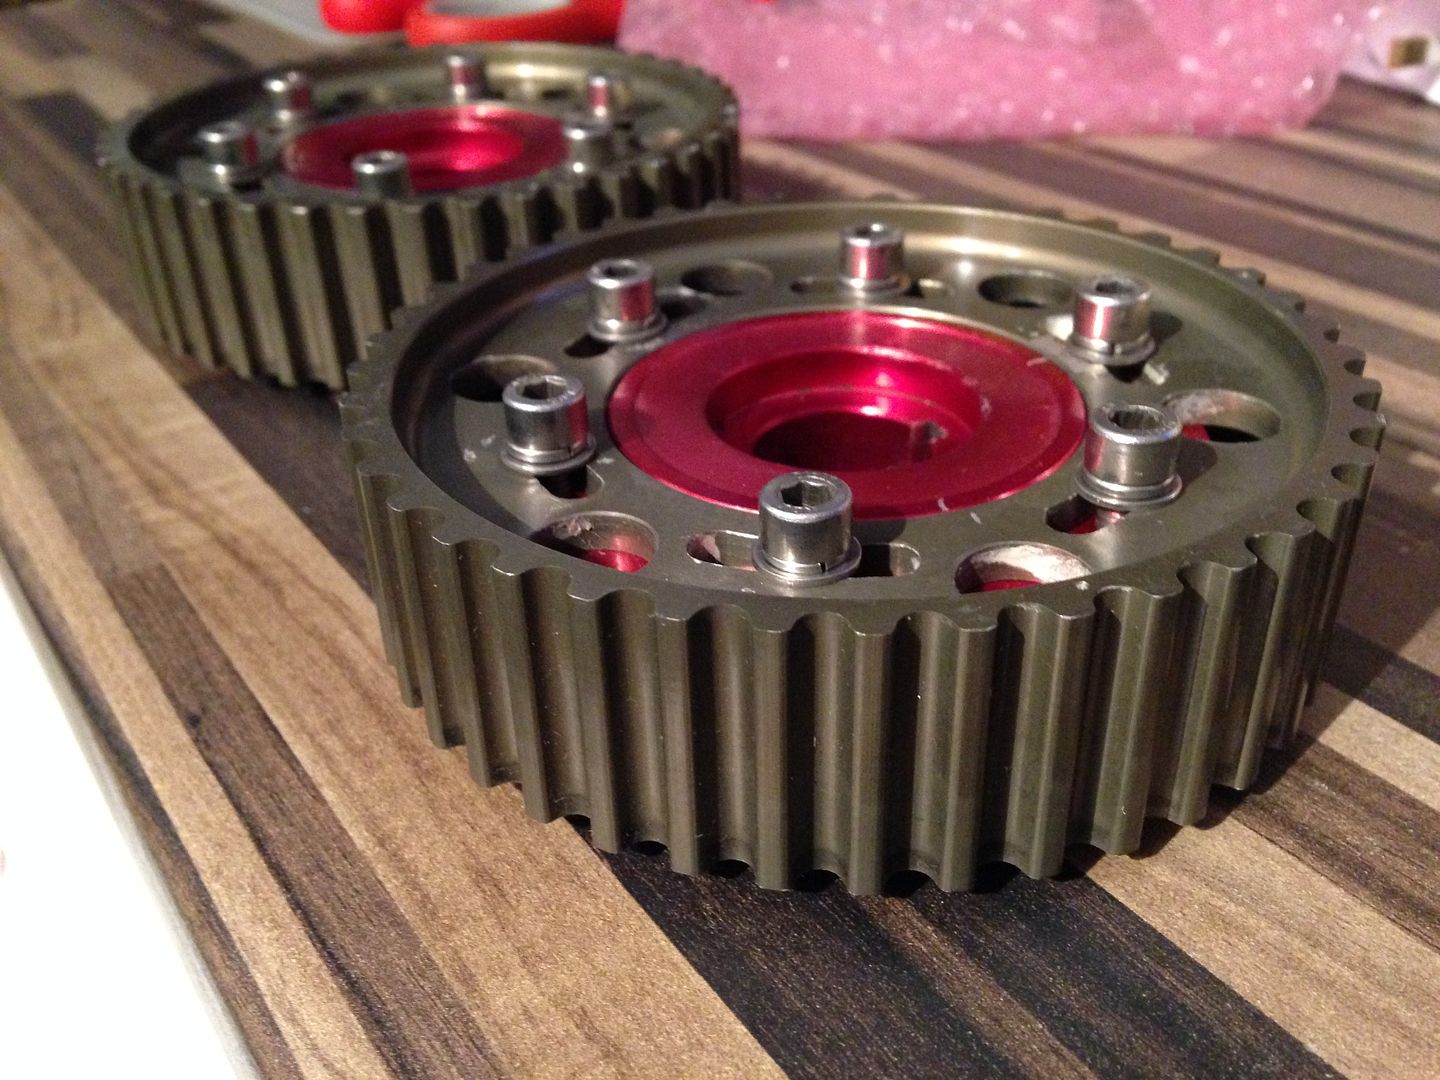
No name adjustable cam gears (cheers Nath):
My quest for some genuine Volk Racing VR caps has found me these:
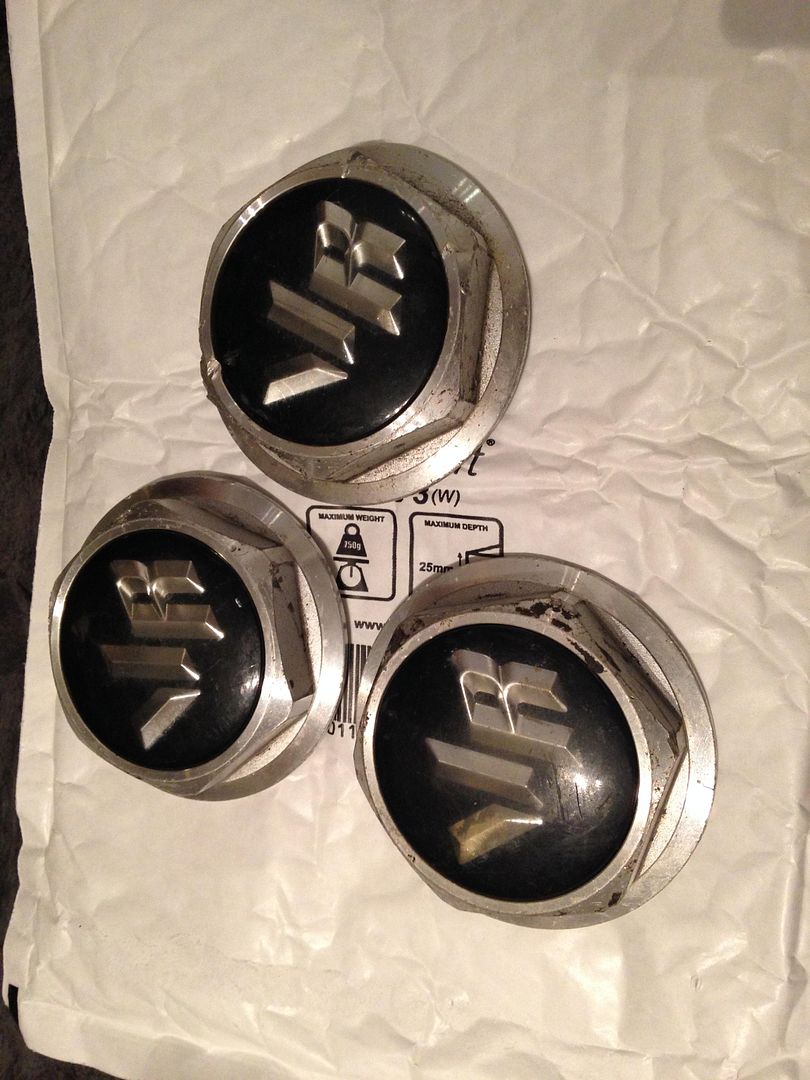
Not quite 100% correct for my style of wheel, but close enough. But only 3!
I’ll use these and one of the Honda H logo’d ones I have – the quest continues.
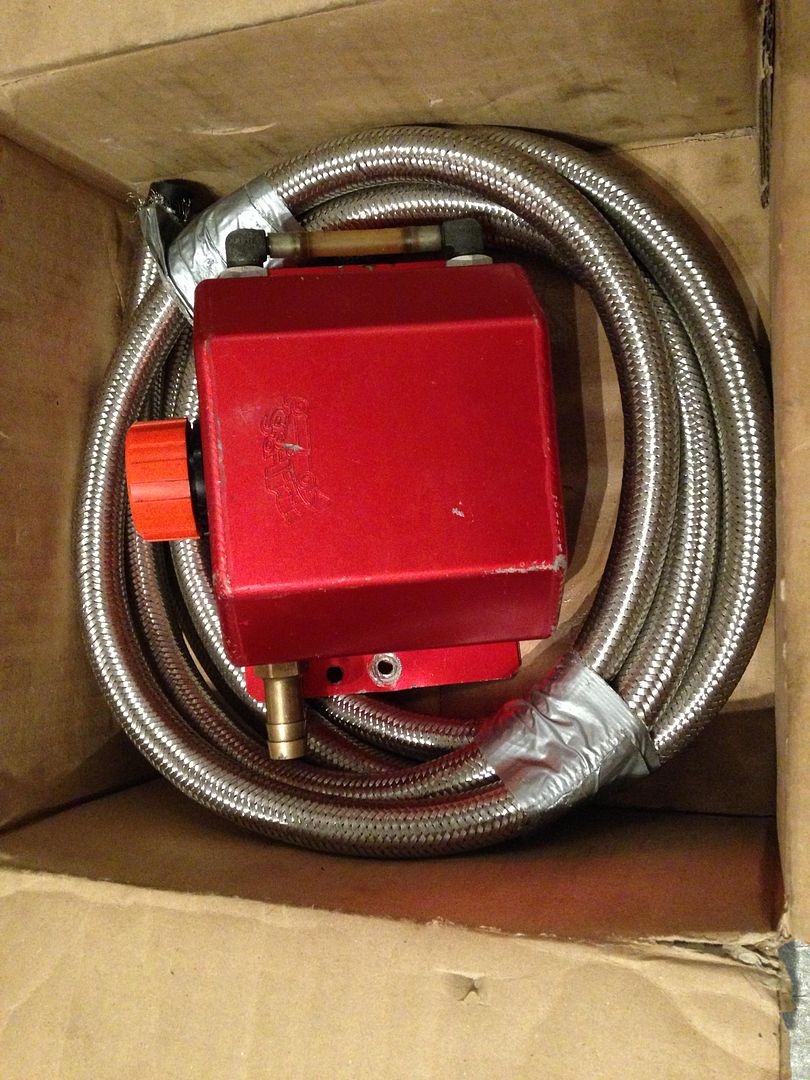
Picked up a vented catch can, may or may not use this, it was a backup if I don’t get my custom rocker completed in time:
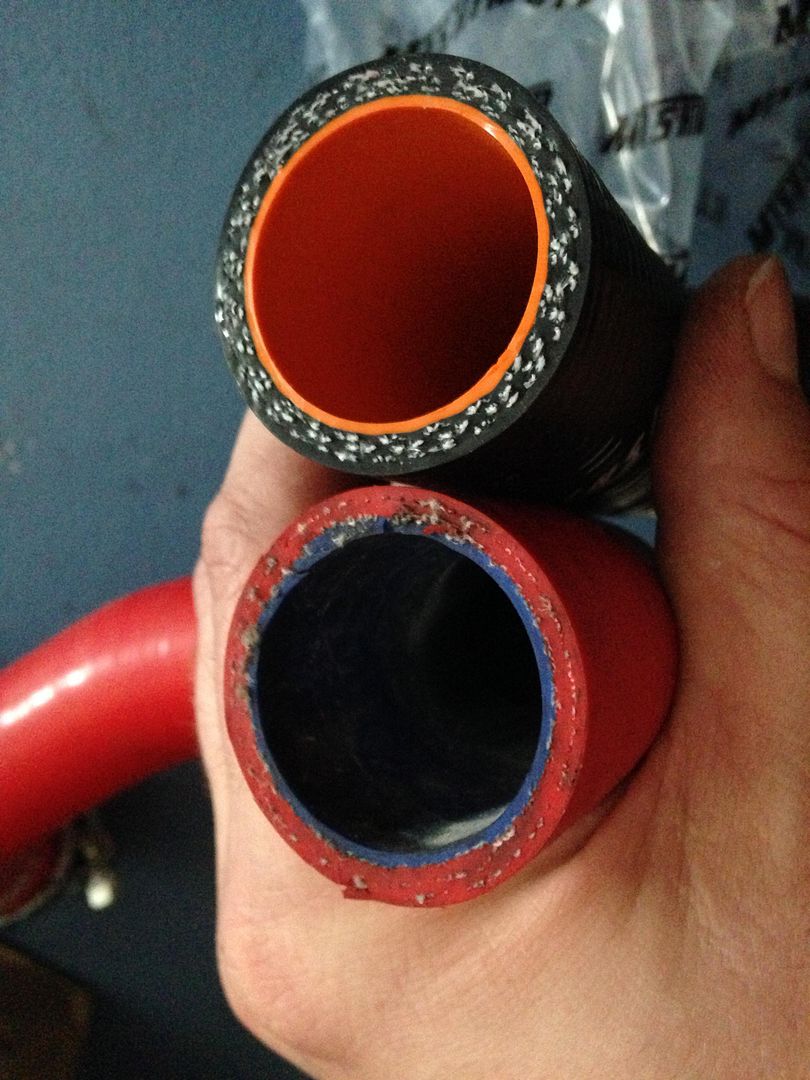
Some black Mishimoto hoses instead of the red Samco ones I had:

Slightly thicker and a little more reinforcement:
Ultra Racing front and rear lower tie bars / braces:
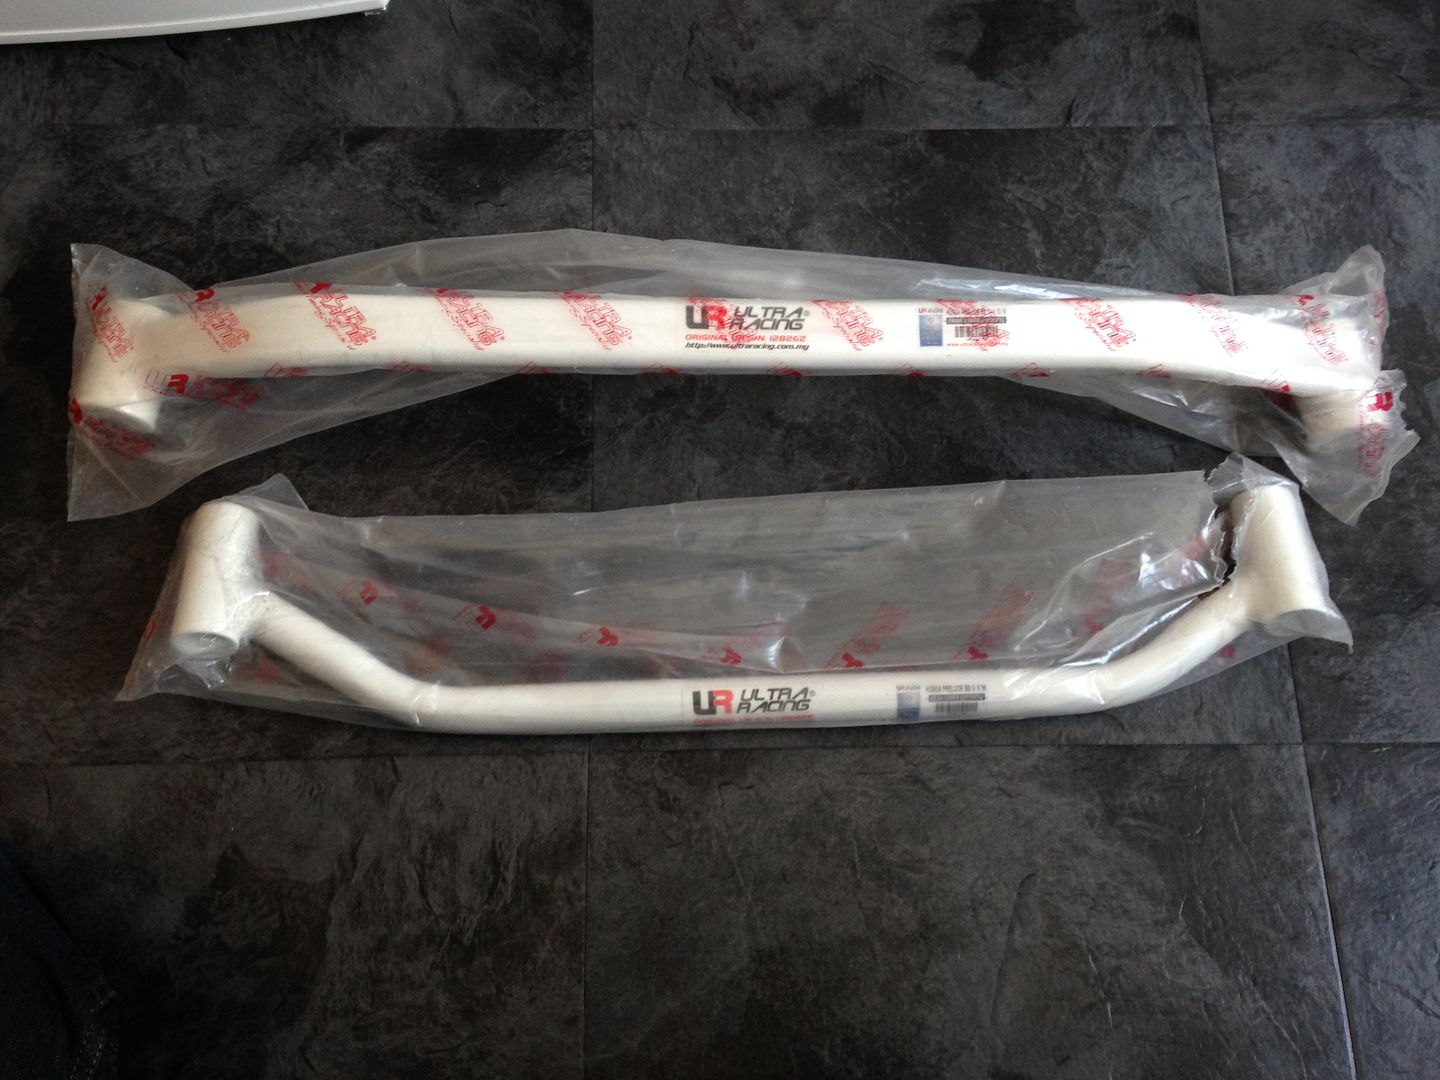
(Hope the front fits with my 3” exhaust.

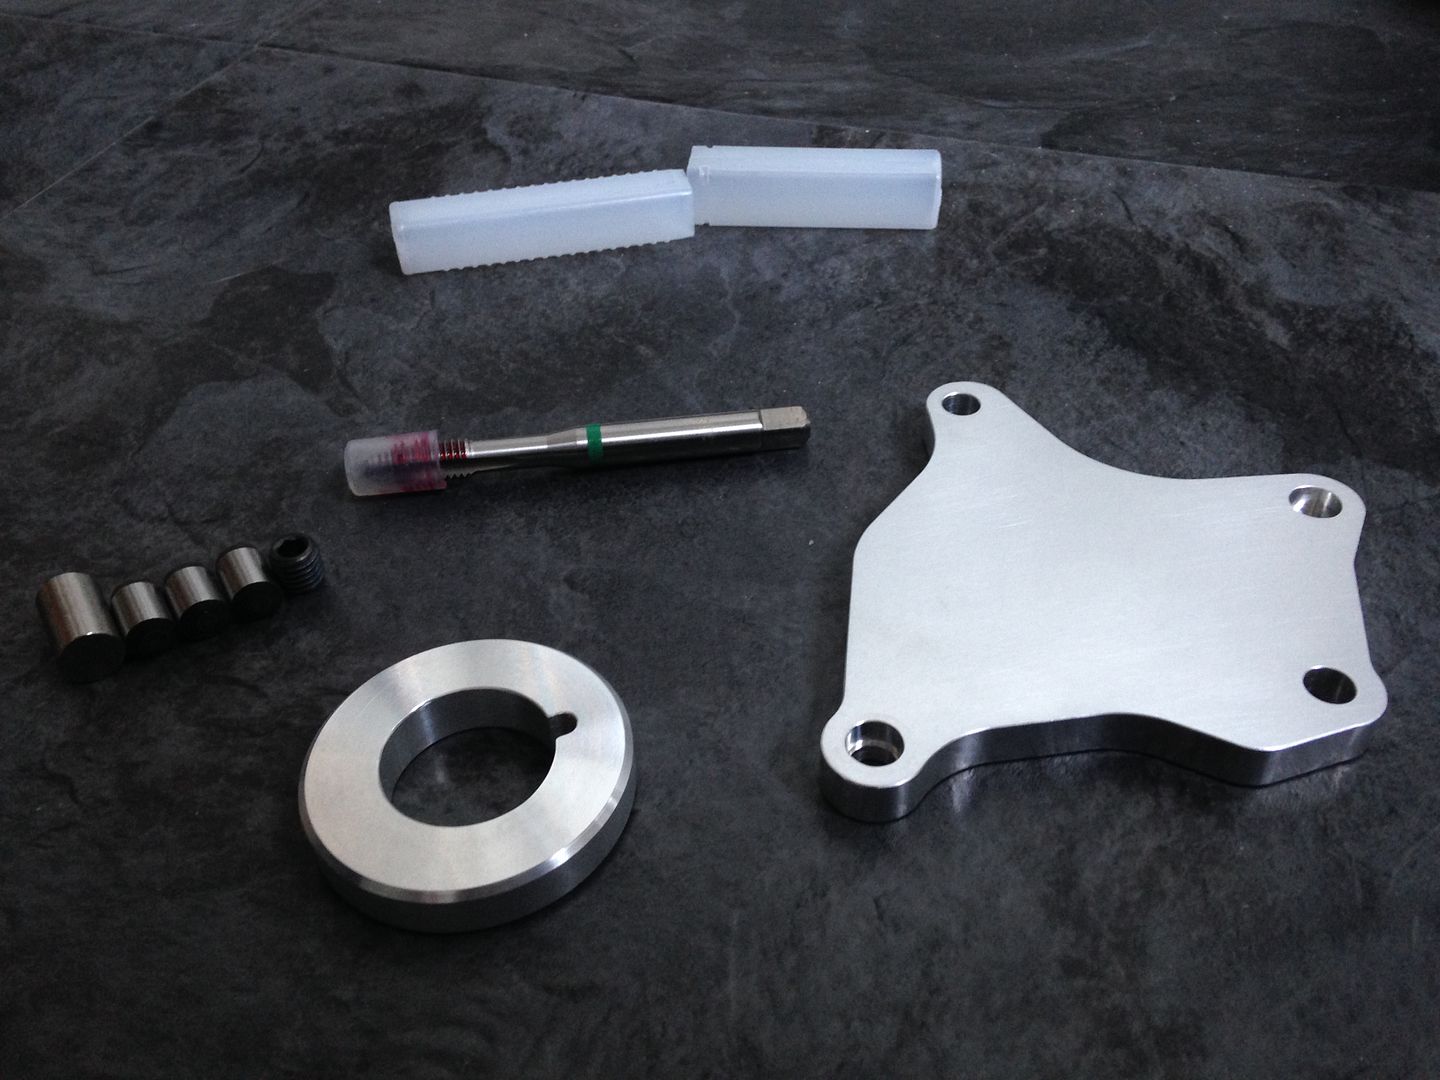
The remaining parts for the balance shaft delete on my next sleeved engine build:
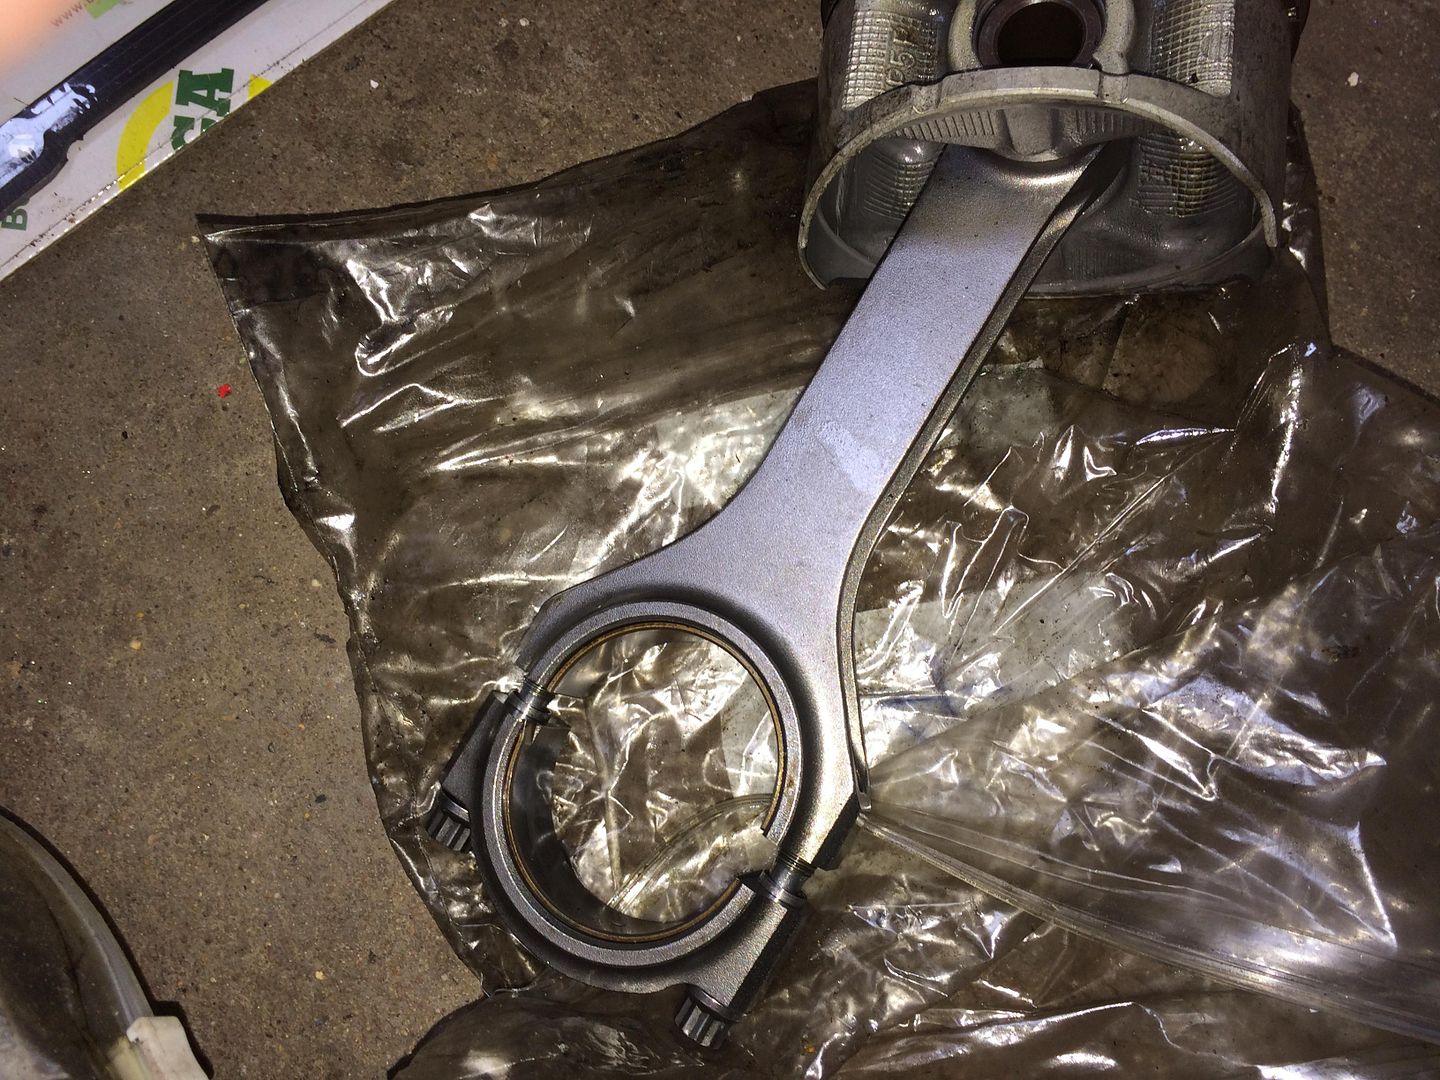
And the biggest spend of the year which has skint me right out is this little batch of goodies, most of which is for my next engine build project. I picked all this up for a nice package deal:
Benson 88mm sleeved block:

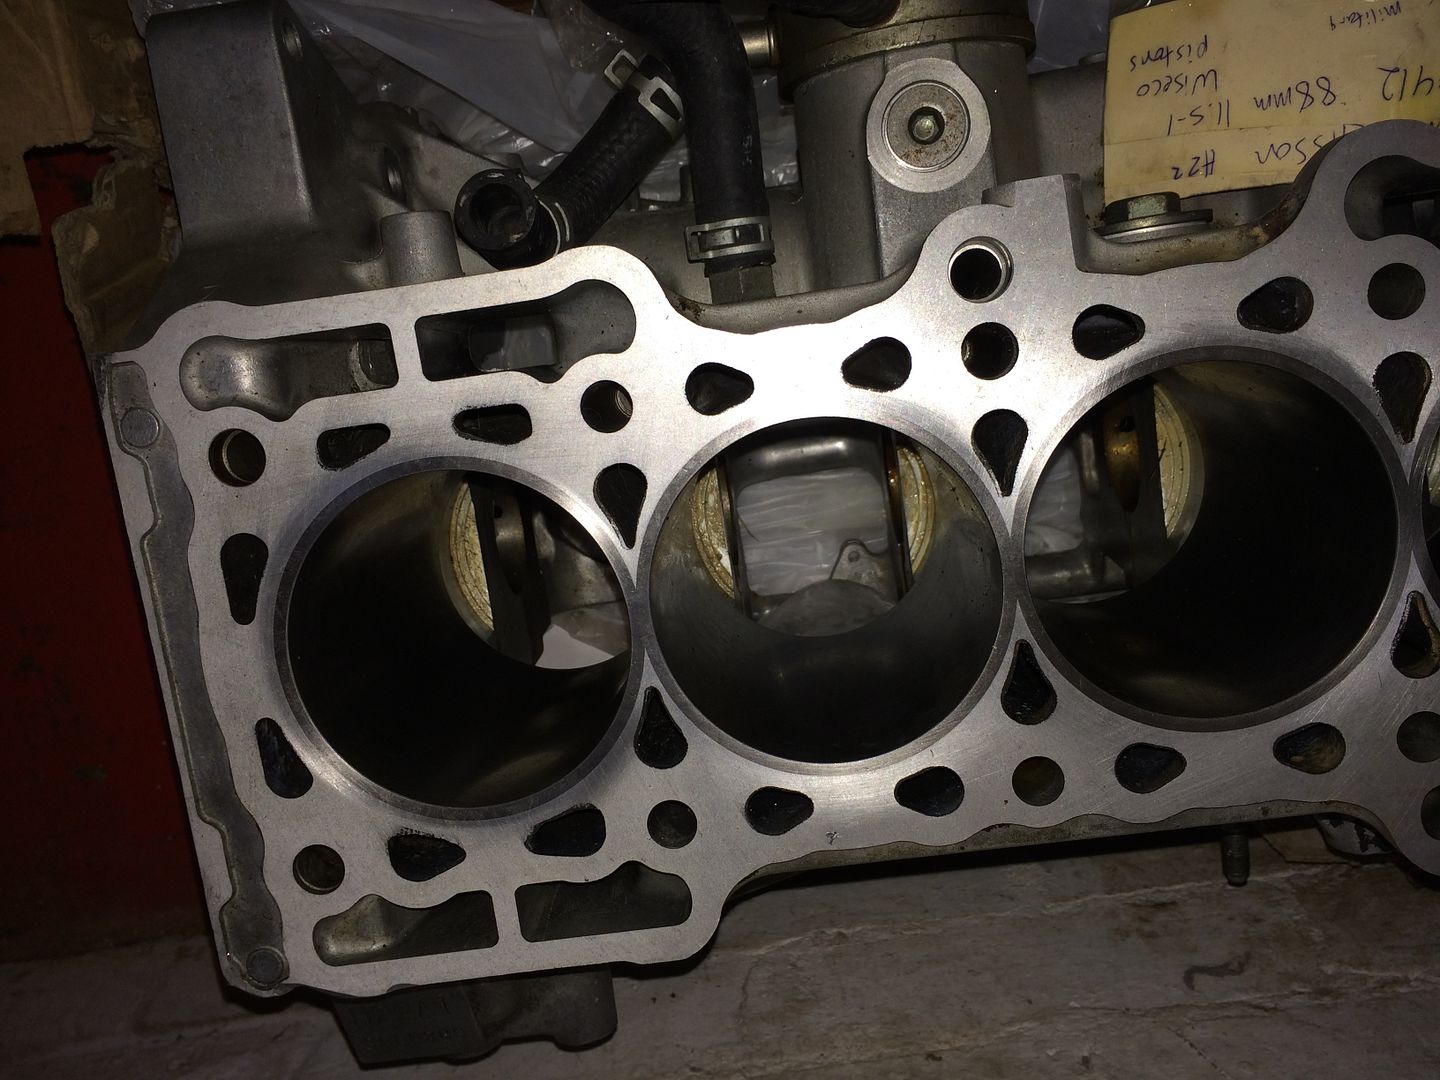
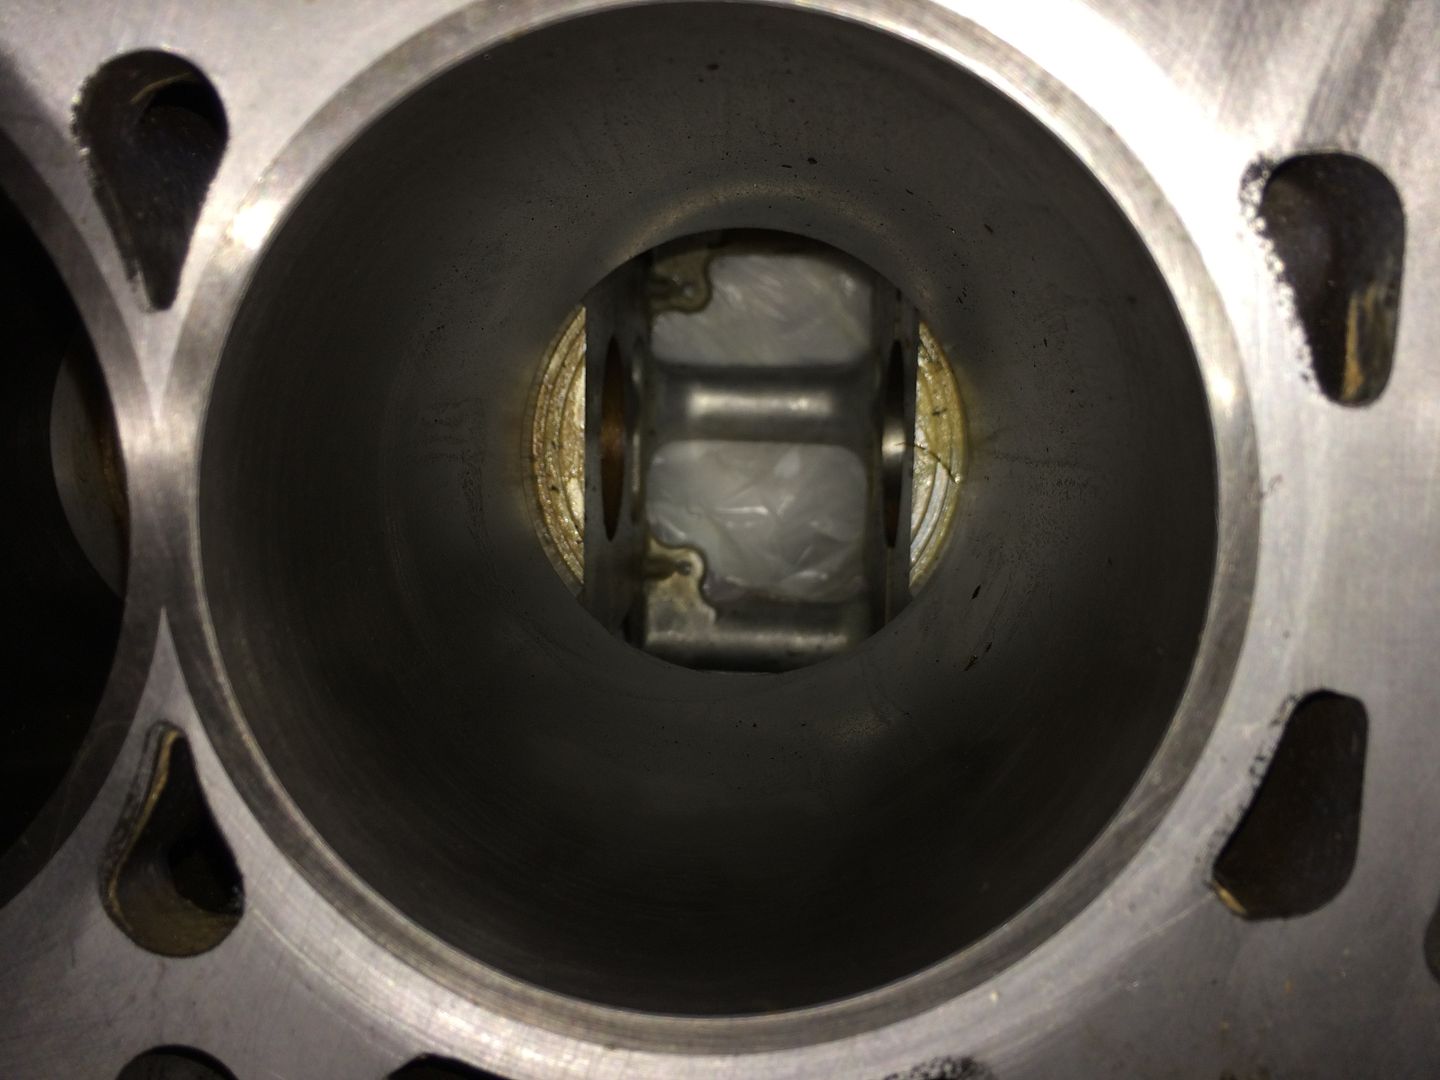
Golden Eagle H Beam rods + ARP bolts, plus they came with some spare Type S pistons:
ARP Head stud kit:

Kaizenspeed tensioner and new Gates belt kit:
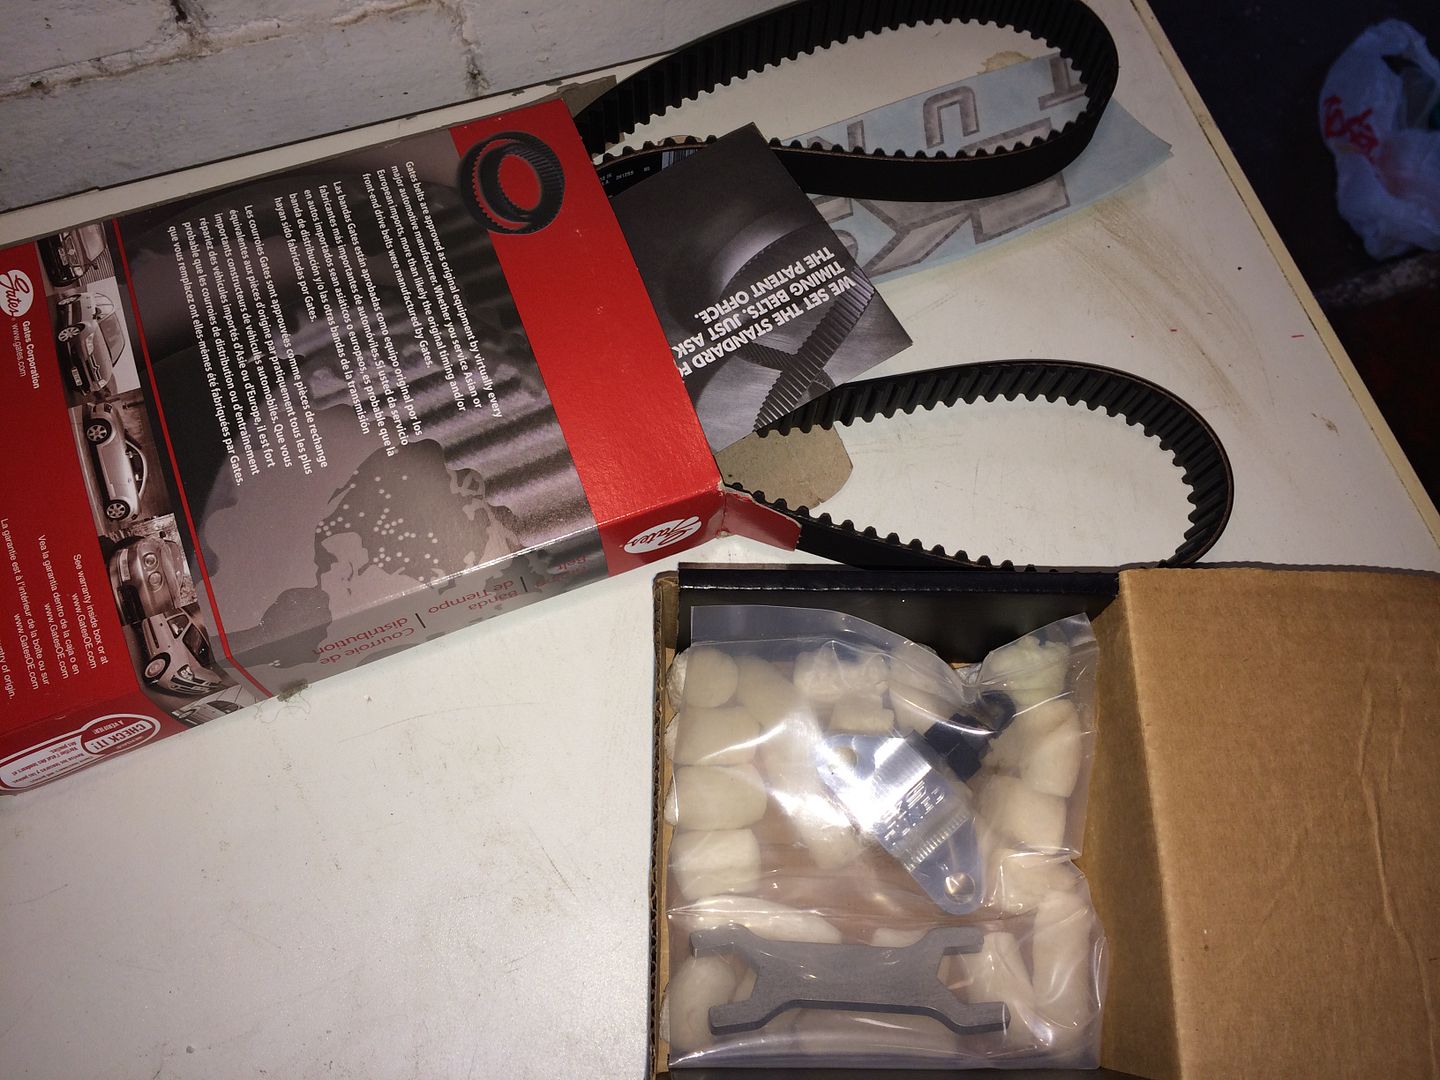
I’ll be using this on my current H22 when I change the belts, water pump, etc very soon. Then transfer it over to the sleeved beast when its ready.
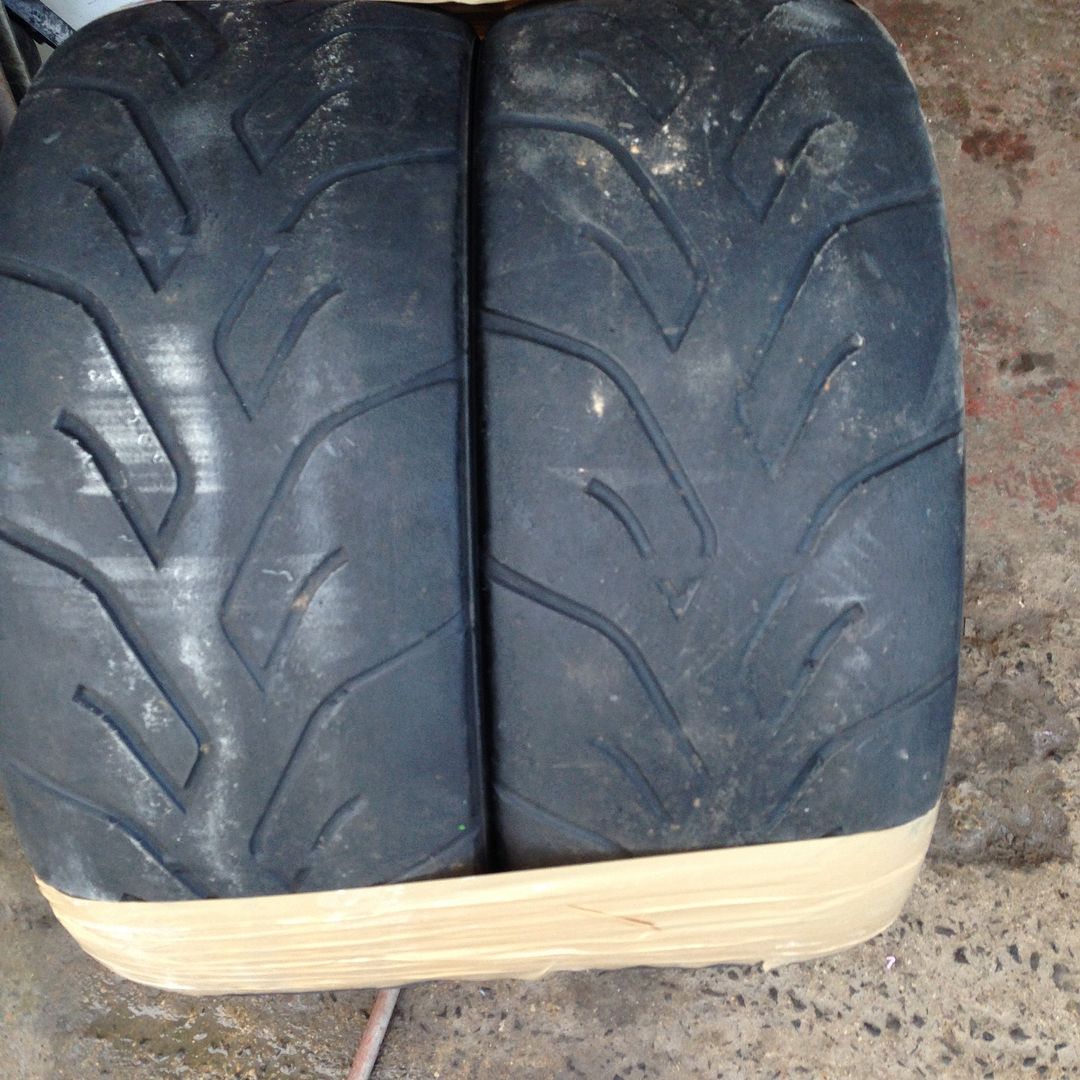
Oh and I’ve got some track / drag strip tyres for my track wheels, six used but plenty of tread Yokohama Advan A048’s, here’s a couple of them:
That’s enough for one update me thinks. I’ve got some more to post which I’m finishing typing up now.
Cheers,
Rob