Congratulations to vtecmec for winning May/June's Lude Of The Month, with his DIY Turbo BB1 build.

>>> Click Here For Profile <<<

Image

Kawa's Lude

Tell us about your old honda preludes that you used to own.
User avatar
Kawa
Posts: 3405
Joined: Sun Jun 20, 2010 5:58 pm
My Generation: 4G
XBOX GamerTag: kawa222
Location: Nottingham
Contact:

2006 - New Exhaust

Post by Kawa » Fri Sep 03, 2010 10:56 pm

:? Random piccys of exhaust .... Tsumi or some other random make...bit too loud :?

Image

Image

User avatar
Kawa
Posts: 3405
Joined: Sun Jun 20, 2010 5:58 pm
My Generation: 4G
XBOX GamerTag: kawa222
Location: Nottingham
Contact:

2006 - Finally Painted the mugen bumper!!

Post by Kawa » Fri Sep 03, 2010 10:57 pm

Image

Image

Image

User avatar
Kawa
Posts: 3405
Joined: Sun Jun 20, 2010 5:58 pm
My Generation: 4G
XBOX GamerTag: kawa222
Location: Nottingham
Contact:

2006 June - New Radiator

Post by Kawa » Fri Sep 03, 2010 10:58 pm

after some problems getting the right one, I new have a new radiator fitted! turns out my old one was off a 1.6 accord or simular!

Ended up getting it from "Nottingham Radiators" - top blokes - swopped the wrong one, no quibble - even though it had been fitted :)

User avatar
Kawa
Posts: 3405
Joined: Sun Jun 20, 2010 5:58 pm
My Generation: 4G
XBOX GamerTag: kawa222
Location: Nottingham
Contact:

2006 - Apexi RSM

Post by Kawa » Fri Sep 03, 2010 10:58 pm

Lude had been running like a dog all day with it being sooooo hot. Not sure how I acheived this towards the end of today (starting to cool down thankfully)

210 was my previous best. :twisted:

Image
Image

User avatar
Kawa
Posts: 3405
Joined: Sun Jun 20, 2010 5:58 pm
My Generation: 4G
XBOX GamerTag: kawa222
Location: Nottingham
Contact:

2006 - July - CDA Air Filter re-fitted Again!

Post by Kawa » Fri Sep 03, 2010 10:59 pm

Cleaned the air filter and fitted some samco hosing around the joins of my CAI pipe.

Image

User avatar
Kawa
Posts: 3405
Joined: Sun Jun 20, 2010 5:58 pm
My Generation: 4G
XBOX GamerTag: kawa222
Location: Nottingham
Contact:

2006 - July - Cam cover polish!

Post by Kawa » Fri Sep 03, 2010 11:00 pm

Before

Image

After - still got a little more polishing to do yet - but it's getting there - need to paint the plug cover too :)

Image

User avatar
Kawa
Posts: 3405
Joined: Sun Jun 20, 2010 5:58 pm
My Generation: 4G
XBOX GamerTag: kawa222
Location: Nottingham
Contact:

2006 Sept - Tein SuperStreets

Post by Kawa » Tue Sep 07, 2010 9:25 pm

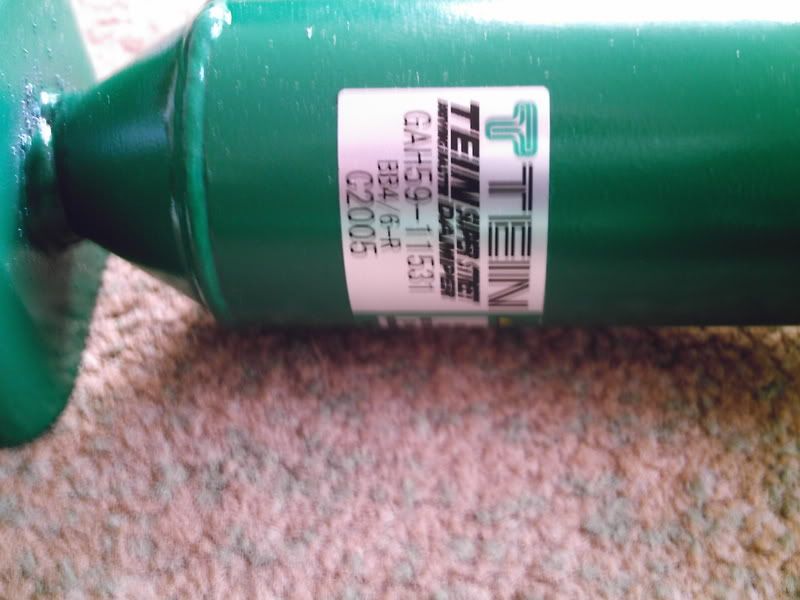
Ordered these from Invotec - great service as always
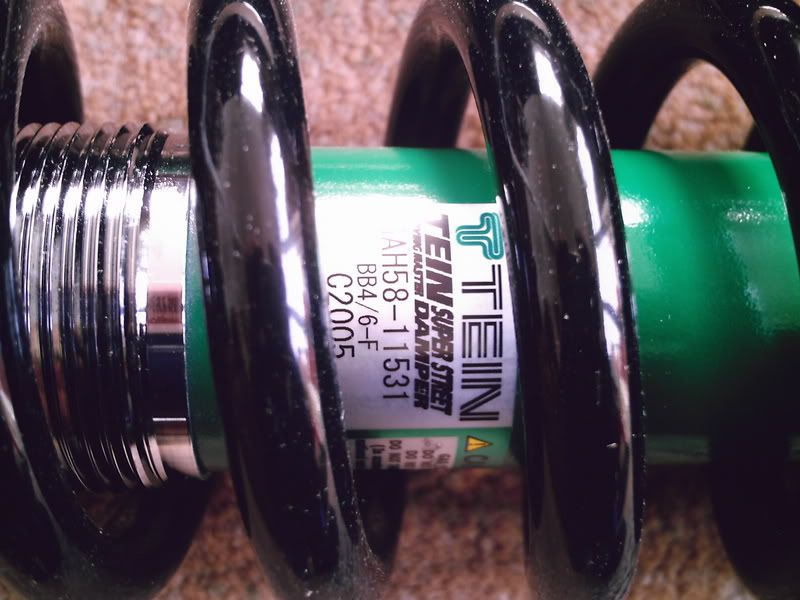
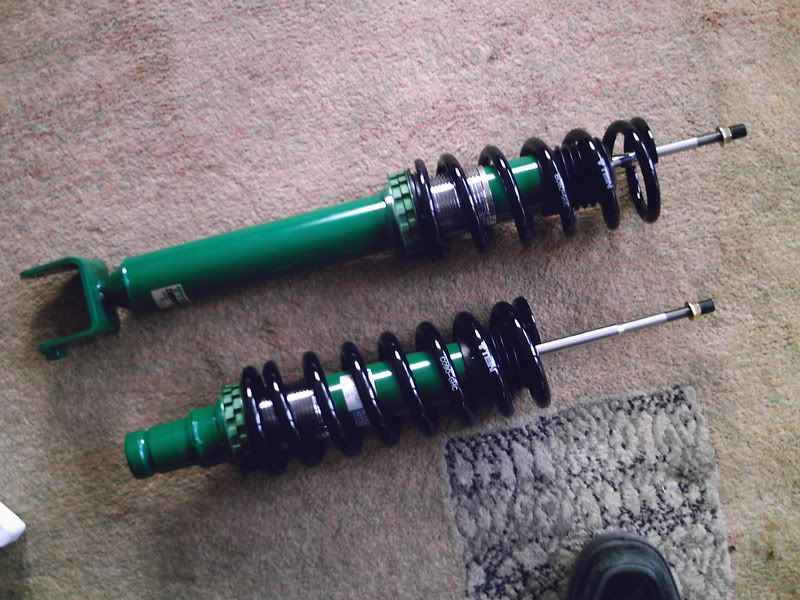
Image
Image
Image

FITTING TEINS

Stripped the boot interior - which meant removing the aux battery, amp and about 300 cables before Ammo turned up with his many usefull tools.

The rear shocks came out easily enough, once we figured out how to maneuver them out the way - it's very tight for space under the rear arches.

Scratched our heads for a bit during re-assembly of the rear shocks as it doesn't go back together quite the same as the OEM shocks. I lost a small amount of skin removing the top mount from the old spring

There was absolutely no need to use the spring compressors for re-assembly, which was probably a good thing as the spring compressors were very nearly catching on the coils inside the spring.

The rear passenger side went in straight away, but the rear drivers side was a PITA as the hub would not drop down far enough, even after removing the silencer, but in the end, we got it in.

Once everything was in position and Nm'd up, we tighted the coils up by .8 of an inch. 1 inch is recommended, but I don't it slammed to the ground just yet

The front took longer to do as we had to the remove the drive shafts for application of new CV joints. The actaully removal of the shocks was tricky due to space limitations, but the rebuild was simple enough.

Disassembly of the front shocks was quit funny - one the bump stops was mashed up on the drivers side and passenger side had totally disintegrated - leaving only bump stop coloured powedery stuff down one side of the shock

My only concern was the height of the front adjusters, as they seem a little too close to the bonnet when it is closed.

Just waitng for a new inner and outer CV joint for the passenger side and a CV boot for the drivers side then I can get the geometry checked out, once satisfied with the ride height, which I'm aiming to be around 30 to 35 mm drop. 40mm is just not very speed bump friendly.

Big thanks to Ammo for his help fitting the shocks - Cheer matey

User avatar
Kawa
Posts: 3405
Joined: Sun Jun 20, 2010 5:58 pm
My Generation: 4G
XBOX GamerTag: kawa222
Location: Nottingham
Contact:

2006 Sept - CV Boots and driveshafts

Post by Kawa » Tue Sep 07, 2010 9:27 pm

Today I replaced drivers side CV boot and replaced the whole passenger side driveshaft (Thanks big poppa - it fitted fine - ta for the part )

After removing and replacing driveshafts on 2 different ludes, over 2 days, I've kinda got the hang of it now

Put it all back together today - back on the road - it's dropped about 25mm meaning I can actually go over speed bumps at a respectable speed

Will let it all settle for a week or so, have a play with the settings etc, then drop it to maybe 30 or 35mm, we'll see.

User avatar
Kawa
Posts: 3405
Joined: Sun Jun 20, 2010 5:58 pm
My Generation: 4G
XBOX GamerTag: kawa222
Location: Nottingham
Contact:

2006 Sept - Polished dizzy

Post by Kawa » Tue Sep 07, 2010 9:29 pm

tonights project.....

Image
Image

User avatar
Kawa
Posts: 3405
Joined: Sun Jun 20, 2010 5:58 pm
My Generation: 4G
XBOX GamerTag: kawa222
Location: Nottingham
Contact:

2006 - Painted Interior

Post by Kawa » Tue Sep 07, 2010 9:31 pm

Centre Console not quite dry enough to install yet - should be hardened by tomorrow night :)

Image
Image
Image
Image

Some poor quality pics of center consoles - will get some better ones up soon

Image
Image


APRIL 2007

I'm not so sure now, what have i done :lol:

After re-assembling the center vents......i never knew you could adjust the left, right direction of the center air vents - only had ludes for the past 3 years :oops:


Image
Image
Image


MAY 2007


New interior pics

After waiting nearly 5 weeks for a few bits to be painted :roll:

Although now I'm not sure i like it all :?

Image

Image

Post Reply

Return to “Gone but not forgotten”