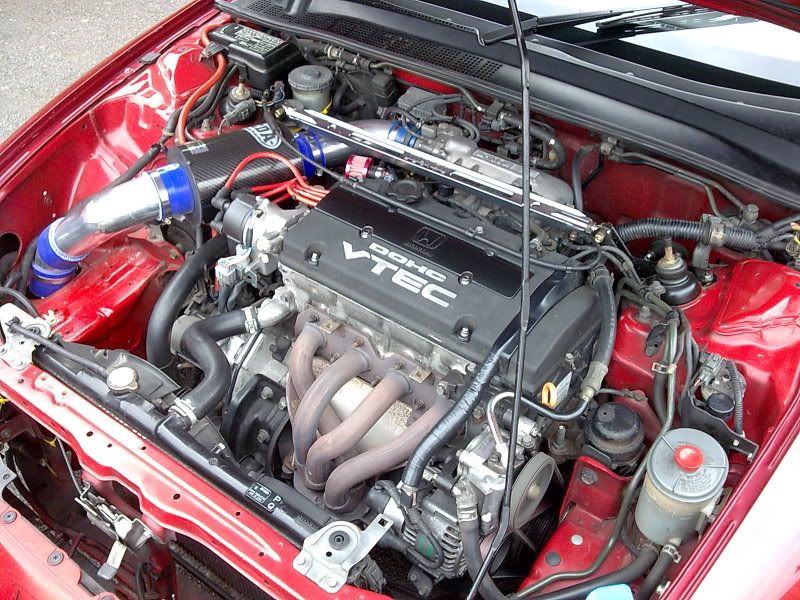
Before doing this I hadn't been able to fit my front strut brace due to my air filter being in the way. So a while back I decided I was going to shift my battery to the boot of the car to give myself enough room to bring my air filter forward and do just about anything with the ducting. I actually did this a few months ago and I've had absolutely no problems with the conversion since, but I take absolutely no responsibility if your car blows up
So to do this you will need...
50mm2 Red Cable x 5m
40 or 50mm2 Black Cable x 40cm (Optional. Refer to the Note near the bottom of the page)
Positive (+) Battery Terminal x1
Negative (-) Battery Terminal x1 (Optional. Refer to the Note near the bottom of the page)
M8/50mm2 Terminal Connecter x1
M6/40 or 50 Terminal Connecter x1
M8/25mm2 Terminal Connecter x1
M5/40mm2 Terminal Connecter x1
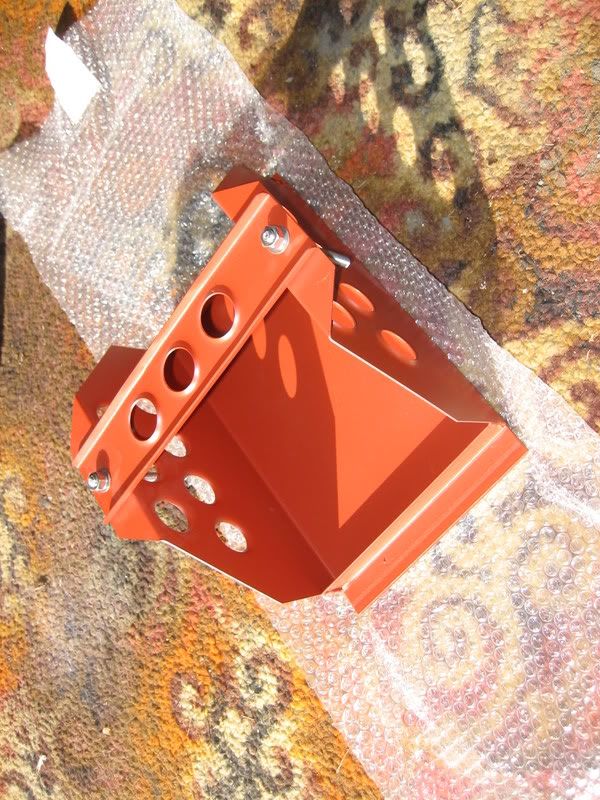
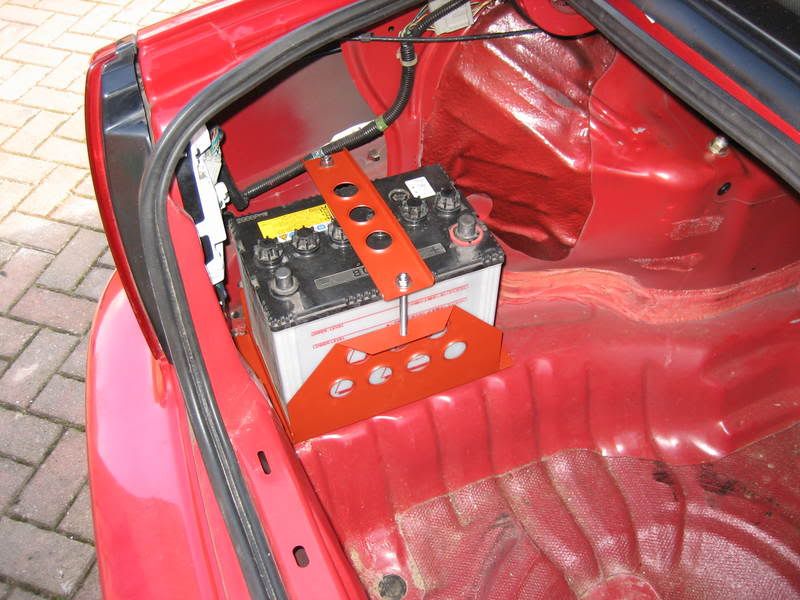
and something like this baby, that I got from a guy on ebay (it's a battery tray
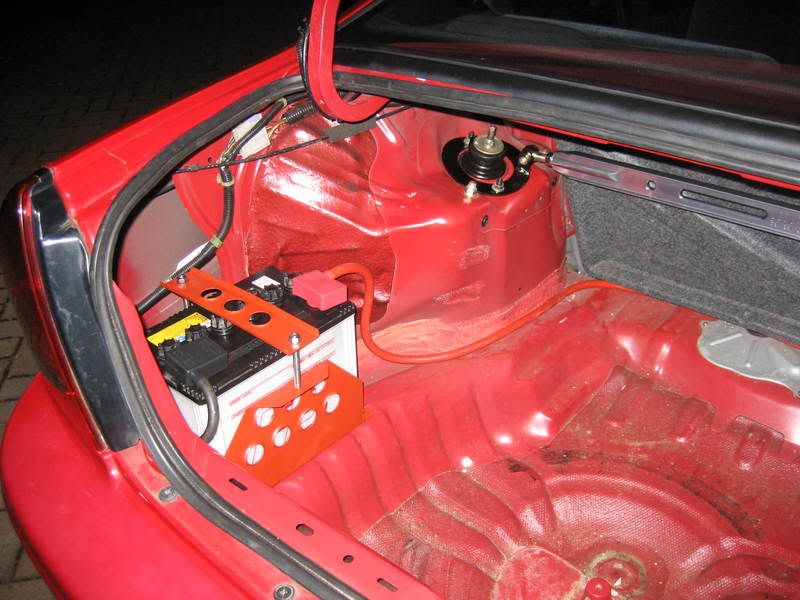
So to start with, I decided I wanted to install it here...
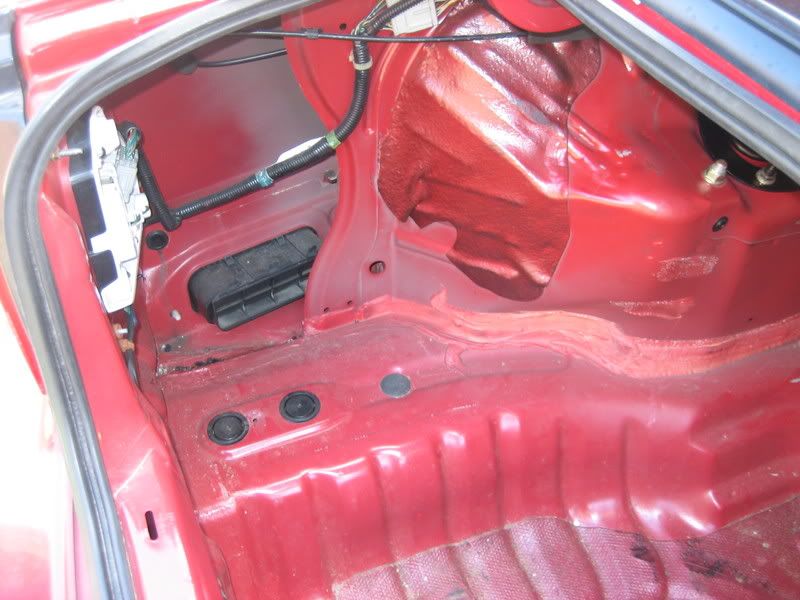
So I made sure it would fit... And it fit perfect!
In order to secure it I drilled a pilot hole...
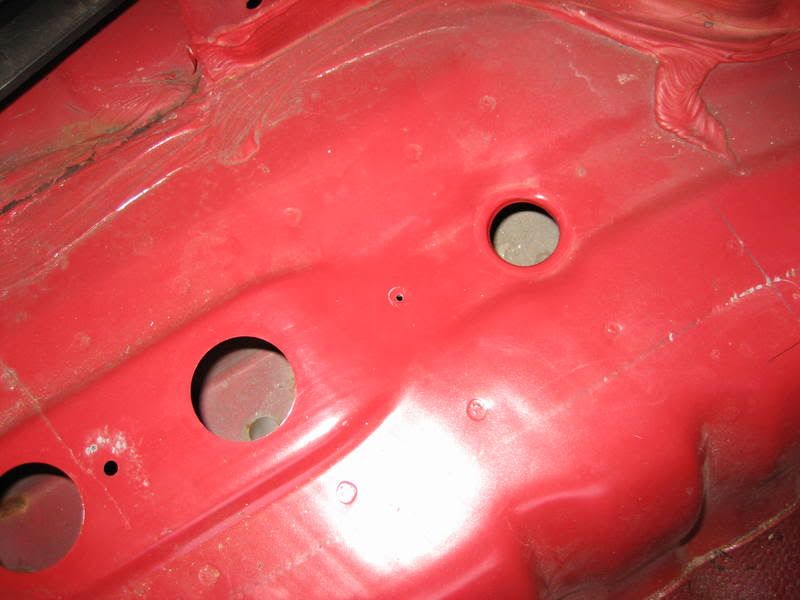
which was directly above this hole (once the bung was removed) to enable me to get at the nut I was going to use...

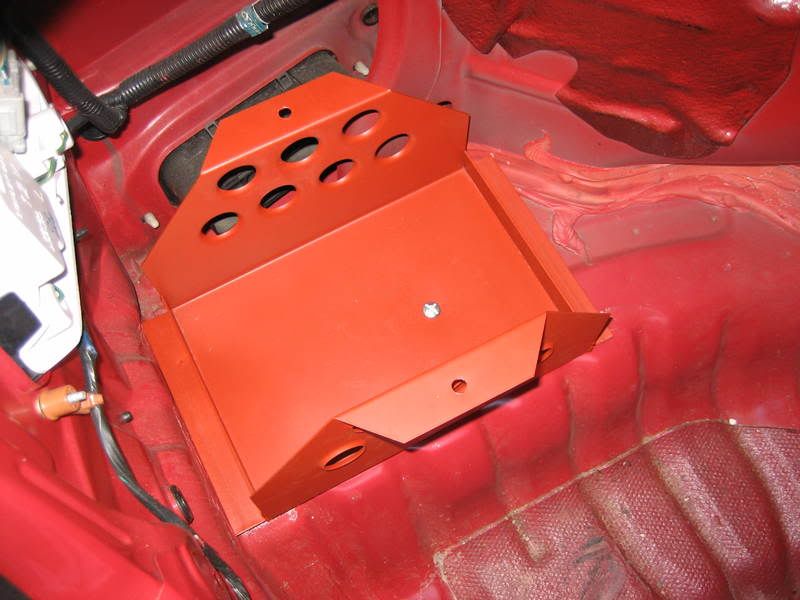
There's no way the tray can slip, but there was a very slight wobble. So I've actually put a slither of wood under the back edge of the tray spanning the whole width to prevent this.
And here it is secured with a low profile head bolt
Cable wise, I started in the boot, passing it through the rear OS seat (which by the way I didn't realise were so easy to remove!
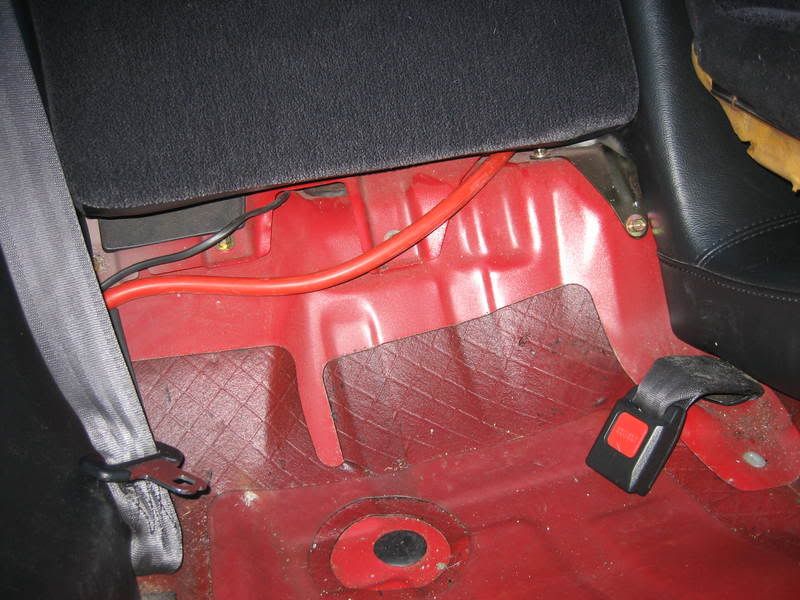
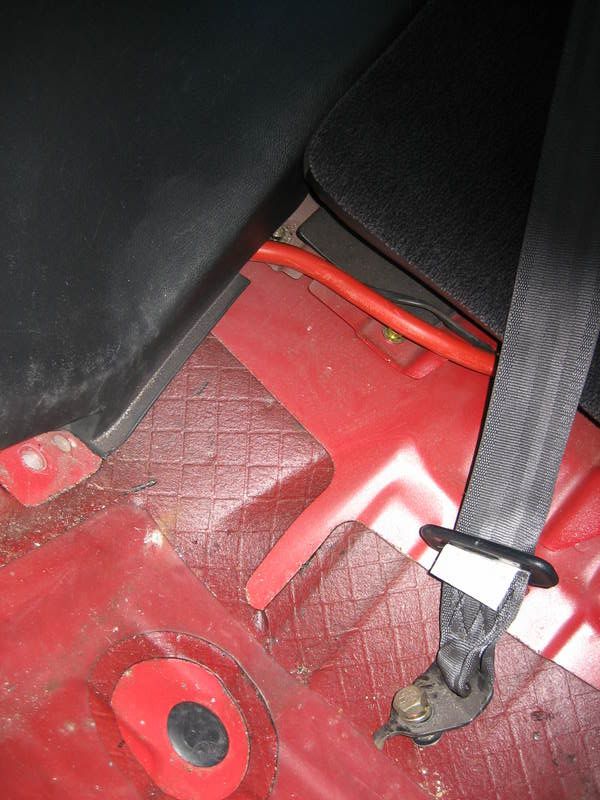
Then by removing the seat belt bolt and one other screw I was able to tuck it under the side panel...
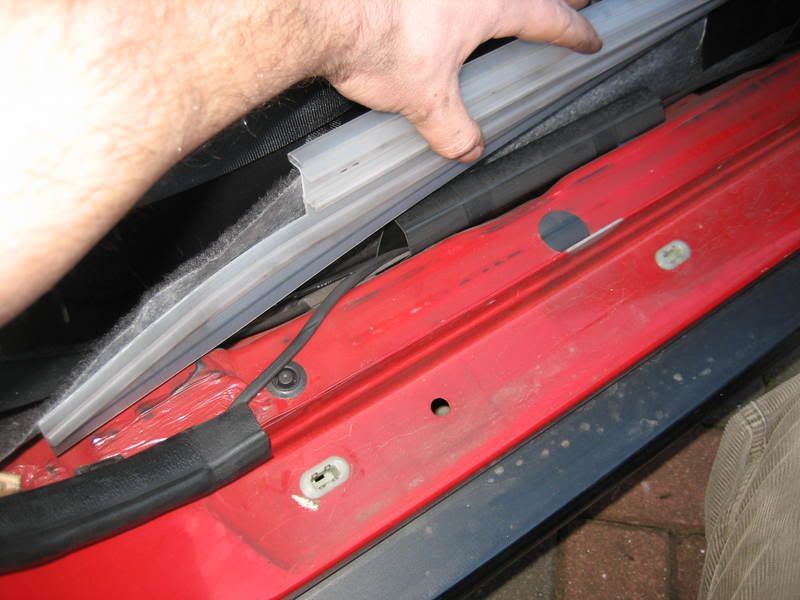
Then by removing the step plate I had access to thread the cable through the guides...
which brought it out near the under-dash fuse box...
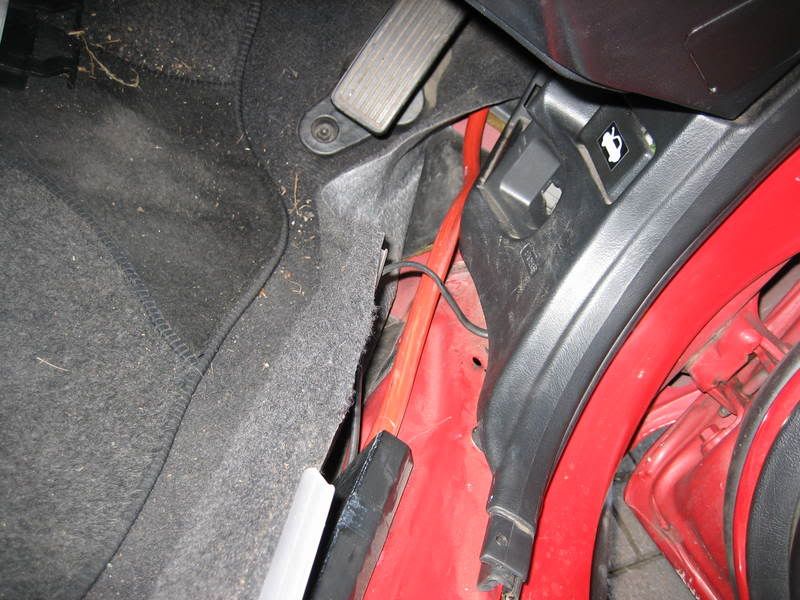
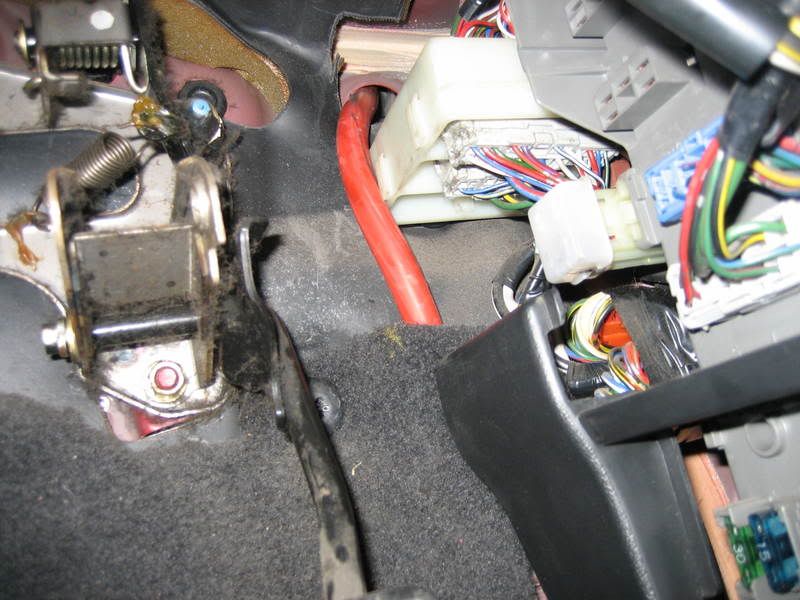
I then pulled the carpet out from behind the fuse box fascia to enable me to tuck the cable behind it...
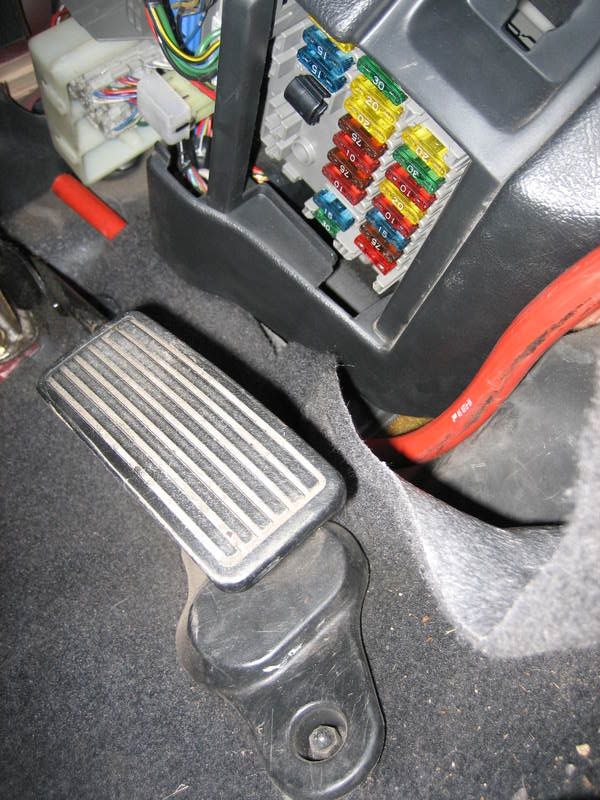
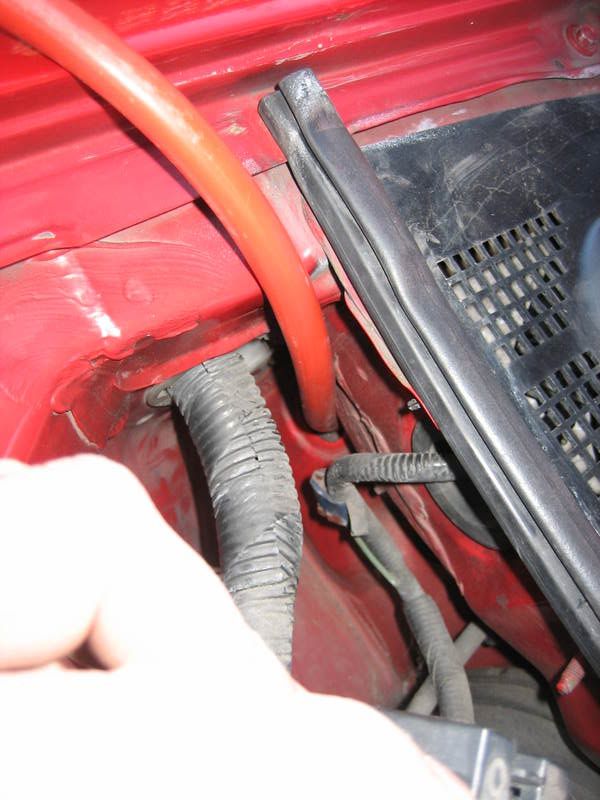
And aimed for that hole!...
On the outside then, I detached the engine fuse box...
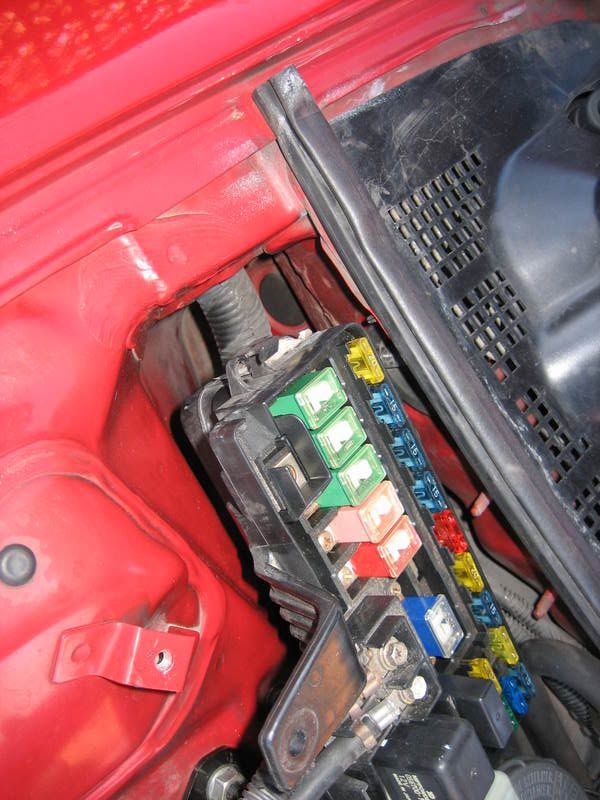
which gave me access to this bung
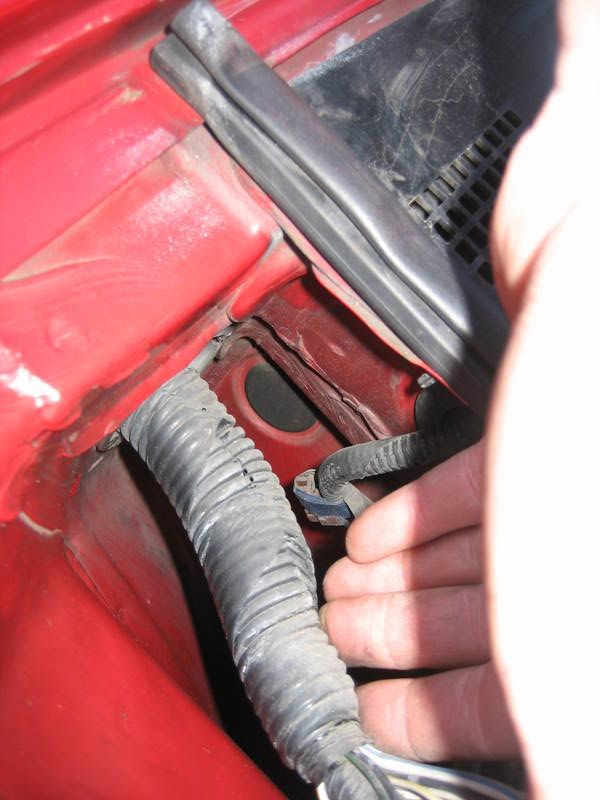
from which my cable was going to emerge...
I then bored a hole in the centre of the rubber bung to keep the seal. This by the way was a complete pain in the arse to get back in!
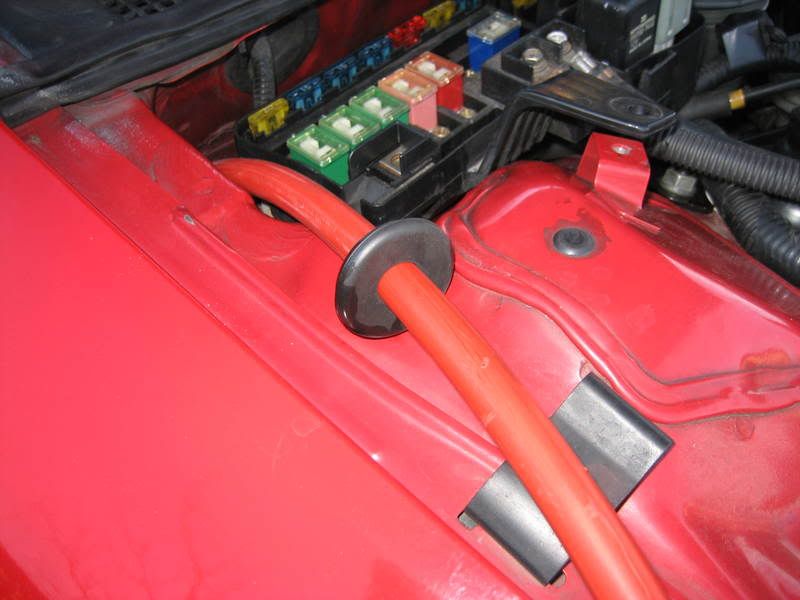
Anyway, once done I bolted the fuse box back down and threaded the cable like so...
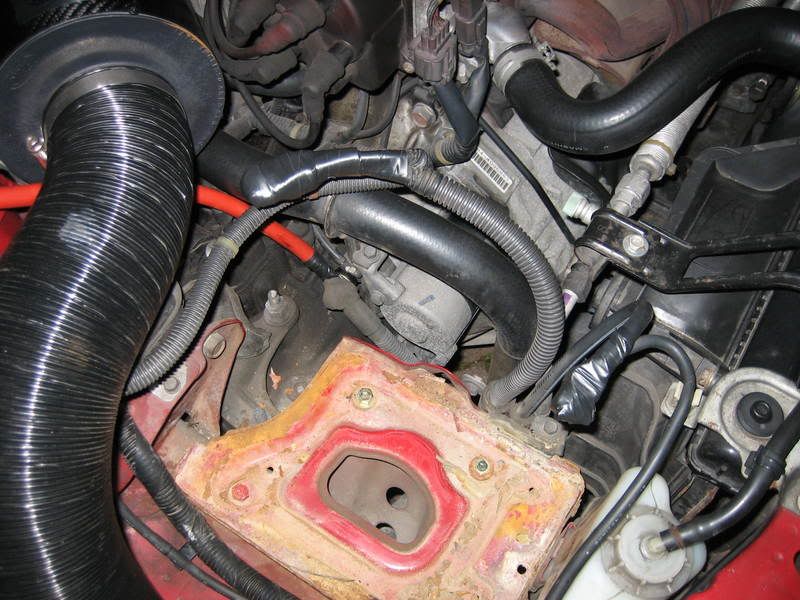
I then removed the plastic battery box/thing to give me access to the starter motor...
where I attached my cable with its freshly crimped M8 connector...

I taped up the oem battery terminals for now as I ran out of daylight, but eventually I'll do away with these...
Meanwhile back at the arse-end my alternate-self removed the nut and scraped away the paint from around the rear bumper fixing below the rear light. This would enable me to ground the negative cable...

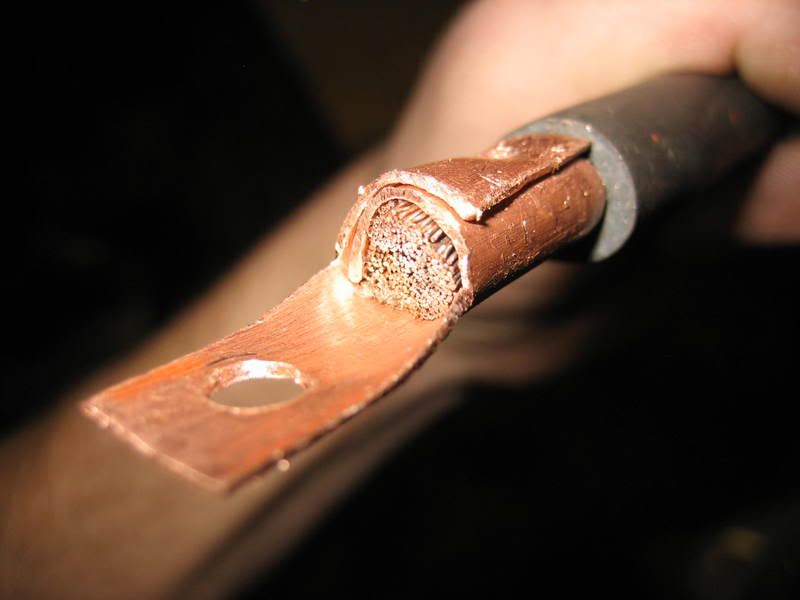
For some reason I only ordered one cable end connector, so I had to improvise with a piece of copper pipe. So check out this little beauty!
Rather chuffed with myself, the job was coming to an end. All I hopefully had to do now was connect the battery terminals up and to the battery and jobs-a-gooden!...
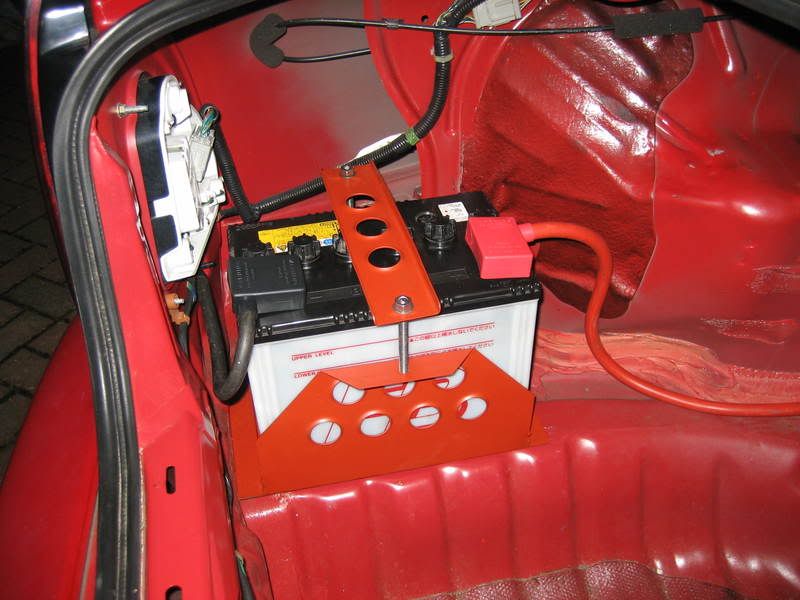
I put a slight twist in the postive cable when connecting the terminal end so as it forces itself into the corner like so...
Anyway... Moment of truth....
And it works!!!
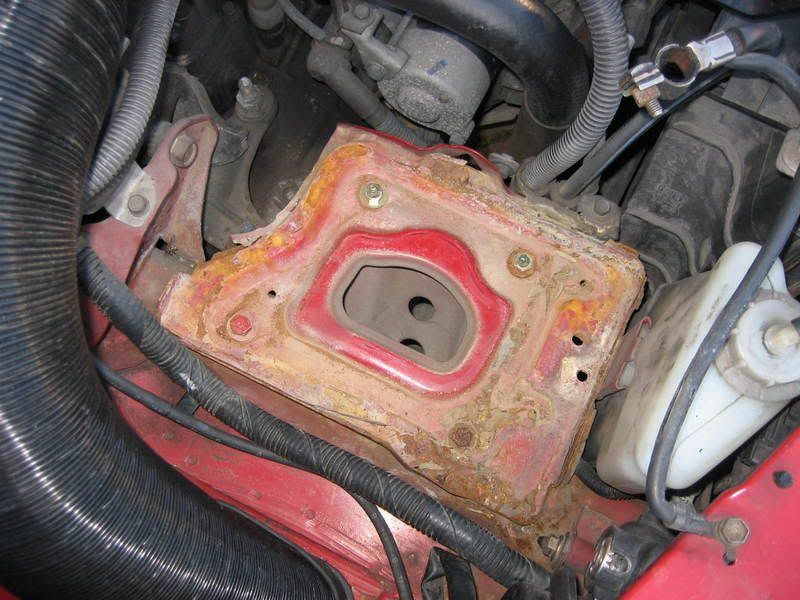
Next was to remove the rust-ridden battery tray...
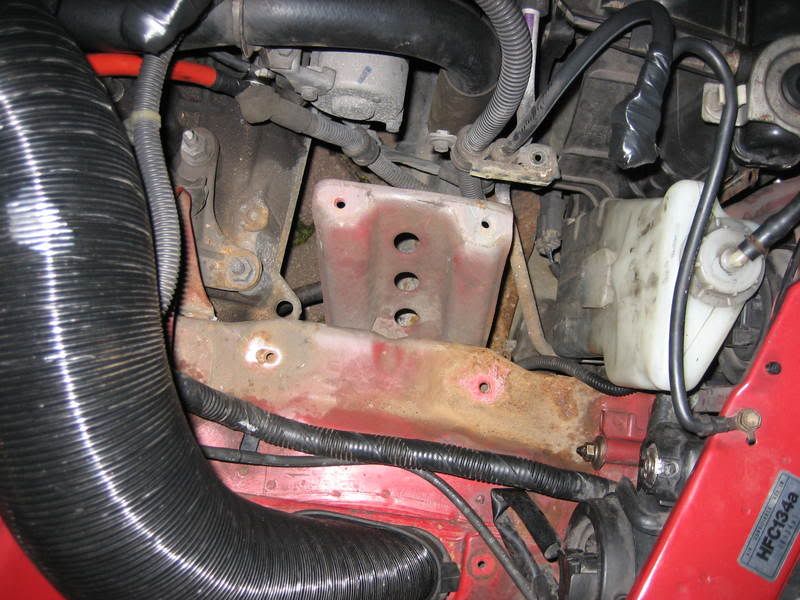
And then the brace/support. Now I've got a whole lot of room to play with!
The coolant bottle which was supported by the battery tray was left floating...
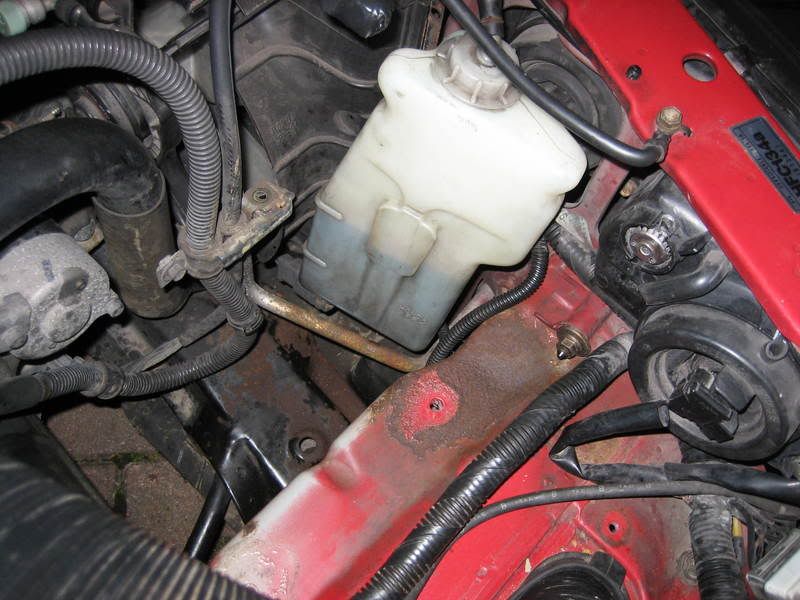
So i improvised for now as I'll need to make a bracket up...

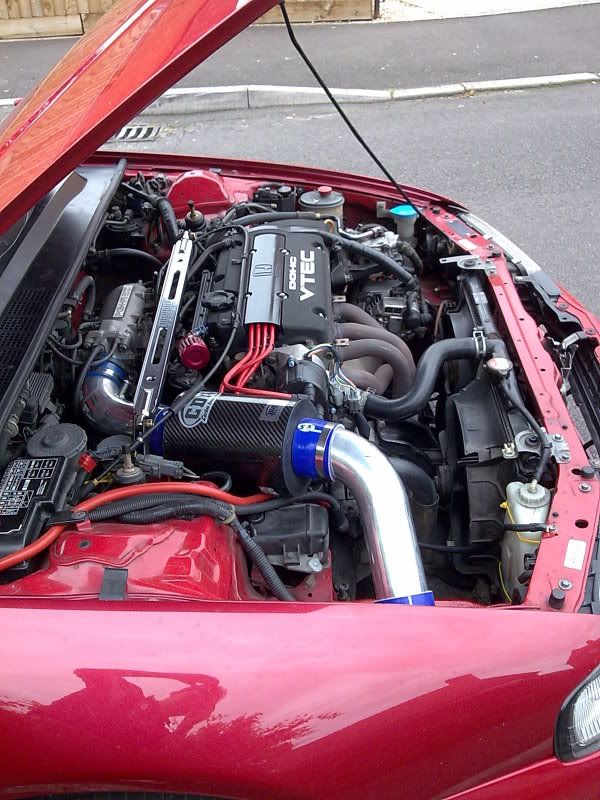
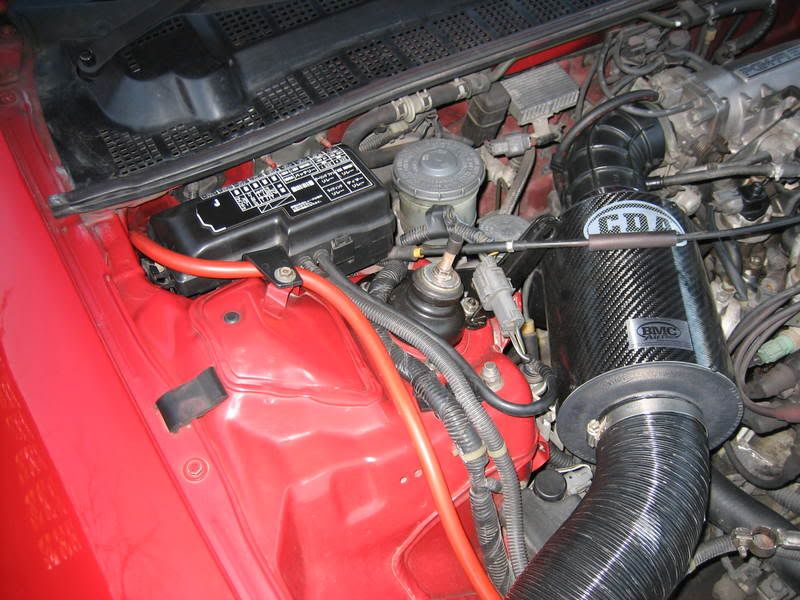
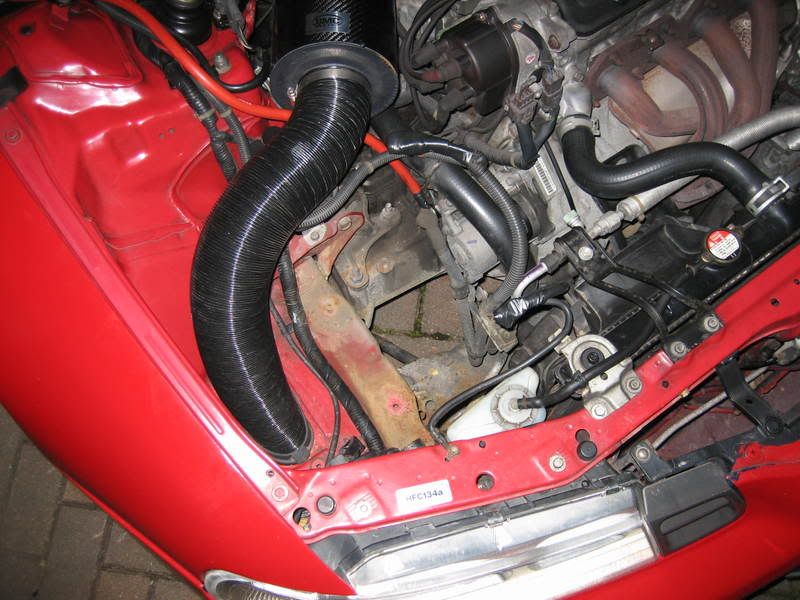
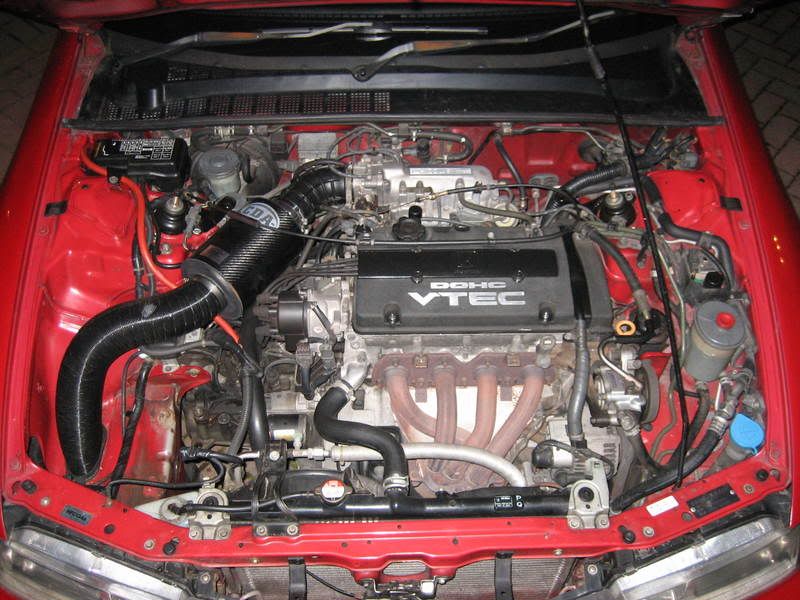
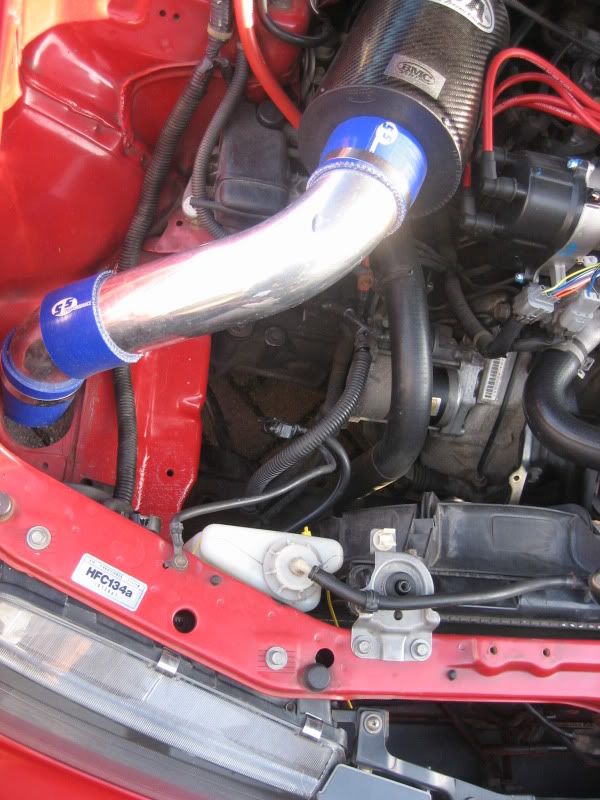
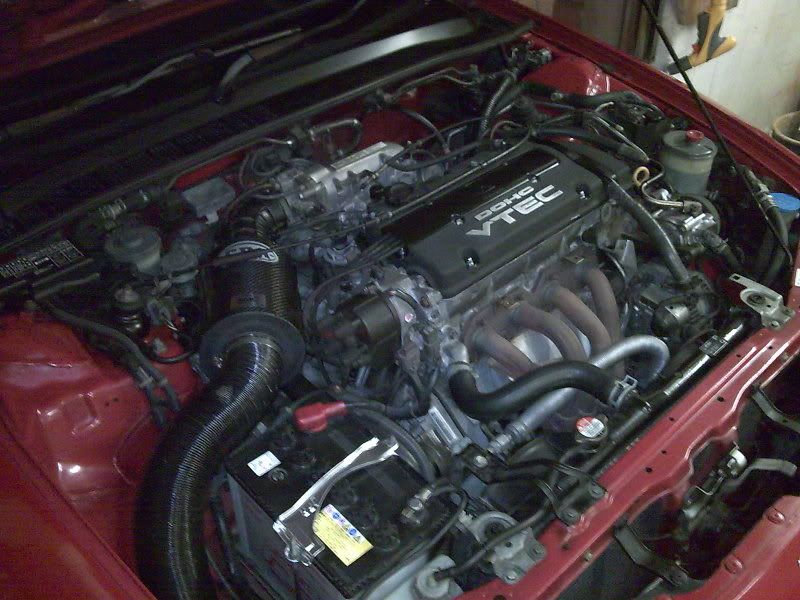
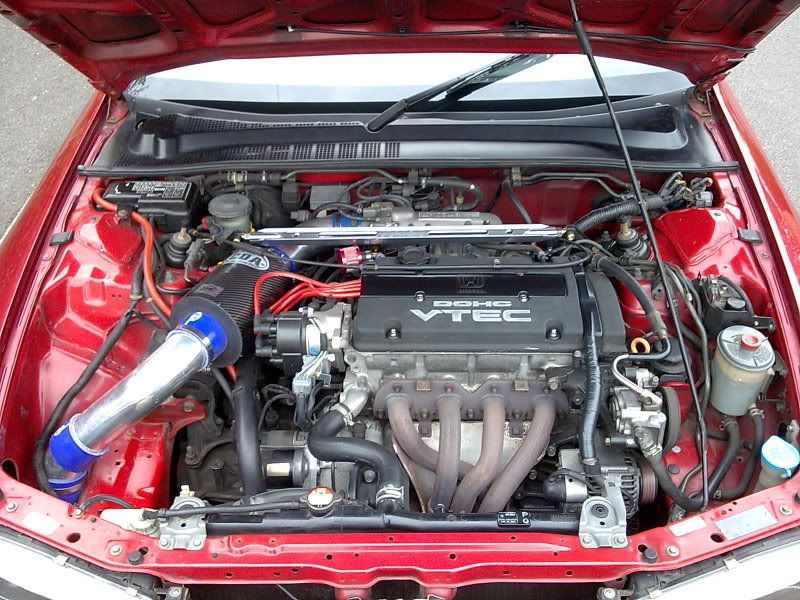
And this is what she's looking like at the moment
You can see where the battery tray rust has infected below where it was, and part hasn't even been painted. So she'll need a bit of sanding, priming and a lick of paint and she should look right as rain
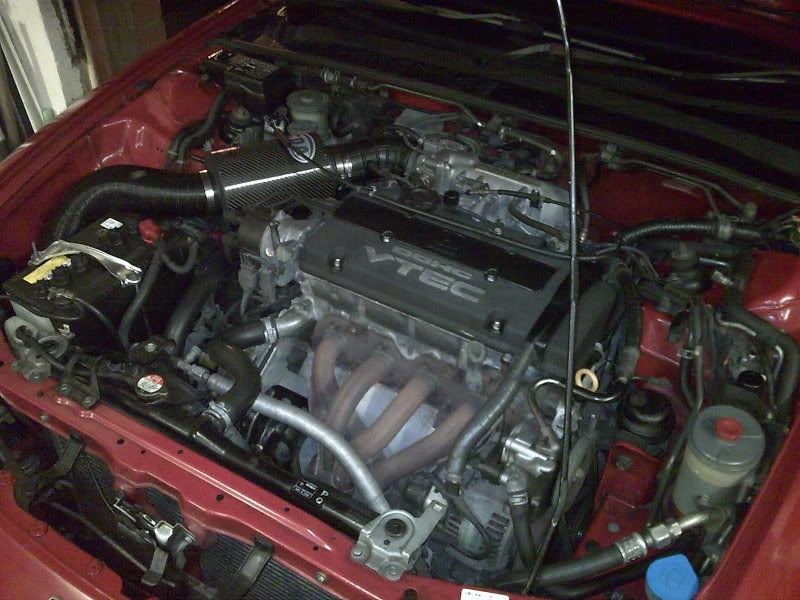
Then several months later, when you've finally pulled your finger out your ass... You can tidy up those cables
So if you can remember (I imagine you should do, being it was only 10 sentences ago for you
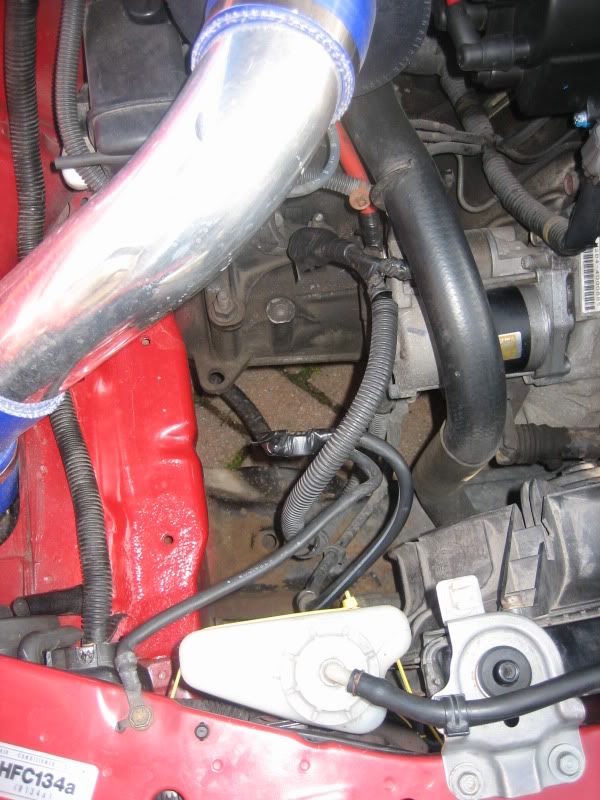
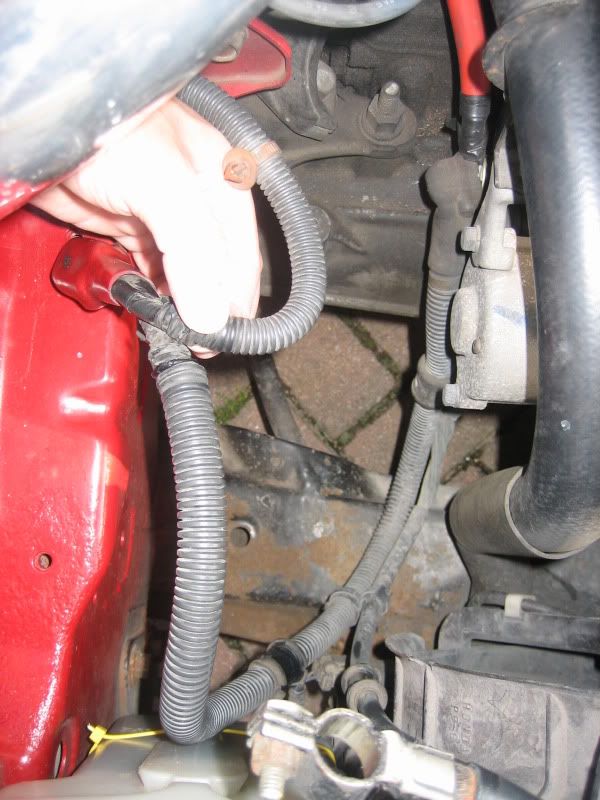
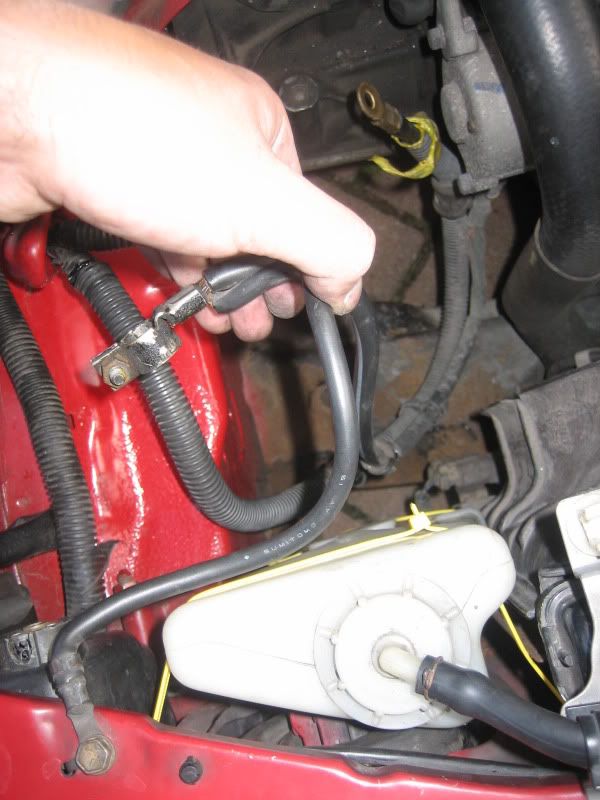
So to start with, I should be able to lose at least this much of the positive cable. You'll be able to see that it forms one big loop down to the starter motor, that I plan on losing...
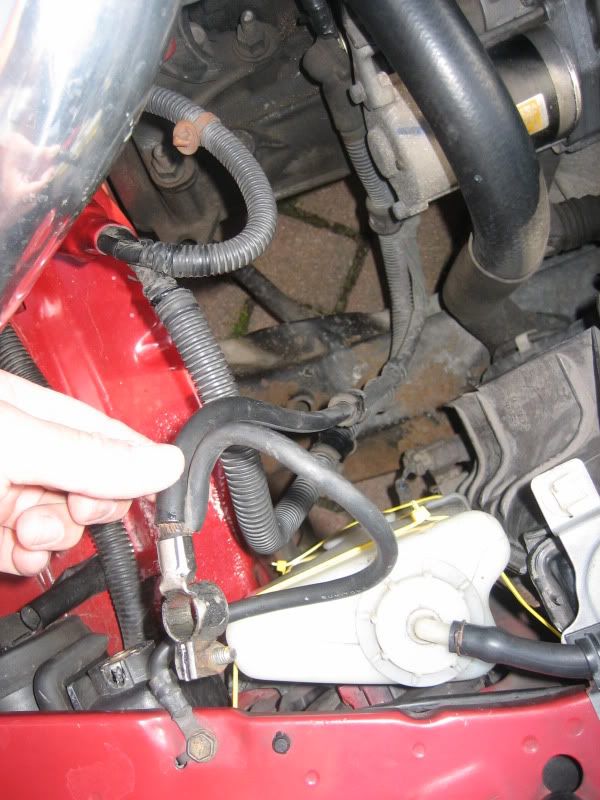
It's pretty much the same case with the negative as well (Note the new coolant bottle bracket by the way
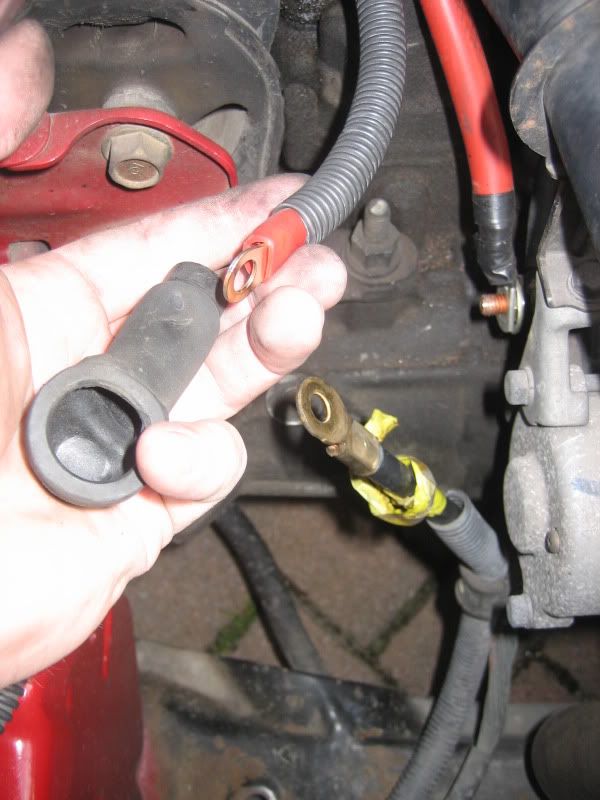
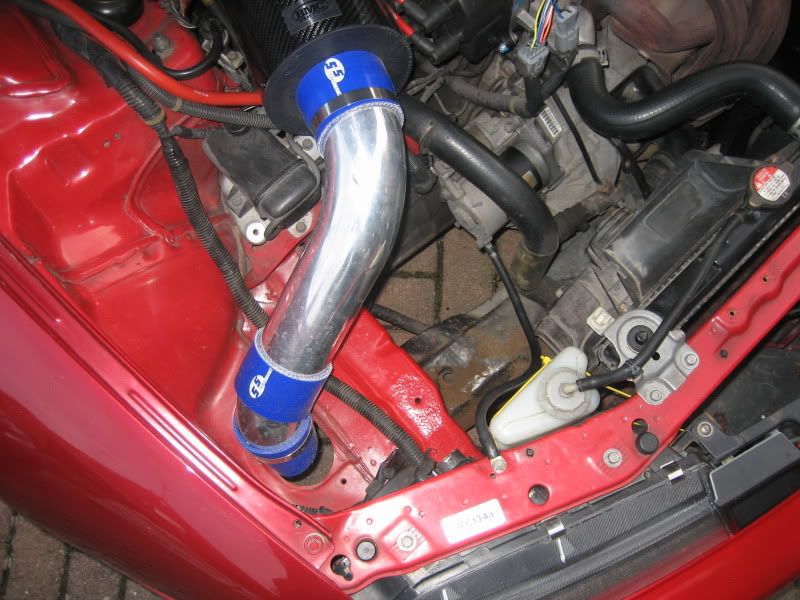
So I started by positioning the positive cable down along side the new battery cable (Making sure it wasn't going to be resting on the gearbox)...
And this was where I was going to make the cut...

So once cut, I fitted the M8/25mm2 connecter and also used the original terminal cover from the existing cable...
Then I was going to do a simular thing with the earthing cable, and cut it roughly about here...
Before I cut the earthing cable, I removed both the bolts to remove both the original cables from their mount on the gearbox...

Which left me with this...
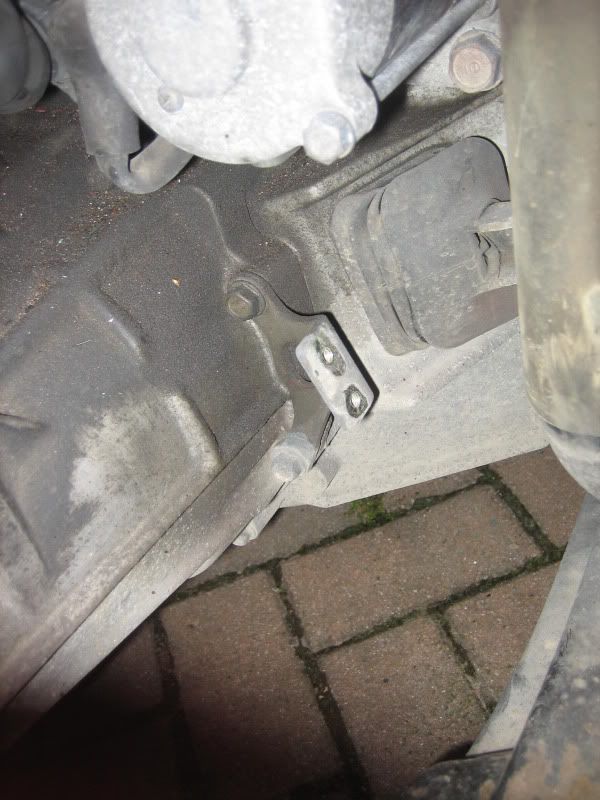
Now you can either reuse one of those bolts to reattach the shortened earthing cable, or remove the bracket as I did and use one of those bolts instead...
Then again I positioned the cable where I wanted it, made the cut, crimped the M5/40mm2 connecter on. Again like the battery cable in the boot, I put a twist on the cable to kick it to the side, so it wasn't just hanging down in view...
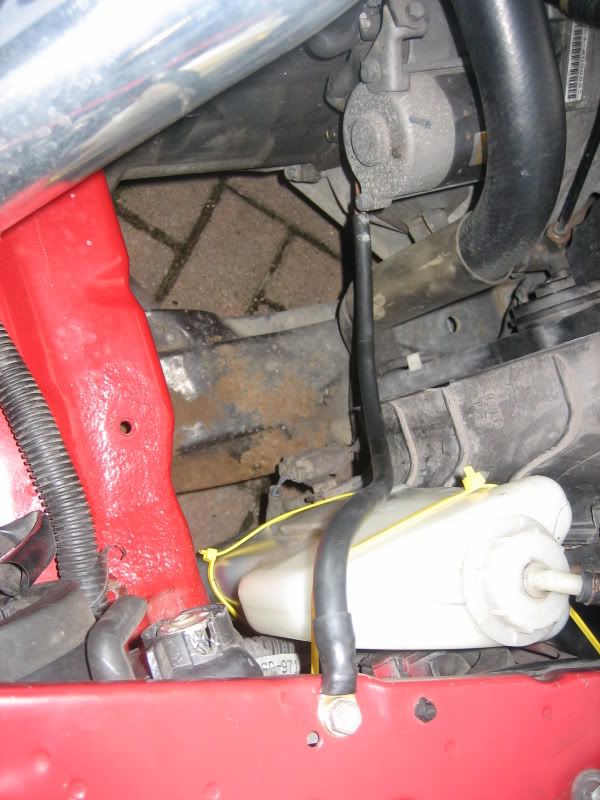
The positive cable was connected up to the starter motor, the battery reconnected in the boot, clocks reset
This much un-needed cable and accessories were removed in the last stage...
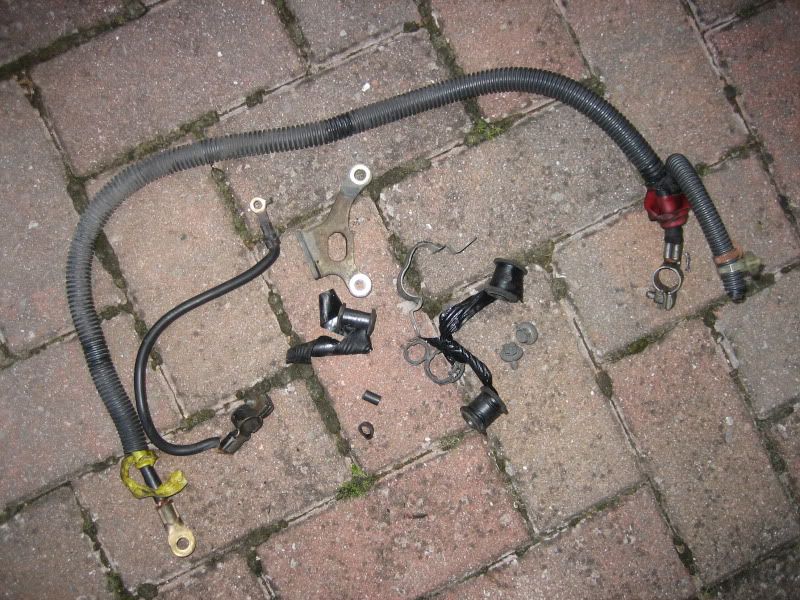
Note: If you can't get your hands on just 40cm of Black Negative cable to hook up to the battery and you're going to do this whole job in one hit, you can use that short original piece in the picture above, which also means you won't need a new Negative battery terminal either
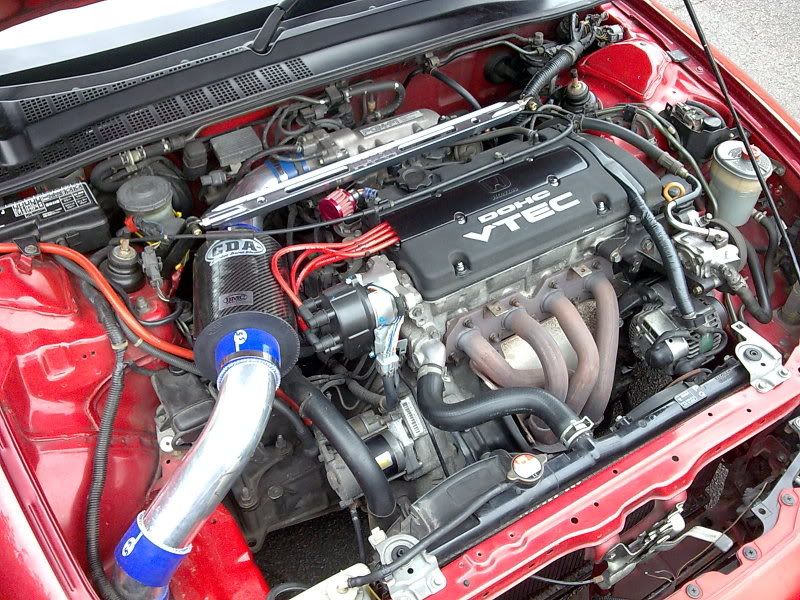
And job's a'gooden!
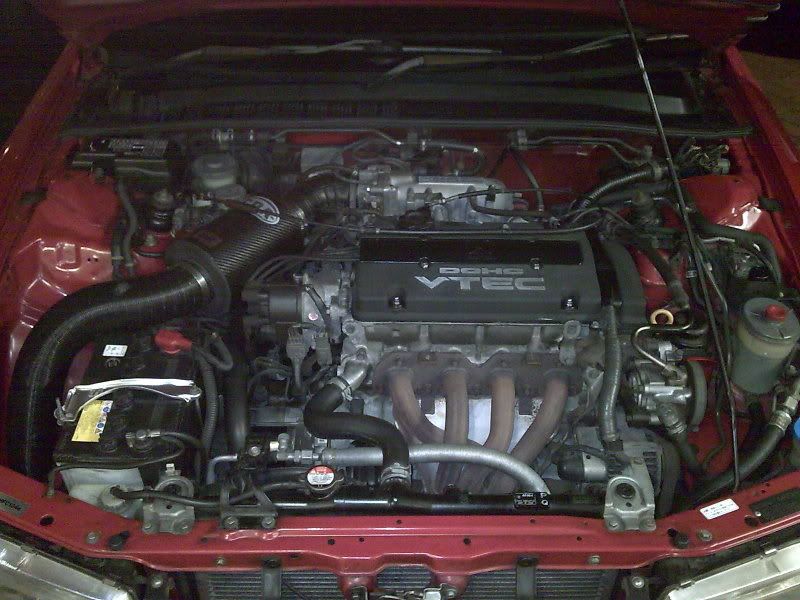
From this...
To this...
From this...
To this...
From this...
To this...