Congratulations to vtecmec for winning May/June's Lude Of The Month, with his DIY Turbo BB1 build.

>>> Click Here For Profile <<<

Image

How To Widebody A 5th Gen

As much of the Lude knowledge we have in one handy place
JoeDaddy
Posts: 13
Joined: Fri Feb 01, 2013 6:02 am
My Generation: 5G
PSN GamerTag: joedaddy
Location: Dallas, Tx.

How To Widebody A 5th Gen

Post by JoeDaddy » Sun Feb 03, 2013 8:28 am

Ok guy's I was gonna do a complete build thread from start to finish on my right hand drive widebody lude but I wasn't sure what category to put it under so i'm gonna do it in sections, with that being said here is how I did my widebody, no fiberglass kit its all metal, done by me.

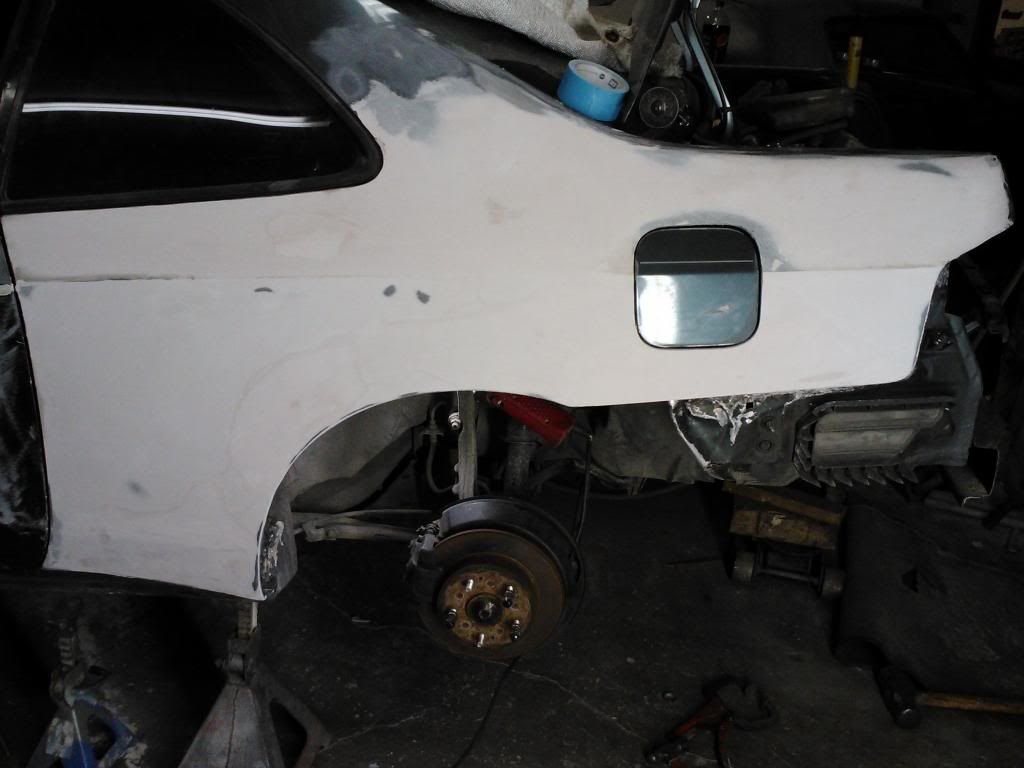
First thing you have to do is determine how wide you wanna go and that will let you know if you can get by with just rolling the fenders, in my case I am going with 19x11 -6 offset in the rears.

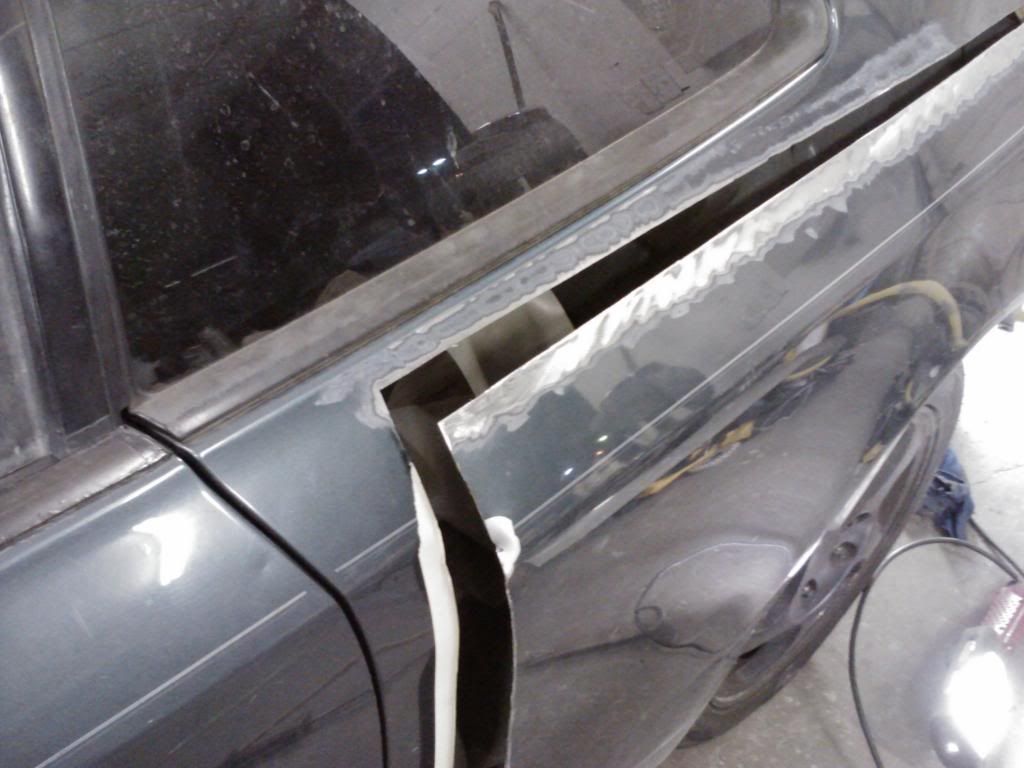
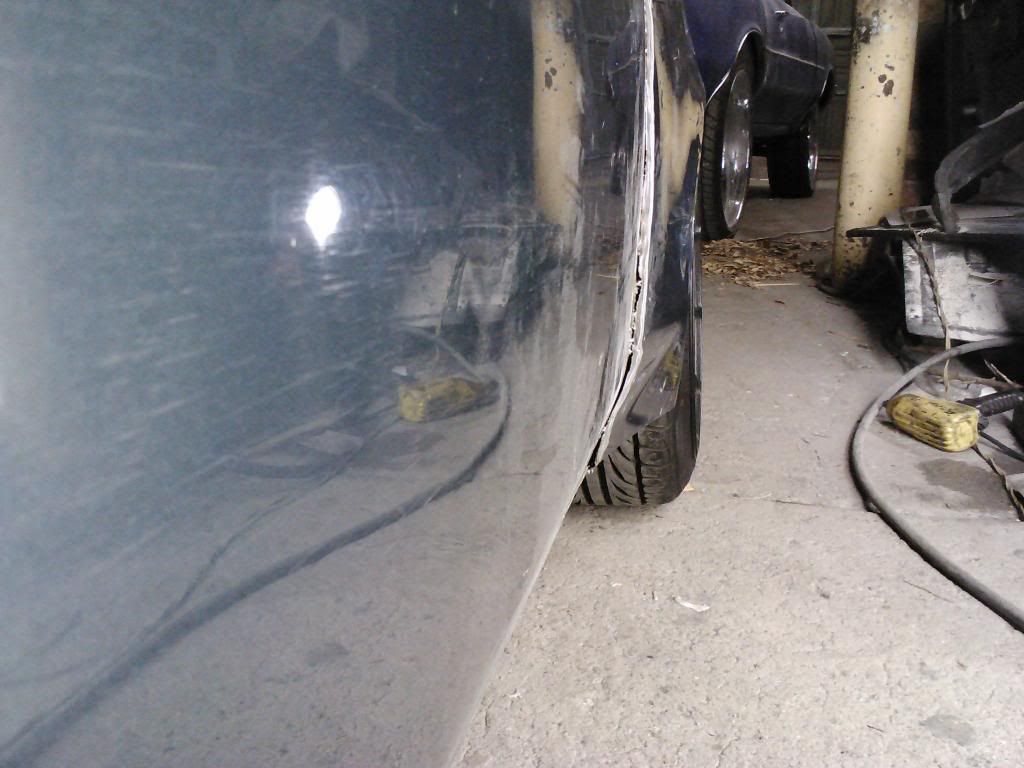
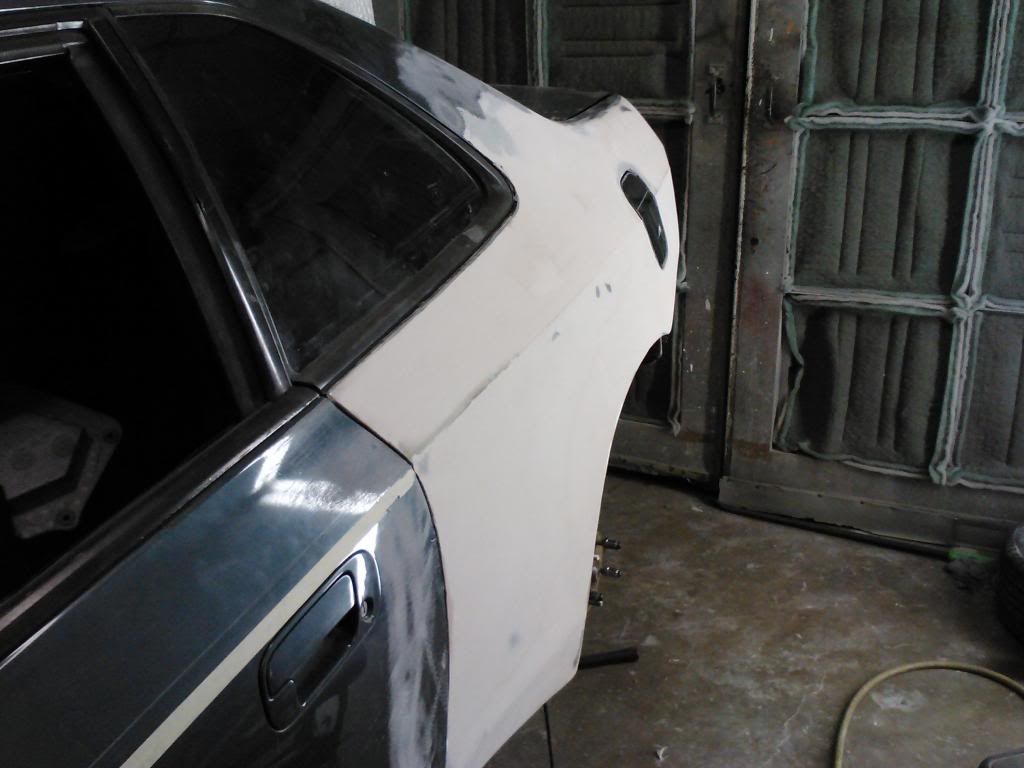
So let's get started. The first thing I had to do is mark my cut line of where i was going to cut the quarter panel, I wanted to cut it just a little over the body line, this makes it easier to do the bodywork after the welding is done.

Image
Image
These cuts were done using a hand held cutoff wheel.

Now there's two ways to start the begining of the widebody, you can start from the door and start flaring out the quarters, this would be a more aggressive look because the widebody would look bigger. The second way is the way I chose because I wanted a mild widebody and didn't want it to aggressive. So I made a downward cut about 3" from the edge of the door seam.
Image

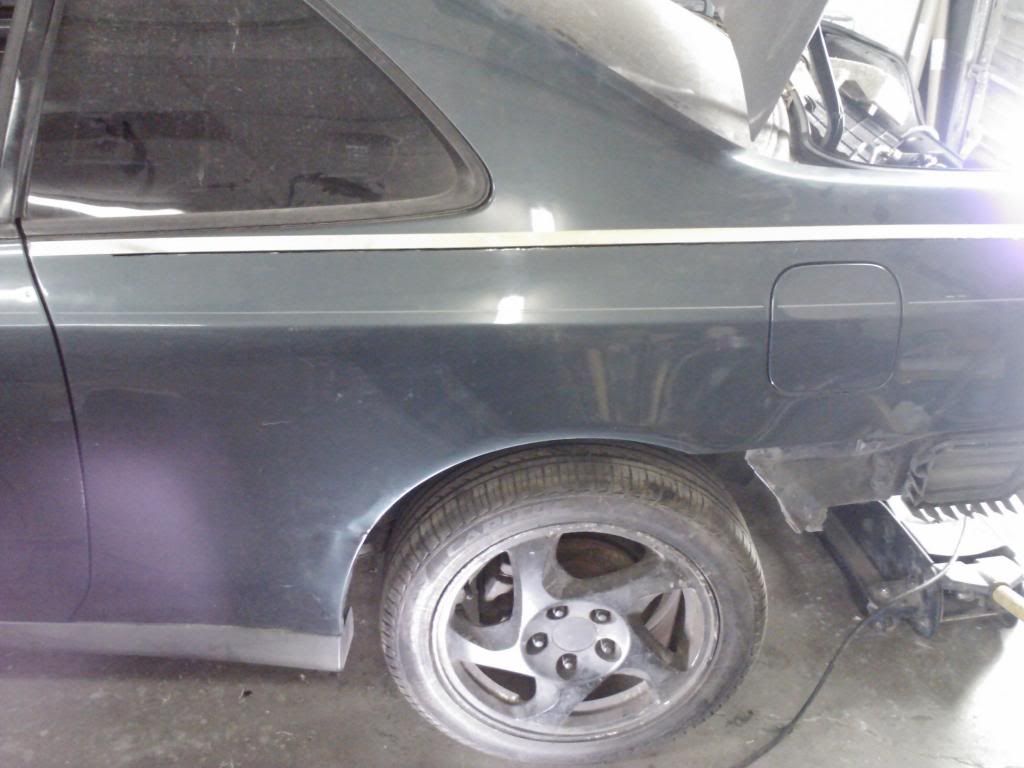
Now after this cut is made you have to cut the quarter panel loose from the wheel well, now to make these cuts you have to use a sawzall. Continue the cut all the way thru the wheel well ( you also need to remove the gas filler neck ) and stop the cut about 6" from the edge of the tail light.
Image

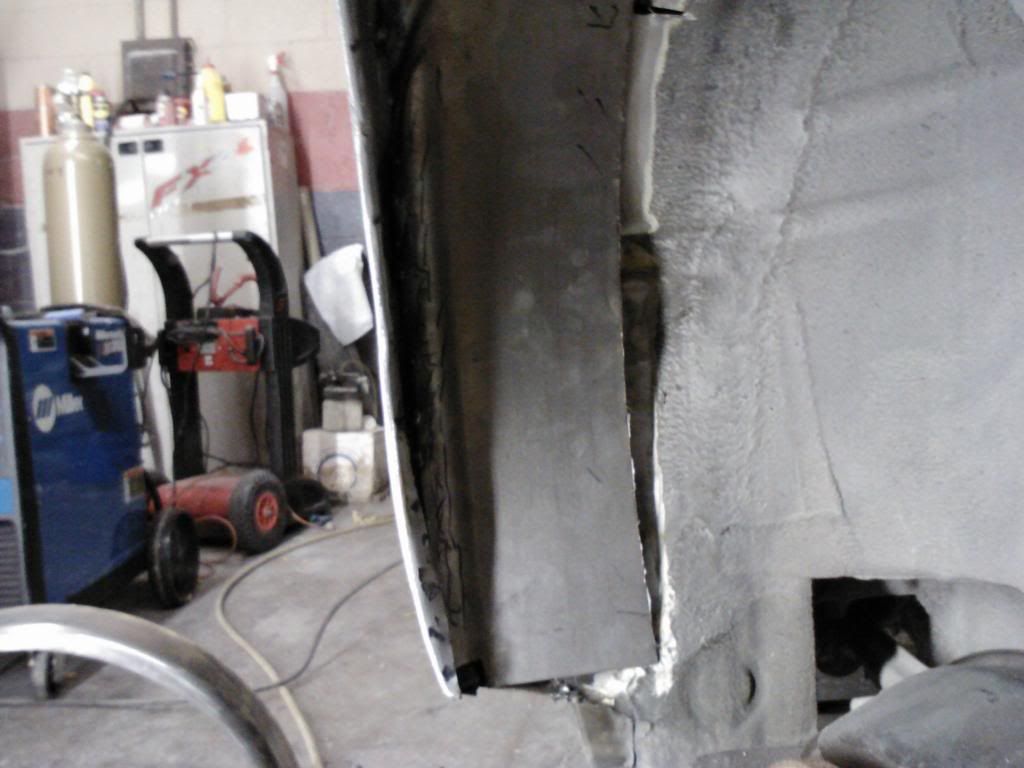
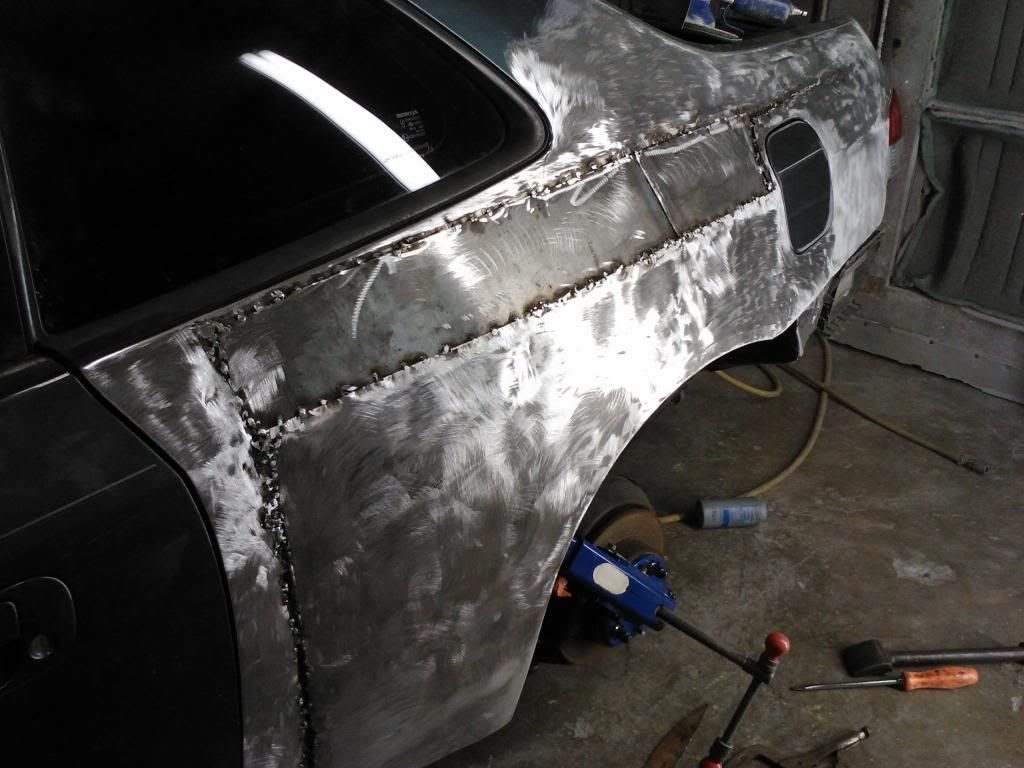
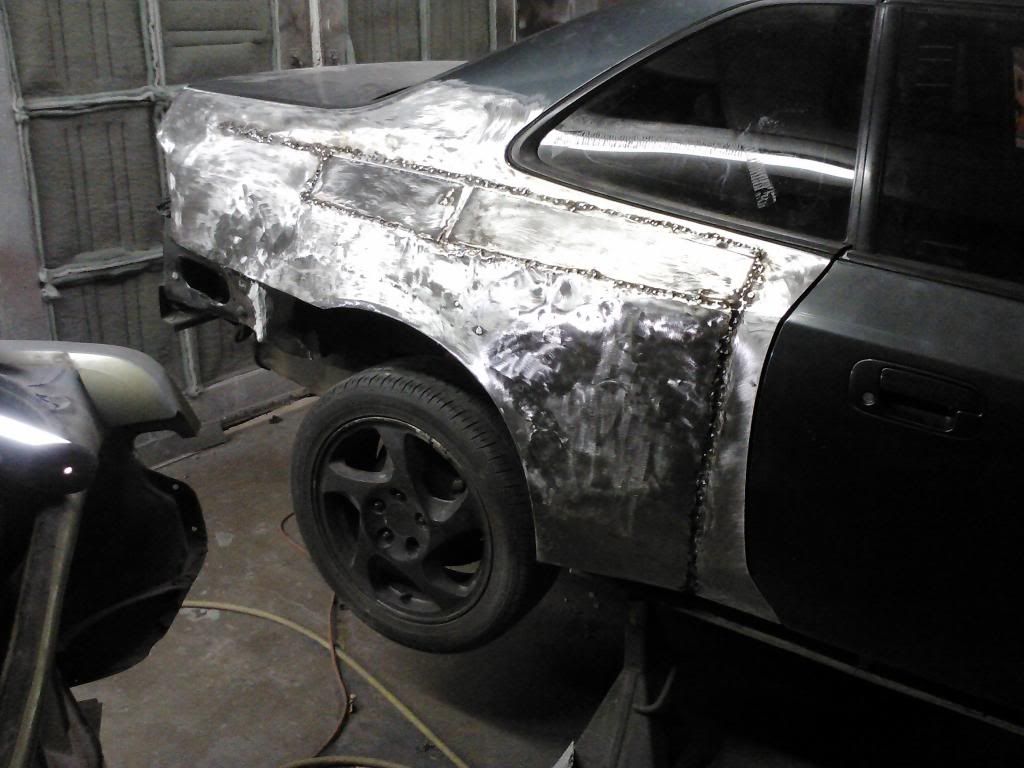
Next you have to determine how wide you wanna go, this will let you know how wide to cut the replacement panel that your gonna put in place of the old one. I am going 4" wider than factory, after you have your replacement panel ready; set it on the car and tack it in place, just tack it for now in case you have to remove it or do some adjustments you won't have a lot of welds to remove.
Image

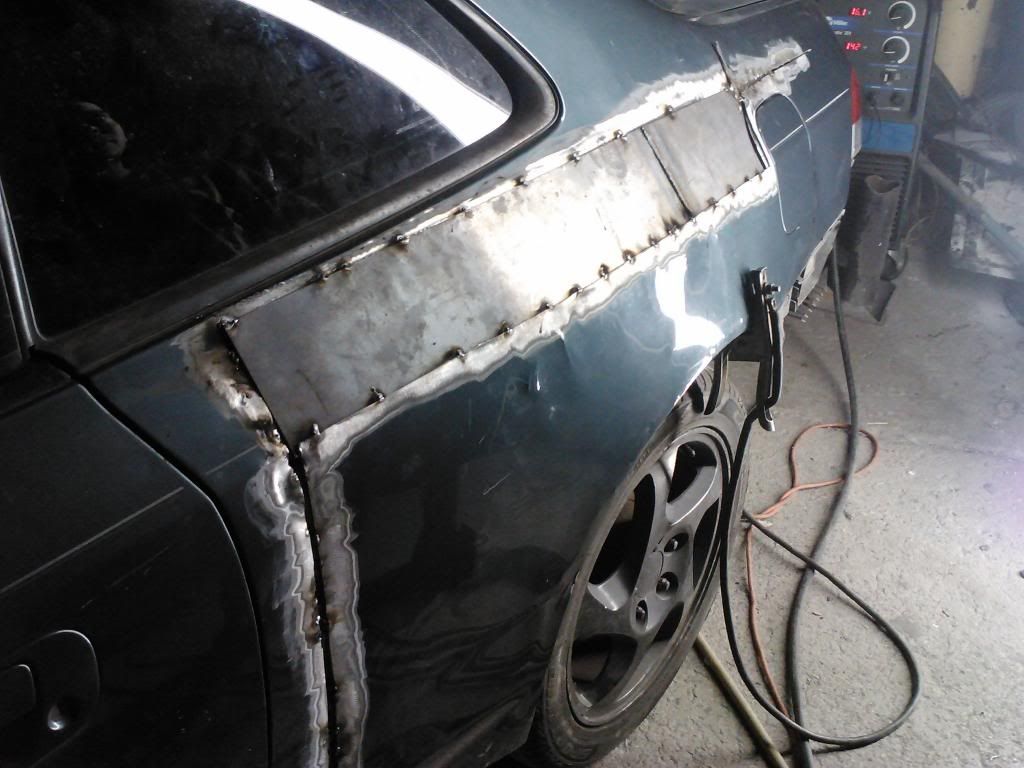
Once you've tacked in place mount you new rim and check for clearances.
Image
Image
Image

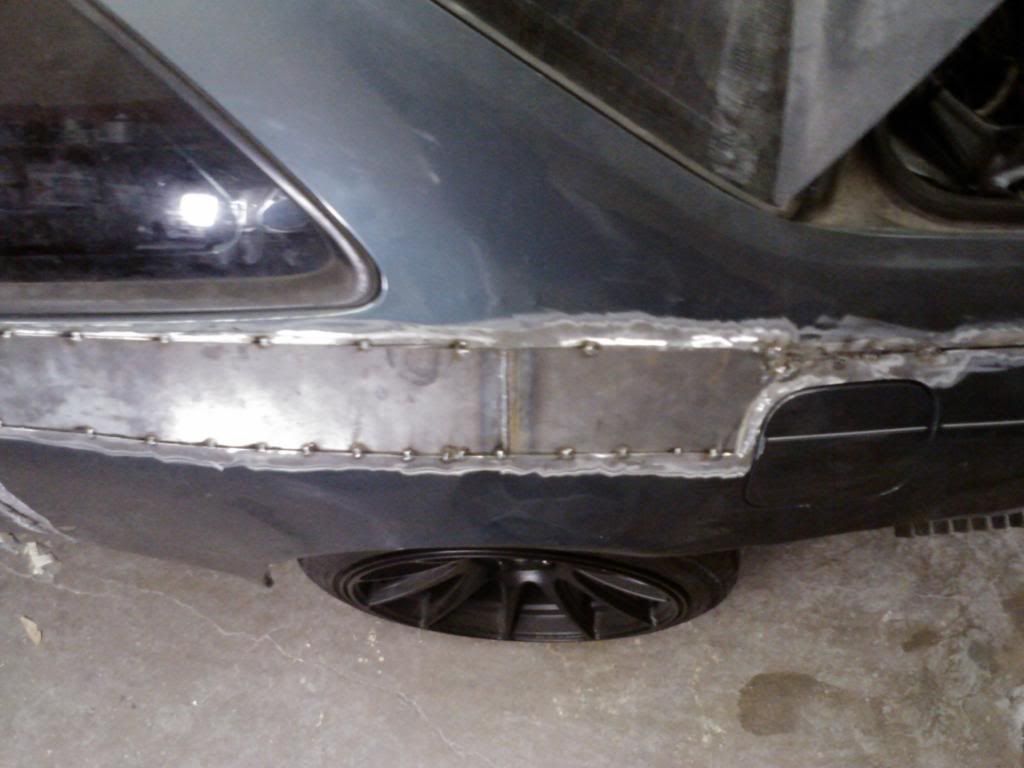
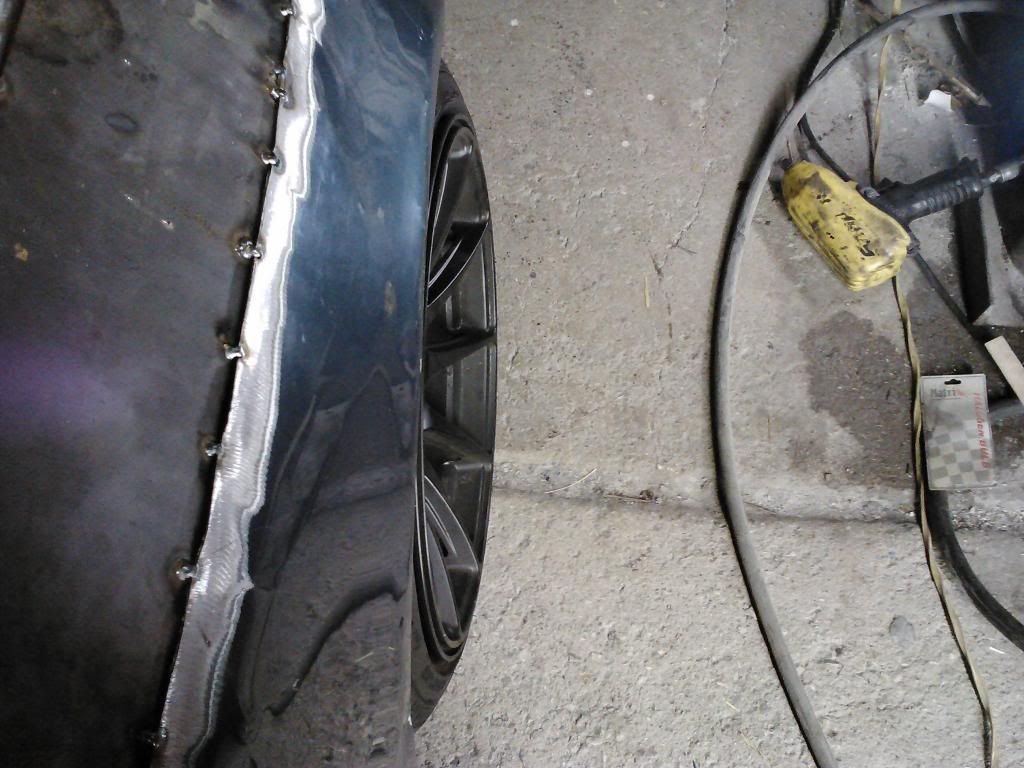
Now that you checked your clearance and everything is good go ahead and weld it up.
Image
Image

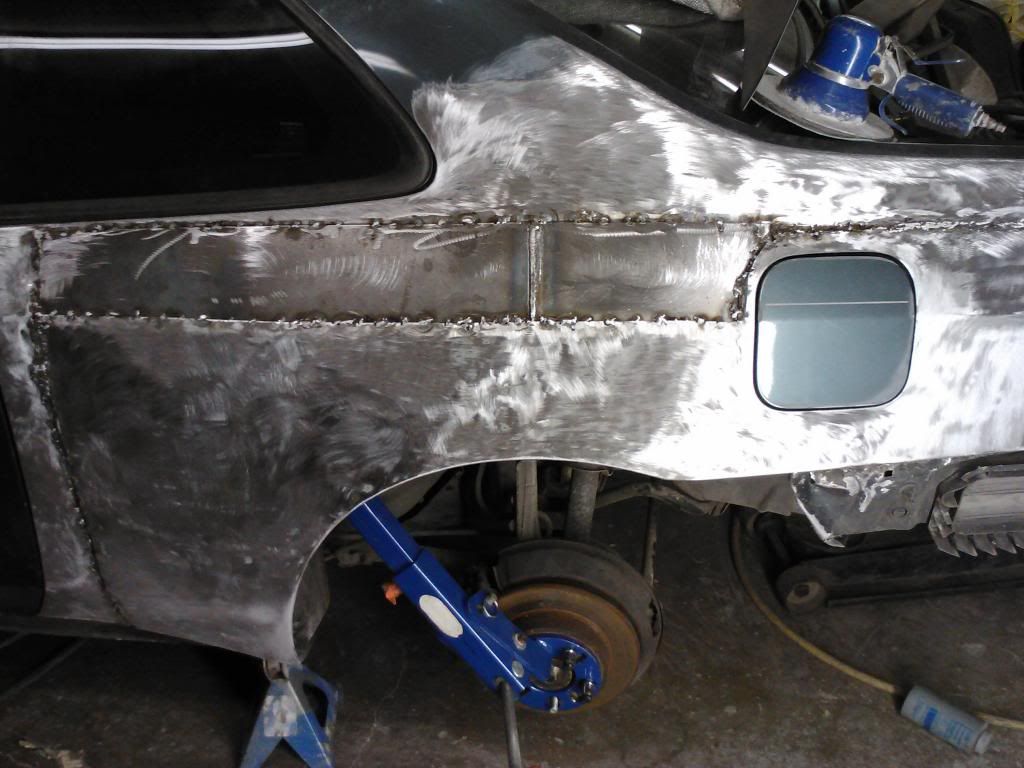
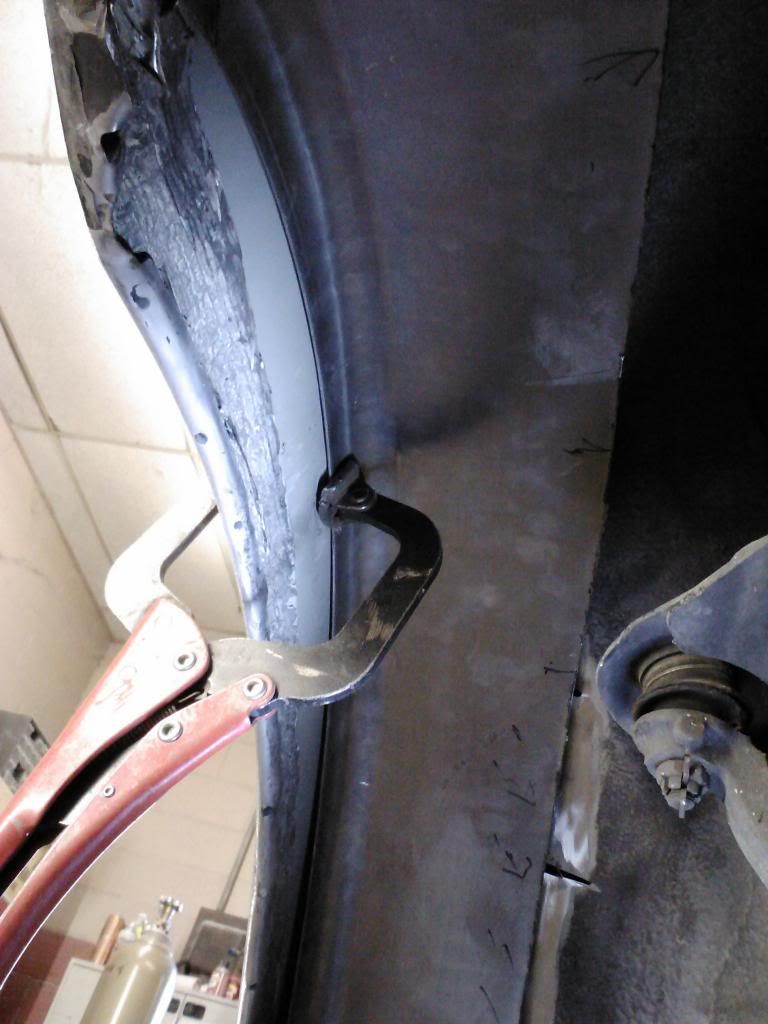
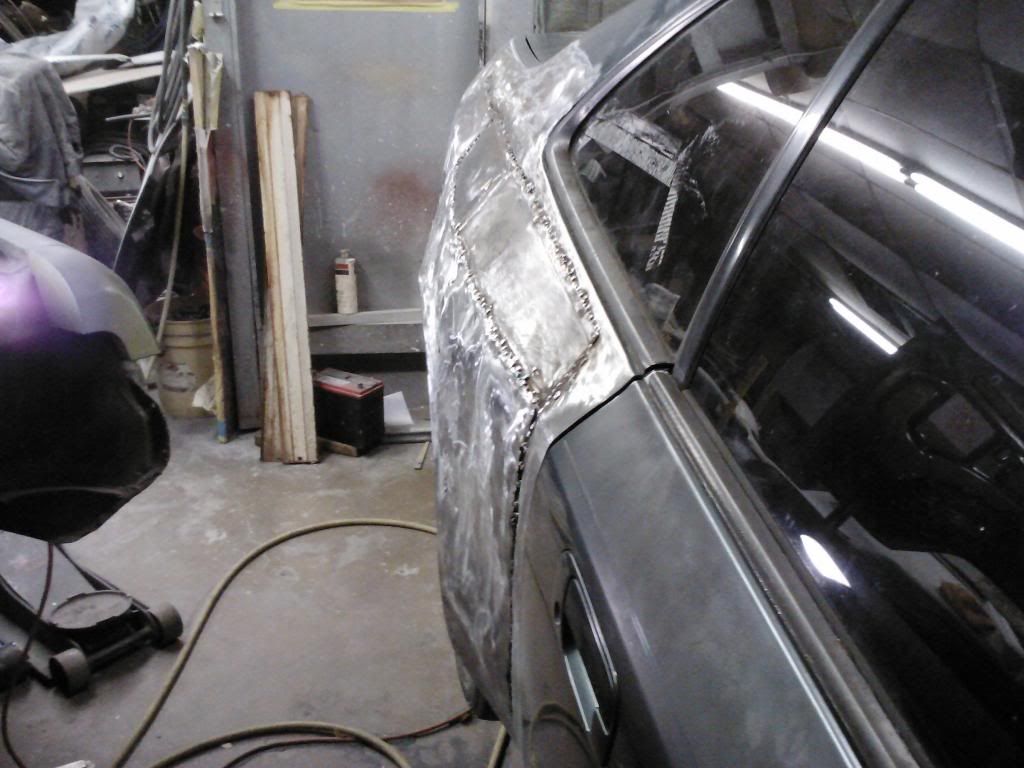
Since the quarter panel is welded in, now we move on to the inner fender well. For this you will either have to fabricate a fender liner out of metal to reinforce what you cut earlier and to fill in the gap from the wheel well being widened. I used a trailer replacement fender and cut it in half and that was enough for both sides.
Image

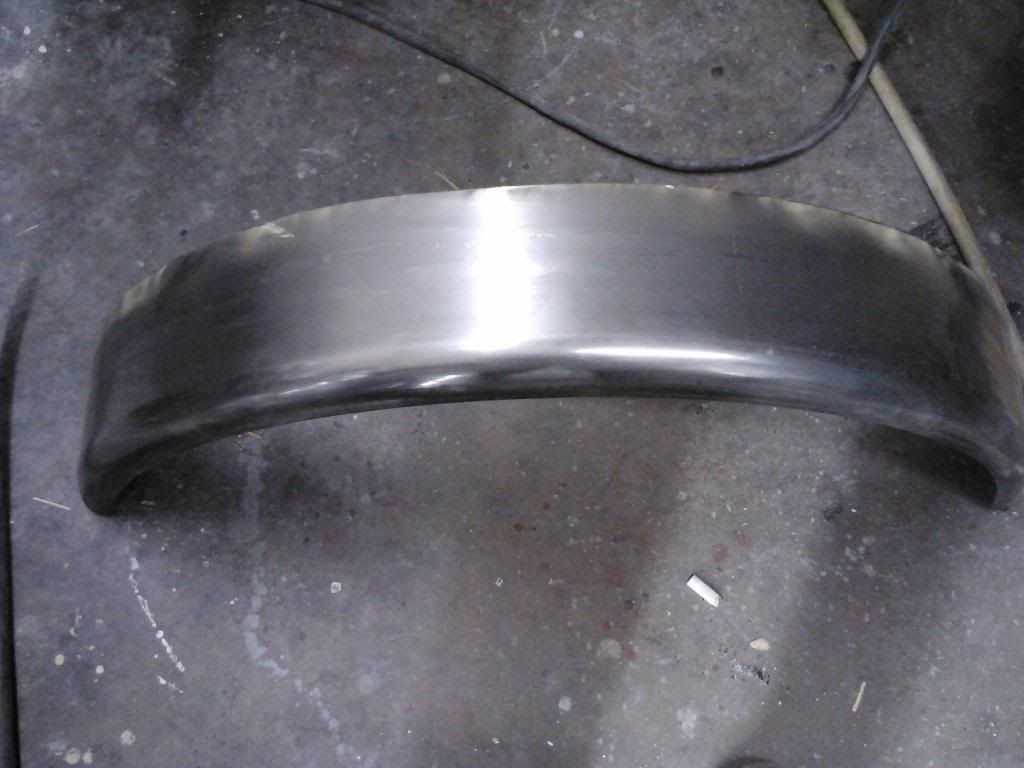
Once you've gotten it cut in half go ahead and place it in the fender well, now it almost fits in there perfectly but you'll have to beat the inner fender a bit to make it fit flush. Once its flush go ahead and weld it in it's place and once it's welded and done spray some undercoating to seal it up.
Image

Now your ready for the body filler, start by marking your body line using tape.
Image
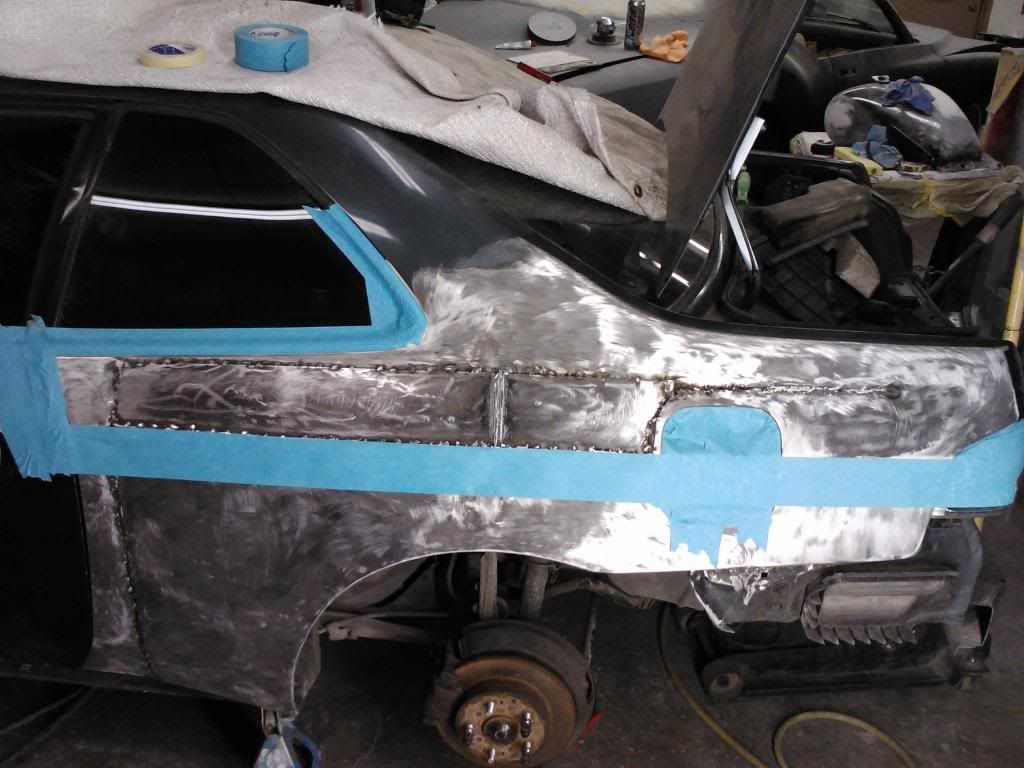
go ahead and place your body filler on and wait til the body filler is tacky and then remove it before it hardens, but only put the filler on the top portion.

Once you've done that you should have a nice straight line.
Image
Image
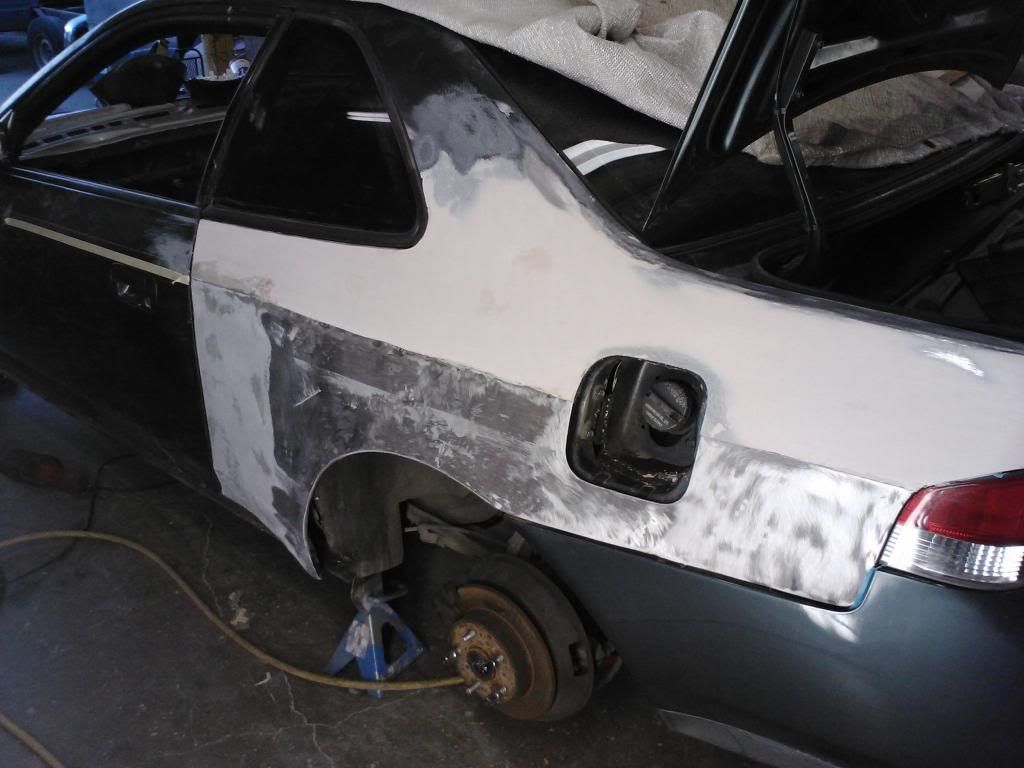
On these pictures the body filler has already been sanded using a file board with 36 grit paper, sorry I didn't have any pictures of that but if you have any questions I'll be more than happy to answer any questions.

Now re-tape the body line again but this time your taping it on the body filler side because you'll be putting the filler on the other half of the quarter panel and it should look like this,
Image
Image

Now that your done with one side, repeat the same steps for the other side.
Image
Image

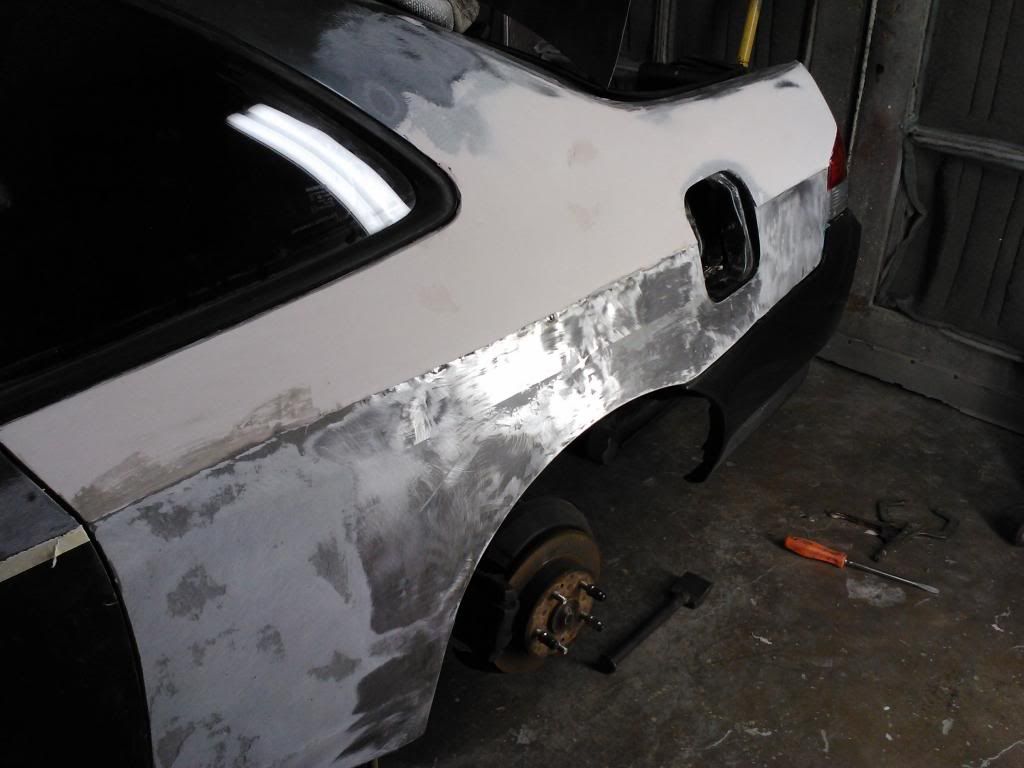
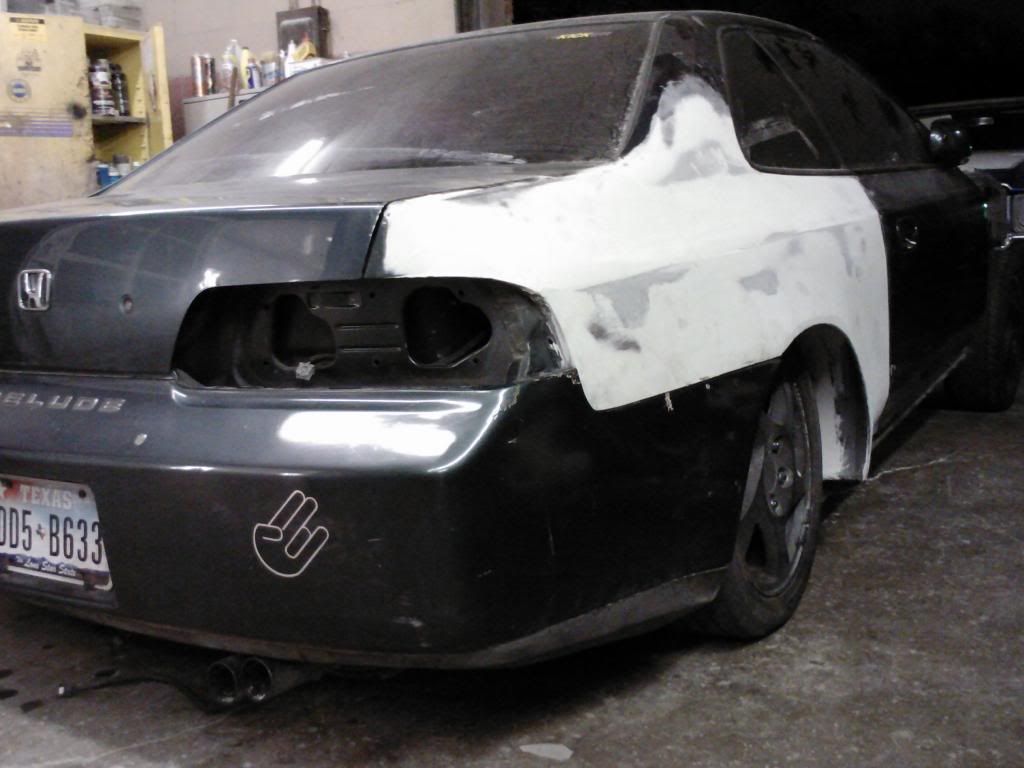
Now there will be a lot of bodywork that has to be done prior to priming the quarters and I apologize for not having those pics,
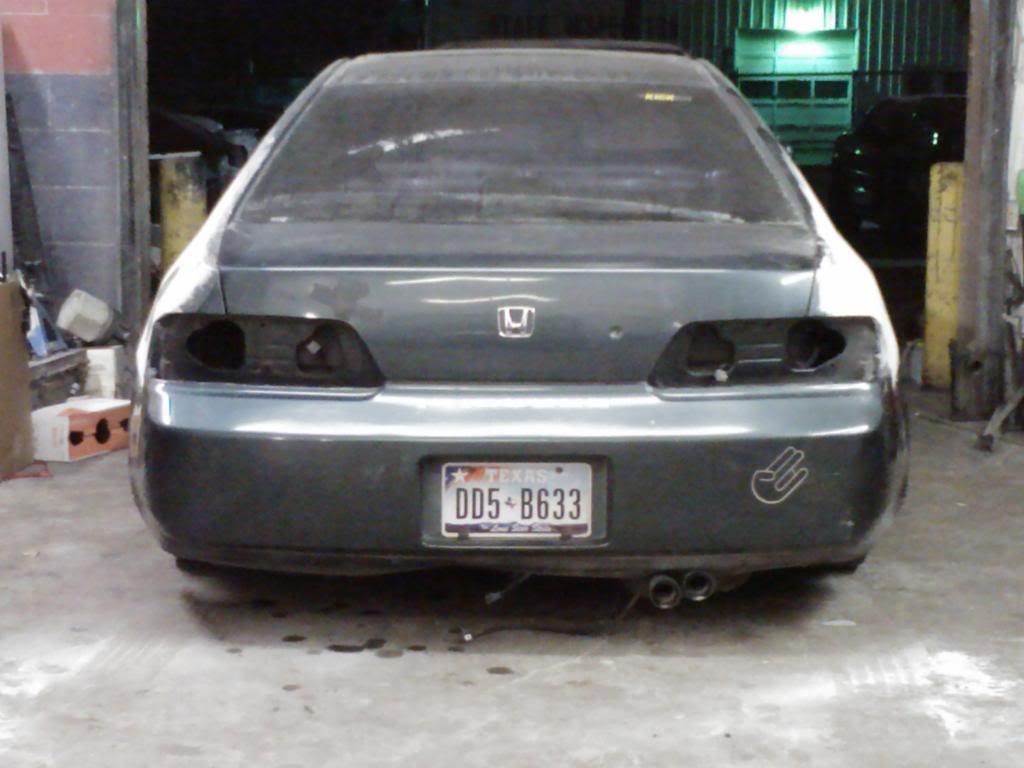
Sorry about not being more detailed and not having more pictures, I kinda did this quickly and really wasn't planning on doing a write up or else i would have, sorry.

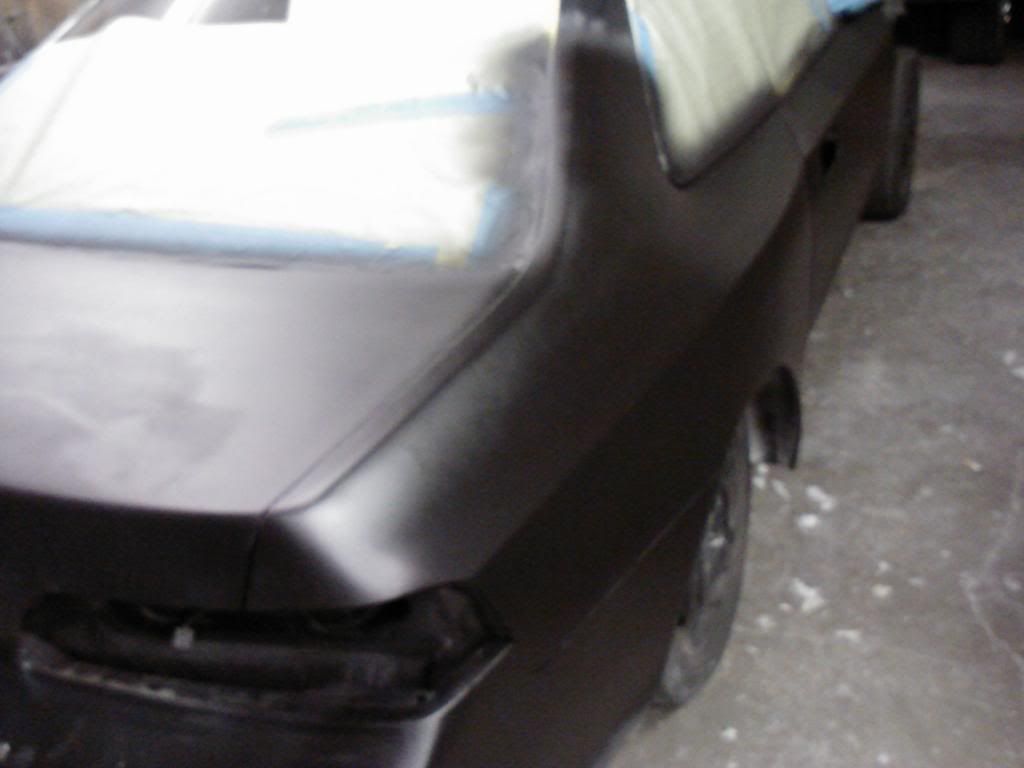
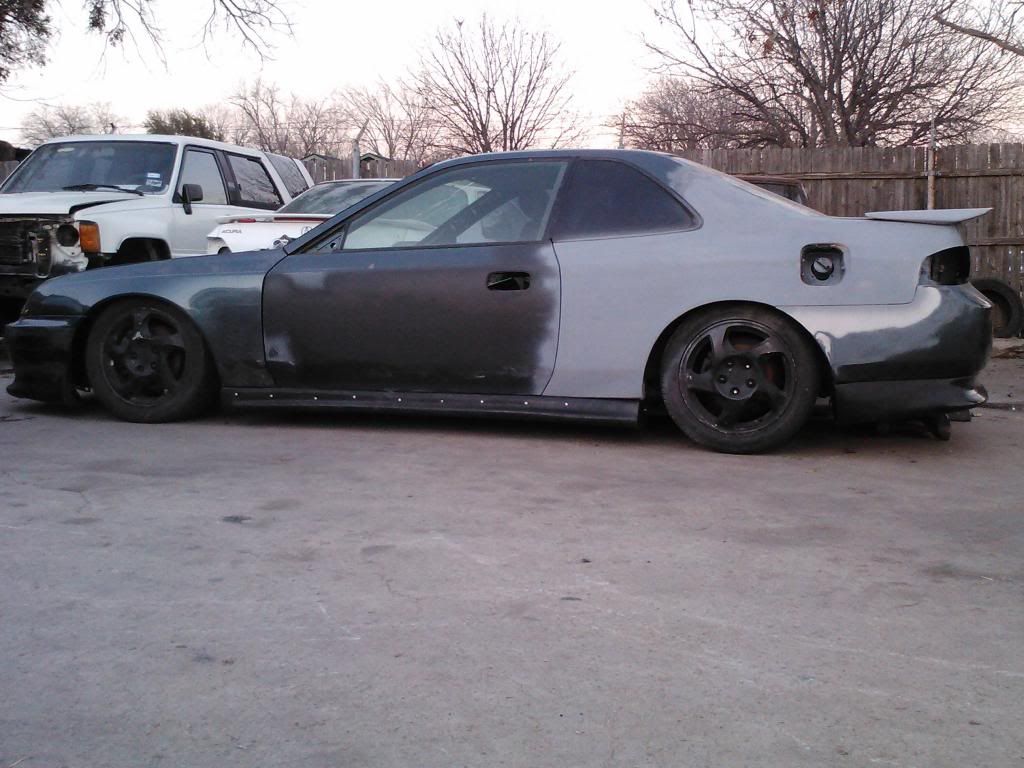
Here are some random pics of the widebody primed.
Image
Image
Image
Image
Image

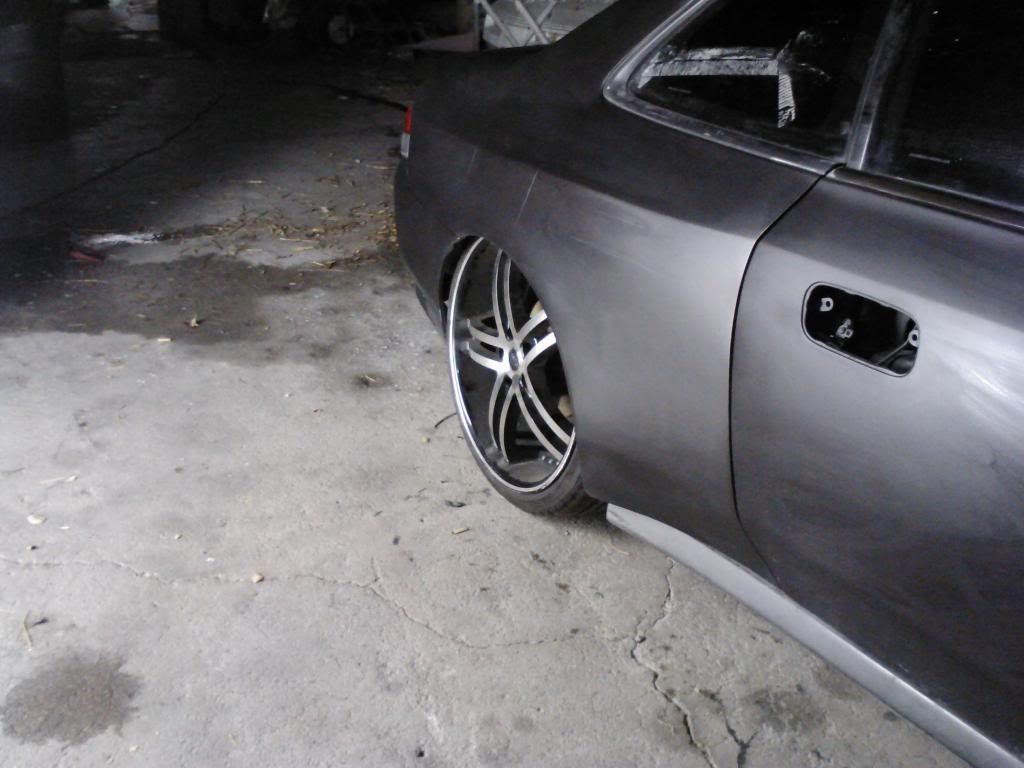
Here are some pics with me trying on some 20x10 +20 offset, just wanted to check the clearance.
Image
Image
Image

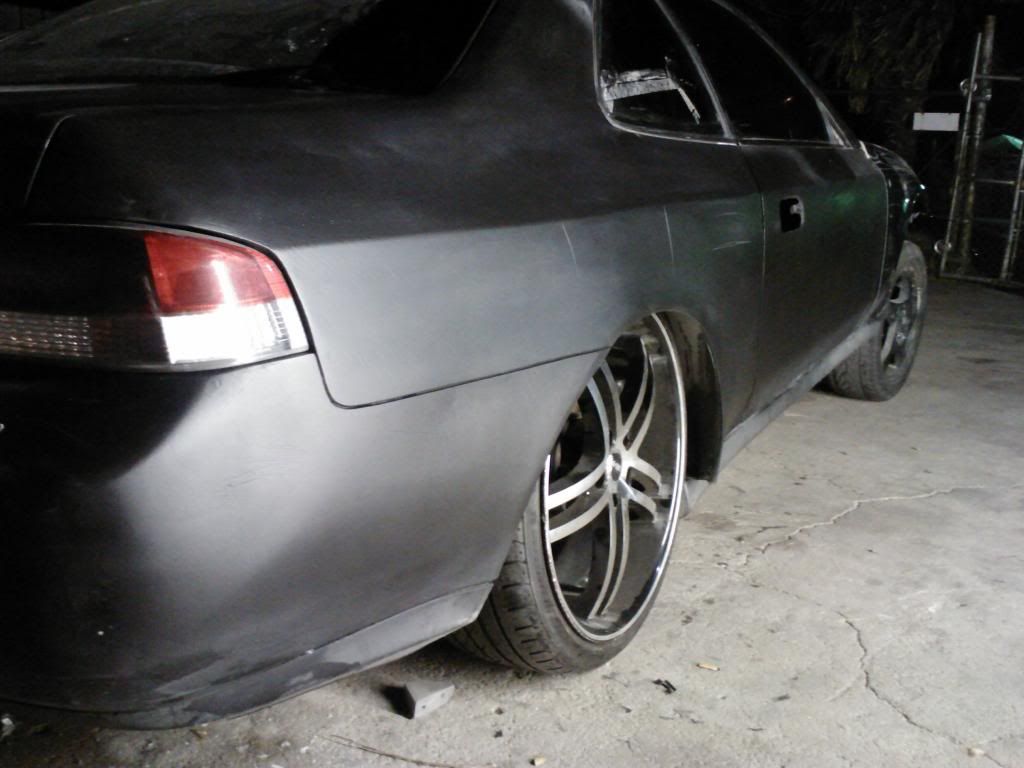
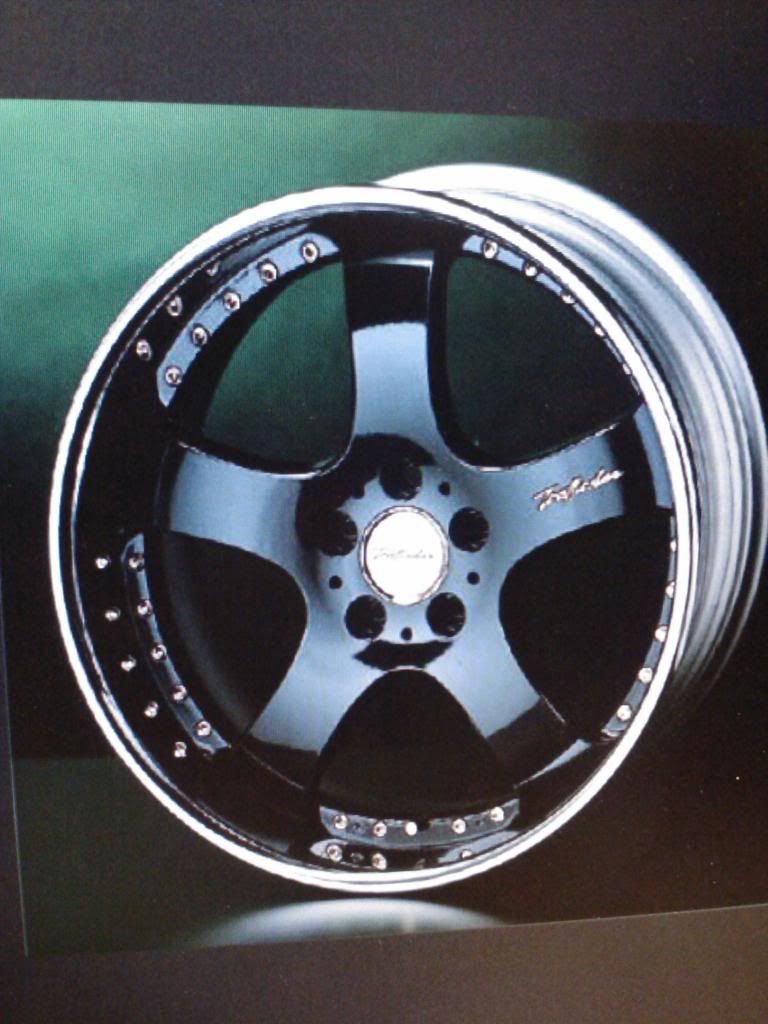
These are the rims that i'm going with, Trafficstars 19x9 +25 in the fronts and 19x11 -6 on the rears
Image

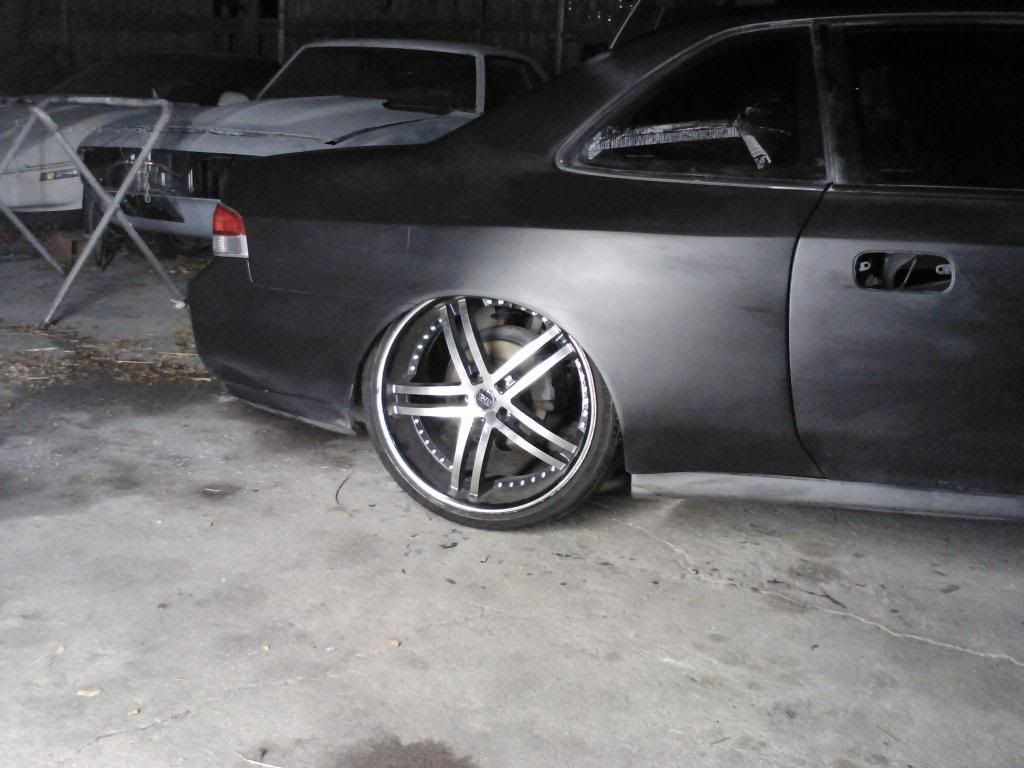
This is how low the car is gonna sit with the 19"s
Image
Image
Image

Well that's all I have for now and again I apologize for not being more in detail and having more pics but like I said I will be more than happy to answer y'alls questions, Thanks.

User avatar
honda-hardy
Club Cartographer
Posts: 6268
Joined: Sat Jan 28, 2012 7:35 pm
My Generation: 5G
Location: chippenham
Been thanked: 1 time

Post by honda-hardy » Sun Feb 03, 2013 10:11 am

what a fantastic write up. Well done. Great pics great detail.

User avatar
rob quilter
Supporter 2014
Posts: 5331
Joined: Mon Aug 09, 2010 1:40 pm
My Generation: 5G
PSN GamerTag: robquilter
Location: Derby

Post by rob quilter » Sun Feb 03, 2013 10:15 am

Nice! Certainly different.
PERFORMANCE PARTS FOR JAPANESE CARS - http://WWW.TOKYOSQUAD.COM

FOLLOW US ON FACEBOOK - http://WWW.FACEBOOK.COM/TOKYOSQUAD

User avatar
lewd lude lover
Supporter 2015
Posts: 5658
Joined: Sat Aug 07, 2010 9:51 pm
My Generation: 5G
Has thanked: 25 times
Been thanked: 17 times

Post by lewd lude lover » Sun Feb 03, 2013 10:30 am

bloody brilliant. get in there and see what happens!


good man.
6th gen Prelude please Mr Honda. RWD 2.4 turbo lude.

User avatar
M@dds
Posts: 375
Joined: Mon May 21, 2012 7:54 pm
My Generation: 5G
XBOX GamerTag: Exerriddiam
Location: Stroud
Has thanked: 5 times
Been thanked: 13 times

Post by M@dds » Sun Feb 03, 2013 10:37 am

looks sweet! wish I had enough confidence to chop the body work on mine and do it........think ill leave it :?

User avatar
mercutio
LotM Winner
Posts: 14958
Joined: Sun Aug 08, 2010 8:45 pm
My Generation: 5G
Location: Sunny Manchester
Has thanked: 1 time
Been thanked: 4 times
Contact:

Post by mercutio » Sun Feb 03, 2013 11:19 am

great work buddy certainly got a lot of people thinking :lol: 8-)
bristol_bb4 wrote:ahhh a 5th gen, i love 5th gens :D :lol:
Dino wrote:I loves the 5th gen really.... just dont quote me on it... ;)
4thgenphil wrote:Mines 4 1/4 unches mate, sorry

http://www.ludegeneration.co.uk/profile ... -t618.html

User avatar
RattyMcClelland
Moderator
Posts: 9208
Joined: Wed Aug 04, 2010 10:02 pm
My Generation: 5G
PSN GamerTag: RattyMcClelland
Location: Leicestershire
Been thanked: 203 times

Post by RattyMcClelland » Sun Feb 03, 2013 12:15 pm

Wow good effort. Did you use an etch primer or or an epoxy primer on the metal 1st before filler?
Image

cebul
Supporter 2015
Posts: 1089
Joined: Wed Feb 01, 2012 2:59 pm
My Generation: 5G
Been thanked: 1 time

Post by cebul » Sun Feb 03, 2013 12:55 pm

What about the front wings??
ludes are ment to be driven, not wanking around on a stand like a Civic.

Image

Nik_L
Posts: 234
Joined: Wed Jan 16, 2013 9:48 pm
My Generation: 5G
Location: Buckhaven,Fife.

Post by Nik_L » Sun Feb 03, 2013 3:35 pm

Fair play on that btw, looks damn fine.

Also, the write up makes it look pretty easy if you are handy with a welder. Not saying it is, but it certainly dosn't look like a lot of work for some1 who is capable of that sort of job.

JoeDaddy
Posts: 13
Joined: Fri Feb 01, 2013 6:02 am
My Generation: 5G
PSN GamerTag: joedaddy
Location: Dallas, Tx.

Post by JoeDaddy » Sun Feb 03, 2013 4:17 pm

Thanks guys for the compliments.

@RattyMcClelland, I didn't use a etch primer or epoxy primer before the primer; what I used was a metal prep conditioner. What this does is that it keeps the metal from rusting and oxidizing during the time it's raw metal, I like doing this method because I like my body fillers to bond to bare metal for better adhesion.

@Cebul, The only thing that I did to the front fenders is rolled them and I rolled them quite a bit.

@Nik_L, To be honest it is fairly easy to do, if you know what your doing and as you mentioned handy with a welder but I don't think that it's hard at all just very time consuming.

Post Reply

Return to “Guides / How to's / Tech Section”