During the evenings I have been working on some other bits for the car, namely lights

I started off another thread about this, but I let that fall by the wayside, so here's this bit (out of order of the rest)
Feb 1 2007
I know there's another Projector/light thread going on (who posted up a couple of days after I posted pics originally in my rebuild thread!) but I'm doing it slightly differently - so it's good to have more than one option of logs - plus we can then see what each other are doing, and steal any good ideas!

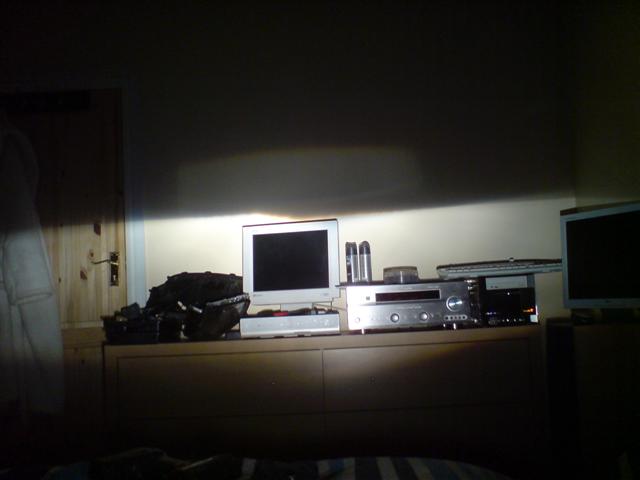
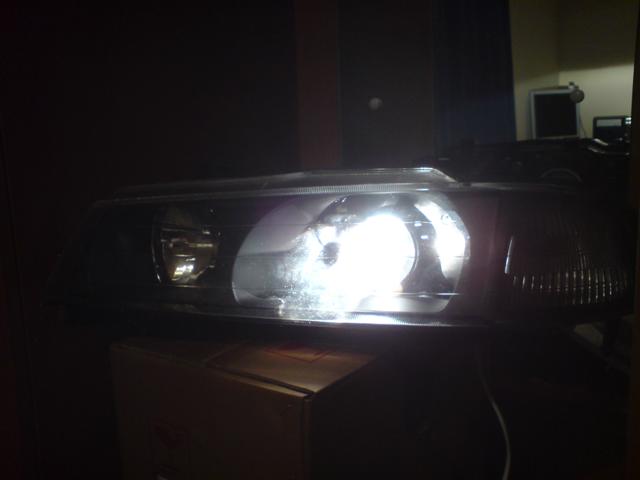
Basically, the reason for doing this, is the quite appalling headlights that 90's Japanese manufacturers thought would be good enough!
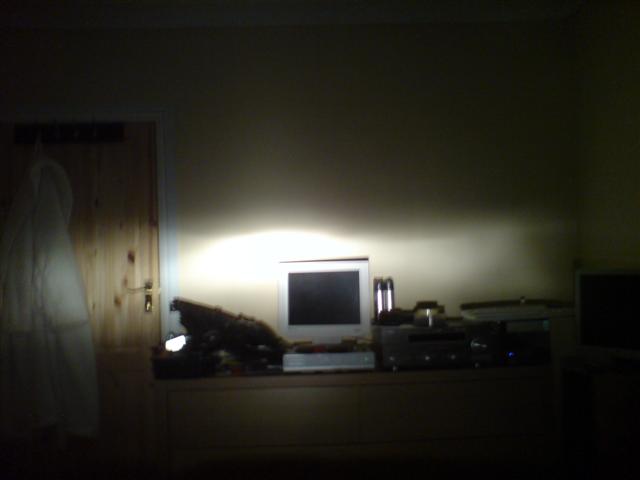
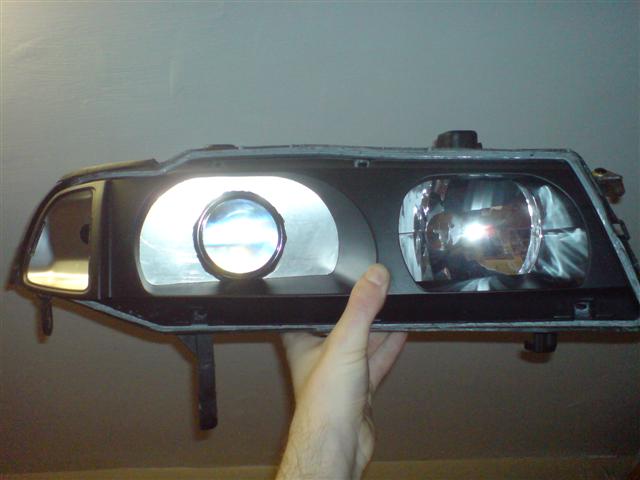
Quite clearly, the beam pattern is terrible, the light is spreading all over the place! Fitting brighter HID bulbs to the standard reflector won't really help too much - all it will realistically do is just have more light spreading where it shouldn't be going!
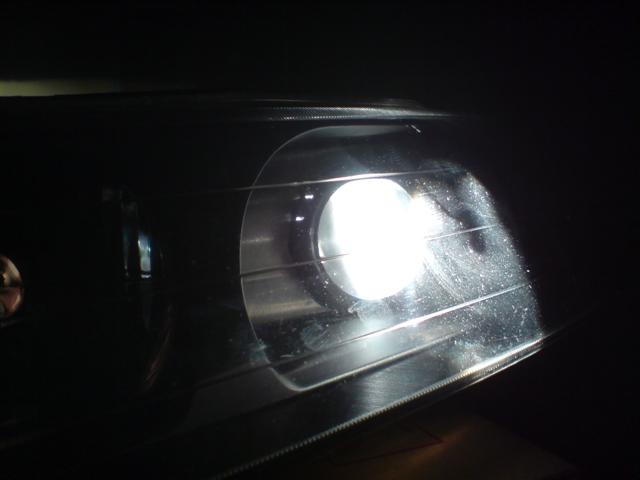
This is the pattern you get from a projector unit, such as those fitted to modern cars, especially those with HID lights. As you can see - there is very little light spread upwards, other than the small rectangle of this one, which is by design (for some reason, I'm not quite sure why!)
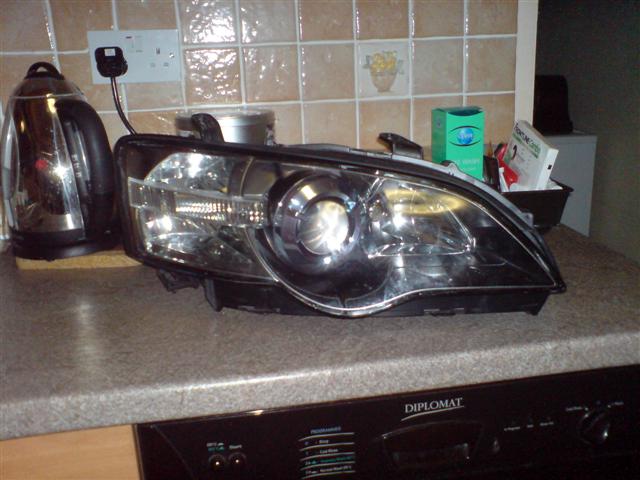
So, the first task is to get a suitable set of lights as a donor. I managed to get a pair of Subaru Legacy headlights, which had been replaced under warranty at the local Subaru dealer because the plastic lens had started melting on one of them (probably due to sitting for a long period of time with the lights on, with little to no airflow over the lens). Unfortunately, the HID bulbs and ballast were put into the replacement light units, so I do not have the actual HID bulbs/ballasts. However, an aftermarket set at 5300K will be acquired.
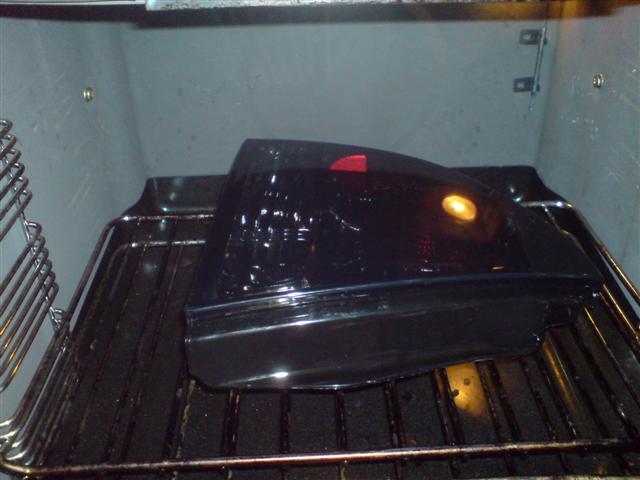
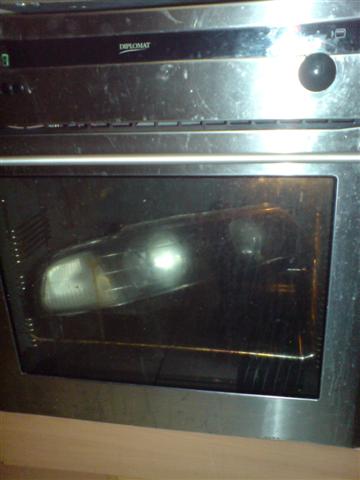
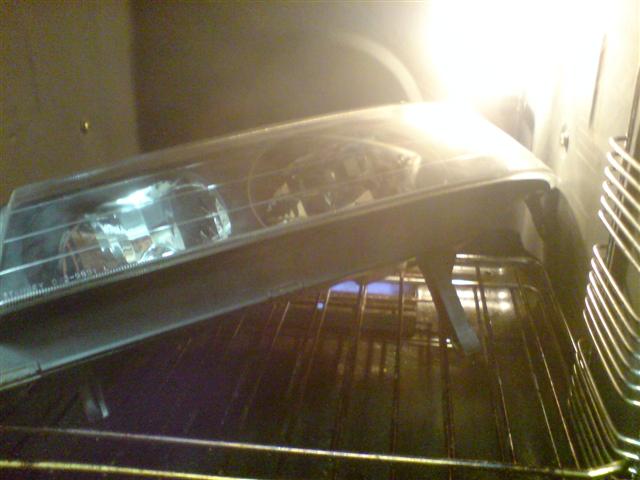
Next, I opened the Subaru and the Prelude headlights up by placing them in an oven on a low heat - I used Gas Mark 3.
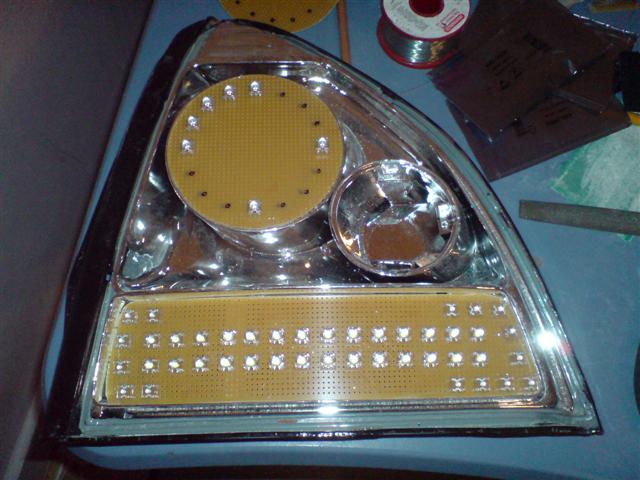
Once they were apart, I took the standard reflector out of the Prelude headlight, and started fabricating a piece that would replace it, and hold the projector unit.
So that I could still adjust the beam alignment, I incorporated the plastic mountings from the original unit onto the bit I was fabricating, so that I could use the OEM alignment screws.
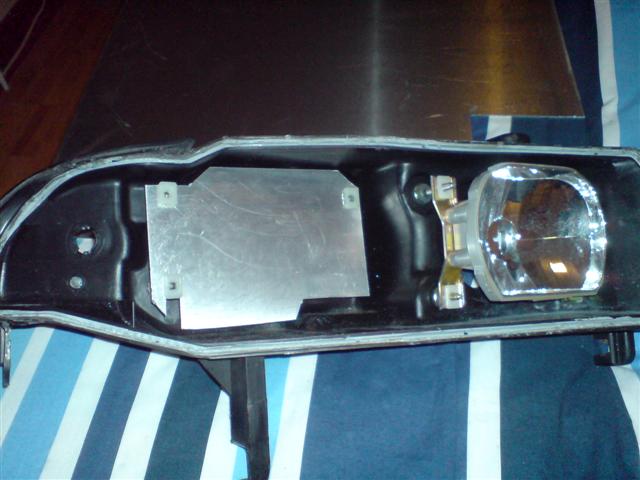
And now this panel placed into the housing - all the adjustment screws lining up nicely
I then kind of got a bit carried away with doing it, and completely forgot to take any more "in progress" pictures

So here's a picture that you can see the modifications to the aluminium plate to hold the projector unit, and the cut-out for the beam to project through:
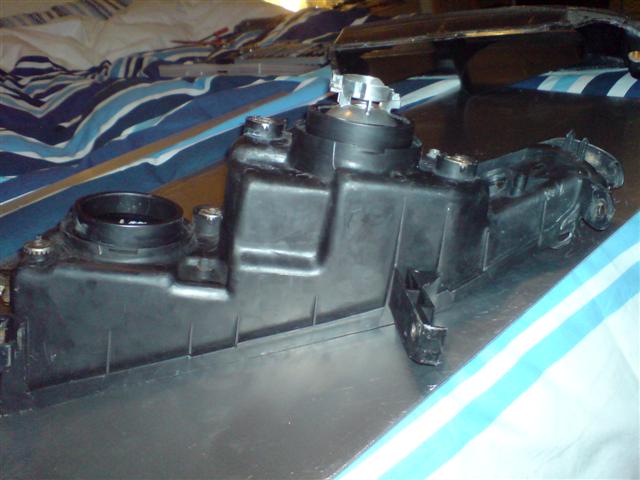
And here's how much it sticks out at the back - there is enough for the rubber cover to *just* fit on (albeit at a little bit of a stretch)
Once I'd done this, I bolted the headlight onto a car, and compared the beam aim with the original unit - it was miles off! [smilie=hate-wall.gif] It was about 1ft too high at 4ft distance... and could not be adjusted any lower, as the top edge of the projector was already touching the opening in the back of the casing.
In trying to adjust this, I also started to bend the aluminium plate out of shape, presumably from where I'd cut too much away
So... back to the drawing board I went!

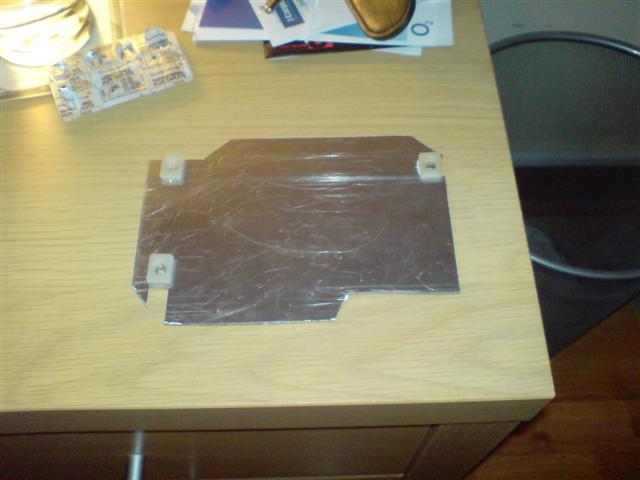
I started again, with a new plain sheet of aluminium, determined to keep it as strong as possible, and cut away as little as possible!
So, I decided instead of cutting out slots for the bits of plastic for the adjusters, I would instead utilise the original metal bar they are attached to from the reflector unit, and screw these to the sheet instead.
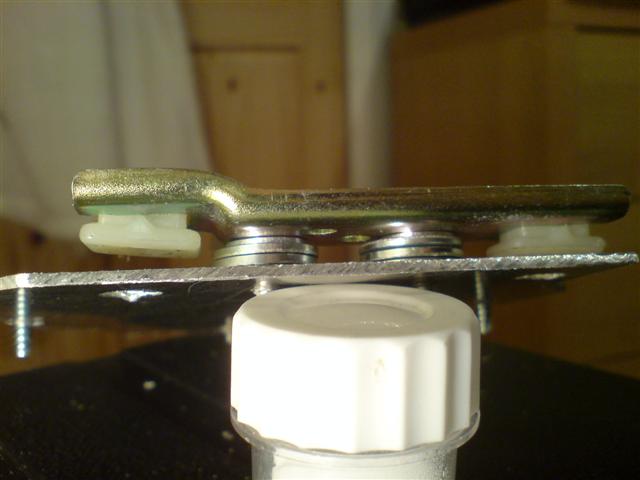
The washers allow the plastic bushes to move as the unit is adjusted, without putting additional stresses on the adjustment screws. Small holes are also cut in the aluminium for the adjustment screws to pass through.
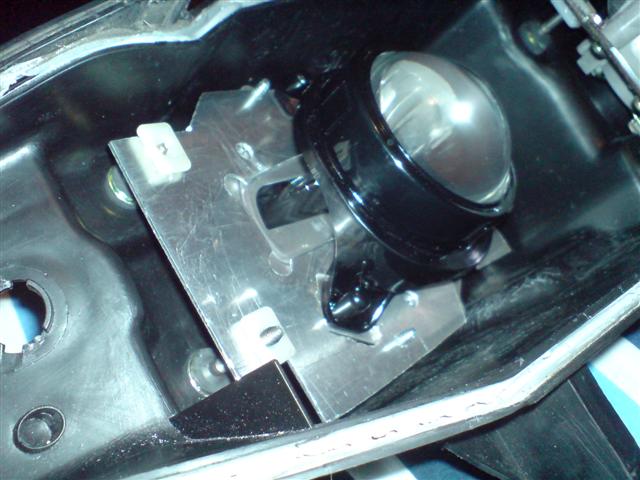
Then I aligned the projector unit up with the hole in the back of the light unit, and marked where the projector needed to be mounted - this ended up over 1cm lower than I had previously done it (by lining the projector lens with the centre of the visible area!)
The piece of metal from the projector unit that holds everything together square, and gives the beam pattern has now been screwed to the plate.
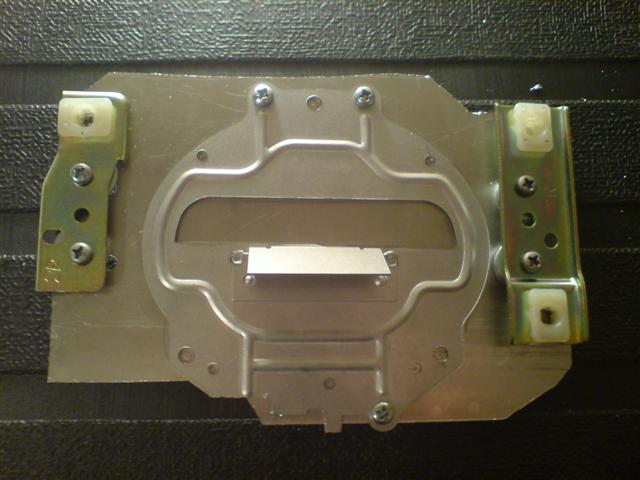
However, it will be on nuts/bolts, so that the rotation of the beam can be adjusted so that it is perfectly level. Therefore, the holes where locating pins and screws attach the unit together (all the holes in the plate in the picture above) will have to be enlarged to allow a small amount of movement for fine adjustment.
Feb 13 2007
Right, worked some more on these last night
I finished the plate to mount the projector to, including the hole for the beam to shine through (the only thing left over from before).
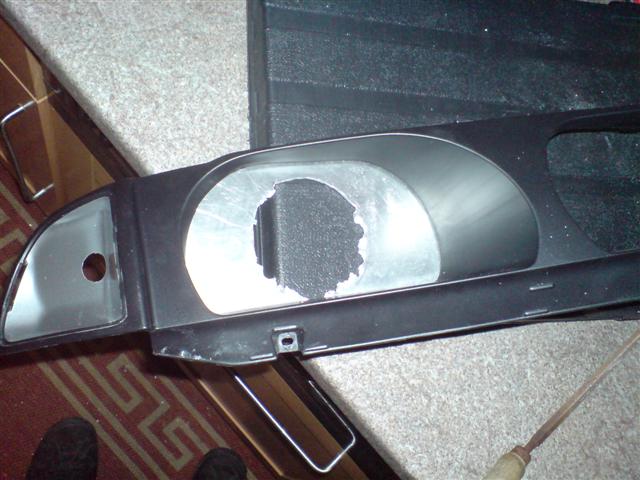
I also started work on the plate which will be attached to the shroud, which the lens will sit through once finished.
Here it is after drilling it out, roughly (and a couple of minutes of filing)
And once filed enough for the lens to sit through:
The hole still needs to be enlarged a bit, so that the lens position can be adjusted properly. The hole will be surrounded by some rubber hole edging, which will prevent any excess light leakage, but still allow movement
The plate will also be painted black so that it all matches up nicely
 Feb 20 2007
I have so far been working on the light that was damaged in my accident, so I finally bit the bullet last week and cooked the ones that came from the donor car!

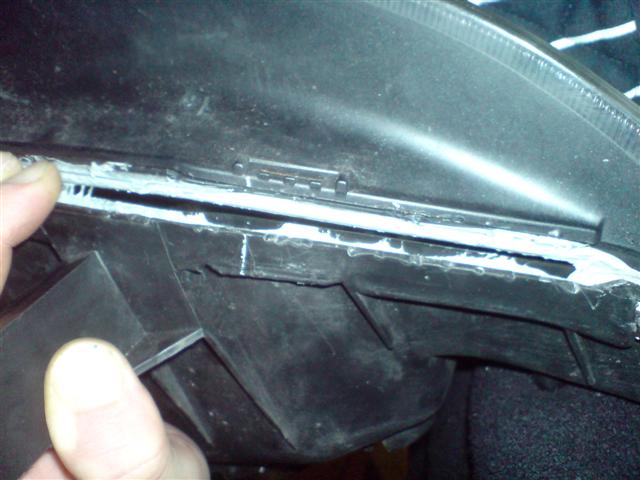
It then needed prising apart. This grey glue stuff is horrible, and gets *everywhere*!
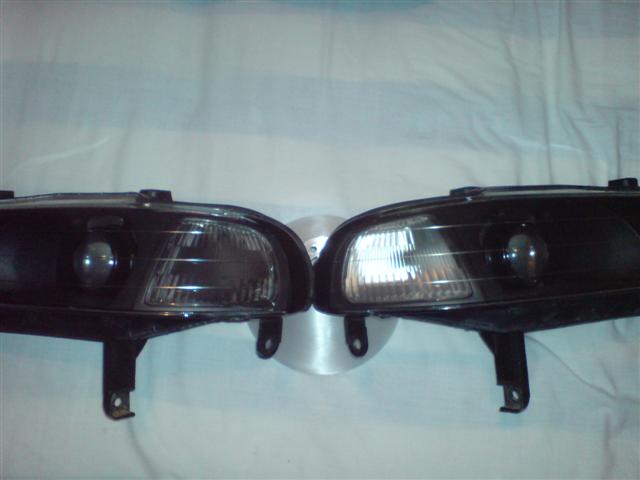
And a little while later, I had two separated JDM headlights!
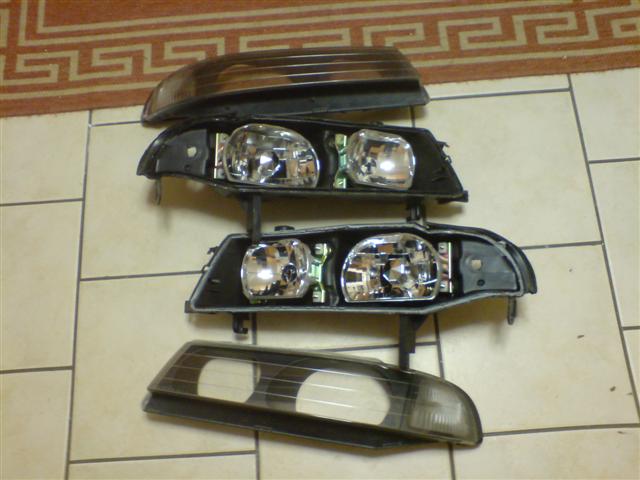
I was then able to make an almost exact duplicate of the plate to hold the projector unit, just had to adjust a couple of holes as they're offset to one side on the projector unit, and the plates are mirror images of each other.
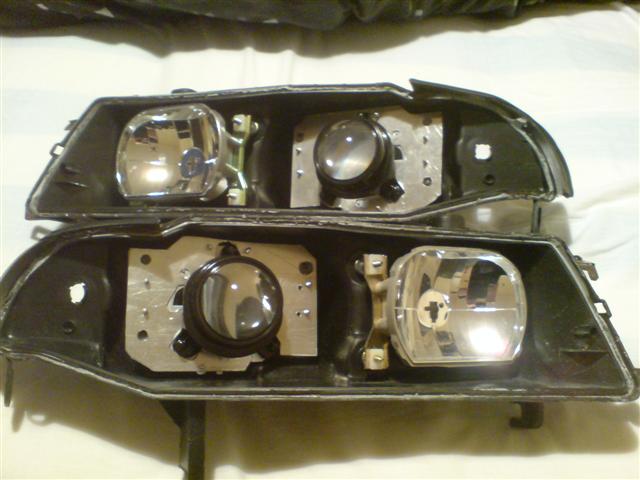
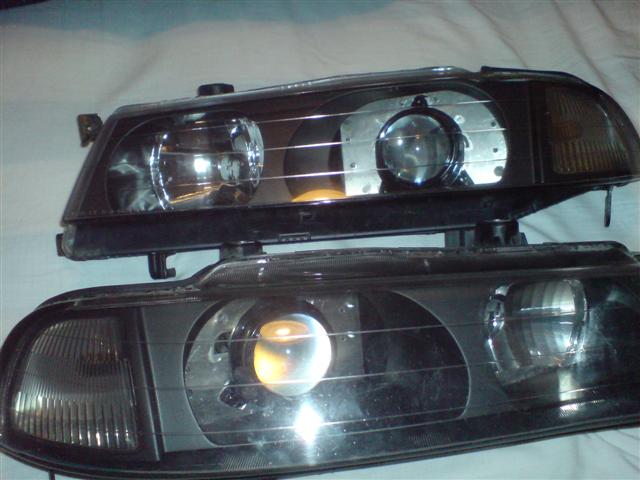
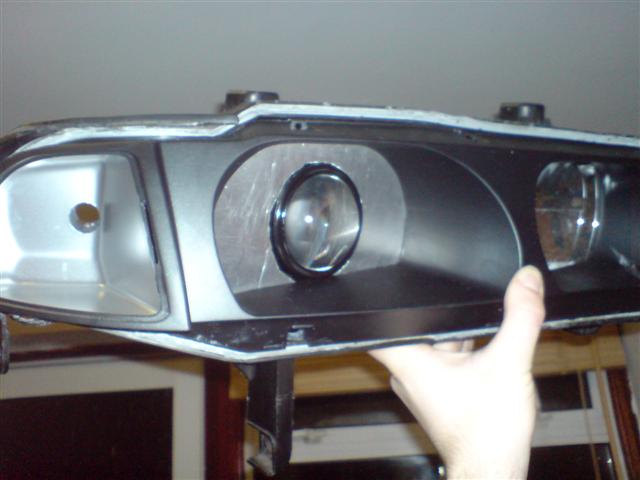
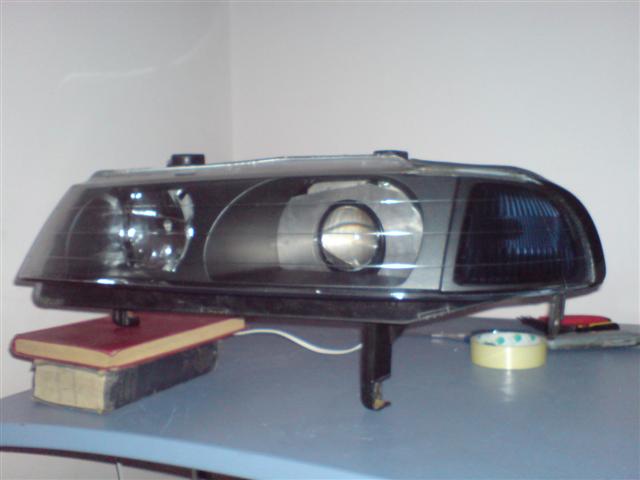
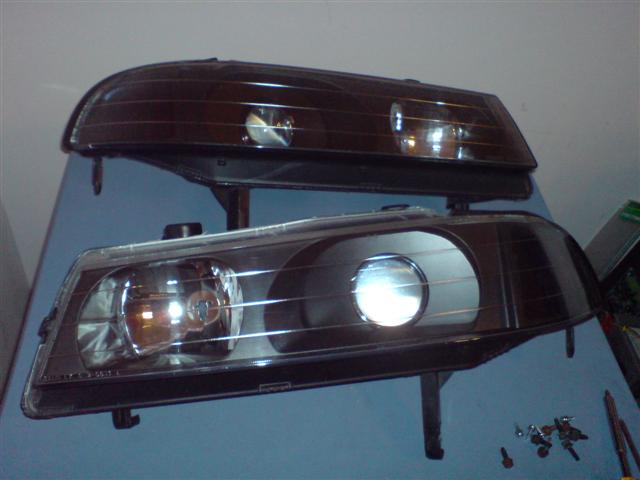
Et voila, two projector units in Prelude headlights
I still need to make up the other front plate, which will hide the ugliness of my workings, and then put them back together, once I've double-checked the alignment of them on the car
And a couple of shots of them switched on
 Feb 26 2007
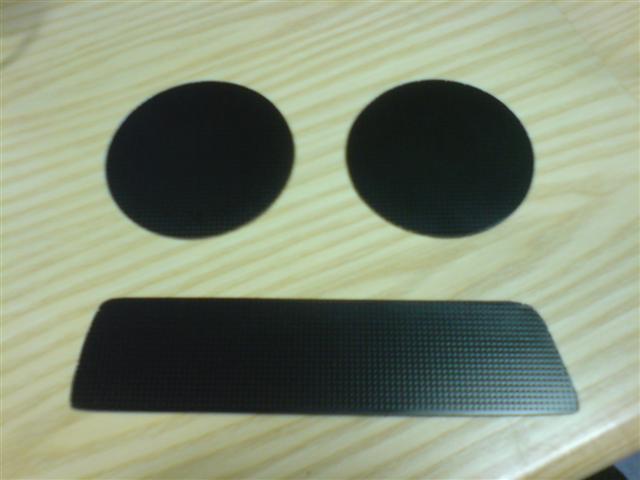
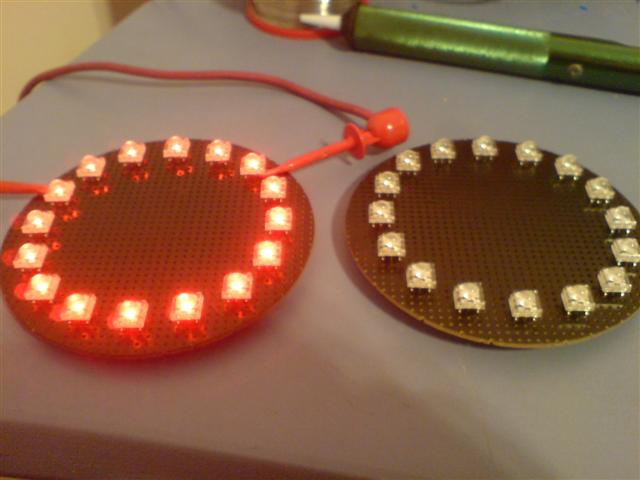
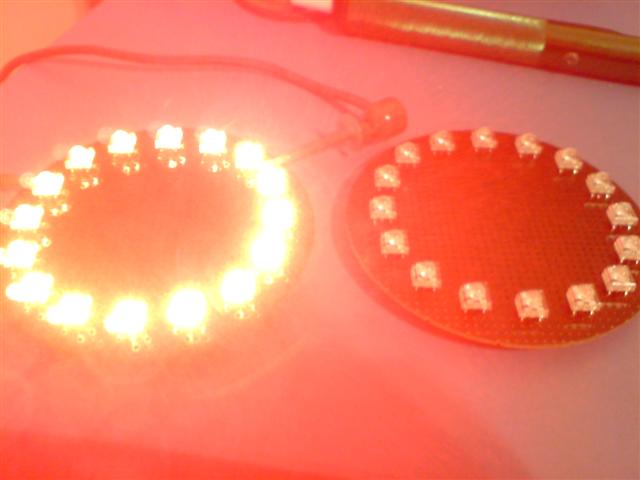
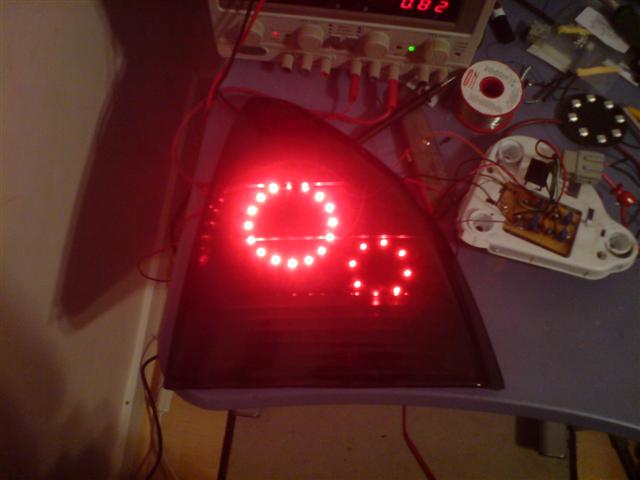
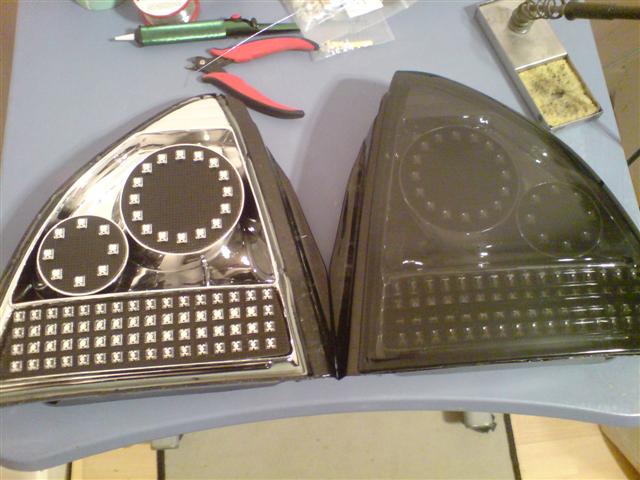
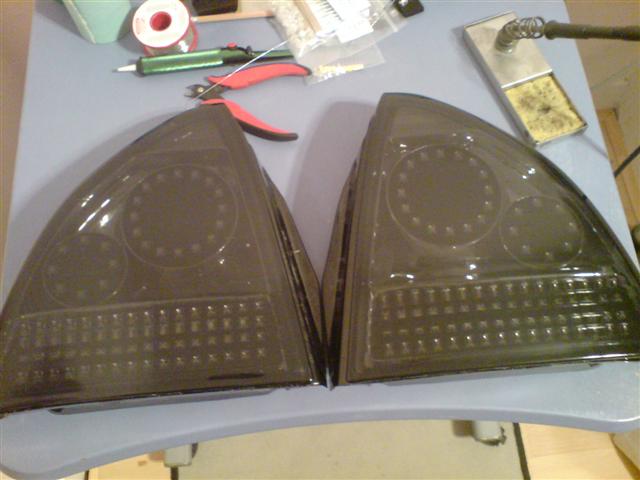
I then started thinking about the side-light section, which was the one part of the standard headlights I didn't like design-wise.
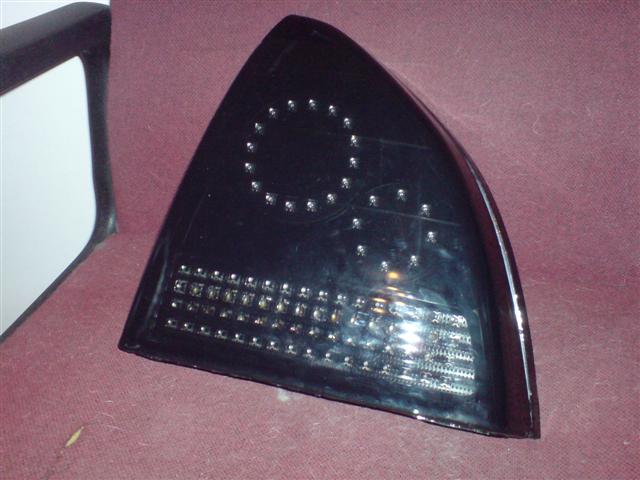
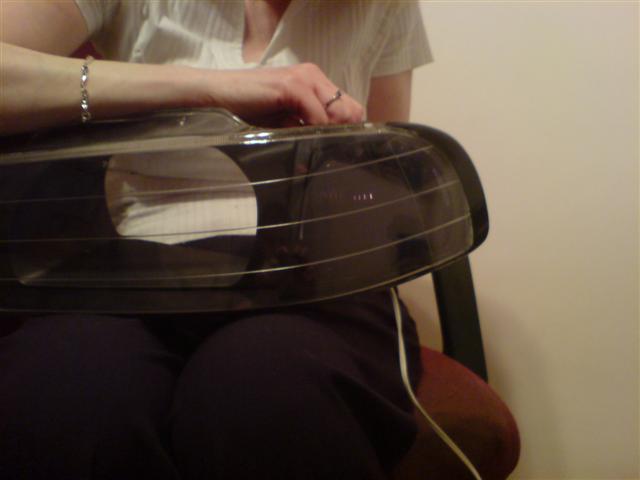
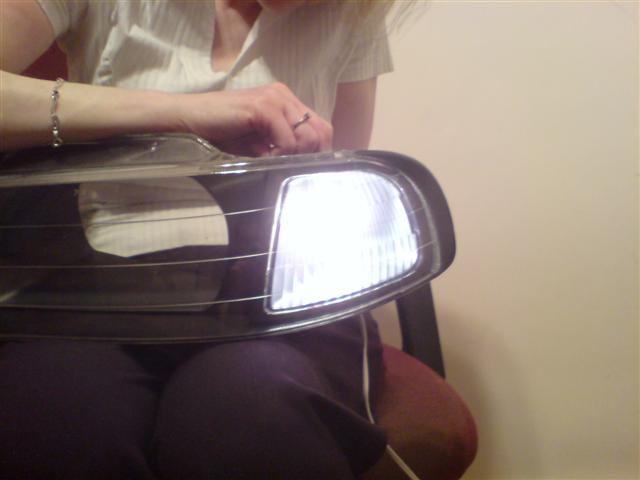
So, I wondered what it would look like with the sidelight lens tinted, so that it follows the dark/black theme I'm going to have with the rest of the light unit.
So I used a bit of tinting film on the sidelight lenses and tried it out (with some help from my mum) to see how much light I'd get.
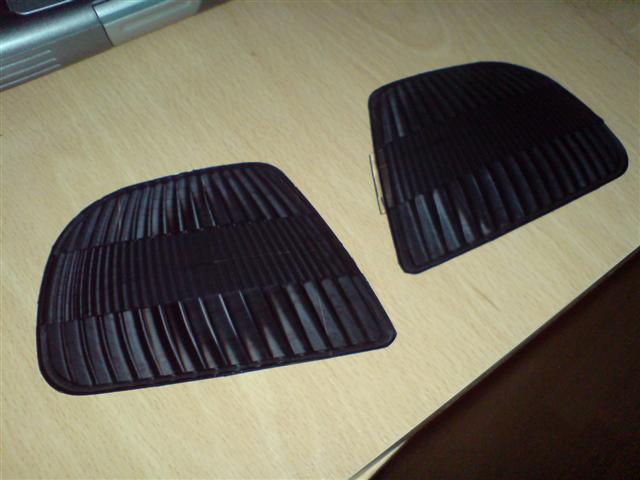
Once I was happy with that, I finished up the projector surround plates, and sprayed them black:
 May 16 2007
With a long break from my headlights (more later as to why
) I looked at them again, and finally made my decision on something I'd been uhmming and ahhing about for a while - whether to use a bit of aluminium around the projector lense, to make it look a little more "OEM" and to break up the black a bit (and draw focus to the fact there's a projector lamp there!). So, I cut up an aluminium lamp shade from B&Q (thanks
exboyracer for the tip - shamelessly stolen from him!), and then had the following:
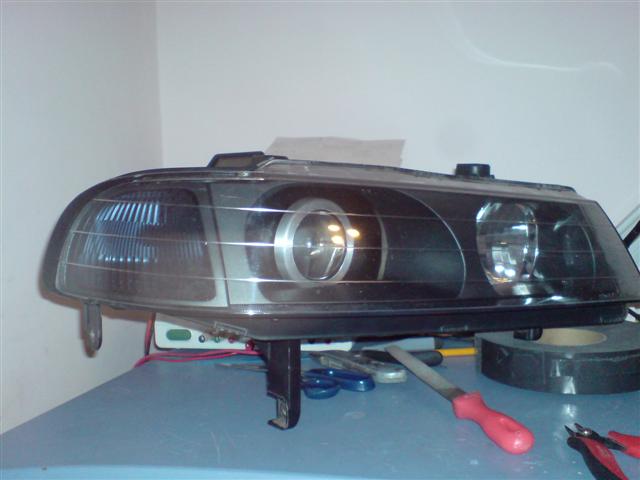
It still needs a little straightening out, and I may possibly polish it, rather than leaving it brushed - still unsure!
So that's where I'm at with the front lights at the moment