After running around for a week with the new Alpine speakers, which now run-in slightly sound even better! However, there is a serious lack of substance to the lower portion of the sound range - or in other words, I need a sub!
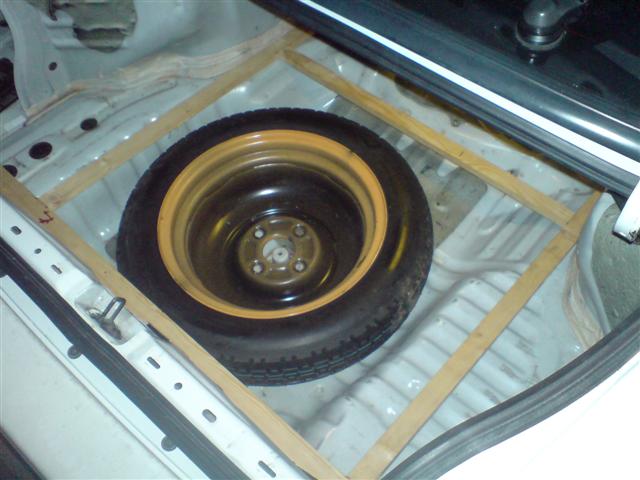
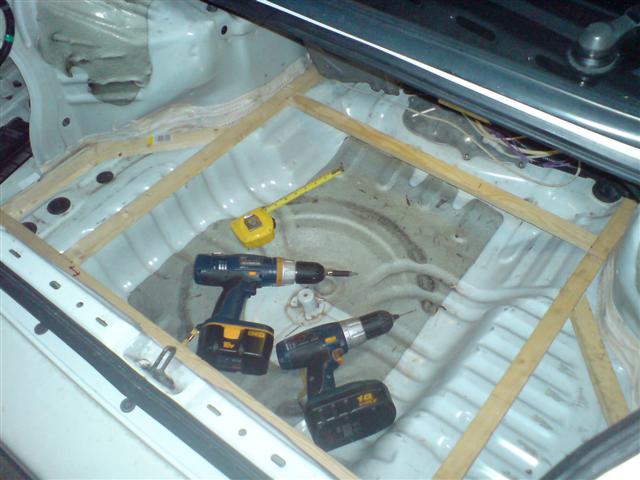
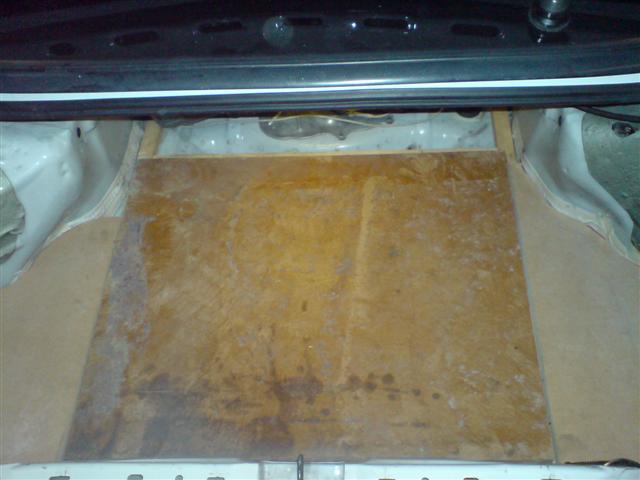
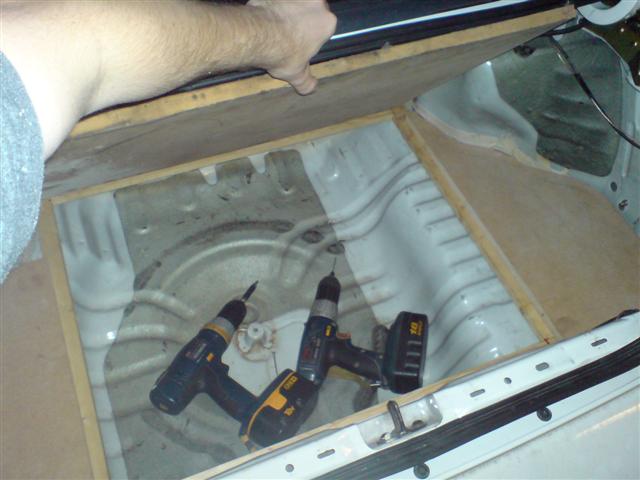
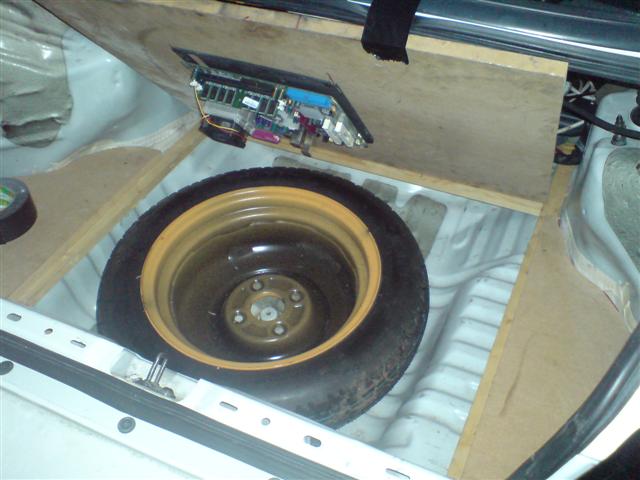
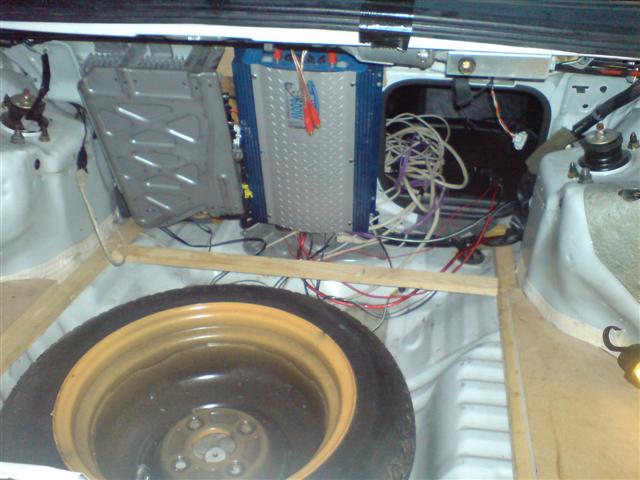
Because of the CarPC boot build, I couldn't put a standard sub box in there and still have easy access to the CarPC and spare wheel, plus I didn't want to lose all my boot space to a large sub box.
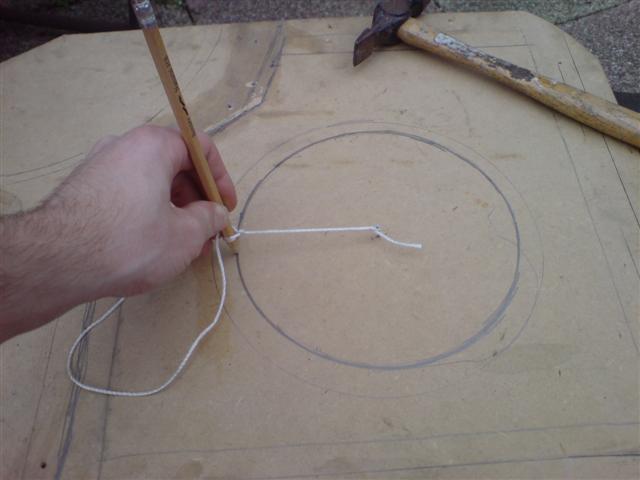
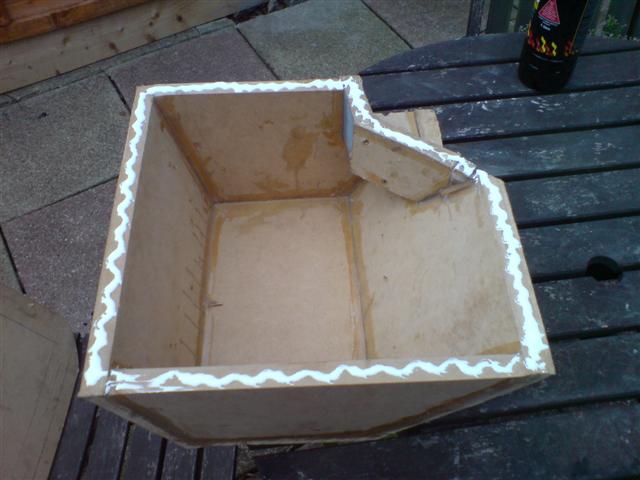
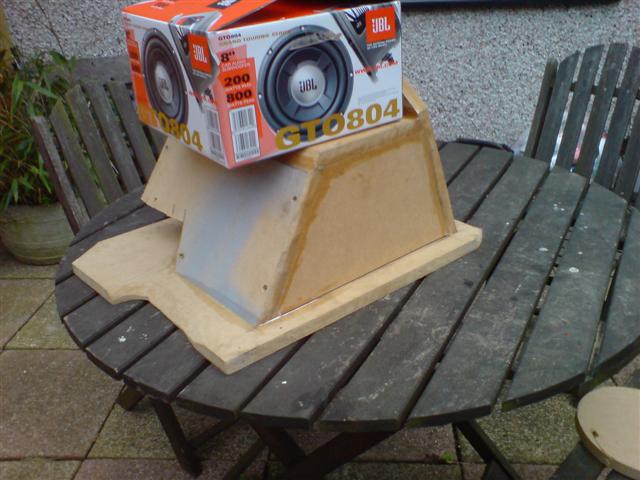
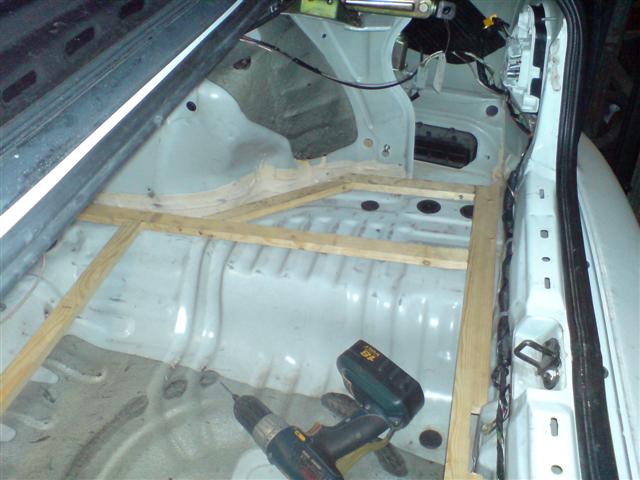
So, I started to build up a box which would fit nicely in one side of the boot, and not take up too much room:
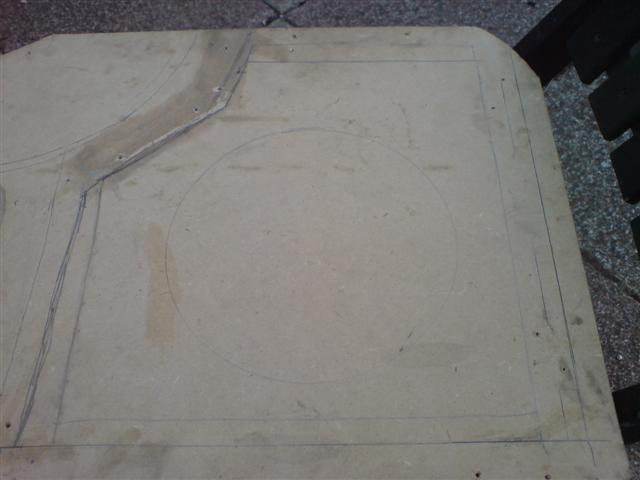
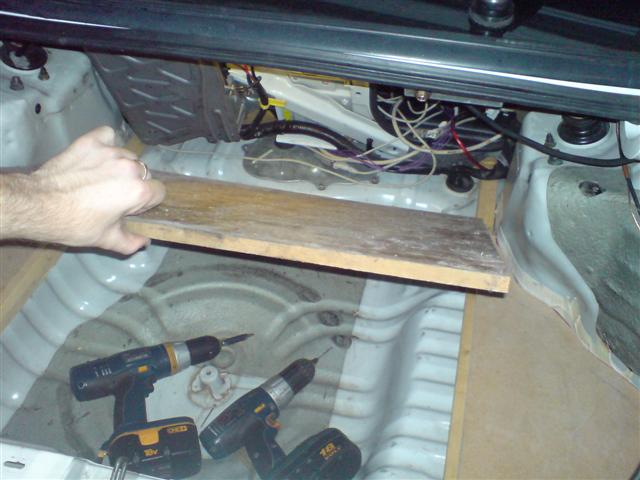
Cardboard template:
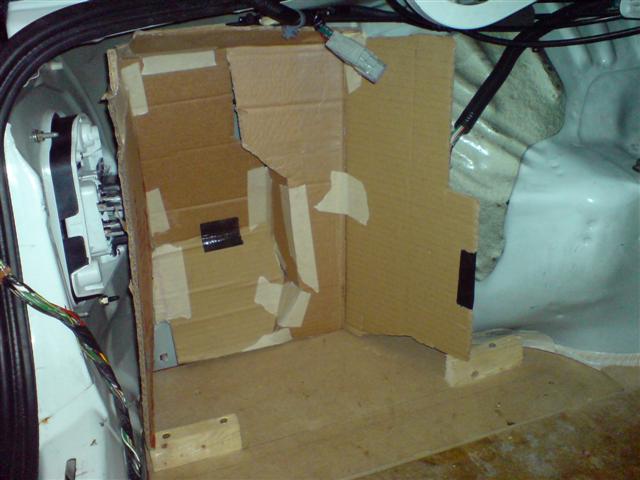
Including bit that extended back right into the rear quarter, to maximise the volume of the box, whilst minimising the impact into the boot.
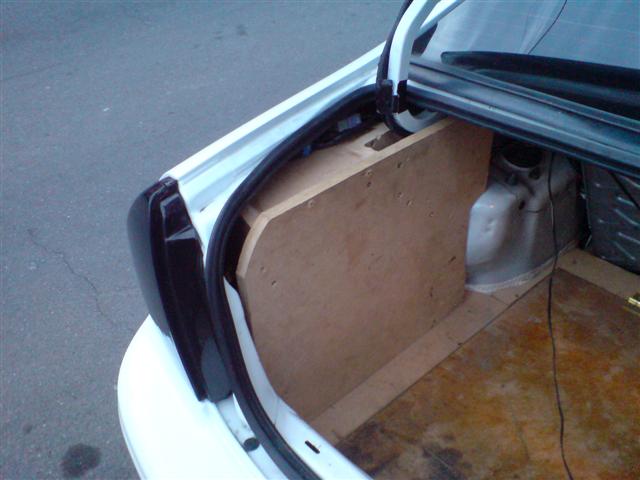
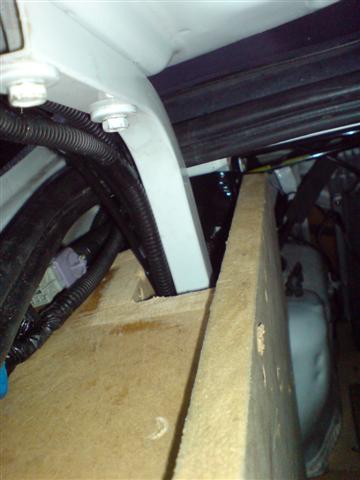
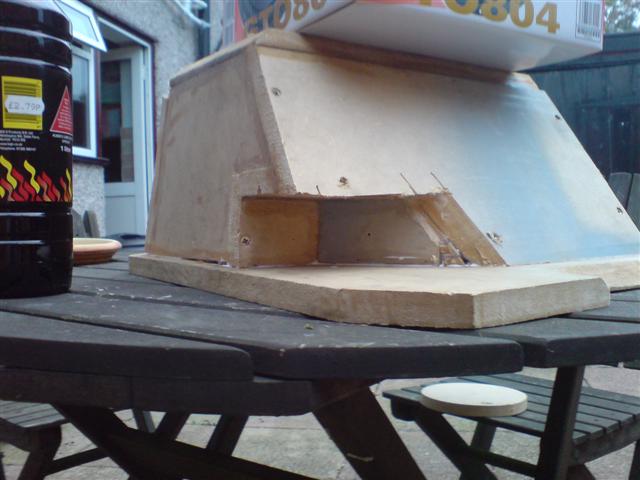
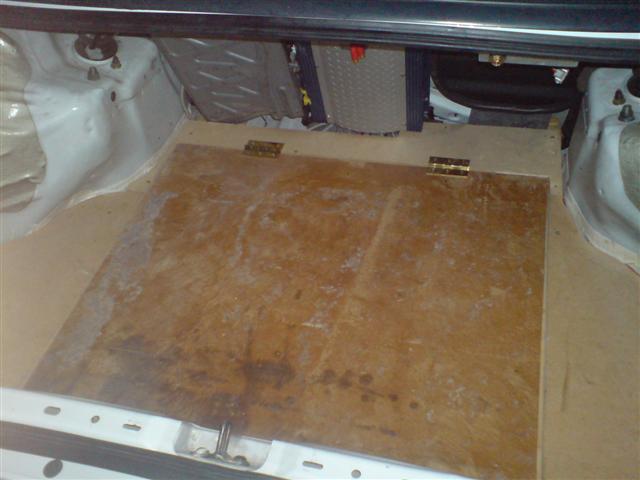
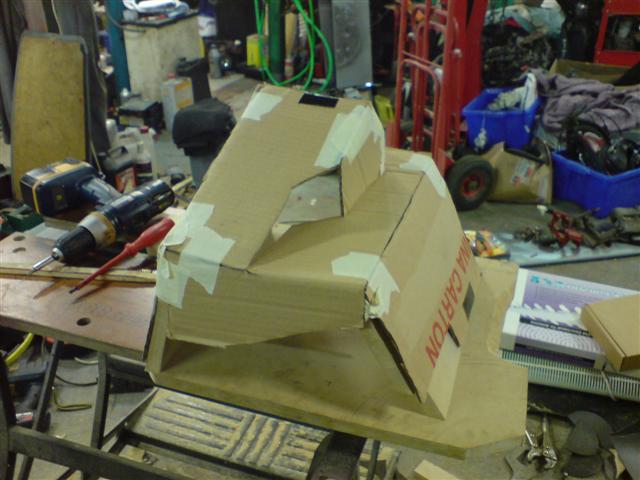
Unfortunately, that bit just proved to hard to easily produce (and have it still fit in the boot), as I decided to bring the front edge past the hinge (again to maximise the available volume), so I just made it without the bit going backwards:
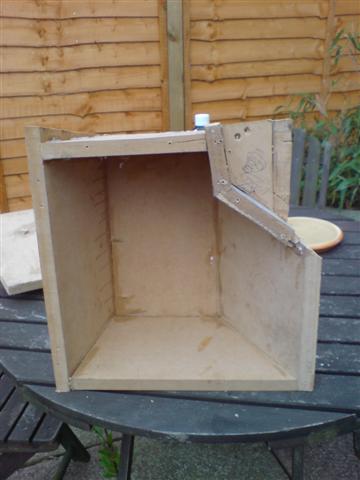
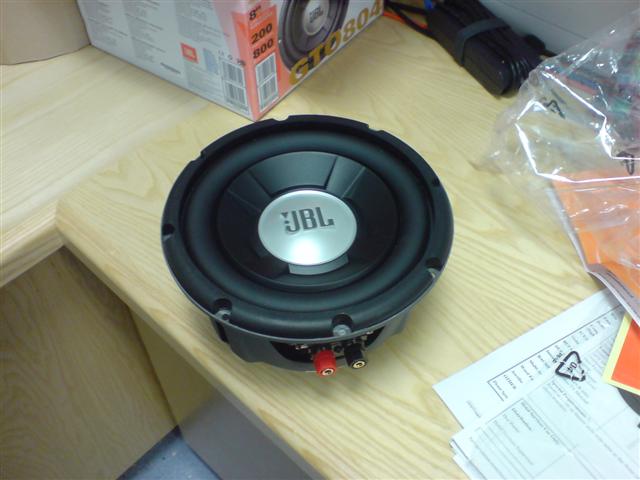
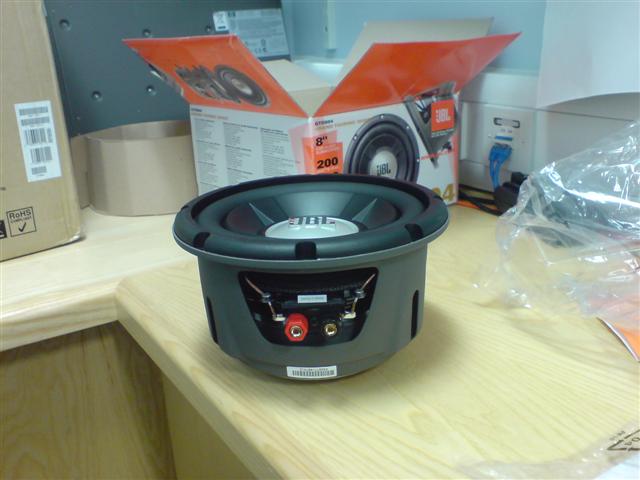
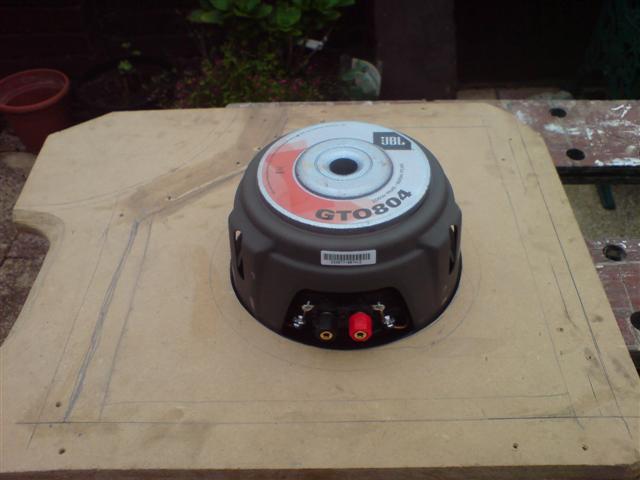
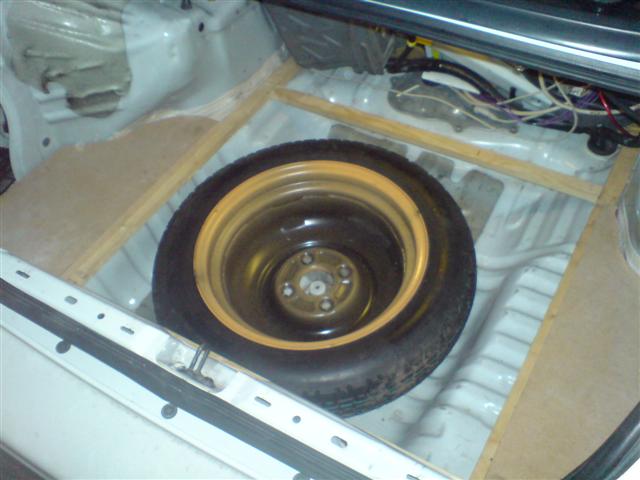
Internal volume is just under 0.5 cubic feet, which makes it just about right for an 8" sub, which should provide a nice little bit of punch, without being too overpowering, which is just what I want.
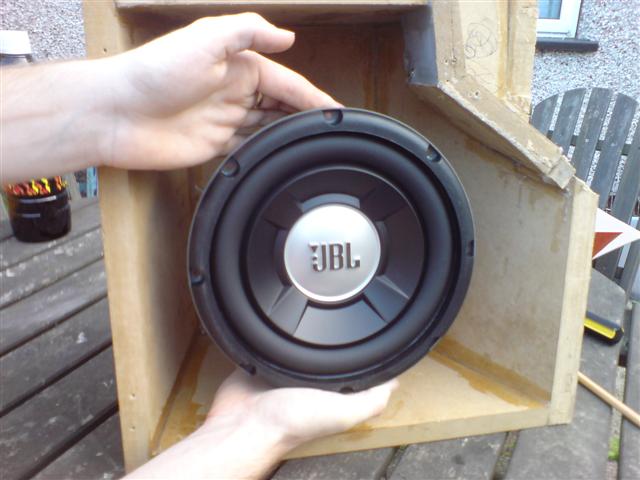
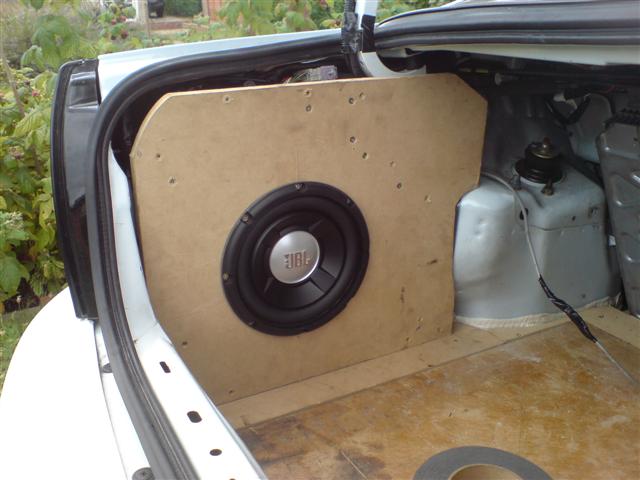
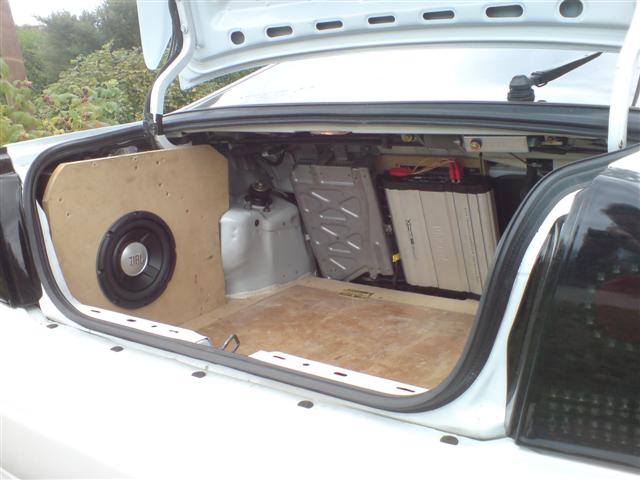
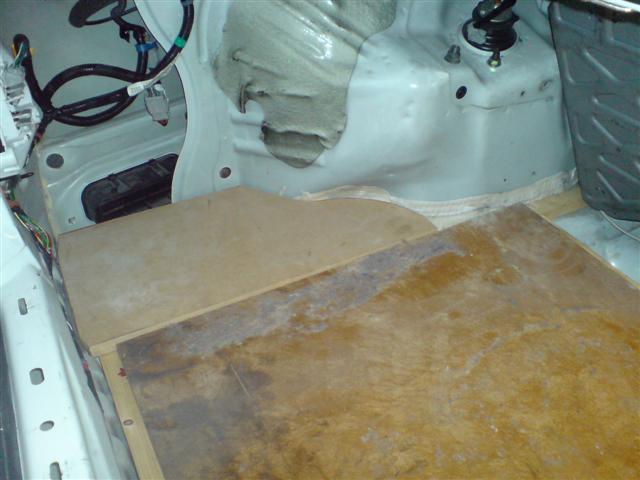
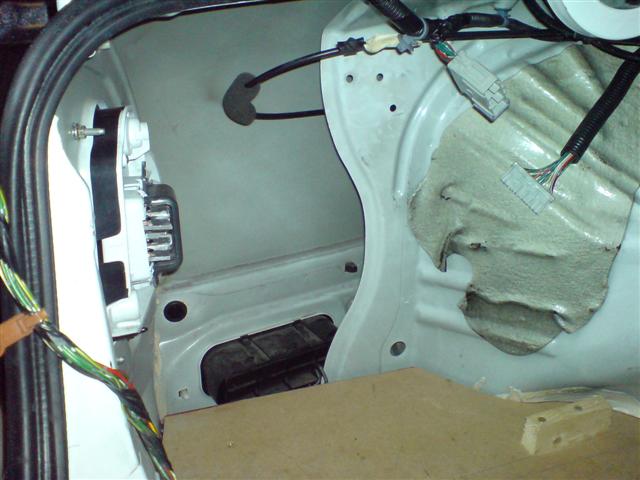
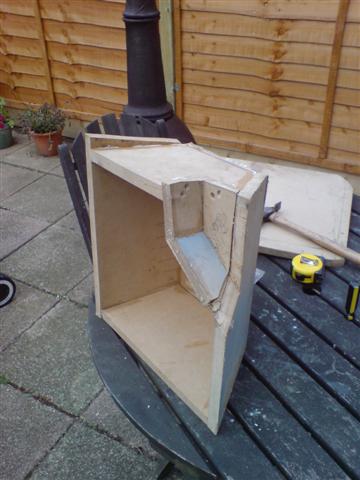
And, finally, as it is at the moment, in the boot (still need to order the sub), you can see how it fits around the hinge, and how little boot space I've really lost, compared to what I would if I had a pre-made box sat in the middle of the boot!