BUILD PART 4) - Parts (Cont'd) – Fuelling again
Fuelling
Just rounding up my final bits on the fuel side of things.
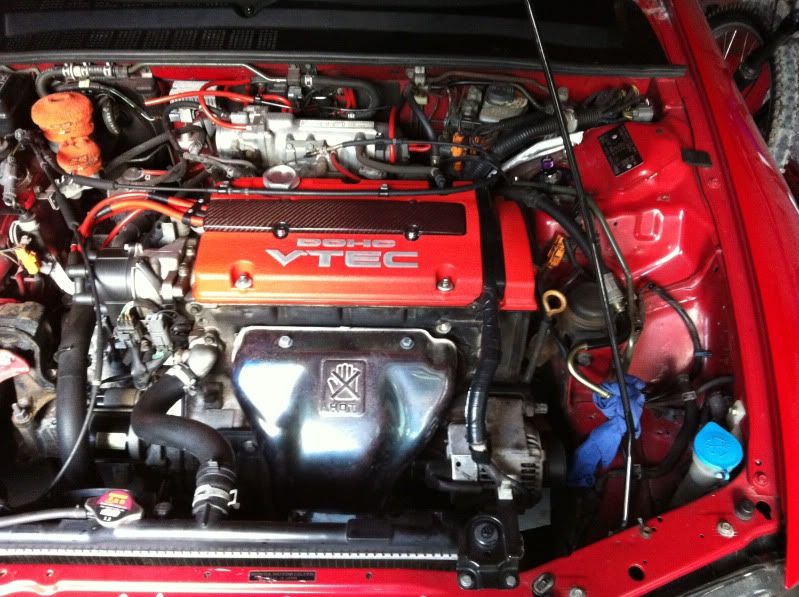
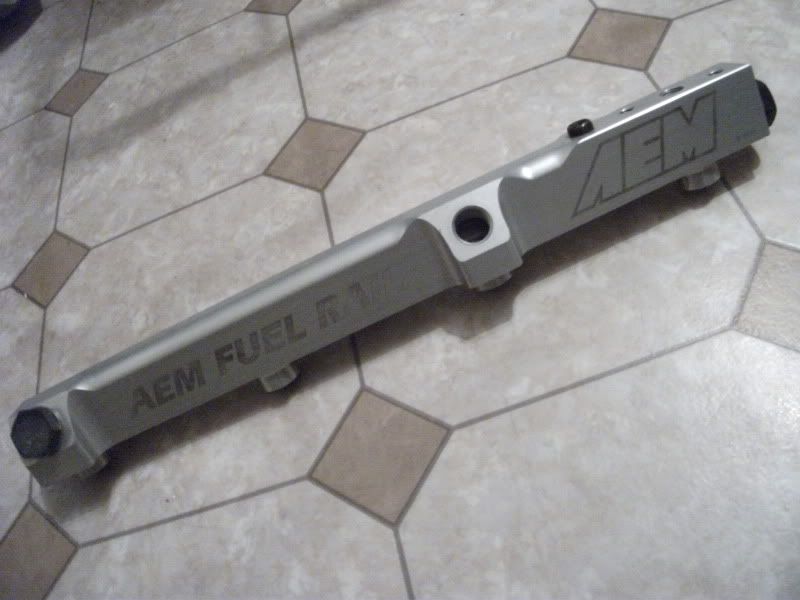
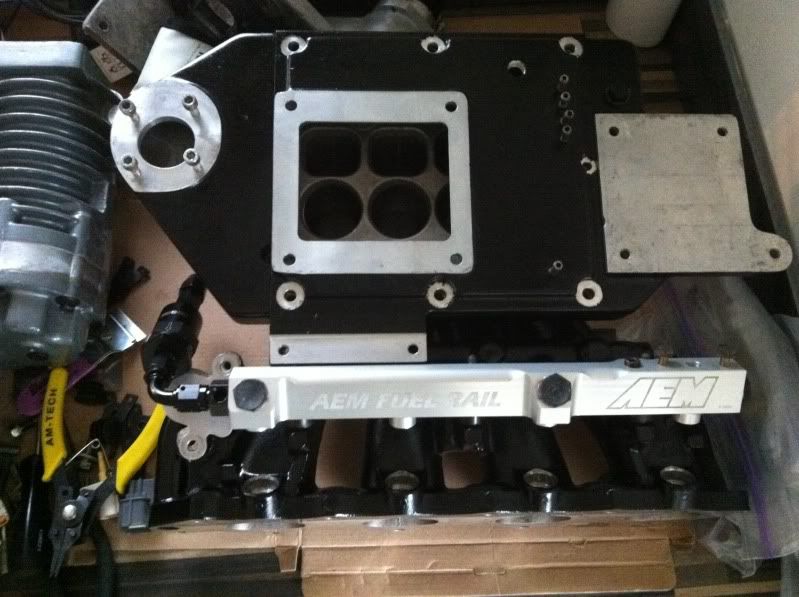
I mentioned back in the original Fuel section about getting a fuel rail and more, but ruled it out with funds available. You may have already noticed in a previous post that I ended up picking one up over time. It’s an AEM hi-flow fuel rail, with a larger 1/2 bore internally, AN6 ports and a spare 1/8npt port for adding a pressure gauge. Adds a little bling to things as well.

I could use the spare port for a pressure gauge but it’s a little tight in that area with the supercharger and the IACV relocation, so I have made other plans with the next batch of parts…
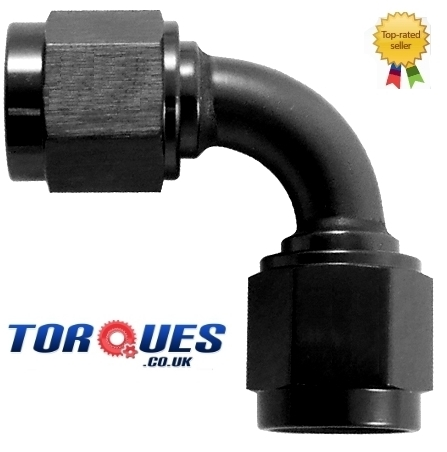
AN lines!
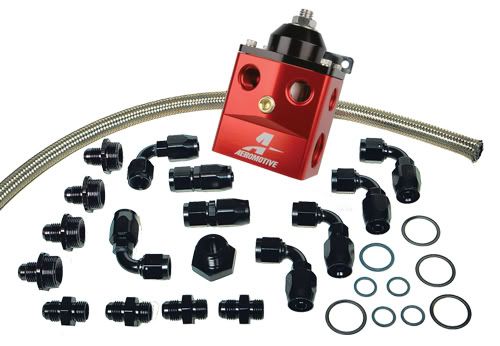
(Example Pic)
Probably a little overkill and especially for the short supply line I’ll be using them for, but my decision to use some AN fittings and braided hoses is for two reasons:
1) The AEM fuel rail I got second hand and as a result it was missing the banjo bolt fitting, however I wish to use the driver’s side end port anyway for better access in the future due to the supercharger belt / jackshaft routing. These large ports are a -6AN size already!
2) I had a replacement AEM Hi-flow Fuel filter, but plans have changed again to simplify the install and make a more accessible fuel filter setup. So, Phil enjoy the AEM!

I decided to use a very lightweight inline filter, which you will see further down below in the parts buildup. But this new fuel filter also has the AN6 male ports.
So what is AN? Or even NPT???
Here’s a little info on these terms courtesy of some cut and pasting from the fuel gods that are Aeromotive. Plus I havn’t done a little educational bit for a while!

Aeromotive Inc wrote:The designation AN stands for Army/Navy and calls out mil/spec (military specifications) for dimensional standards of hydraulic lines, hose-end connectors and port adapter fittings. AN specifications are a popular standard met by all companies that manufacture AN style performance fuel hose and accessories. For many there has been much confusion about the subject of AN lines, NPT and ORB ports, and how all of this works together. Here are the answers for those wanting to know.
The flare angle used to seal AN connections is required to be SAE, 37 degree, as apposed to the 45 degree flare commonly found on household plumbing adapters. This angle can be found on the male point of the port adapter fitting and on the female inside the hose-end nut. AN port threads are not NPT or “pipe thread” but instead utilize straight threads (like any normal fastener) and SAE O-Ring Boss (ORB) technology for sealing. AN lines, ORB ports and the appropriate port adapter fittings are measured in inch/fractional sizes.
A dash (–) size in AN “speak” refers to the I.D. of a standard, thin wall, hard line as the basis to construct a comparable flexible hose that may be used in it’s place. A 1/2”, thin wall, hard line measures .500” on the outside diameter (O.D.), has an inside diameter (I.D.) of 0.440”, and a wall thickness of 0.030”. An appropriate, flexible replacement line would be –8 AN, with a minimum 0.440” I.D. Depending on line construction, rubber with stainless steel or nylon braid, or Teflon with stainless steel braid, the line’s wall thickness and O.D. may vary.
AN line sizes will have a dash (-) preceding the line size. The number after the dash refers to the number of 1/16 of an inch O.D., thin wall, hard line to which the flexible line will compare. For example, calling for a –8 AN line would mean the engineer or system designer requires a flexible line, made of certain materials suitable for the application, that would have the minimum I.D. of an 8/16” (1/2”) O.D. hard line. The actual line construction is dictated by the application with regard to line flexibility, vacuum and pressure capability, abrasion resistance and chemical compatibility, etc. Regardless, the engineer knows a -8 line of any construction will have a minimum I.D. equal to 1/2” hard line (.0440”), and be able to support similar flow rates.
Here are some of the common army/navy (AN) line and thread specifications:
-04 AN line = 4/16” = 1/4” hard line. –04 AN Port and Fitting thread is: 7/16” -20 TPI.
-06 AN line = 6/16” = 3/8” hard line. –06 AN Port and Fitting thread is: 9/16” -18 TPI.
-08 AN line = 8/16” = 1/2” hard line. –08 AN Port and Fitting thread is: 3/4” -16 TPI.
-10 AN line = 10/16” = 5/8” hard line. –10 AN Port and Fitting thread is: 7/8” -14 TPI.
-12 AN line = 12/16” = 3/4” hard line. –12 AN Port and Fitting thread is: 1-1/16”-12 TPI.
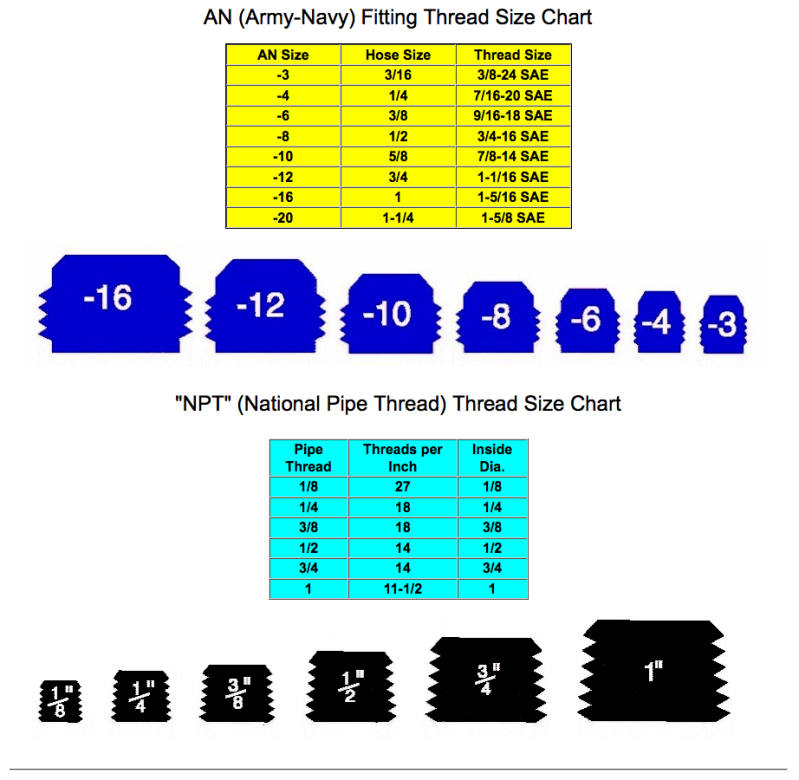
Modern, high performance fuel systems are predominately fitted with safer, better sealing, higher flowing, AN-ORB ports. These ports require a straight thread adapter fitting, with a sealing O-Ring installed over the threads, up to the hex, that disappears into the port when properly installed. No additional thread sealer is required or recommended.
National Pipe Thread (NPT) ports, AN Ports and port adapter fittings:
Over the years, in low-pressure hydraulics, NPT has been a popular thread for ports and adapter fittings. When NPT ports are used in a fuel system with AN line, an adapter fitting to convert from NPT to AN is required. NPT was designed for use with thick walled pipe, typically black pipe, used in fixed structures like buildings, to handle distribution of water and natural gas. Black pipe isn’t particularly bendable, flexible or lightweight and hardly desirable for plumbing a high performance fuel system. As a result fittings that adapt NPT ports to AN line are common to allow flexible AN lines to be utilized in performance automotive fuel systems.
Unlike AN thread, which is straight, NPT ports and fittings are both tapered. NPT male to female adapters start loose, threading easily but get tight and harder to turn well before the hex touches the port. When threaded together, the NPT design creates a wedging effect, binding the thread in order to seal. The use of a thread sealant is common and required with NPT, as it does not consistently create a positive seal on it’s own, like an O-Ring configuration. It’s common to see a number of threads showing on the adapter fitting when NPT is sufficiently tight, making NPT assemblies bulkier and less clean appearing than a similar AN assembly.
NPT ports are commonly adapted to AN lines, but the NPT size designation is confusing, identifying the pipe I.D. rather than the O.D. Black pipe has a much thicker wall than hard line, so the pipe/port O.D. is much larger than the NPT size would seem to indicate. For example, a 3/8” NPT port will have an outside diameter of 5/8”, allowing for a wall thickness of 1/8” (0.125”). As a result, NPT port sizes allow use of a one step larger AN line than their indicated size would seem to support. As long as the wall of the adapter fitting is not overly thick, the following NPT Port to AN adapters will provide a common I.D. throughhole:
Maximum AN line for NPT port size:
1/4” NPT is compatible with up to -6 AN (3/8” hard line)
3/8” NPT is compatible with up to –8 AN (1/2” hard line)
1/2” NPT is compatible with up to –10 AN (5/8” hard line)
3/4” NPT is compatible with up to -16 AN (1” hard line)
Adapter fittings are available for connecting larger than recommended AN lines to the above NPT ports. Beware, the inside diameter of the adapter fitting will necessarily be smaller on the NPT side, creating a flow restriction that many racers and hotrod enthusiasts overlook. This is a poor practice and should be avoided, but when no alternative is available, consider sourcing a steel NPT to AN adapter from a good hydraulic supplier. Steel adapters will have a thinner wall than aluminum, due to the increase in material strength, leaving a larger I.D. to support higher flow on the too small, NPT side of the adapter.
Some interesting stuff I hope?

In terms of sizing the correct pipes for my needs, I looked around US sites to see what everyone was using and also found some recommendations on AEM’s site. 6AN (the same size ports I am forced to use because of the fuel rail, is good to flow enough fuel up to 500hp ‘apparently’, obviously with the correct pump, etc. This would rely upon lines from tank to injectors though, so if I was aiming for 500hp with a turbo build I’d be buying a lot more fuel line pipe and fittings!
So what do I need?
Right, well once you get your head round the sizing and fittings, it’s time to map out the new line to decide how much pipe you need and what fittings. I found a really helpful seller on ebay, located only over the bridge in Abergavenny who has tons of parts in different styles, finishes and hose type –
Torques UK.
Here is some pics from the service manual of the fuel system – fairly simple in the grand scheme of the car – I don’t know why people freak out about touching any of it. Oh yes, the chance of lighting yourselves up like a bonfire, fair enough!
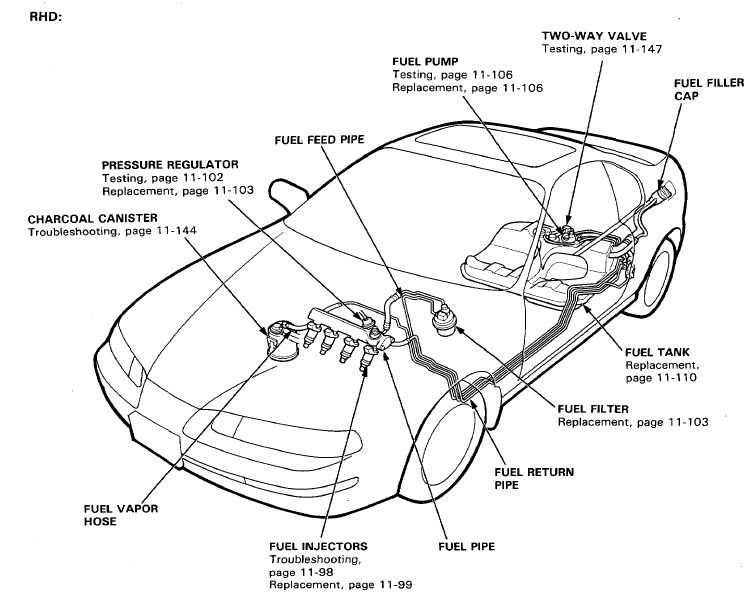 OEM Fuel Supply
So the supply pipe comes from the fuel pump in the tank, along the middle bottom of the car and up the middle of the firewall in the engine bay. Underneath the car these hardlines are protected. Then they sweep up the middle of the firewall with the supply line going to the filter on the passenger side behind the strut tower. The hardline goes to a flared end with a flare nut into the fuel filter with a M14 x 1.5mm thread. Then back out the filter via a M12 x 1.25mm threaded banjo bolt. From this filter outlet it is piped to another banjo fitting on the top passenger side of the fuel rail. This banjo bolt also has a threaded bleeder bolt in the top of it for relieving pressure when working on the fuel system.
So here’s what I’ll be changing on the Supply line:
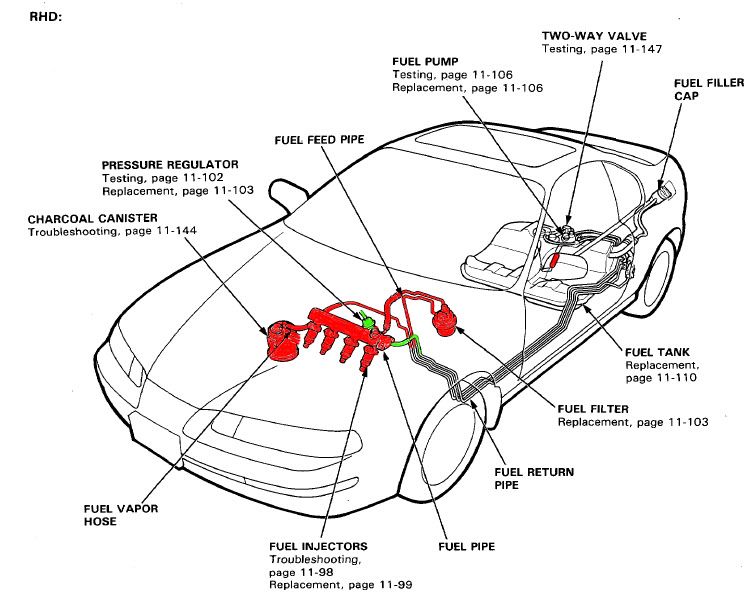
All the red items will be going, so the hardline on the firewall will be cut (with my brake line cutter – for gods sake don’t take a hacksaw to it!

) and the supply line to the filter, the filter, the supply line to the fuel rail and the rail itself all binned.
I also noted the EVAP’s charcoal canister just cos it’s there and I’m binning it too.
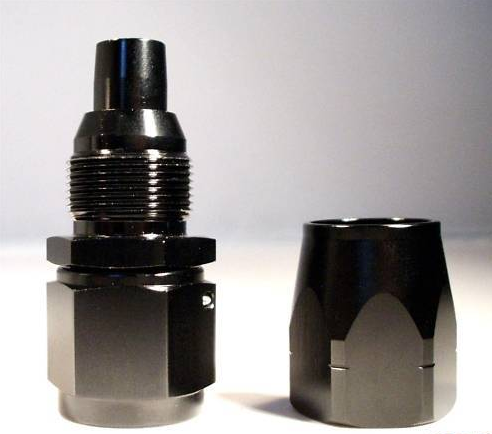
From the cut hardline on the firewall I will be using a compression fitting which locks a compression olive onto the 5/16” hardline and converts to an AN6 male thread. This is the fitting in particularly (and yes all in black!):
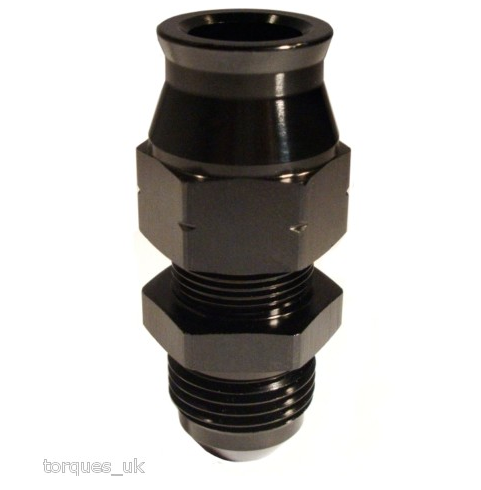
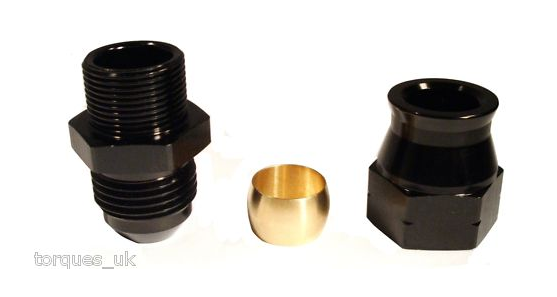 http://www.ebay.co.uk/itm/6-6AN-JIC-AN6 ... 256b1d38c7
Then you will need a hose fitting to fit a braided hose to. But rather than go straight up I want to direct over to the passenger side a little to come to the TB side of the intake manifold/fuel rail. So next up is this item, an AN6 45 degree swivel seal hose fitting:
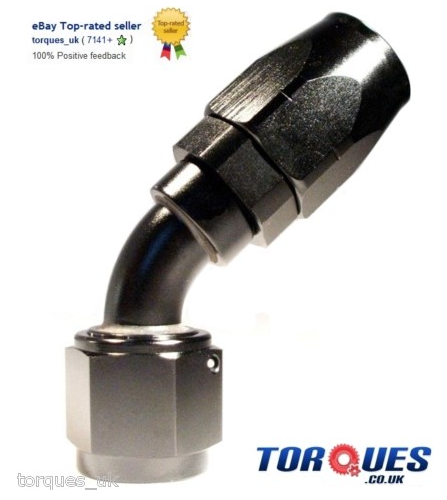 http://www.ebay.co.uk/itm/6-AN6-45-DEGR ... 255d4031ef
From the hose fitting we go to…um…the hose, duh! In keeping with the black theme I went for the black nylon braided lines, here:
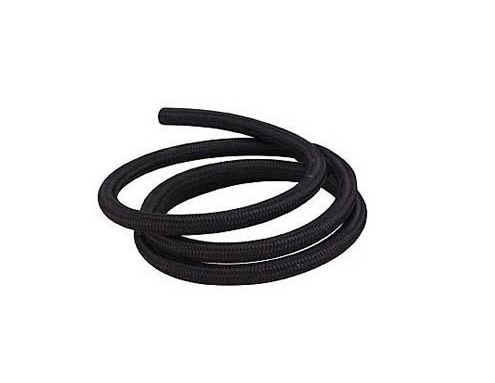 http://www.ebay.co.uk/itm/6-8mm-5-16-Bl ... 27ba15d85d
I’ve ordered a metre’s worth but I think I need about half of this. I may use the other half at a later date. I’m sure if you messaged them they would do less???
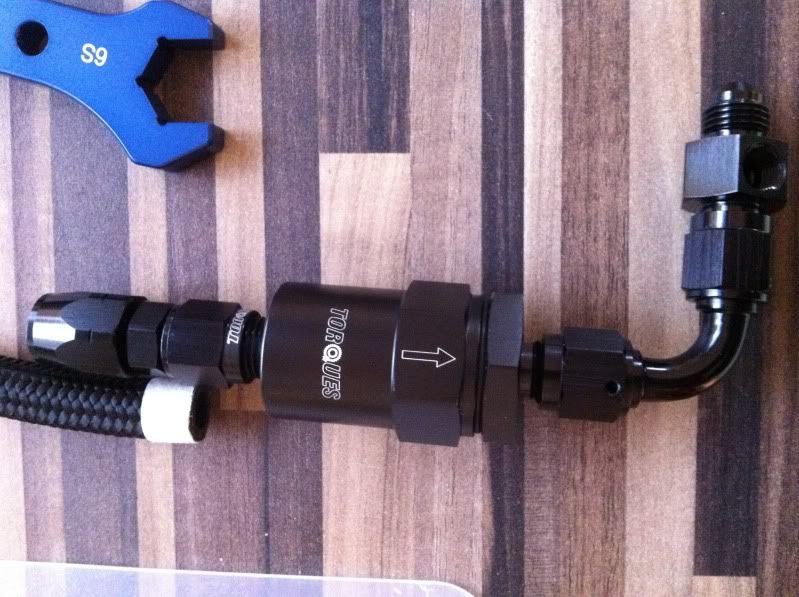
The plan was to run an inline fuel filter up near the fuel rail. I made some sketches of the best layout and ordered the following...AN6 straight swivel seal female hose fitting:

 http://www.ebay.co.uk/itm/6-AN6-STRAIGH ... 231d86a1cc
From here, I went with there inline billet 30 micron fuel filter with filter element changeable for future maitenance. It’s also very compact in size considering it will be suspended between the hose and fuel rail fittings. In black of course!
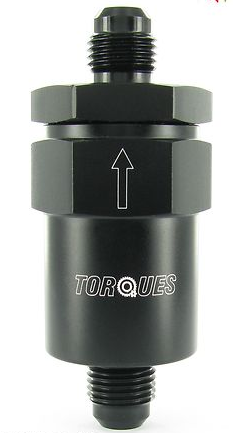 http://www.ebay.co.uk/itm/6-AN6-Black-A ... 256fdb4f4e
From the filter I want to sweep 90 degrees to the side of the fuel rail, a female to male fitting would have done this, but you’ll see from my next item why I went with a female to female 90 degree fitting instead:
 http://www.ebay.co.uk/itm/6-AN6-90-Degr ... 2311db7993
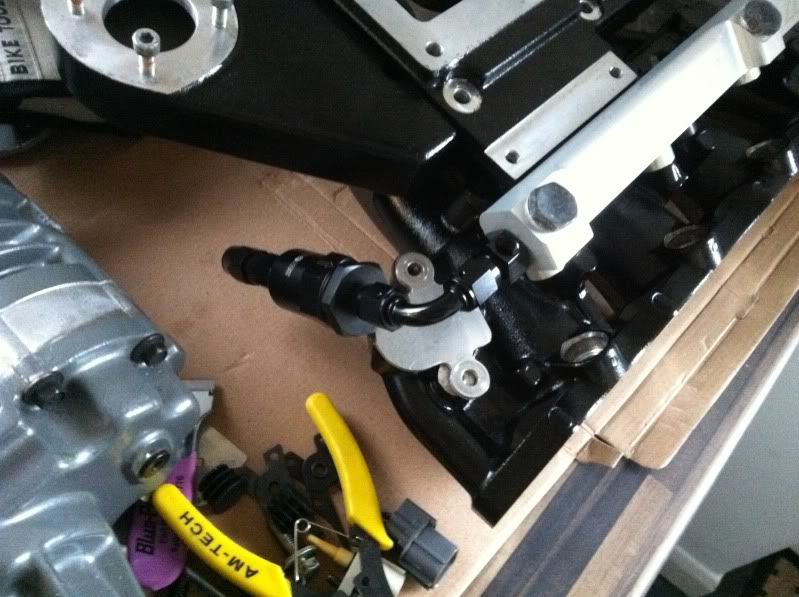
So the reason was to use another adaptor to add a 1/8th NPT port to install a fuel pressure regulator. Not really necessary as I’m not altering the fuel pressure, but I want to check this and may add an adjustable FPR at a later stage of my build, so future-proofed it. Here it is, a male to male fitting, the other side goes straight into the fuel rail with a new crush washer:
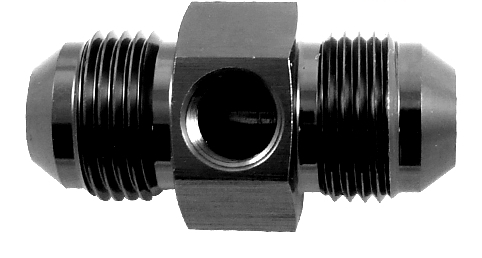 http://www.ebay.co.uk/itm/6-AN6-06-Male ... 27c046416a
I’d written most of this, by which time I’d ordered the items and they’ve arrived! They are sexy as hell! Surprised how small and light each item is, so should shave a little weight from the old setup. Not much, but it all helps:
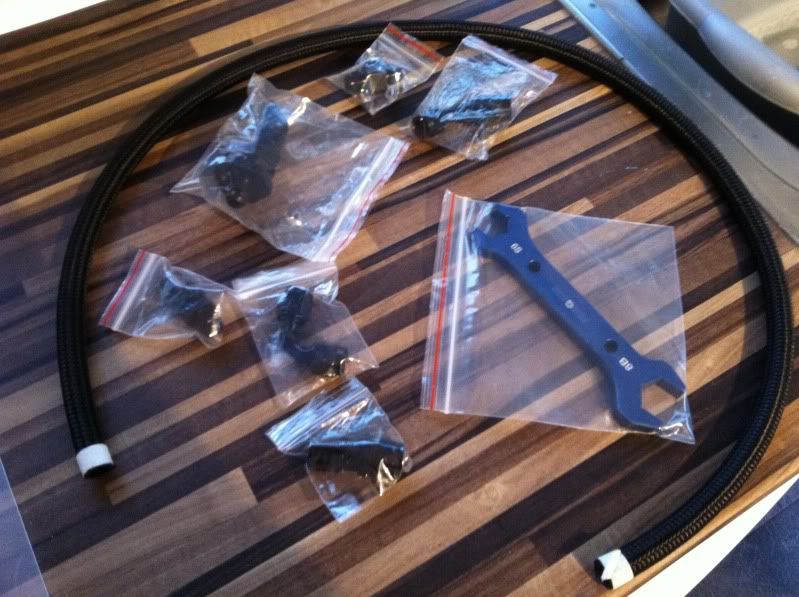
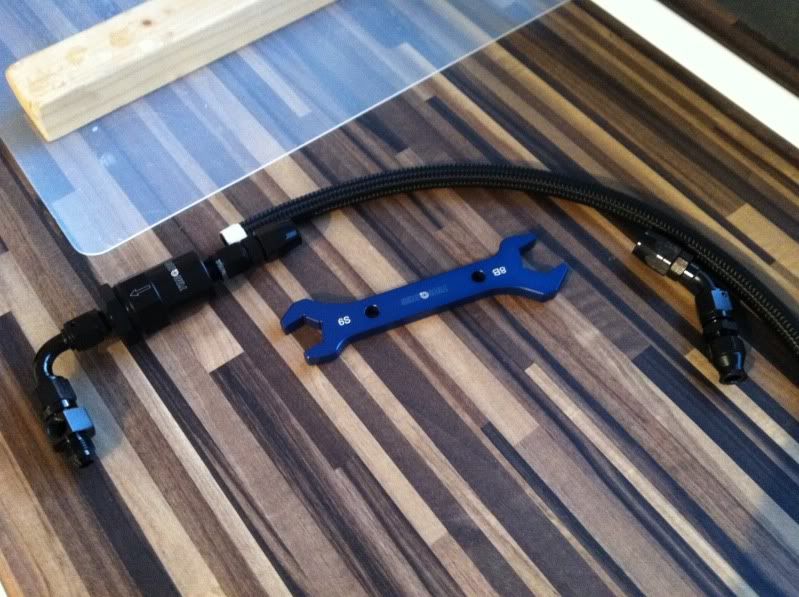

Pretty sweet! And probably makes more sense now in the flesh. If not, how about now:
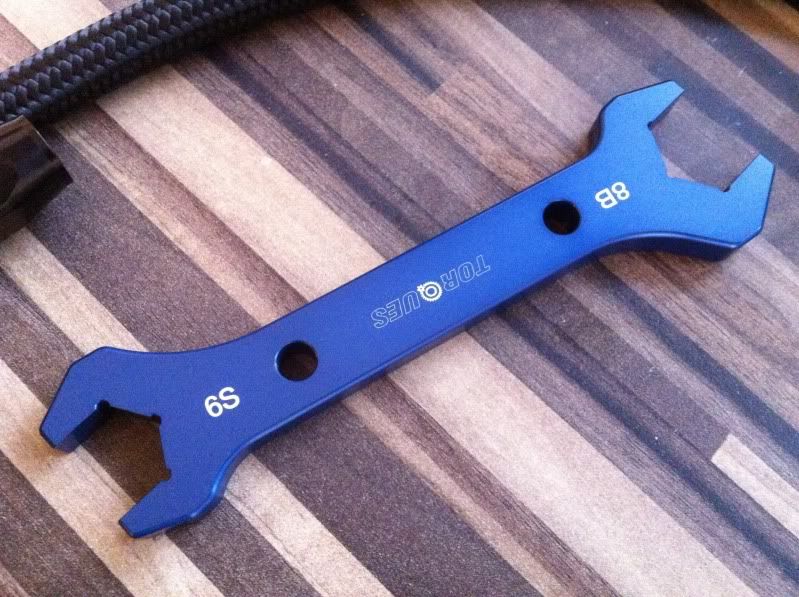
As you can see I also ordered one of there AN aluminium wrenches (AN6 &
, as I didn’t want to scratch up my nice new fittings tightening with steel spanners. Even this tool looks so well made. Will need to order another one soon for my rocker cover breather mods (AN10).
I also bought one of these AN6 mounts to attach the hose to the firewall for added robustness considering it will help to support the fuel filter in place:
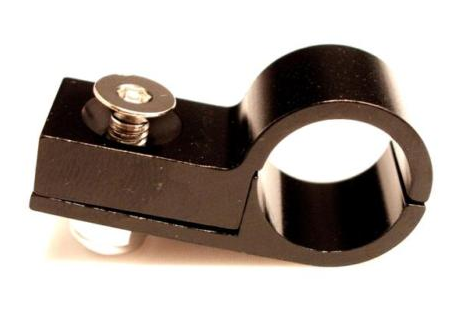 http://www.ebay.co.uk/itm/8-AN8-Black-T ... 27be51cb05
Just waiting for this one to be delivered as they didn’t have any stock at the time.
I’ve also ordered a cheap fuel pressure gauge with a straight 1/8 npt brass fitting to add to the AN adaptor, there is plenty of room in that area with the EGR removed. Waiting on delivery of that one any day now:
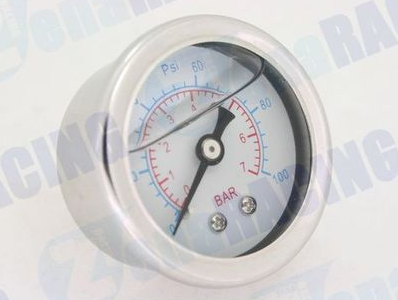 http://www.ebay.co.uk/itm/310400203021? ... 1497.l2649
OEM Fuel Return
http://www.ebay.co.uk/itm/310400203021? ... 1497.l2649
OEM Fuel Return
From the fuel rail the fuel pressure regulator allows fuel to return back to the tank via a set fuel pressure (which varies on vacuum / boost conditions).
I have kept the original Fuel Pressure Regulator as the linear rate of rise at a 1:1 ratio is what I need with the Hondata tuning capabilities. I did find time while watching telly one evening to clean it and grab some Autosol and polish it up a little:
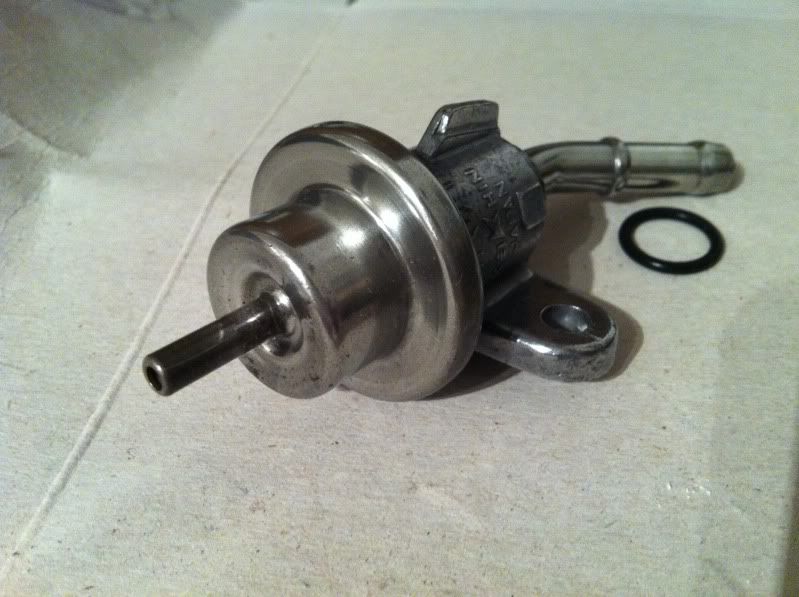
I just need to bend the top nipple 90 degrees to help clear the jackshaft pulley, this vacuum line goes to the intake manifold / JRSC plenum.
As I am keeping this item, it uses a rubber fuel hose out of the rear to return unwanted fuel back to the tank. I could modify this to run an AN line, but I can’t see much point for the foot or two of rubber hose that is then connected to the return hardline that runs under the car. Mainly as it’s a regulated pressure from the FPR. So I’ll be leaving this item as a rubber hose, although I’ve decided to replace it with a new black braided item, with some new hose jubilees. No pics though.
So that’s the return line sorted.
Think that ties up the remaining fuel side of things. As I fit the items, I’ll explain how to cut and install the fittings – with links to some good online videos. Onto the next bit of the project…


if that red band was done properly they would be the nutts! very light too
tempted to run some small spacers and lower my coilovers a tad for abit of a broken suspension look