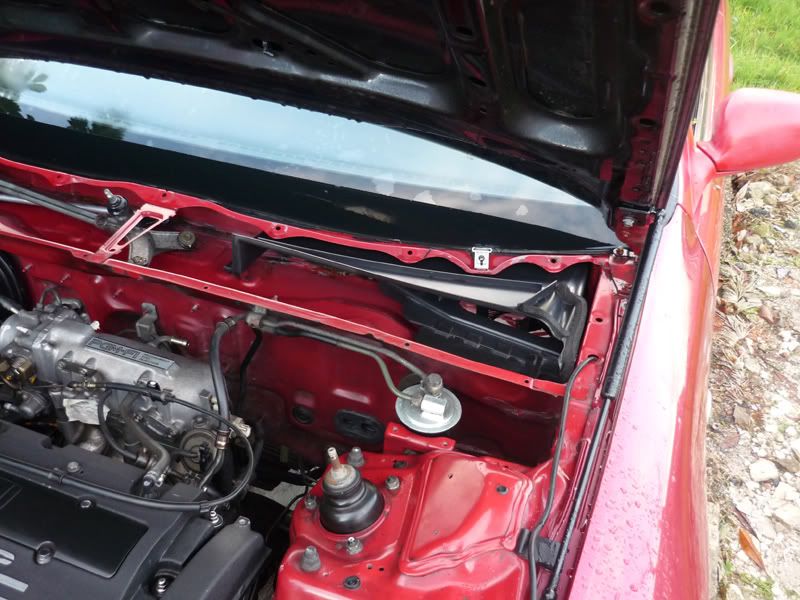
Congratulations to vtecmec for winning May/June's Lude Of The Month, with his DIY Turbo BB1 build.

>>> Click Here For Profile <<<

Image

How to: Replace the Fuel Filter on a 4th gen

As much of the Lude knowledge we have in one handy place
Post Reply
User avatar
NafemanNathan
LotM Winner
Posts: 20144
Joined: Sun Aug 08, 2010 9:37 pm
My Generation: 0G
Location: Yeovil, Somerset
Has thanked: 8 times
Been thanked: 122 times

How to: Replace the Fuel Filter on a 4th gen

Post by NafemanNathan » Tue Jan 31, 2012 12:53 pm

It's not a difficult job to do, just a bit fiddly. Unfortunately I didn't take any pictures, but I'll try and talk you through it :wink:

Ok, you start with untightening the top vertically facing bolt. This will relieve the pressure, so you need to slacken it off slowly... And expect an amount of leakage. I'd just slacken it off, let a bit seep out, then lock it off again whilst the spill evaporated. I put a rag underneath to catch any spills. Just do this several times until there is no more leakage.

Also, you'll notice on the existing and new filters that they both have hex head connections. You'll need to use these as with putting the amount of pressure you need to undo and tighten the connections, you stand a very good chance of sheering them off.

Once you've drained as much of the fuel as you can, undo the horizontal connection (Again using 2 spanners). And again, expect more leakage. So follow the same procedure as before.

Once both connections have been drained it's time to remove the filter. Follow the pipe work of both connections and undo both the first brackets securing them to the bulkhead. This will allow you a bit of freedom and to move the pipe connections away from the filter (but still be careful not to bend the pipe work too much). And also beware of lowering the pipe ends as there is obviously still excess fuel in them that will pour out :wink:

Then undo the fuel filter bracket. There's 4 bolts total... 2 clamping the two halves of the bracket together, and 2 bolting the bracket down to the engine bay. Undo which ever you find easiest in order to remove the filter. I unscrewed the bracket from the engine bay first. Again, remember there is still excess fuel inside.

Once the filter is removed, it's simply a case of reversing the process.

Two tips for you though...

1st, although the connections came out quite easily, they can be a bit of a pain relocating the threads due to the angle. So before you clamp down the new filter, put all the bolts, bracket and filter in place, but don't tighten any of the bolts. This should give you enough play to screw in the connections the first couple of threads. Then clamp the filter in place with all 4 bolts (Remember there's a lip on the bracket that hooks over the top of the filter) and then tighten the connections... Again using 2 spanners for each.

2nd tip, this may not apply to all filters, but I found that before I actually fitted it I found mine was getting sticky in my hand :? It turned out to be the fuel I had on my hand was eating the paint from my filter :lol: So rather than it looking pap, I decided to remove the rest of the paint (at least from the top, where it was missing anyway) I used the remaining fuel from the old filter to do this :wink: Looks a lot better for this :roll:

And voila! :D After all the bolts and connections are back in play, start her up to make sure she works and there's no leaks. Obviously she may not start immediately the first time, but do not fear :wink:
Last edited by NafemanNathan on Tue Jan 31, 2012 3:16 pm, edited 2 times in total.

User avatar
Merlin
Moderator
Posts: 12293
Joined: Fri Aug 06, 2010 9:04 am
My Generation: 5G
PSN GamerTag: Merlinbadman
Location: Edinburgh
Has thanked: 29 times
Been thanked: 190 times

Post by Merlin » Tue Jan 31, 2012 12:55 pm

Added to the wiki. Reps!
Image
BA8......... BB4......... BB8.........The JDM Muscle Bus

User avatar
nucleustylzlude
Moderator
Posts: 4010
Joined: Wed Aug 11, 2010 11:46 pm
My Generation: 4G
Location: Bristol, UK!
Been thanked: 3 times
Contact:

Post by nucleustylzlude » Tue Jan 31, 2012 3:06 pm

Nice one Nathan.

To add a few things to the above as I've literally just removed mine, so it's fresh in my mind:

I assume you're writing this for a 4th gen as the 5th gen filter is different and in a different location right?

Some helpful notes:
- The banjo bolt was a 17mm socket to remove - fairly easy with a decent ratchet.
- The flare nut that comes from the hardline was a 14mm spanner to remove. This one took some muscle to free - add some WD40 and it will help if an extra pair of hands can lean on the filter as the bracket bends up (and could possibly be put out of shape or break).

Also (Sorry Nathan), but I would have relieved the fuel pressure on the service bolt on the fuel rail first. That's what the service manuals show, plus it seemed to only let out a small amount of petrol. Doing this, when I undid the filter connections there was minimal fluid. :wink:

Oh and while your filter might look nice and shiny now bud, it won't be stainless so just to warn you it'll go nasty soon.

Just my 2p's worth!

:mrgreen:

User avatar
NafemanNathan
LotM Winner
Posts: 20144
Joined: Sun Aug 08, 2010 9:37 pm
My Generation: 0G
Location: Yeovil, Somerset
Has thanked: 8 times
Been thanked: 122 times

Post by NafemanNathan » Tue Jan 31, 2012 3:13 pm

No worries Rob :)

Yeah it's for a 4th... I've never even touched a 5th :lol: I'll add that to the title ;-)

Good tip with the service bolt lol. When I did it, I hadn't consulted the manual... I just used logic and patience which also worked :)

And the after a good 2 years or longer there was definitely no signs of any rust on the filter bud ;)

EDIT: Think it might be zinc plated actually...

Couldn't find any close ups, but you can see it's still in great nick...

Image

The paint really did come off without trying, but I only removed it from the top which had been contaminated.
Last edited by NafemanNathan on Tue Jan 31, 2012 3:26 pm, edited 3 times in total.

User avatar
Pushki
Supporter 2015
Posts: 2635
Joined: Sat Aug 07, 2010 9:21 pm
My Generation: 4G
PSN GamerTag: Luigi_Black
Location: Bluff Creek
Has thanked: 2 times
Been thanked: 10 times

Post by Pushki » Tue Jan 31, 2012 3:16 pm

nucleustylzlude wrote:I would have relieved the fuel pressure on the service bolt on the fuel rail first. That's what the service manuals show
I did mine using the manual as a guide and it recommended this. :geek:


This was my old filter after I cut it open to see how bad it was;
Image
Image
ImageImageImage

User avatar
Pushki
Supporter 2015
Posts: 2635
Joined: Sat Aug 07, 2010 9:21 pm
My Generation: 4G
PSN GamerTag: Luigi_Black
Location: Bluff Creek
Has thanked: 2 times
Been thanked: 10 times

Re: How to: Replace the Fuel Filter on a 4th gen

Post by Pushki » Tue Jan 31, 2012 3:23 pm

This is for the 4th gen.

Image

Image

Image

Image
Image
ImageImageImage

Post Reply

Return to “Guides / How to's / Tech Section”