
Congratulations to vtecmec for winning May/June's Lude Of The Month, with his DIY Turbo BB1 build.
>>> Click Here For Profile <<<

>>> Click Here For Profile <<<
Nathan's Daily Drive BB4


-
NafemanNathan

- LotM Winner
- Posts: 20144
- Joined: Sun Aug 08, 2010 9:37 pm
- My Generation: 0G
- Location: Yeovil, Somerset
- Has thanked: 8 times
- Been thanked: 124 times


-
NafemanNathan
- LotM Winner
- Posts: 20144
- Joined: Sun Aug 08, 2010 9:37 pm
- My Generation: 0G
- Location: Yeovil, Somerset
- Has thanked: 8 times
- Been thanked: 124 times
 Re: Nathan's Daily Drive BB4
Not at the moment bud. The actual repeaters aren't fitted at the moment (As the previous ones were just reflectors). I need to rummage around in my bag of loom offcuts to see if I've got the correct connectors for them and then splice them in.
Though I imagine just picture a side repeater and imagine it's flashing red to get the idea

Though I imagine just picture a side repeater and imagine it's flashing red to get the idea
-
NafemanNathan
- LotM Winner
- Posts: 20144
- Joined: Sun Aug 08, 2010 9:37 pm
- My Generation: 0G
- Location: Yeovil, Somerset
- Has thanked: 8 times
- Been thanked: 124 times
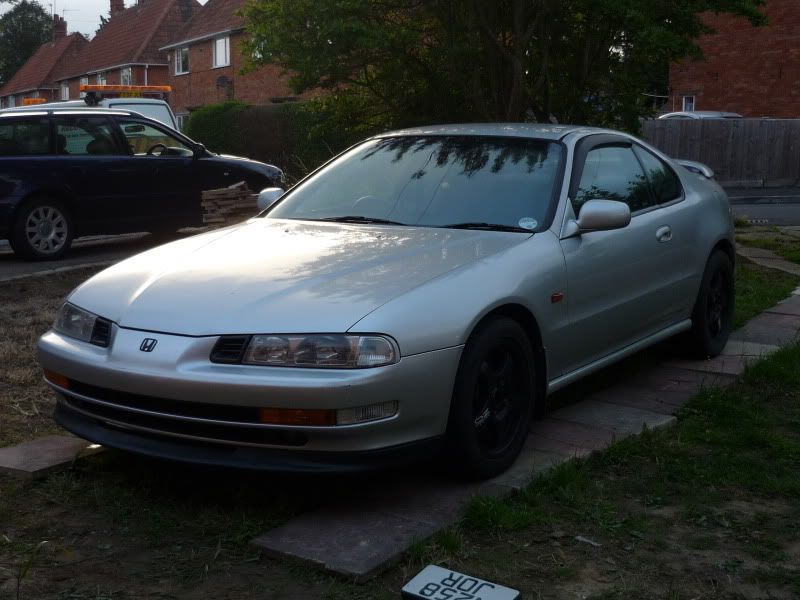
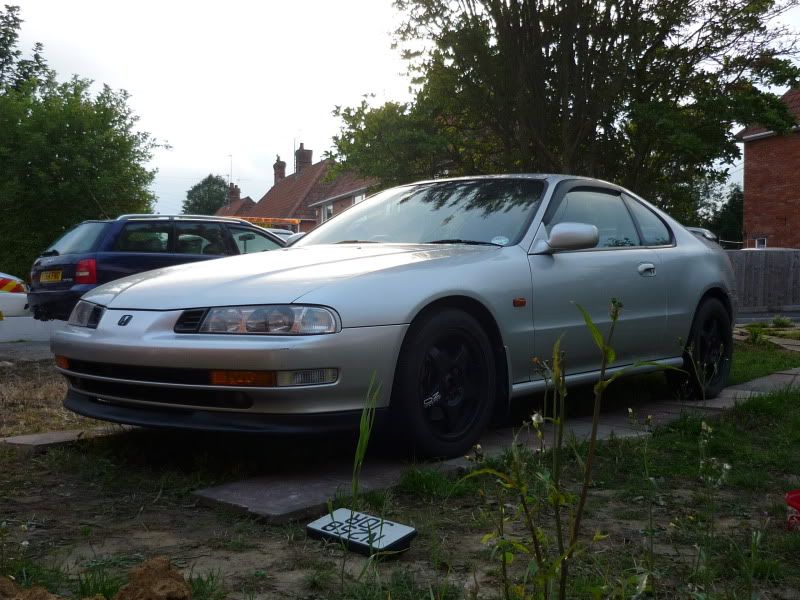
Facelift facelift
After having had the Azect front lip back from being repaired frikin ages ago, I decided it was time to paint and refit it.
Of course I took a few pictures so you can see how well repaired it is...
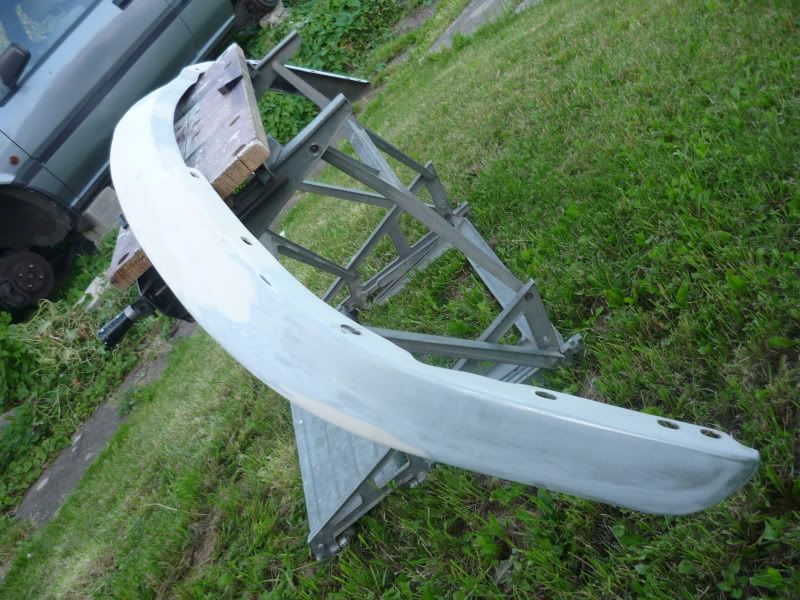

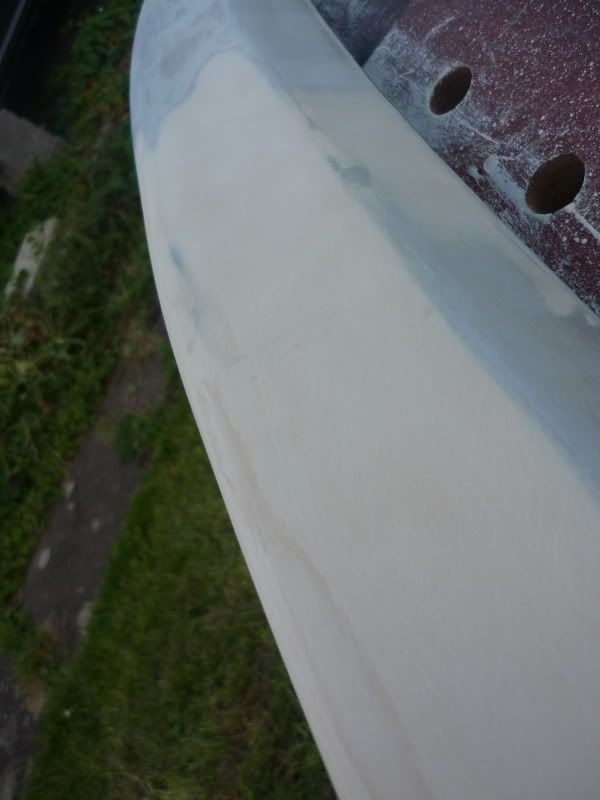
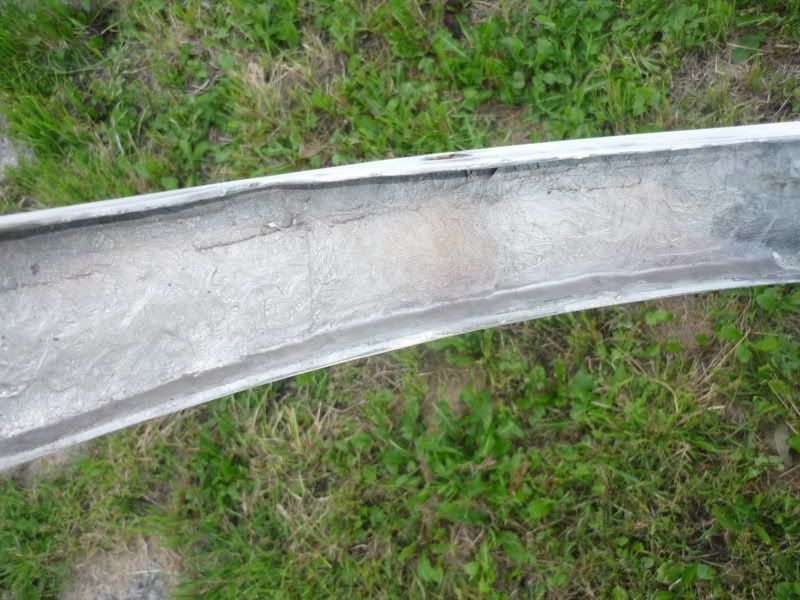

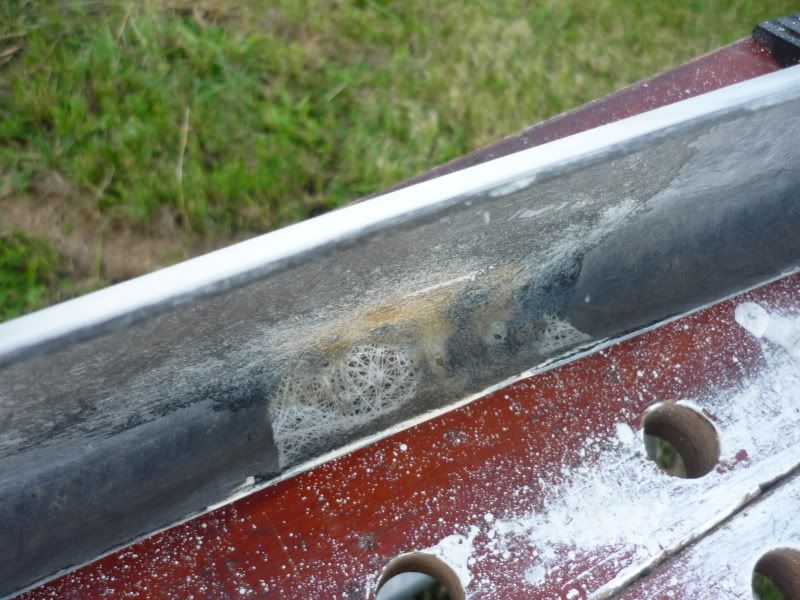
I'm still scared of breaking it again mind
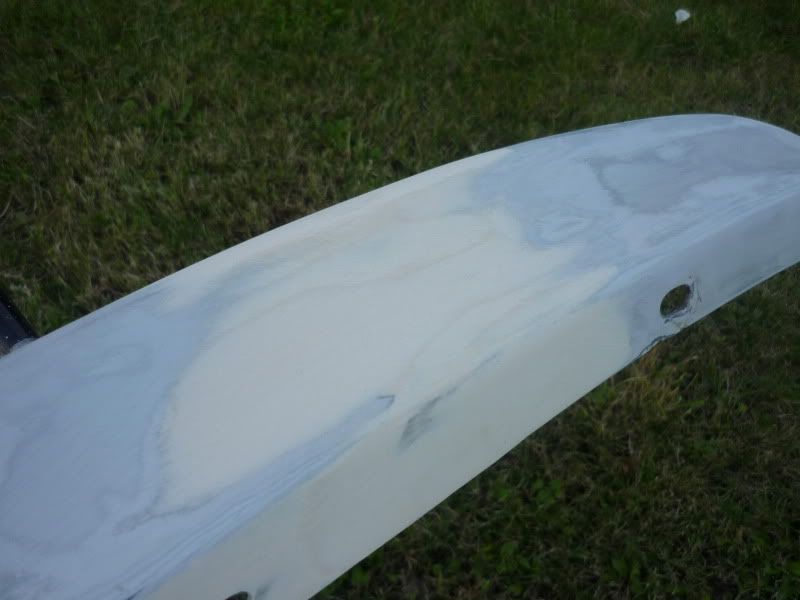
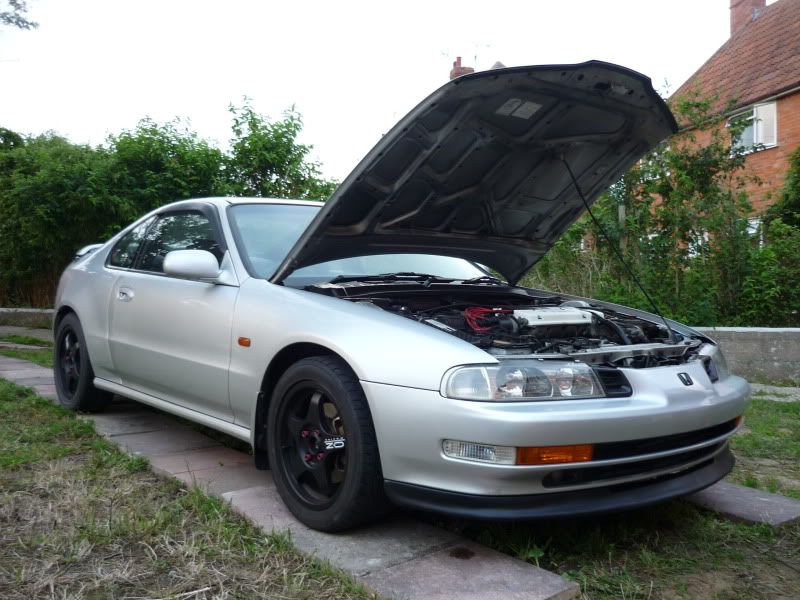
So anyway, I set about priming it on Sunday as it was such a nice hot day.
Meanwhile, between coats, I finally got to sorting something I've been wanting to sort since I bought the car...
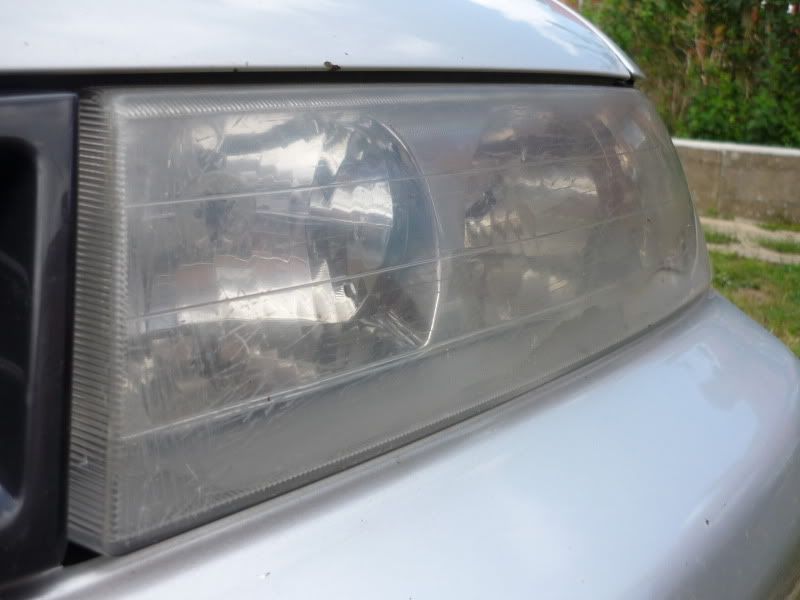
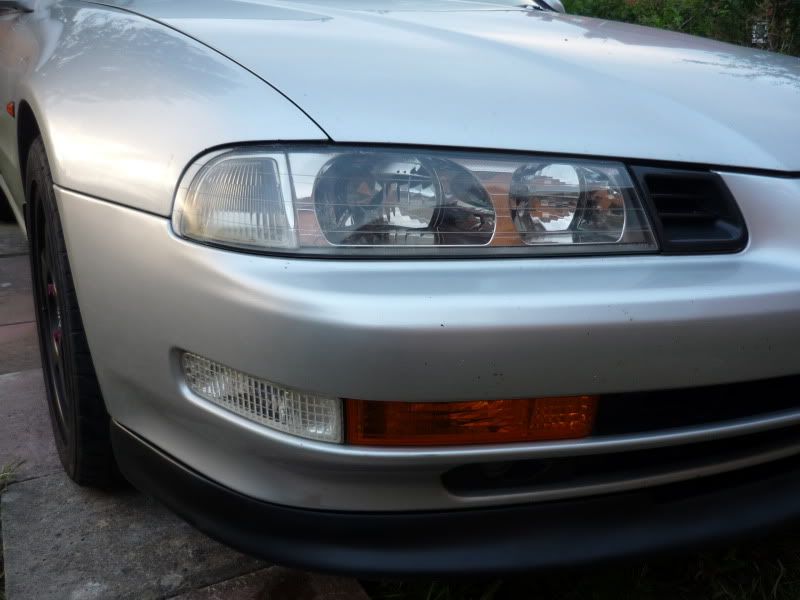
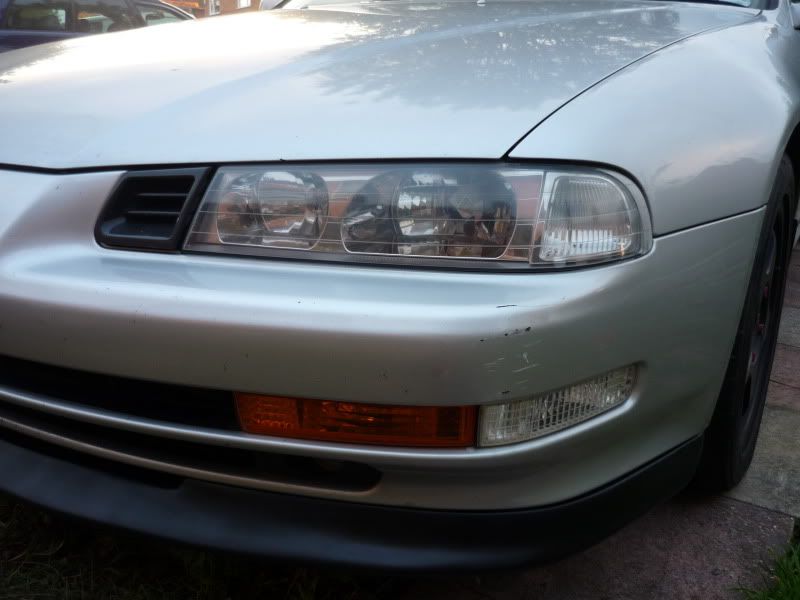
Crackle-glazed cloudy headlights ...
...
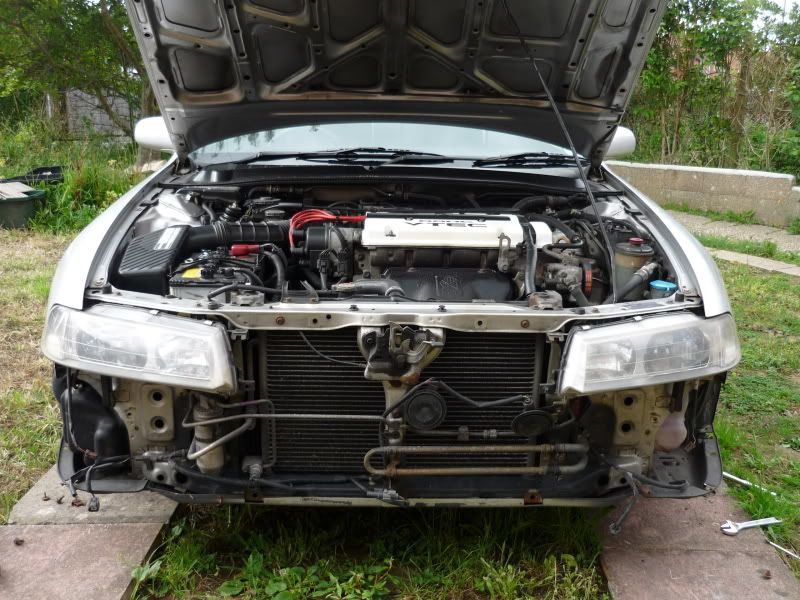
So off with the bumper...
And with a bit of masking...
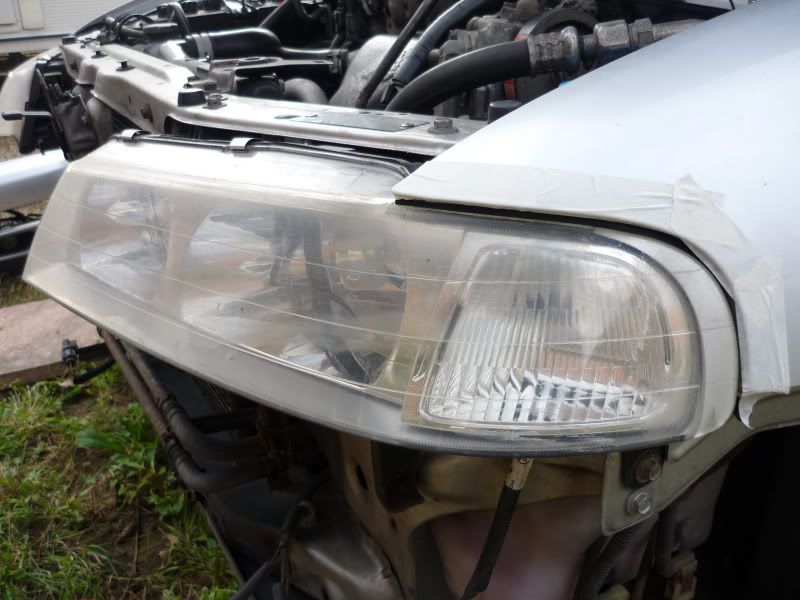
I sanded away all the crackle-glaze with 320 wet'n'dry...
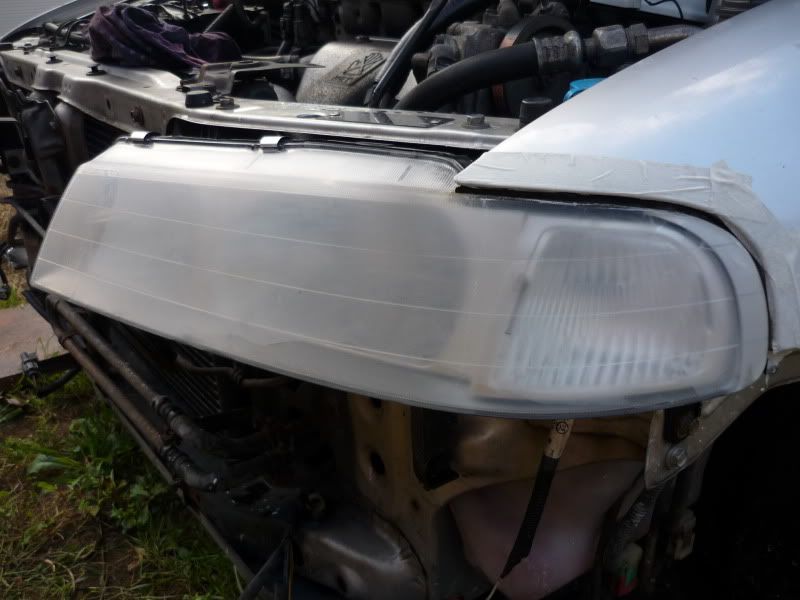
... Before going over with 1200 grit. (You can see the comparison between 320 and 1200 where I'd just started the 1200 here)...
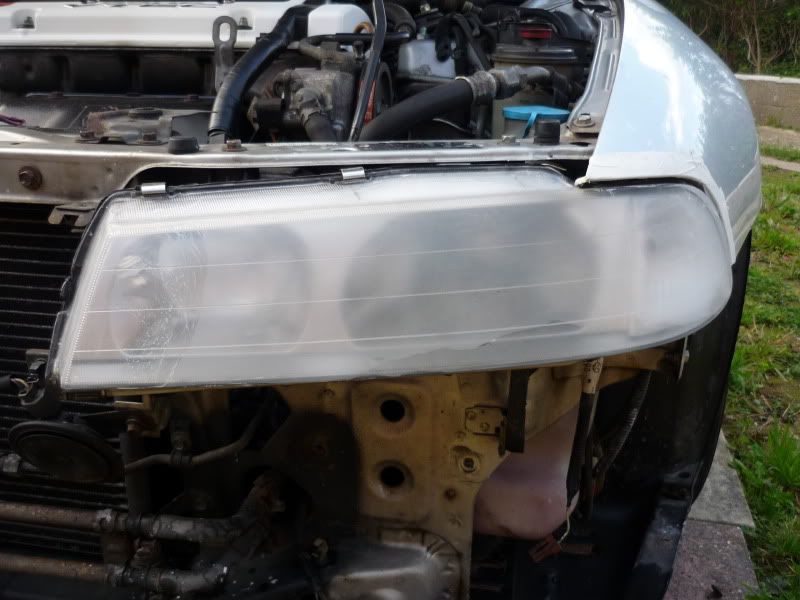
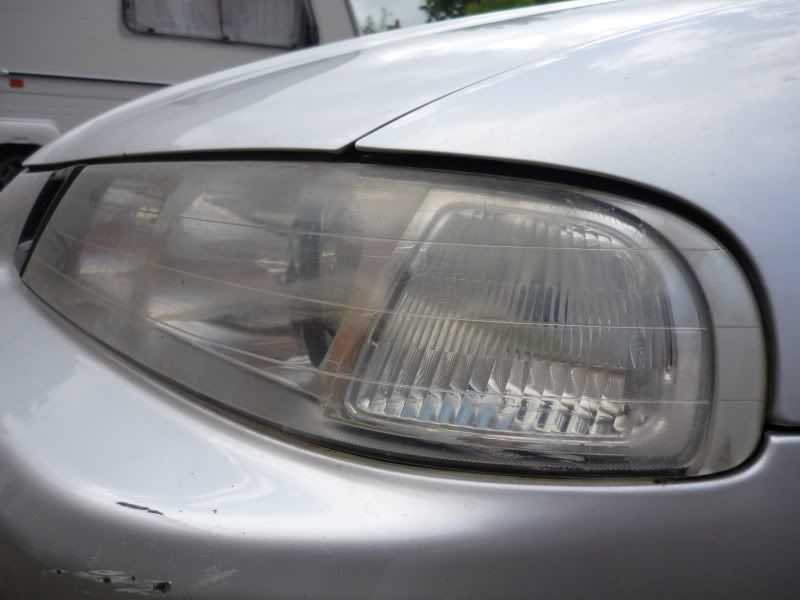
Then I was to polish them back with T-Cut by hand (which doesn't actually take as much time and effort as you'd expect). Also between stages I had been popping back to the front lip to do coats, and as the day was so warm I was actually able to do the paint coats as well. I'd been to Halfords looking to get some Sebring Silver paint earlier on, but of course they didn't have any. They had three other shades of Honda silver paint, but I fancied I'd already had enough colour match issues So I opted for a straight forward satin black, and I'm pretty sure I'm glad Halfords were out of Sebring Silver...
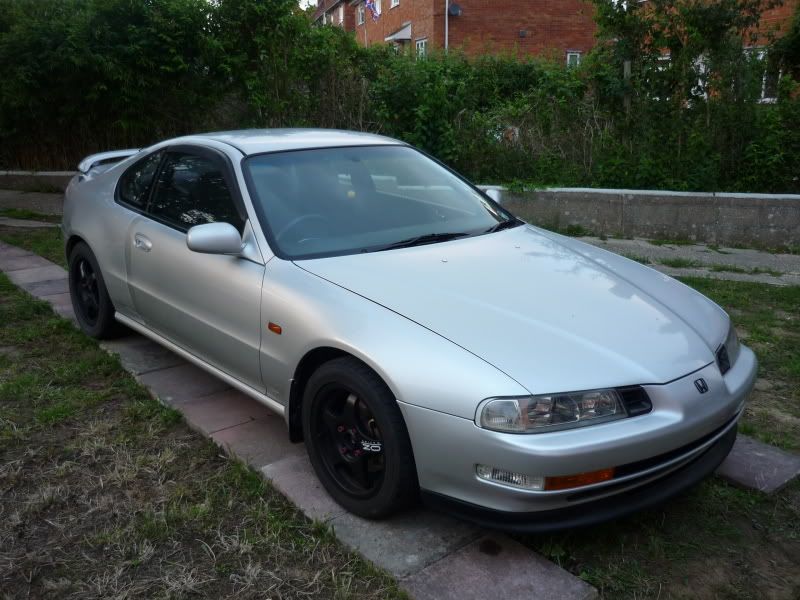
And look at my headlights! ...
...
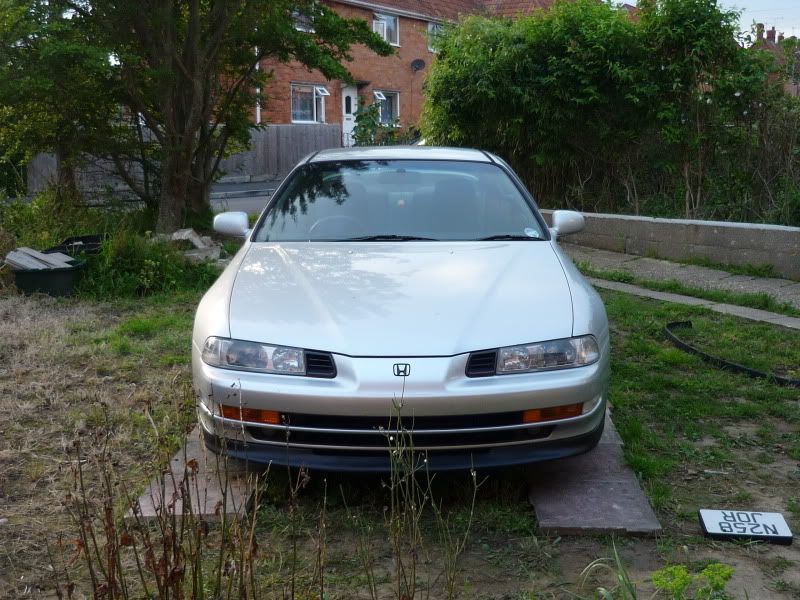
Happy with how it was looking, I didn't really want to put the number plate back on. I took the opportunity whilst the bumper was off to remove the number plate frame, as I hadn't had much joy removing it previously.
So... I took a strip of metal I had kicking about for 6-7 years (I think it came with my BMC CDA) and did this to it...
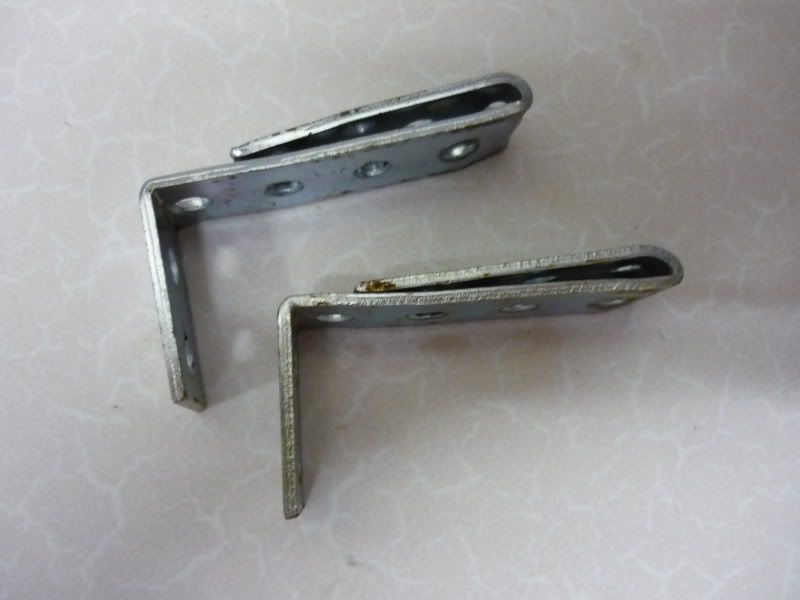
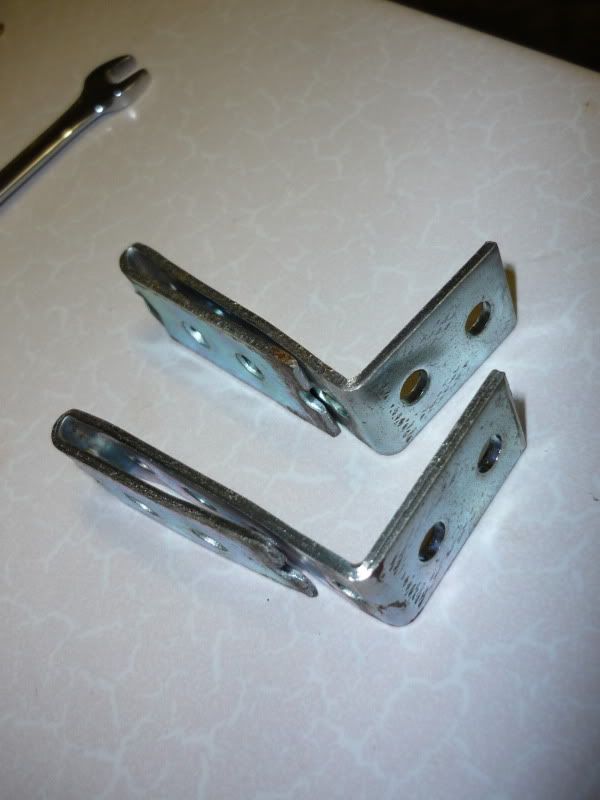
They simply slide on nice and snug, and once the number plate is fixed on, they can't slide back again...
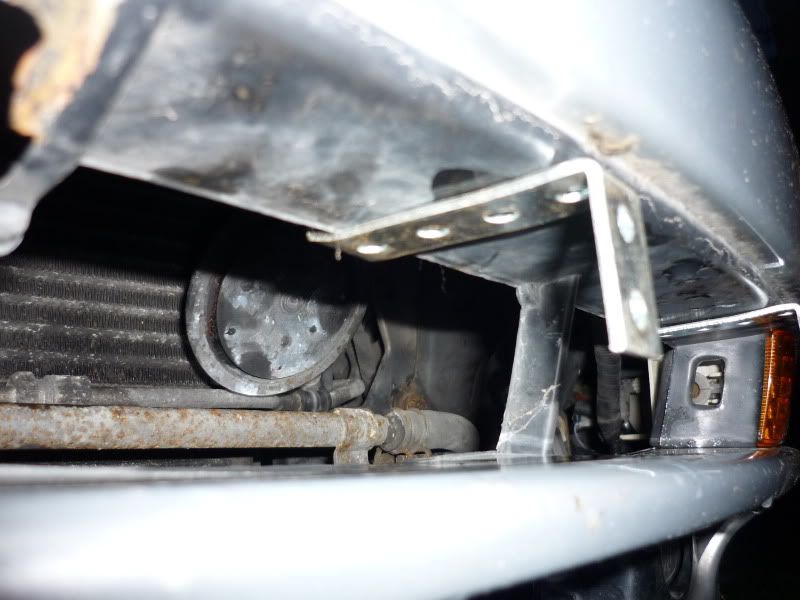
And they can go absolutely anywhere along this line, or even the one below...
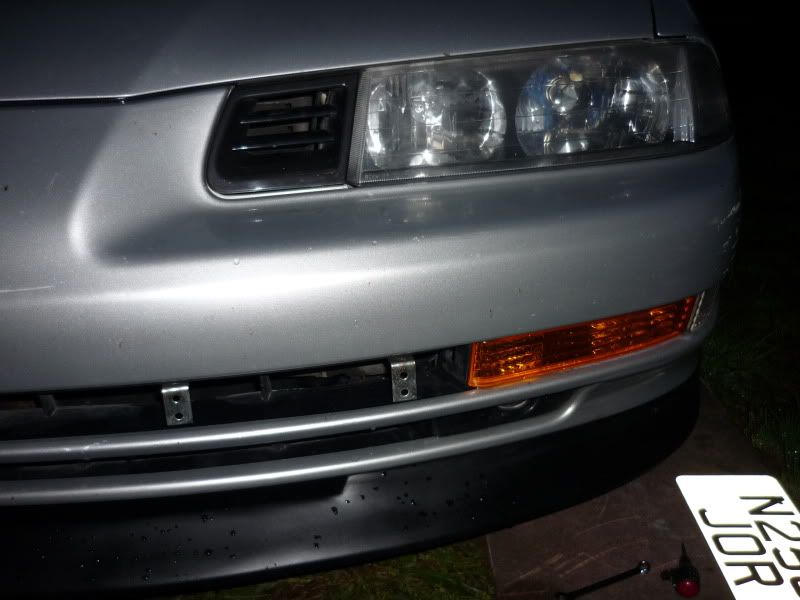
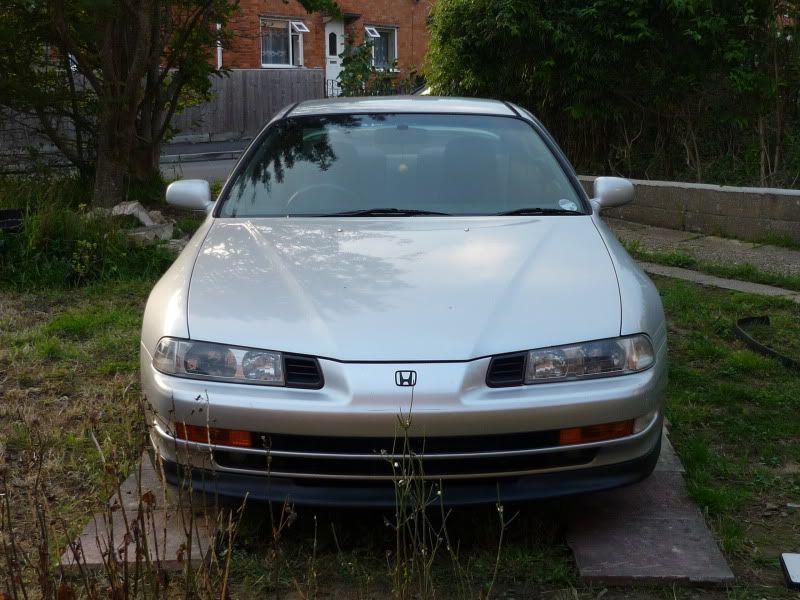
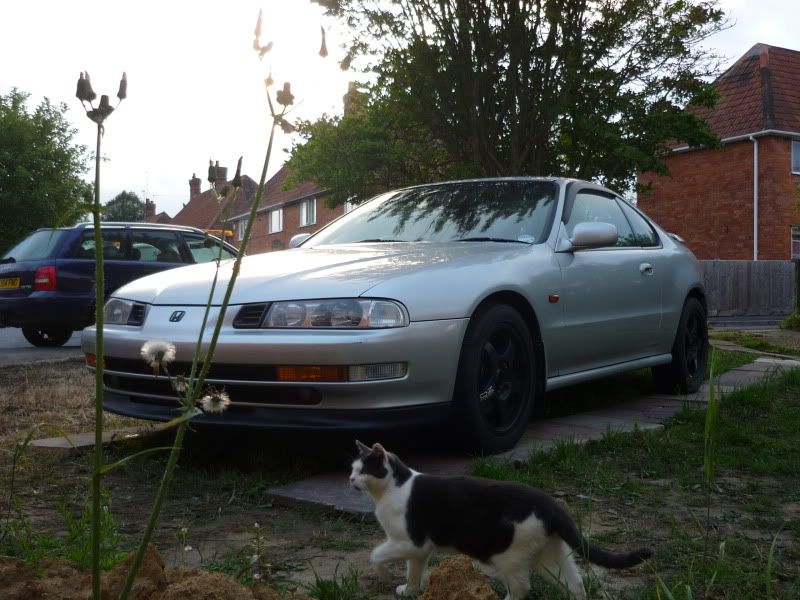
As you can tell I ran out of daylight tonight, but I've obviously positioned the number plate here first off, and I think that's where I want it ...
...
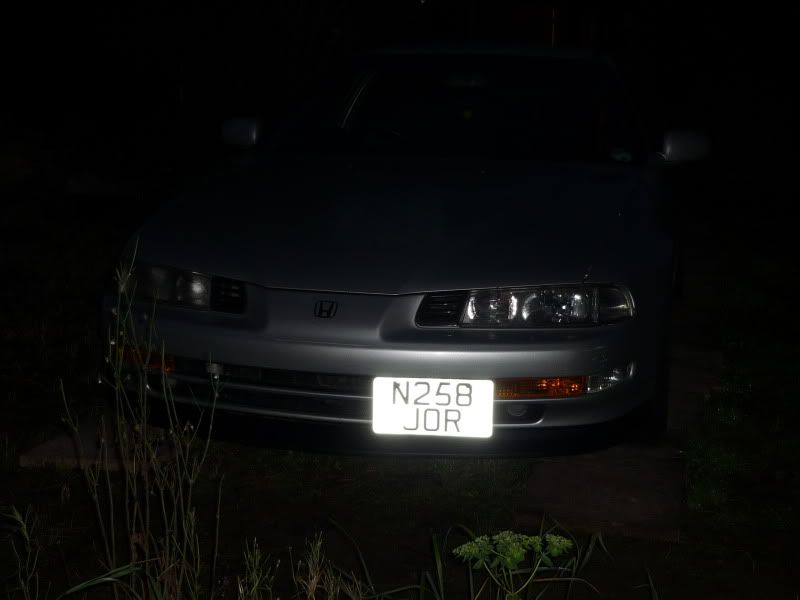
I'll take some more picture in daylight
Of course with everything going so swimmingly, something would have to go wrong somewhere. So when returning from work yesterday (before the number plate refit) my indicators decided to stop working. Long story short, I found a blown fuse, swapped in a new one, blew that, then proceeded to blow 7 more fuses whilst trying to establish whether a bulb was causing it. Then with the help of my Ex Honda mechanic neighbour Dave and his mechanic Dad John, who put in a 30 amp fuse after we ran out of close to hand 15 amp fuses, I managed to draw Dave's attention to a burning smell and sizzling noise from inside the car. Dave ducked down into the driver's footwell and after asking me to disconnect the battery, pulled out this sucker...

My flasher relay had melted Obviously due to the 30amp fuse not blowing. From that moment I knew I'd more than likely pinched a wire or two when re-attaching the bumper bar So, off it comes again, and sure enough I'd pinch 3 wires on the passenger side and beared the wires. This explained why when replacing the fuse that the driver's side would work, and only the passenger side rear light would work, but was extremely dim. I re-sheethed the wires, which fortunately hadn't broken and put everything back together... And fortunately I was able to rob the flasher relay from the Project Lude
So, anyone got a spare flasher relay for a 4th gen?
Of course I took a few pictures so you can see how well repaired it is...
I'm still scared of breaking it again mind
So anyway, I set about priming it on Sunday as it was such a nice hot day.
Meanwhile, between coats, I finally got to sorting something I've been wanting to sort since I bought the car...
Crackle-glazed cloudy headlights
So off with the bumper...
And with a bit of masking...
I sanded away all the crackle-glaze with 320 wet'n'dry...
... Before going over with 1200 grit. (You can see the comparison between 320 and 1200 where I'd just started the 1200 here)...
Then I was to polish them back with T-Cut by hand (which doesn't actually take as much time and effort as you'd expect). Also between stages I had been popping back to the front lip to do coats, and as the day was so warm I was actually able to do the paint coats as well. I'd been to Halfords looking to get some Sebring Silver paint earlier on, but of course they didn't have any. They had three other shades of Honda silver paint, but I fancied I'd already had enough colour match issues
And look at my headlights!
Happy with how it was looking, I didn't really want to put the number plate back on. I took the opportunity whilst the bumper was off to remove the number plate frame, as I hadn't had much joy removing it previously.
So... I took a strip of metal I had kicking about for 6-7 years (I think it came with my BMC CDA) and did this to it...
They simply slide on nice and snug, and once the number plate is fixed on, they can't slide back again...
And they can go absolutely anywhere along this line, or even the one below...
As you can tell I ran out of daylight tonight, but I've obviously positioned the number plate here first off, and I think that's where I want it
I'll take some more picture in daylight
Of course with everything going so swimmingly, something would have to go wrong somewhere. So when returning from work yesterday (before the number plate refit) my indicators decided to stop working. Long story short, I found a blown fuse, swapped in a new one, blew that, then proceeded to blow 7 more fuses whilst trying to establish whether a bulb was causing it. Then with the help of my Ex Honda mechanic neighbour Dave and his mechanic Dad John, who put in a 30 amp fuse after we ran out of close to hand 15 amp fuses, I managed to draw Dave's attention to a burning smell and sizzling noise from inside the car. Dave ducked down into the driver's footwell and after asking me to disconnect the battery, pulled out this sucker...
My flasher relay had melted
So, anyone got a spare flasher relay for a 4th gen?
-
honda-hardy

- Club Cartographer
- Posts: 6268
- Joined: Sat Jan 28, 2012 7:35 pm
- My Generation: 5G
- Location: chippenham
- Been thanked: 1 time


-
ddoubledanny

- LotM Winner
- Posts: 1016
- Joined: Fri Jan 27, 2012 8:24 pm
- My Generation: 4G
- PSN GamerTag: Ddoubledanny
- Location: Kettering
-
NafemanNathan
- LotM Winner
- Posts: 20144
- Joined: Sun Aug 08, 2010 9:37 pm
- My Generation: 0G
- Location: Yeovil, Somerset
- Has thanked: 8 times
- Been thanked: 124 times
Re: Nathan's Daily Drive BB4
Cheers guys 
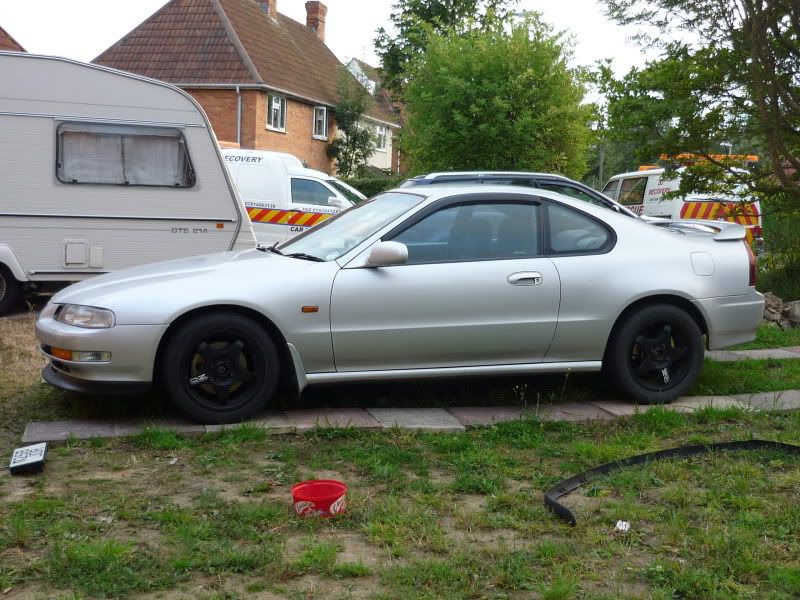
(Or I might just back-to-black them) And I've still got the standard black mudguards from the Project too I was even thinking about when putting the Azect rear spats back on (as I will be) about painting the lower portion black as well...
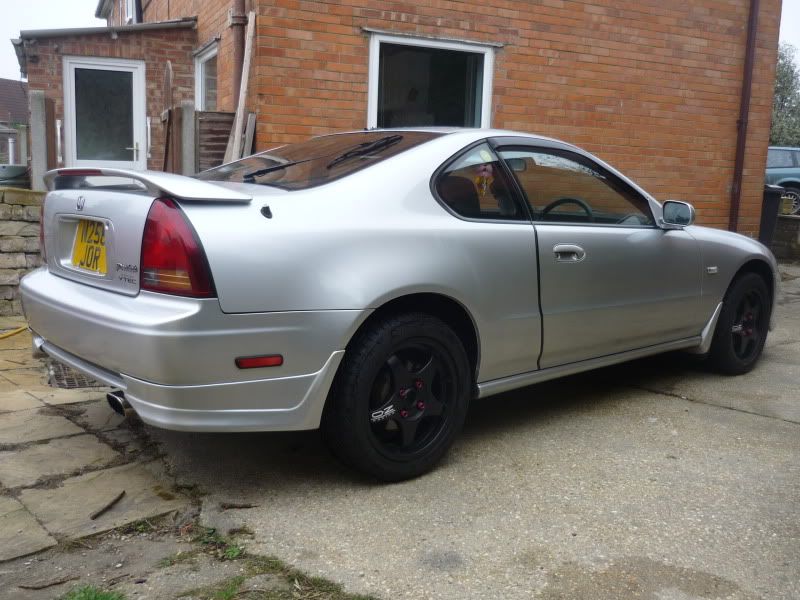
It'd follow the line of the skirts and replica the front mudguards
I had second thoughts about replicating the front lip (still undecided), but I like the fact this is the only one I've ever seen in the UK (Not many in the States either), plus protecting/boxing/shipping is a concern of mine. The rears however I will be replicating. There appears to be a larger demand for them and they'll be a lot easy to handle/package/protect. I just need to wait until I have a bit more money as I plan to buy the moulds myself, so that I can then sell them to the States with a clear conscience I would have done them this month, but I chose to do the Innovative engine mounts groupbuy instead 
Yeah, I plan to satin-black the skirts I've removed from the Project Lude and swap them overPushki wrote:You'll need to paint the mudguards and sills black for it to really work....or give the lip to me.
Will you be making any replicas?
It'd follow the line of the skirts and replica the front mudguards
I had second thoughts about replicating the front lip (still undecided), but I like the fact this is the only one I've ever seen in the UK (Not many in the States either), plus protecting/boxing/shipping is a concern of mine. The rears however I will be replicating. There appears to be a larger demand for them and they'll be a lot easy to handle/package/protect. I just need to wait until I have a bit more money as I plan to buy the moulds myself, so that I can then sell them to the States with a clear conscience