Congratulations to vtecmec for winning May/June's Lude Of The Month, with his DIY Turbo BB1 build.

>>> Click Here For Profile <<<

Image

Nathan's Daily Drive BB4

Tell us about your old honda preludes that you used to own.
Post Reply
User avatar
lewd lude lover
Supporter 2015
Posts: 5658
Joined: Sat Aug 07, 2010 9:51 pm
My Generation: 5G
Has thanked: 25 times
Been thanked: 17 times

Post by lewd lude lover » Thu Feb 02, 2012 6:20 pm

i got a low profile jack. goes under 85mm and raises 480mm.

Personally i wouldn't attempt any kind of work where you would be tugging at or pushing on the car on only stands. i just dont trust 'em.

put a couple of steel wheels under there with you or something mate. something to act as a safety cage if they tip. :?
6th gen Prelude please Mr Honda. RWD 2.4 turbo lude.

User avatar
NafemanNathan
LotM Winner
Posts: 20144
Joined: Sun Aug 08, 2010 9:37 pm
My Generation: 0G
Location: Yeovil, Somerset
Has thanked: 8 times
Been thanked: 124 times

Re: Nathan's Daily Drive BB4

Post by NafemanNathan » Fri Feb 03, 2012 9:00 am

I didn't have any trouble getting her in that position. I jacked her up under the front cross member first, to get the two front stands in. Then very cautiously jacked up the rear from the rear member. The concrete pad she's on is perfectly level and I think I put a slab down to raise the jack enough and to allow it to roll forward smoothly. The underside of her is about 3 or 4" from my nose when I'm under her, so it's tight, but it is enough to work on and remove the exhaust. I removed the downpipe the other day, and she was in that position when I removed the PAS and did the work to the steering rack. If she was much higher I think I'd get arm ache a lot sooner having to reach higher.

She is really sturdy, so no need to worry :)

Anyway, back on topic...

I rushed home after work yesterday to take advantage of the light whilst it was still up. I gave all four wheels a good tug to see which ones had play, and again it was only the NSF. So I quickly whipped off the wheel to try and source the problem. Gave everything a good yank, but it was proving difficult to actually home in on the issue. Without the wheel on it was difficult to get any leverage.

Anyway, it was getting pretty dark pretty quick, so I thought "Ah! I'll just book her into the garage to find it", put the wheel back on, but then thought "I wonder if"... And put one hand around the top ball joint and pulled on the wheel again. Voila! Top ball joint's shot!

Having been chatting to Merlin earlier on about the very subject! (Very coincidentally) I knew he was unsuccessful getting a separate ball joint and that he had to buy a whole top arm assembly and was getting his from MotorFactors. So I got straight on the phone to Motorfactors and ordered me the very same. Unfortunately the guy was unsure of whether I was in time to make today's delivery, so it may turn up on Monday if not, but otherwise I'll be fitting it over the weekend and hopefully she'll be good to go :)

User avatar
lewd lude lover
Supporter 2015
Posts: 5658
Joined: Sat Aug 07, 2010 9:51 pm
My Generation: 5G
Has thanked: 25 times
Been thanked: 17 times

Post by lewd lude lover » Fri Feb 03, 2012 9:54 am

for future ref Rich at paw can get the smaller balljoints on the top.
6th gen Prelude please Mr Honda. RWD 2.4 turbo lude.

User avatar
NafemanNathan
LotM Winner
Posts: 20144
Joined: Sun Aug 08, 2010 9:37 pm
My Generation: 0G
Location: Yeovil, Somerset
Has thanked: 8 times
Been thanked: 124 times

Re: Nathan's Daily Drive BB4

Post by NafemanNathan » Fri Feb 03, 2012 9:59 am

Aww now you tell me! :lol: Literally just got off the phone from Motorfactors with them telling me unfortunately it didn't make the delivery today, but do I still want it? ("Yes").

Aww well, I figured it'll be easier to simply replace the whole assembly rather than just the ball joint :)
Last edited by NafemanNathan on Fri Feb 03, 2012 10:10 am, edited 1 time in total.

User avatar
lewd lude lover
Supporter 2015
Posts: 5658
Joined: Sat Aug 07, 2010 9:51 pm
My Generation: 5G
Has thanked: 25 times
Been thanked: 17 times

Post by lewd lude lover » Fri Feb 03, 2012 10:01 am

too right :lol:

three nuts to undo against a press and lots of grunting. natch.
6th gen Prelude please Mr Honda. RWD 2.4 turbo lude.

User avatar
grant_day
Posts: 361
Joined: Sat Nov 05, 2011 6:49 pm
My Generation: 4G

Post by grant_day » Sat Feb 04, 2012 6:01 pm

Thanks for the wheels today mate, nice collection of motors you have too.
Sorry we left so soon there was snow on the A303 and I didn't want to get stuck staying at stonehenge this evening :lol:
Plus I didn't want to miss to Rugby ;)
+ rep

User avatar
NafemanNathan
LotM Winner
Posts: 20144
Joined: Sun Aug 08, 2010 9:37 pm
My Generation: 0G
Location: Yeovil, Somerset
Has thanked: 8 times
Been thanked: 124 times

Re: Nathan's Daily Drive BB4

Post by NafemanNathan » Mon Feb 06, 2012 8:42 am

No worries bud... As long as you didn't dash off needing the toilet :lol:

Nice to have met you and the missus, probably catch you at Japfest to :)

Look forward to seeing the wheels on the lude ;)

User avatar
NafemanNathan
LotM Winner
Posts: 20144
Joined: Sun Aug 08, 2010 9:37 pm
My Generation: 0G
Location: Yeovil, Somerset
Has thanked: 8 times
Been thanked: 124 times

OEM Engine, NSF Upper Arm, New Number Plates & Zebra Mats Fi

Post by NafemanNathan » Thu Feb 09, 2012 10:52 am

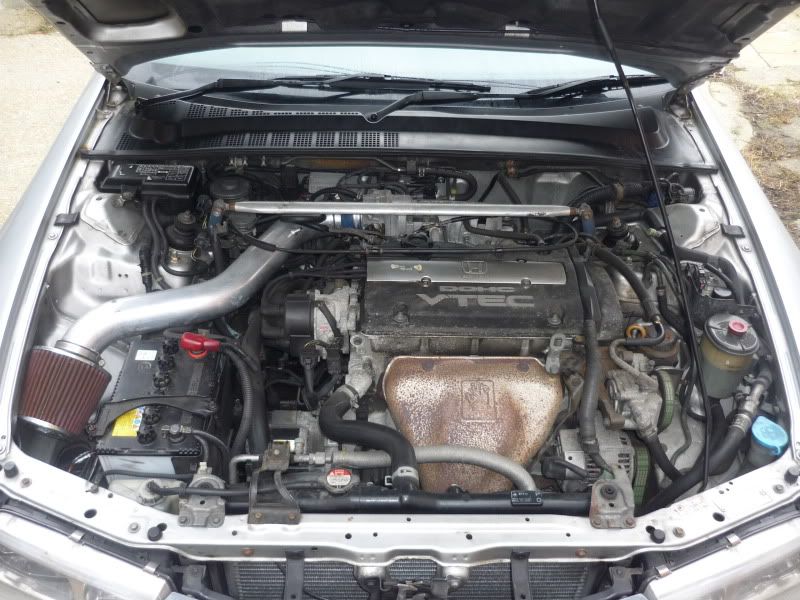
Last weekend I had chance to return the engine bay back to standard. I removed the ebay induction kit (Including corroded filter ;-) ) and also the Sustec strut brace, as the brackets are very rusty, so I'll get those powder coated.

So she went from this...

Image

To this...

Image

Image

Image

Image

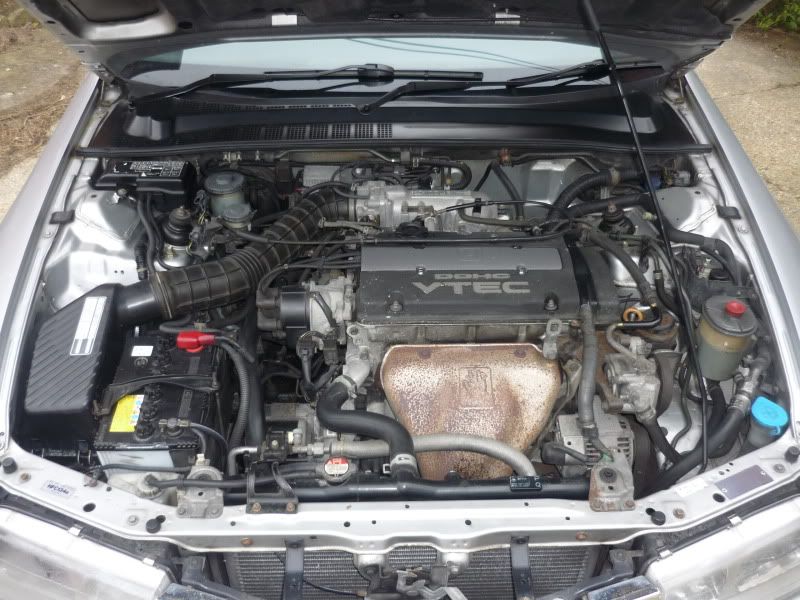
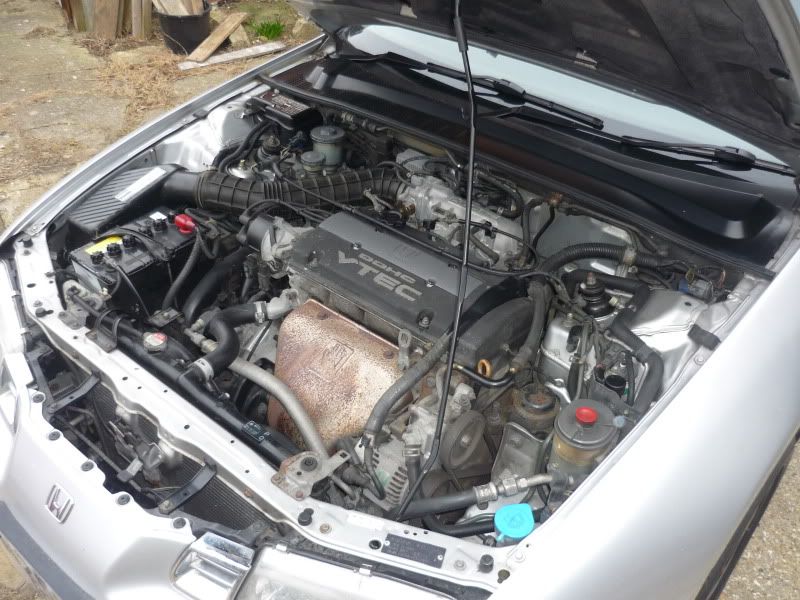
I gave her a quick clean all round as well to make her look half decent, including removing all the oxidization which covered pretty much everything aluminium. I also switched the spark plug cover with the one I'd painted from the project lude as the bonnet heat-shield had warn a mark in the original one.

I also wanted to remove the exhaust-manifold heat-shield as well, so I could remove the rust and either polish it or paint it. The two top bolts were no issue to remove, but of course the bottom one is seized and I've had no joy removing it yet as the bolt has started rounding off :roll: I'll have to get my Dad's mole grippers on it ;-)

Then yesterday I had a day off work (I was having a phone line installed at home for this new-fangled thing called Broadband :? 
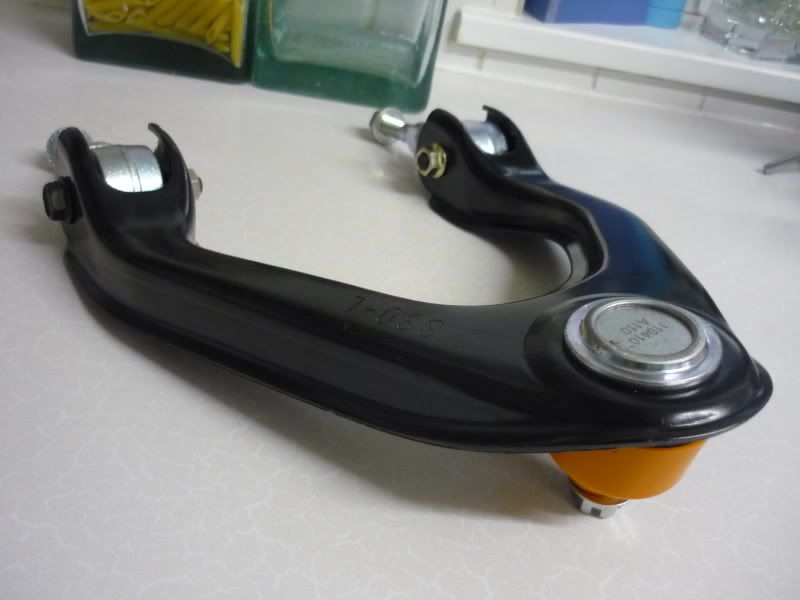
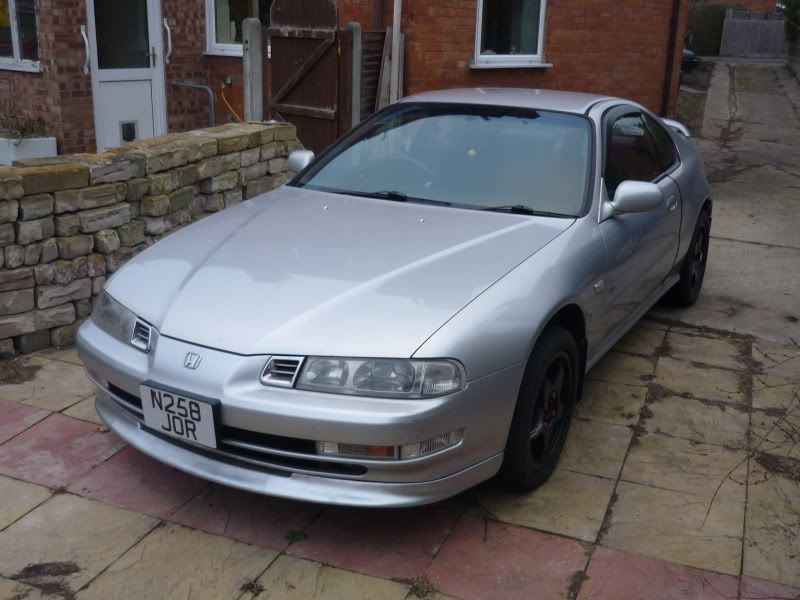
), so I took the opportunity to replace the front passenger side upper suspension arm (Amazingly simple job by the way!) ...

Image

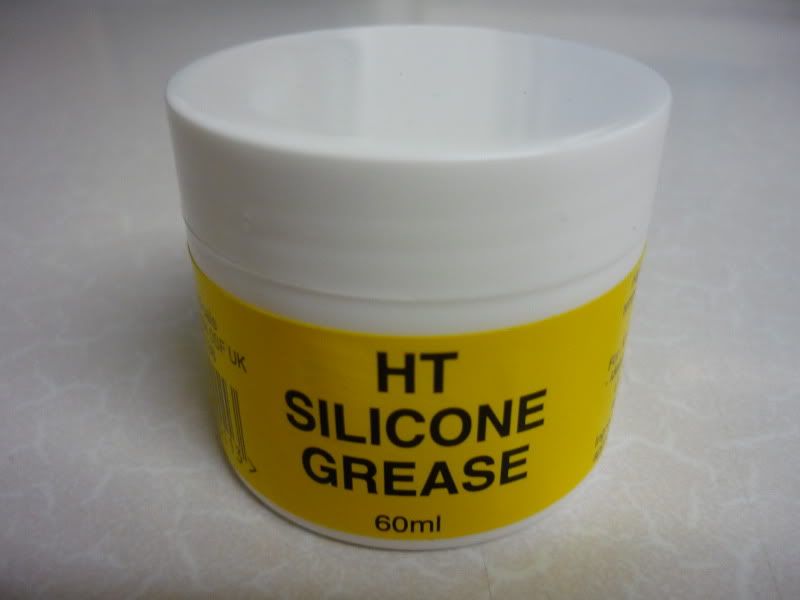
I also slapped on a whole load of this stuff on to the front ARB bushes, which has since gotten rid of the god-awful squeak :)

Image

After taking her for spin last night to check all was well now, I could still hear a knocking coming from the NSF suspension area. I knew exactly what it was though, as when I had been cleaning the engine bay a couple days previously, after removing the strut brace I noticed the nut on top of the shock dampener was actually loose. I told myself at the time, I obviously need to tighten that before I go anywhere, but blatantly forgot again :lol: Anyway, tightened up and hey presto! She's sorted! No more knocking! :D

Before starting work on the car yesterday though, I pulled her forward slightly to get better access. Barely a metre forward she went, yet the start-up was obviously enough for the bonnet heat-shield to wear a patch on the newly painted spark plug cover as well! :roll: ... So off it comes...

Image

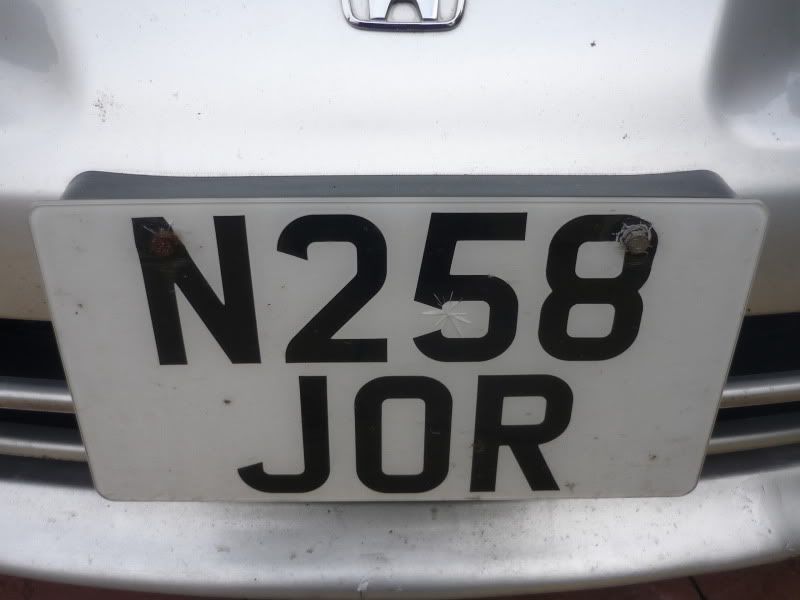
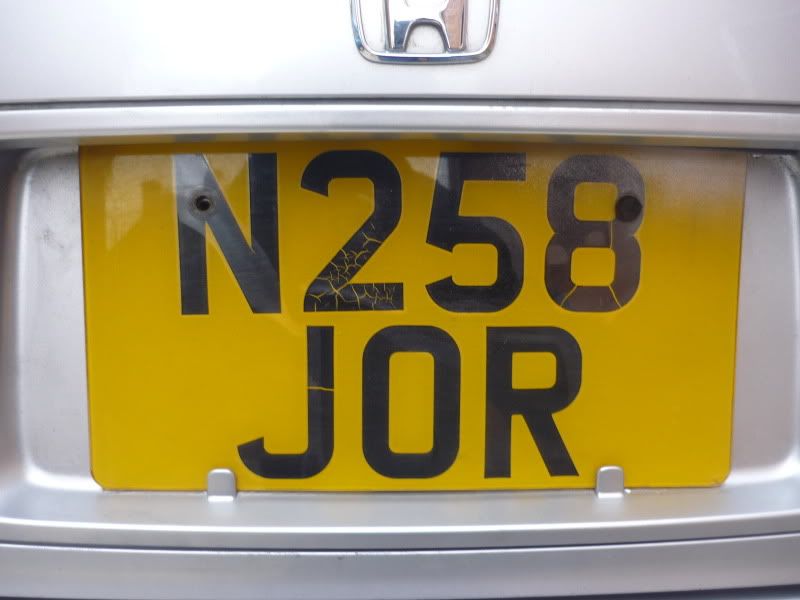
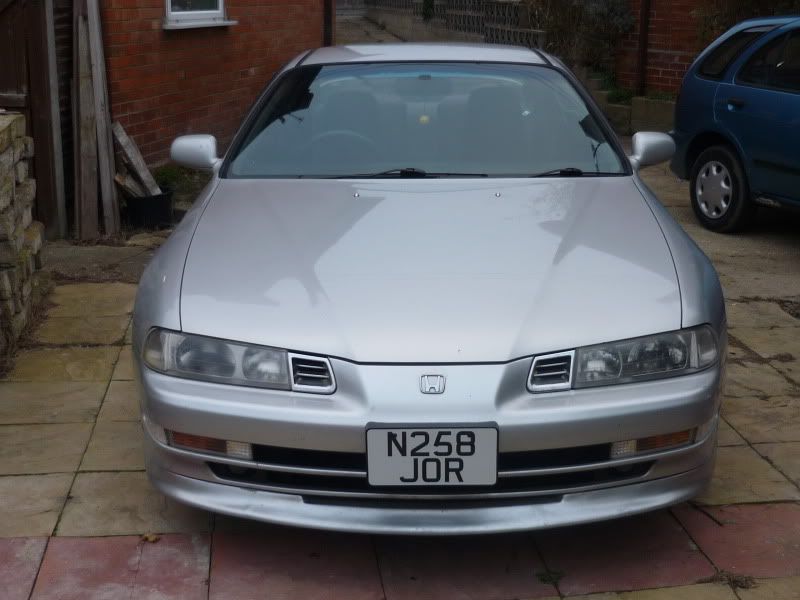
Then, next job of the day was to replace the number plates. Both the front and the back were pretty hideous. The front hung over the frame on all 4 sides, it's had an obvious spider crack in it and generally looked naff...

Image

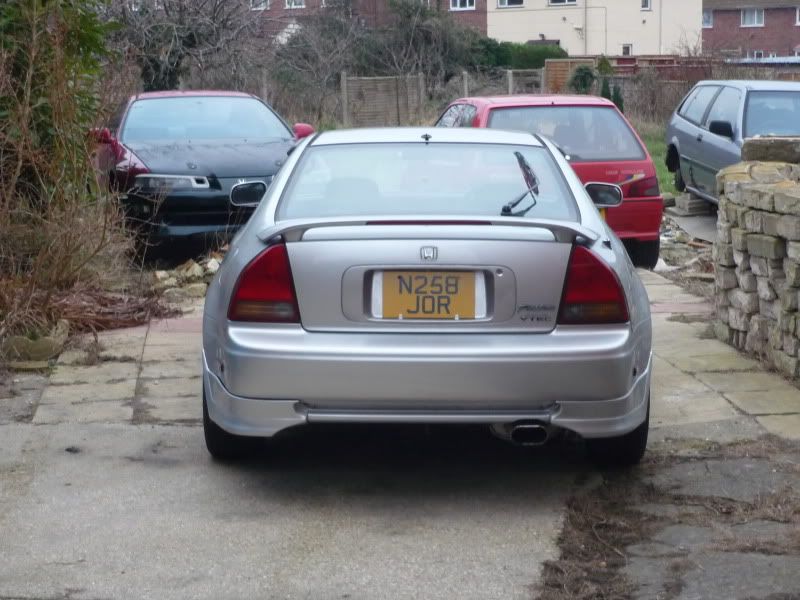
The back basically had a crackle-glaze effect on some of the digits...

Image

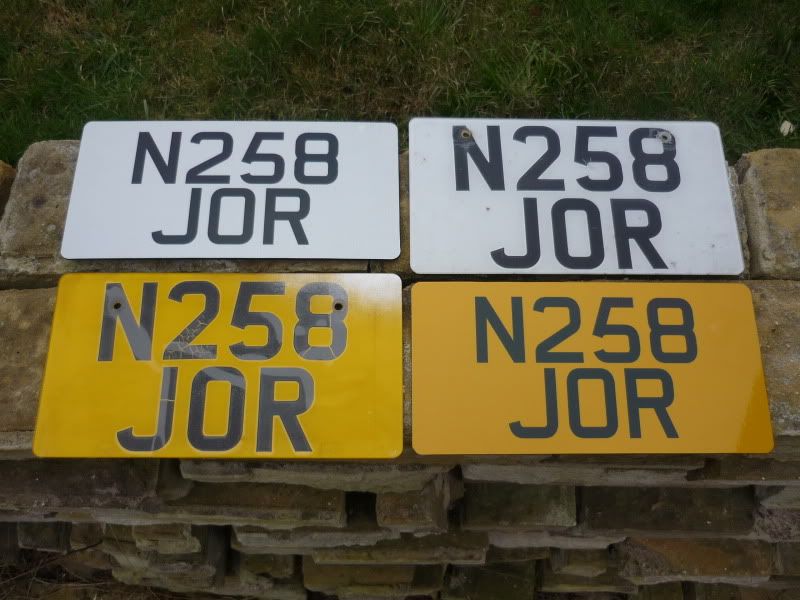
So I replaced them with these sleaker looking import-sized-character ones...

Image

The front one was still bigger than the frame, but this was ok as I was going to remove the frame completely anyway. But after struggling to unbolt the blessed thing and finding the bolts are just too corroded, and also the fact that if I did remove the frame, there would be an obvious wear line across the bumper where the top of the frame had been rubbing (which would have easily been seen), I decided to leave it on.

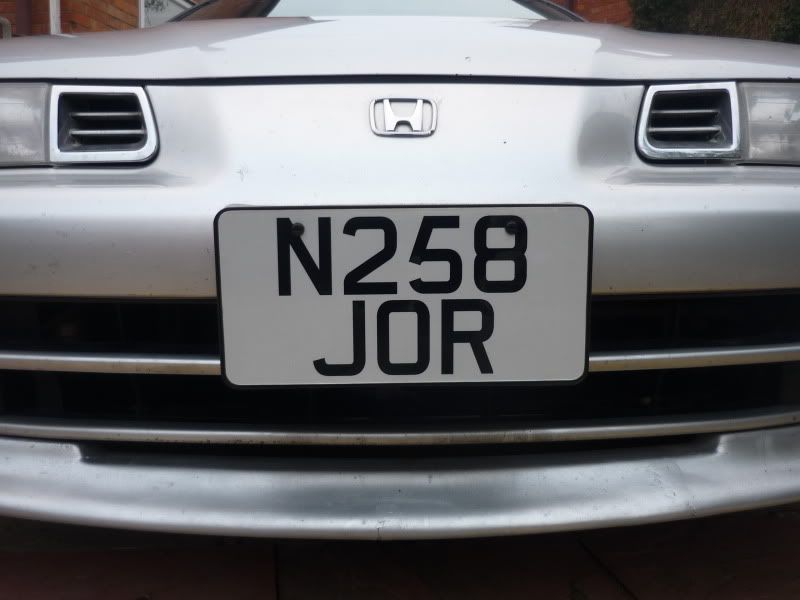
Instead I decided to trim the new number plate down...

Image

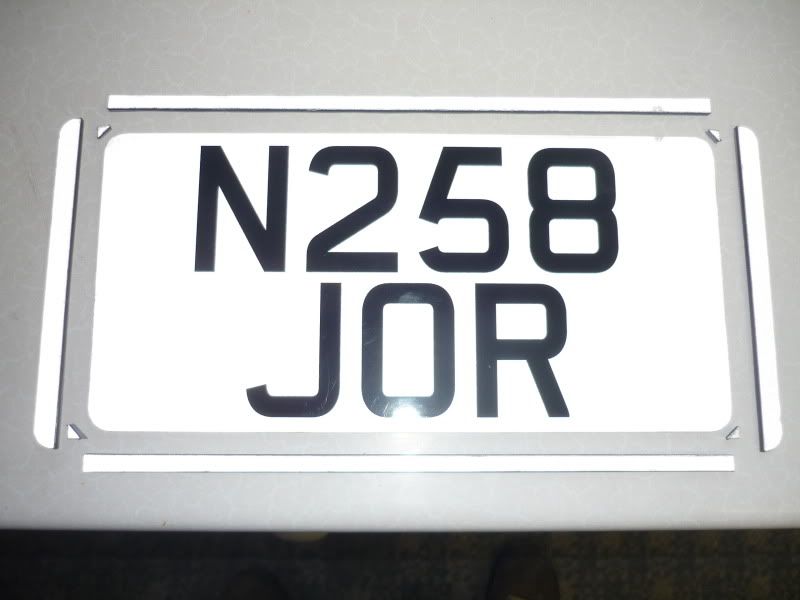
So now it fits perfectly :D ...

Image

Image

Image

The back one looks much better to...

Image

Last job of the day then, was simply to replace the blander looking OEM grey mats with a fresher set of OEM Zebra mats ;-) ...

Image

Shockingly bad photo (needs some colour :lol: ), but it's starting to feel more like home again :lol: I'd also previously fitted my stereo, so now I've just got to fit my Richbrook R1 steering wheel and we're sorted.

User avatar
grant_day
Posts: 361
Joined: Sat Nov 05, 2011 6:49 pm
My Generation: 4G

Post by grant_day » Thu Feb 09, 2012 7:46 pm

Hey chief, she's looking good, the little things make such a difference, is it safe to remove the bonnet heat shield? And what boss kit do you use with the steering wheel? I've got one but its a naf egay one :lol:

User avatar
Pushki
Supporter 2015
Posts: 2635
Joined: Sat Aug 07, 2010 9:21 pm
My Generation: 4G
PSN GamerTag: Luigi_Black
Location: Bluff Creek
Has thanked: 2 times
Been thanked: 10 times

Re: Nathan's Daily Drive BB4

Post by Pushki » Thu Feb 09, 2012 7:57 pm

I like what I see.........except for the missing bonnet liner. :x
I stuck mine with a blob of sikaflex on the part that hangs down.
Image
ImageImageImage

Post Reply

Return to “Gone but not forgotten”