Congratulations to vtecmec for winning May/June's Lude Of The Month, with his DIY Turbo BB1 build.

>>> Click Here For Profile <<<

Image

Nathan's Road-Legal/Track BB4

Tell us all about your Lude, you know you want to ...
User avatar
NafemanNathan
LotM Winner
Posts: 20144
Joined: Sun Aug 08, 2010 9:37 pm
My Generation: 0G
Location: Yeovil, Somerset
Has thanked: 8 times
Been thanked: 124 times

Re: PLEASE DO NOT POST IN THIS THREAD YET (Under Constructio

Post by NafemanNathan » Tue Feb 07, 2012 1:39 pm

lucas wrote:i think a write up must be provided nafeman !!!

what are they actually made for ?
Nathan wrote:as seen on the Lamborghini Diablo, Ferrari Maranello, Skyline GTR, a bunch of Maseratis and a couple of BMers :wink:
;-)

I'll no doubt be documenting it all on here :)

I'm sure I'll figure something out Matt if I'm having trouble. I'll check out their capacity when I pull them apart ;-)

User avatar
NafemanNathan
LotM Winner
Posts: 20144
Joined: Sun Aug 08, 2010 9:37 pm
My Generation: 0G
Location: Yeovil, Somerset
Has thanked: 8 times
Been thanked: 124 times

Re: PLEASE DO NOT POST IN THIS THREAD YET (Under Constructio

Post by NafemanNathan » Tue Feb 07, 2012 1:39 pm

honda-hardy wrote:i got those eyebrows in my watch list too. but i wont be buying them as my headlamp protectors wont fit :(

User avatar
NafemanNathan
LotM Winner
Posts: 20144
Joined: Sun Aug 08, 2010 9:37 pm
My Generation: 0G
Location: Yeovil, Somerset
Has thanked: 8 times
Been thanked: 124 times

(LB) Wings West RS Lip Kit & Eyebrows Fitted. H22a7 Surprise

Post by NafemanNathan » Tue Feb 07, 2012 1:41 pm

Well I made a bit of progress today and found something that made I laugh ;-) ...

Not been spending much time on the lude as of late as I've been concentrating on the house. Anyway, I had to move this lot out of the big bedroom today as I need to get the plasterers in...

Image

My Wings West kit ;-) ...

First of all I wanted to do my subtle tweeks like I've done on my current bumper. Being I've done my front indicator/reflector conversion there are a few ugly bits left unrequired on a standard bumper, so I had to cut these off again...

From...

Image

To...

Image

Image

Previously I'd even removed the front foglight area, but this had left the bushes in the front cross member exposed, so I decided against removing this portion this time...

Previous red bumper...

Image

Image

I did that last night, so today I got to fit it :D Along with the eyebrows 8) ...

Image

Image

Image

Image

Image

Image

Image

Image

Image

Image

Image

Image

Image

Colourful in't she? :lol:

And then I gave the engine a bit of a rub down as the block had oxidized slightly whilst it's just been sat there...

Image

But whilst I was wire brushing the front of the head I noticed some numbers I wasn't expecting...

As some of you know I had a bit of an incident a while back where my cambelt snapped :roll: A few of the valves were bent and long story short, I ended up replacing the head with a low mileage H22a# head my local Honda had kicking around. It was only missing the cams. I know a couple of the guys down there, so I got it for a very good price (;-) ;-) )

And then there was that whole fiasco where I bought a complete Type-S H22a7 head from a guy on ebay... That then just turned out to be a standard P13 H22a head (I still have that for sale btw ;-) )

Well anyway, since that ebay confusion I've become a little more aware of the different H22a# head codes, and today whilst scrubbing my head I noticed this :D ...

Image

I already have me a PDE (H22a7) head :D :lol:

I was told the head was from an Accord... I just assumed it was from a standard 2.2 Vtec... Not an ATR :roll: :lol:
Last edited by NafemanNathan on Tue Feb 07, 2012 2:09 pm, edited 1 time in total.

User avatar
NafemanNathan
LotM Winner
Posts: 20144
Joined: Sun Aug 08, 2010 9:37 pm
My Generation: 0G
Location: Yeovil, Somerset
Has thanked: 8 times
Been thanked: 124 times

Re: PLEASE DO NOT POST IN THIS THREAD YET (Under Constructio

Post by NafemanNathan » Tue Feb 07, 2012 1:43 pm

Matt wrote:that kit does look nice Nafe, well, it will when its all the same colour!
Bit of a result with the head as well you jammy basteed. :) :)
Floydie wrote:1. Love the Wings West 8-)

2. Eyebrows look cool :-)

3. ATR head? You jammy git! [-(
2lude wrote:more jam than hartlys
Suff wrote:more spawn than a frog-pond in the spring.
bluejackhustler wrote:Full Wings West lip kit......mmm...Love it, obviously!!! Will look fab when colour coded!!!
lucas wrote:so... you have a prelude type-R .. lol hey i think shiny still has that type r badge :

User avatar
NafemanNathan
LotM Winner
Posts: 20144
Joined: Sun Aug 08, 2010 9:37 pm
My Generation: 0G
Location: Yeovil, Somerset
Has thanked: 8 times
Been thanked: 124 times

Re: PLEASE DO NOT POST IN THIS THREAD YET (Under Constructio

Post by NafemanNathan » Tue Feb 07, 2012 1:43 pm

Type-R? Pffft! Type-R's will be eating my dust!.... When she's done ;-)

And what you talking about jammy? :lol: ...

User avatar
NafemanNathan
LotM Winner
Posts: 20144
Joined: Sun Aug 08, 2010 9:37 pm
My Generation: 0G
Location: Yeovil, Somerset
Has thanked: 8 times
Been thanked: 124 times

Re: PLEASE DO NOT POST IN THIS THREAD YET (Under Constructio

Post by NafemanNathan » Tue Feb 07, 2012 1:44 pm

Dino wrote:Liking the look of the C-west kit and the eyebrows.

Nice job on the ATR head. may not need to get any work done on it when you have the engine built.

User avatar
NafemanNathan
LotM Winner
Posts: 20144
Joined: Sun Aug 08, 2010 9:37 pm
My Generation: 0G
Location: Yeovil, Somerset
Has thanked: 8 times
Been thanked: 124 times

Re: PLEASE DO NOT POST IN THIS THREAD YET (Under Constructio

Post by NafemanNathan » Tue Feb 07, 2012 1:44 pm

Cheers Marc :) I decided to not get any head work done even before I released my luck with the ATR head and thought I'd save a few pennies til later on in life... Else I'm never going to get this thing back together :lol:

User avatar
NafemanNathan
LotM Winner
Posts: 20144
Joined: Sun Aug 08, 2010 9:37 pm
My Generation: 0G
Location: Yeovil, Somerset
Has thanked: 8 times
Been thanked: 124 times

(LB) Cable Tuck Cont'd. ATR Manifold Modification

Post by NafemanNathan » Tue Feb 07, 2012 1:46 pm

Just a mid way update on a couple of things really.

Firstly, the wire tuck. Decided with the long evenings at the minute that I could spare a few hours now and again to crack on with the tuck, before I completely forget what I'm doing. To make things easier and more accessible I decided to remove the rest of the centre console frame...

Image

I was going to remove this anyway as it's potentially where I'll be relocating the engine fusebox to (should it not stretch to the passenger foot well. Also it's less weight of course ;-) You can see how much more accessible everything is, and it also lets in more light which helps :) ...

Image

After removing the framework, the rest of the day's task was to untangle this lot...

Image

I started off by removing the drivers footwell fusebox in order to free up a bit more slack and it was also an obstacle. Now I could see exactly where my new relocated wires come into the cabin...

Image

Pulling it apart, this was what I had to contend with...

Image

3 hours later I had this :shock: :lol: ...

Image

This is no good for my ACD I can tell you [smilie=hate-shocked.gif] Being so many connectors string to other connectors, branching off to other connectors, there's no possible way to completely untangle it... Unless I start disconnecting the connectors :-k ;-)

Anyway, that's as far as I got on Saturday, but shall hopefully continue during the week.


Next up is the inlet manifold which I was tinkering with a while back. Due to my new-fangle injectors being shorter than standards I had to machine away a good amount of material to allow the spray to miss the side walls of the ports. Fortunately I had a countersink bit lying around (my dad's garage) which lent itself perfectly for the job. I then blended in the rest by hand using some grinding stones I bought from ebay...

Image

The job is better and more even than the pictures let on ;-) ...

Image

Image

Image

Image

I've also designed the various blanking plates I need (for the EGR ports, EGR valve and IACV) and had them laser cut out of 8mm thick aluminium, to then hand over to my machinist buddy who's going to prettify them by hand. I've forgotten to take some pictures up until now, but I'll get some before and after shots to show the progress.


Next up is the valve cover I picked up at Japfest. Basically I intend to do a couple breathing mods to it and cut out the cam gear area. Possibly may do a few other funky things to it before I give it a new lease of life as well.

Here's how it was...

Image

Then after a good wire scrubbing...

Image

Then after a good paint removering (Which is amazing stuff!)...

Image

Image

And then I removed the baffle plate...

Image

I've just won a 115 piece tap and die set on ebay as well, which shall come in handy for both this and the inlet manifold. Including metric, imperial and SAE (AN-) tap sizes.


And then just a brief update on the Brembo caliper conversion. Figuring the standard disc diameter is perfect for the calipers within a 16" rim...

Image

and the thickness can just about be got away with...

Image

I did figure the offset of the discs isn't quite so great. You can't see it that well, but there are actually 4 6.5mm spacers between the rim and the disc in order to give enough clearance between the rim and the caliper...

Image

So I've actually decided not to waste any time on it and put the caliper conversion on the shelf until I'm properly rolling again ;-)
Last edited by NafemanNathan on Tue Feb 07, 2012 2:10 pm, edited 1 time in total.

User avatar
NafemanNathan
LotM Winner
Posts: 20144
Joined: Sun Aug 08, 2010 9:37 pm
My Generation: 0G
Location: Yeovil, Somerset
Has thanked: 8 times
Been thanked: 124 times

Re: PLEASE DO NOT POST IN THIS THREAD YET (Under Constructio

Post by NafemanNathan » Tue Feb 07, 2012 1:47 pm

slashdotdash wrote:looking good pal!
Crazy_C wrote:Mmmmm, I spy spaghetti!! Gotta love the modern cars for all that stuff!

User avatar
NafemanNathan
LotM Winner
Posts: 20144
Joined: Sun Aug 08, 2010 9:37 pm
My Generation: 0G
Location: Yeovil, Somerset
Has thanked: 8 times
Been thanked: 124 times

(PUK) PreludeUK has the honour

Post by NafemanNathan » Tue Feb 07, 2012 1:57 pm

That's LudeBehaviour caught up.

Meanwhile, lagging behind on Prelude UK...


I've been on here a while now (4 ludes ago to be precise) but never actually started a profile thread. But what with all the help I've been given recently from you guys and especially with the whole support with the whole snapped cambelt situation I thought I'd treat you all :wink: :lol:

I actually bought her as standard from Marc Dino about a year ago now. I was after another JDM BB4 but with no extras, no rust, but ideally with LSD, and Marc just so happened to point me in his direction :)

I had decided I was going to learn how everything works and how to do everything myself where physically possible (previously having not really known anything about cars but knowing I love driving and loving Preludes it was an ambition of mine). As some of you know... I'm still learning :lol:

So anyway, as standard she's a '94 Honda Prelude BB4 with LSD and no extras 8-)

But!... So far (and I'll save you the details of the 21 page thread I have on LB :wink: ) I have done the following...
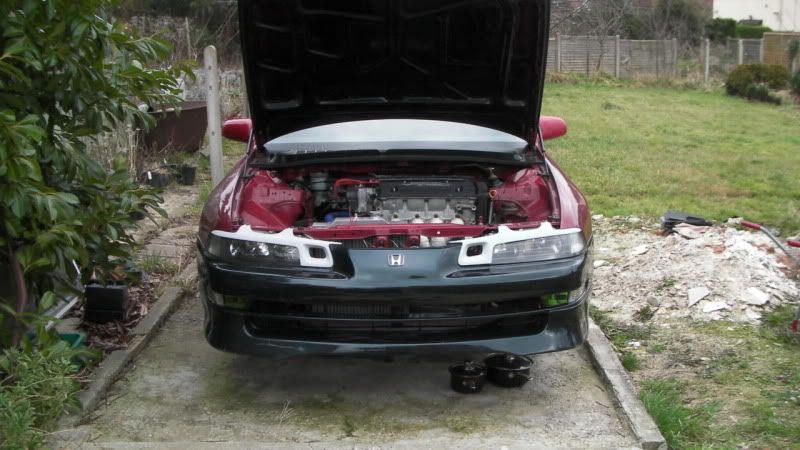
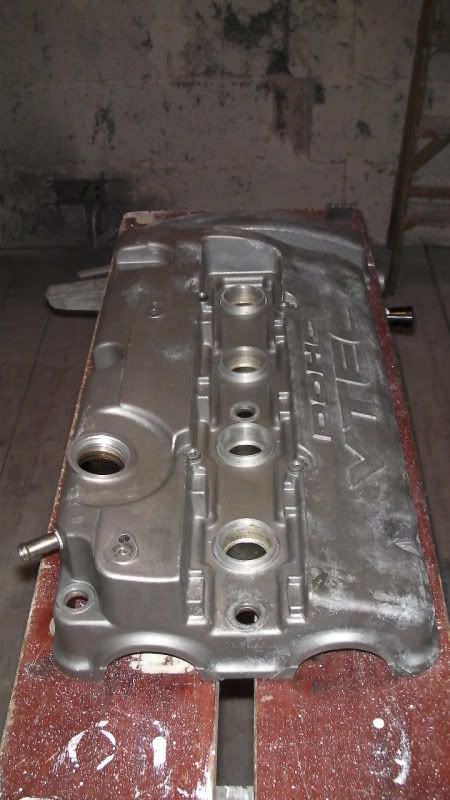
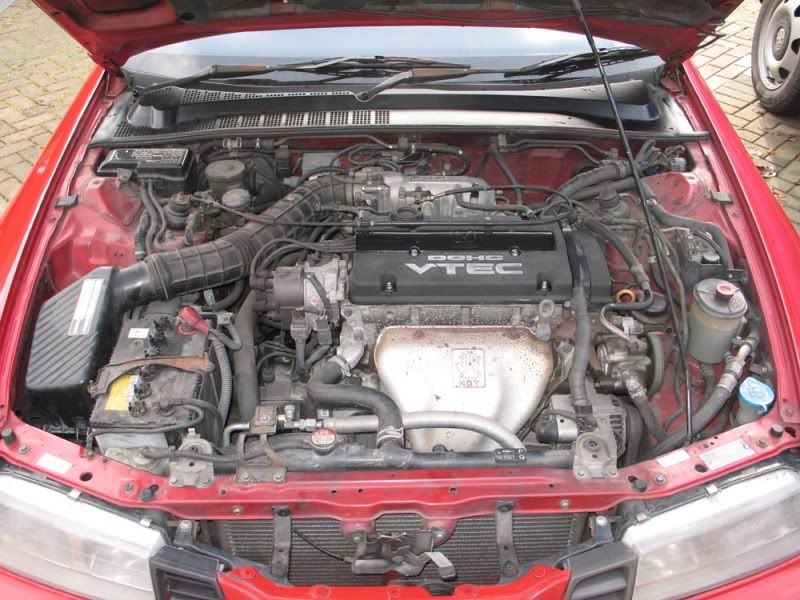
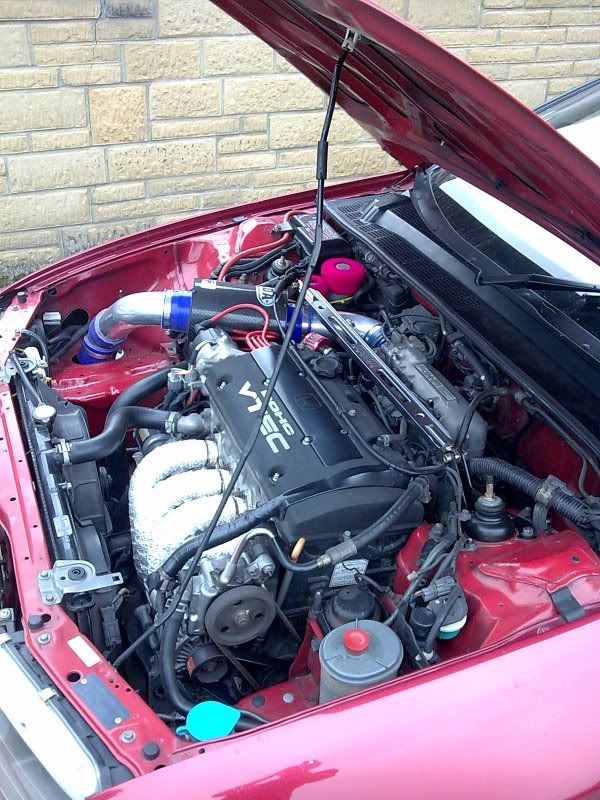
Engine wise:
BMC Carbon Dynamic Air Induction Kit ducted from behind the Front Bumper
Resonator removed
8mm Double Silicone Racing HT Leads
NGK Iridium Spark Plugs
Mugen JDM 4-2-1 Manifold & Downpipe (Heat Wrapped)
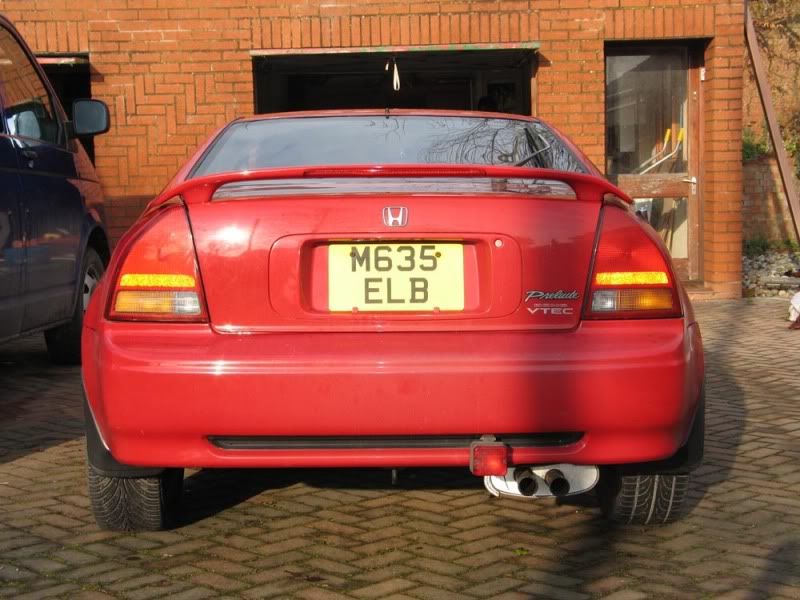
Pro-Speed Cat-Back Exhaust
Pro-Speed De-Cat Pipe
AirCon removed
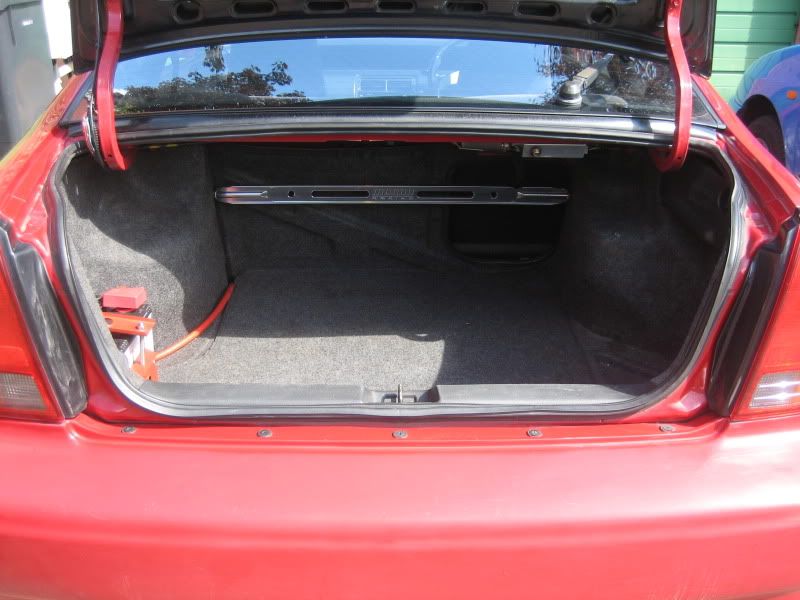
Battery relocated to the Boot
Near Future Mods:
Skunk2 Tuner Cam Gears (Soon to be fitted)
H23 Manual Tensioner Conversion (Soon to be fitted)
Honda P28 ECU (Collecting dust)
AC Fuel Rail 3/8" Bore (Collecting dust)
Catch Tank (Collecting dust)
DH-Racing 74/68 Throttle Body w/ Spacer (In the post from the US)
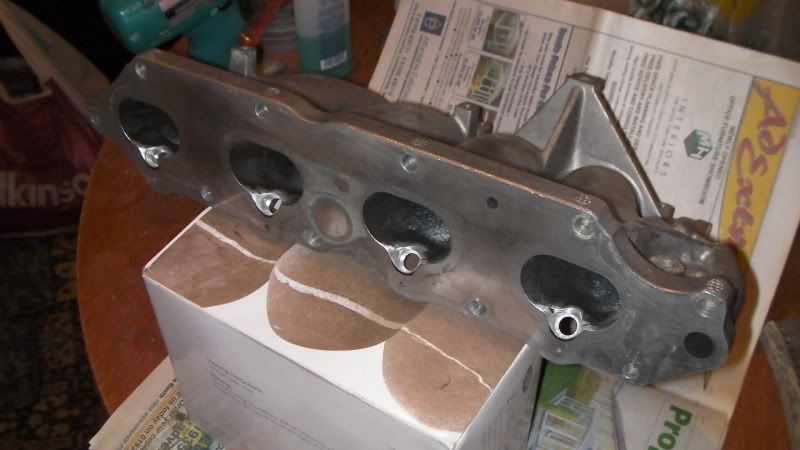
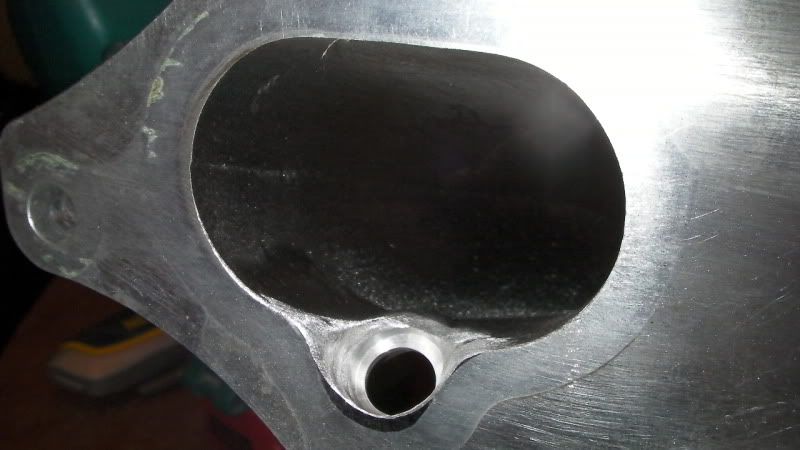
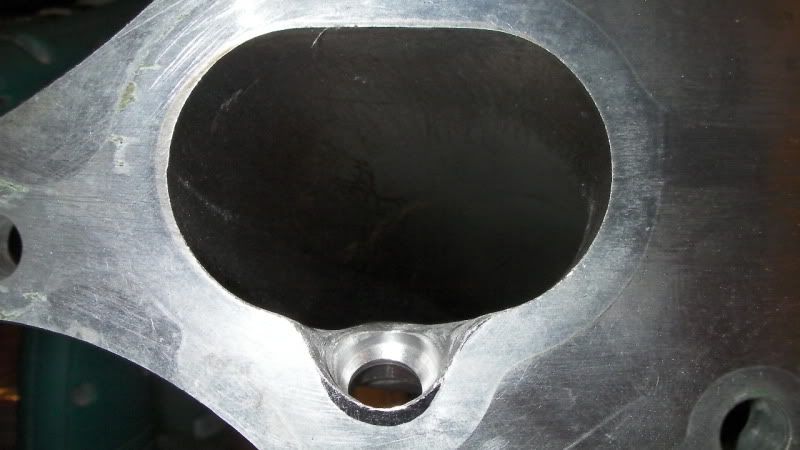
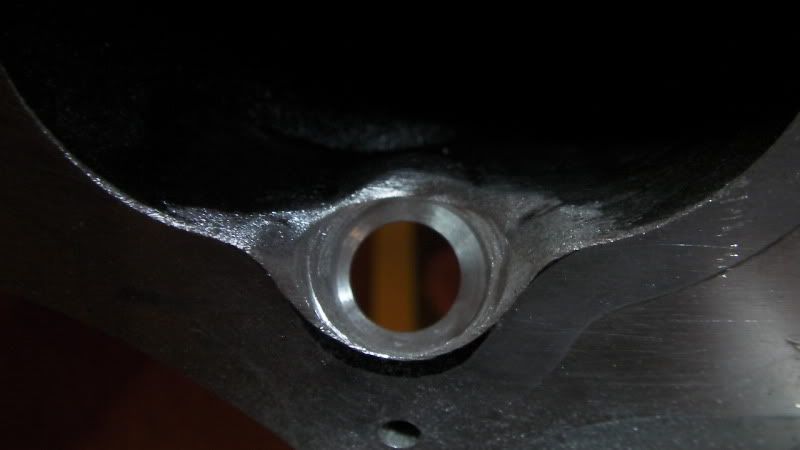
Modified OEM Intake (In the pipeline)
Uprated 102mm Silicone Ducting (A few of the bits collecting dust)
FSE Power Boost Value (Yet to get)
Alloy Race Radiator (Yet to get)
The obvious new cambelt and various bits and pieces :lol:

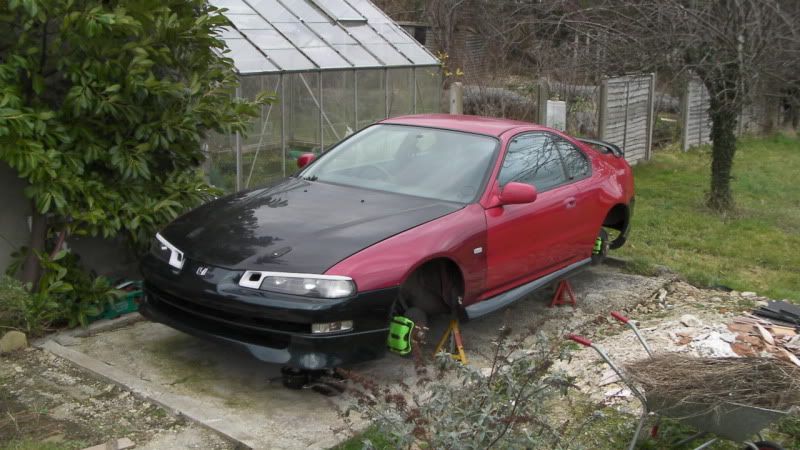
Wheels & Suspension:
Tein Super Streets Suspension
Megan Racing UF UR Strut Braces (LR Strut I've yet to fit)
OZ Racing 16x6.5” Chrono Alloys refurbed in Matt Black 8-)
Kei Racing Tuner Wheel Nuts
Toyo T1-R 205/50r16 Tyres
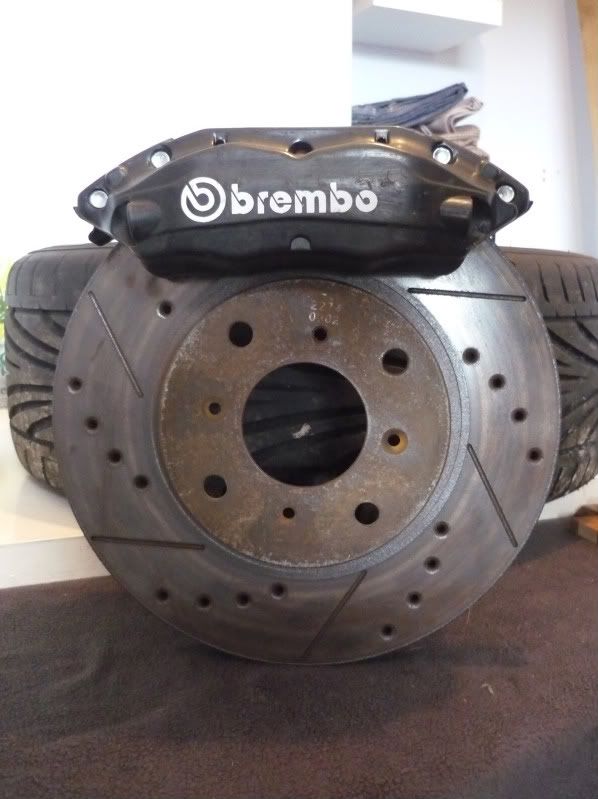
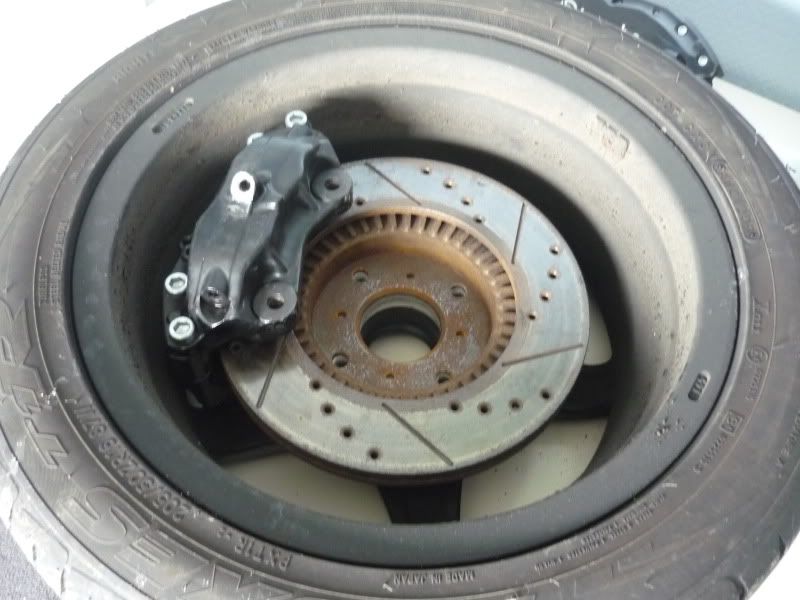
Tar-Ox Sport Front Brake Discs
MTEC Grooved Rear Brake Discs
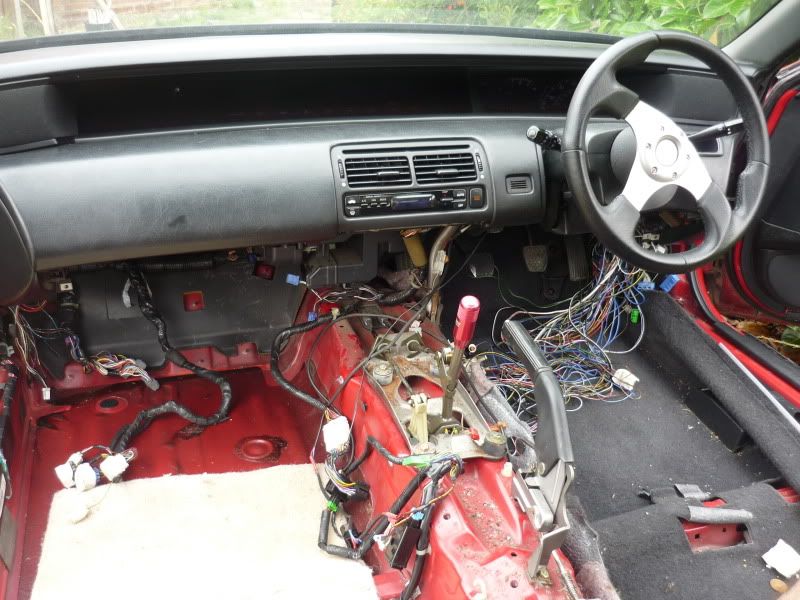
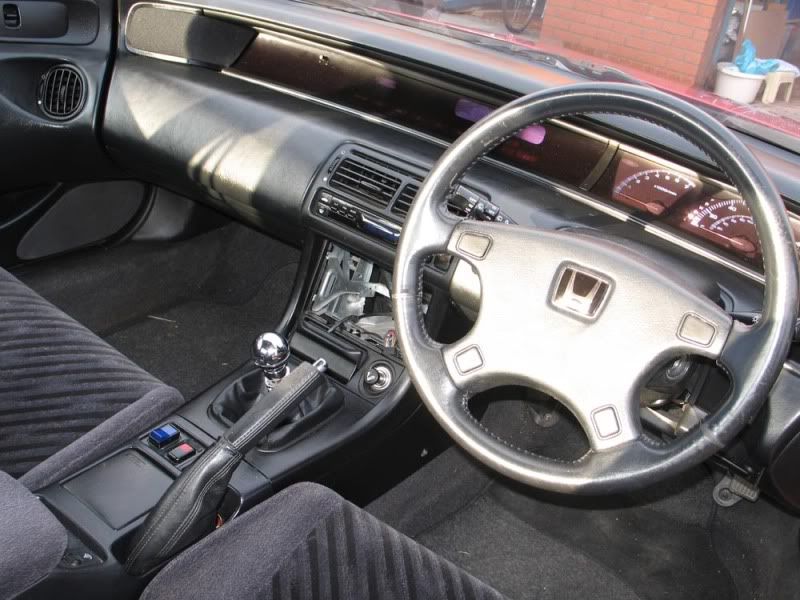
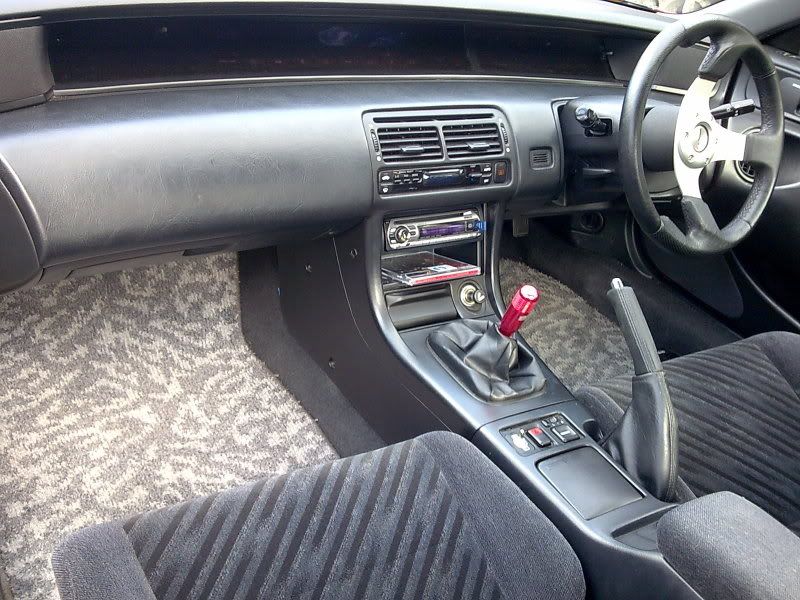
Interior:
Richbrook R1 Steering wheel
Forbidden Motorsports Short Shifter
Mugen (Copy) Gear Knob
OEM Zebra Mats
Near Future Mods:
Mugen (Copy) Foot Pedals

Exterior:
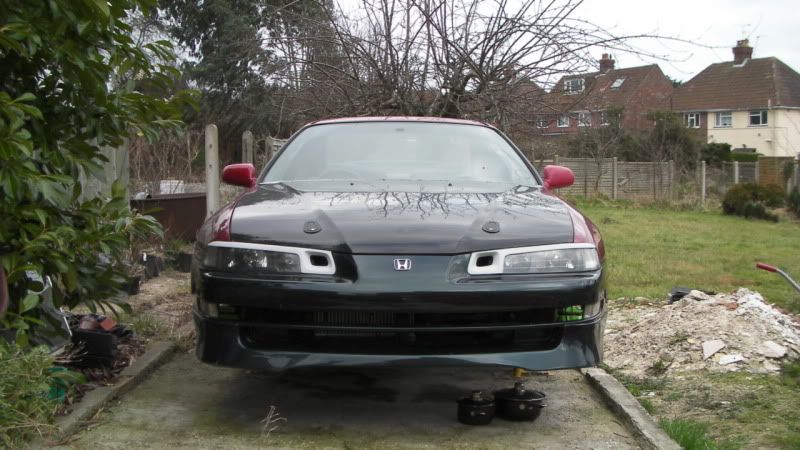
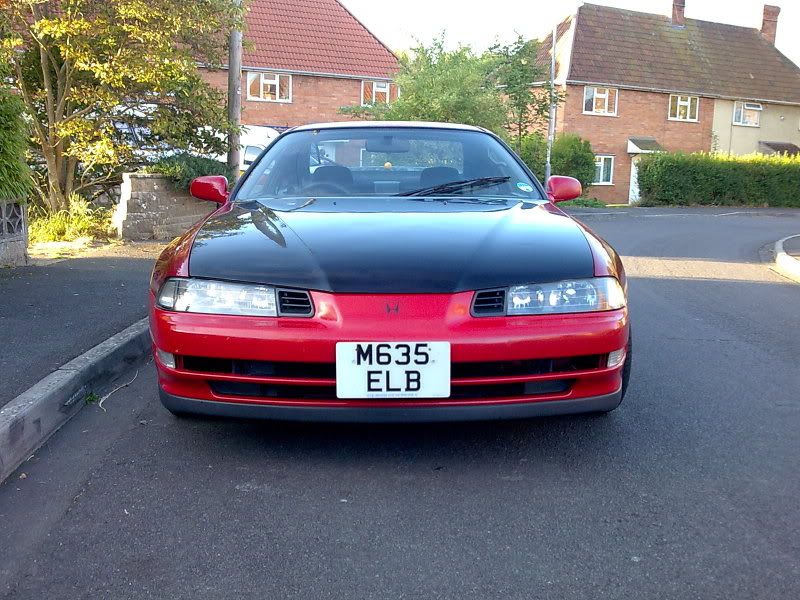
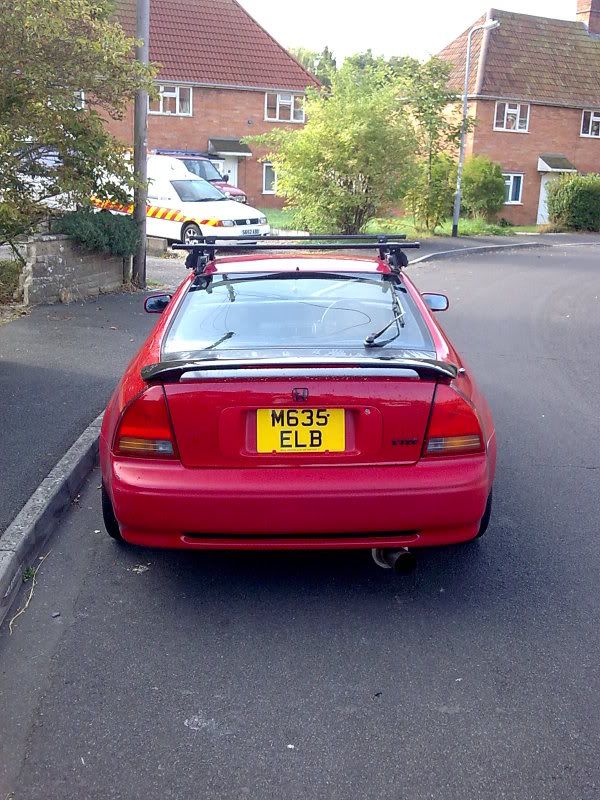
Storm Single Wiper Conversion
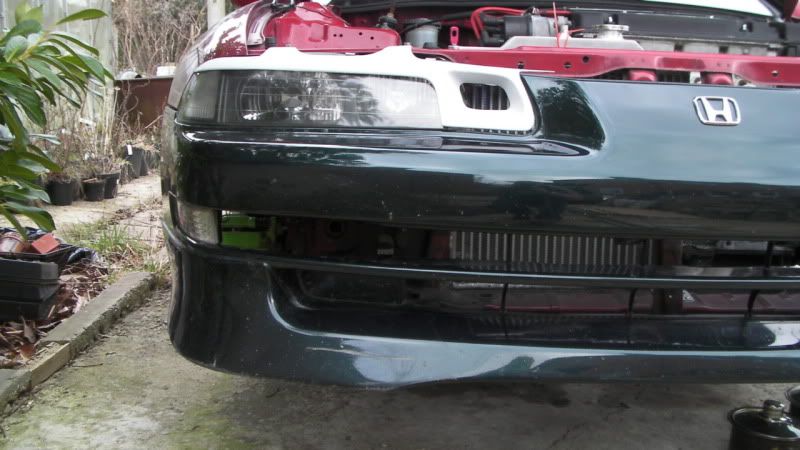
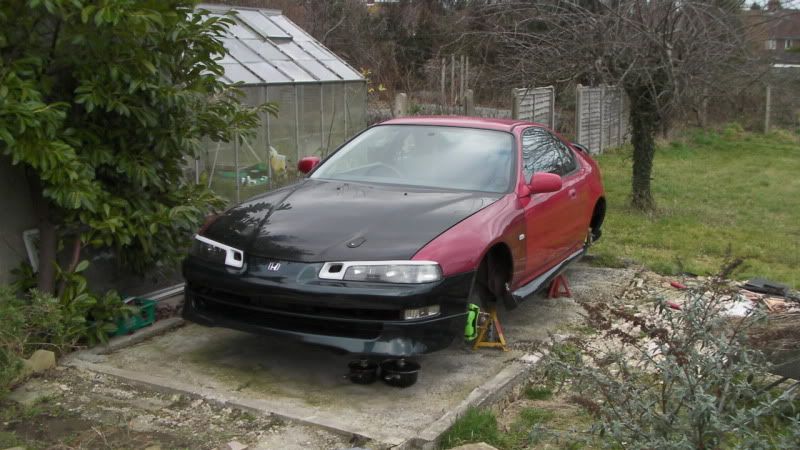
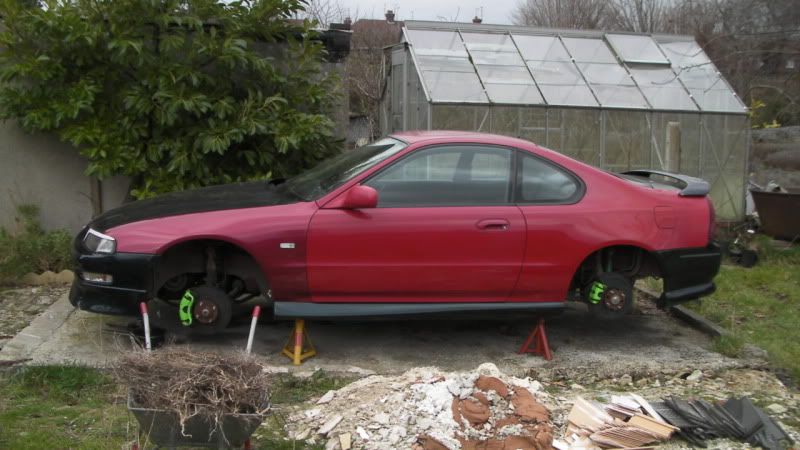
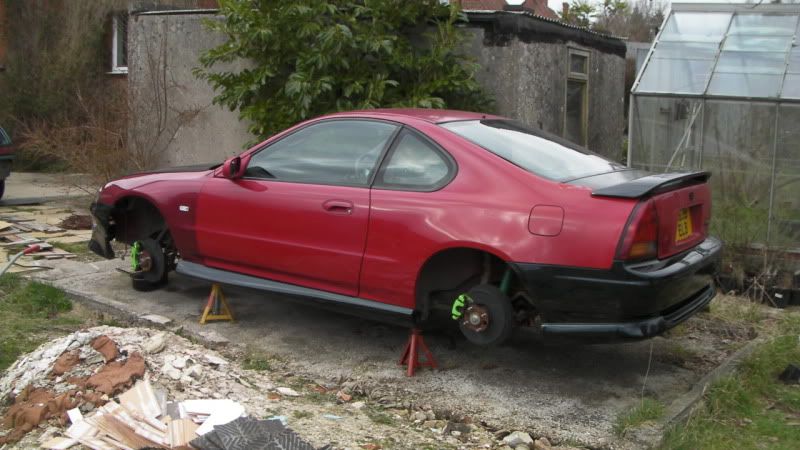
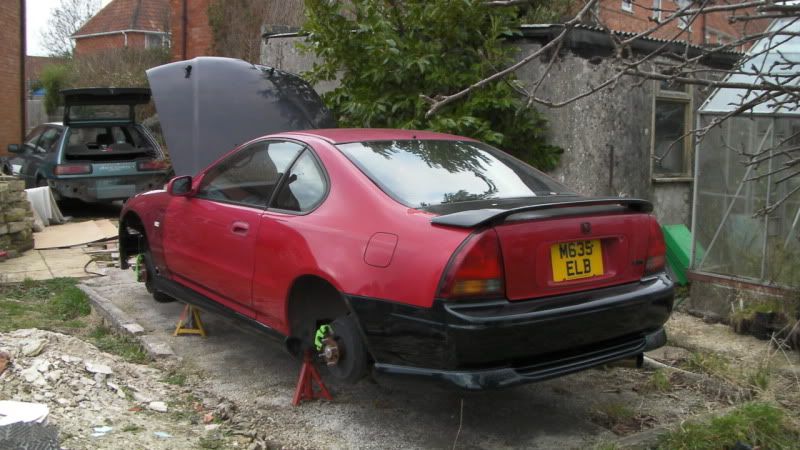
Along with refurbished front bumper with UKDM Lower Lip
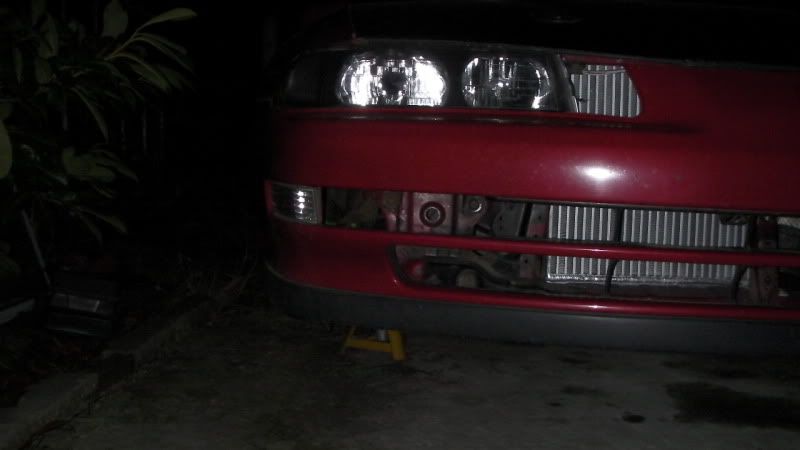
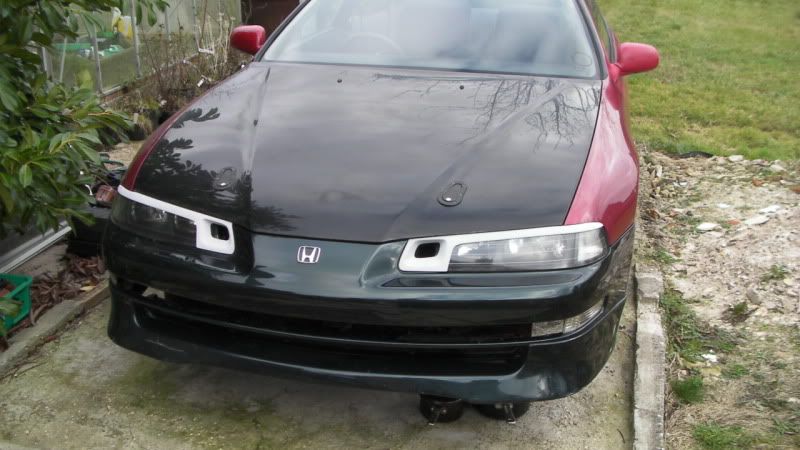
JDM One-Piece Black Head Lights
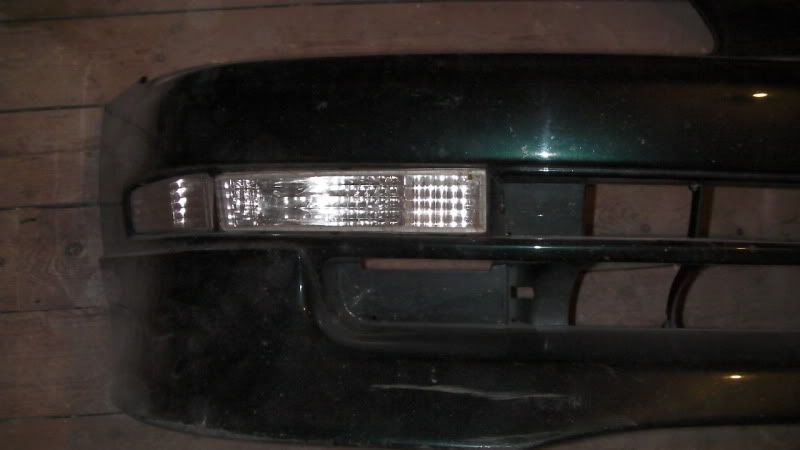
Front Reflecter/Indicator Conversion (A first I believe 8-) )
And a few other details you'll probably spot if you compare the first 5 pictures to all the rest :wink:

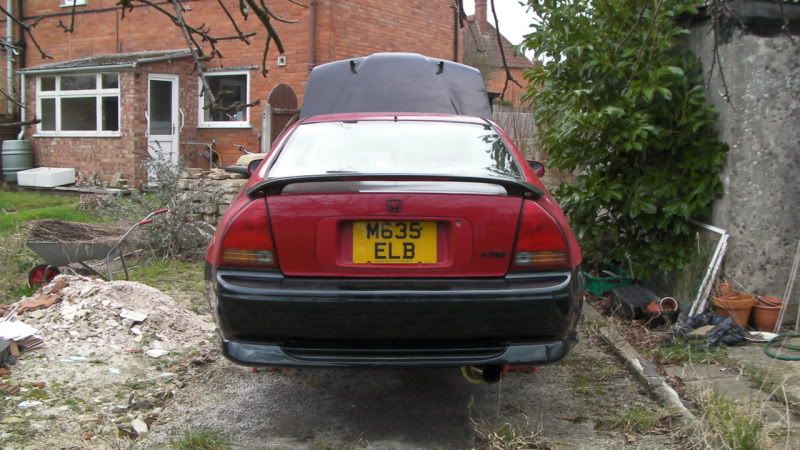
So she's gone from this....
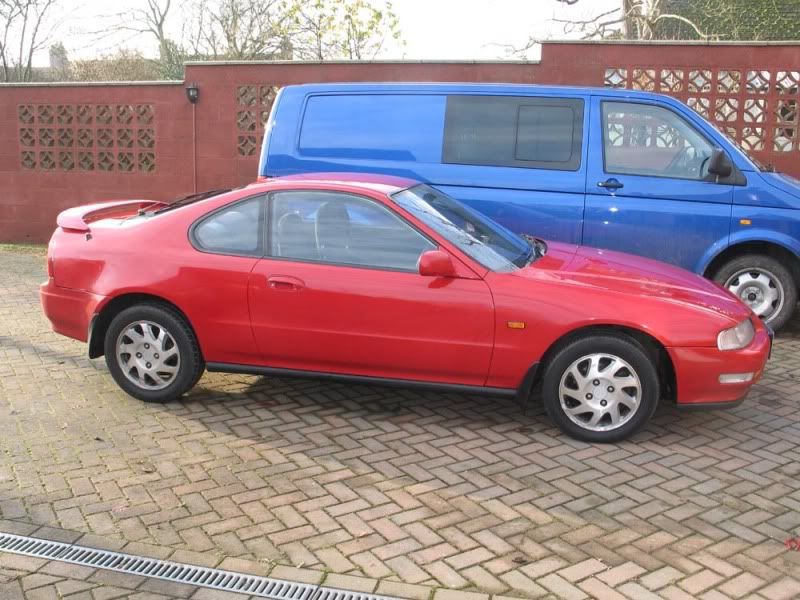
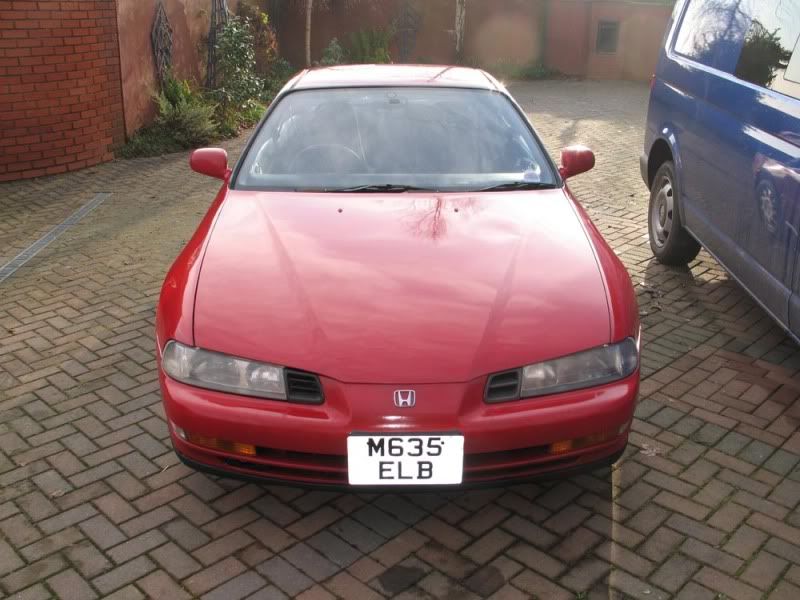
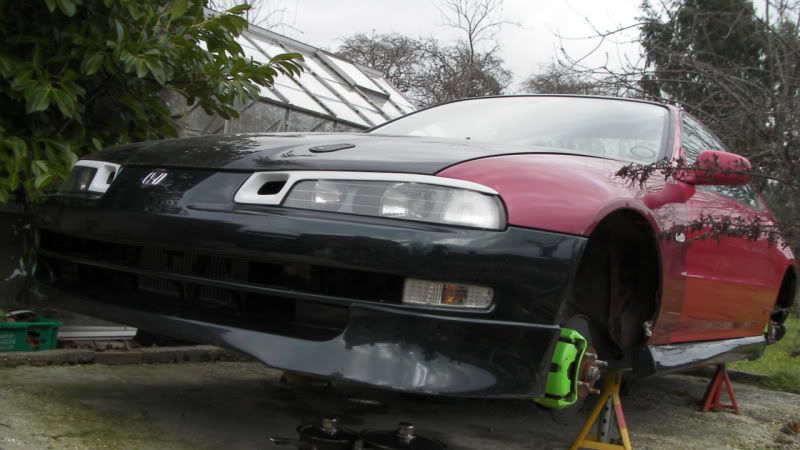
Image
Image
Image
Image
Image


To this....
Image
Image
Image
Image
Image
Image
Image

I joined Rob (Nucleustylz_Lude) on his dyno day at GotBoost in South Wales the other day, where she produced a nice healthy 204.8 bhp :) Torque was a little wobbly mind and 149.7 lbft, but nothing the eventual remapped P28 shouldn't sort :wink:

She did me proud that day and held on as long as she could, getting me only 2 minutes from home after a 1 hour 45 minute drive before she could take no more... And her belt snapped :roll: ... Poor thing :( :shock:

Post Reply

Return to “Lude Profiles”