BUILD PART 5) - Build (Cont'd) – Garage distractions & more parts!
Long overdue update or two!

I wrote this a while back, so may as well post it, but the garage has since got clogged up and then cleaned again!
 Distractions to Organise!
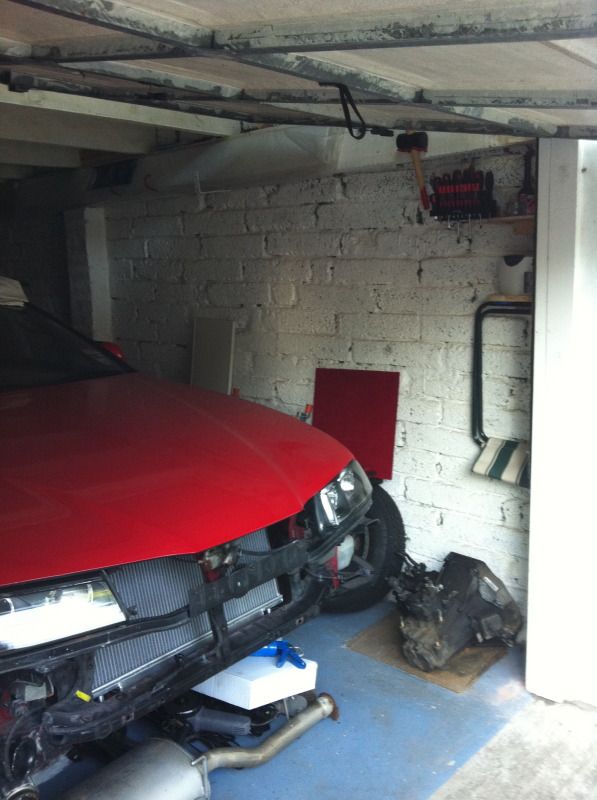
The more parts that turn up on my doorstep, things to work on and parts removed from the car soon began to live and grow at an enormous rate under the front of my lude which is living on axle stands currently. See:
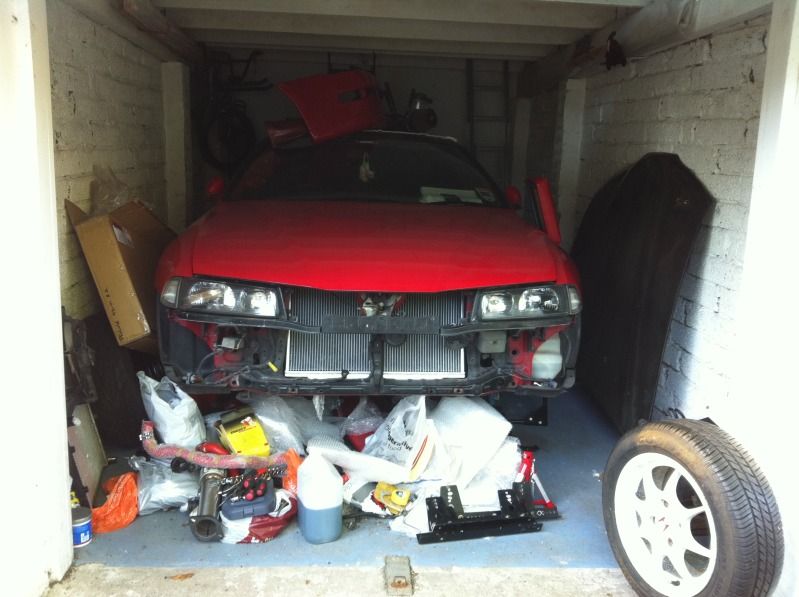
Not ideal, especially as I needed to get under the car for some recent work, so something had to be done. In addition I never really have anywhere to put something – a drink, radio, phone, handy tools, etc. So decided to do a little DIY..aka distracting me from my build but ultimately to help me out in the long run.
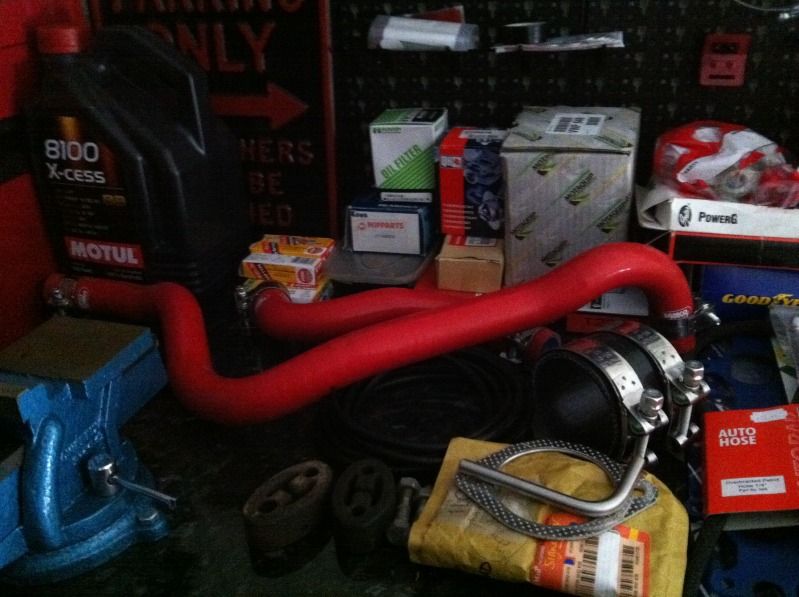
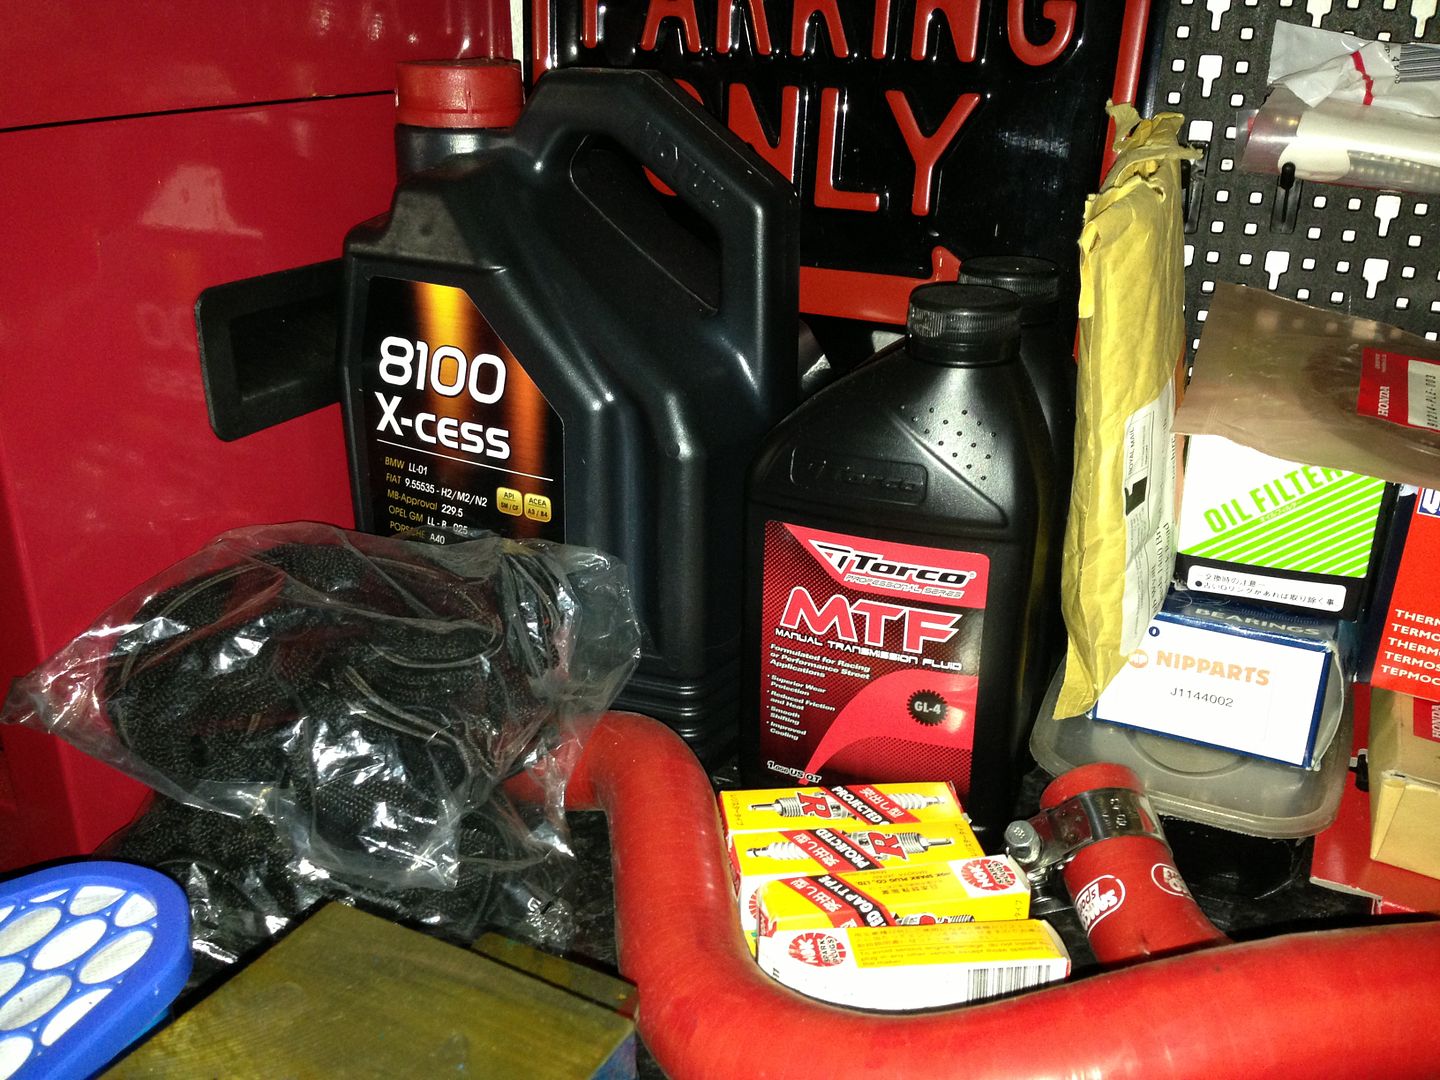
First up was a big tidy up upstairs in my garage where all the parts have started to cover the floor area and then bring up everything I can from downstairs out of the way of my work area. While I was snooping about I got all my small service parts, etc to fit during the build and laid them out on my workbench:
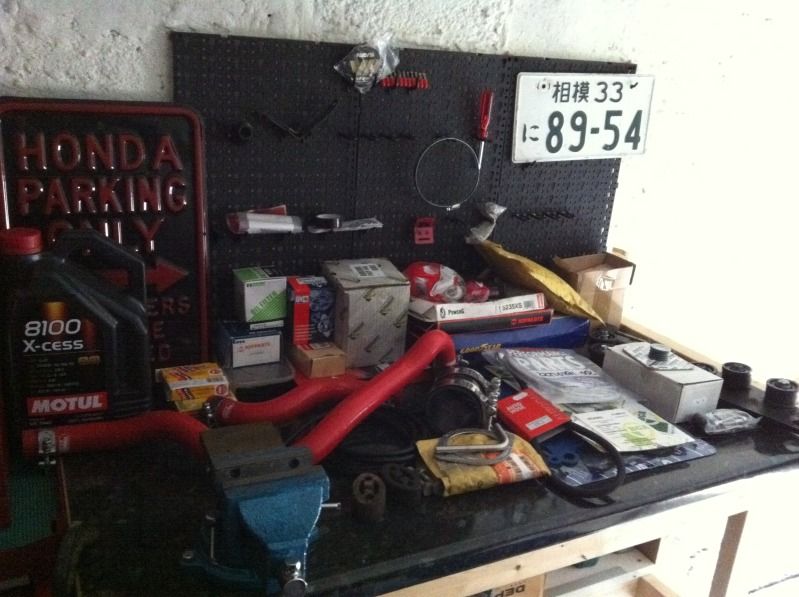
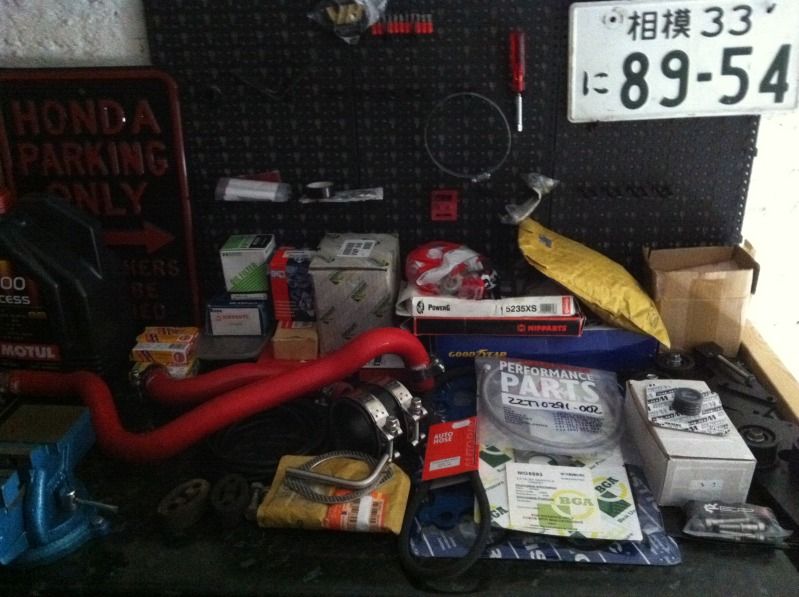
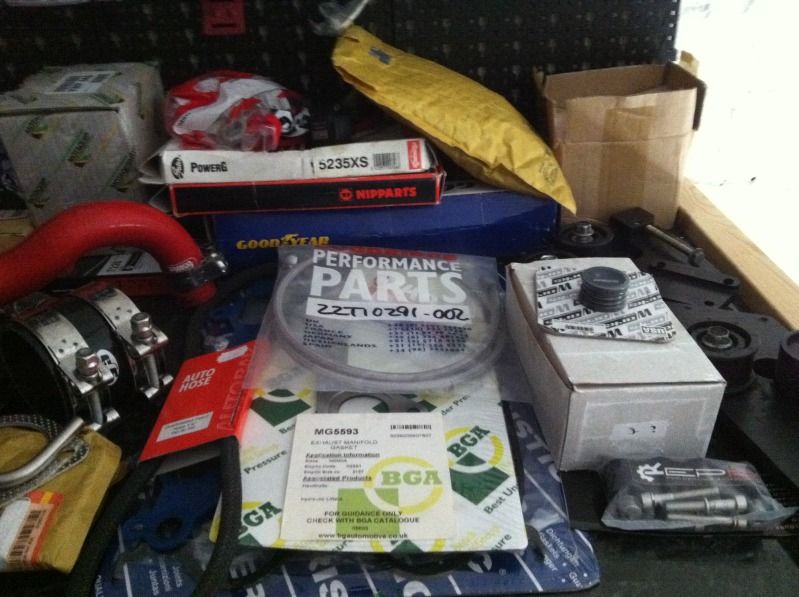
You may spot various new additions there, which people might not recognise from my usual updates.
I tried to be ruthless and binned various bits and pieces.
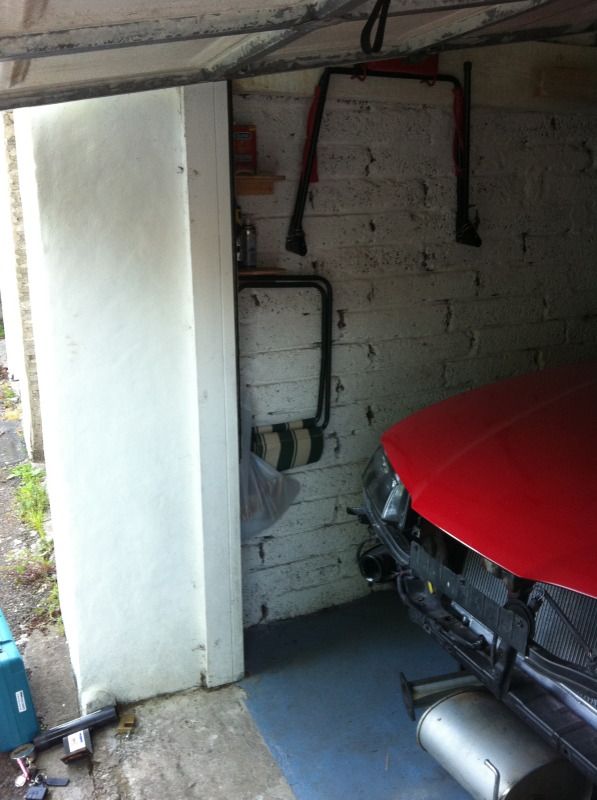
So the work area and under the car was starting to look clear again:
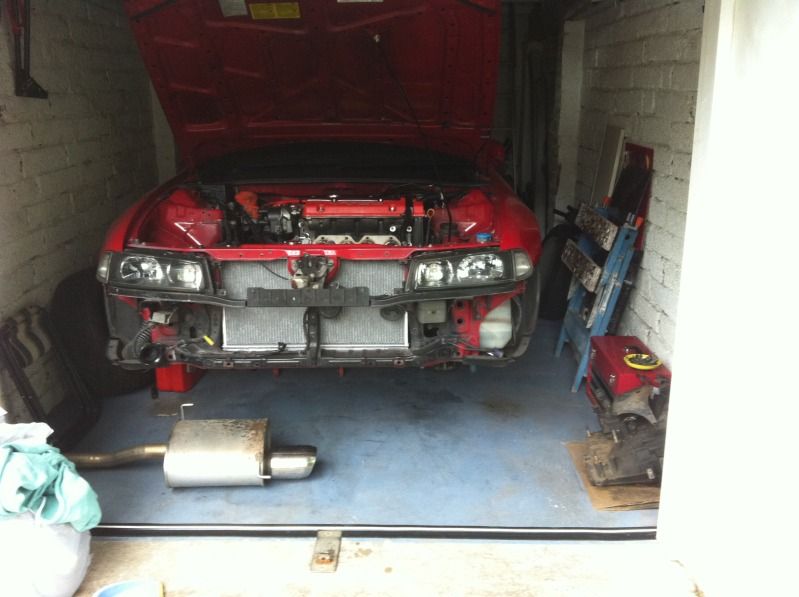
The magic floating car…ooh!
The thing that will free up more space is when I fit a lot of the damn parts I’ve bought!
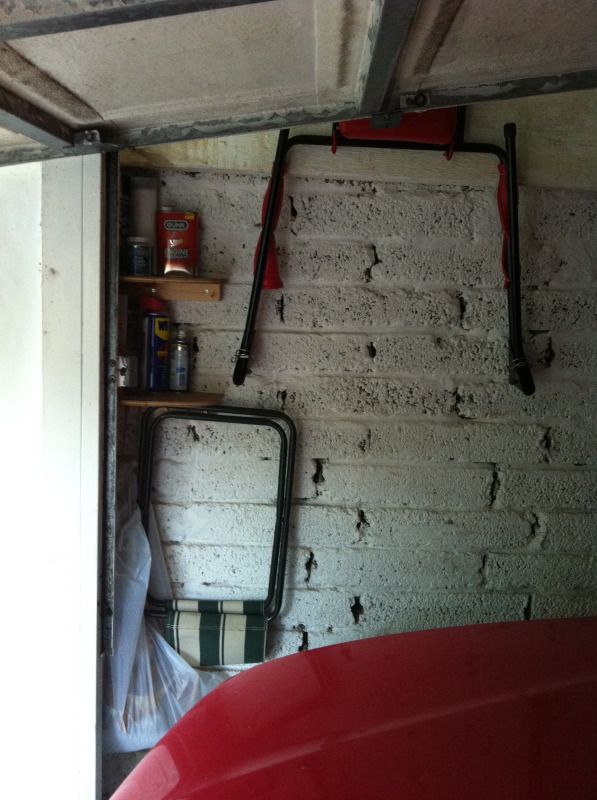
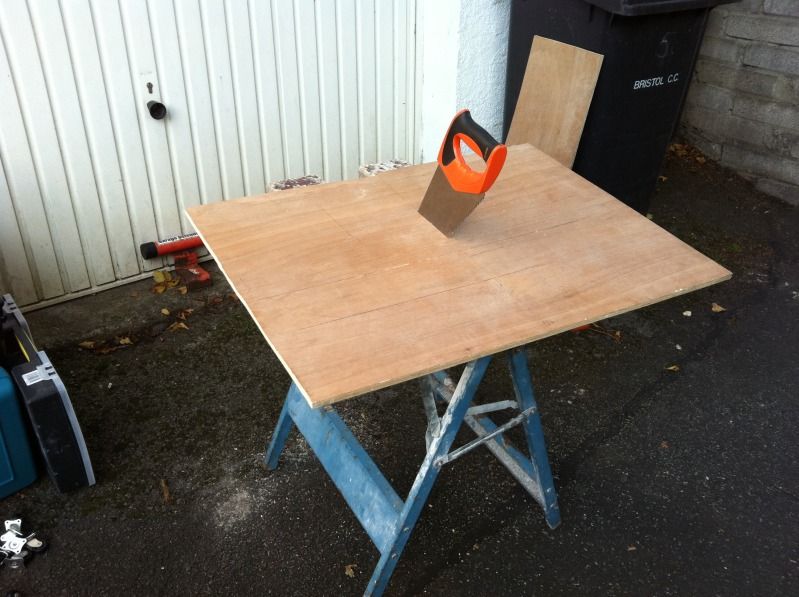
I then went on to build some small shelves to put in the corners on the inside returns of the garage for some light storage. I added a curved edge as I could see my head and shelve corner connecting for a disaster. A couple of wood supports and hey presto:
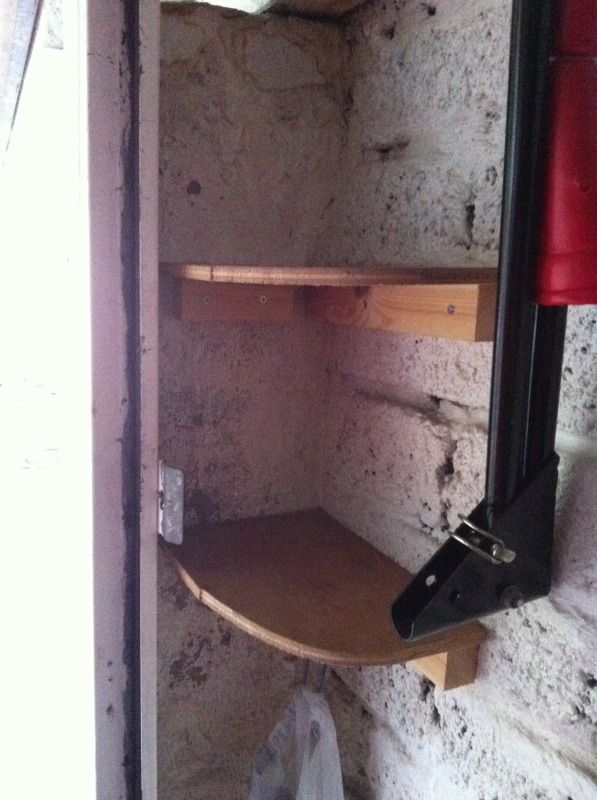
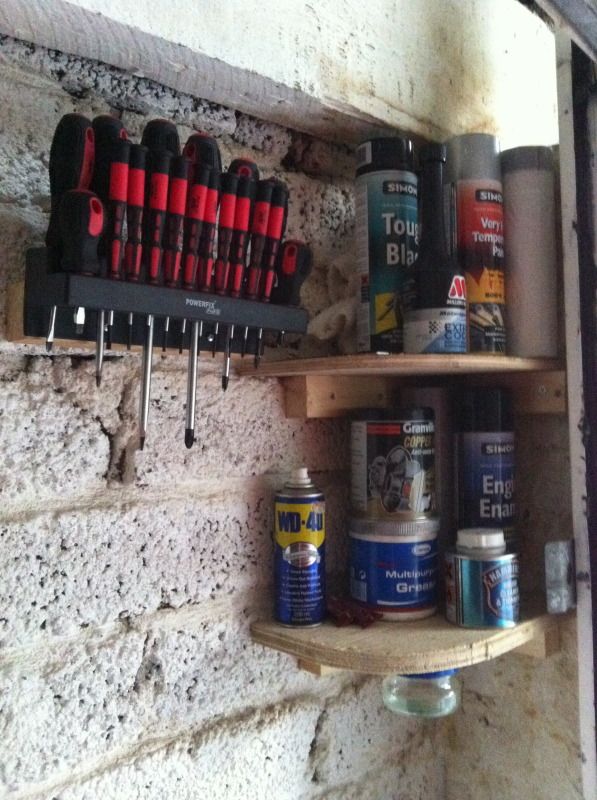
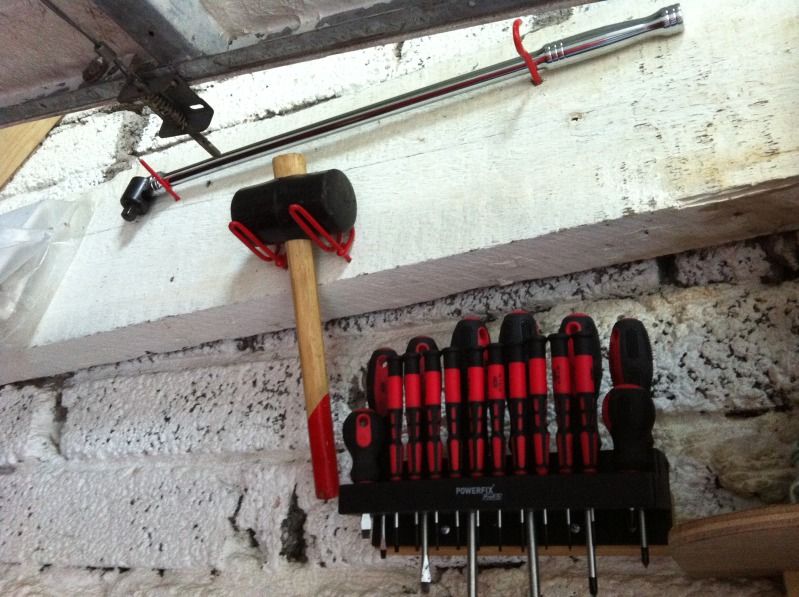
I added some hooks and stuff to hang a bin bag, inspection lights. Also fixed my screwdriver set and also added some hooks to the first floor support beam for the all important tools of the build; A rubber mallet and a 750mm breaker bar!
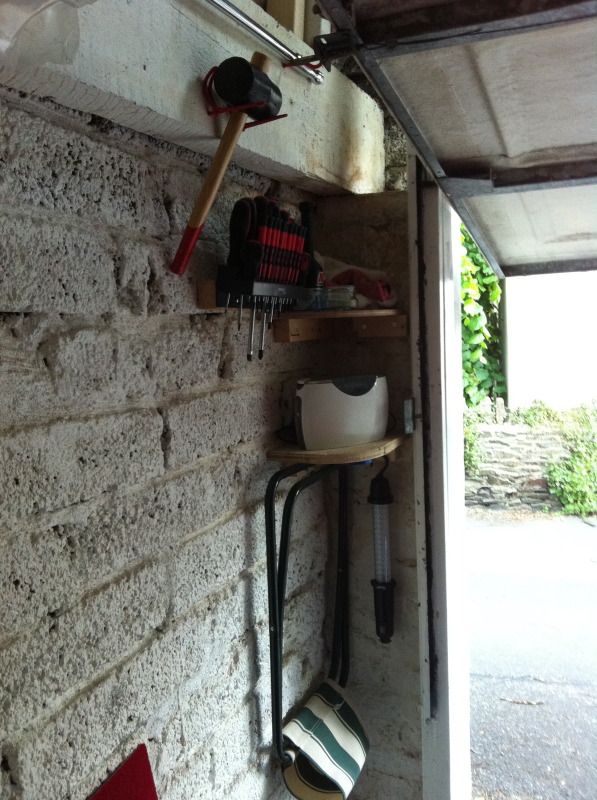
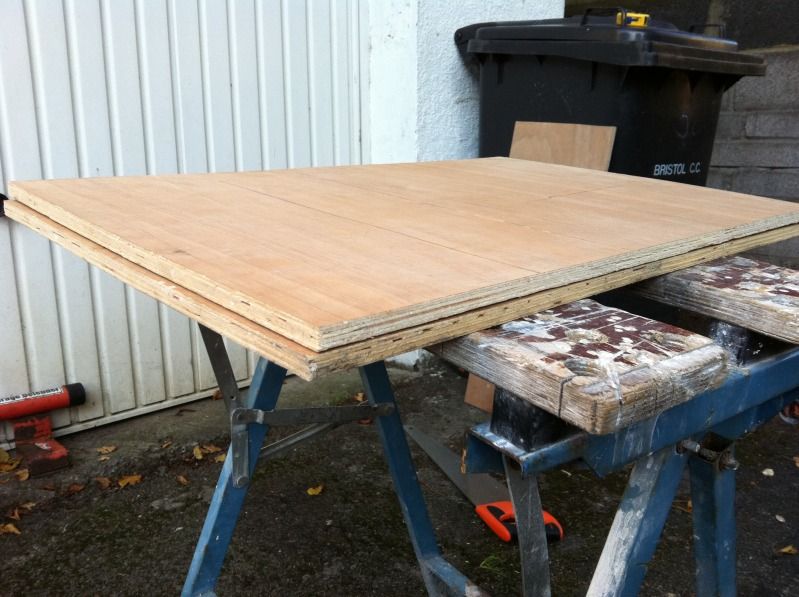
Since then though I’ve got some nice magnetic tool holders and would also like to add some more tools to the wall for ease of grabbing them. So I’ve decided to fit just a large sheet of wood (got some sheets of mdf and plywood in the garage) to fix to the wall to enable me to screw in all the above items and more. The concrete blocks of these walls are very dense, I guess holding up gardens above they must be pretty hefty, so just drilling a couple of plug holes for screws is a pain – broken a decent masonry drill bit already! So the sheet of wood can just be 4/6 screws and then it makes it easier to fix everything to.
Anyway…waffling on again.
Final thing to help with the garage’s use was to add a weather strip on the door threshold. I’ve had this for a while now, a B&Q discontinued item = £27 down to just £3!

I keep getting waves of leaves and crap coming in under the door and thought this would be ideal.
All you do is trim to the width and silicone it on. Easy! Mmm.
Firstly I had to fiddle about to trim it around the garage defender floor plate, then of all things my caulk gun decided to break about a third of the way along the line. I then proceeded to push the silicone out by hand with the loose pushing part of the gun – for what should have been 5 minutes to lay some sealant down, turned into 40 minutes of sweat induced, swearing, back breaking work!
But it was all worth it when I’d finished:
The garage door doesn’t slam shut like it used to, a little persuasion and it’s ok. But the seal is spot on. It doesn’t quite stop things on the sides ever so slightly, but after a weeks worth of windy weather it seemed to do the job 99%.
 Spare Engine
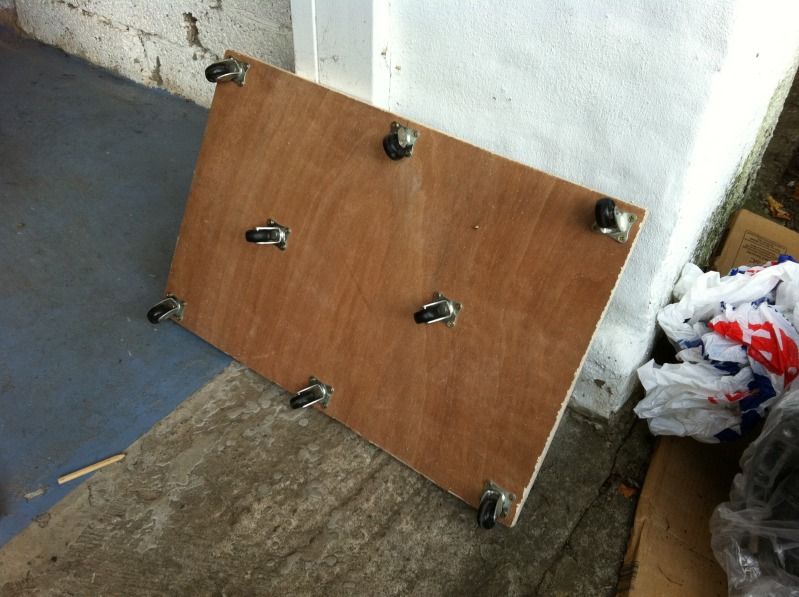
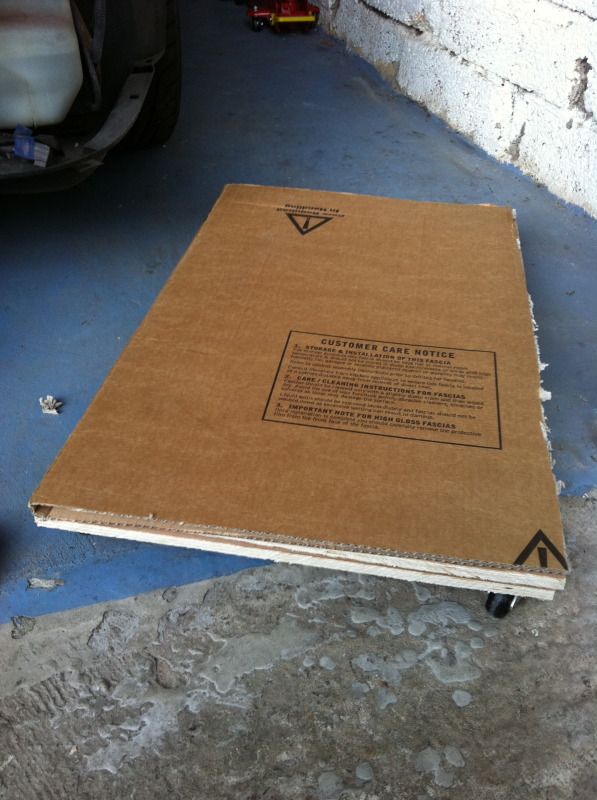
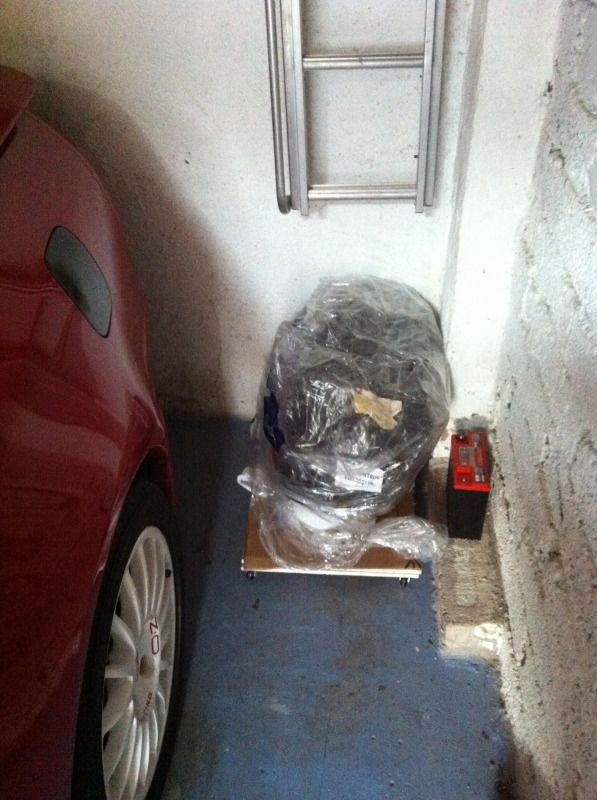
Next item was sorted a while ago, but I may as well show you here. I’d bought a spare engine off of Nellers a while ago. It was split between the lower block and the head, which made for lifting and storage easier. I already have the spare gearbox tripping me up near the front of the garage so wanted to tuck the engine block at the back under the ladder to the first floor. So I decided to make a small dolly platform to wheel it in (and maybe out one day):
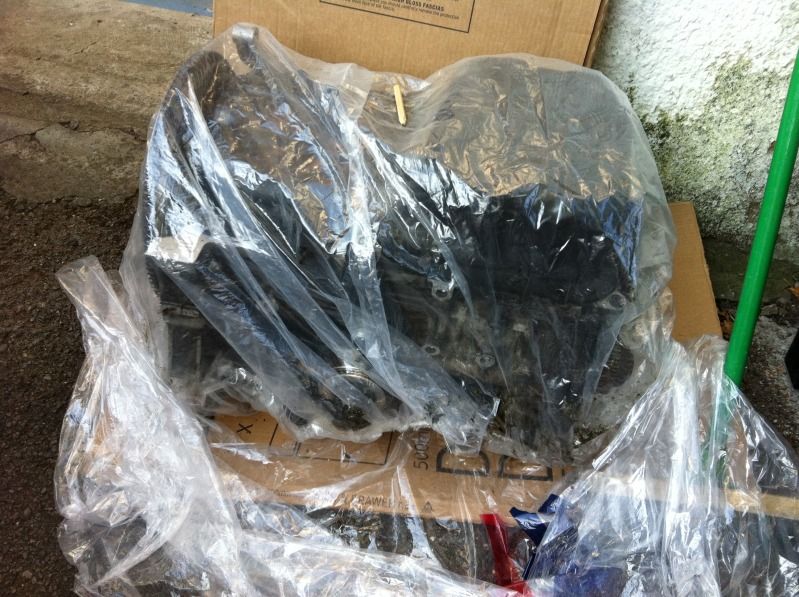


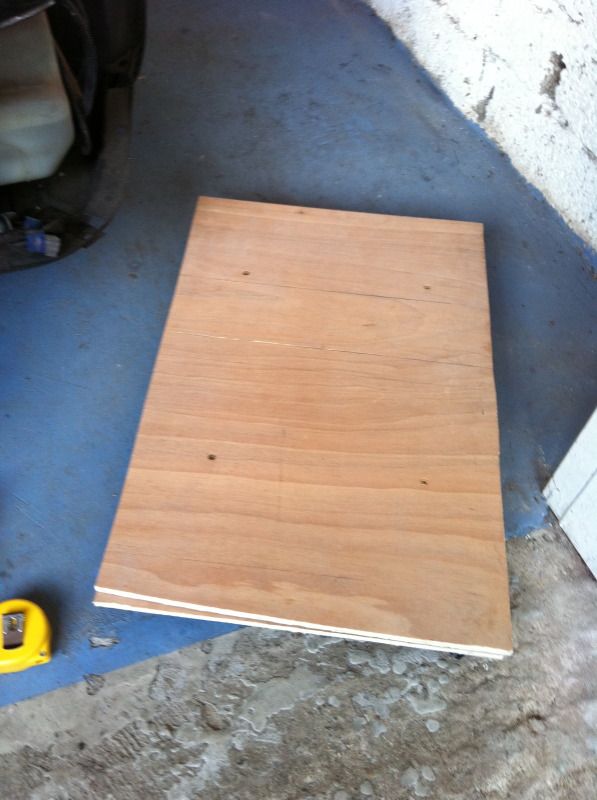
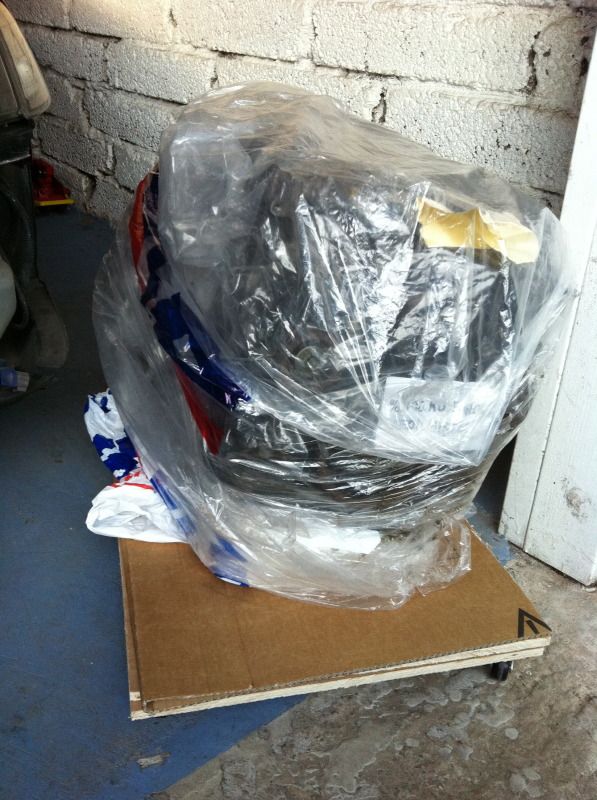
Head is in pieces, so cams, holders, etc were wrapped and boxed up:
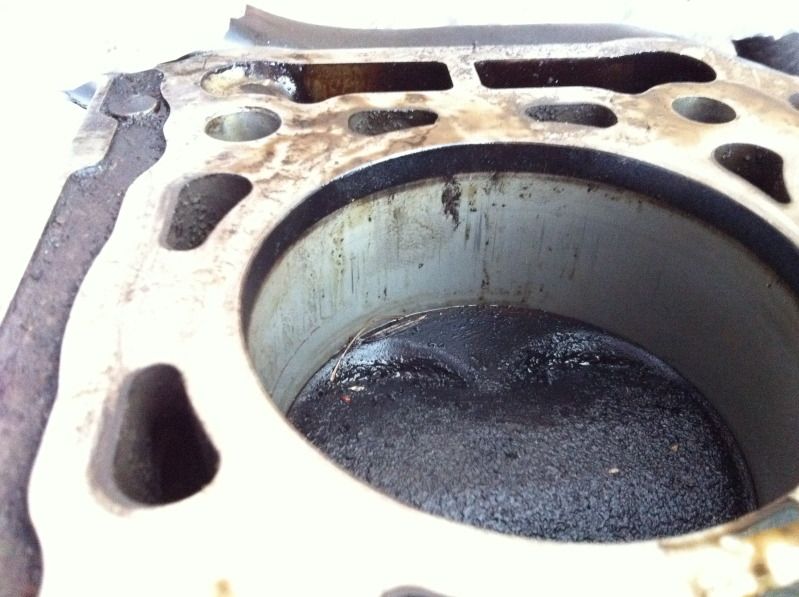
Luvly jubbly. The head is in a box and lives upstairs. As you can see from the pics it has some light scoring but it would only be for dropping in some oversize Mahle pistons or sleeve it. It was cheap enough anyway – thanks Sam.

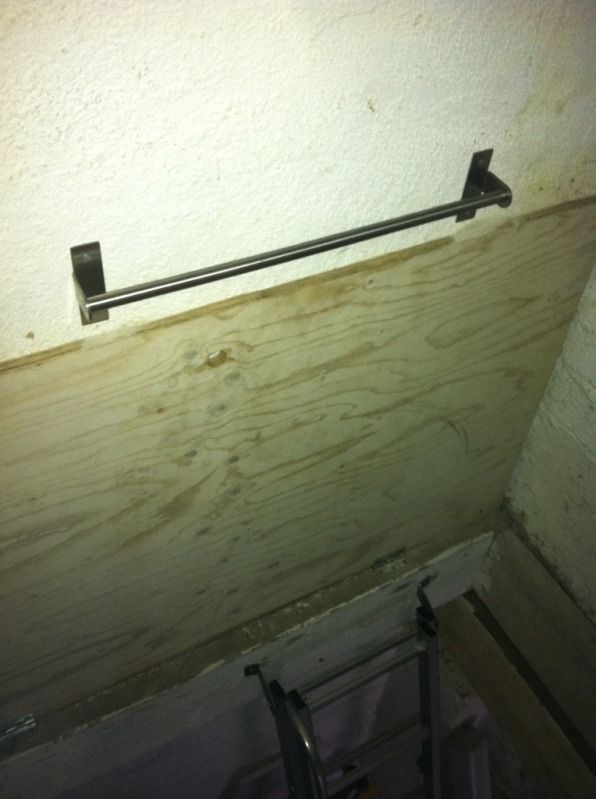
Final little item – but essential was a handle above the trap door of the stair access to the first floor. Those that have ventured into the wonderous cave of lude parts know it’s needed! A simple Ikea S/S kitchen tool holder later and voila!
That’s it on the garage front for now. Still waiting on my neighbour (the Electrician) to get some light and power in there! That will be an awesome update!
More parts
I just can’t keep off of ebay! I think I need the same as Nathan’s ‘Ebay Built’ sticker. Damn iPhone Ebay app has cost me dearly over the last couple of years!
So what did the postie bring me…
More seats:
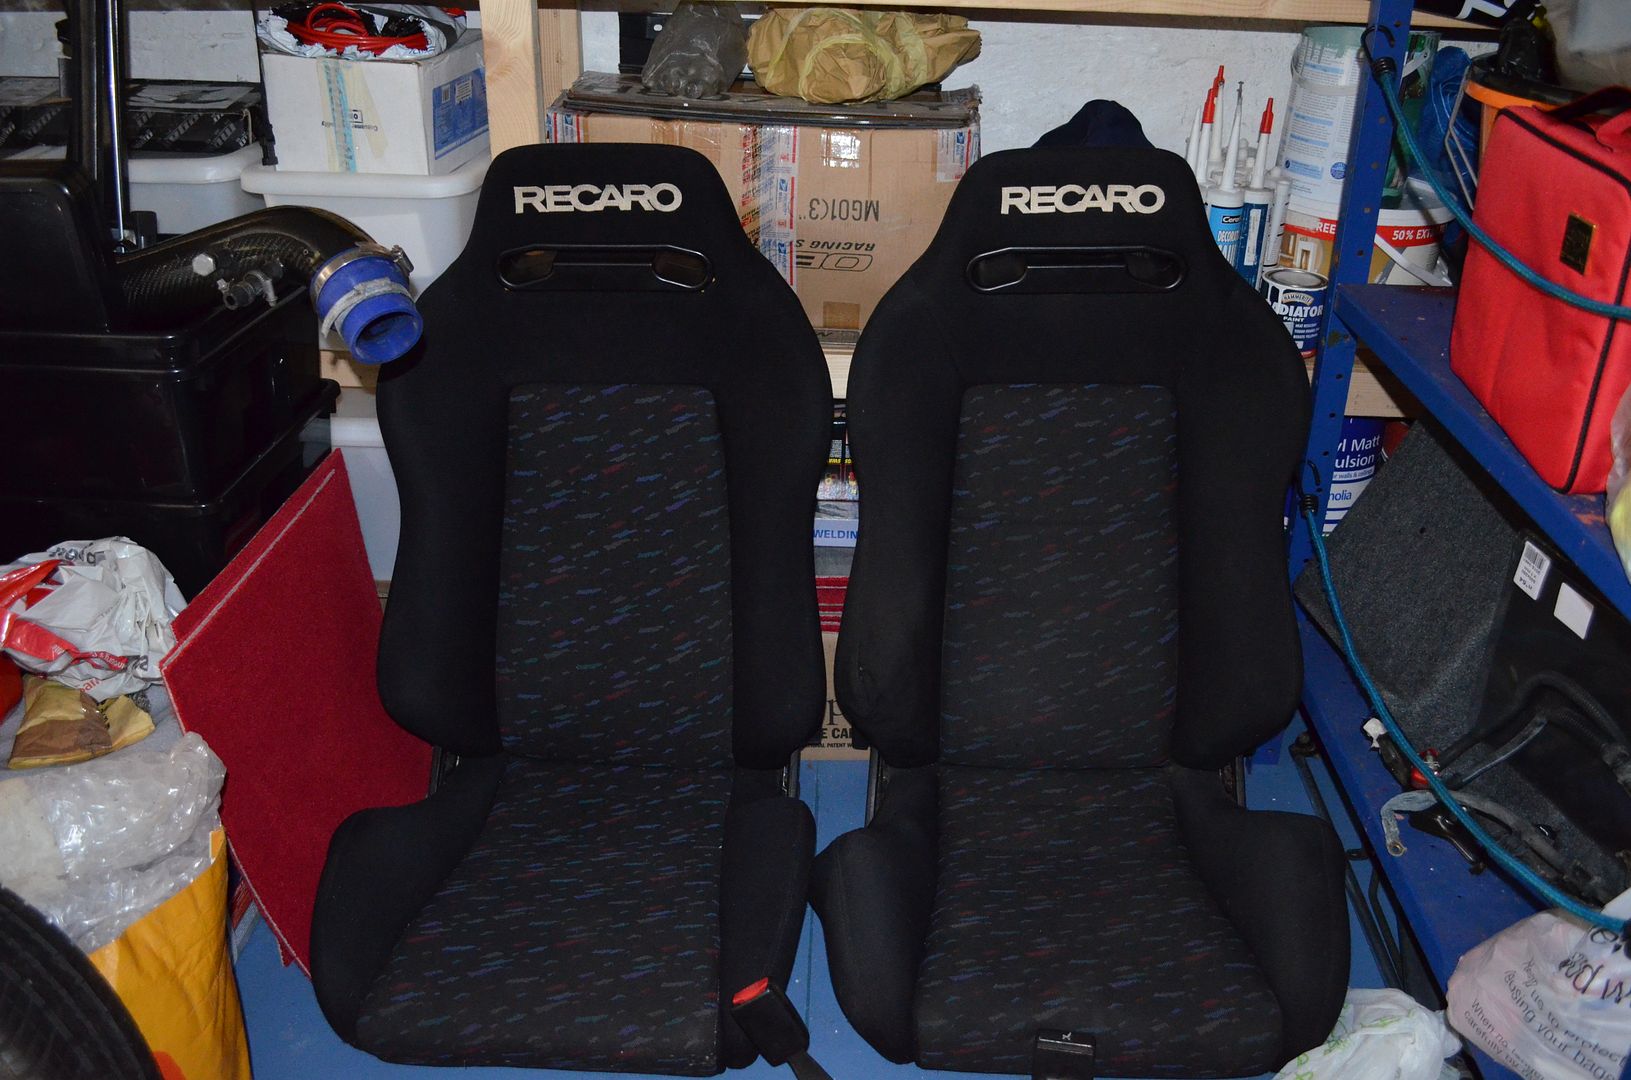
A matching set of Recaro SR3 seats from the likes of Toyota Celica GT4’s and Supras. However, time has passed, plans have changed and these now reside with Mart609 which I hope to see in his Accord Wagon soon.
I’ll post pics of the new seats in another update soon. Got a couple more, some more Recaro, but rarer and more unique.
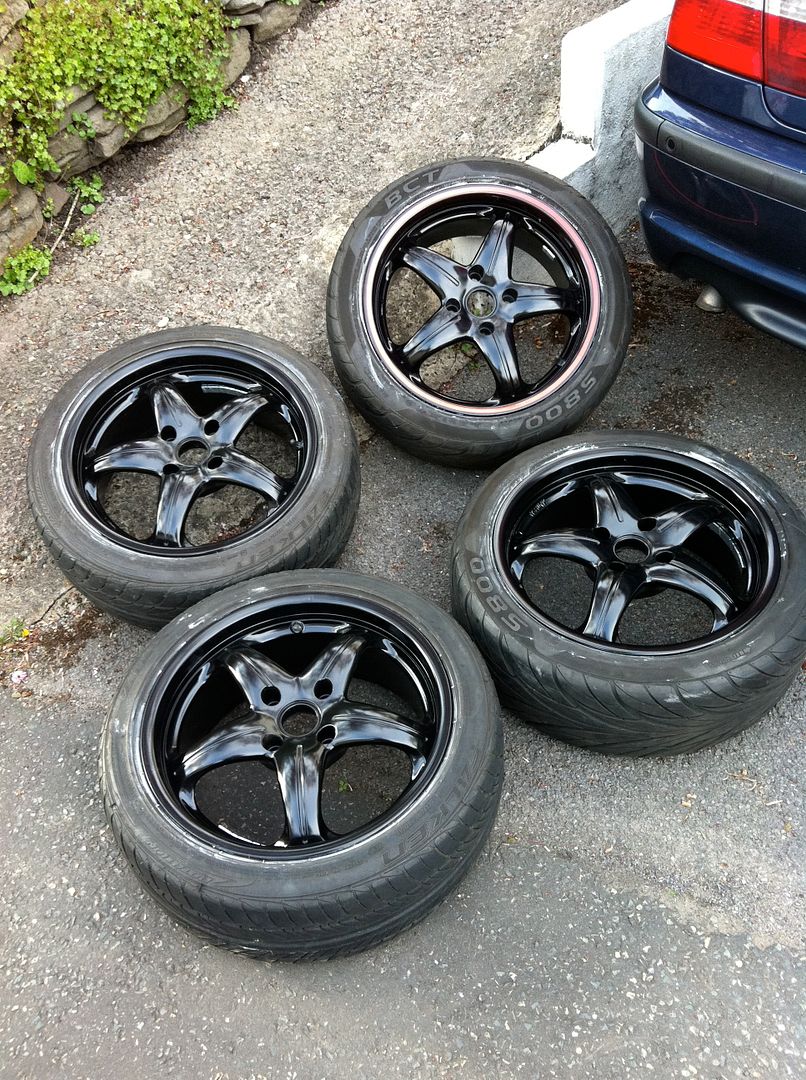
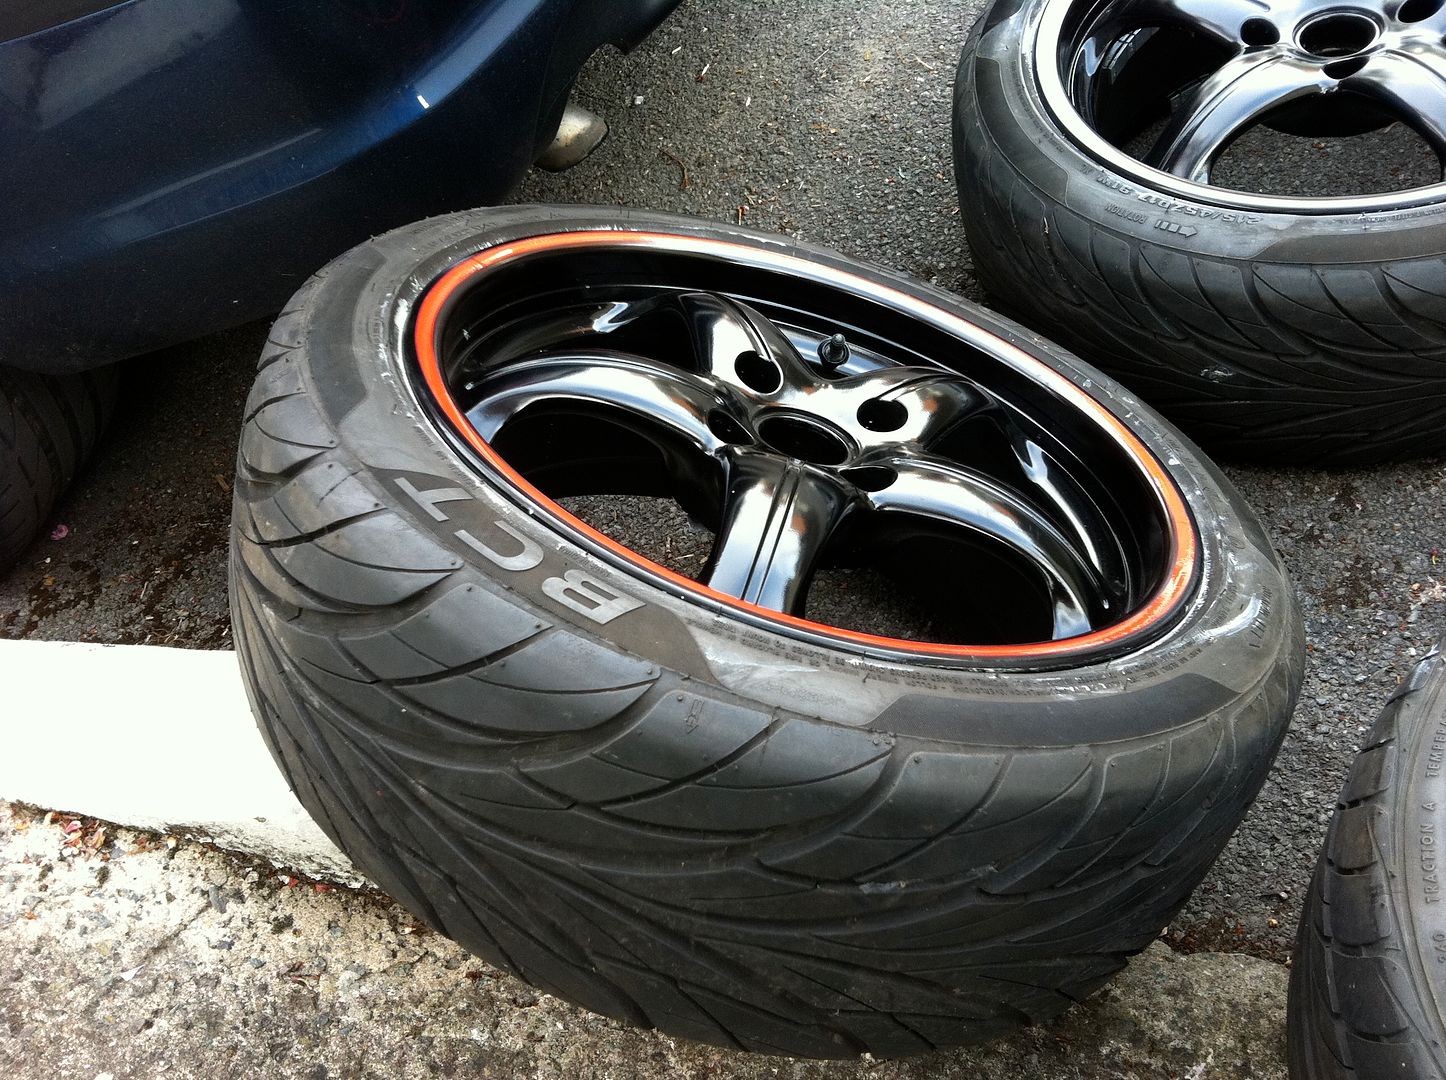
Not so much bought parts, but some tyres I had got fitted to my new spare wheels:
Next up was the hunt for a lighter bonnet…
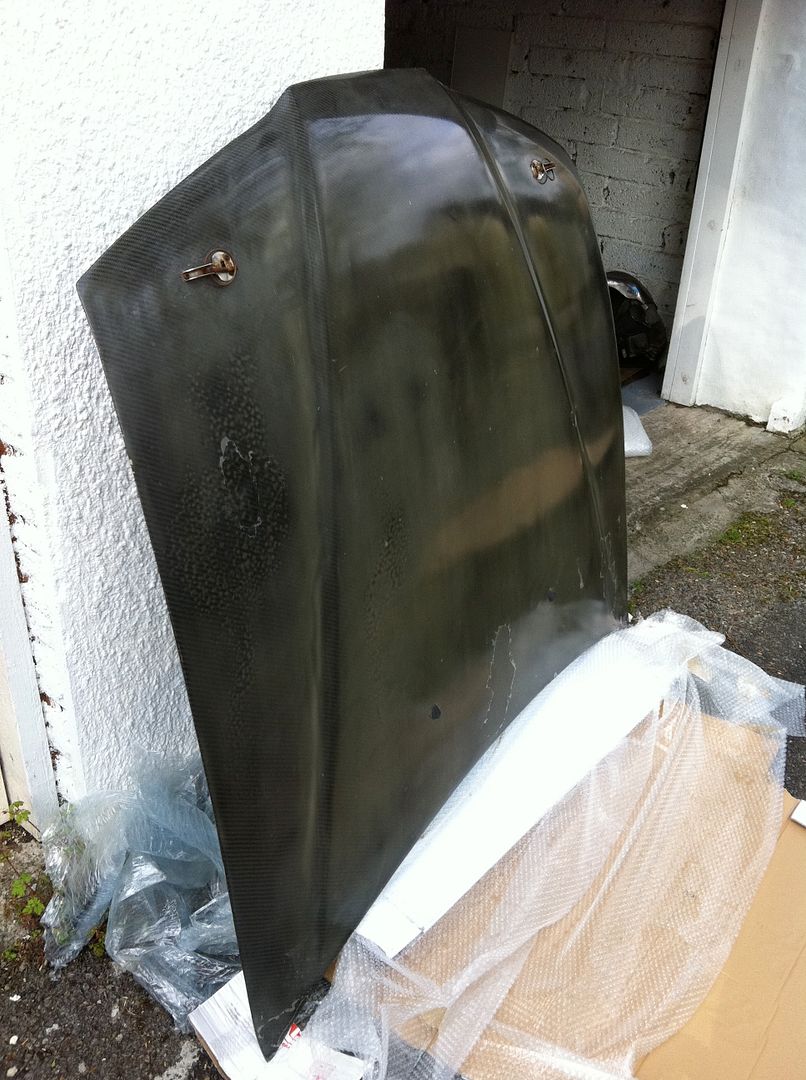
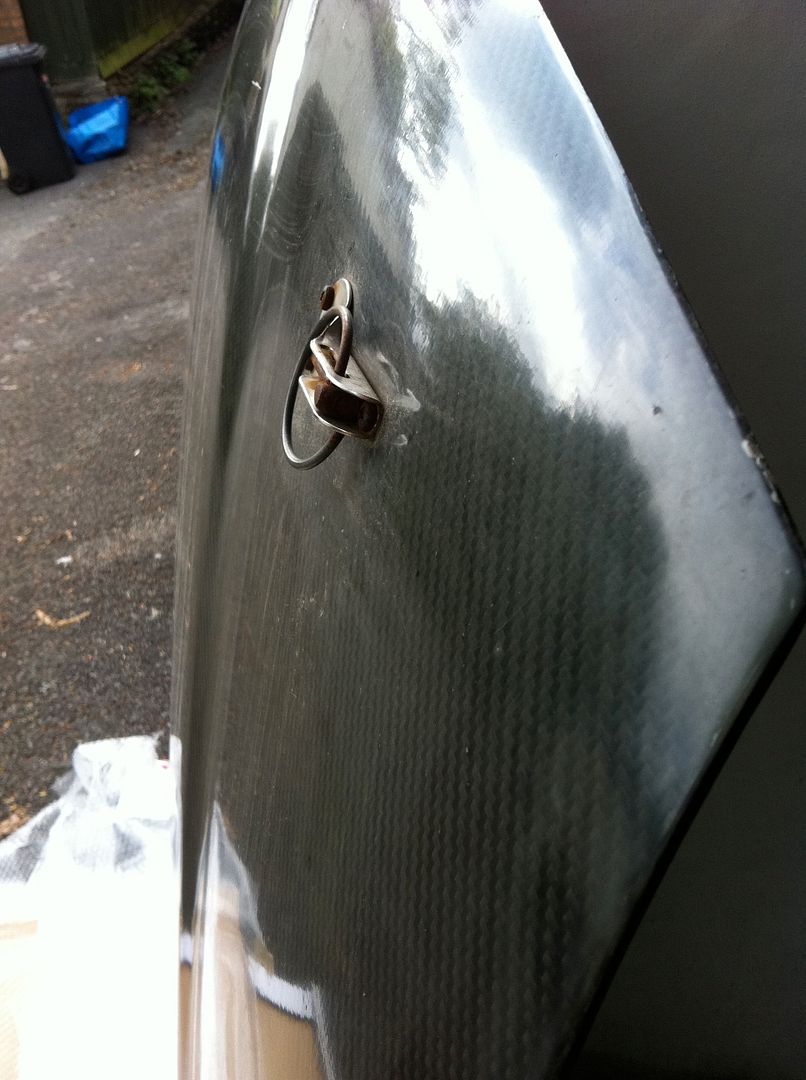
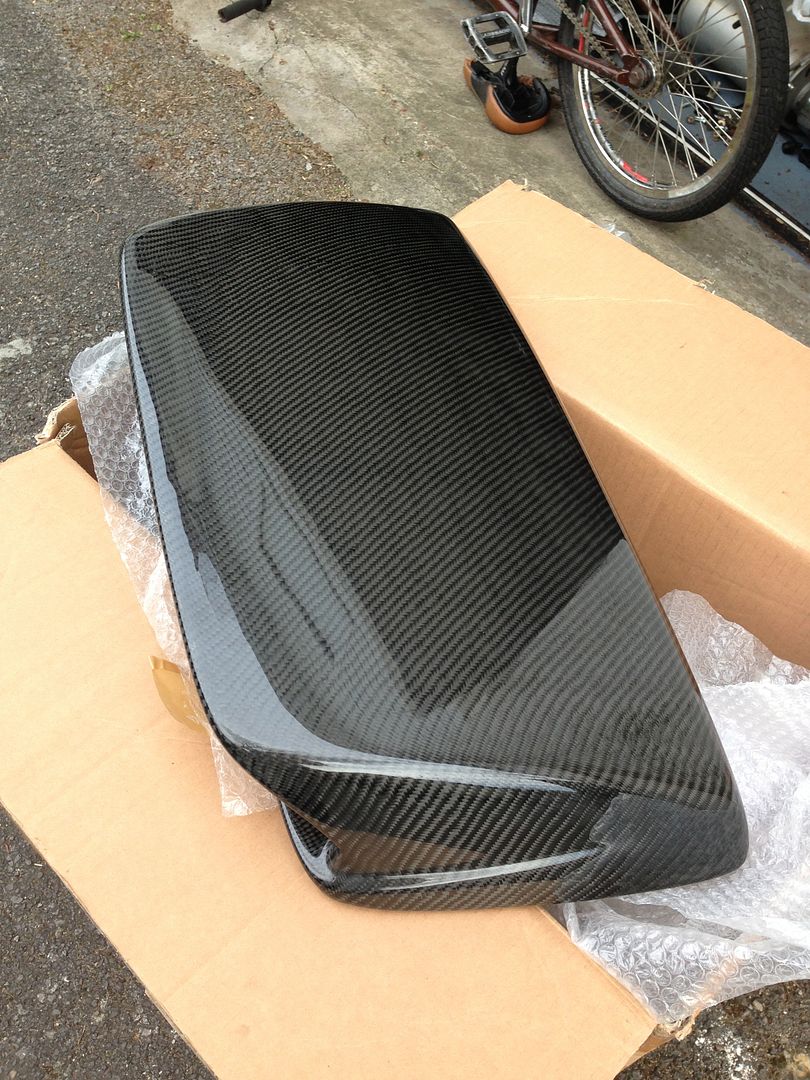
I picked up this carbon bonnet in need of restoration:

This is on Jozef’s old lude – a slight bow, milky & flaking lacquer and rusted bonnet pins – but a bargain price.
When it arrived:
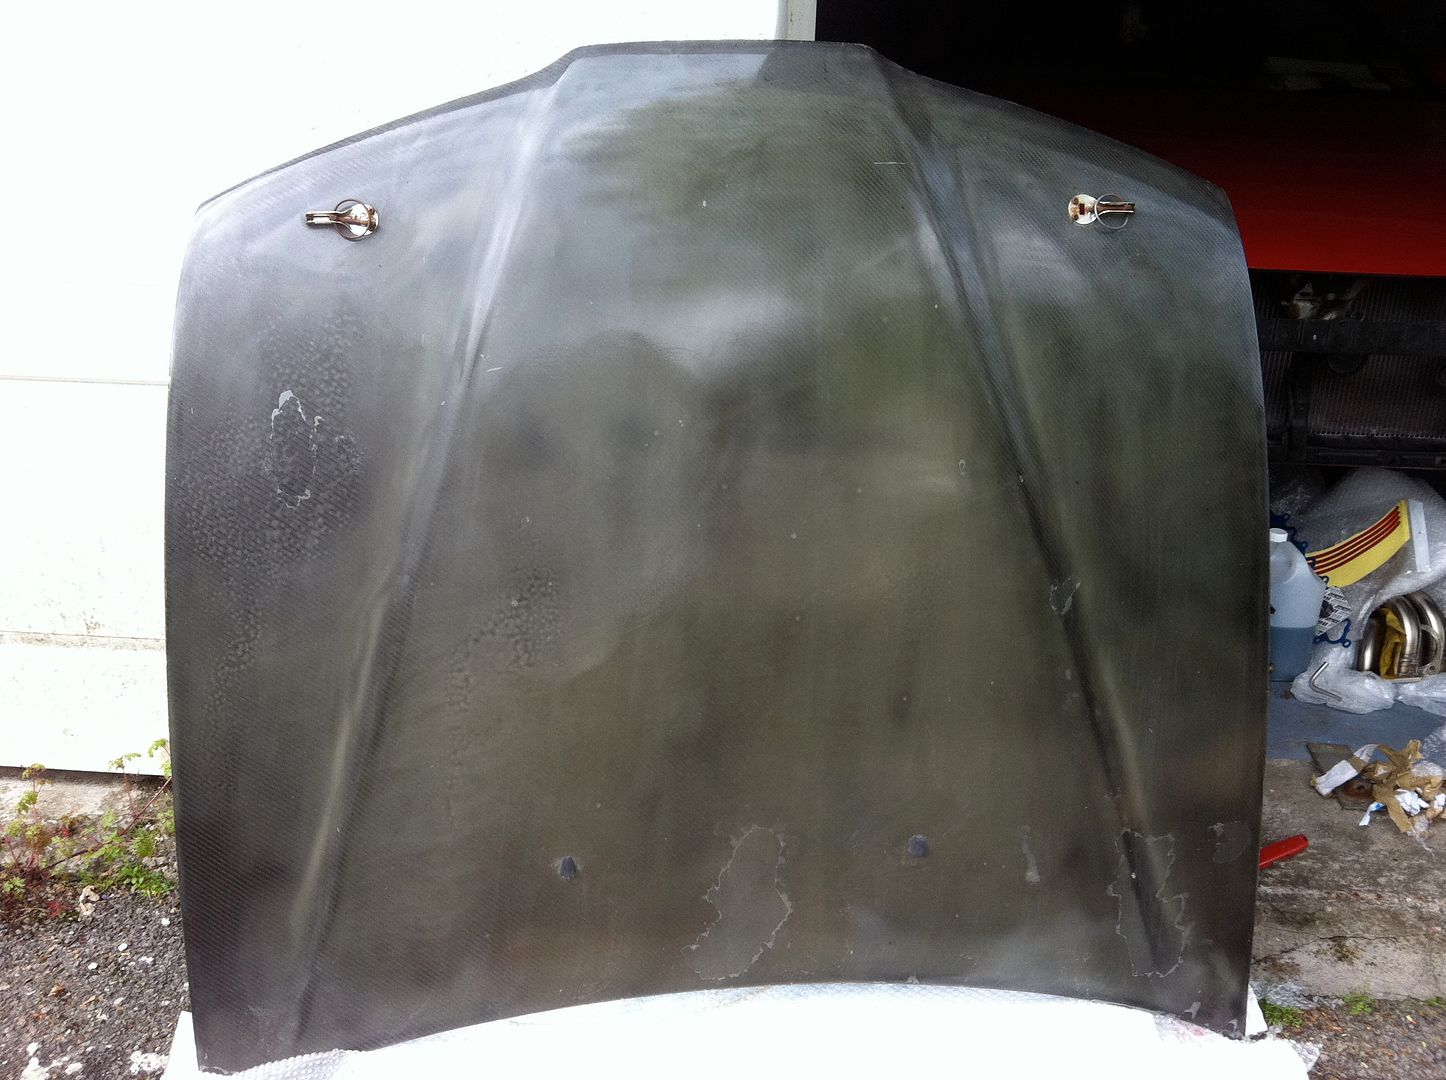
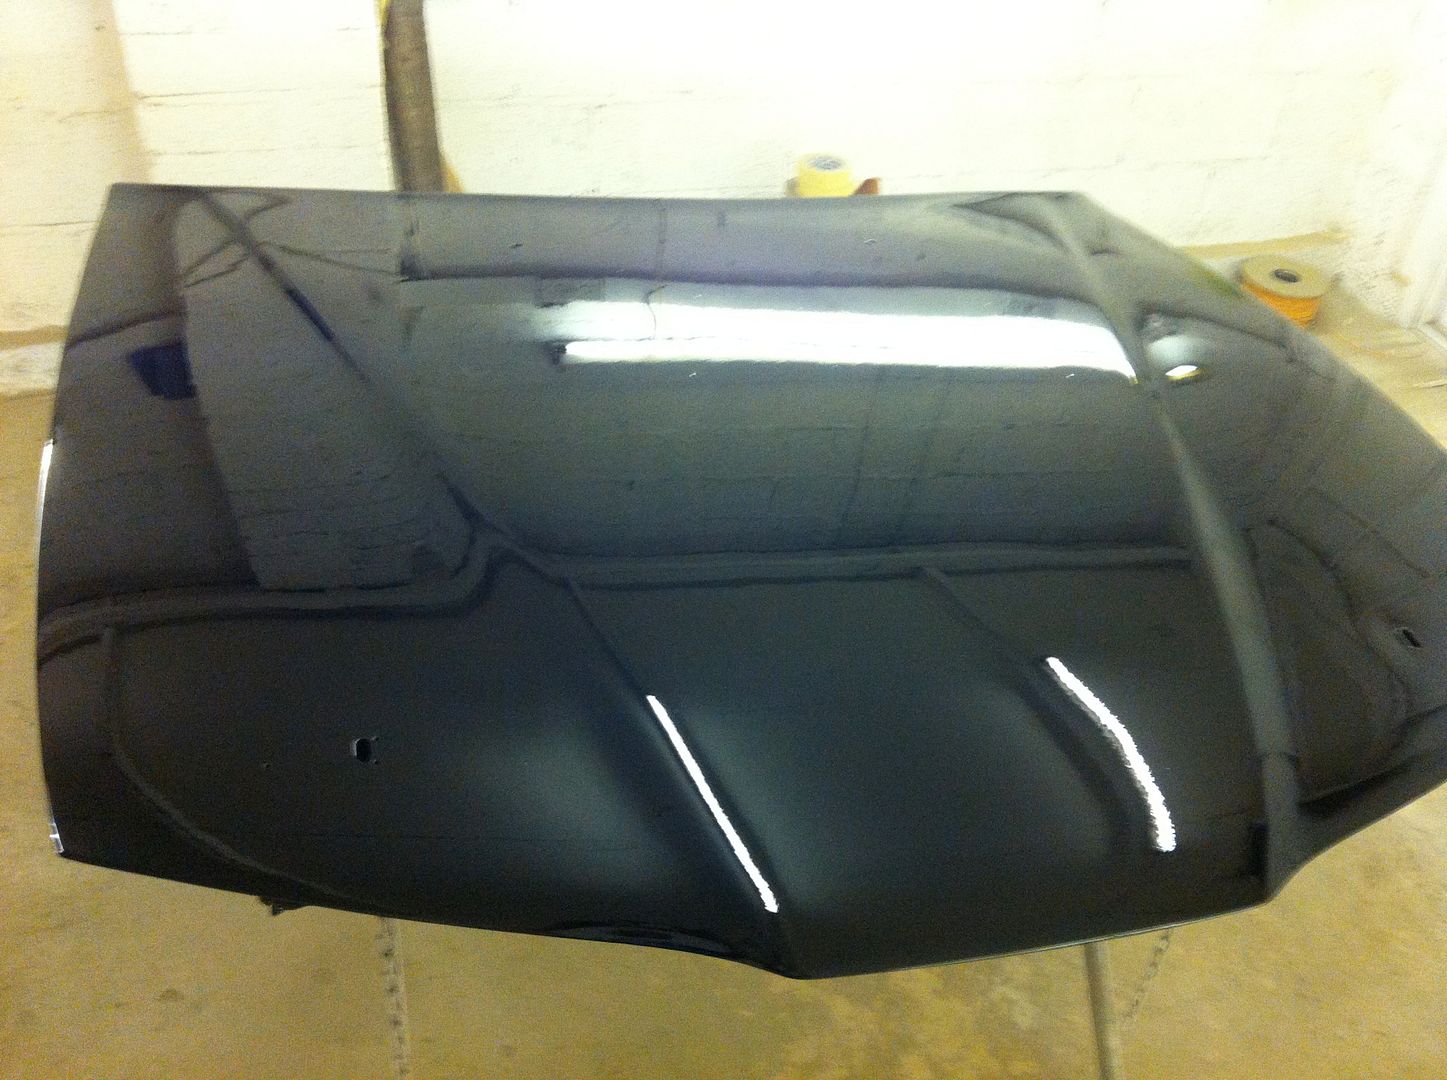
Although I’m now not using this one, it’s already been painted black and lives on the Mugen lovechild that is Ste’s lude:

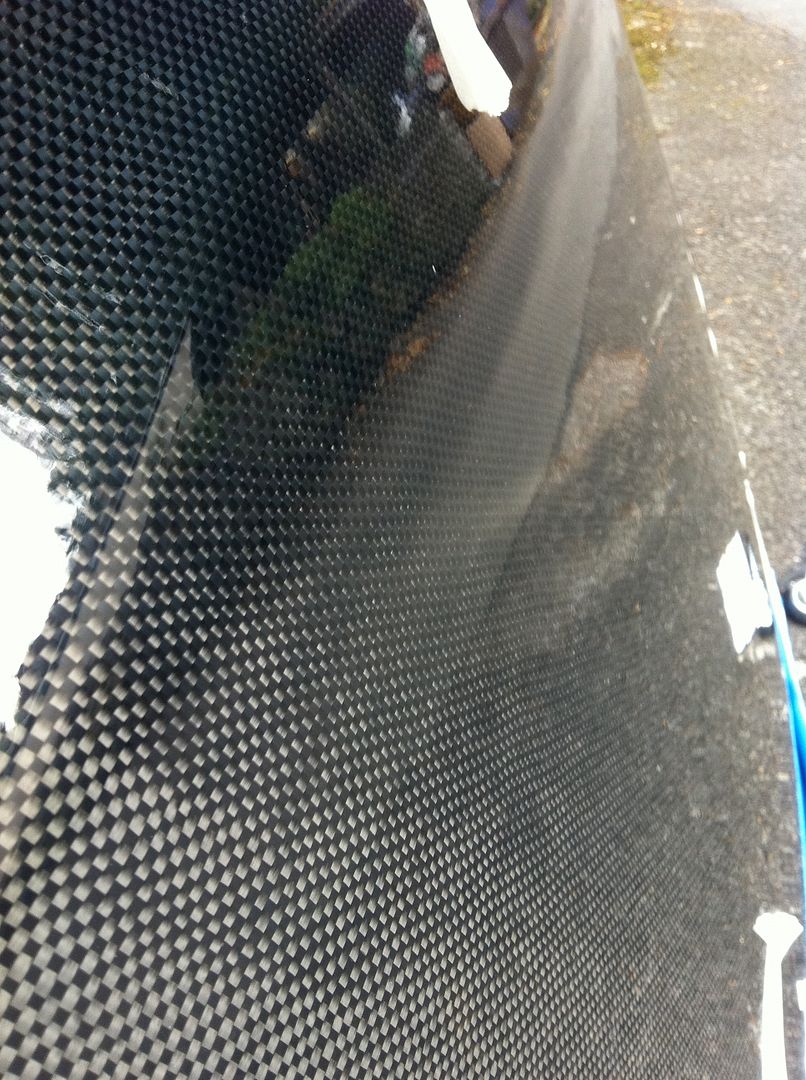
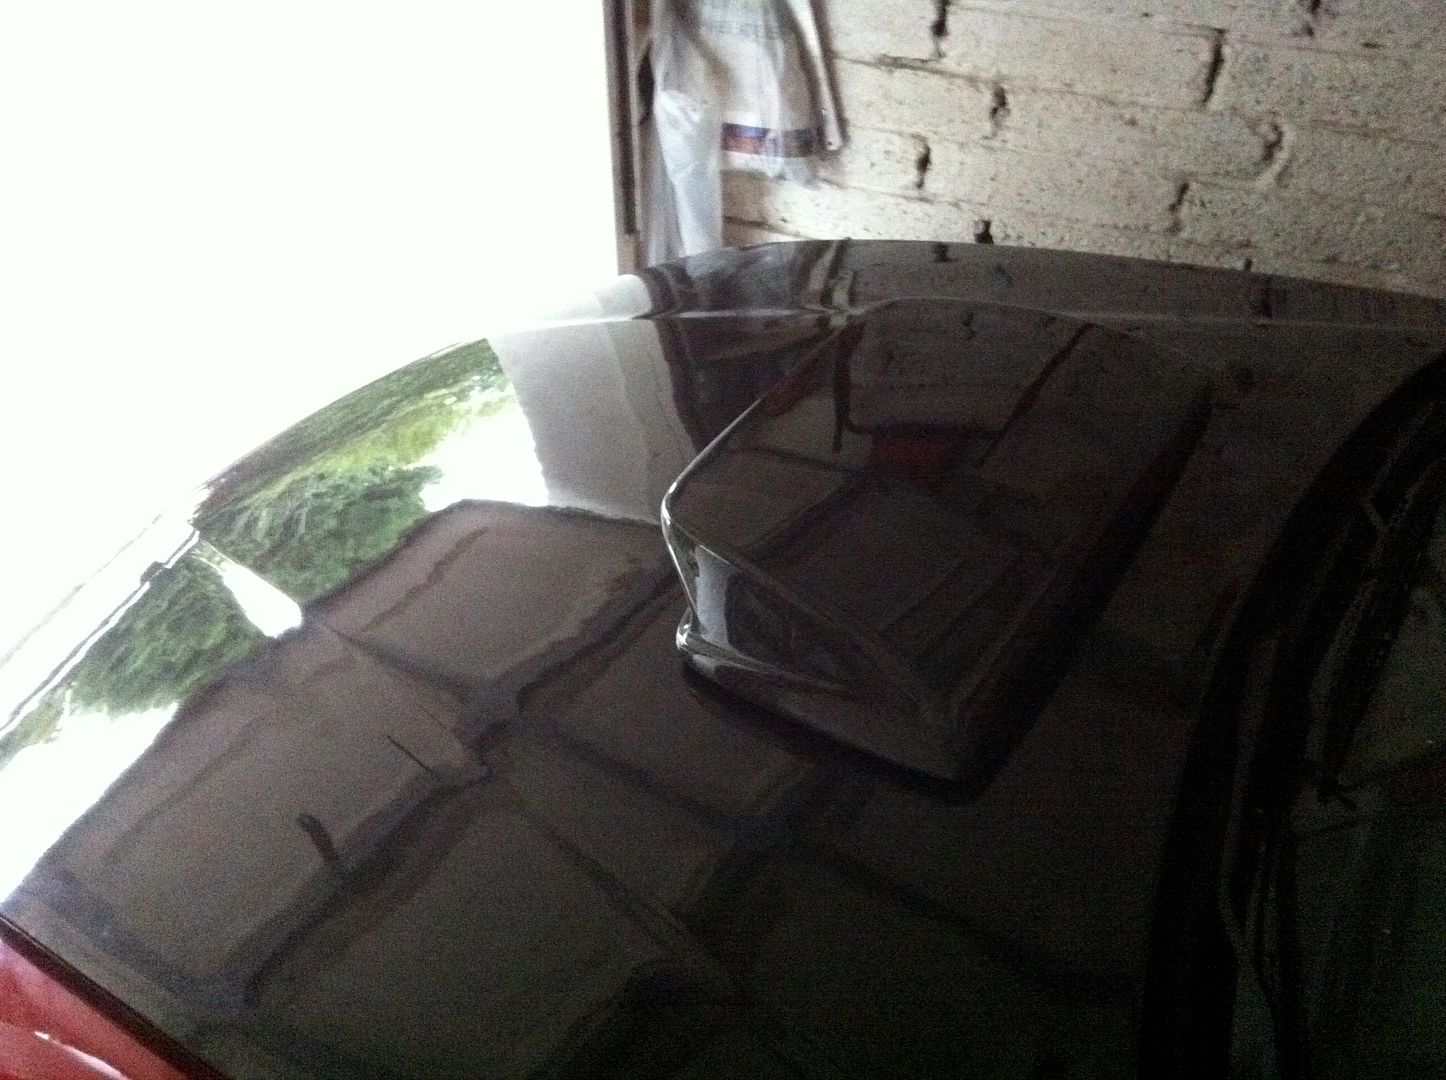
That’s because I got ahold of this one instead:

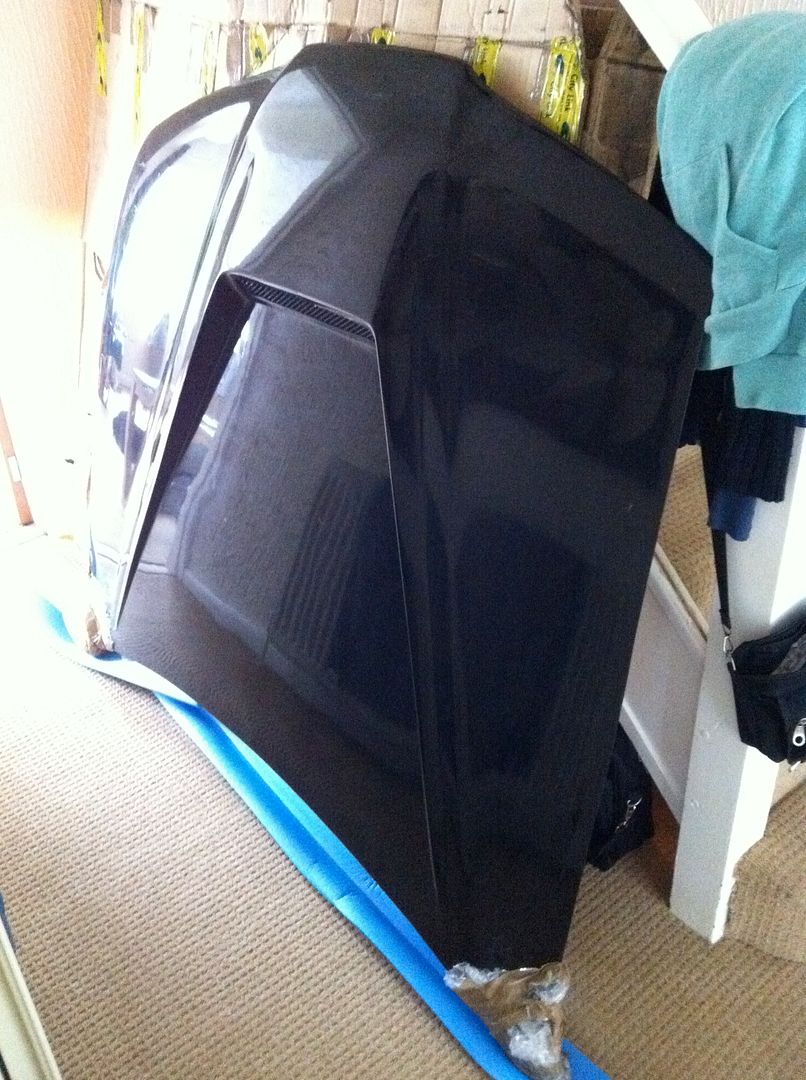
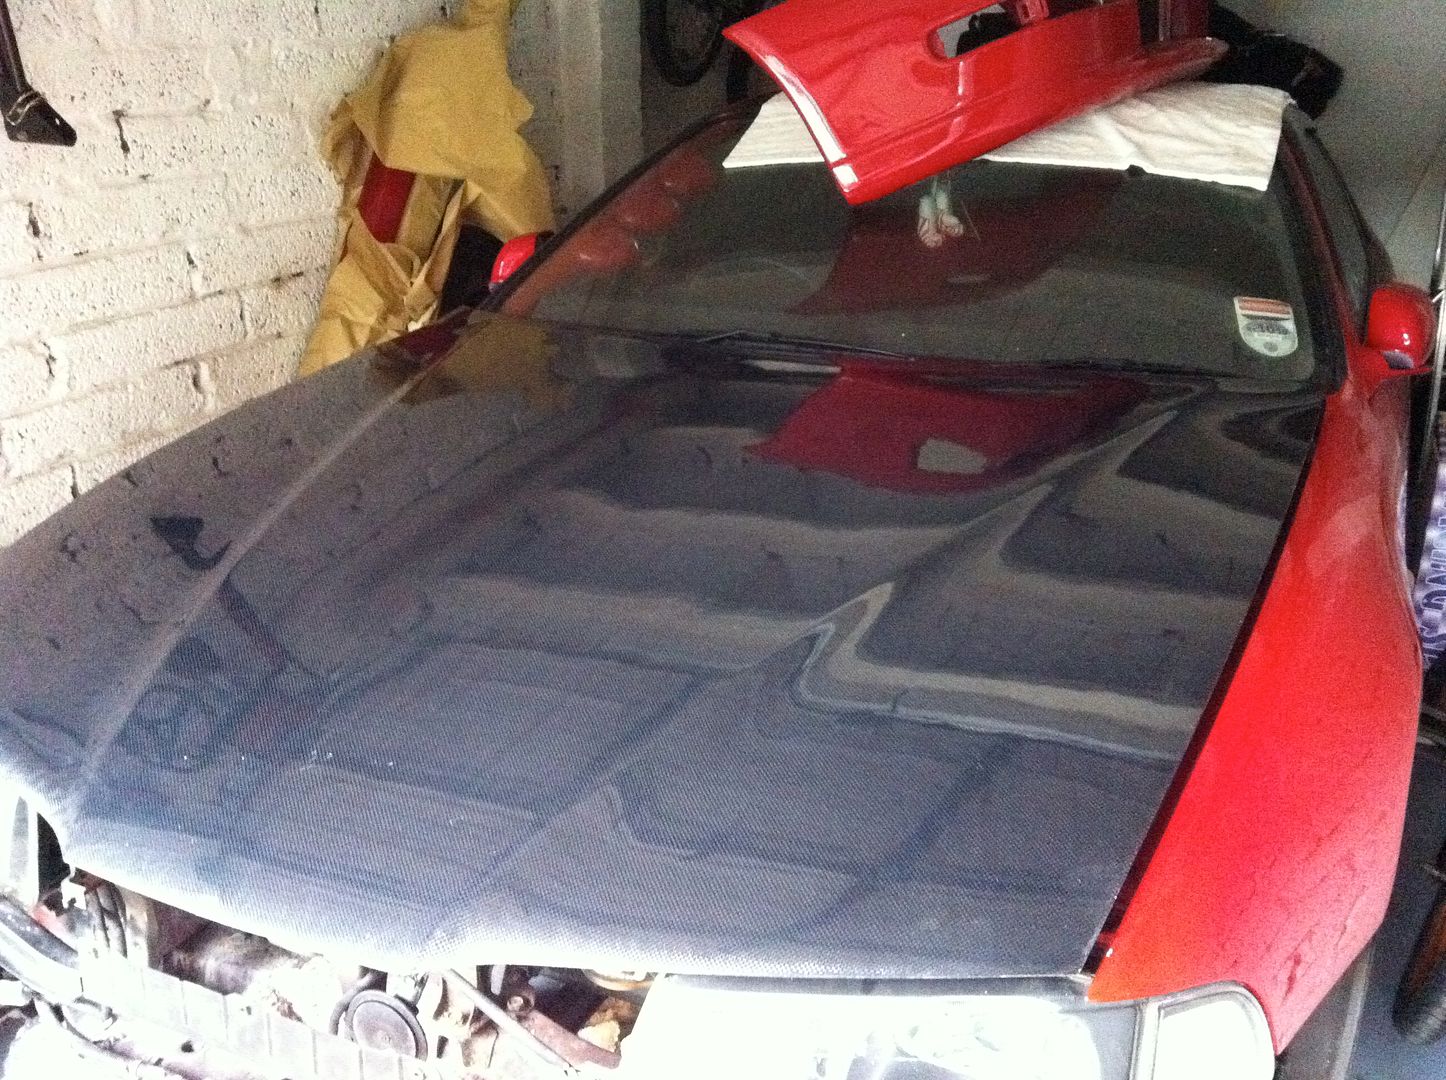
I know some of you won’t love this one in comparison with an OEM, but for me was more a functional thing. It’s actually a fibreglass bonnet, not too many of these around! Only Jun bonnets I’ve heard of as using fibreglass other than this one. The vent was to help with radiator cooling through flow and exhaust manifold heat extraction – generally it should have helped to keep under bonnet temps a little better when on the move.
Plan was to paint it red with a recent batch of stuff done, but when I test fitted it my plans soon changed.
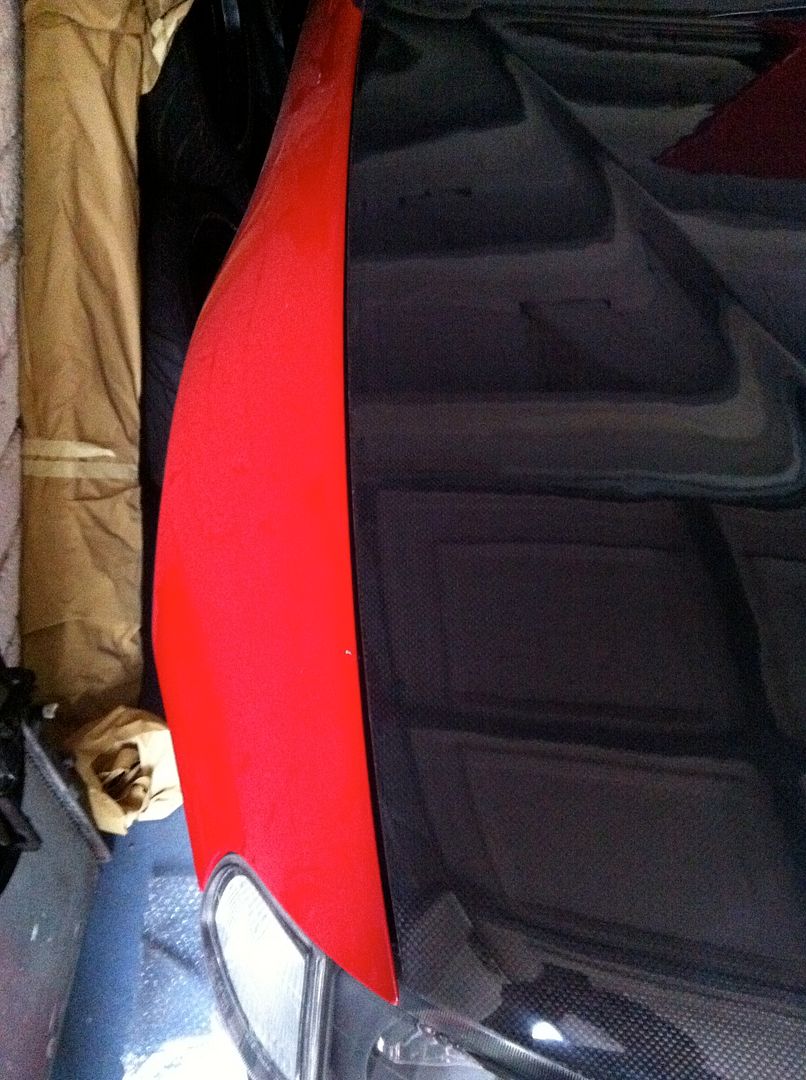
Drivers wing out:
(
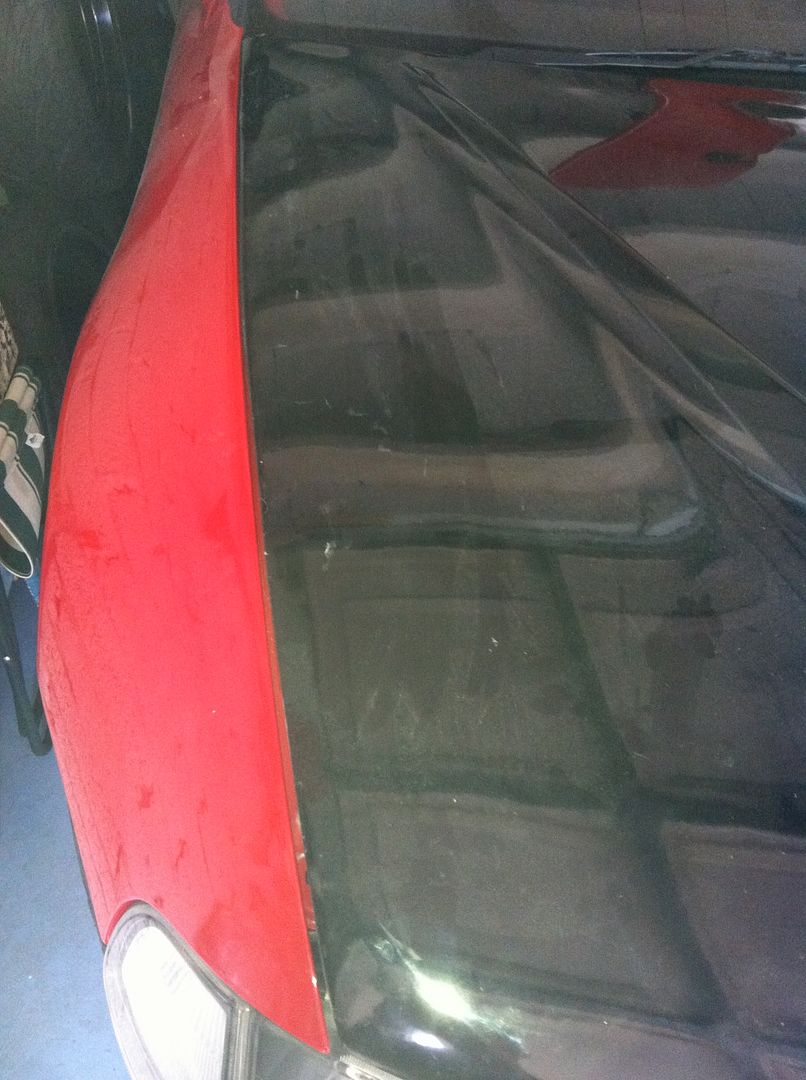
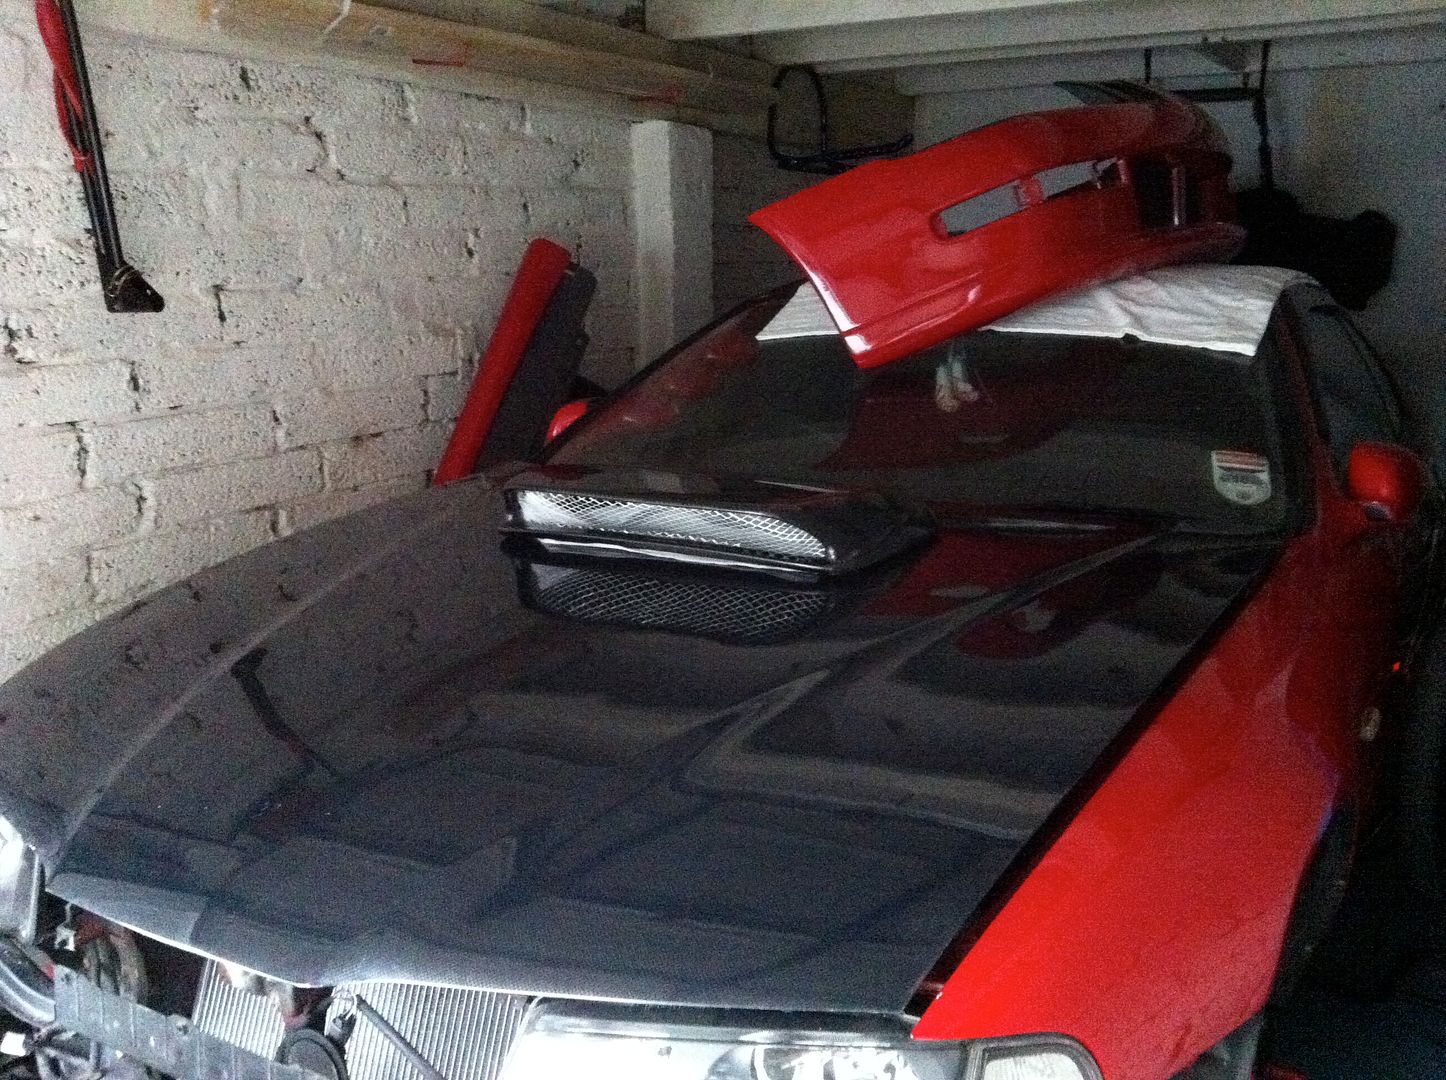
Passenger wing even worse, I could get my fingers in there!
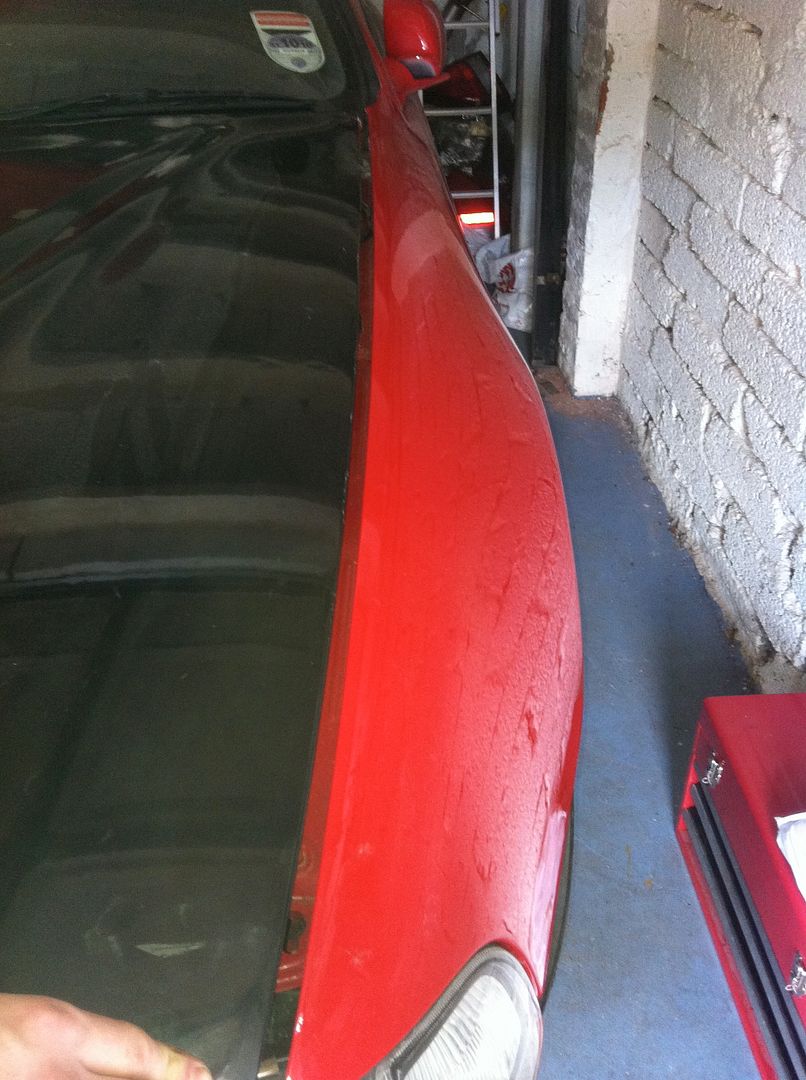
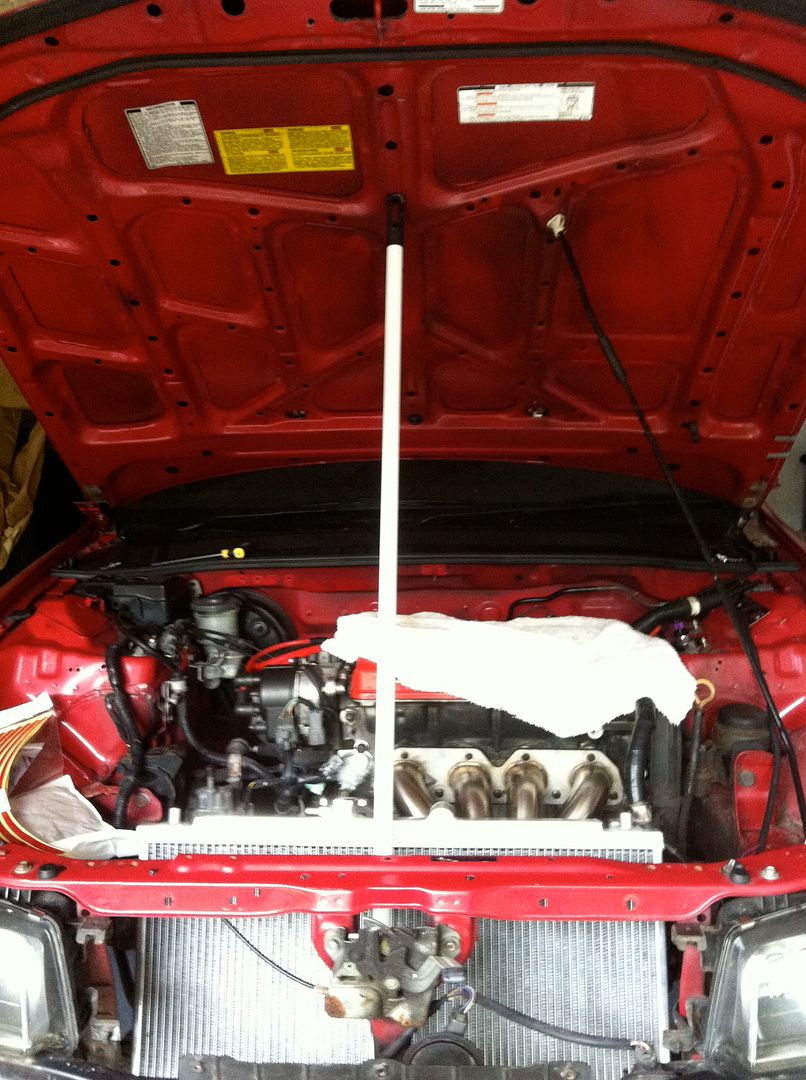
The fitment was awful. Not only was the panel gap to wings off by about an inch, the worst part was the design of the vent sweeps too low with a chunky bracing bar running across the middle. The result is a bonnet that does not shut. It rests on the engine rocker cover/spark plug cover and that’s on the first catch of the bonnet latch!


Not happy!
I even added bonnet spacers to see if that would help and no good.
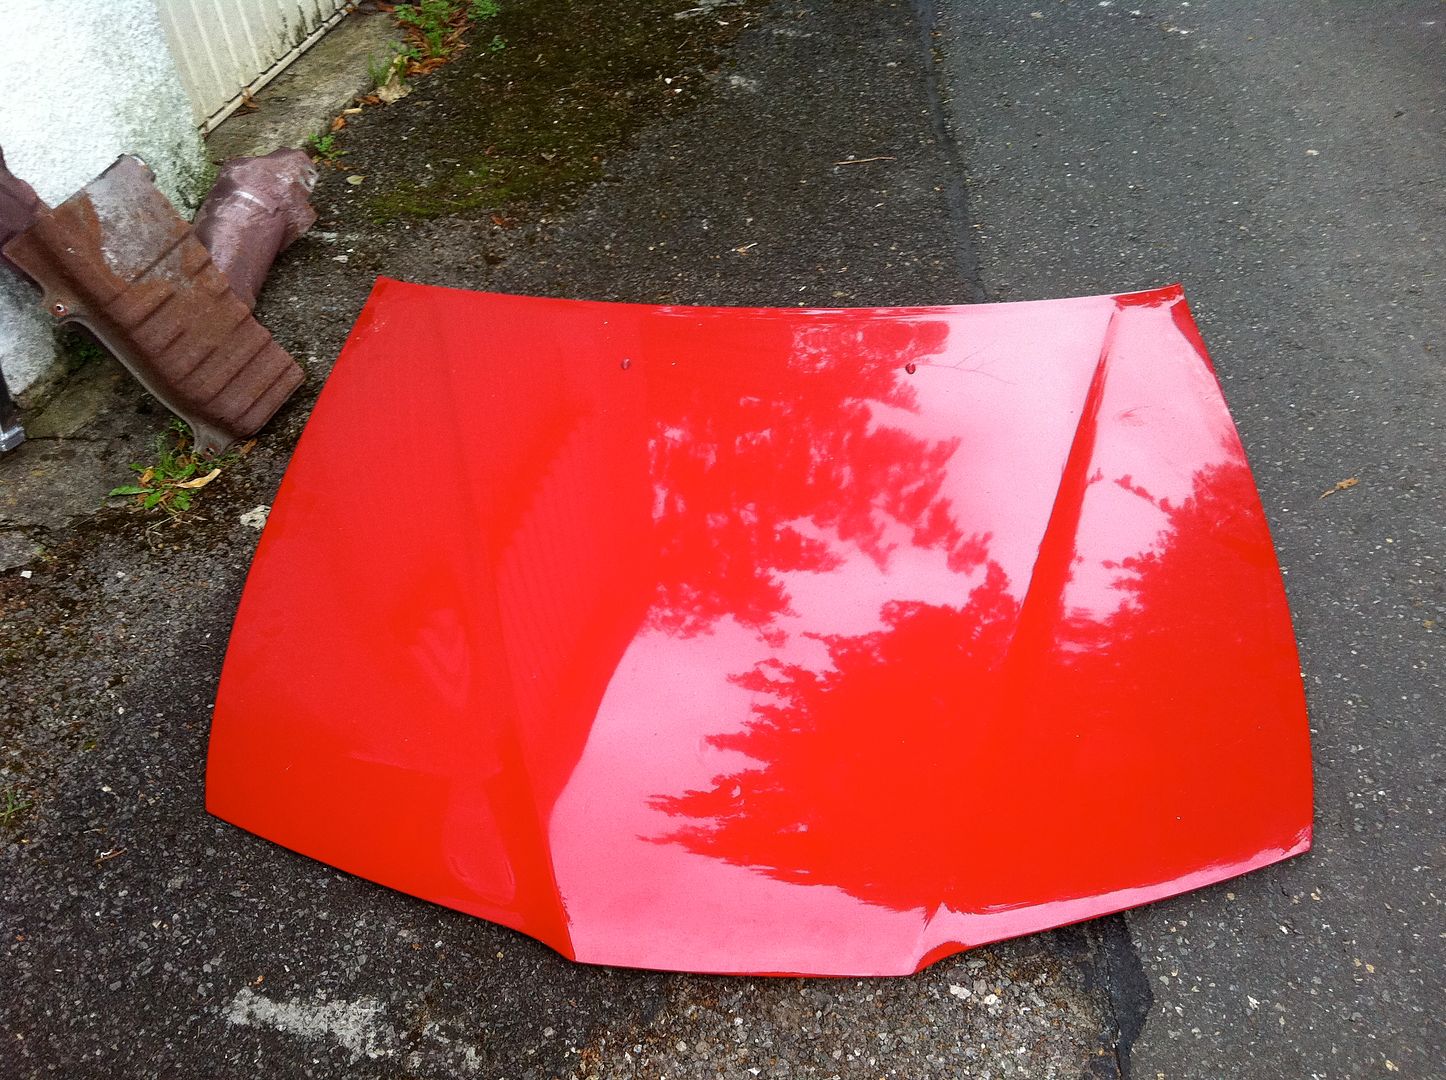
So back to the supplier – Speed Culture. It was from the US made by Extreme Dimensions. It took a few weeks but they were pretty reasonable about it and we came to a compromise with a Carbon Creations OEM carbon fibre bonnet they had for sale a little more money there way, but still a bargain for a new carbon bonnet! I notice it’s the same as Dino’s old ludes one (Taffyludes before that) and that fit perfect. I rechecked measurements with them and it looked good. So a free Saturday I made a trip in a borrowed work van down to their base in Paignton, swapped them, got back and did a Ste special and removed the old and fitted the new all by myself (+ a broom handle!). My reward:
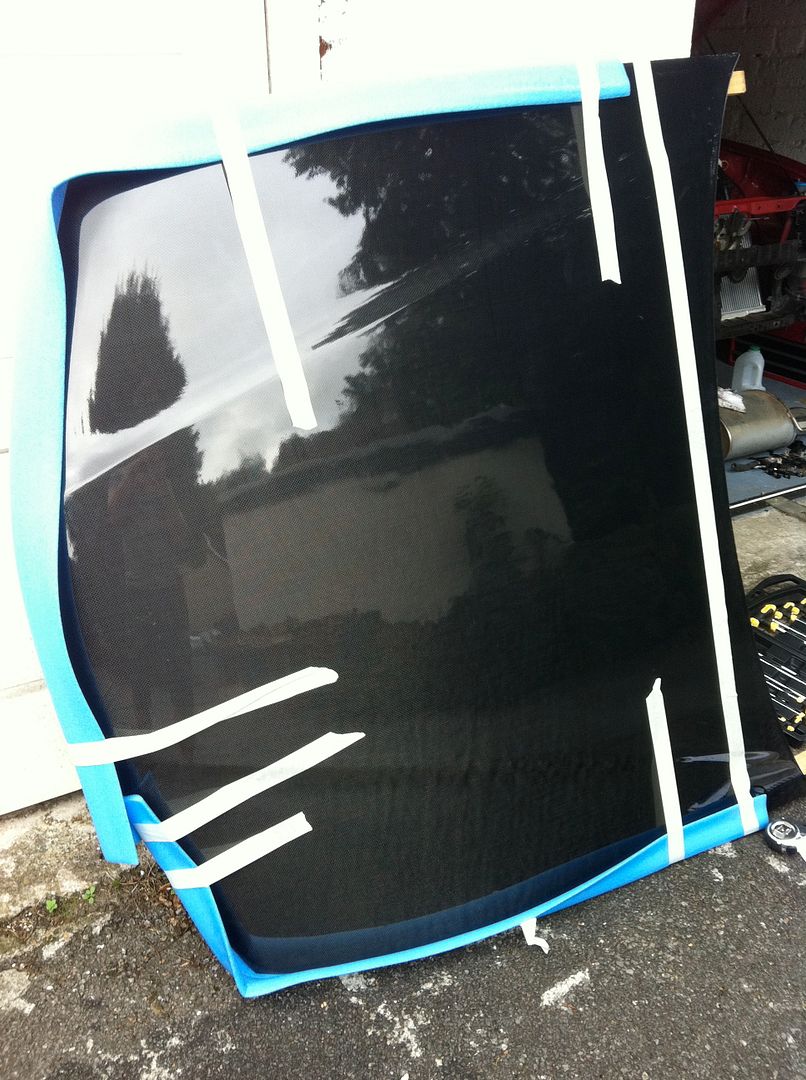
Sexy weave!
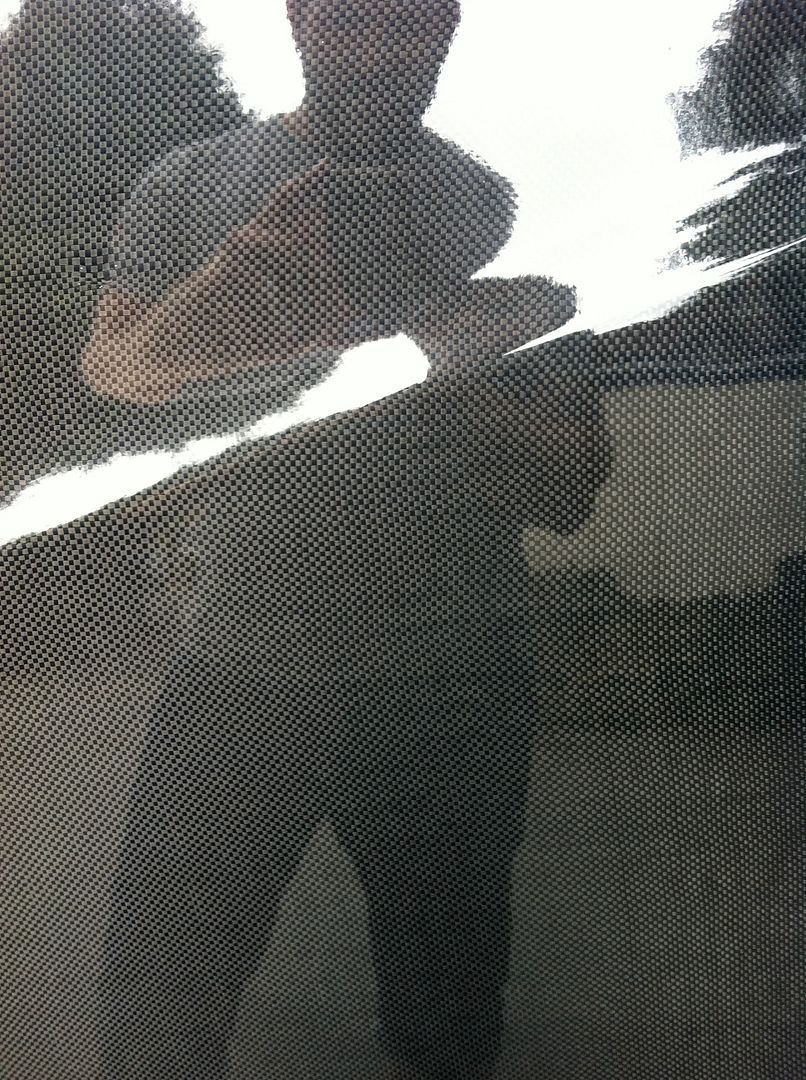
Mmm…this could work…and it did! I propped it up, undid one hinge and rested the corner down on the screen with some protection, then the other side the same then just lifted it off – easy peasy! Fitted the new one the same in reverse.
Old bonnet is still alive and kicking on a members lude on here.
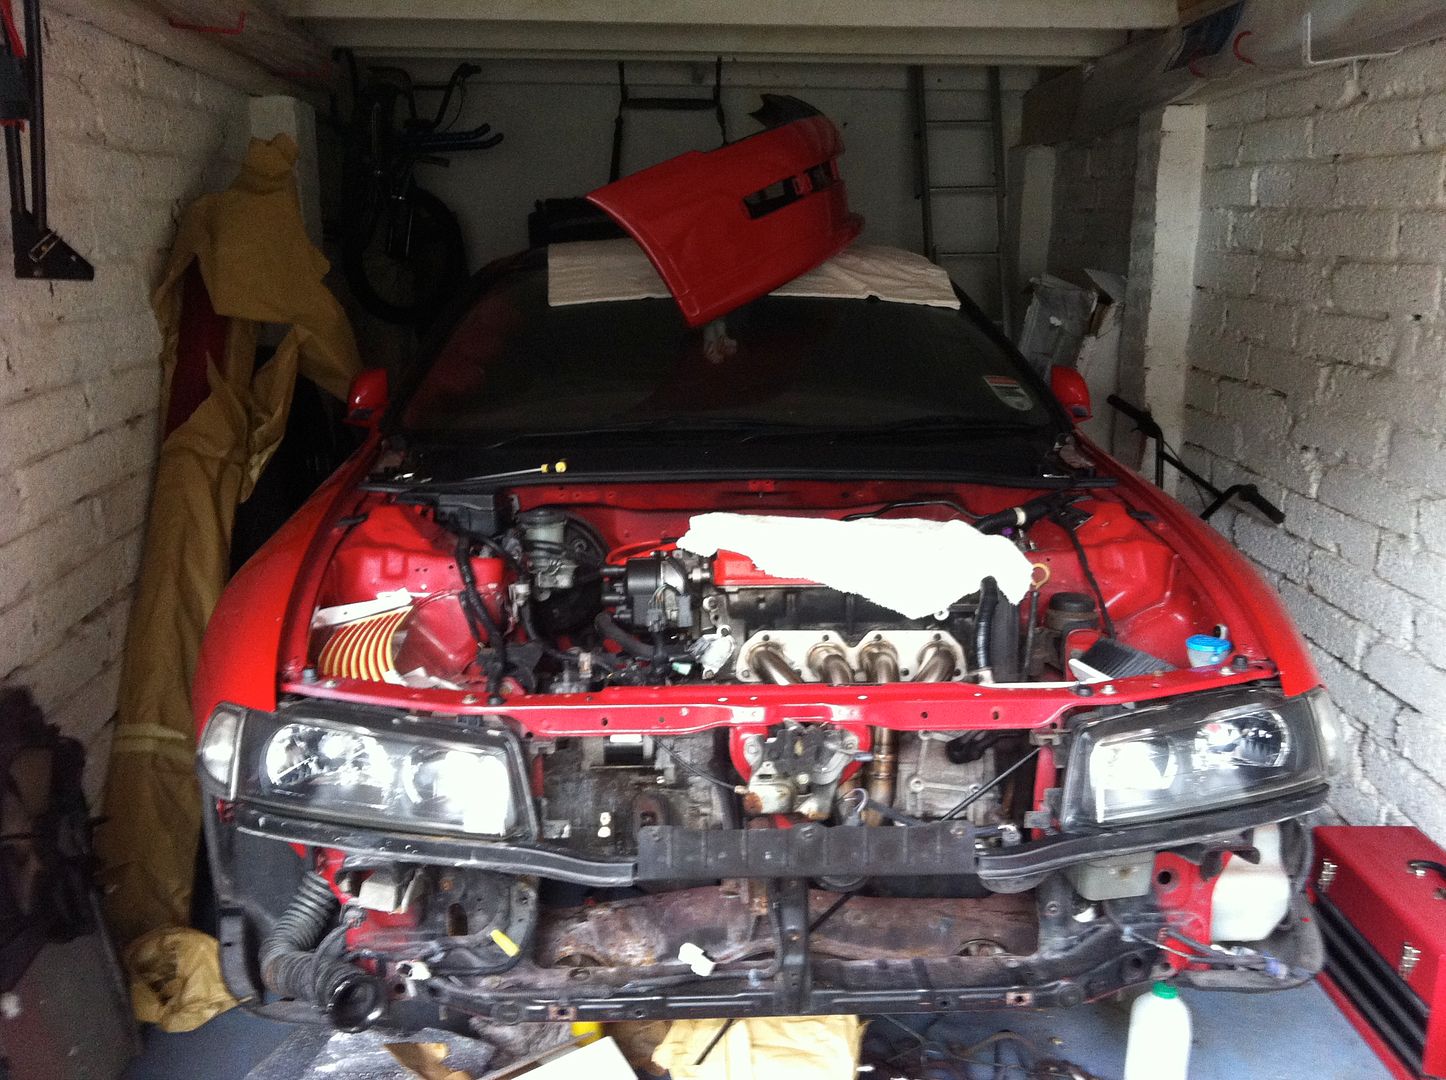
Looking a little naked, would you like some new clothes baby? Ok…
And fitment? Bearing in mind I have the bonnet off the latch, the lines are perfect!

I’ve since added some bonnet spacers and will try to duct some air to the supercharger to help cooling. Picked them up at Japfest from EP Racing. They do some good stuff now.
Then some weeks later I couldn’t get the idea of some scooped cooling to the charger…
This is when I had my moment of madness and picked up a carbon Scooby bonnet scoop:
Oh dear, what the F#$K have I done!
As you can quite clearly see, waaaay over the top, I quickly removed it and didn’t give a scoop another thought.
While we’re on bonnets, I also have some lockable aerocatch flush bonnet pins to fit to it that I picked up at Japfest, again from EP Racing. This bonnet has the standard catch but I just wouldn’t fit an carbon fibre bonnet with this alone, it’s only set into the fibreglass skin below, too many horror stories of bonnets flipping up. I think I’ll lose the OEM bonnet latch altogether seeing as I have the lockable catches.
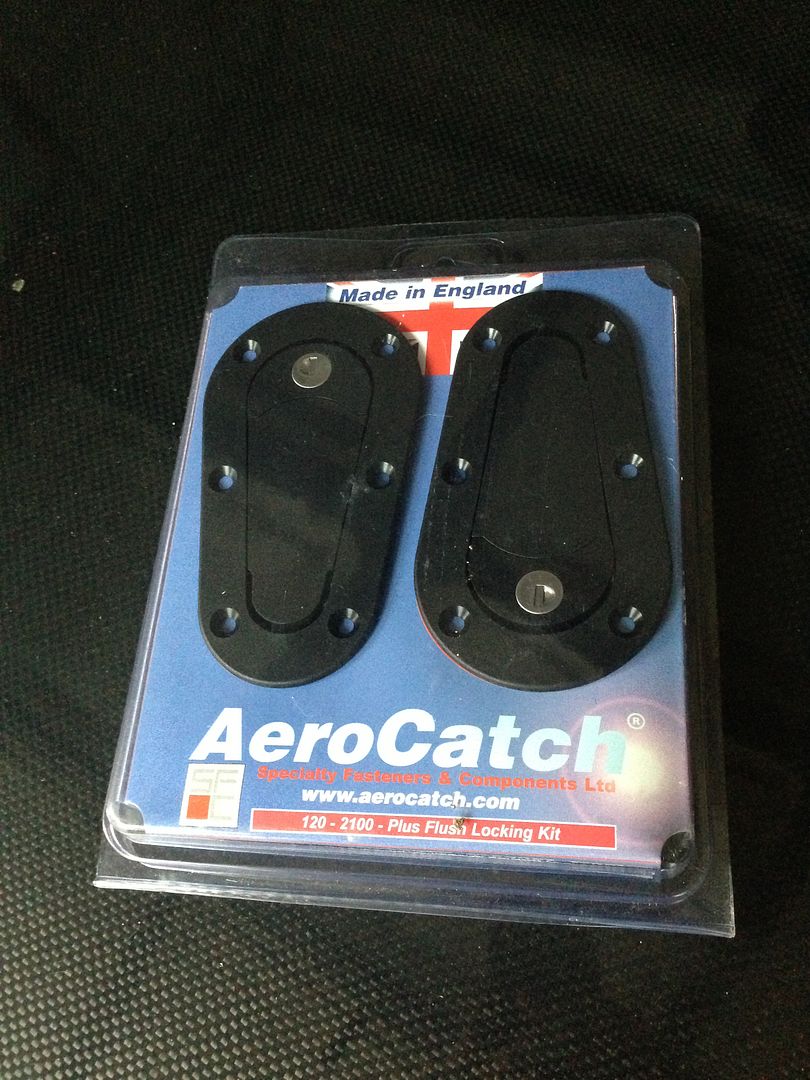
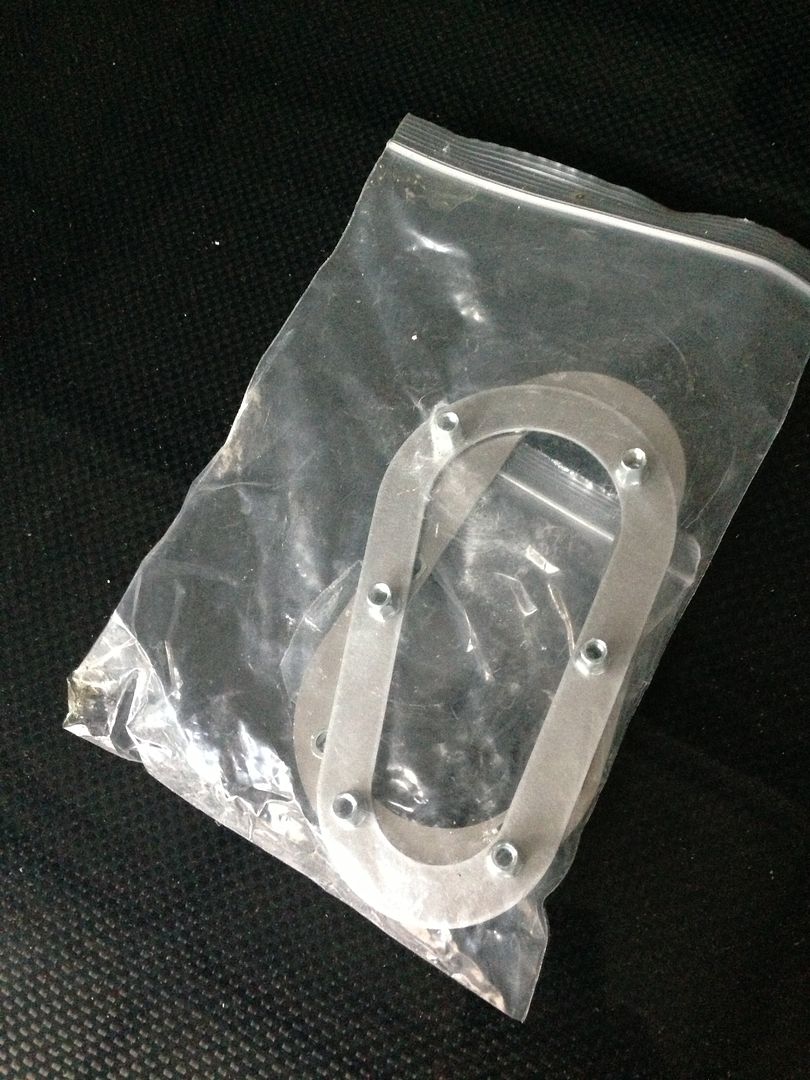
Later on at Japshow EP Racing had these strengthener plates for the aerocatch’s and made the install less fiddly as all the bolts were now captive on the adaptor – a few guys on here have used these now too. I’ll have those for £8.50, yes, thank you please!
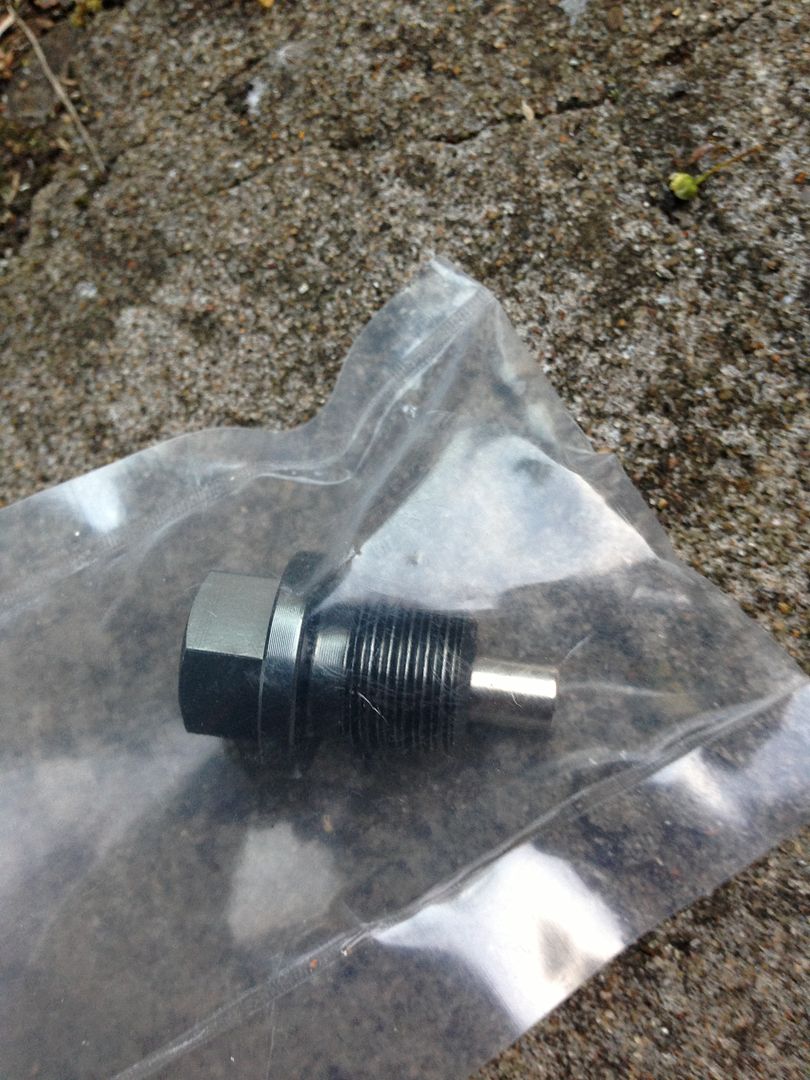
I also had a delivery from Tegiwa Imports including some fresh oil, a Hamp filter, Gearbox magnetic plug and some engine and rocker cover dress up parts.
Went with Motul 8100 X-cess for now. Expect I’ll try the infamous Fuchs Titan Race stuff next change though.
Then I snapped some rad brackets from Tegiwa, used from one of their cars – look like new though:
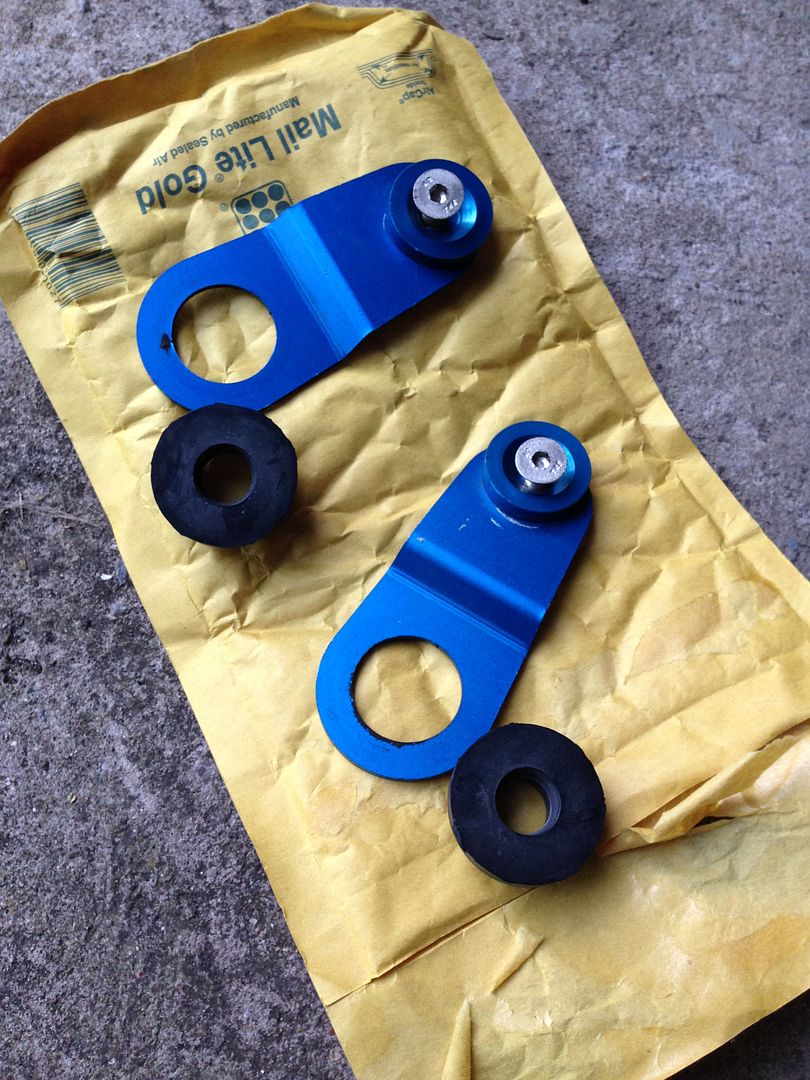
I may use these on the bottom as my rad doesn’t fit the OEM mounts. Get some black ones up top – Red / Black / White seems to be the general colour scheme.
I think that’s enough for one post. More to come shortly on my ABS removal and stuff, I’m writing it now! Need this up to date to show you I have done stuff here and there…honestly!

Cheers,
Rob