Congratulations to vtecmec for winning May/June's Lude Of The Month, with his DIY Turbo BB1 build.

>>> Click Here For Profile <<<

Image

Supercharged Mugen Lude (03/06/14 Update!)

Tell us all about your Lude, you know you want to ...
User avatar
nucleustylzlude
Moderator
Posts: 4013
Joined: Wed Aug 11, 2010 11:46 pm
My Generation: 4G
Location: Bristol, UK!
Been thanked: 7 times
Contact:

Re: Supercharged Mugen Lude (25/07/13 Update)

Post by nucleustylzlude » Mon Aug 19, 2013 2:40 pm

NafemanNathan wrote:
Merlin wrote:What colour are you doing the block?
nucleustylzlude wrote:Decided to repaint my block (in situ) in black
;-)

Practically caught me up with the stripping now Rob :)
Yep, caught up in a sense that we have no hope in hell of starting the car until we fit a lot of stuff! :lol:

Excellent choice my friend, if a colour scheme works, it works! 8-)

User avatar
NafemanNathan
LotM Winner
Posts: 20144
Joined: Sun Aug 08, 2010 9:37 pm
My Generation: 0G
Location: Yeovil, Somerset
Has thanked: 8 times
Been thanked: 124 times

Post by NafemanNathan » Mon Aug 19, 2013 2:50 pm

You may have mis-interpreted my wink. Didn't mean I'm doing mine black also, was such highlighting to Merlin how he'd missed your statement :lol:

Not sure what colour I'll be going for yet :think:

User avatar
nucleustylzlude
Moderator
Posts: 4013
Joined: Wed Aug 11, 2010 11:46 pm
My Generation: 4G
Location: Bristol, UK!
Been thanked: 7 times
Contact:

Re: Supercharged Mugen Lude (25/07/13 Update)

Post by nucleustylzlude » Mon Aug 19, 2013 2:54 pm

Oh yeah! :lol:

Well, obvious which colour I'd recommend to you then!

Actually, I think you could pull of Pink? :?

User avatar
nucleustylzlude
Moderator
Posts: 4013
Joined: Wed Aug 11, 2010 11:46 pm
My Generation: 4G
Location: Bristol, UK!
Been thanked: 7 times
Contact:

BUILD PART 5) - Build (Cont'd) – Porting Parts

Post by nucleustylzlude » Mon Aug 19, 2013 2:55 pm

And another update...more to come:

BUILD PART 5) - Build (Cont'd) – Porting Parts


More stuff that’s kept me busy (and others!), now that there isn’t much left to remove in the ludes engine bay! :lol:


Porting inlets

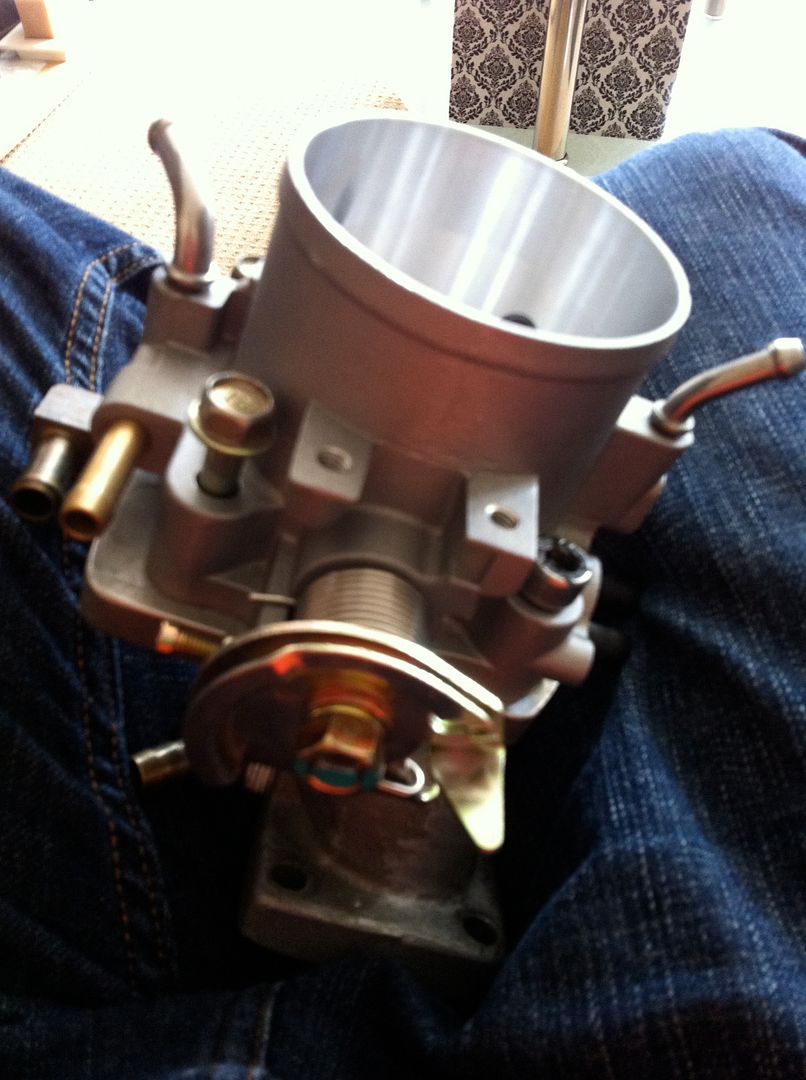
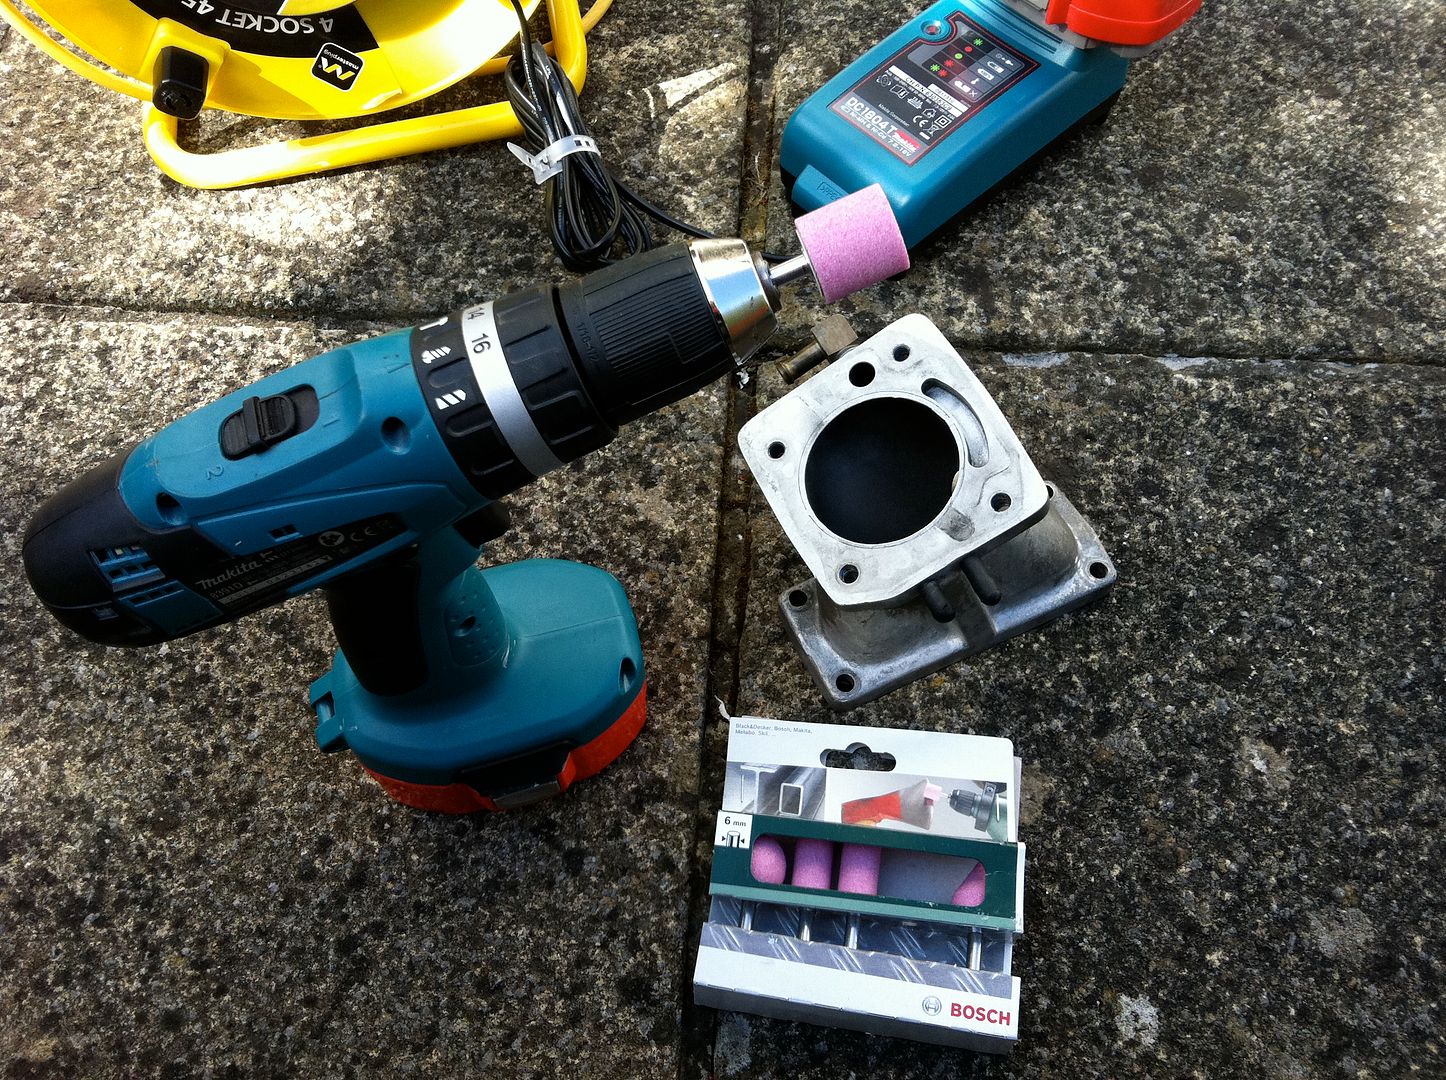
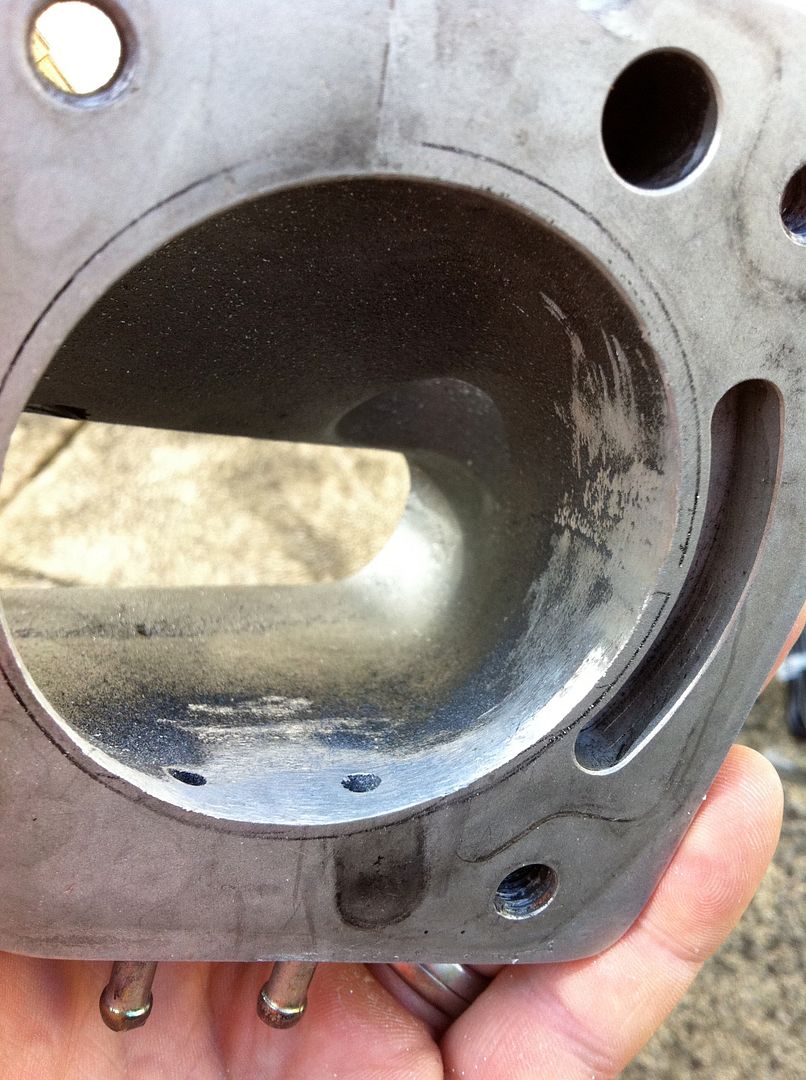
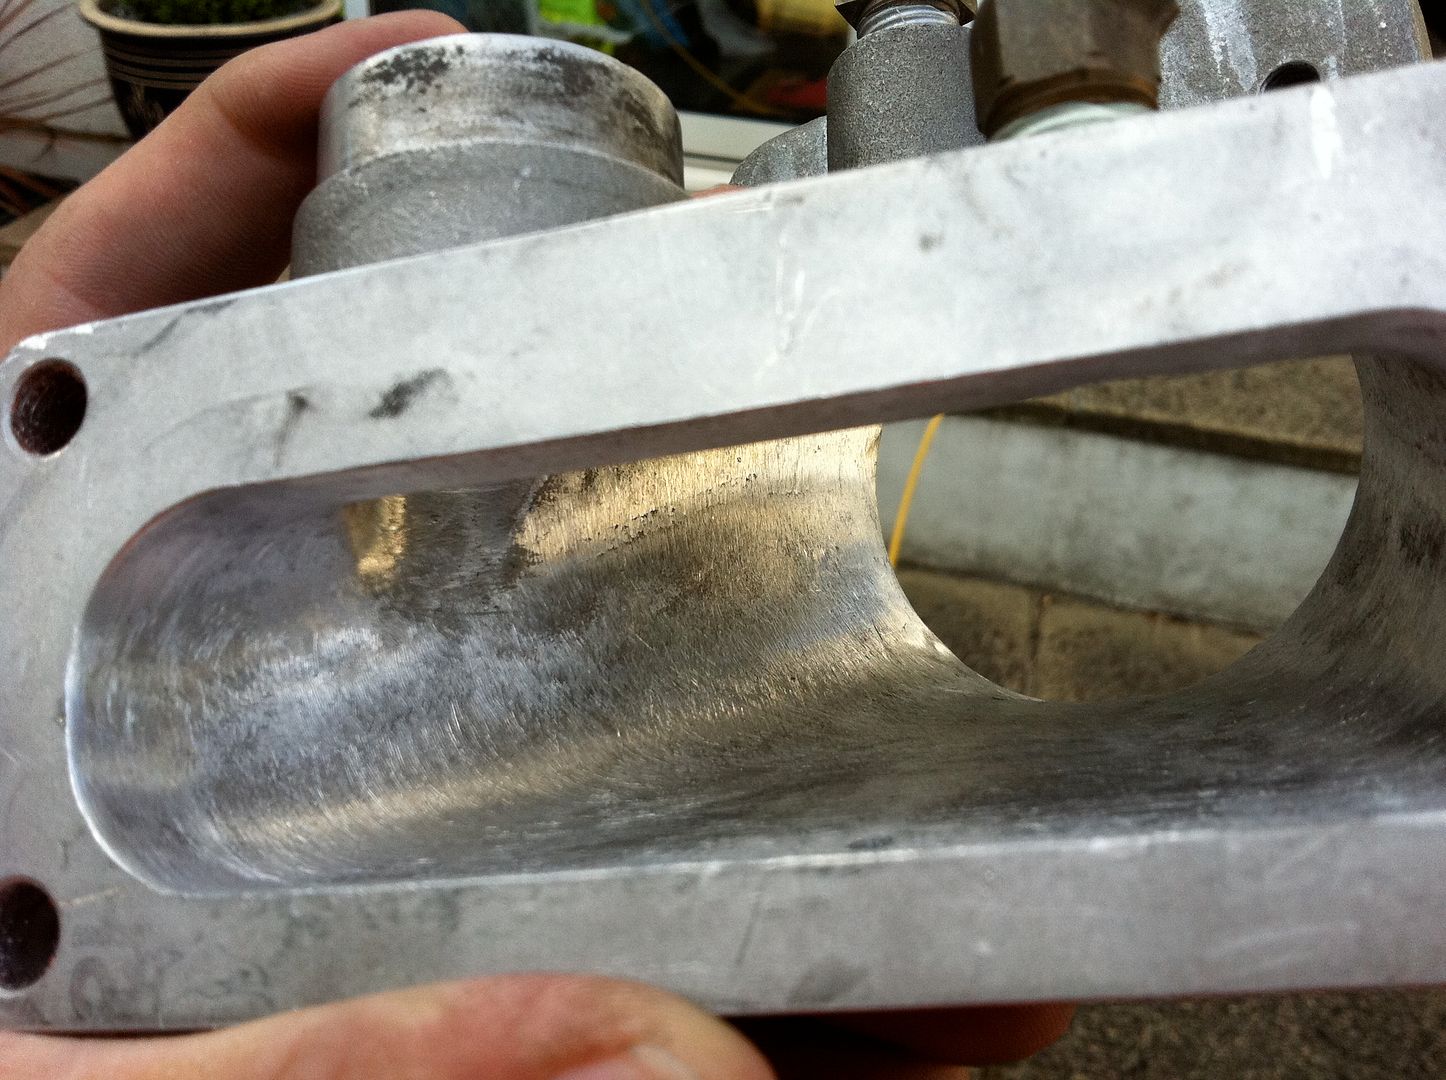
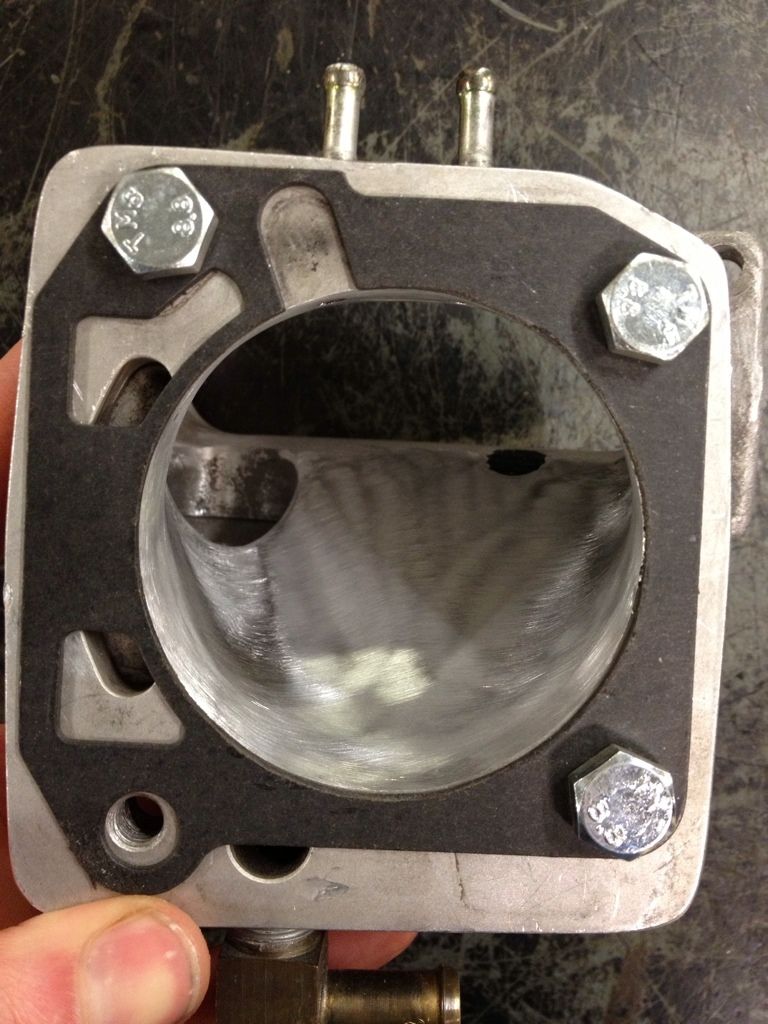
In an old update I’d shown you my CNT 68mm throttle body (which also deletes the FITV). However the Jackson Racing inlet has a diameter inlet from the TB side of 64mm. I figured I’d buy some grinding stones and just go to town on it with a drill. Also the inside cast finish of the inlet is very rough, so wanted to smooth it all out to improve airflow. You don’t need turbulence as much as a N/A build, go smooth and enlarged for Supercharged cars, better volume and improved flow not only helps with power but also drops psi = WIN/WIN!

So I began:

Image

Image

Image

Image

Image

Image

Image

Image

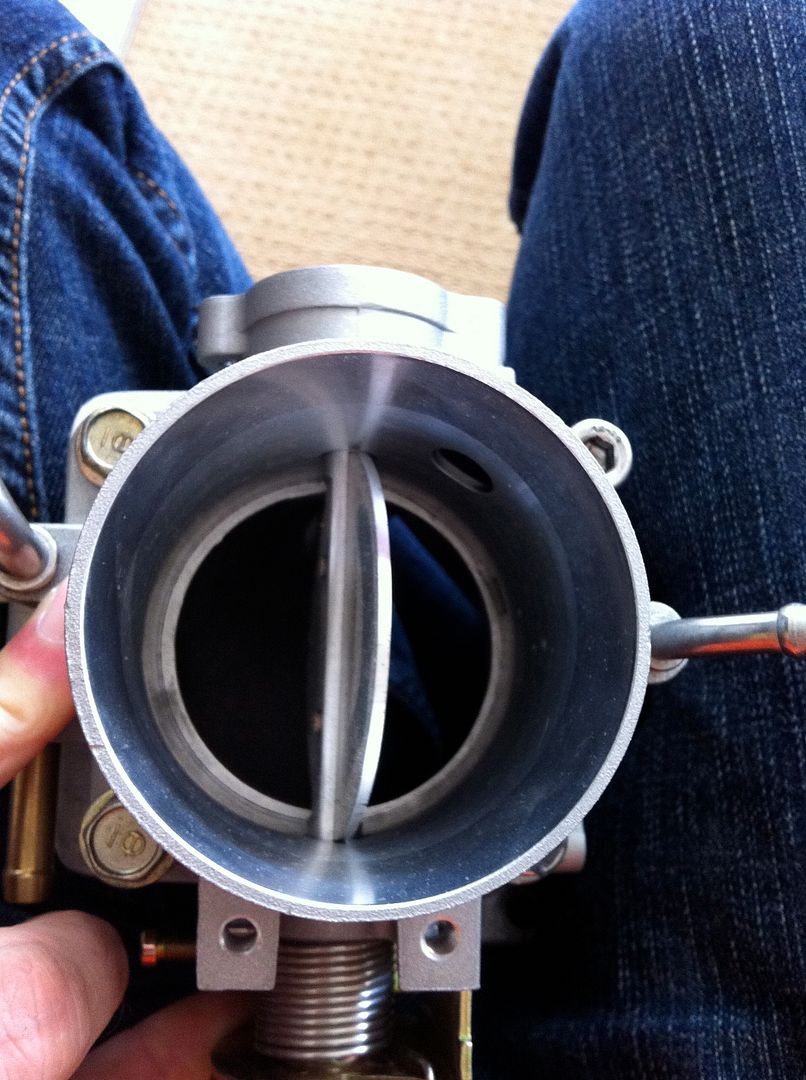
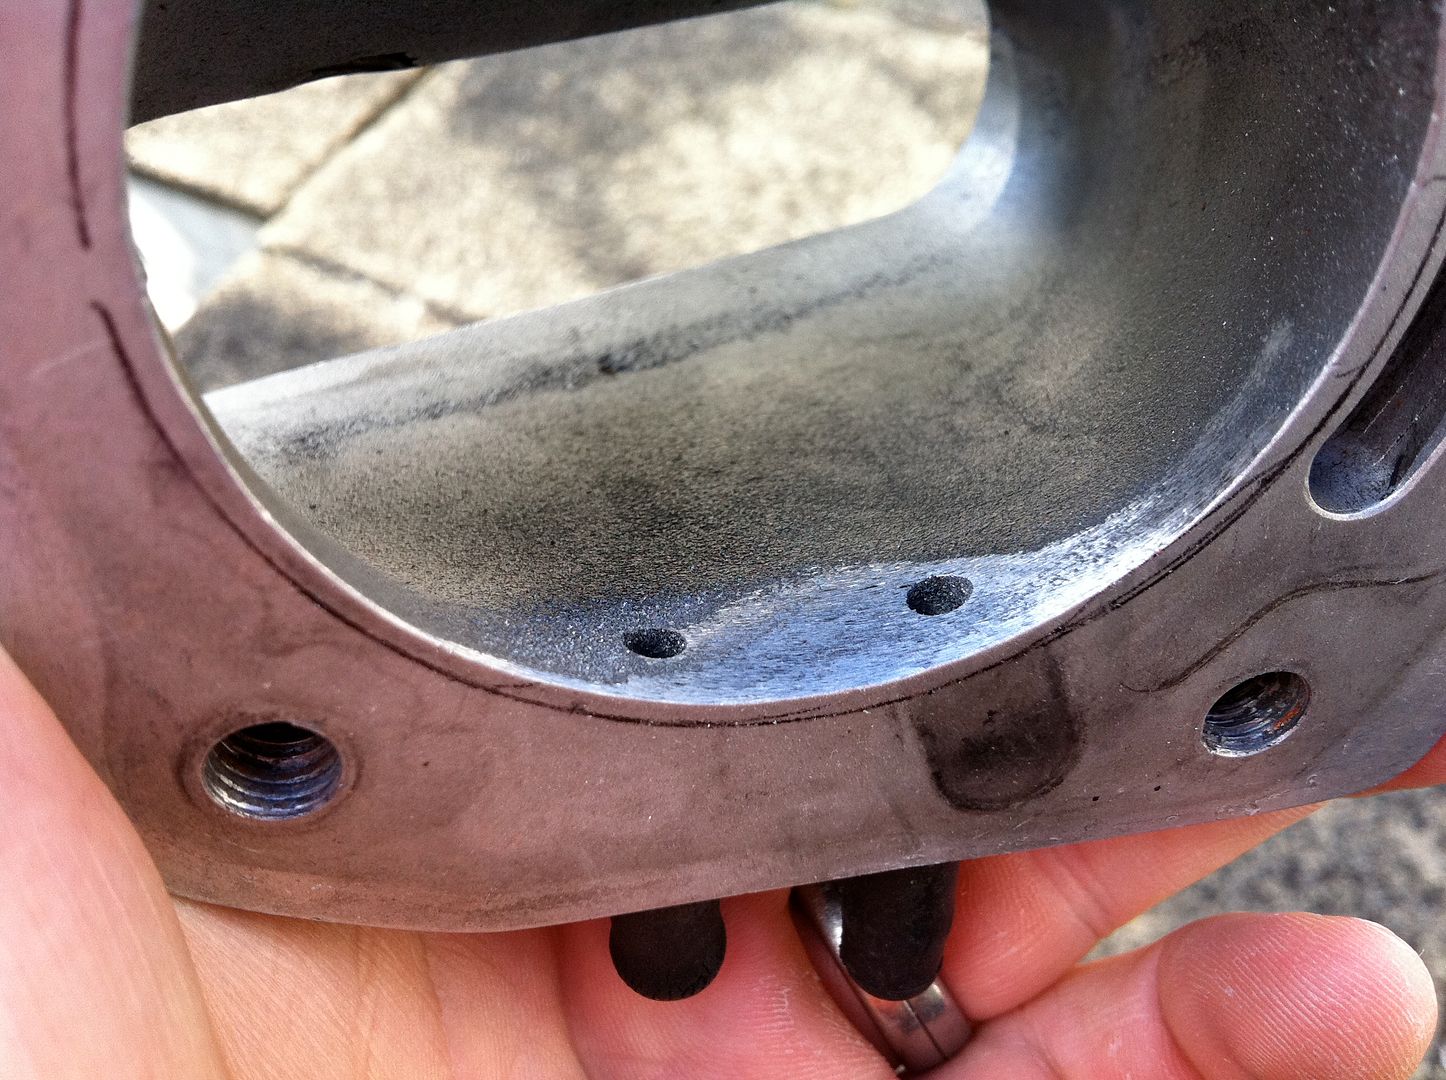
Looks good, confidence building what I set out to do! …. :?
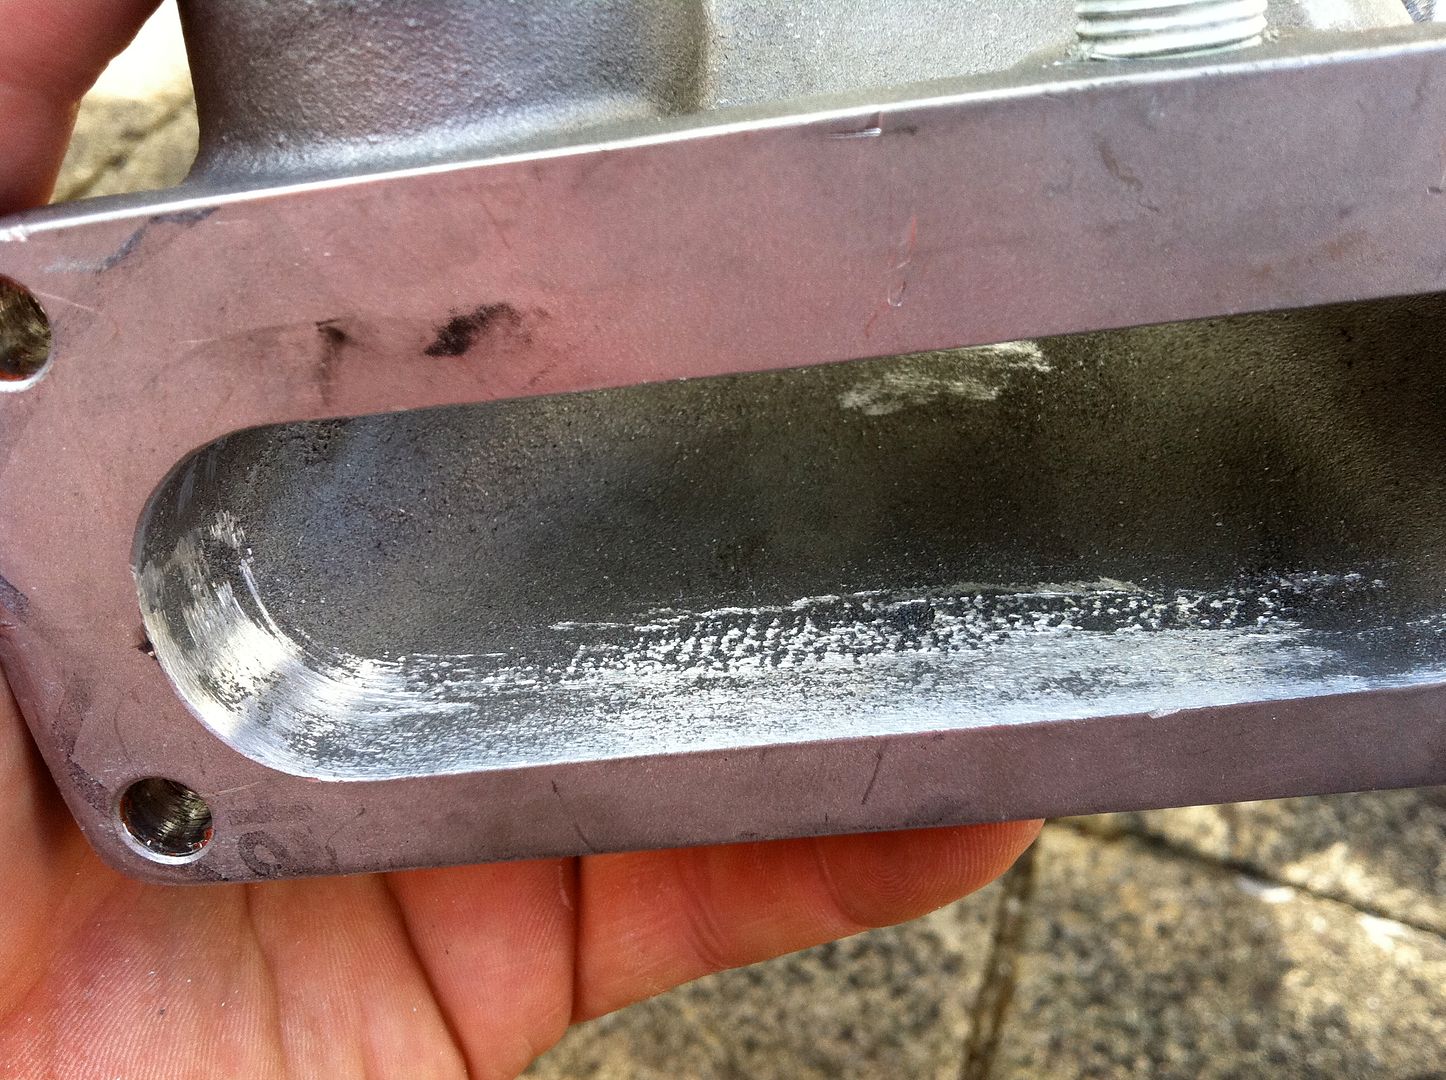
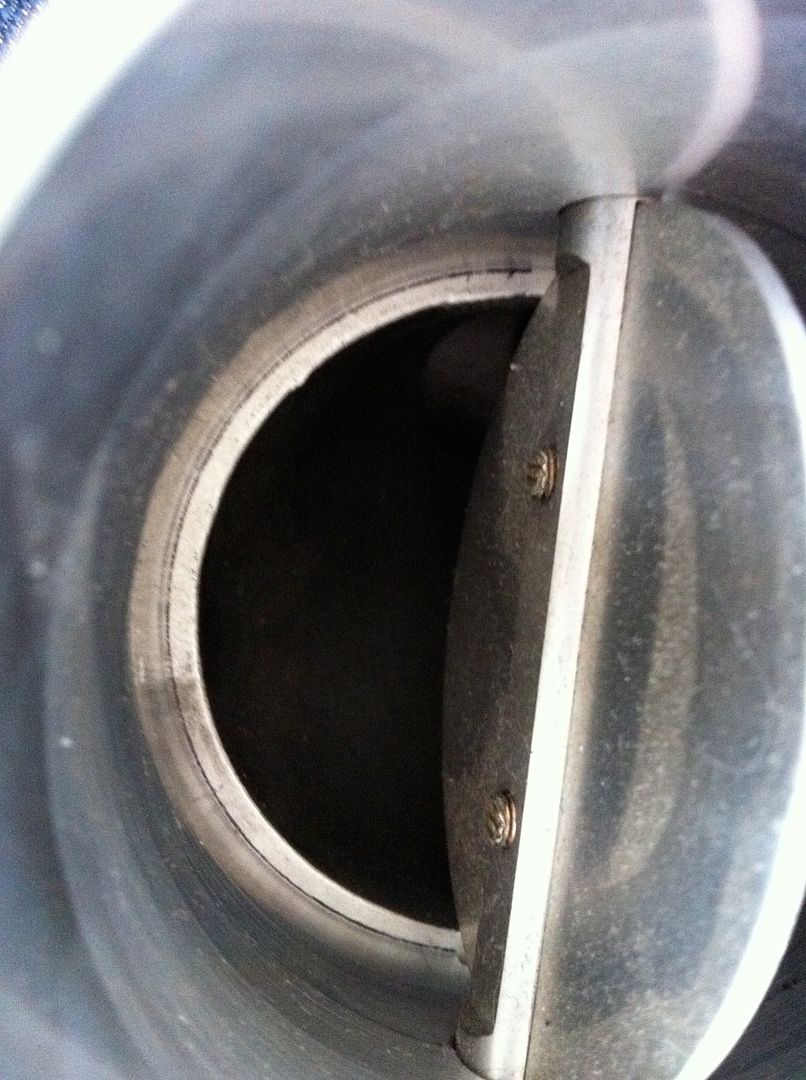
Image

Image

Image

Image

Image


Some hours later…

Image

Image

Image

Image


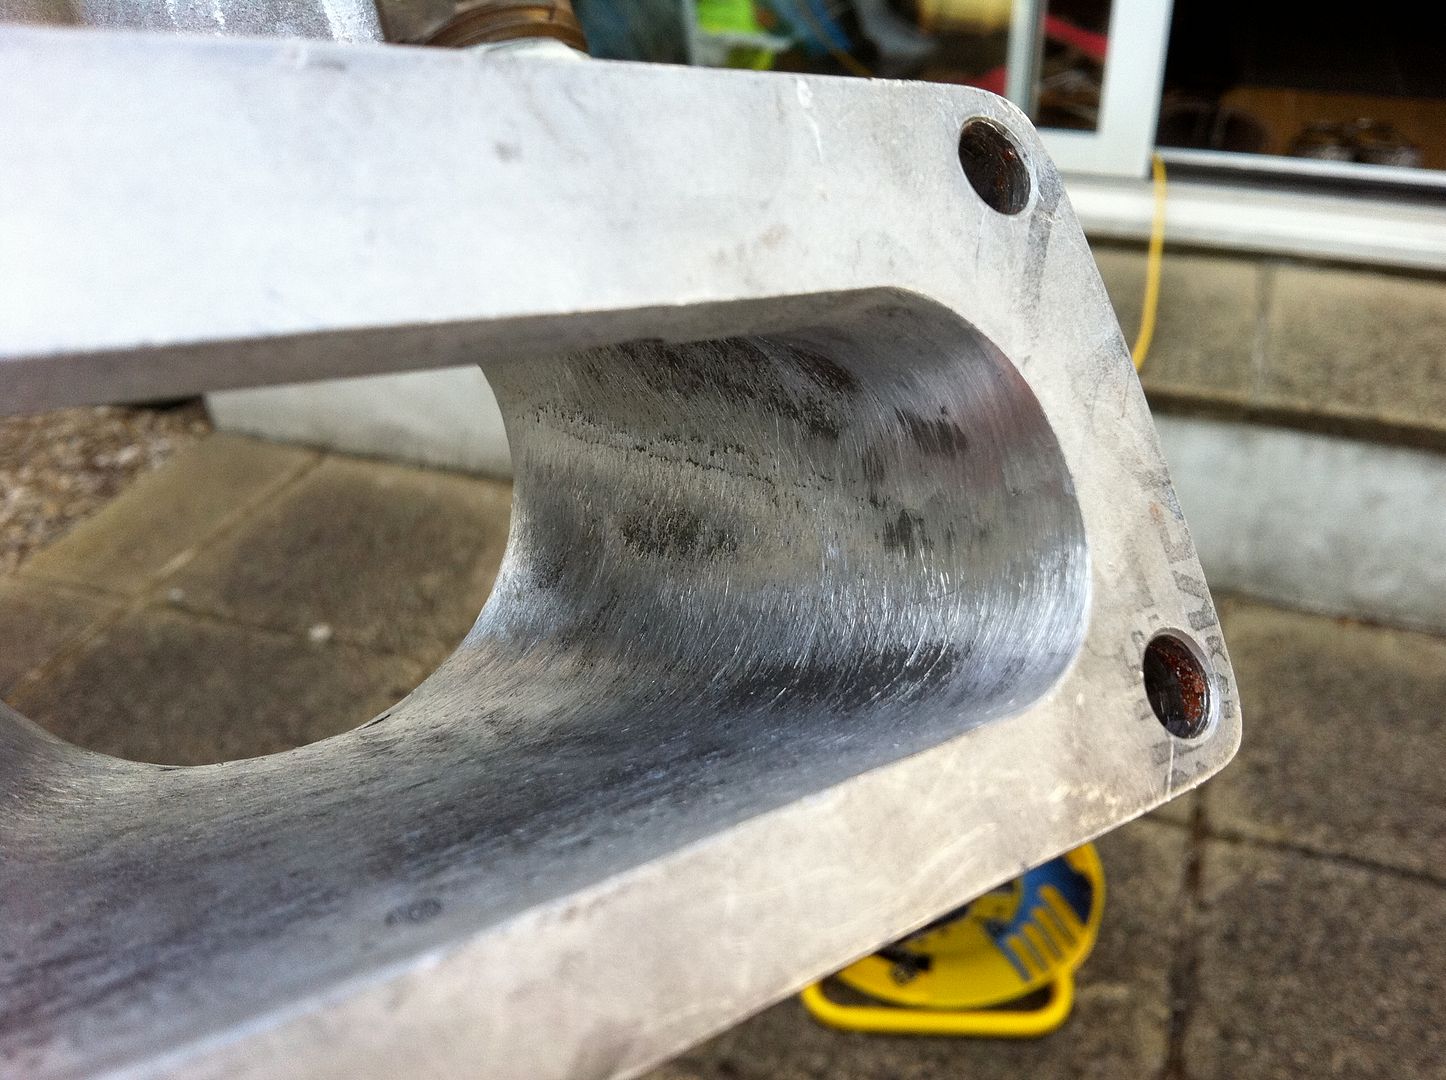
Believe it or not but that above took me hours to knock down. This simply was not going to work. I had planned to go onto the lower intake manifold next to knock the eight runners into four, there is no way I could carry on like this.
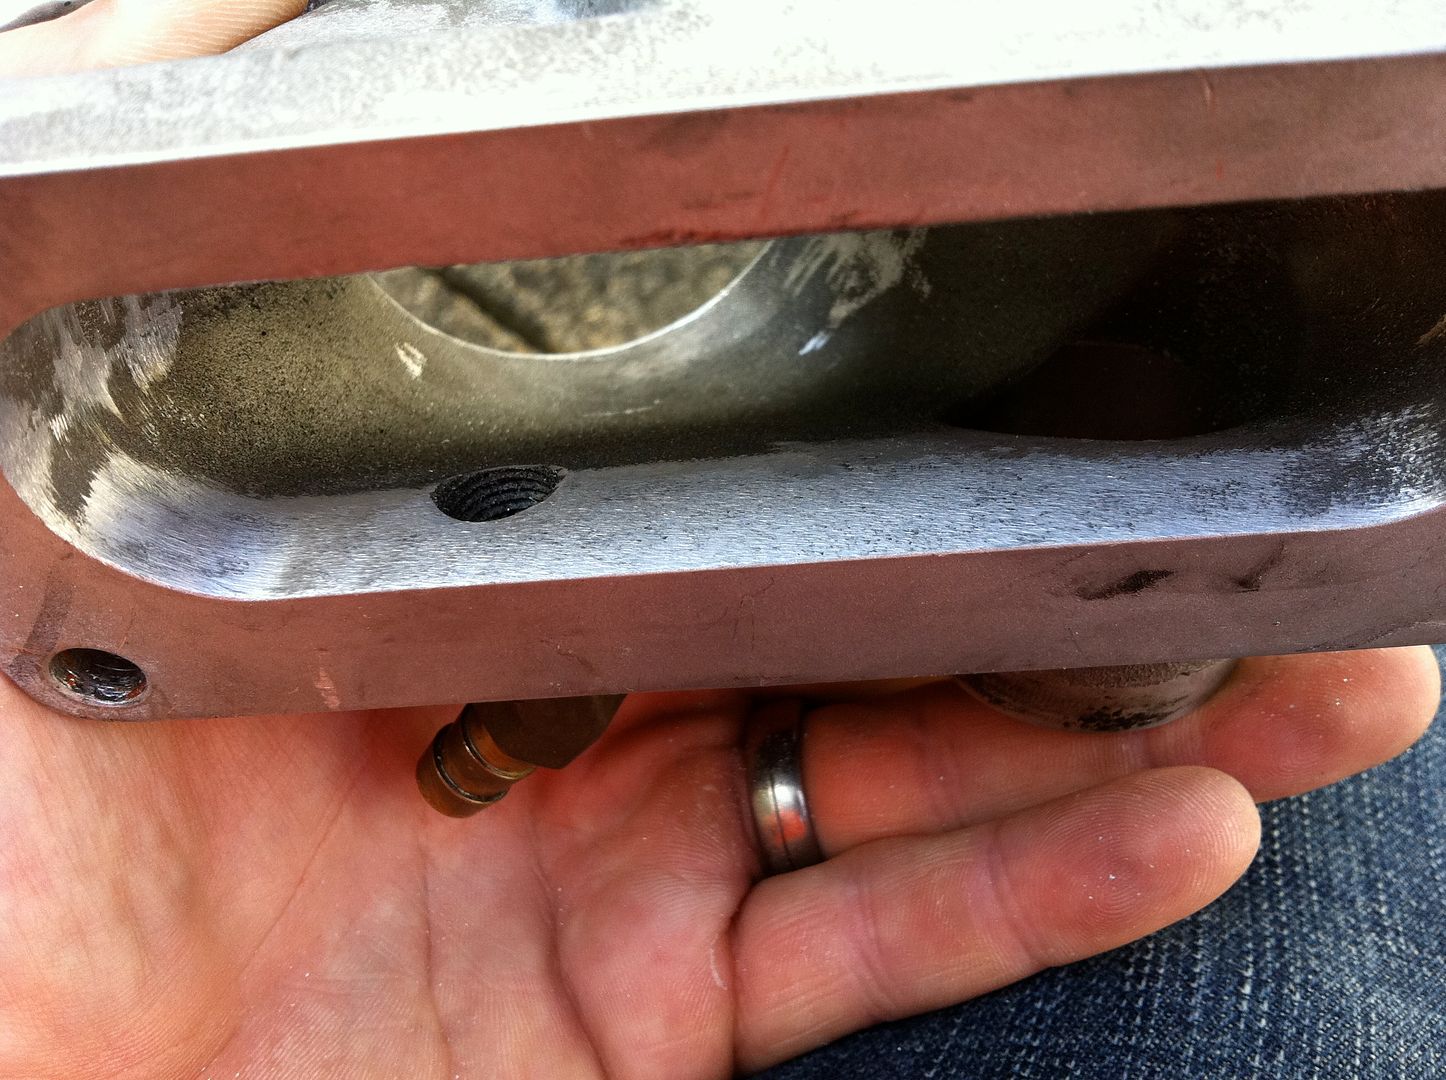
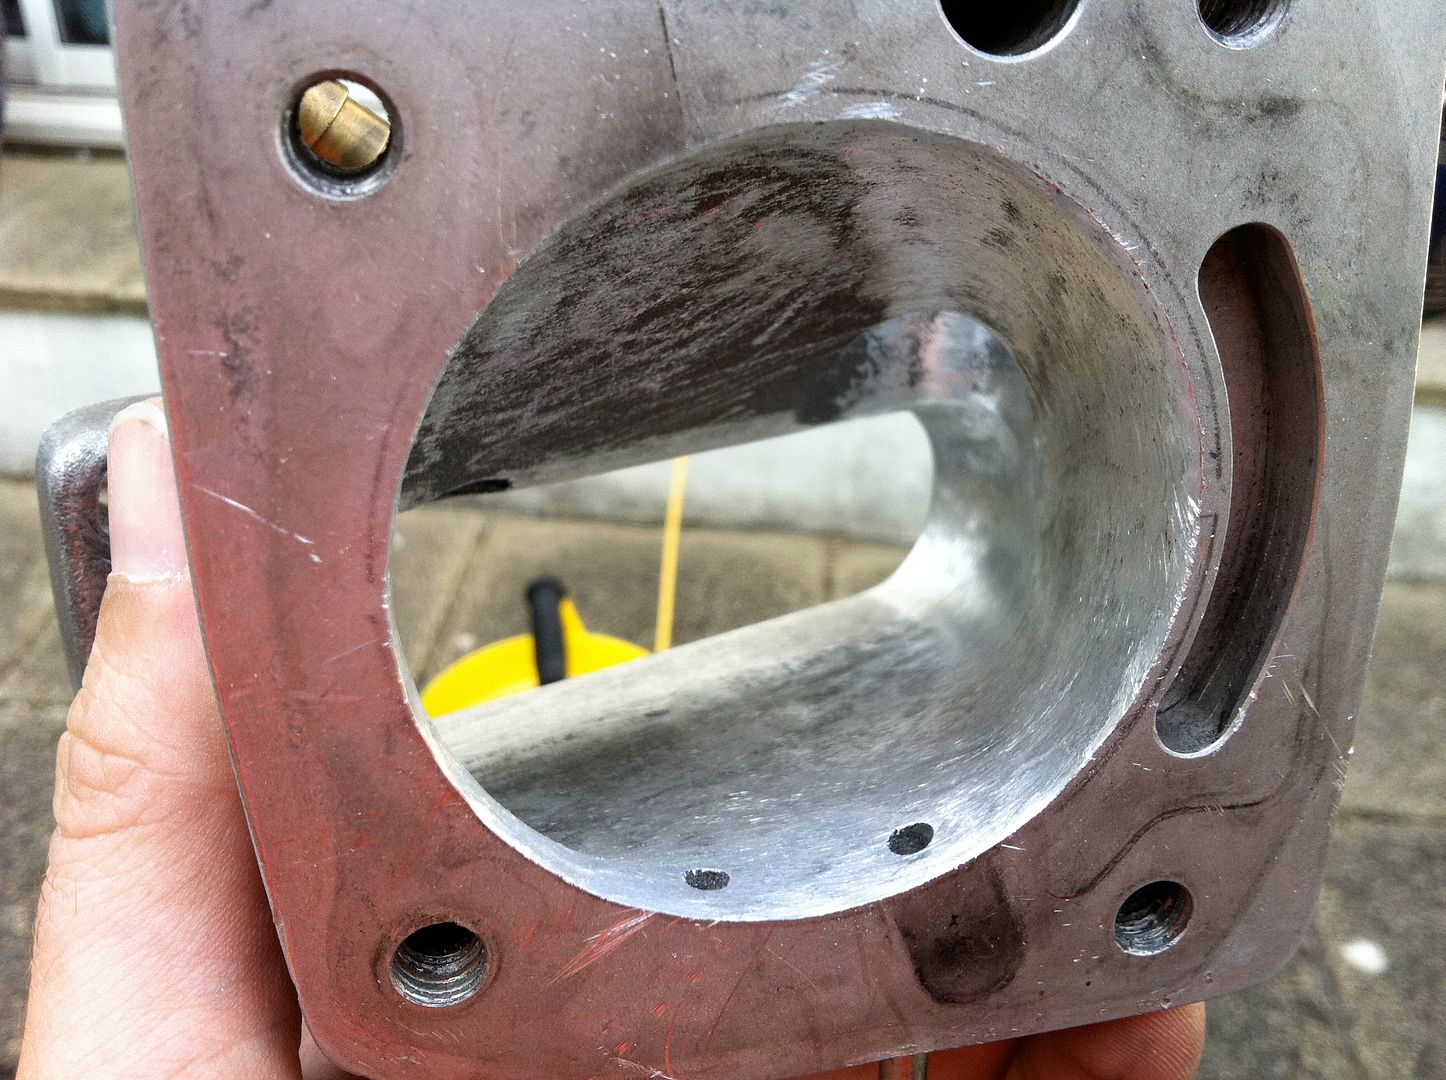
Then Pete (
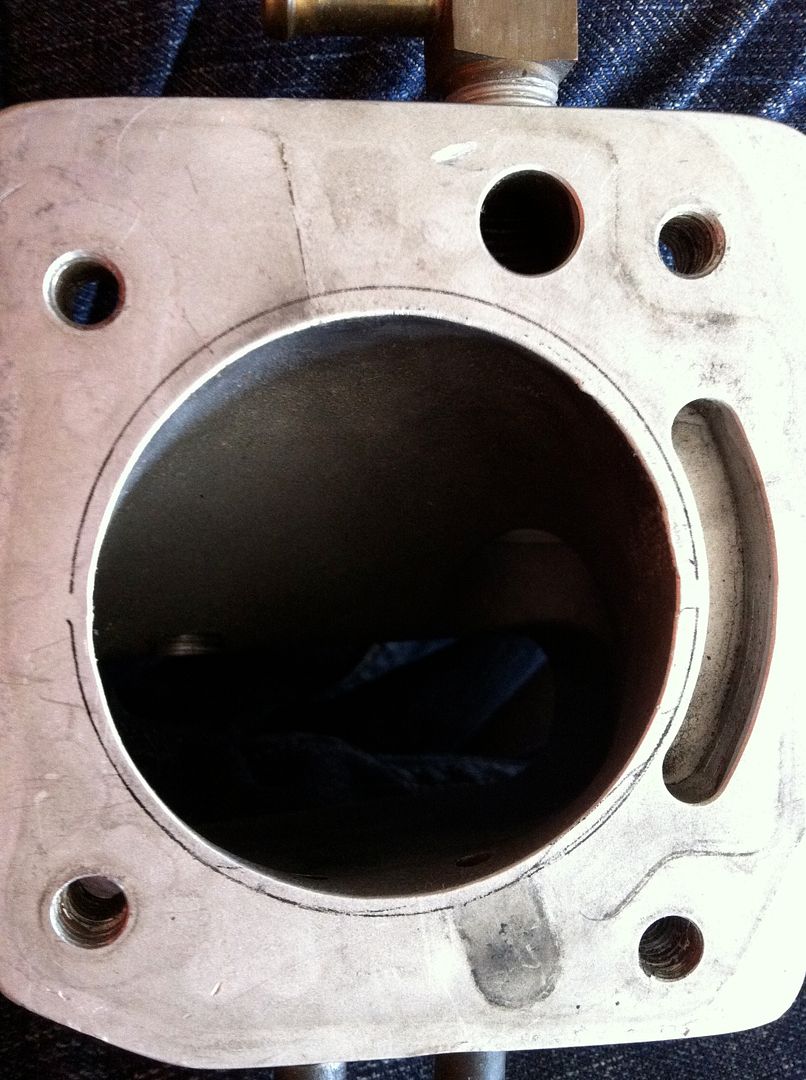
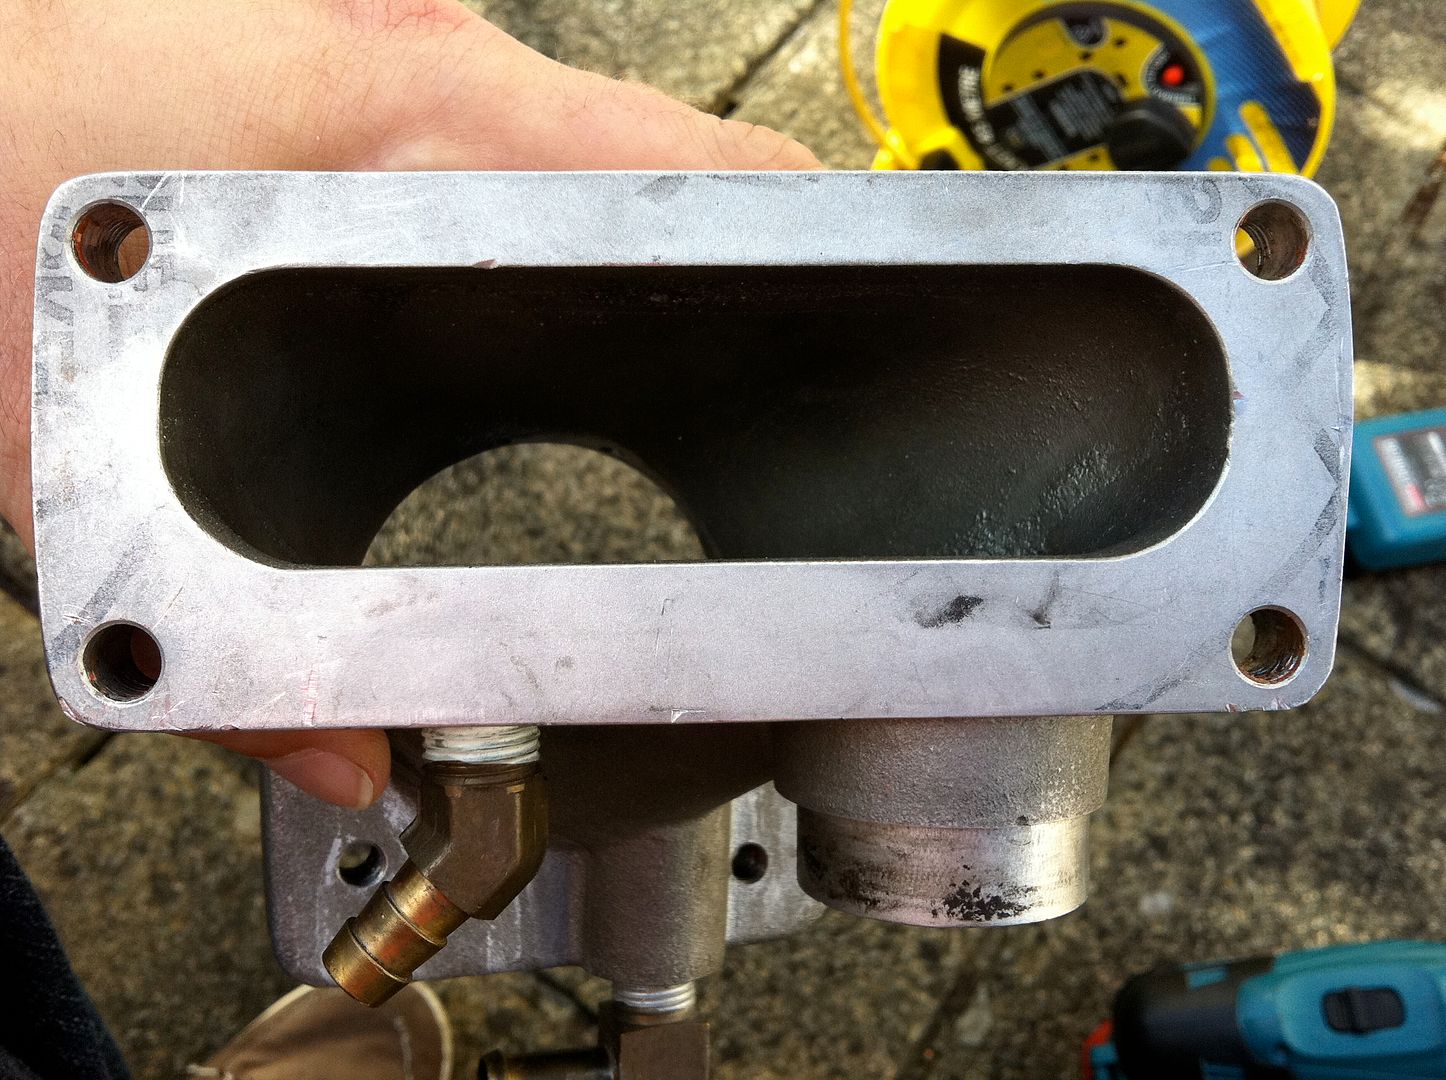
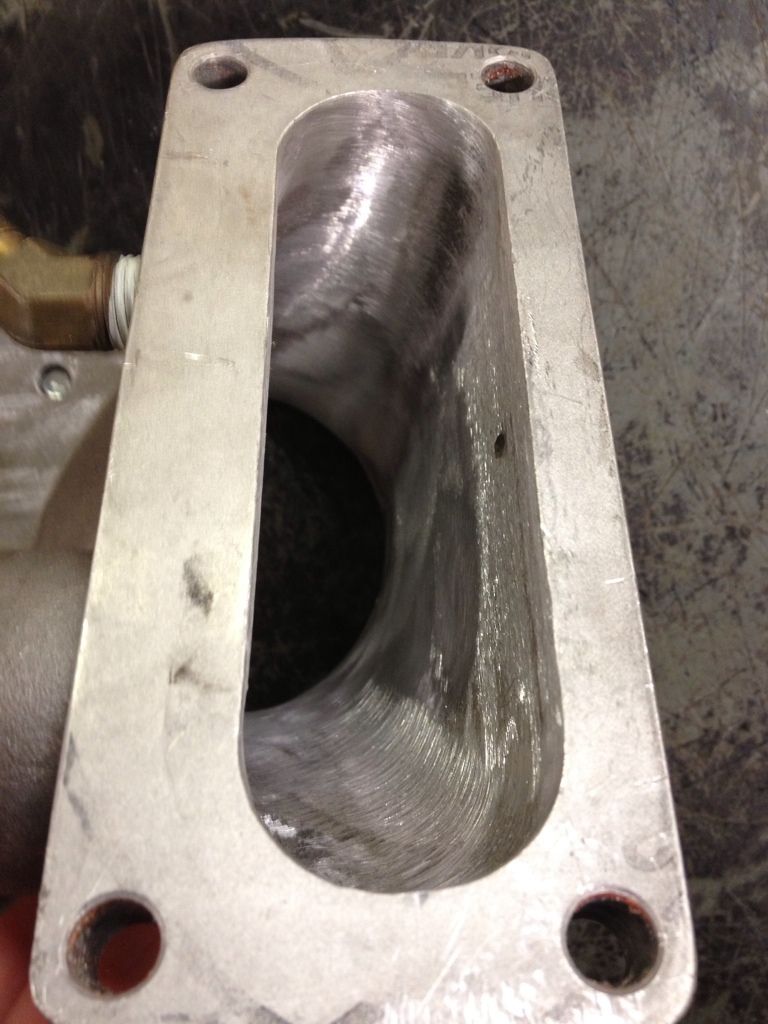
@pete106) came to my rescue with his machining skills! I handed / posted various items – 68mm TB gasket and he had a spare lower inlet manifold (or two) and a few weeks later he handed back via the LG Express some amazing looking finished pieces:

Image

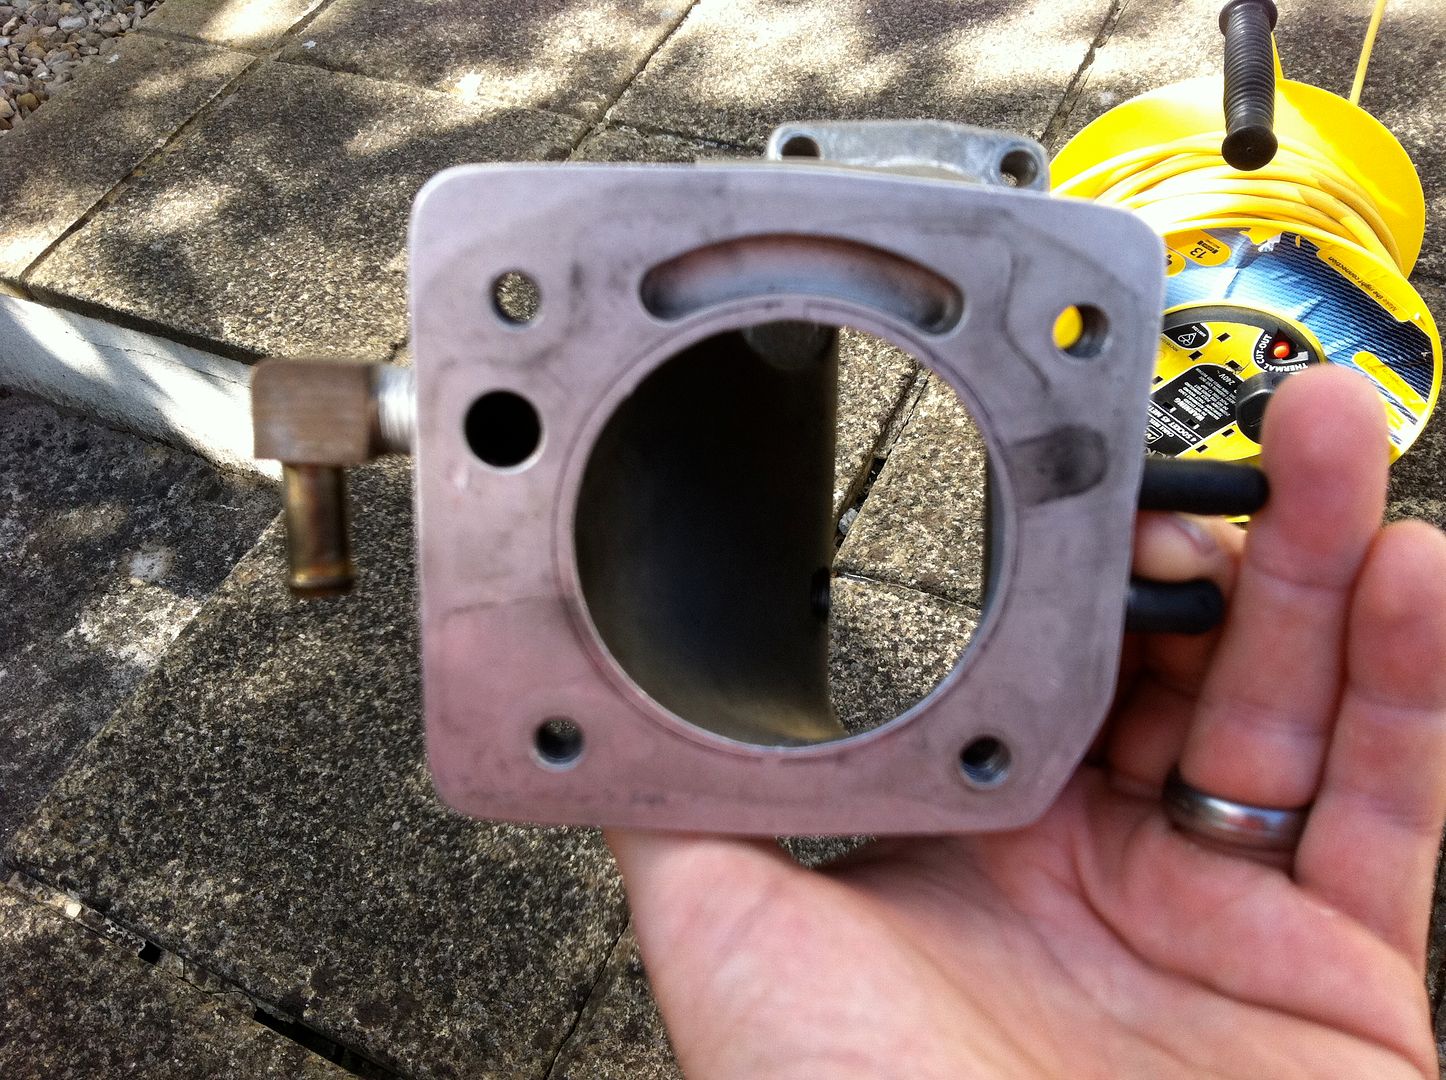
With the gasket on, there was still mm’s to grind away, it would have taken me forever. So a word of warning to everyone, if you don’t have the right tools – give it someone who has. Most of this build has been kept too close, I need to realise that somethings I need to pay others to complete. And here is why, all ported and polished up:


Image

Image

8)

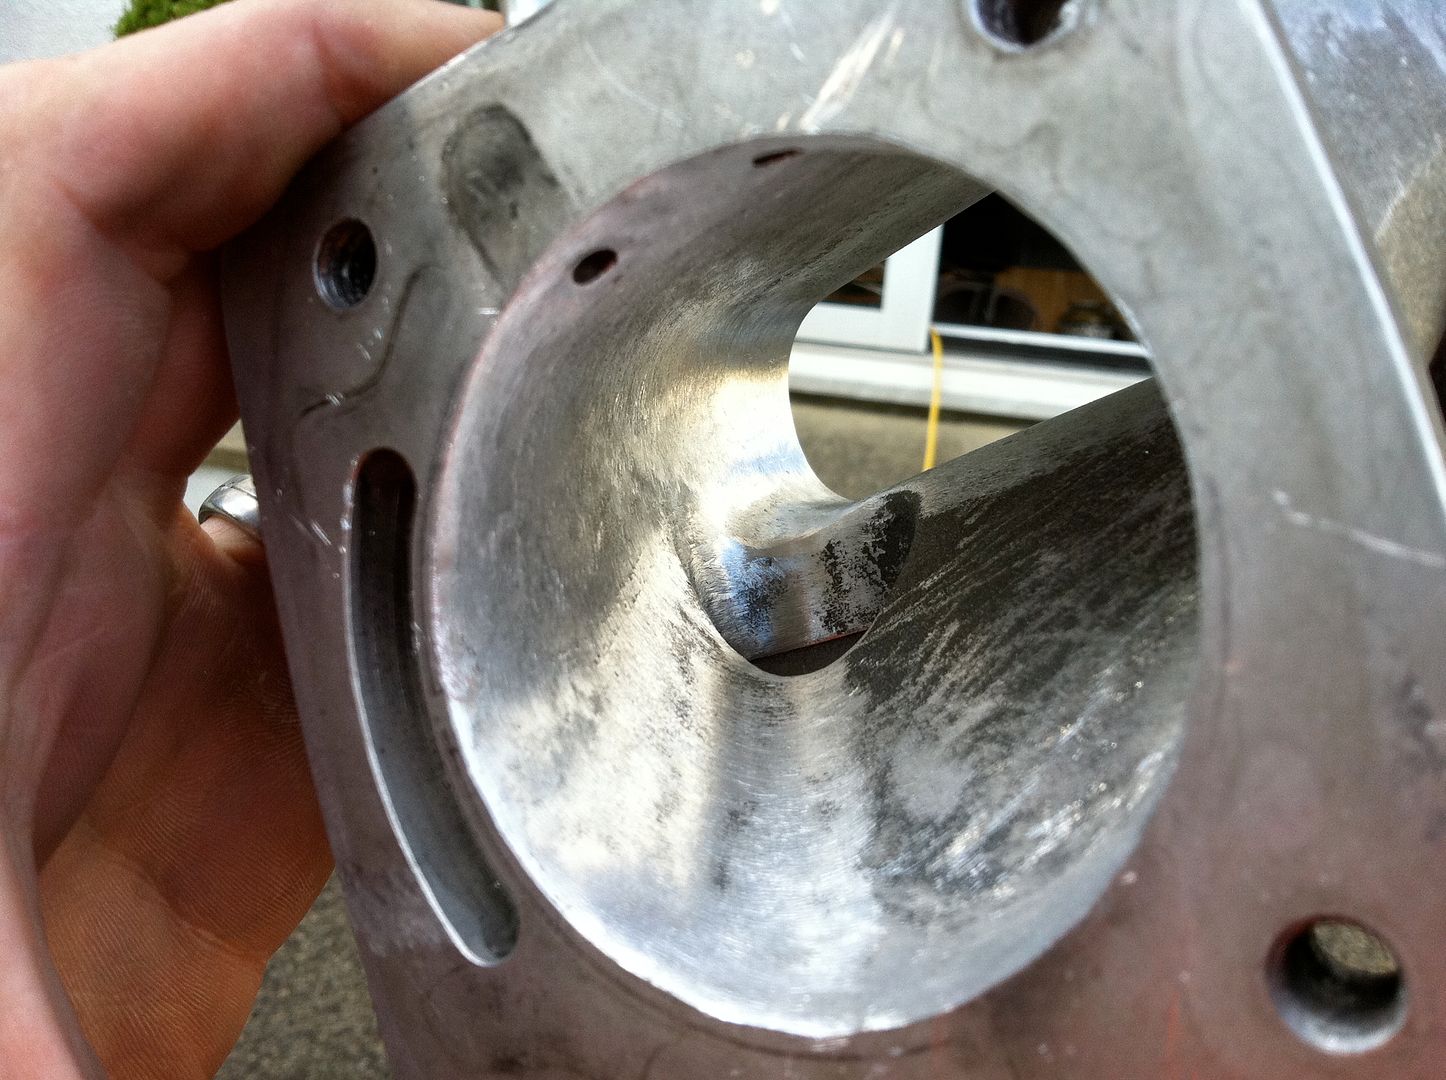
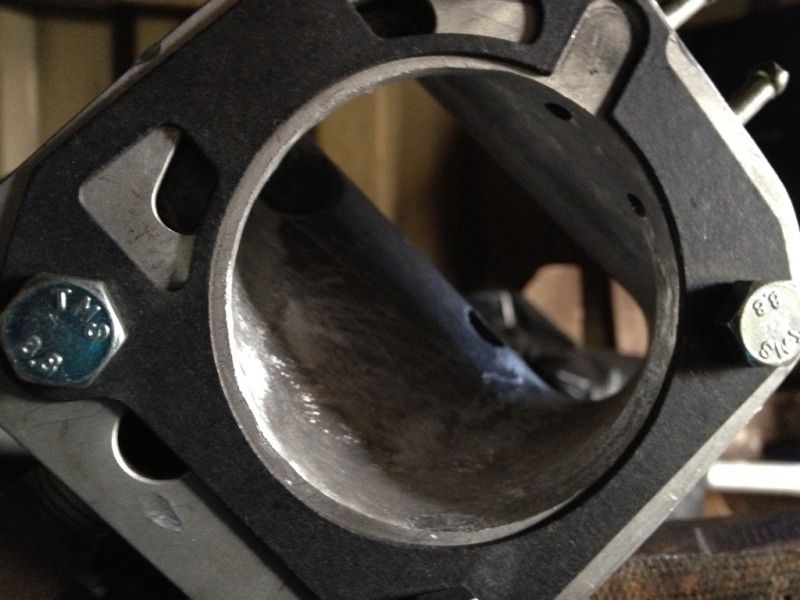
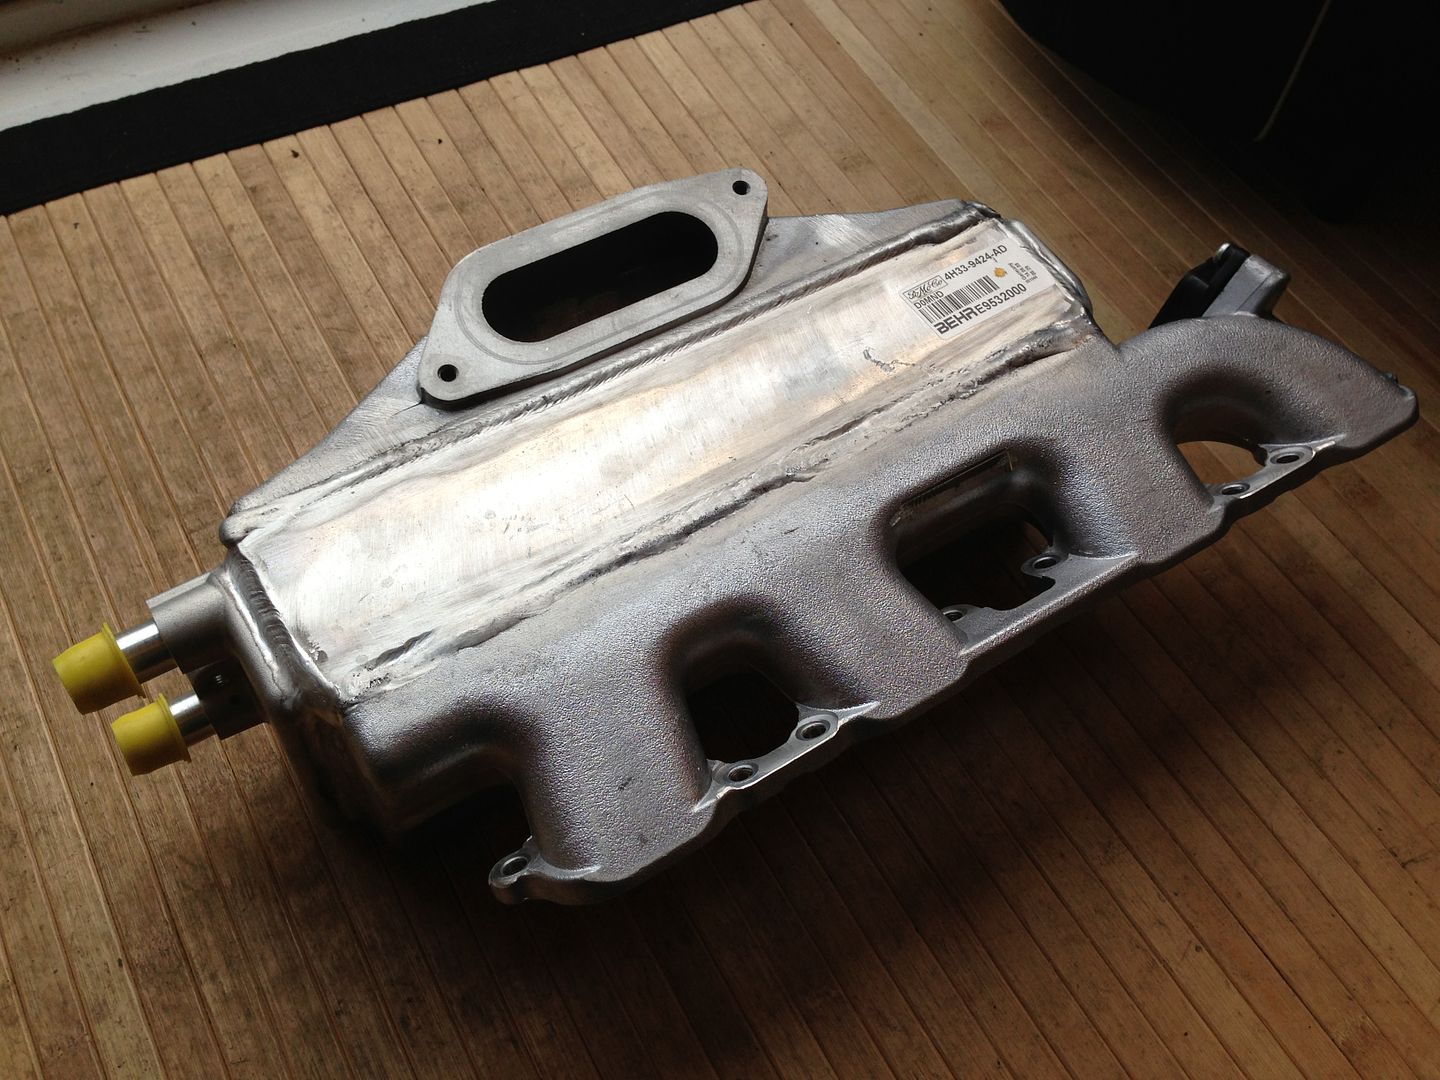
Then the lower intake manifold:

Image

Image

Image

Sorry not the best pics, some were from Pete as he was doing it. But this thing is perfectly done, hats off to you Pete, got some skills.


However, the lower intake manifold is now back with Pete for something else altogether. This was going to be Part 2 of my build, but seeing as I’ve picked up most of the parts now, I thought I’d see what Pete could do with one of a Land Rovers chargecooler from a supercharged V8. The dimensions look perfect as long as we can get the inlet in and runners boxed in. He’s still working on it, but here are some teaser pics of the units side by side:

Image

Image

Image


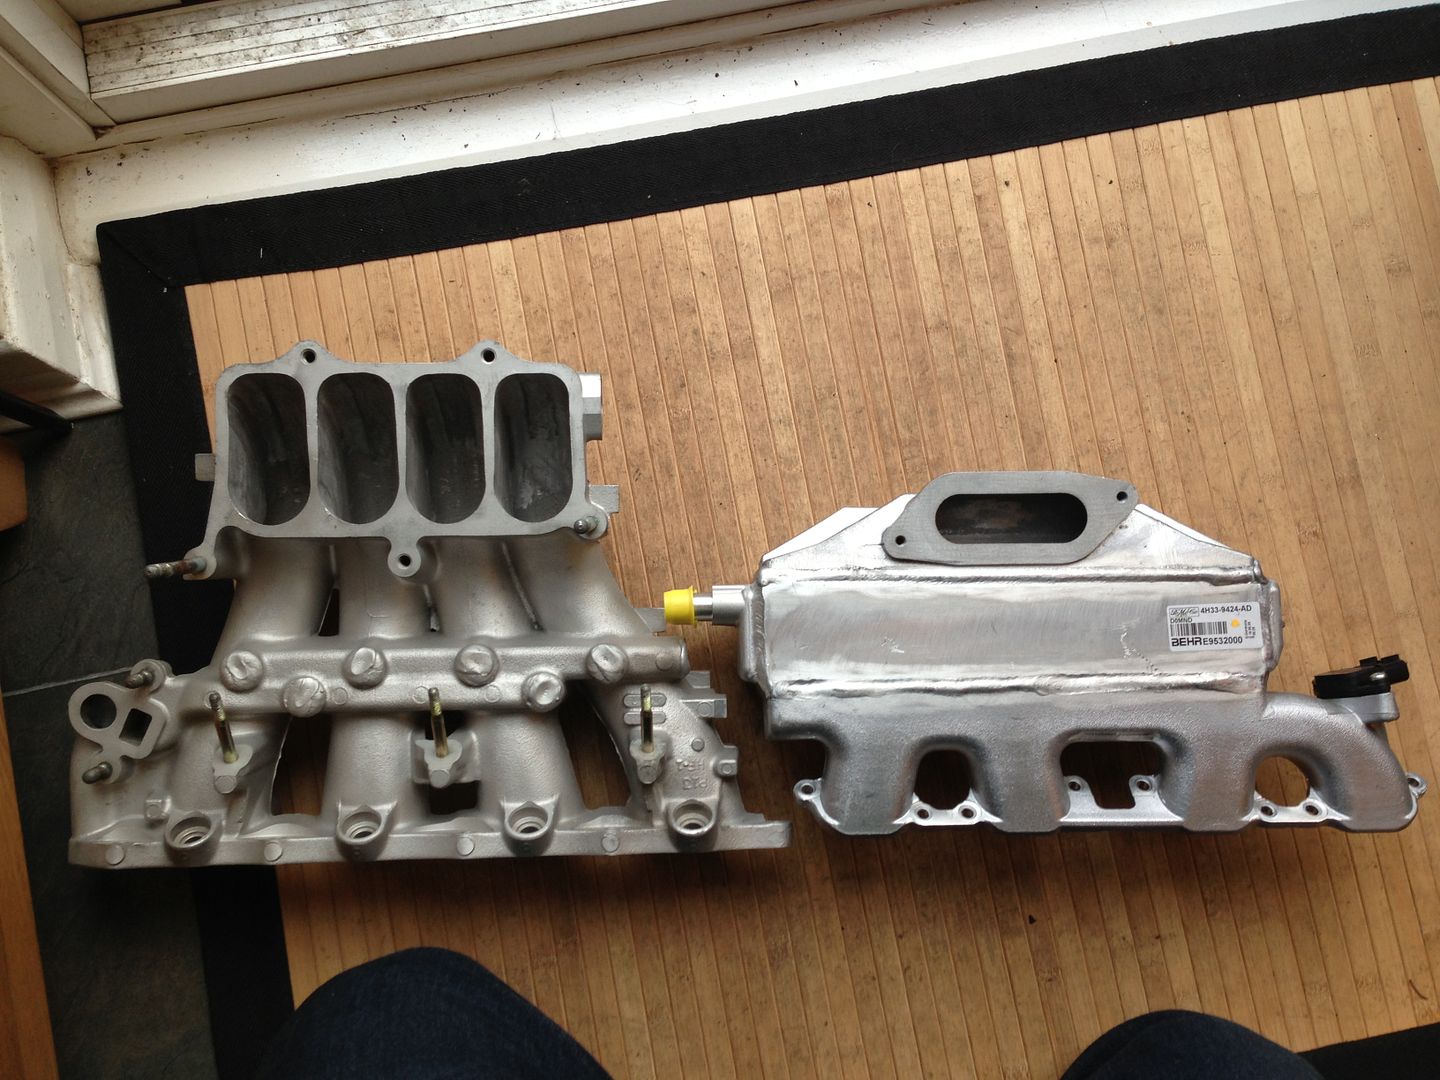
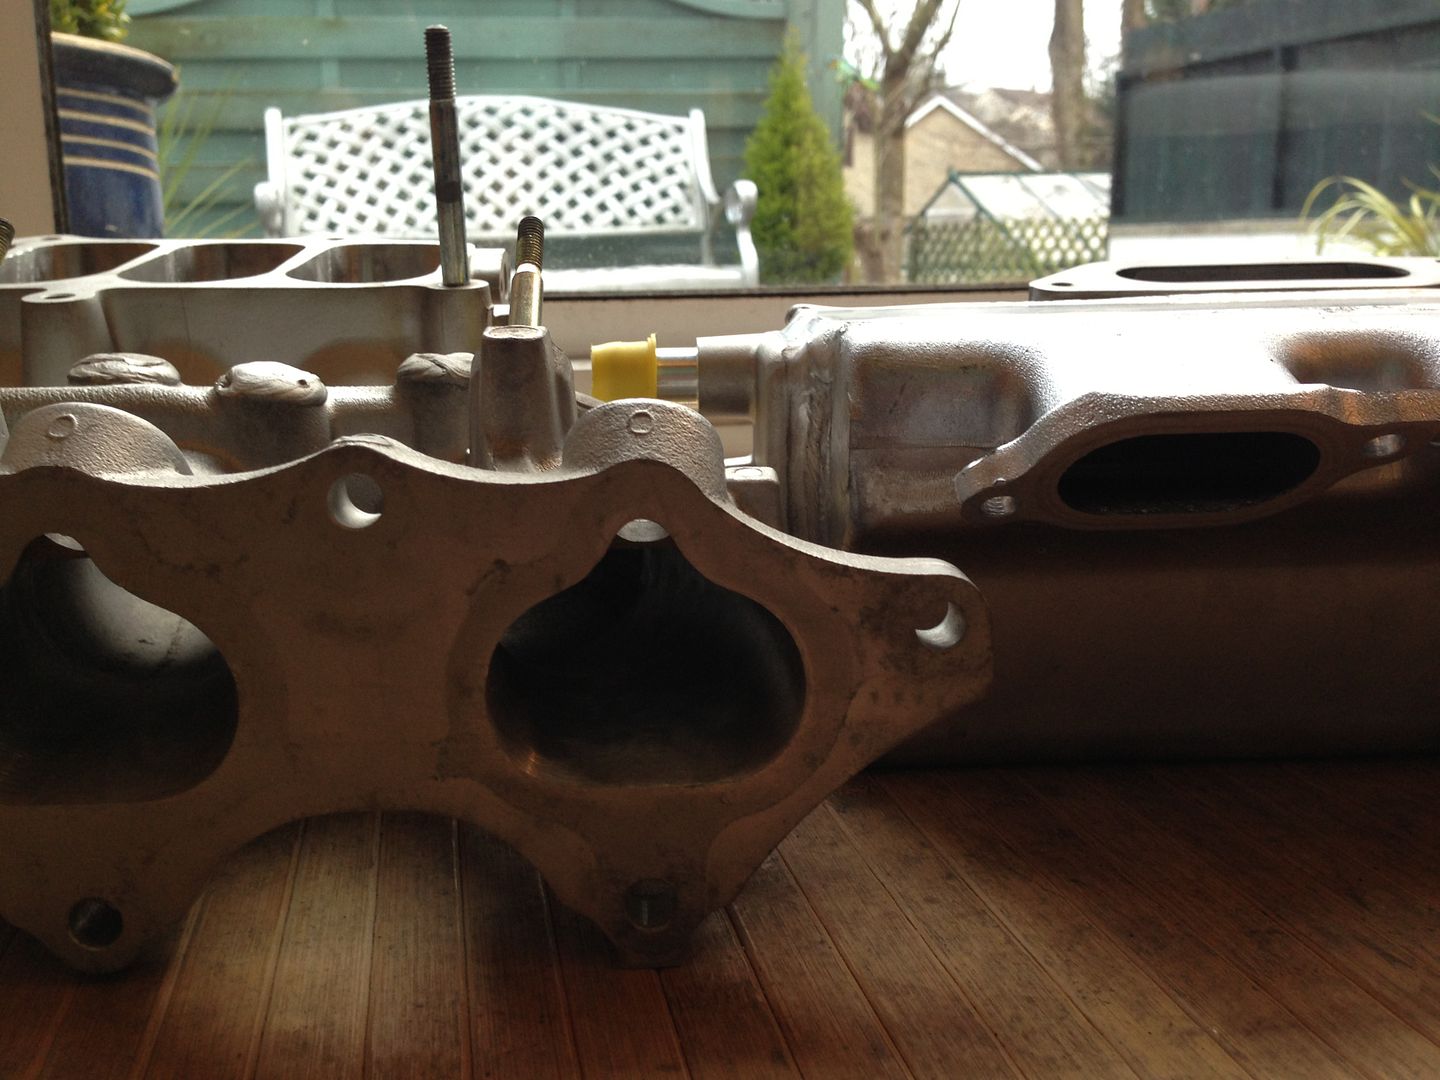
Should be interesting!

More on the other parts of the chargecooler system later.

Cheers,

Rob

User avatar
NafemanNathan
LotM Winner
Posts: 20144
Joined: Sun Aug 08, 2010 9:37 pm
My Generation: 0G
Location: Yeovil, Somerset
Has thanked: 8 times
Been thanked: 124 times

Post by NafemanNathan » Mon Aug 19, 2013 3:07 pm

I was going to say satisfying port-matching isn't it? But you bloody wussed out! :lol: Although to be fair, mine wasn't taking me hours to do, so either your cast piece is much harder that the standard OEM aluminium cast parts or your grinding stones weren't really man enough.

Looks good though bud :) So how are you intending to get this charge cooler incorporated?

And PINK?!... Hmmmmmm :think:

User avatar
nucleustylzlude
Moderator
Posts: 4013
Joined: Wed Aug 11, 2010 11:46 pm
My Generation: 4G
Location: Bristol, UK!
Been thanked: 7 times
Contact:

Re: Supercharged Mugen Lude (19/08/13 2 Updates!)

Post by nucleustylzlude » Mon Aug 19, 2013 3:22 pm

That's the plan! Incorporating the chargecooler, not the Pink!

I have a heat exchanger rad, Hella water Pump and then this chargecooler lying, so bar some hoses and some wiring, I'm basically there. After seeing Pete's work, it got me thinking to just try and make something work. Just waiting to see what he can do, it might be a complete fail - but you'll never know these things unless you try.

Will help to run the 9psi even safer with the water/meth injection. Still have my brand new Accord crank pulley which can net me another 12psi one day, so any help now, the better. 8)

User avatar
NafemanNathan
LotM Winner
Posts: 20144
Joined: Sun Aug 08, 2010 9:37 pm
My Generation: 0G
Location: Yeovil, Somerset
Has thanked: 8 times
Been thanked: 124 times

Post by NafemanNathan » Mon Aug 19, 2013 3:25 pm

Got any decent pics of the charge cooler on the V8? Just trying to visualize how this thing is going to fit.

User avatar
nucleustylzlude
Moderator
Posts: 4013
Joined: Wed Aug 11, 2010 11:46 pm
My Generation: 4G
Location: Bristol, UK!
Been thanked: 7 times
Contact:

Re: Supercharged Mugen Lude (19/08/13 2 Updates!)

Post by nucleustylzlude » Mon Aug 19, 2013 3:33 pm

A pic of it on the V8 won't help. Look at the pics I've posted side by side with the manifold. That is the inlet manifold for 4 of the cylinders on the V8, which incorporates the chargecooler (boxy bit in the middle - getting technical now!). Plan is to cut off the V8 runners and inlet part so you're left with just the chargecooler core with ends and ports for the water. Then cut the Prelude OEM intake manifold out in the middle, so it sits where I have it in the pic, in place of the EGR area, behind the fuel rail studs. The JRSC plenum and mount sit on the OEM lower intake bolt layout and level, so need to retain that (to a degree). Then it's a case of boxing the core unit to the opened up inlets and the four runners. Not easy, I appreciate. Might have been easier to start afresh, but like I said I had bought these - let's have a play (let Pete have a play!).

Oh and yes, the inlet is a bit manlier - those weren't cheap grinding stones. You must have better facilities in your work place though, so :ignore:

User avatar
mercutio
LotM Winner
Posts: 14958
Joined: Sun Aug 08, 2010 8:45 pm
My Generation: 5G
Location: Sunny Manchester
Has thanked: 1 time
Been thanked: 4 times
Contact:

Post by mercutio » Mon Aug 19, 2013 4:52 pm

why cut the cooler out of the manifold? looks like it might be easier to chop the manifold at the outlet and inlet and join them like that
bristol_bb4 wrote:ahhh a 5th gen, i love 5th gens :D :lol:
Dino wrote:I loves the 5th gen really.... just dont quote me on it... ;)
4thgenphil wrote:Mines 4 1/4 unches mate, sorry

http://www.ludegeneration.co.uk/profile ... -t618.html

User avatar
NafemanNathan
LotM Winner
Posts: 20144
Joined: Sun Aug 08, 2010 9:37 pm
My Generation: 0G
Location: Yeovil, Somerset
Has thanked: 8 times
Been thanked: 124 times

Post by NafemanNathan » Mon Aug 19, 2013 4:59 pm

nucleustylzlude wrote:A pic of it on the V8 won't help. Look at the pics I've posted side by side with the manifold. That is the inlet manifold for 4 of the cylinders on the V8, which incorporates the chargecooler (boxy bit in the middle - getting technical now!). Plan is to cut off the V8 runners and inlet part so you're left with just the chargecooler core with ends and ports for the water. Then cut the Prelude OEM intake manifold out in the middle, so it sits where I have it in the pic, in place of the EGR area, behind the fuel rail studs. The JRSC plenum and mount sit on the OEM lower intake bolt layout and level, so need to retain that (to a degree). Then it's a case of boxing the core unit to the opened up inlets and the four runners. Not easy, I appreciate. Might have been easier to start afresh, but like I said I had bought these - let's have a play (let Pete have a play!).

Oh and yes, the inlet is a bit manlier - those weren't cheap grinding stones. You must have better facilities in your work place though, so :ignore:
Gotcha. And tight!

Oh and I did all my port matching at home with a Makita and a Dremel ;-)

Post Reply

Return to “Lude Profiles”