
Great, thanks mate. I will bring the polisher kit and the drill. Its a big enough bottle and if anyone wants some, feel free to use (after i complete all my lights)honda-hardy wrote:ju5ta5, as your coming to the national meet, i will bring over some 3m 2000 grit wetordry paper. this is great for the headlights.
Congratulations to vtecmec for winning May/June's Lude Of The Month, with his DIY Turbo BB1 build.
>>> Click Here For Profile <<<

>>> Click Here For Profile <<<
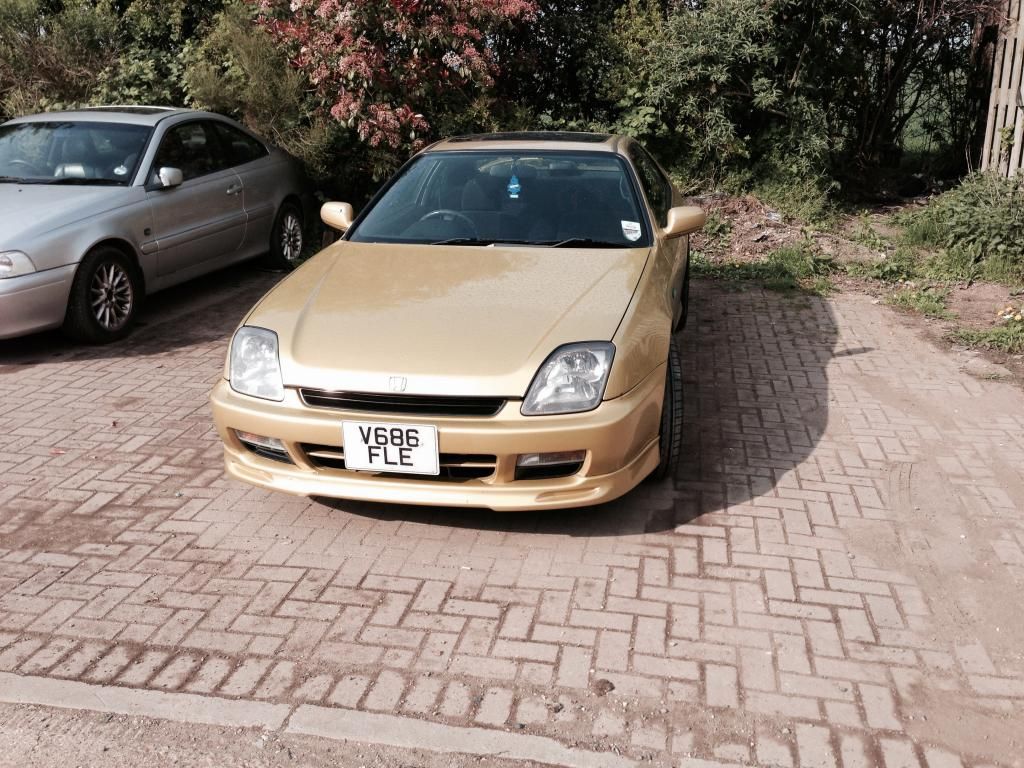
ju5ta5 5g gold lude
-
ju5ta5

- Supporter 2014
- Posts: 100
- Joined: Mon Mar 03, 2014 2:53 pm
- My Generation: 5G
- Location: Dunstable
- Contact:
Re: ju5ta5 5g gold lude
Follow my never ending 5g lude project at http://www.ludegeneration.co.uk/profile ... 13145.html
-
lewd lude lover

- Supporter 2015
- Posts: 5658
- Joined: Sat Aug 07, 2010 9:51 pm
- My Generation: 5G
- Has thanked: 25 times
- Been thanked: 17 times
-
NafemanNathan

- LotM Winner
- Posts: 20144
- Joined: Sun Aug 08, 2010 9:37 pm
- My Generation: 0G
- Location: Yeovil, Somerset
- Has thanked: 8 times
- Been thanked: 124 times


-
ju5ta5
- Supporter 2014
- Posts: 100
- Joined: Mon Mar 03, 2014 2:53 pm
- My Generation: 5G
- Location: Dunstable
- Contact:
Re: ju5ta5 5g gold lude
Follow my never ending 5g lude project at http://www.ludegeneration.co.uk/profile ... 13145.html
-
ju5ta5
- Supporter 2014
- Posts: 100
- Joined: Mon Mar 03, 2014 2:53 pm
- My Generation: 5G
- Location: Dunstable
- Contact:
Re: ju5ta5 5g gold lude
Right, the next mod I did was the ripped steering wheel. At that point, I did not want an aftermarket wheel (my taste now changed  ), so bought one off ebay for quite cheap. The old steering wheel was a bit off centre, I installed the new one just right but sometimes it feels that it stays more right, sometimes left - i guess there is a problem somewhere. I noticed that it moves under heavy braking but not too much to cause a concern.
Then done the led interior courtesy lights. I googled a bit and decided to install LED plates as they are much brighter. Went for these:
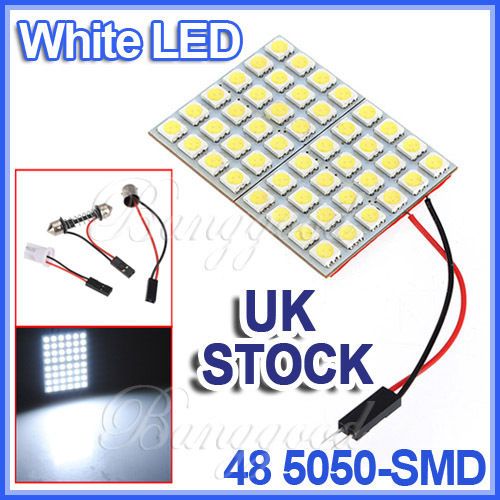
Apparently 5050 smd leds have 3 smaller leds inside them, so having 48 on the plate makes the total of nearly 150 leds! super bright! Quality wise, one smd sometimes does not come on, but for the price paid (£3.29) you cant beat that.
I bought it from here:
http://www.ebay.co.uk/itm/330724708185? ... 26_rdc%3D1
and this is how it looks in my car, very bright!:
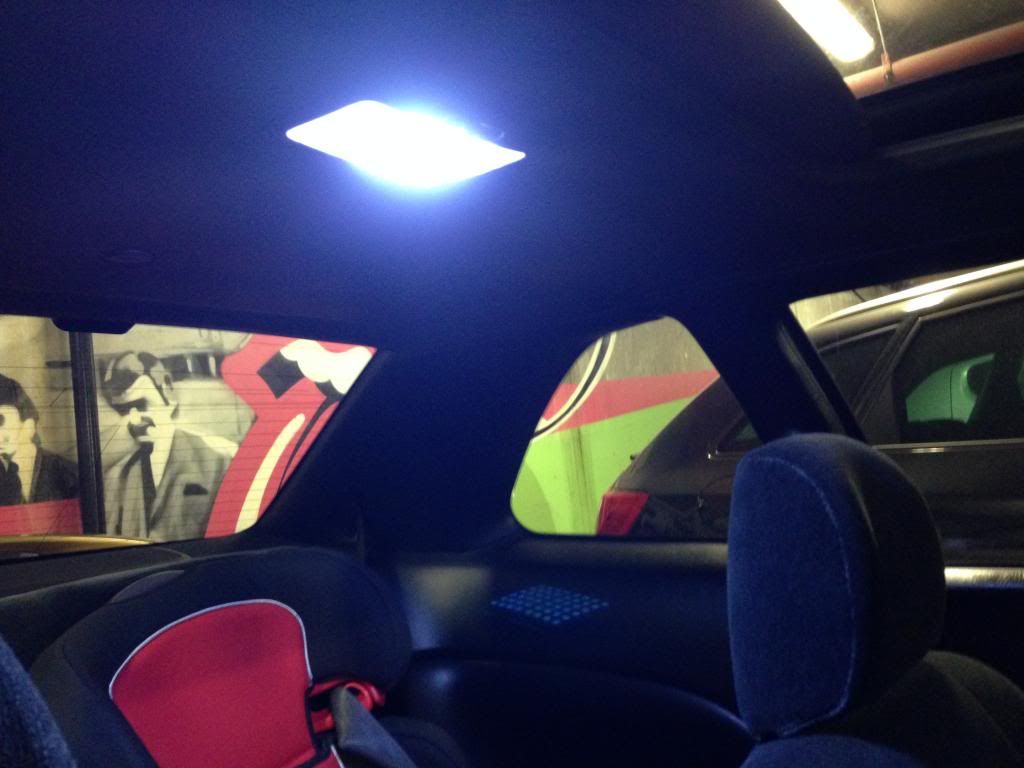
I also fitted similar ones in the boot, can find the photo but I think they were 24 5050smd plate - I had to squeeze it a bit but just about fits
Next, I won the auction on ebay for a strut bar (picture from ebay, not my carpet )
)
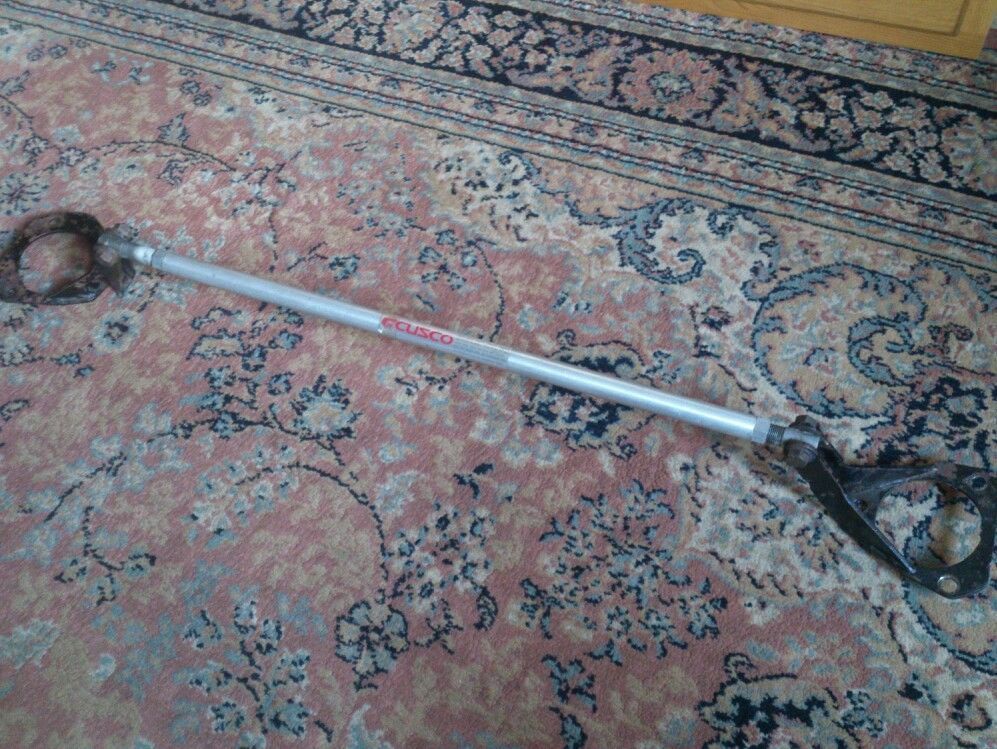
Fitting wasnt too easy! I had to relocate one of the reservoirs to make more room for it, but it looks great now. I have been reading about strut bars: some say they good, some - they not. After driving a bit with one, i feel no difference in handling so on the normal town street, they are purely just for the look
Then done the led interior courtesy lights. I googled a bit and decided to install LED plates as they are much brighter. Went for these:
Apparently 5050 smd leds have 3 smaller leds inside them, so having 48 on the plate makes the total of nearly 150 leds! super bright! Quality wise, one smd sometimes does not come on, but for the price paid (£3.29) you cant beat that.
I bought it from here:
http://www.ebay.co.uk/itm/330724708185? ... 26_rdc%3D1
and this is how it looks in my car, very bright!:
I also fitted similar ones in the boot, can find the photo but I think they were 24 5050smd plate - I had to squeeze it a bit but just about fits
Next, I won the auction on ebay for a strut bar (picture from ebay, not my carpet
Fitting wasnt too easy! I had to relocate one of the reservoirs to make more room for it, but it looks great now. I have been reading about strut bars: some say they good, some - they not. After driving a bit with one, i feel no difference in handling so on the normal town street, they are purely just for the look
Follow my never ending 5g lude project at http://www.ludegeneration.co.uk/profile ... 13145.html
-
ju5ta5
- Supporter 2014
- Posts: 100
- Joined: Mon Mar 03, 2014 2:53 pm
- My Generation: 5G
- Location: Dunstable
- Contact:
Re: ju5ta5 5g gold lude
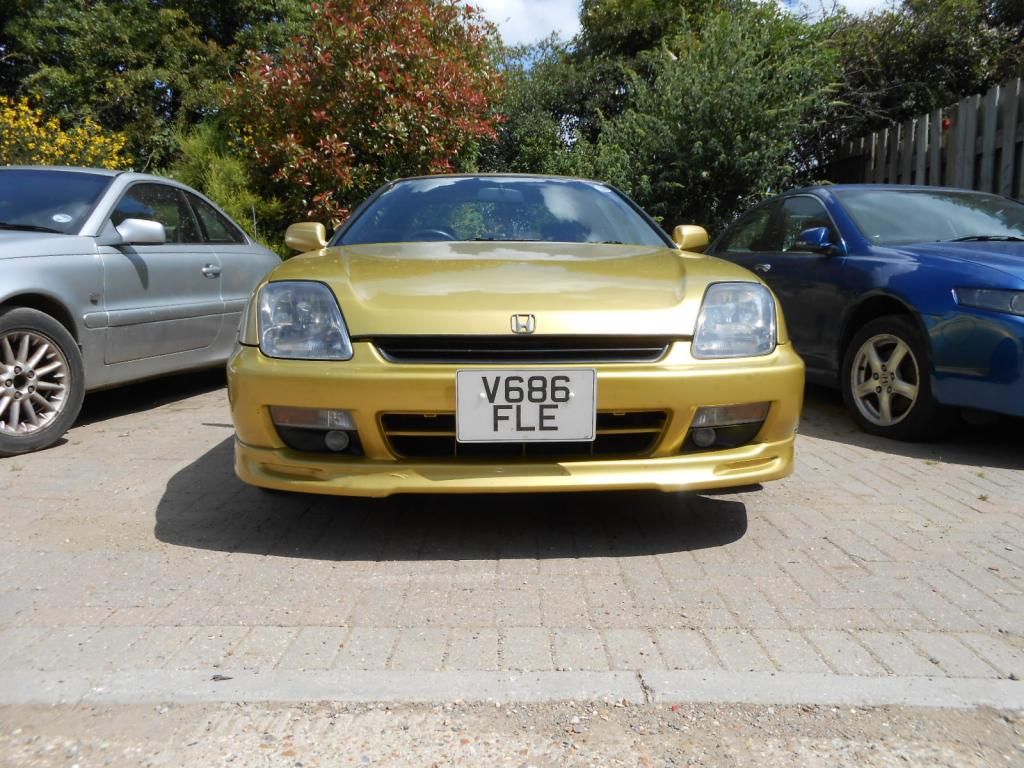
Before I installed JDM import number plates, I was thinking if I get in trouble for using them. Have the original in the boot but it has been more than 2 months and never been stopped by police
Before:
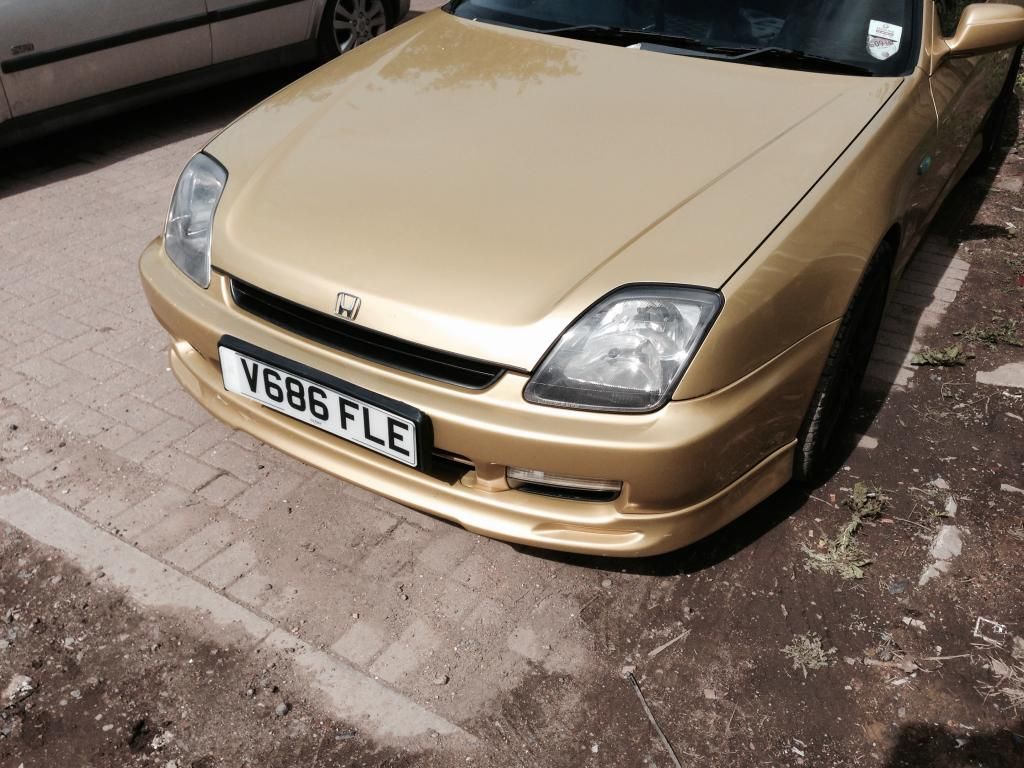
After:
and she looks so much better!
Before:
After:
and she looks so much better!
Follow my never ending 5g lude project at http://www.ludegeneration.co.uk/profile ... 13145.html
-
honda-hardy

- Club Cartographer
- Posts: 6268
- Joined: Sat Jan 28, 2012 7:35 pm
- My Generation: 5G
- Location: chippenham
- Been thanked: 1 time

-
ju5ta5
- Supporter 2014
- Posts: 100
- Joined: Mon Mar 03, 2014 2:53 pm
- My Generation: 5G
- Location: Dunstable
- Contact:
Re: ju5ta5 5g gold lude
1. I then decided to remove bonnet sound deadening as it looked horrible - all coming off in peaces
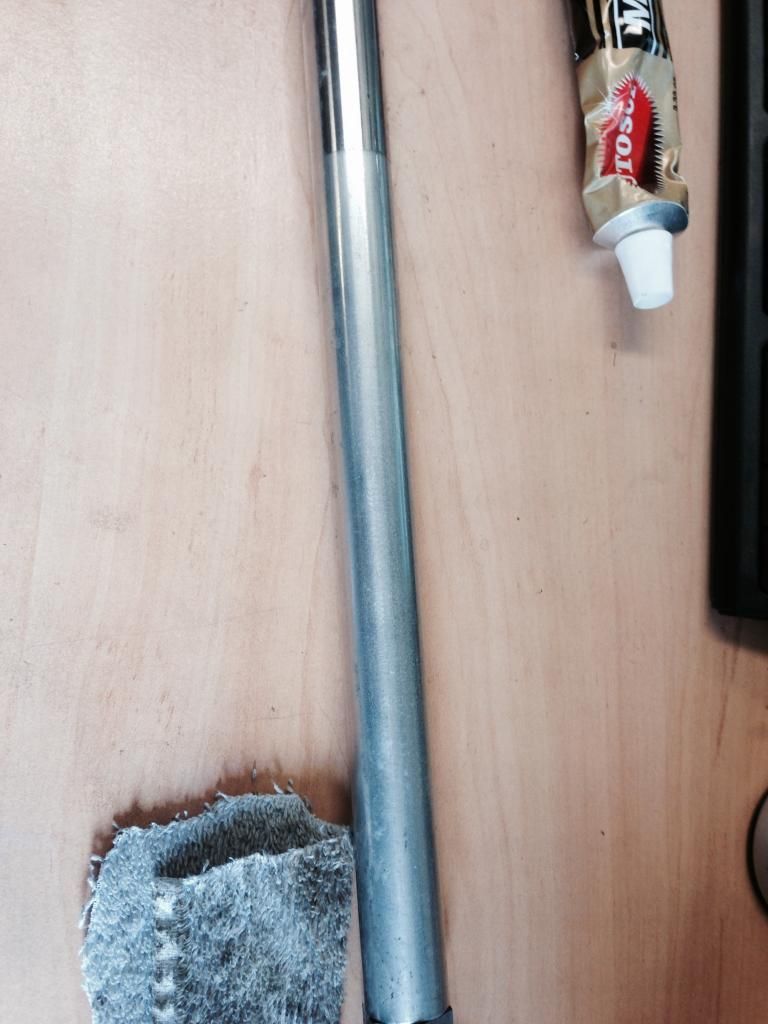
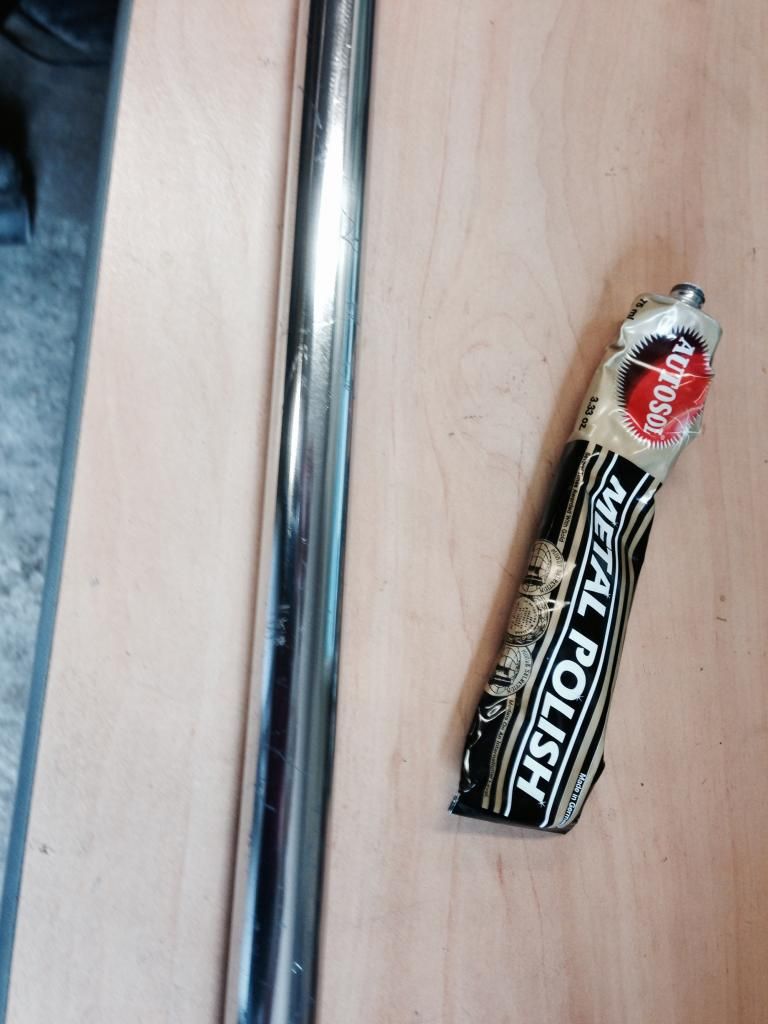
2. The rubber trims looked so bad, I had to do them. I read someones post in the forum and ordered Autosol metal polisher
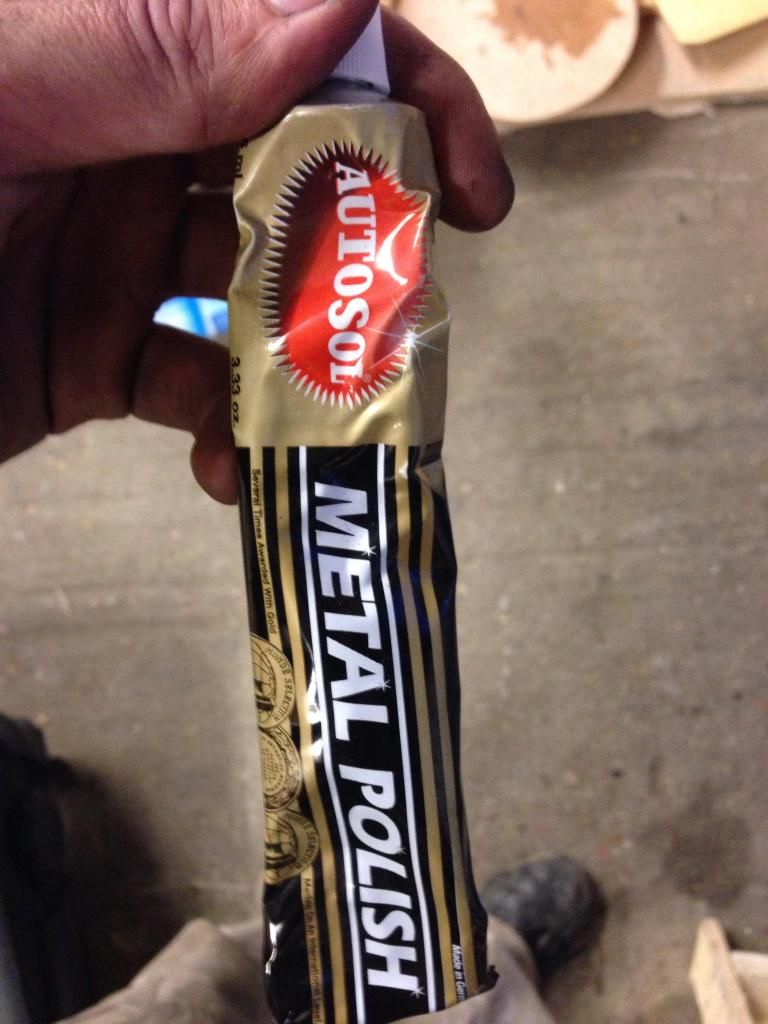
I put the paste on the clothe and started cleaning (no sandpaper, nothing else, just this stuff) and look how it looks like now.
From this:
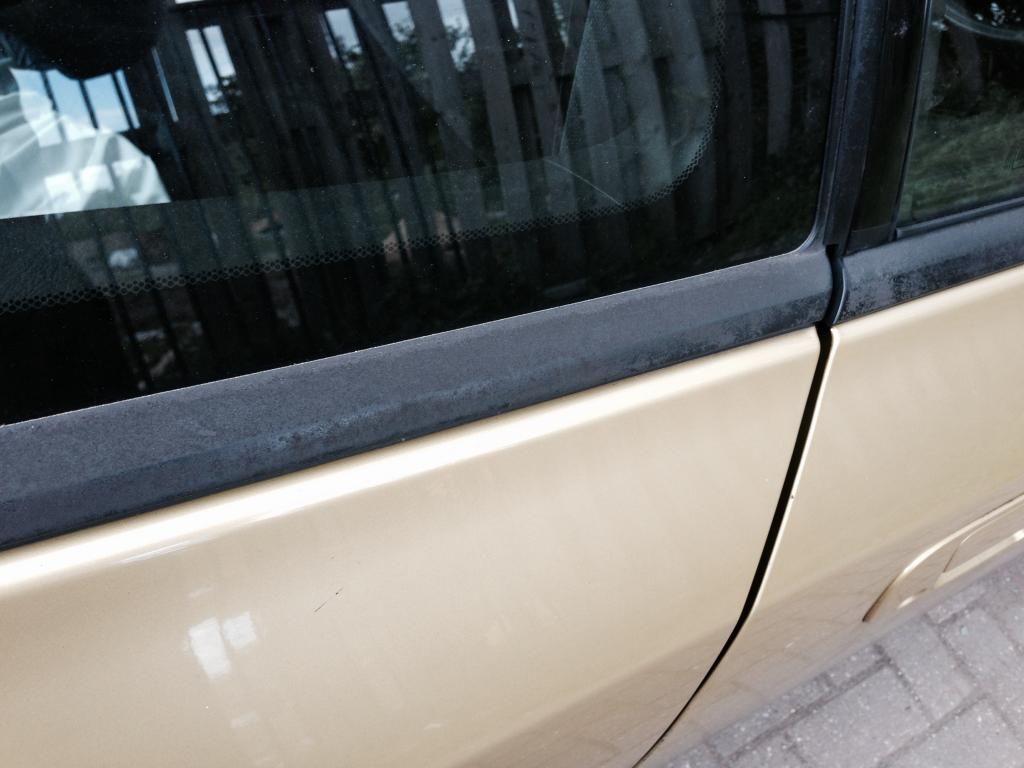
to this:
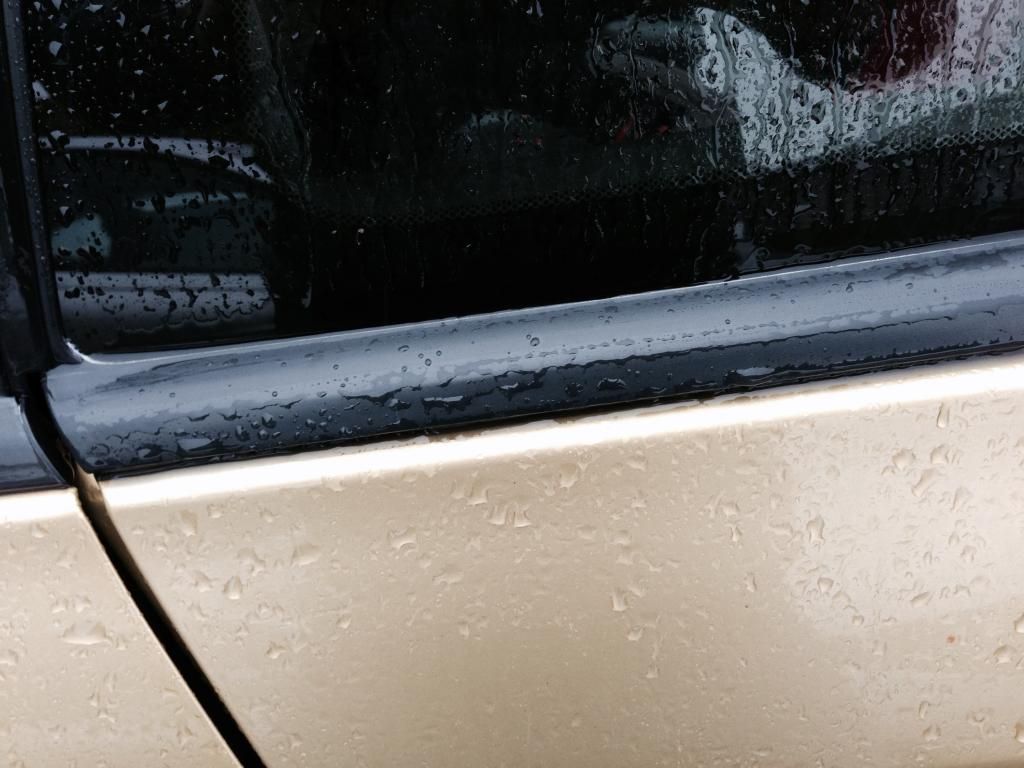
the rubber is so soft and smooth, its like new again!
I have polished all rubber external trims (roof, windows). Also did the aluminium strut bar center bit.
before:
after:
3. after doing few bits in the engine bay, bonnet decided to stay open and wont close. So i took it off, used a lot of brake cleaner to get all grease out until it was raw metal. Greased it, reconnected, adjusted the rubber mounts and it works fine ish now. The latch is worn, the cable gets stuck somewhere all the time, so these 2 bits are left for the next time until I remove the parts off the spare car.
4. replace door mats. spare car came with some, so I put them temporary until I get something nice. for now, the task is completed
5. Remote fob. When I bought the car, it did not come with remote and for some strange reason, I wanted the original fob and not the full alarm system. I have been looking for awhile. Tried about 4-5 from different shape civics and none of them worked. After reading about different prelude specs, apparently all red tops came with fobs as standard so mine one must have the actual unit fitted. When I got my spares car, it came with one so the first thing I did when I got back home was the remote. I programmed and it worked! This probably was the happiest mod I have done as I was so pissed off and tired of locking/unlocking the car with the key
After doing it, I now want the alarm system, silly me
I have got mk6 accord today and noticed the the code for the fob is the same as for my prelude. So I was going the wrong way with civics while it was the same with older accords we live and learn 
(if someone needs help to program the fob, there is a thread here on forums or just pm me. One of my customers came to me for civic's fob, i programmed it for free for him as it takes seconds, he was the happiest person. Honda dealer wanted to charge him £30 ish for that )
)
6. replace the front grille. I have done this twice now! I ordered one awhile ago but it was cracked a bit. Bought it off ebay for peanuts and now replaced with one from my parts car. (if someone wants it, please pm me, I will give it for free or you pay for postage. It is a tiny crack and you cannot see it when bonnet is closed)
2. The rubber trims looked so bad, I had to do them. I read someones post in the forum and ordered Autosol metal polisher
I put the paste on the clothe and started cleaning (no sandpaper, nothing else, just this stuff) and look how it looks like now.
From this:
to this:
the rubber is so soft and smooth, its like new again!
I have polished all rubber external trims (roof, windows). Also did the aluminium strut bar center bit.
before:
after:
3. after doing few bits in the engine bay, bonnet decided to stay open and wont close. So i took it off, used a lot of brake cleaner to get all grease out until it was raw metal. Greased it, reconnected, adjusted the rubber mounts and it works fine ish now. The latch is worn, the cable gets stuck somewhere all the time, so these 2 bits are left for the next time until I remove the parts off the spare car.
4. replace door mats. spare car came with some, so I put them temporary until I get something nice. for now, the task is completed
5. Remote fob. When I bought the car, it did not come with remote and for some strange reason, I wanted the original fob and not the full alarm system. I have been looking for awhile. Tried about 4-5 from different shape civics and none of them worked. After reading about different prelude specs, apparently all red tops came with fobs as standard so mine one must have the actual unit fitted. When I got my spares car, it came with one so the first thing I did when I got back home was the remote. I programmed and it worked! This probably was the happiest mod I have done as I was so pissed off and tired of locking/unlocking the car with the key
After doing it, I now want the alarm system, silly me
I have got mk6 accord today and noticed the the code for the fob is the same as for my prelude. So I was going the wrong way with civics while it was the same with older accords
(if someone needs help to program the fob, there is a thread here on forums or just pm me. One of my customers came to me for civic's fob, i programmed it for free for him as it takes seconds, he was the happiest person. Honda dealer wanted to charge him £30 ish for that
6. replace the front grille. I have done this twice now! I ordered one awhile ago but it was cracked a bit. Bought it off ebay for peanuts and now replaced with one from my parts car. (if someone wants it, please pm me, I will give it for free or you pay for postage. It is a tiny crack and you cannot see it when bonnet is closed)
Follow my never ending 5g lude project at http://www.ludegeneration.co.uk/profile ... 13145.html
-
ju5ta5
- Supporter 2014
- Posts: 100
- Joined: Mon Mar 03, 2014 2:53 pm
- My Generation: 5G
- Location: Dunstable
- Contact:
Re: ju5ta5 5g gold lude
following with the works:
1. sun roof was making funny noise and every time i would open it it, it looked like a michael jackson's moon dance so i greased all runners and now it is smooth and quieter
2. replace speakers. I wasnt planning to do the speakers and one day 2 of them started to make some funny noise and I said to myself, it is time, music is essential to me. I did some research and I found that front should fir 6.5 in and rears 6x9. I wanted something nice and quality and came up with these:
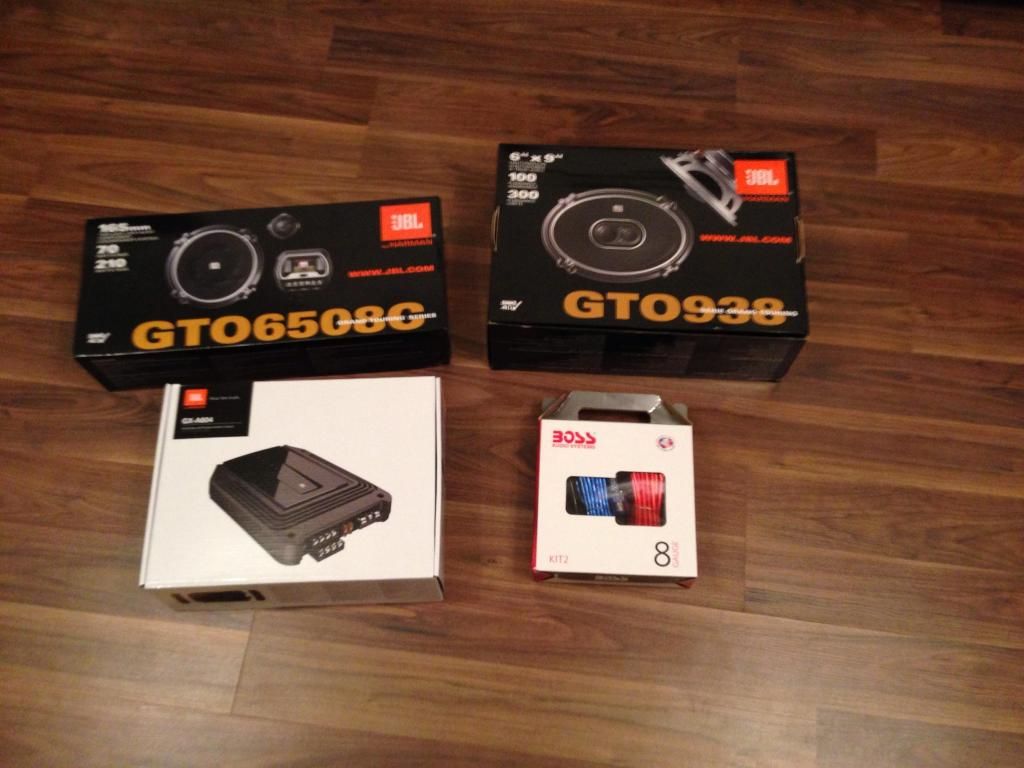
It comes with the amp which should make it all sound good1
So, the rear 6x9 fitted nicely, althought the boot springs are touching the bigger magnets asking for another mode: boot dampers
the front however, was the hardest mod i could ever imagine!!! I wouldnt say dont do it, but be prepared when you do it. Firstly, all manuals say that factory ones are 6.5, they are not! they are like 6.3 or something So I trimmed the edges on my door trim. I though it would then fit. No! I needed more depth and had to cut the plastic plate on the back. Did it fit then??? NO!!!! speakers were touching the window side frame. I went to B&Q and got some MDF. I cut some round spacers so the speakers come forward a bit. Do you think the speaker fit after that??? NO!!!!!!!!!!!! the speaker wiring plate was touching the door frame, I bent it a little bit and then the speaker inner wire was touching the middle section and creating funny noise. I had to cut another space and finally got it right. Do you think the original screws fit? NO!!!!!!!!!! I had to drill new holes and install new screws.
then tweeters! The new ones were too big and the original bracket was too small to fit them in the place. I didnt want to cut any panels and wanted everything to look standard, so I had to make a new bracket for the tweeter.
Crossover fitted nicely in a boxed type section in the door, I connected everything up in the door, used duck tape for now to cover any holes and went on with the rest of wiring.
All wiring was easy except for the door. I did not want to make any extra holes or install any extra wiring harnesses - I wanted everything to look standard and hide my new system behind. I found the solution to put my wiring through the empty switches in the original wiring loom. Passenger door was easy as it had 3 empty slots on the loom in a row, I drilled through, put the 2 wires and job done.
Drivers side however had a lot more things going through and there were only 2 (i think empty slots and not near each other) I had to be extra careful when drilling through not to damage any existing wiring.
After connecting everything, I have tested the system but it cut off once the engine was started. After some investigation, I have found a cut wire in drivers door loom, fixed it and it was then fine.
door wiring loom and mod
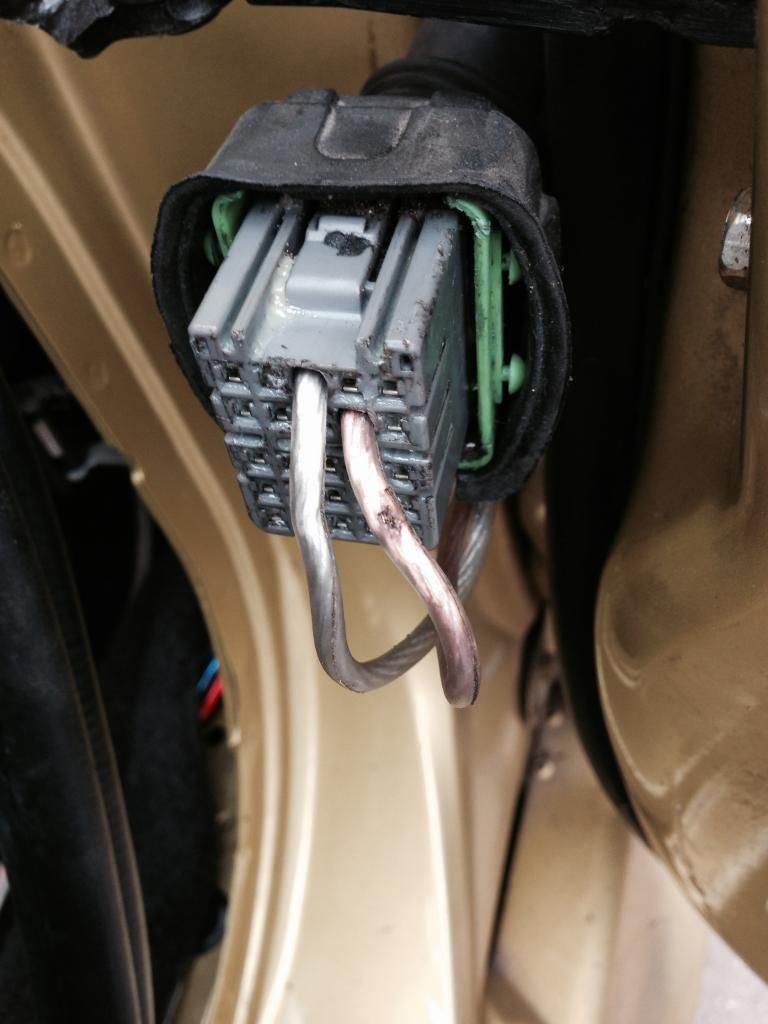
wire repair:
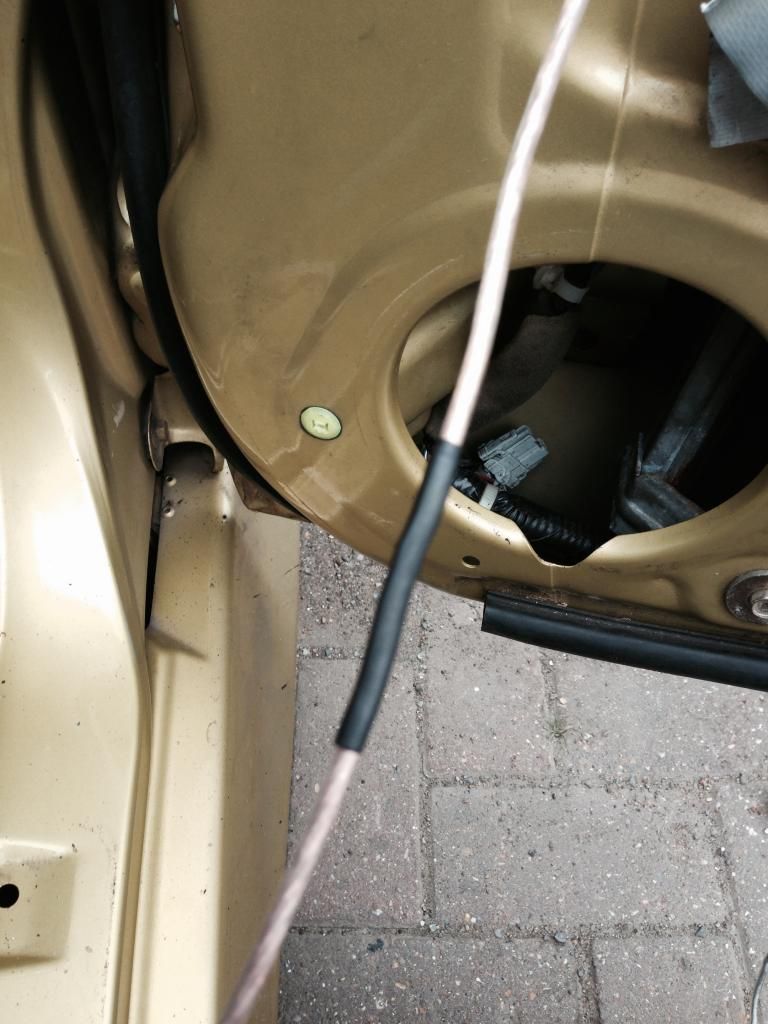
after wire repairs, everything was working fine! I fitted the amp on the rear of the back seats as there is simply no other space (amp is a bit too big to go under the seat). Wires nicely went through the back seat trim, cannot see anything!
to sum up: yes, it was probably one of the hardest mods I have done so far, it required so many adjustments and modifications but I say it was worth it! You just need to be prepared: get some shrink wrap, some tape, some wire clips and fittings, get a friend to help you as you enjoy more and be patent, especially when drilling through the door wiring loom!
3. the next mod and most recent one was the fog lights. I have them on my spare car and just needed to be removed. After reading the manual, Honda has already prewired the main bits, you just need 2 harnesses, engine bay one and interior.
I took both of them off the parts car and connected to mine. It was hard to find the 2 wires needed near interior fuse box, but it didnt take long.
The hardest and longest bit was to remove the actual fog lights from parts car. I was preparing and spraying WD40 on screws for 3 days!!! the screws were so rotten in that I eventually needed to cut them. While cutting, they hold onto the plastic legs, so had to put water to cool down every other minute so it does not melt. Reinstalled them later my way with bolts and washers instead of the bolt clips and creased them all to protect from rust.
Job done, looks like this and works as it should:
1. sun roof was making funny noise and every time i would open it it, it looked like a michael jackson's moon dance
2. replace speakers. I wasnt planning to do the speakers and one day 2 of them started to make some funny noise and I said to myself, it is time, music is essential to me. I did some research and I found that front should fir 6.5 in and rears 6x9. I wanted something nice and quality and came up with these:
It comes with the amp which should make it all sound good1
So, the rear 6x9 fitted nicely, althought the boot springs are touching the bigger magnets asking for another mode: boot dampers
the front however, was the hardest mod i could ever imagine!!! I wouldnt say dont do it, but be prepared when you do it. Firstly, all manuals say that factory ones are 6.5, they are not! they are like 6.3 or something
then tweeters! The new ones were too big and the original bracket was too small to fit them in the place. I didnt want to cut any panels and wanted everything to look standard, so I had to make a new bracket for the tweeter.
Crossover fitted nicely in a boxed type section in the door, I connected everything up in the door, used duck tape for now to cover any holes and went on with the rest of wiring.
All wiring was easy except for the door. I did not want to make any extra holes or install any extra wiring harnesses - I wanted everything to look standard and hide my new system behind. I found the solution to put my wiring through the empty switches in the original wiring loom. Passenger door was easy as it had 3 empty slots on the loom in a row, I drilled through, put the 2 wires and job done.
Drivers side however had a lot more things going through and there were only 2 (i think empty slots and not near each other) I had to be extra careful when drilling through not to damage any existing wiring.
After connecting everything, I have tested the system but it cut off once the engine was started. After some investigation, I have found a cut wire in drivers door loom, fixed it and it was then fine.
door wiring loom and mod
wire repair:
after wire repairs, everything was working fine! I fitted the amp on the rear of the back seats as there is simply no other space (amp is a bit too big to go under the seat). Wires nicely went through the back seat trim, cannot see anything!
to sum up: yes, it was probably one of the hardest mods I have done so far, it required so many adjustments and modifications but I say it was worth it!
3. the next mod and most recent one was the fog lights. I have them on my spare car and just needed to be removed. After reading the manual, Honda has already prewired the main bits, you just need 2 harnesses, engine bay one and interior.
I took both of them off the parts car and connected to mine. It was hard to find the 2 wires needed near interior fuse box, but it didnt take long.
The hardest and longest bit was to remove the actual fog lights from parts car. I was preparing and spraying WD40 on screws for 3 days!!!
Job done, looks like this and works as it should:
Follow my never ending 5g lude project at http://www.ludegeneration.co.uk/profile ... 13145.html