

Congratulations to vtecmec for winning May/June's Lude Of The Month, with his DIY Turbo BB1 build.
>>> Click Here For Profile <<<

>>> Click Here For Profile <<<
Nathan's Road-Legal/Track BB4
-
NafemanNathan

- LotM Winner
- Posts: 20144
- Joined: Sun Aug 08, 2010 9:37 pm
- My Generation: 0G
- Location: Yeovil, Somerset
- Has thanked: 8 times
- Been thanked: 124 times

-
NafemanNathan
- LotM Winner
- Posts: 20144
- Joined: Sun Aug 08, 2010 9:37 pm
- My Generation: 0G
- Location: Yeovil, Somerset
- Has thanked: 8 times
- Been thanked: 124 times
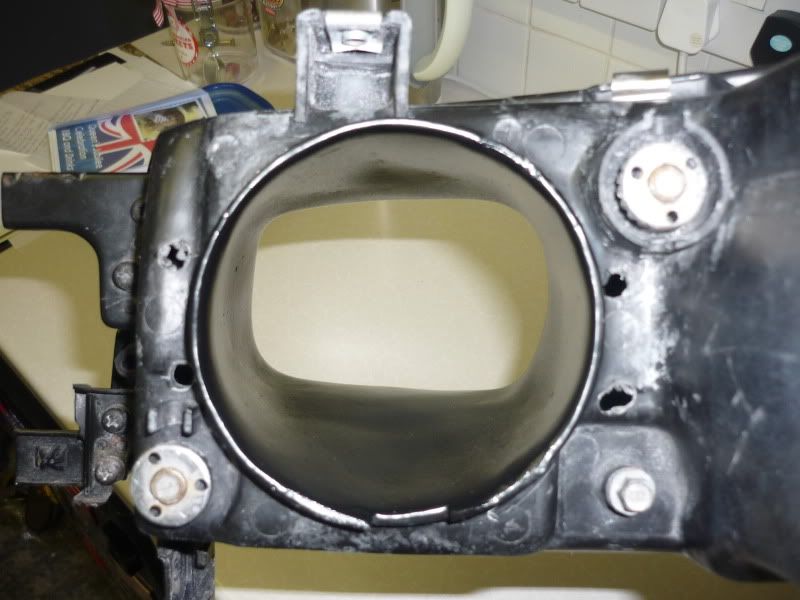
Custom Headlight Cold Air Feed (Part IIIII)
Nearly there now 
I think I've had 3 or 4 stages of filler, each time I have to fill, then wait a day for it to dry properly, then sand it to find I've missed a few areas, to then rinse it and then wait another day or so until it's dried properly for me to go another round with it
Anyway, I finally got it to a stage where I was happy with it (That's not entirely true, but I just wanted to paint it! )
)
This was after the first stage of sanding...

And then after the last...
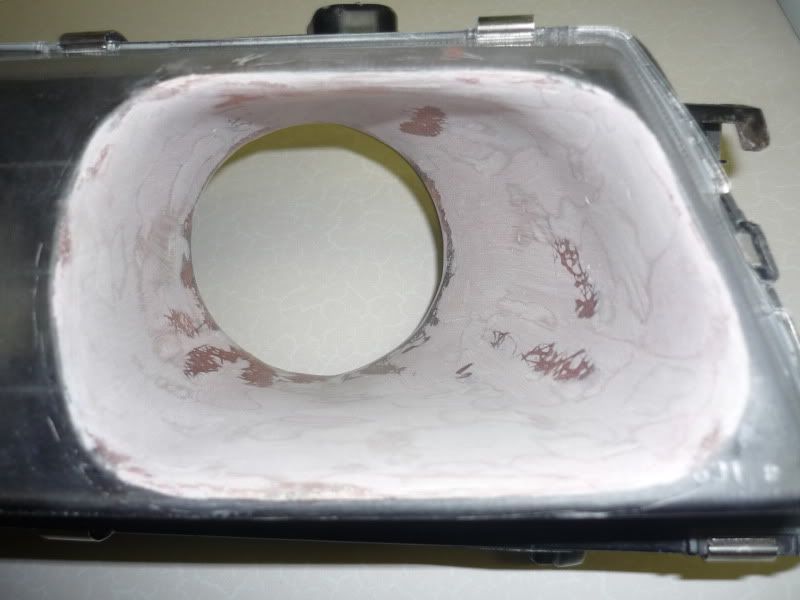
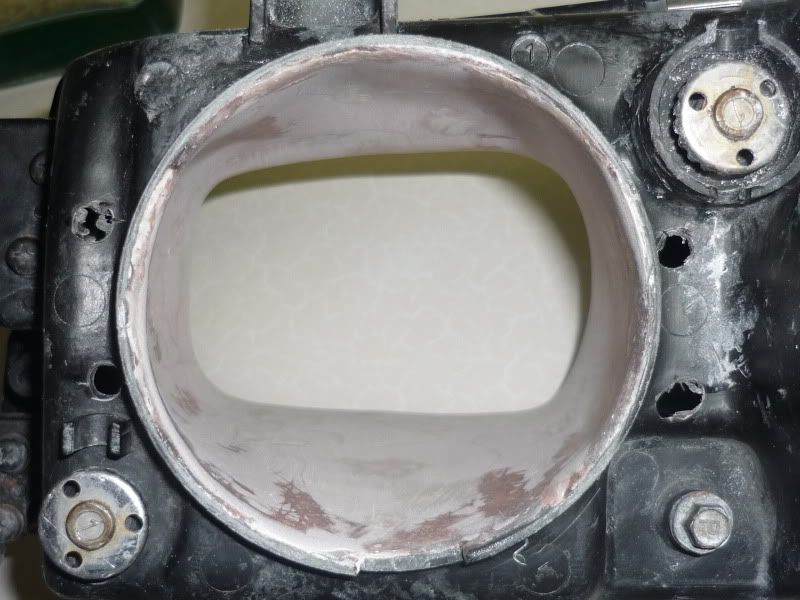
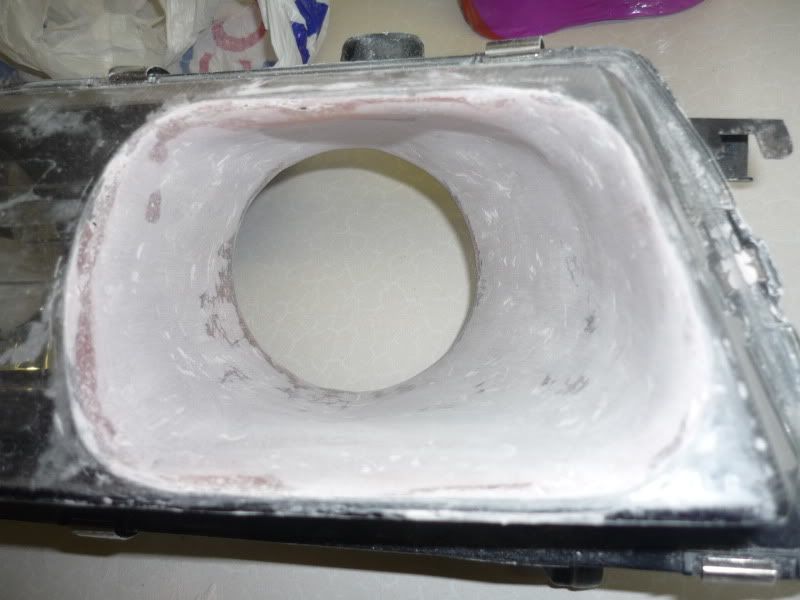
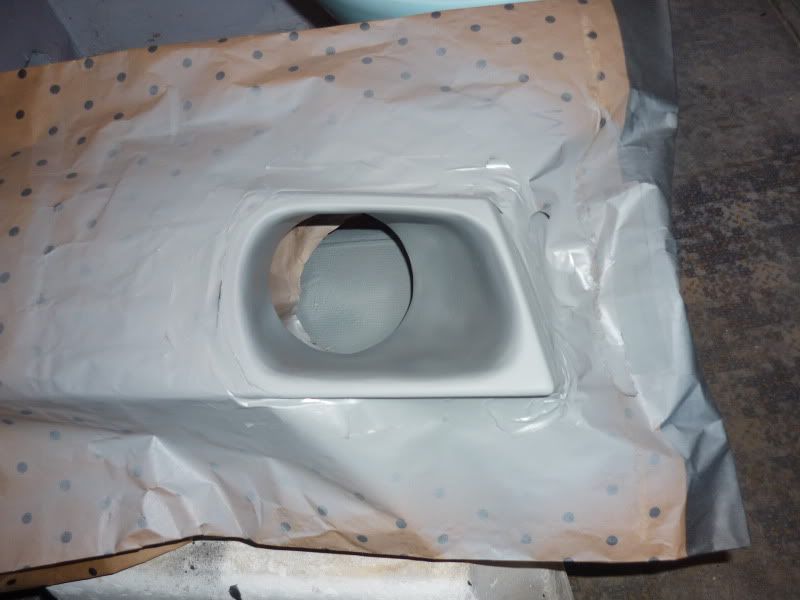
Then I was relatively happy with the natural seal the fibre glass and filler had created on the plastic of the headlight, but there was still a few areas that needed attention. I had a simple solution for this... Mask around the entrance leaving a decent border...

I did a simular thing with the exit... And then spray with stone chip protector paint!...
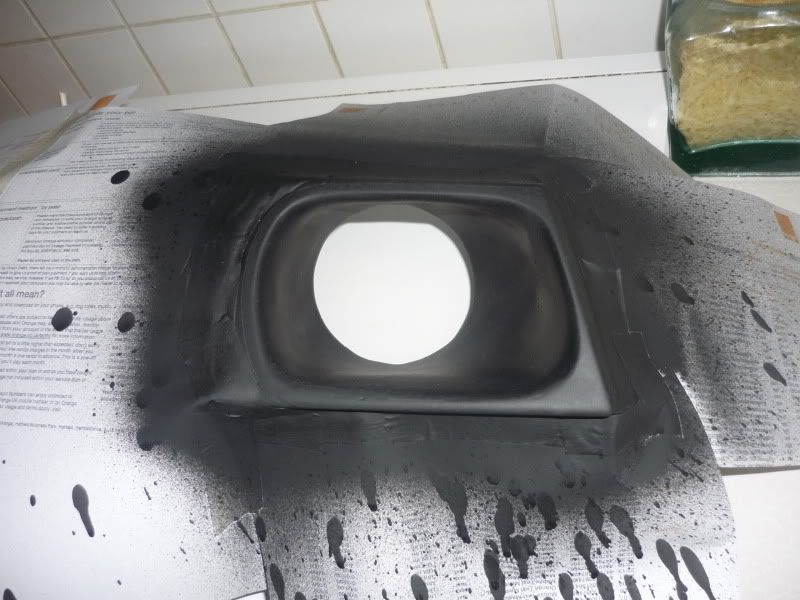
Only thing was, this stuff was horrible! It's Simonz stone chip paint and it came with a car I bought I'd not heard great things about Simonz paint in the past, so I definitely wouldn't recommend it, but I already had it and it was free, but you can see where it spat everywhere! Well that was just the drips that came out of the nozzle actually, but still I had to be very careful with it.
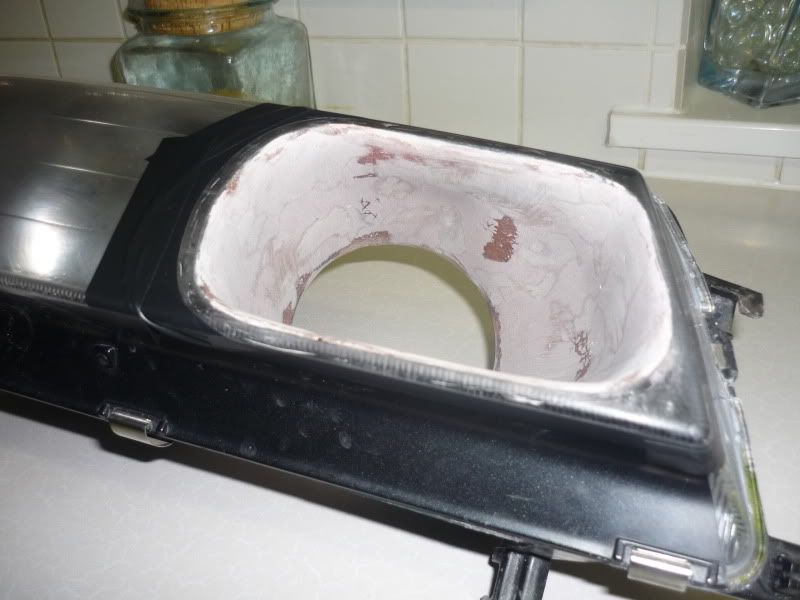
Anyway, I wasn't at all pleased with the finish of it, although I could see it had built up a good thick layer which is what I was aiming for...
So I've bagged it up this time...
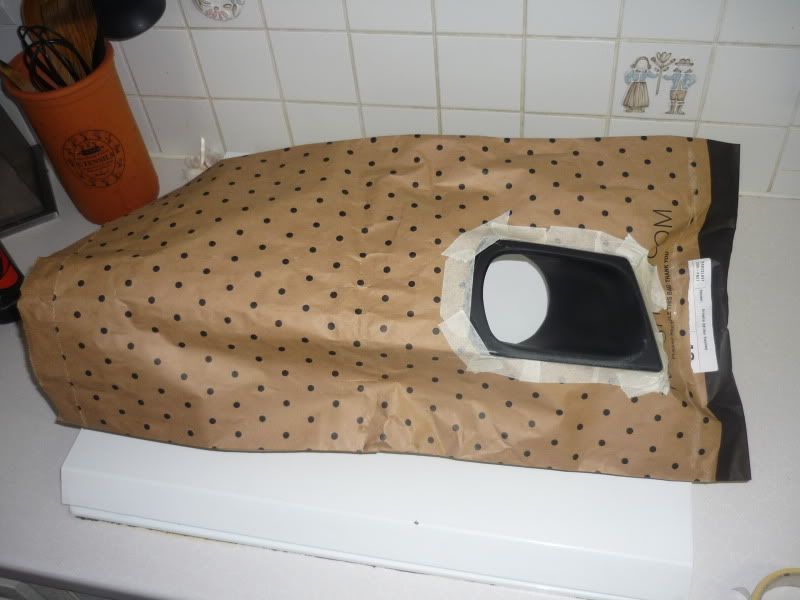

And primed it, ready for a slightly more decent shade of... Probably black...
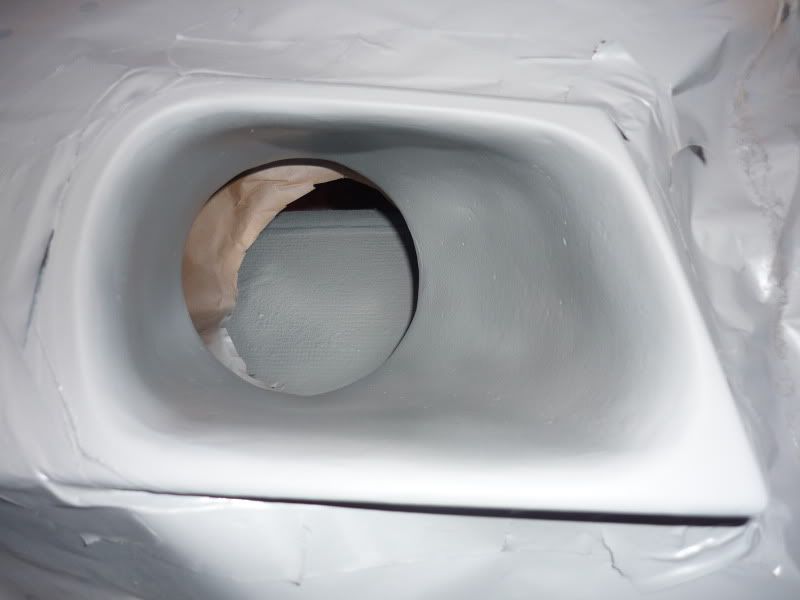
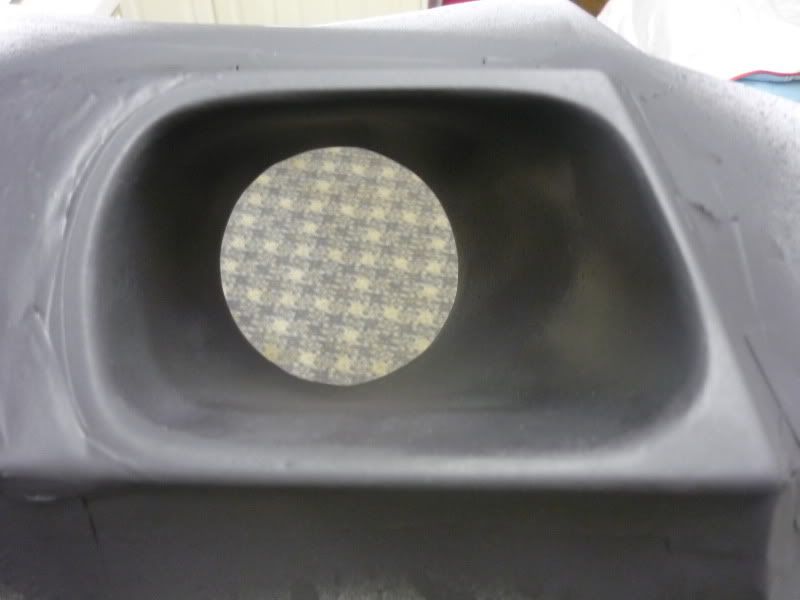
You can just see the few remaining pits I couldn't be bothered sorting, but they're more than sealed and not exactly going to cause a disturbance in the air flow so it's all good
So that's that... But now there's this...
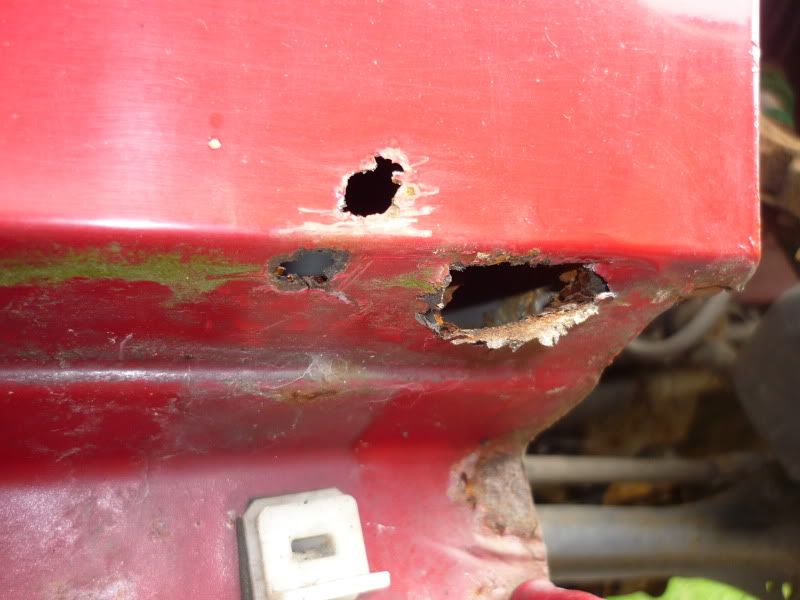
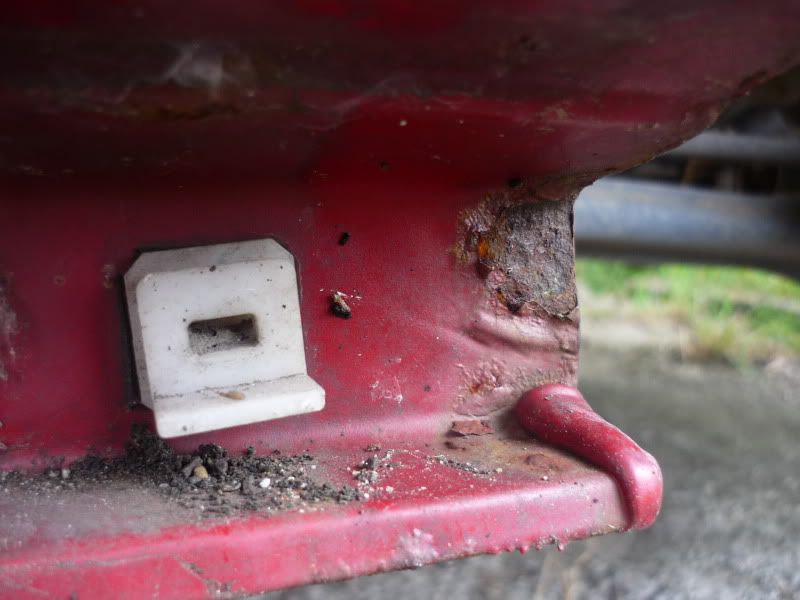
Basically I noticed a few areas where the paint on my "rust-free" bodywork ( ) had started bubbling up, and this was the result of me removing the side skirts and having a good old poke with a screwdriver However, after 2 whole years of being stood like this I think she's doing pretty well. And the slightly better news is that I had decided to give the bubbles a poke because the rust-remover-man was coming over to look at the Aerodeck and come the end of July he's having both the cars to eradicate them of all rust  ... And being it's not too far gone yet I'm not going to fret too much about it
Oh and I also managed to pick these up from Mart at Japfest ...
...
I think I've had 3 or 4 stages of filler, each time I have to fill, then wait a day for it to dry properly, then sand it to find I've missed a few areas, to then rinse it and then wait another day or so until it's dried properly for me to go another round with it
Anyway, I finally got it to a stage where I was happy with it (That's not entirely true, but I just wanted to paint it!
This was after the first stage of sanding...
And then after the last...
Then I was relatively happy with the natural seal the fibre glass and filler had created on the plastic of the headlight, but there was still a few areas that needed attention. I had a simple solution for this... Mask around the entrance leaving a decent border...
I did a simular thing with the exit... And then spray with stone chip protector paint!...
Only thing was, this stuff was horrible!
Anyway, I wasn't at all pleased with the finish of it, although I could see it had built up a good thick layer which is what I was aiming for...
So I've bagged it up this time...
And primed it, ready for a slightly more decent shade of... Probably black...
You can just see the few remaining pits I couldn't be bothered sorting, but they're more than sealed and not exactly going to cause a disturbance in the air flow so it's all good
So that's that... But now there's this...
Basically I noticed a few areas where the paint on my "rust-free" bodywork (
Oh and I also managed to pick these up from Mart at Japfest
Last edited by NafemanNathan on Tue May 22, 2012 9:10 am, edited 2 times in total.
-
4thgenphil

- Supporter 2016
- Posts: 6661
- Joined: Tue Aug 03, 2010 4:15 pm
- My Generation: 4G
- Location: filming two girls one cup 2
- Has thanked: 5 times
- Been thanked: 29 times
-
NafemanNathan
- LotM Winner
- Posts: 20144
- Joined: Sun Aug 08, 2010 9:37 pm
- My Generation: 0G
- Location: Yeovil, Somerset
- Has thanked: 8 times
- Been thanked: 124 times
-
mercutio

- LotM Winner
- Posts: 14958
- Joined: Sun Aug 08, 2010 8:45 pm
- My Generation: 5G
- Location: Sunny Manchester
- Has thanked: 1 time
- Been thanked: 4 times
- Contact:
now now phil jealousy will get you nowhere
bristol_bb4 wrote:ahhh a 5th gen, i love 5th gens
Dino wrote:I loves the 5th gen really.... just dont quote me on it...
4thgenphil wrote:Mines 4 1/4 unches mate, sorry
http://www.ludegeneration.co.uk/profile ... -t618.html
-
4thgenphil
- Supporter 2016
- Posts: 6661
- Joined: Tue Aug 03, 2010 4:15 pm
- My Generation: 4G
- Location: filming two girls one cup 2
- Has thanked: 5 times
- Been thanked: 29 times
-
NafemanNathan
- LotM Winner
- Posts: 20144
- Joined: Sun Aug 08, 2010 9:37 pm
- My Generation: 0G
- Location: Yeovil, Somerset
- Has thanked: 8 times
- Been thanked: 124 times
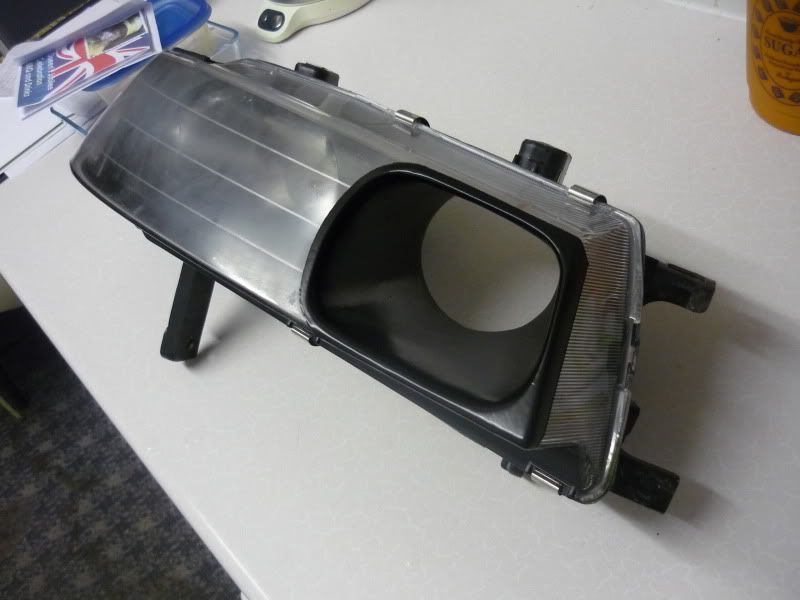
Custom Headlight Cold Air Feed (Part IIIIX)
Nearly there
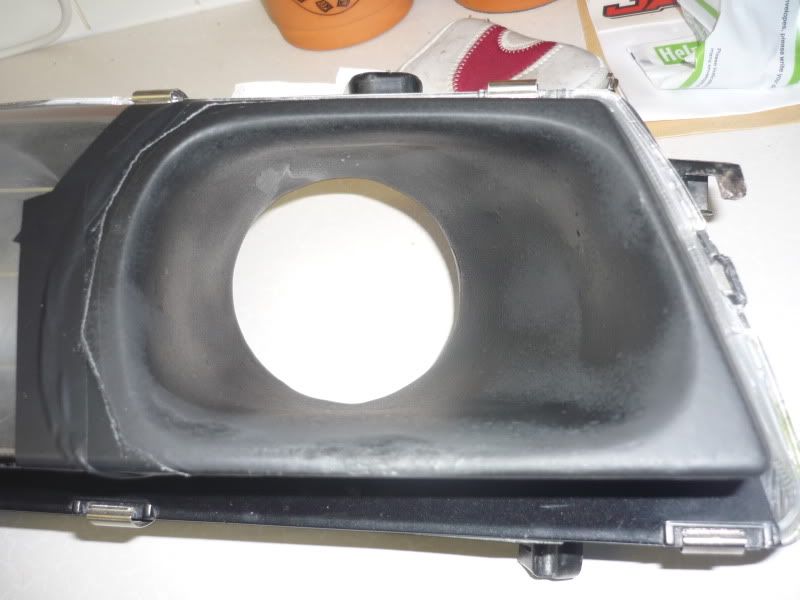
After priming I sprayed with Halford's own special brand of Satin black paint... And then carefully... demasked (Excuse the state of the cloudy lense. I've wet and dried it to then polish it back up)...

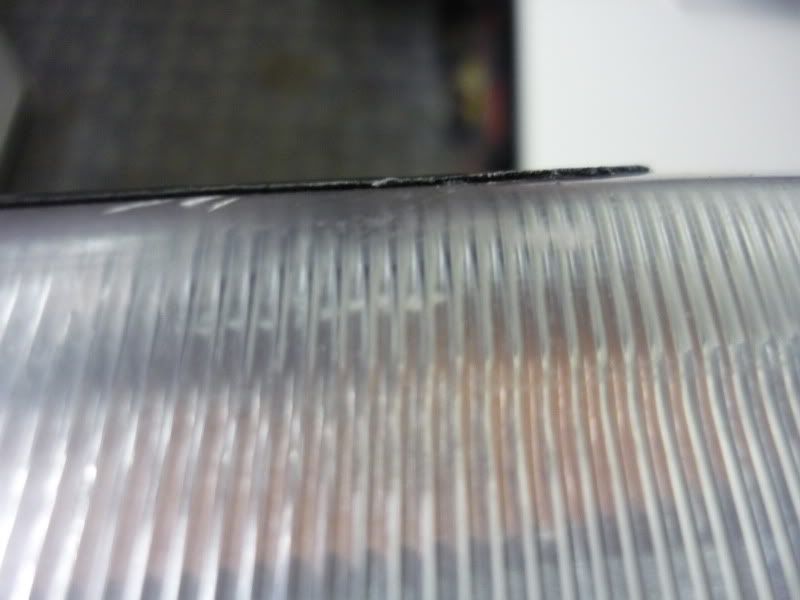
Here you can see how thick the build up of stone chip protector, primer and satin black paint is. After I've polished the lense clear again I'll run a very thin bead of silicone up against this edge just to tidy it up and to keep a definite seal...


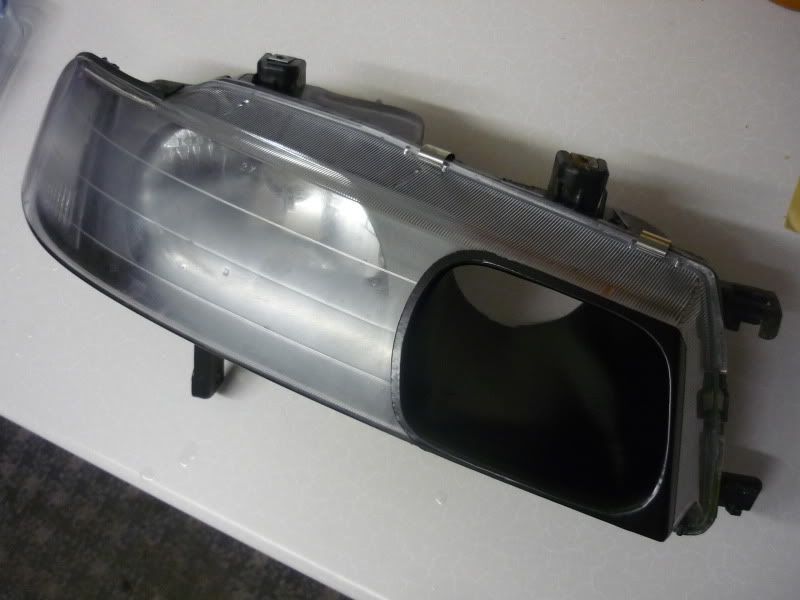
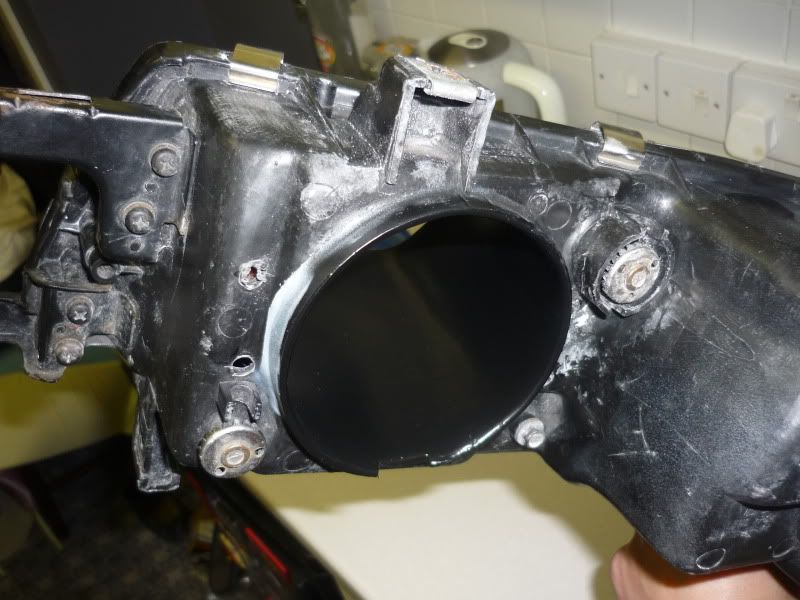
The back's still needs a bit of a clean up and the 4 holes filling with sealant...
After priming I sprayed with Halford's own special brand of Satin black paint... And then carefully... demasked
Here you can see how thick the build up of stone chip protector, primer and satin black paint is. After I've polished the lense clear again I'll run a very thin bead of silicone up against this edge just to tidy it up and to keep a definite seal...
The back's still needs a bit of a clean up and the 4 holes filling with sealant...
Last edited by NafemanNathan on Wed May 23, 2012 10:16 am, edited 1 time in total.
-
4thgenphil
- Supporter 2016
- Posts: 6661
- Joined: Tue Aug 03, 2010 4:15 pm
- My Generation: 4G
- Location: filming two girls one cup 2
- Has thanked: 5 times
- Been thanked: 29 times
-
nucleustylzlude

- Moderator
- Posts: 4013
- Joined: Wed Aug 11, 2010 11:46 pm
- My Generation: 4G
- Location: Bristol, UK!
- Been thanked: 7 times
- Contact:

-
4thgenphil
- Supporter 2016
- Posts: 6661
- Joined: Tue Aug 03, 2010 4:15 pm
- My Generation: 4G
- Location: filming two girls one cup 2
- Has thanked: 5 times
- Been thanked: 29 times