
Congratulations to vtecmec for winning May/June's Lude Of The Month, with his DIY Turbo BB1 build.
>>> Click Here For Profile <<<

>>> Click Here For Profile <<<
Nathan's Daily Drive BB4
-
funkmasterjay
- Posts: 231
- Joined: Tue Jan 31, 2012 9:31 pm
- My Generation: 5G
- Location: South Essex


-
NafemanNathan

- LotM Winner
- Posts: 20144
- Joined: Sun Aug 08, 2010 9:37 pm
- My Generation: 0G
- Location: Yeovil, Somerset
- Has thanked: 8 times
- Been thanked: 124 times

-
ludeswamp
- Posts: 73
- Joined: Sat Nov 05, 2011 7:26 pm
- My Generation: 4G
- XBOX GamerTag: SwampimusPrime
strange i never had any noise from the rear of the car?????? guess its just wear and tear type stuff 
looking good but perhaps im being slightly biased but i cant help but feel she is too bum high now........... Spats on IMO but then i would say that as thats how I liked it, yuo've done well mate
ride height is the reason I never lowered it when I had it as i opted to keep the lip on and "try" and repair it again thats just how I liked it
still glad she is being looked after. Is animal still in there???
looking good but perhaps im being slightly biased but i cant help but feel she is too bum high now........... Spats on IMO
ride height is the reason I never lowered it when I had it as i opted to keep the lip on and "try" and repair it
still glad she is being looked after. Is animal still in there???
-
NafemanNathan
- LotM Winner
- Posts: 20144
- Joined: Sun Aug 08, 2010 9:37 pm
- My Generation: 0G
- Location: Yeovil, Somerset
- Has thanked: 8 times
- Been thanked: 124 times
 Re: Nathan's Daily Drive BB4
The rear ARB is extra rattley now as when I removed it to do the drop links I removed all the loose rust from the bush areas. In turn this made the diameter of the bar smaller, ergo extra rattle. Should all hopefully disappear in the next couple of days though 
And don't worry, the rear spats and lip will be going back on eventually I removed the rear spats as they unbalanced the look of the car after I removed the front lip when it was broken. I thought I'd keep them off intially, but the car does look better with them on I doubt they'll be going back on though until I've had moulds taken from them and I've done something about my drive
And afraid Animal has gone Though I think he's hanging around somewhere in my shed (literally) Still haven't found time to clean the inside of her properly though That dead wasp is still on the parcel shelf!
And don't worry, the rear spats and lip will be going back on eventually
And afraid Animal has gone
-
NafemanNathan
- LotM Winner
- Posts: 20144
- Joined: Sun Aug 08, 2010 9:37 pm
- My Generation: 0G
- Location: Yeovil, Somerset
- Has thanked: 8 times
- Been thanked: 124 times
Re: Nathan's Daily Drive BB4
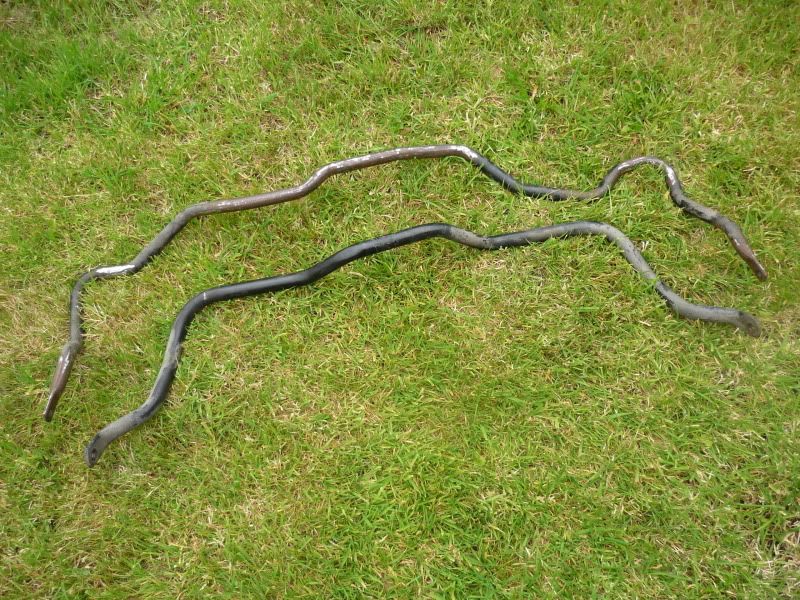
Finally, courtesy of Josefsan I took delivery of a decent set of ARBs that didnt break the bank ...
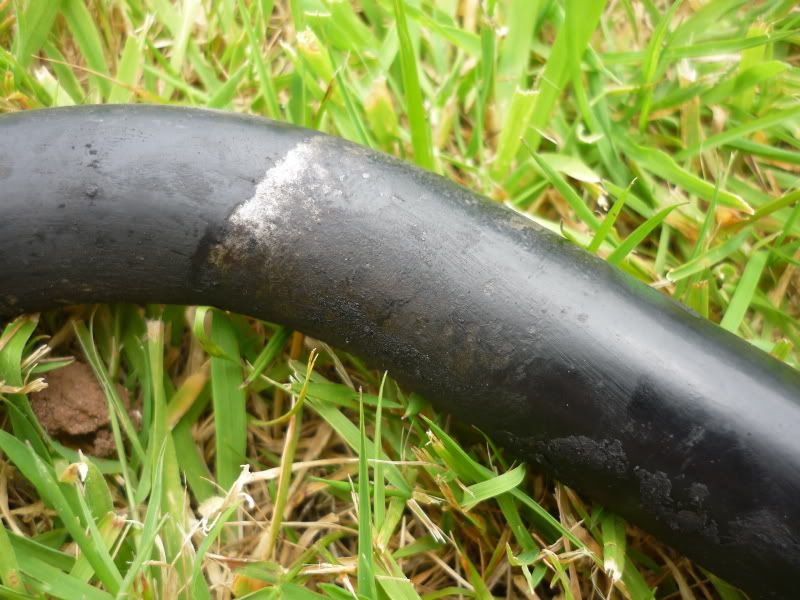
Front bush areas...
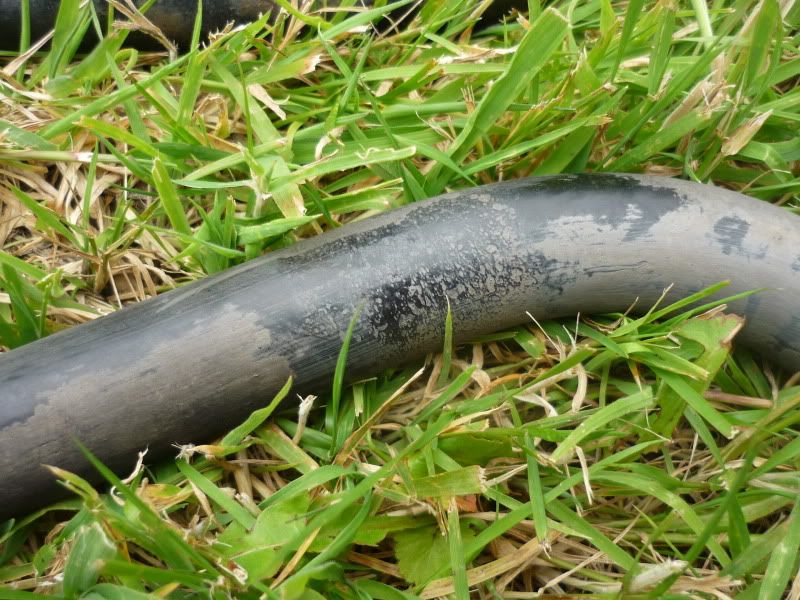
Rear bush areas...
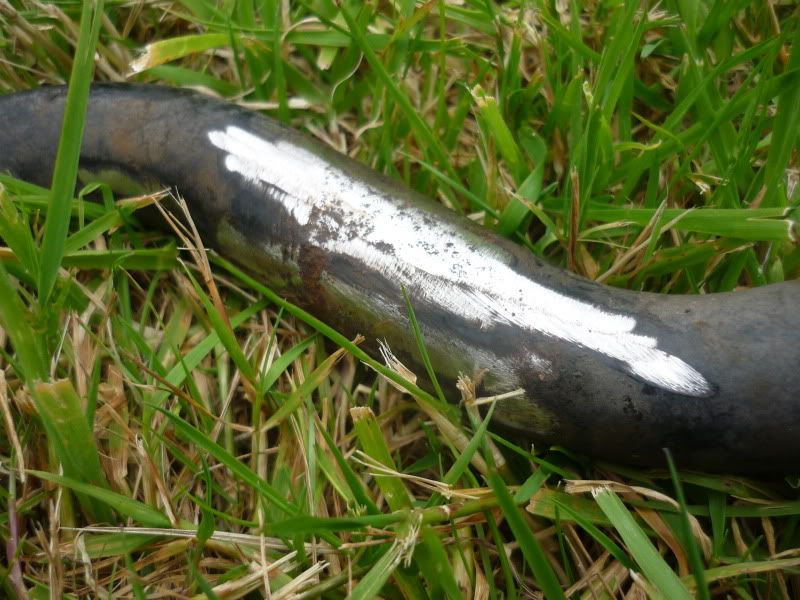
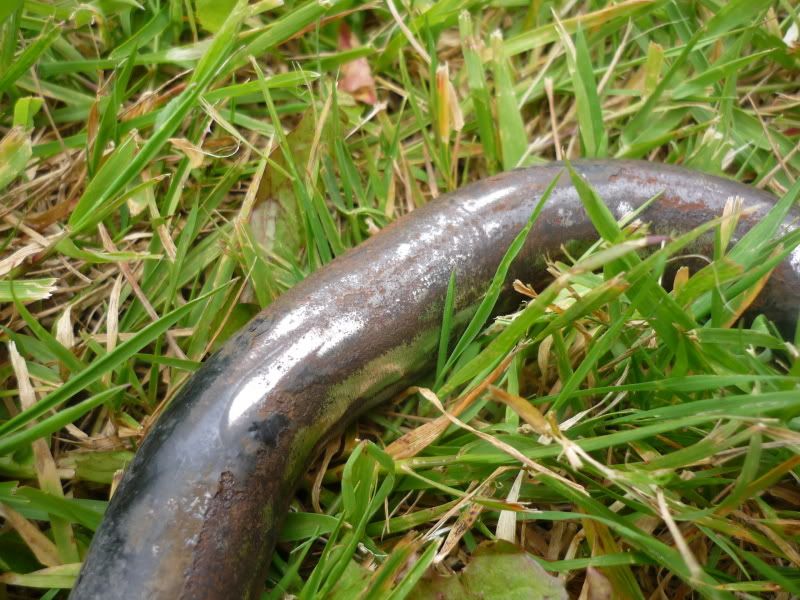
The shiny silver bits are where Josefsan had ground back the surface rust to check that it was just that, which goes to show the quality of the service he provides us with. Cheers again bud
This was the worst amount of surface rust, so as you can see, they're pretty decent for +16 year old ARBs...
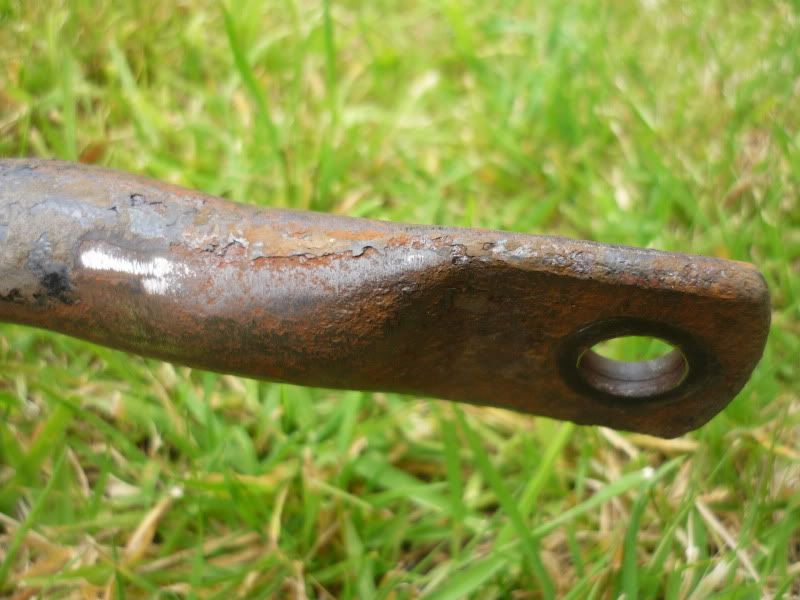
Either way, they were going to get a make over. Though I only plan on doing the rear just now as that one is definitely in need of replacement.
So, scrub-a-scrub-scrub, it's off with the rest of the surface rust...
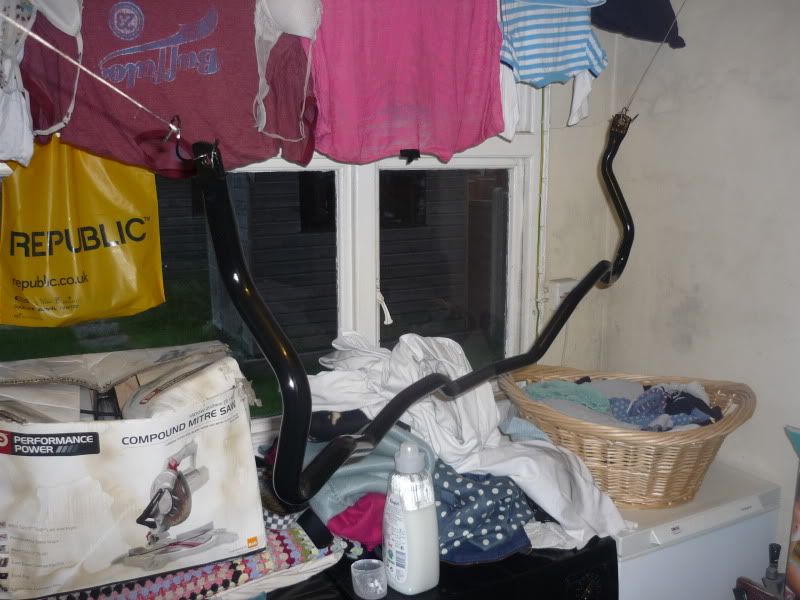
Then after a good wash and dry it's strung up for a new skin...
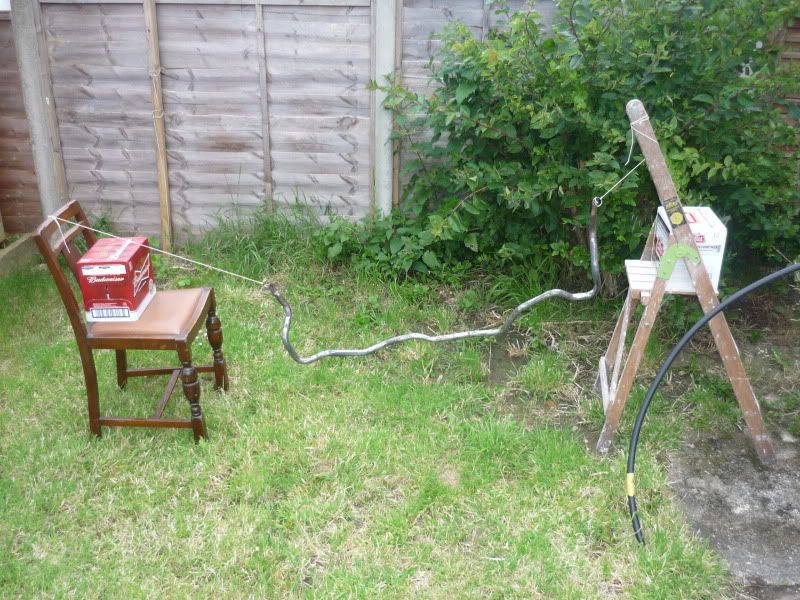
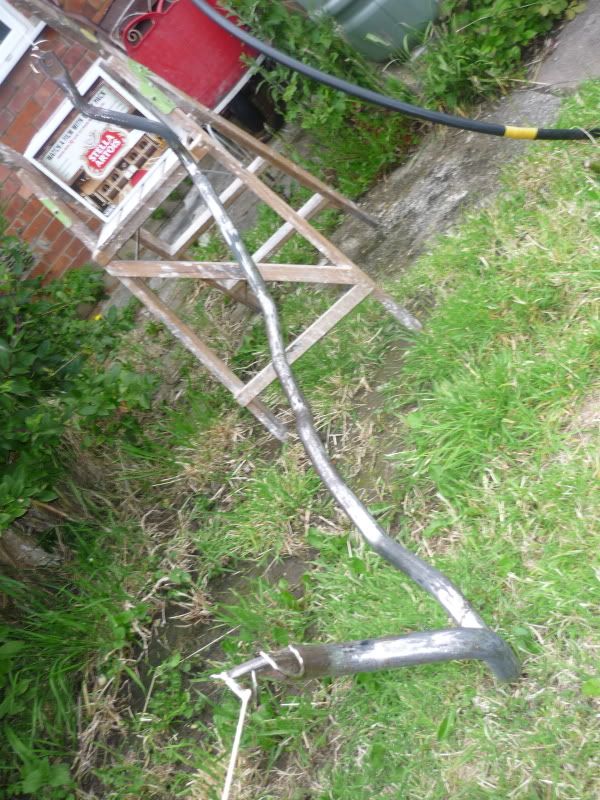
I was missing a few spots with that set up, so...

And this is the stuff I've been using by the way...
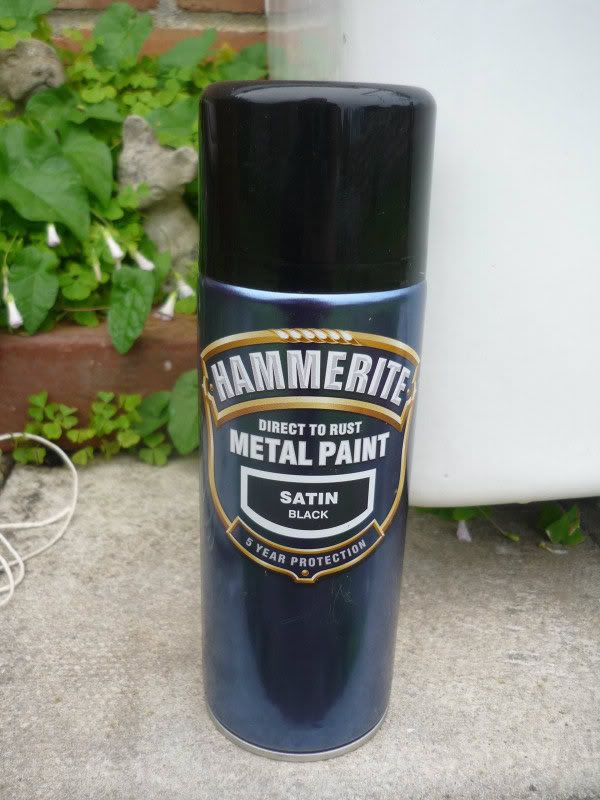
It only requires you to remove loose rust before applying it direct to the surface, so no need for treating the rust or even applying primer, which saves a whole load of time. It's supposedly only guaranteed to protect for 5 years, but I figured ARBs are prone to rusting quickest of all under the chassis and are easy to see, so it'll be a good test.
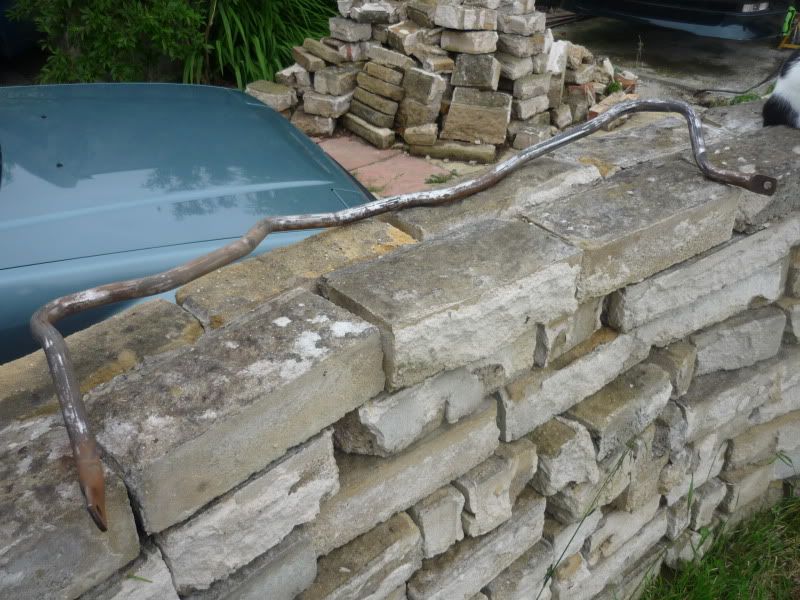
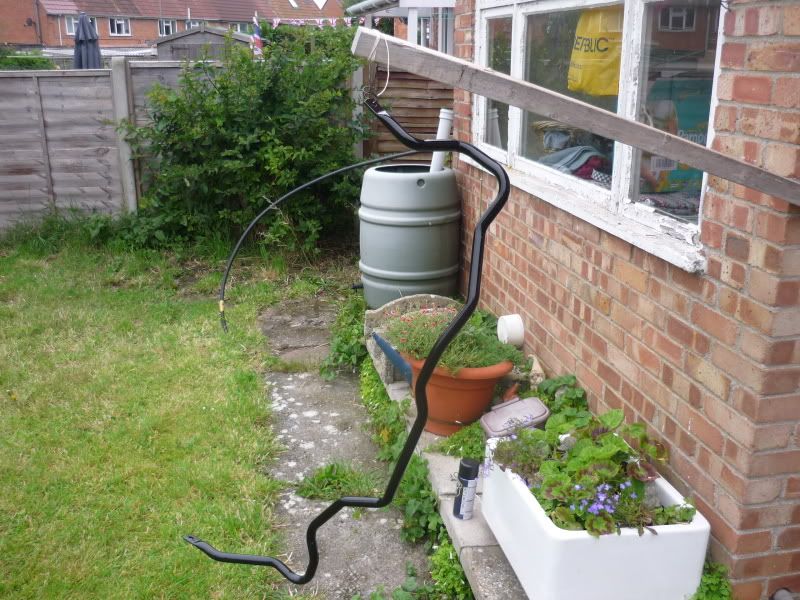
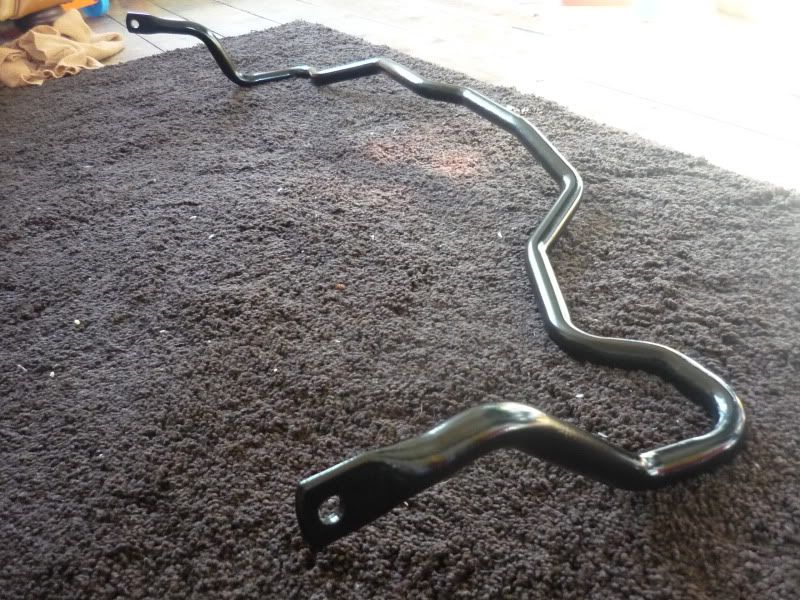
Anyway, once painted it's hung in to dry...
And Ta-daaaaa...
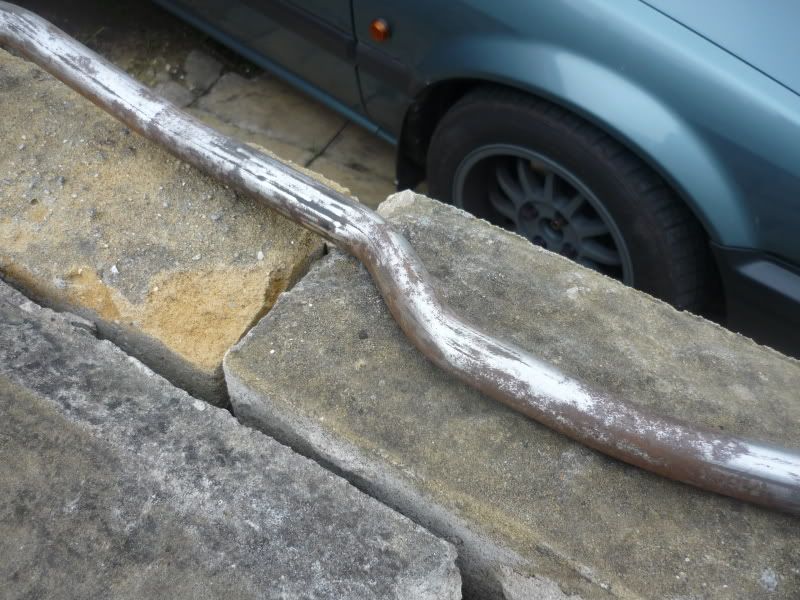
So it's out with the old...
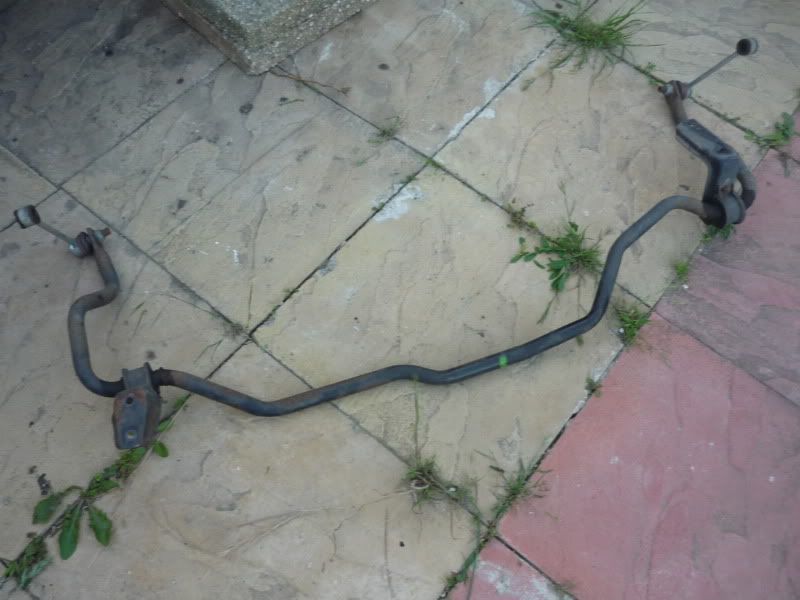
And you can see just how bad the bar and bushes are ...
...
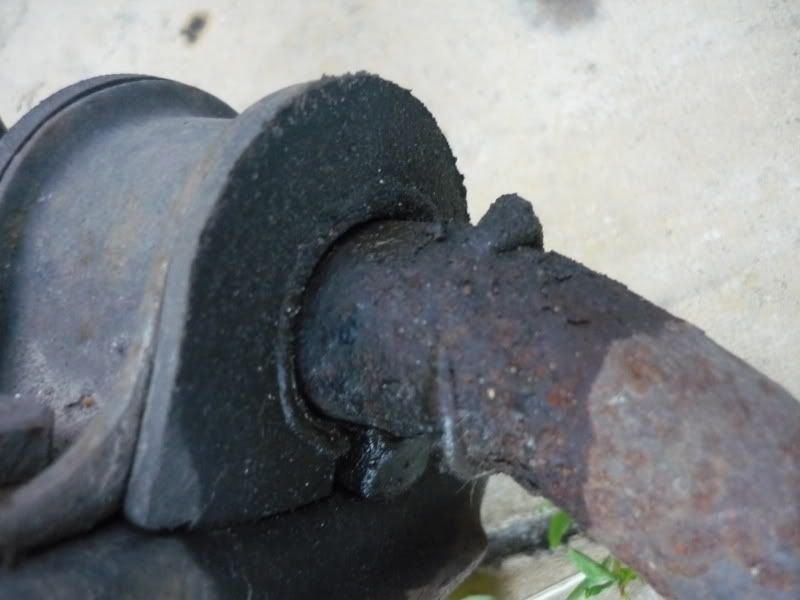

So obviously as the bushes aren't going to be in the best of condition they need to be replaced as well. Fortunately I already had some good ones kicking about...

I had ordered the complete kit of Energy Suspension bushes for the project lude, including ARB bushes front and back, but since then I've also decided to upgrade the ARBs on the project, and being nearly all the options for uprated ARBs come with their own bushes, the ES ones would be going spare
So on they go...
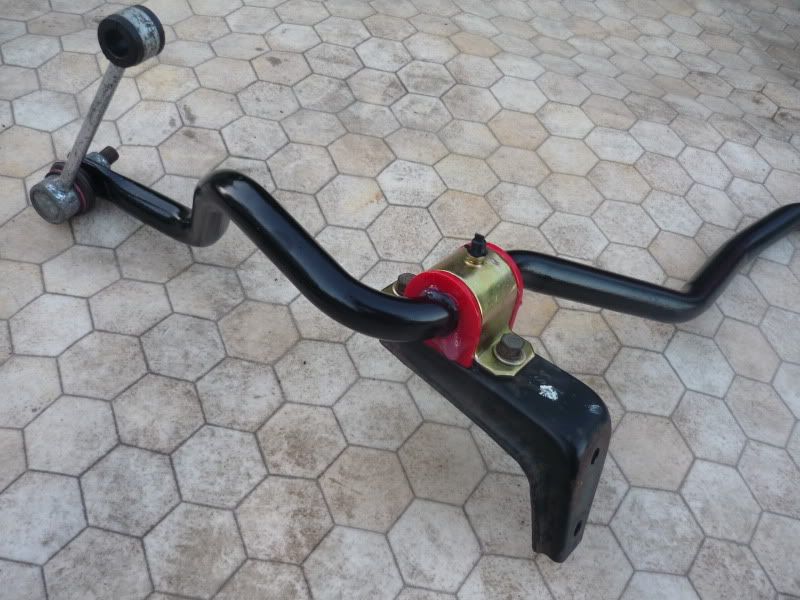
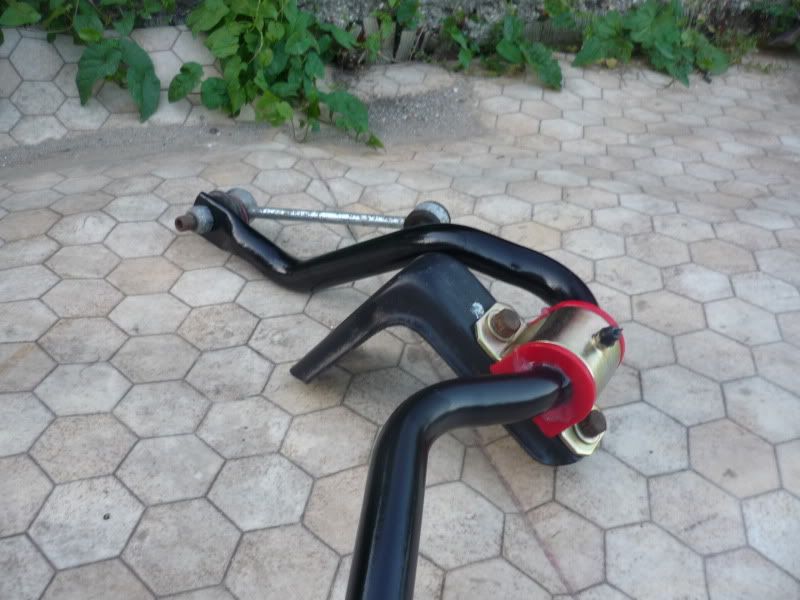
And up it goes ...
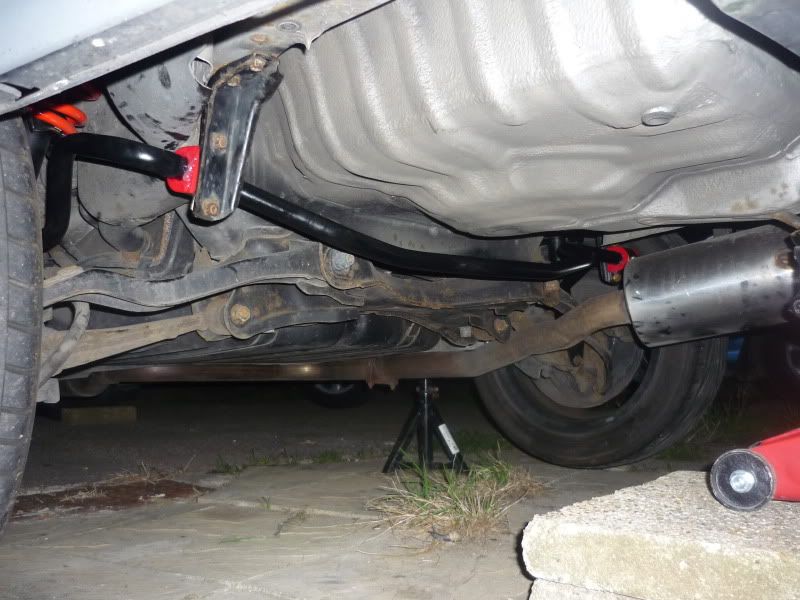
Though I did have to wrestle with the NS droplink, getting it on to the upright for some reason, so I may have knackered the bush there (Again I've got spares of those as well, should it need replacing in time).
So job's a gooden and no more rattle! Woo!!!
Now that one's done I can actually now hear that the current front ARB seems good as well, so no need to replace that one just yet
Now I just need to sort the newly knocking CV joint and then she's sorted chassis wise. Then I can concentrate on getting the body work back to mint and she'll be one alround mint motor once more
Front bush areas...
Rear bush areas...
The shiny silver bits are where Josefsan had ground back the surface rust to check that it was just that, which goes to show the quality of the service he provides us with. Cheers again bud
This was the worst amount of surface rust, so as you can see, they're pretty decent for +16 year old ARBs...
Either way, they were going to get a make over. Though I only plan on doing the rear just now as that one is definitely in need of replacement.
So, scrub-a-scrub-scrub, it's off with the rest of the surface rust...
Then after a good wash and dry it's strung up for a new skin...
I was missing a few spots with that set up, so...
And this is the stuff I've been using by the way...
It only requires you to remove loose rust before applying it direct to the surface, so no need for treating the rust or even applying primer, which saves a whole load of time. It's supposedly only guaranteed to protect for 5 years, but I figured ARBs are prone to rusting quickest of all under the chassis and are easy to see, so it'll be a good test.
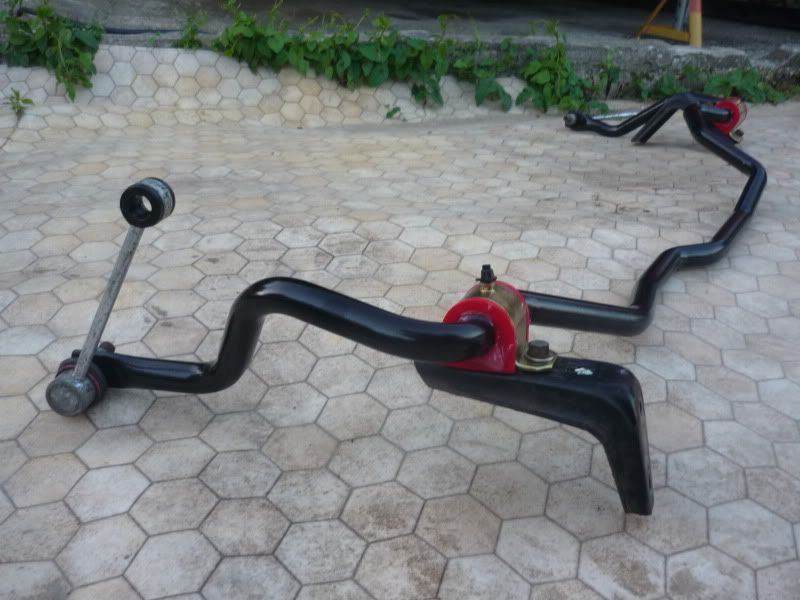
Anyway, once painted it's hung in to dry...
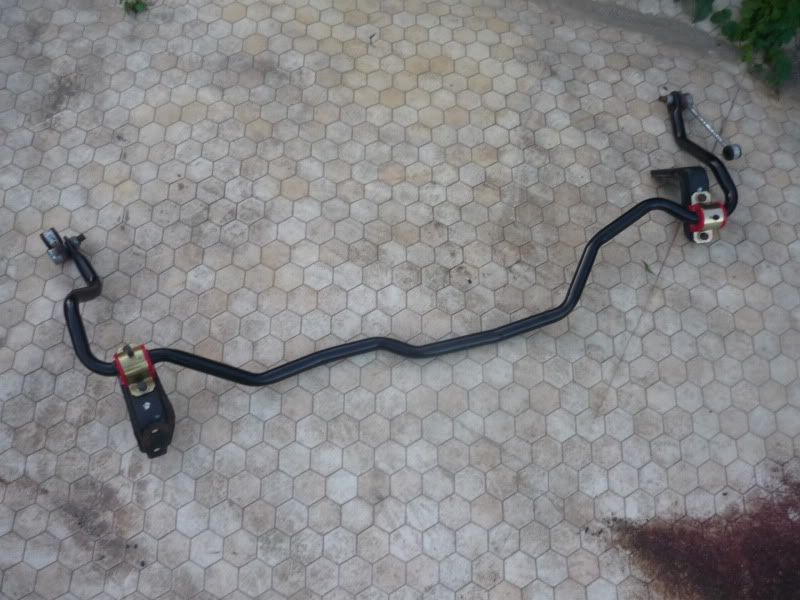
And Ta-daaaaa...
So it's out with the old...
And you can see just how bad the bar and bushes are
So obviously as the bushes aren't going to be in the best of condition they need to be replaced as well. Fortunately I already had some good ones kicking about...
I had ordered the complete kit of Energy Suspension bushes for the project lude, including ARB bushes front and back, but since then I've also decided to upgrade the ARBs on the project, and being nearly all the options for uprated ARBs come with their own bushes, the ES ones would be going spare
So on they go...
And up it goes
Though I did have to wrestle with the NS droplink, getting it on to the upright for some reason, so I may have knackered the bush there (Again I've got spares of those as well, should it need replacing in time).
So job's a gooden and no more rattle! Woo!!!
Now that one's done I can actually now hear that the current front ARB seems good as well, so no need to replace that one just yet
Now I just need to sort the newly knocking CV joint and then she's sorted chassis wise. Then I can concentrate on getting the body work back to mint and she'll be one alround mint motor once more

-
NafemanNathan
- LotM Winner
- Posts: 20144
- Joined: Sun Aug 08, 2010 9:37 pm
- My Generation: 0G
- Location: Yeovil, Somerset
- Has thanked: 8 times
- Been thanked: 124 times
Re: Nathan's Daily Drive BB4
Cheers bud. Though it does seem rather pityful after seeing the extents you're going too