
Congratulations to vtecmec for winning May/June's Lude Of The Month, with his DIY Turbo BB1 build.
>>> Click Here For Profile <<<

>>> Click Here For Profile <<<
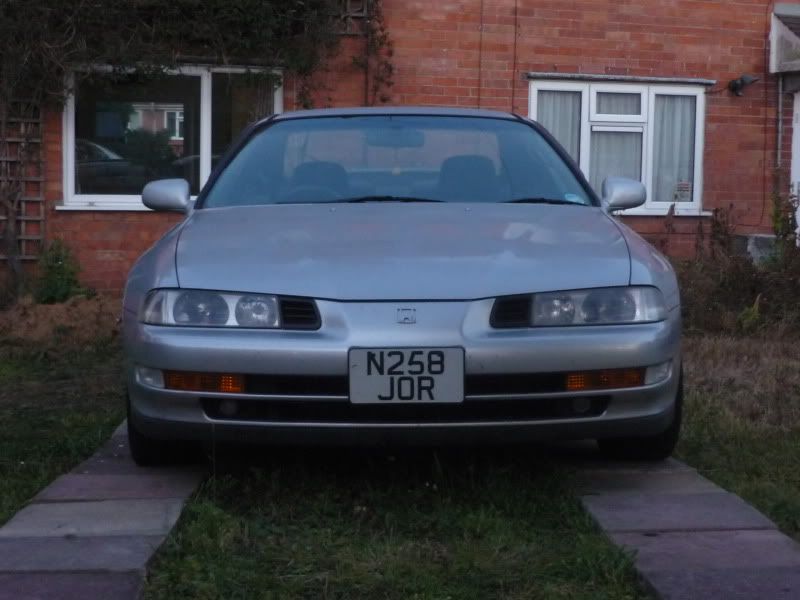
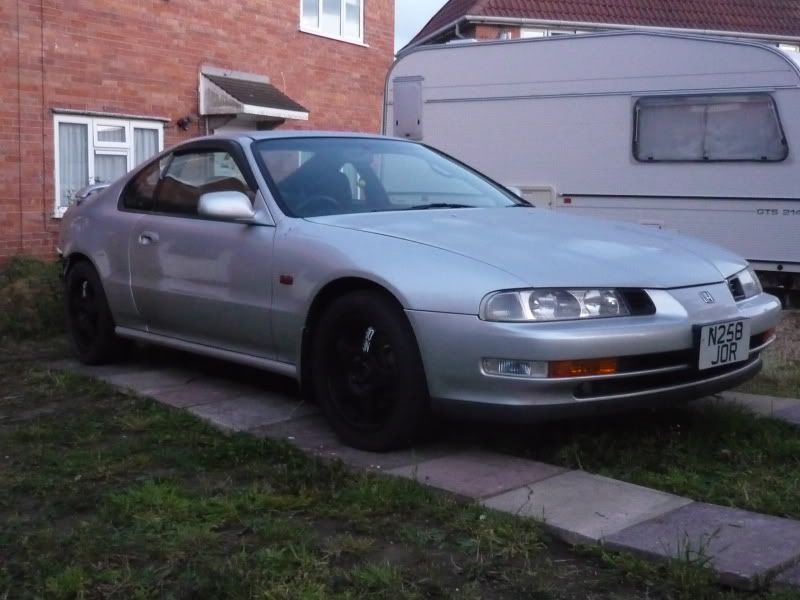
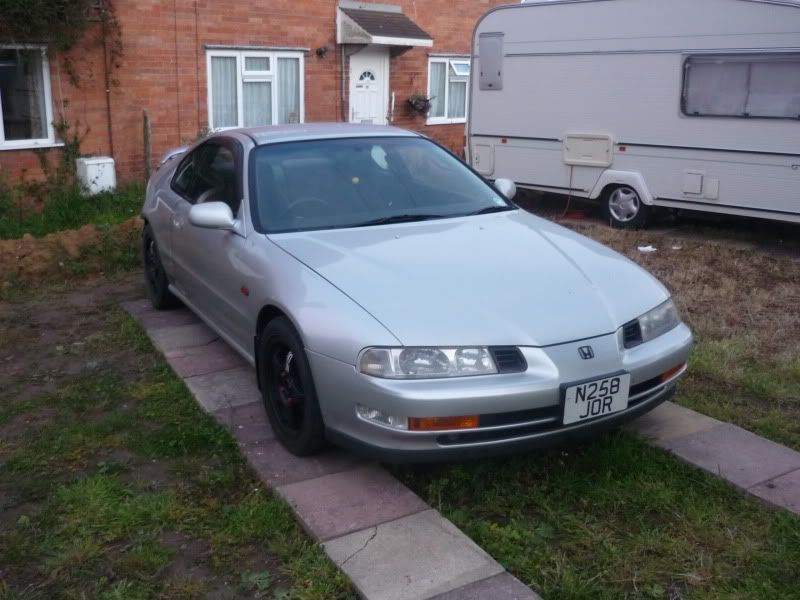
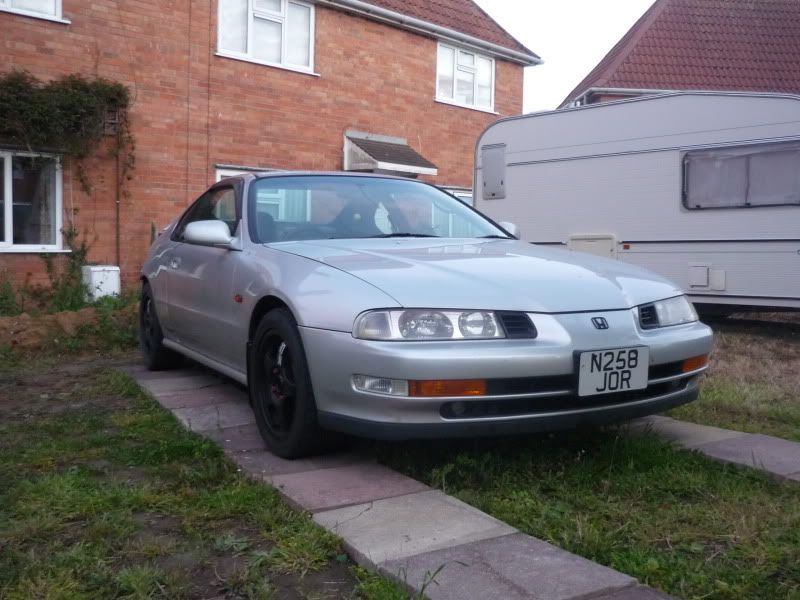
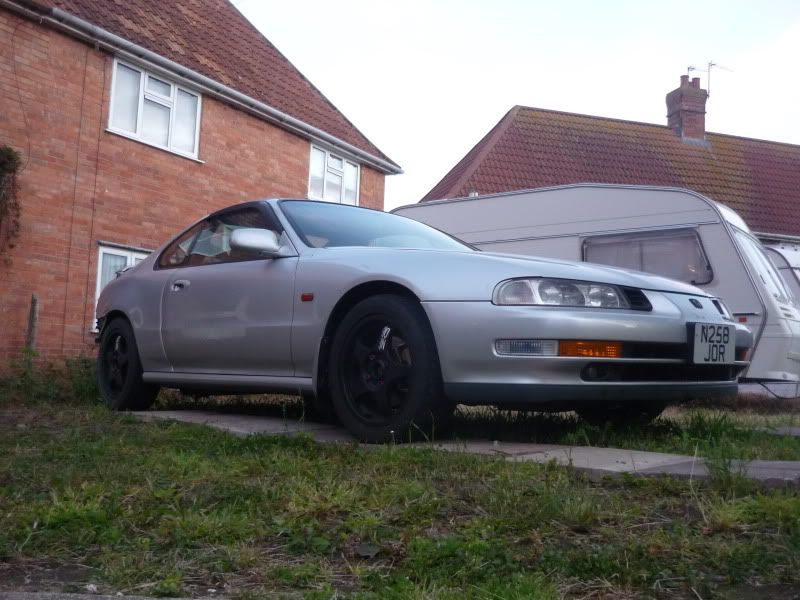
Nathan's Daily Drive BB4
-
nucleustylzlude

- Moderator
- Posts: 4013
- Joined: Wed Aug 11, 2010 11:46 pm
- My Generation: 4G
- Location: Bristol, UK!
- Been thanked: 7 times
- Contact:


-
NafemanNathan

- LotM Winner
- Posts: 20144
- Joined: Sun Aug 08, 2010 9:37 pm
- My Generation: 0G
- Location: Yeovil, Somerset
- Has thanked: 8 times
- Been thanked: 124 times
 Good riddance rust. Hello Amber
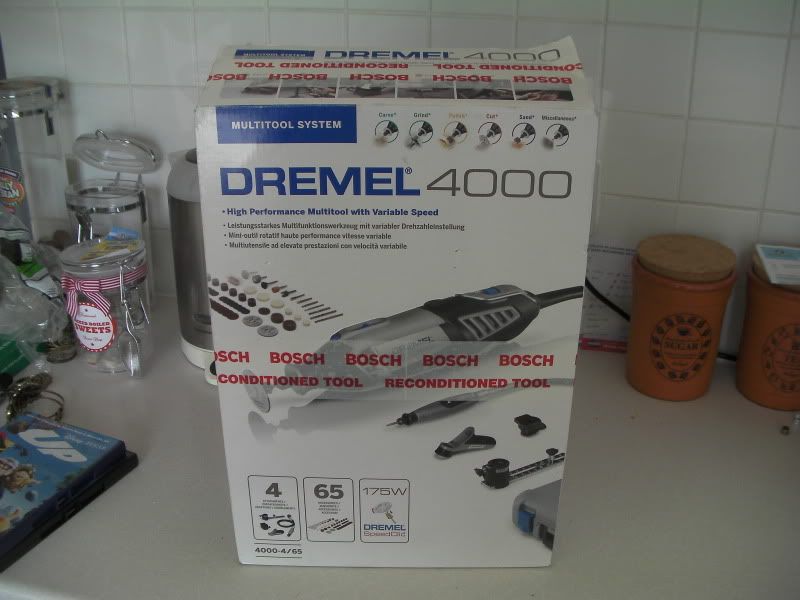
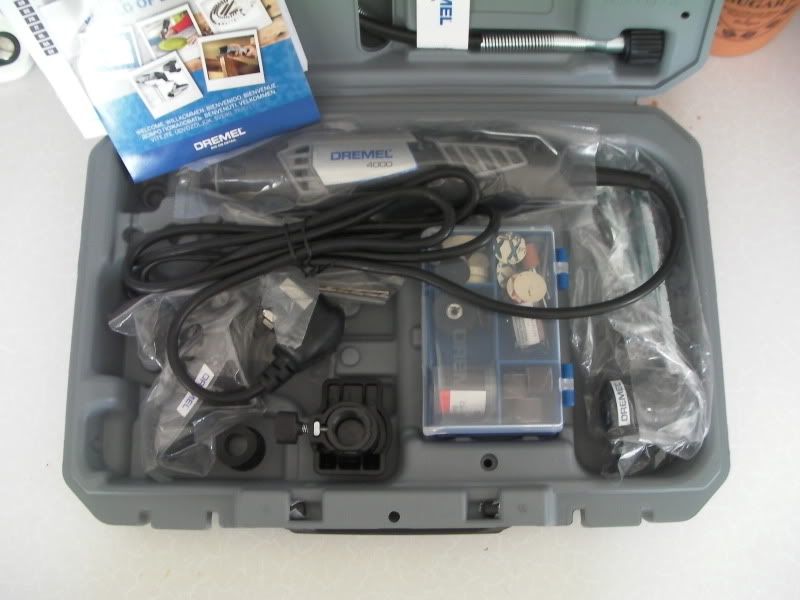
So I had a fabulous parcel arrive the other day all thanks to JohnnyB, who when hearing I was after a Dremel decided to put his feelers out and sorted me out with this bad boy  ...
...
This finally meant I could tackle this...
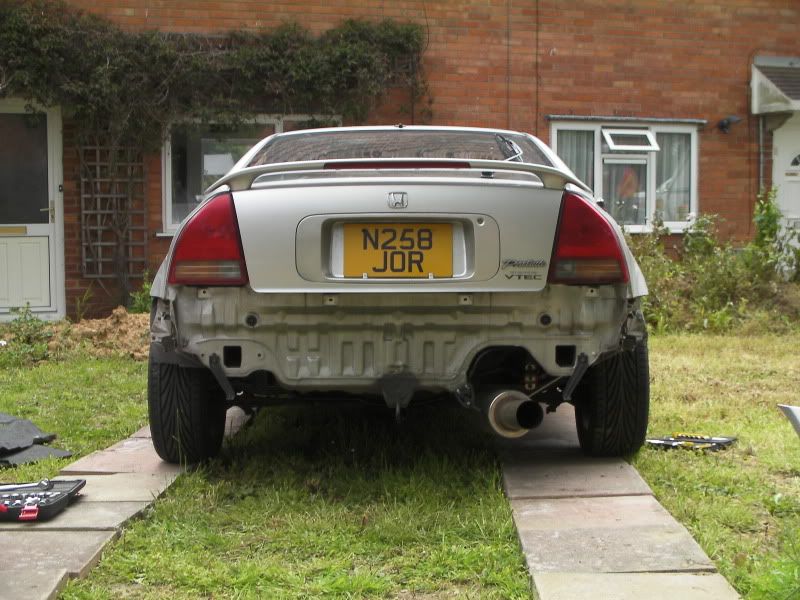
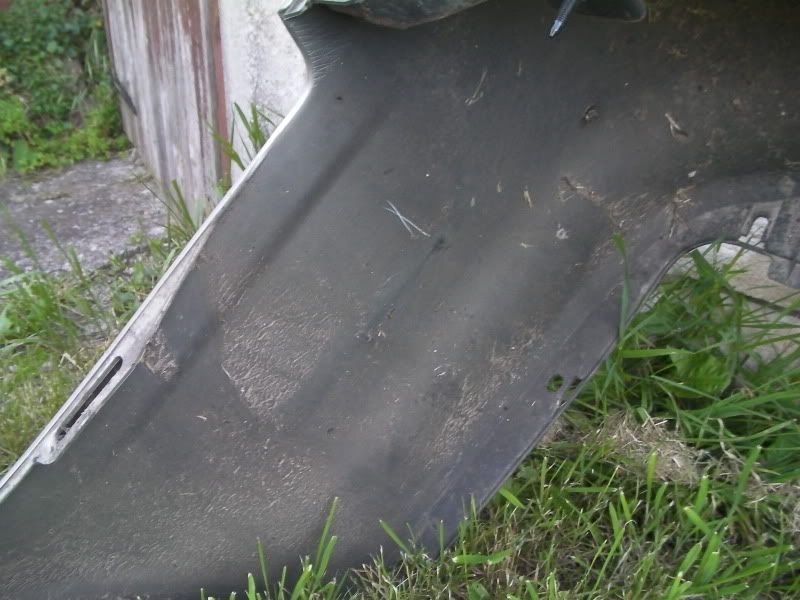
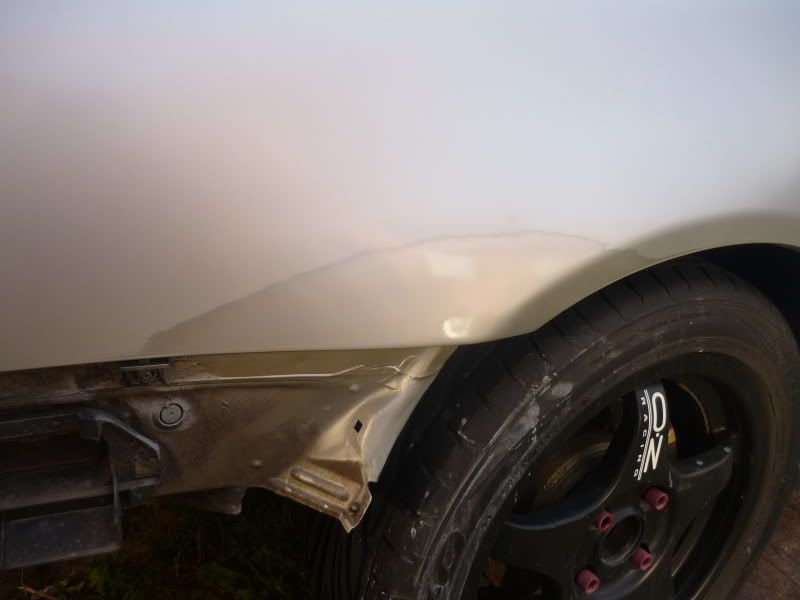
So off comes the bumper, and besides the rust I'm about to tackle, she's amazingly clean under there!...
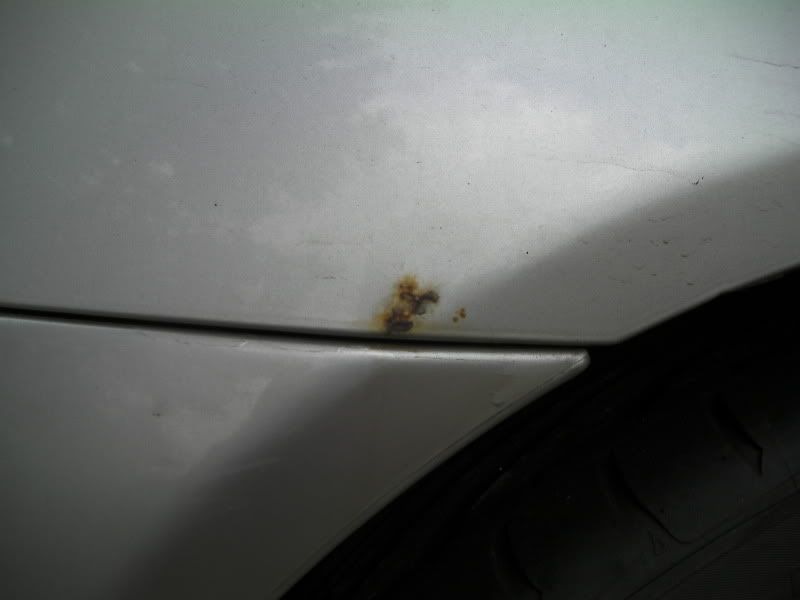
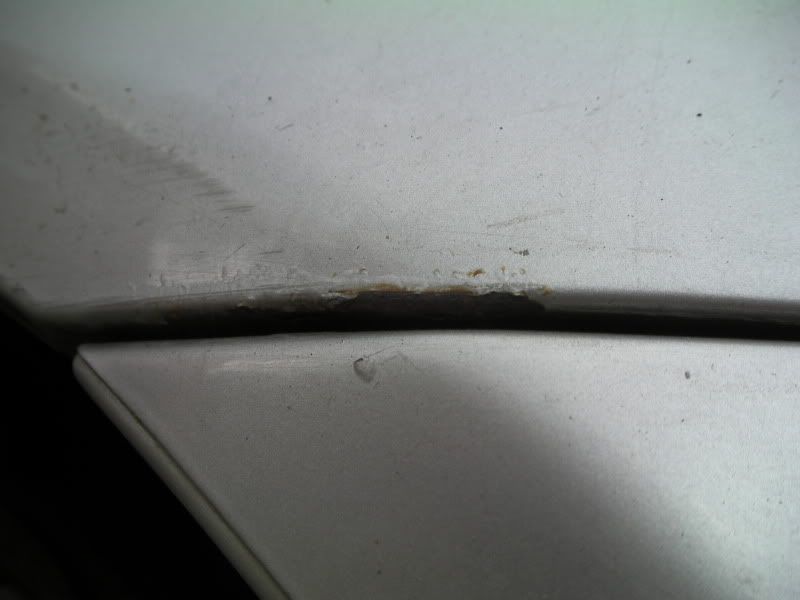
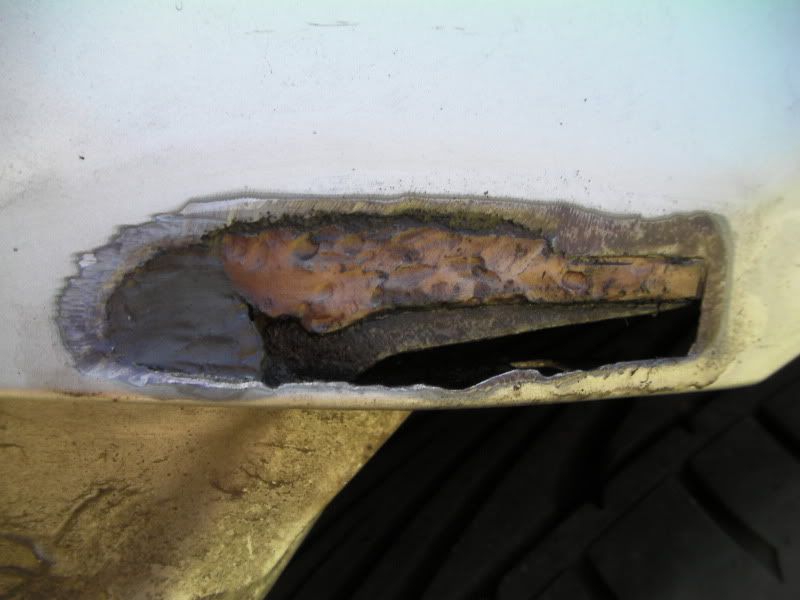
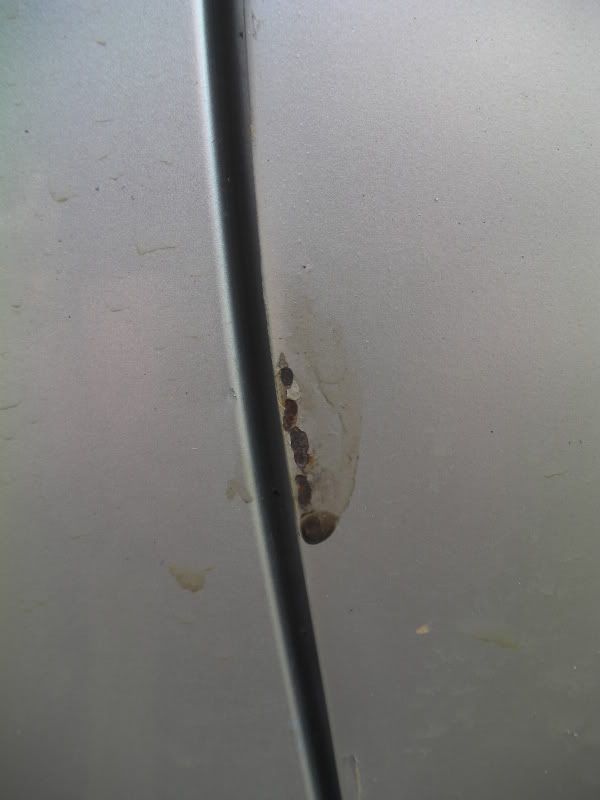
So here is a close up of the rust now the bumper is removed...
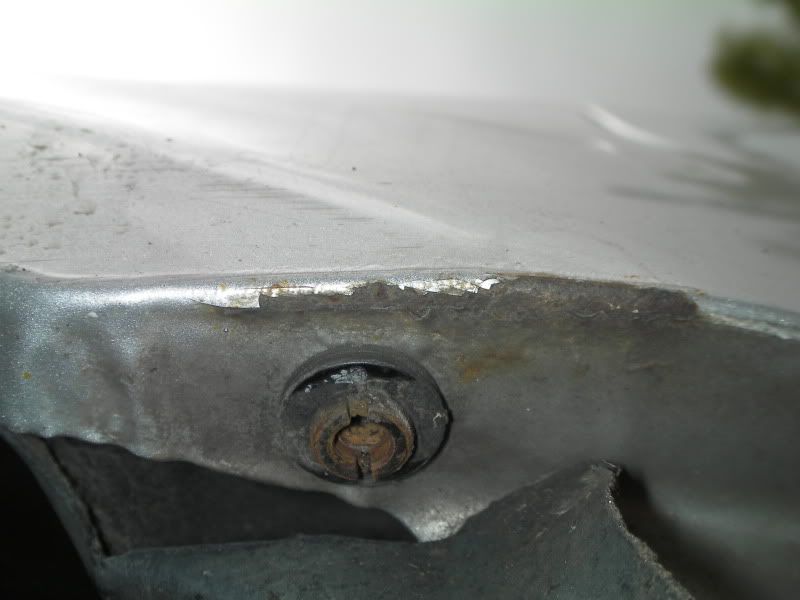
Doesn't look that bad... Should be a breeze with my new favourite tool
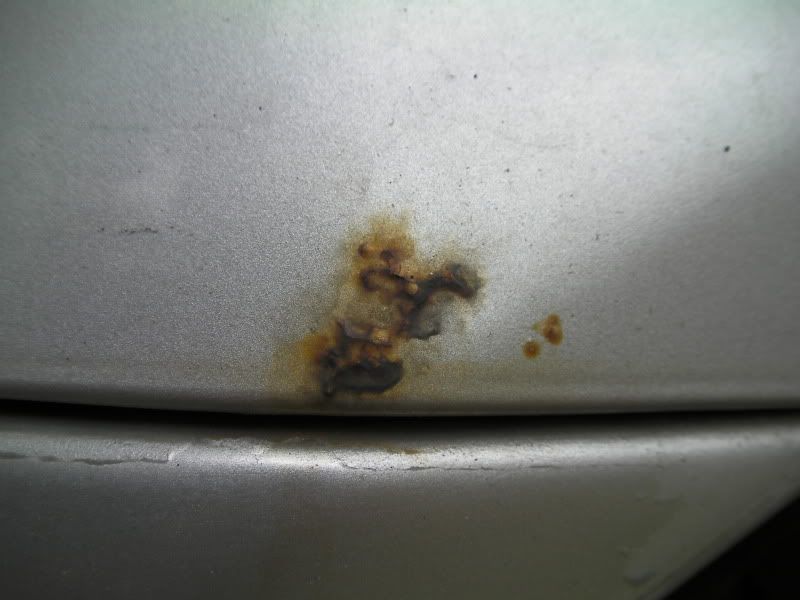
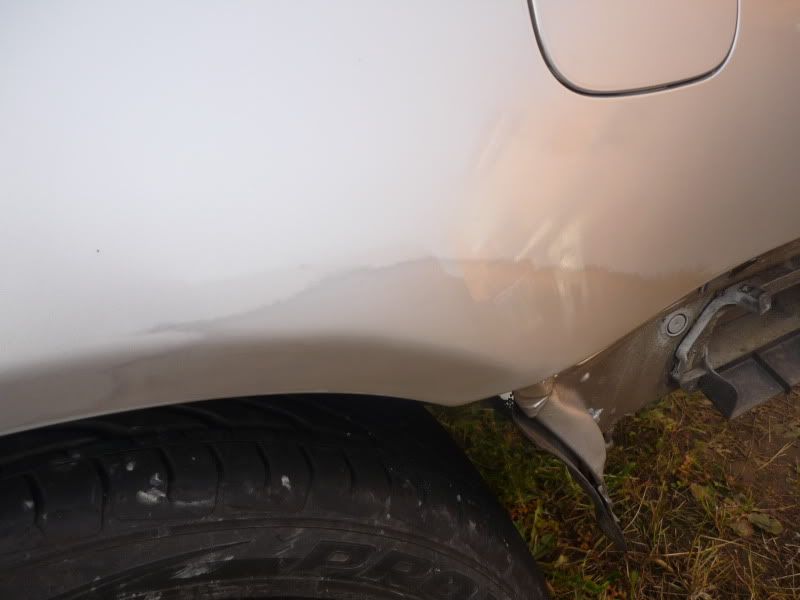
Oh... It's all the way though ...
...
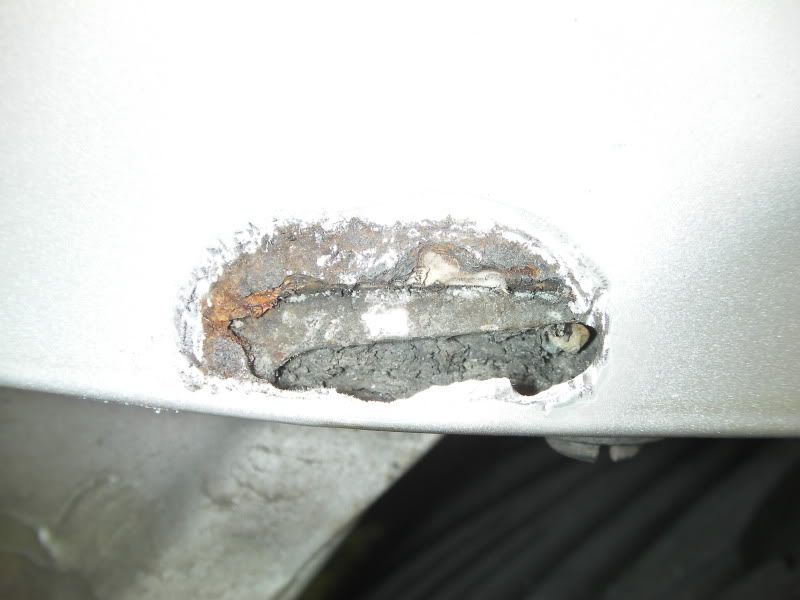
And oh... It's quite a bit larger than I thought it was going to be ...
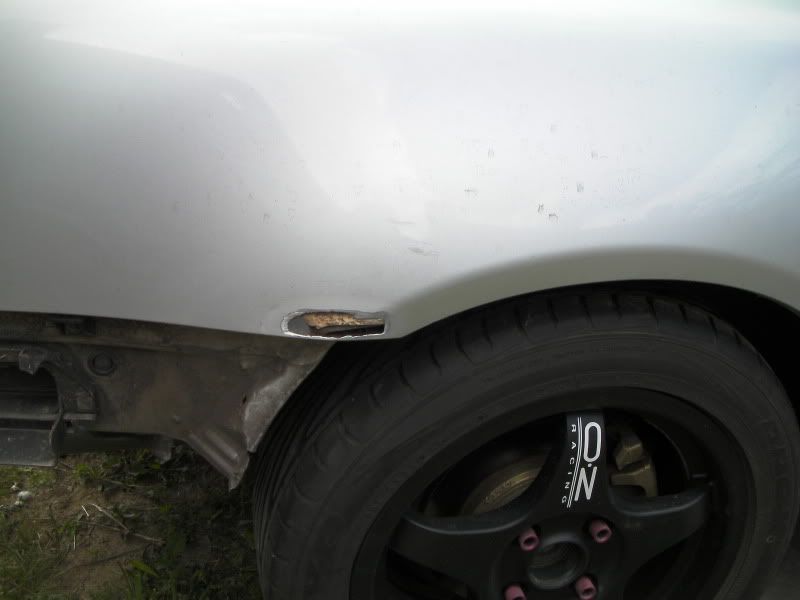
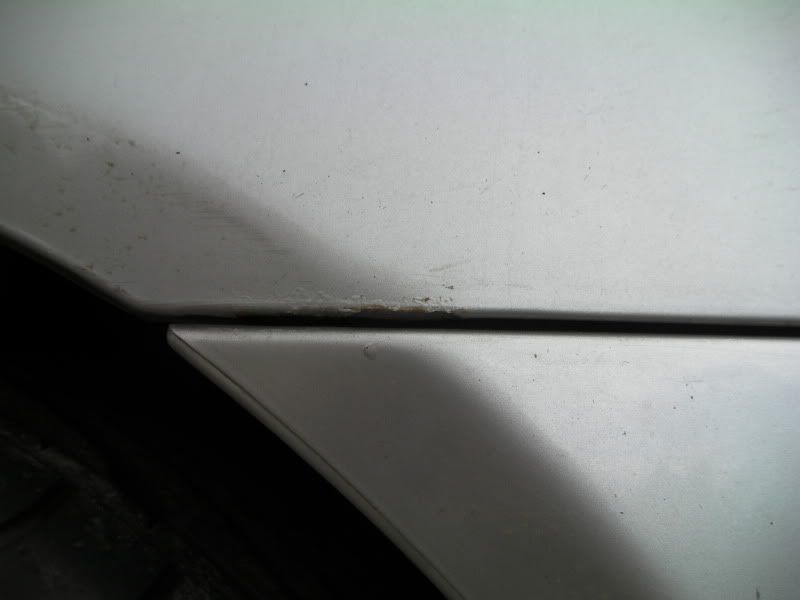
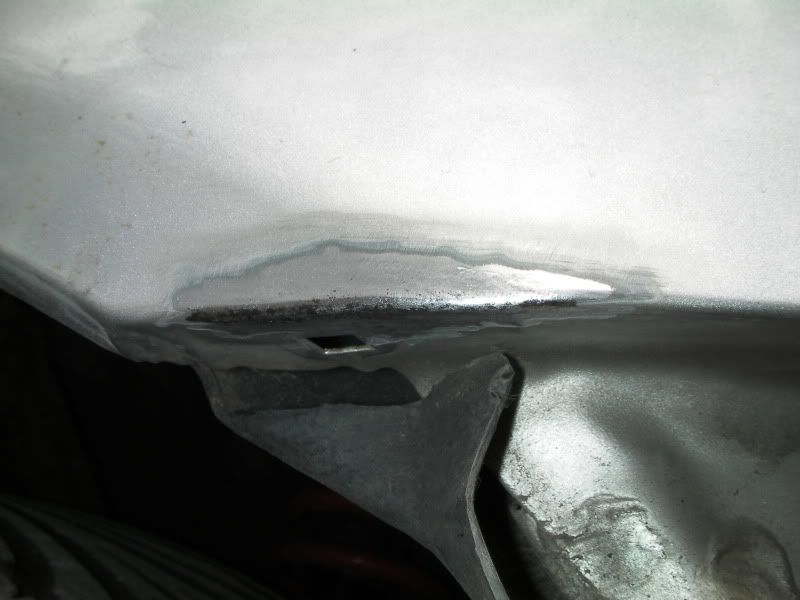
Still, at least the other side wasn't that bad, and that really was just surface rust...
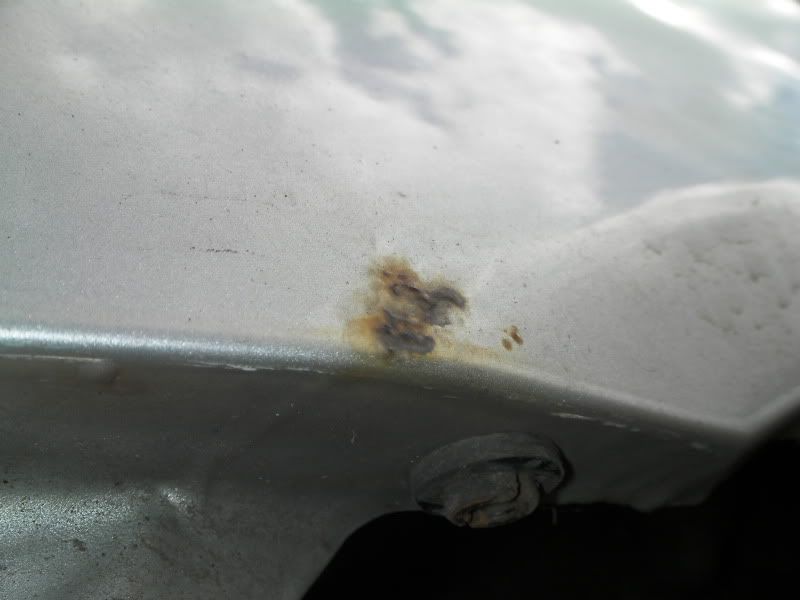
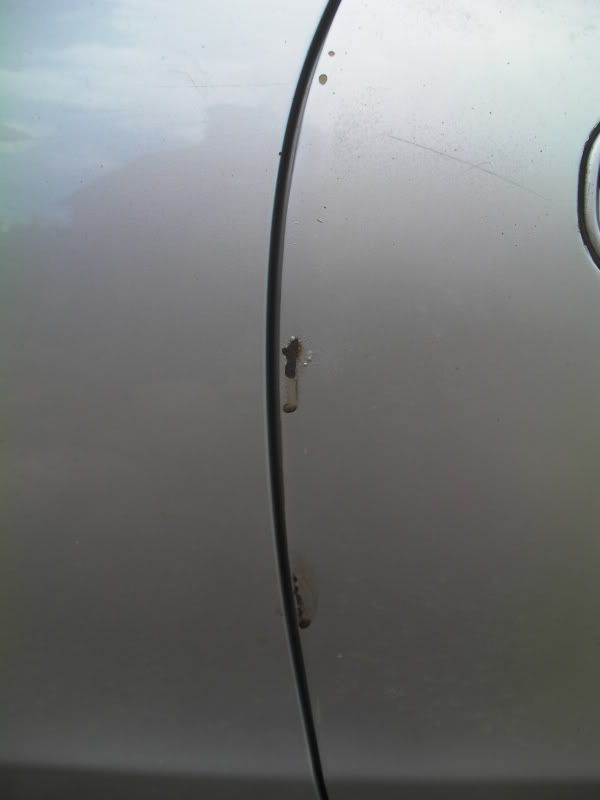
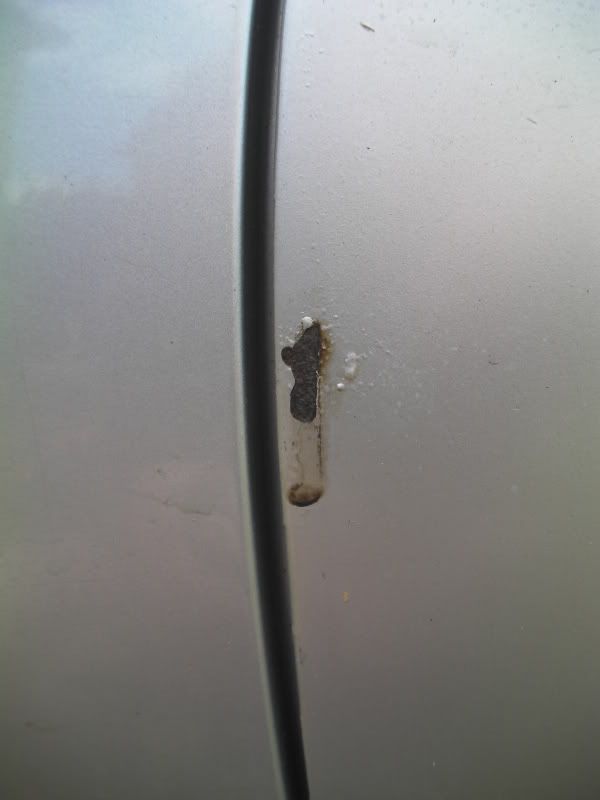
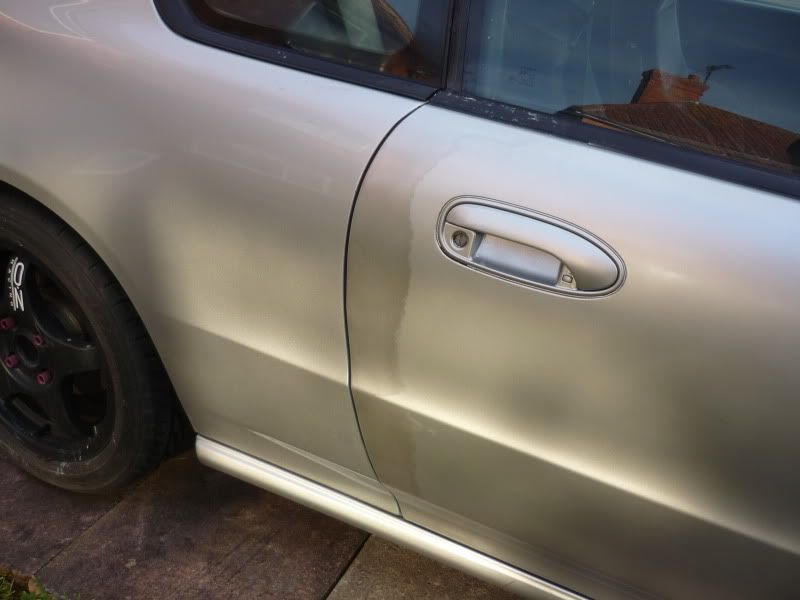
Then I also had to tackle the small amount of surface rust from when I removed the door protector strips...
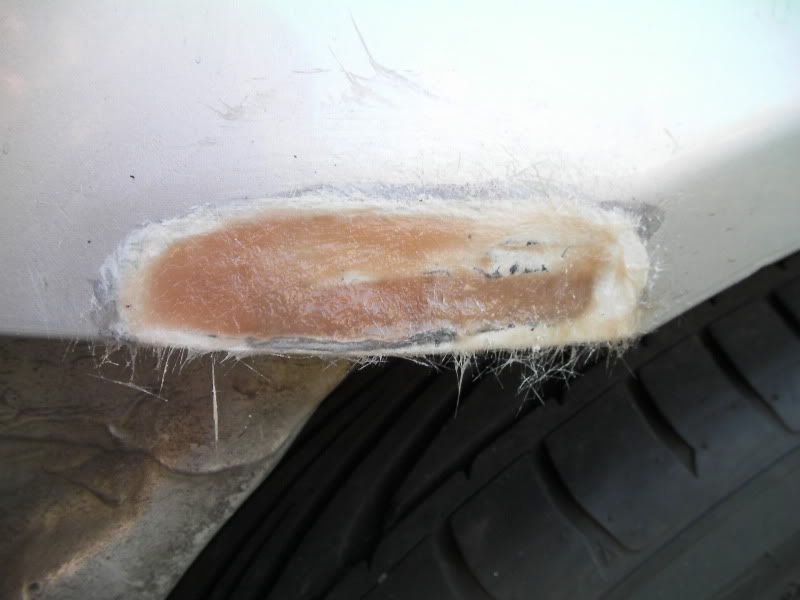
Once I'd removed all the loose rust and pretty much taken all the necessary areas back to bare metal, I then treated the areas with Krust to stop any more rust in it's tracks. I then applied a good helping of rust-converting primer with a paint-brush...
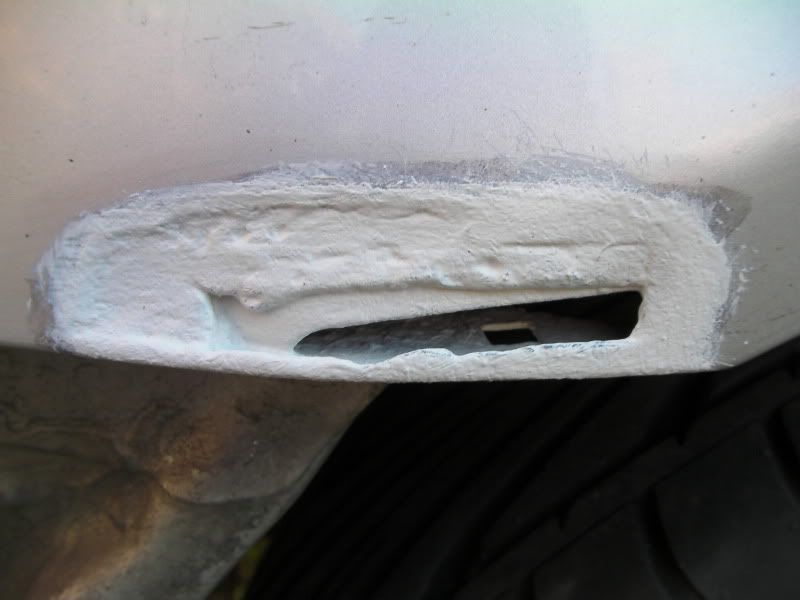
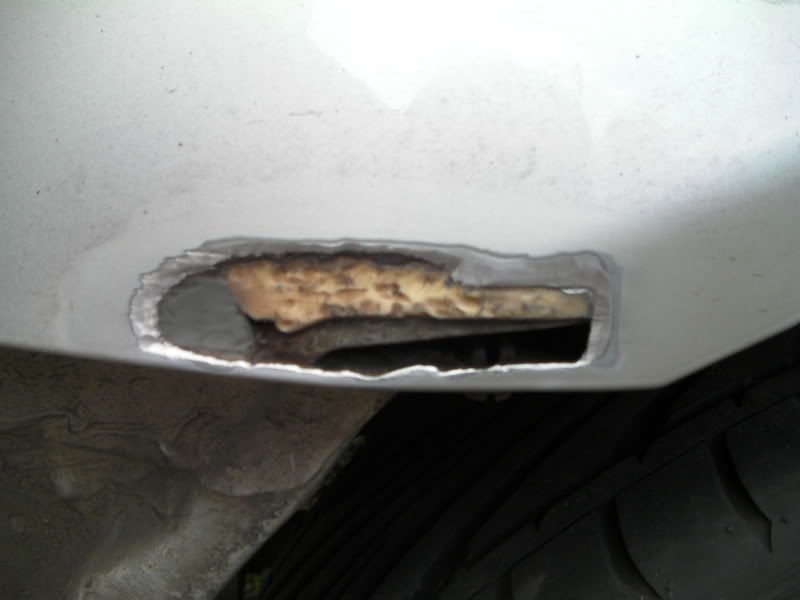
Then the massive hole I filled with Isopon P40 Fibre Compound...
To then smooth over with Isopon Metalik Paste before priming and painting. I've not taken any pictures of these processes as I've been dashing out inbetween showers to get the job done
So at the moment I'm just needing to wet'n'dry-down the paint before applying lacquer. To be honest it's going to be by no means a great job, partly because of it being a rush job and having to do it outside on my drive, but mainly because I'm not terribly bothered to do so as the whole car needs doing anyway.
Anyway, I'll take some picture of the whole repair job once the bumper's back on.
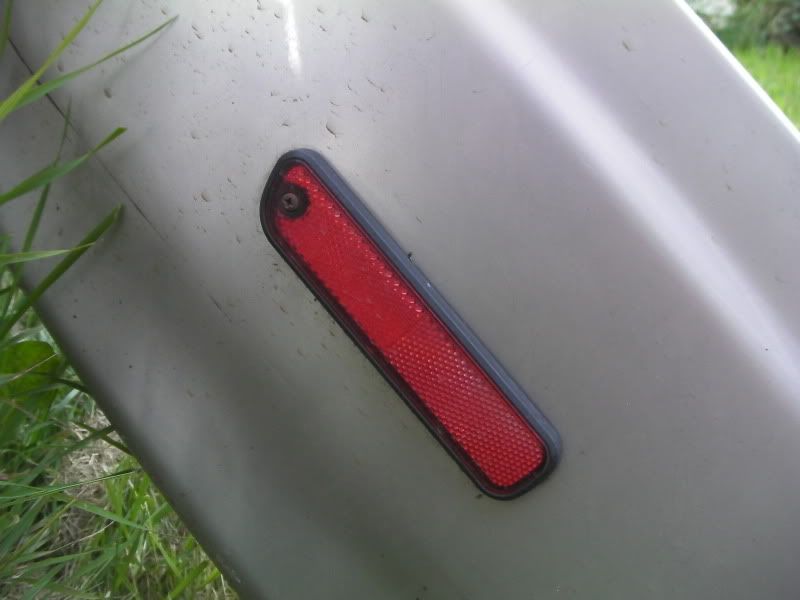
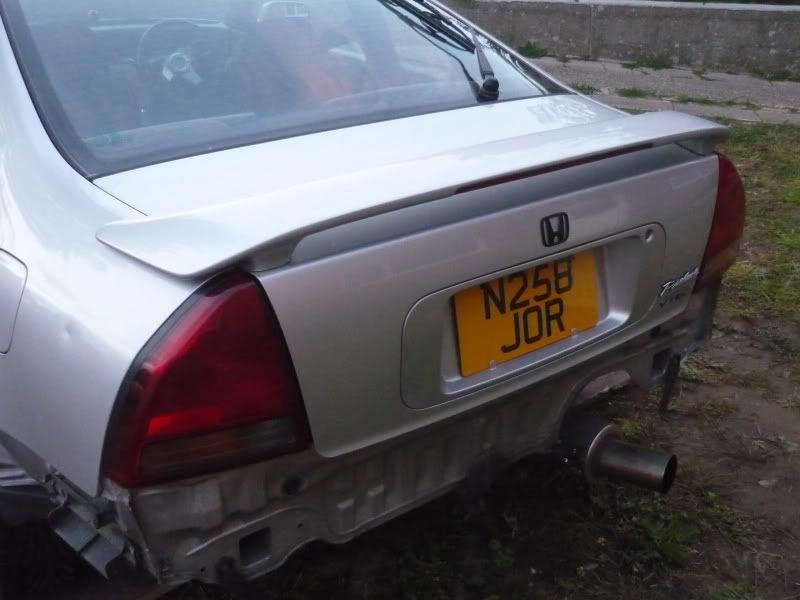
And speaking of bumpers, you may have noticed that my rear bumper had a set of red light/reflectors fitted. I liked them though was never sure of whether or not the were the rather rare-in-this-country USDM rear side repeaters that just hadn't been connected up...

But the thing that bothered me was that they were very subtley in different positions to each other (One was slightly higher and further forward to the other one  ) and they were screwed in position and as I thought they might have been lights then the bumper was potentially going to have holes in the wrong position to
So as the bumper was off I decided to have a look, and to my great relief they are just a reflector (so no hole has been cut), but I also noticed the screws didn't come through either...
It turns out the "screw" is a fake And they were only held on with sticky foam... So I removed them ...
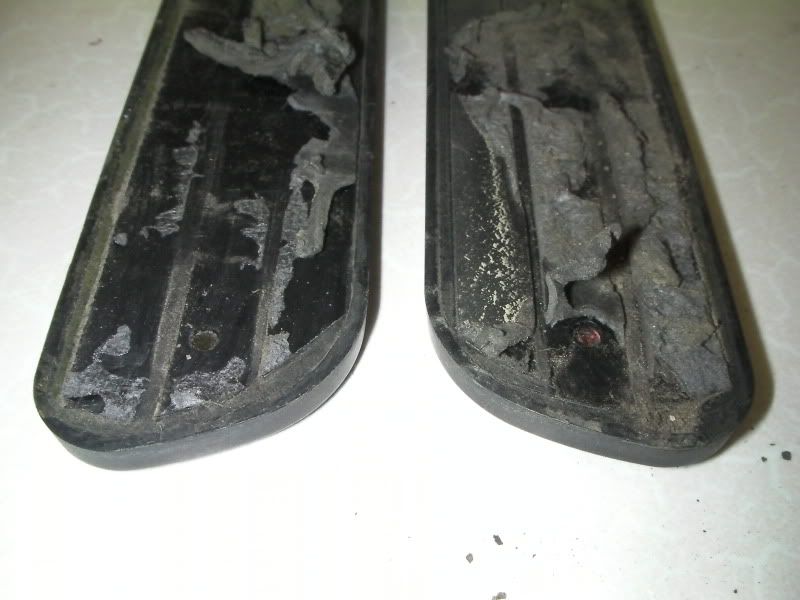
I may refit them at a later date once the bumper has been sprayed, but I imagine I'm more likely to source myself a set seals to fit these things I picked up a couple of months ago on the off chance my ones were just reflectors ...
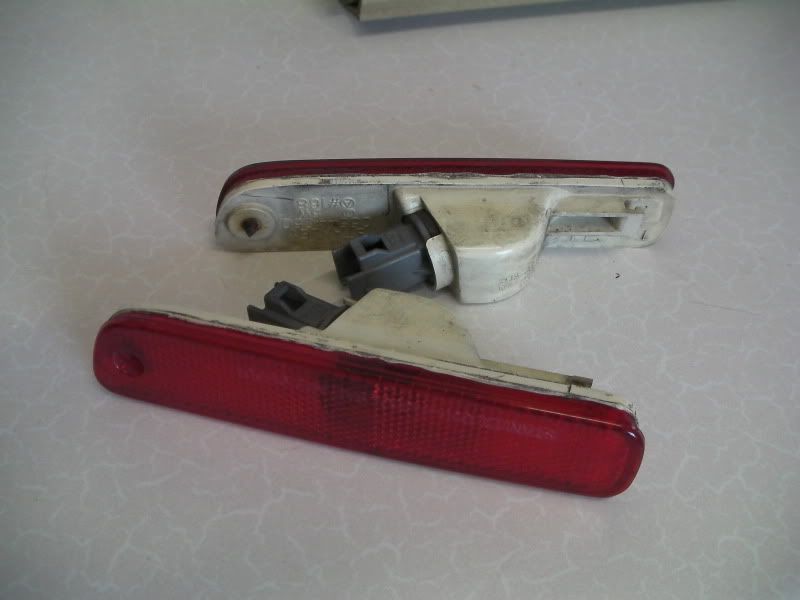
Genuine OEM USDM rear side repeaters... Which are identical in shape to the reflectors, which are also genuine Honda parts by the way.
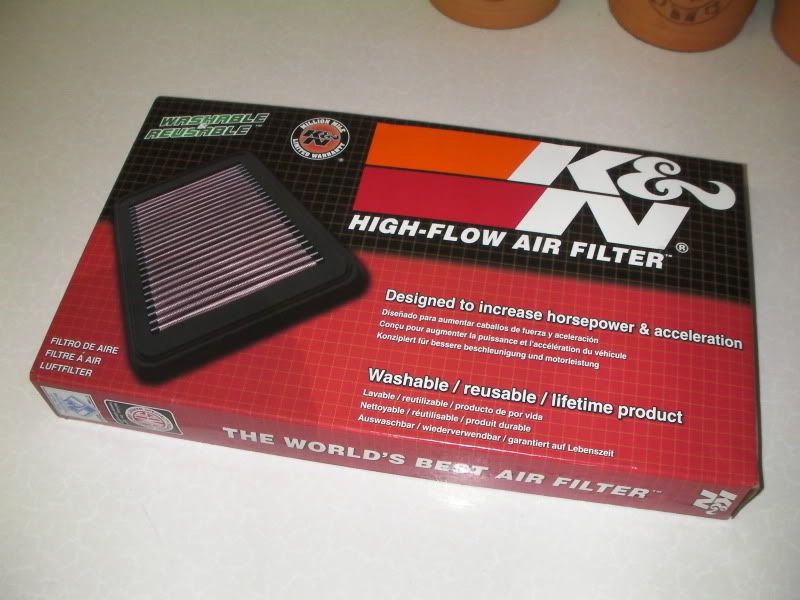
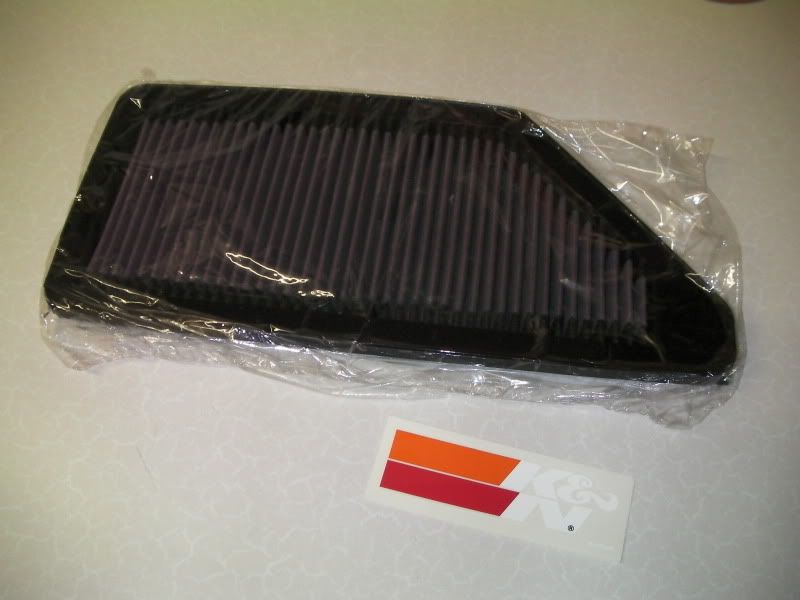
I've also fitted a K&N panel filter as part of the general overhaul of the car...
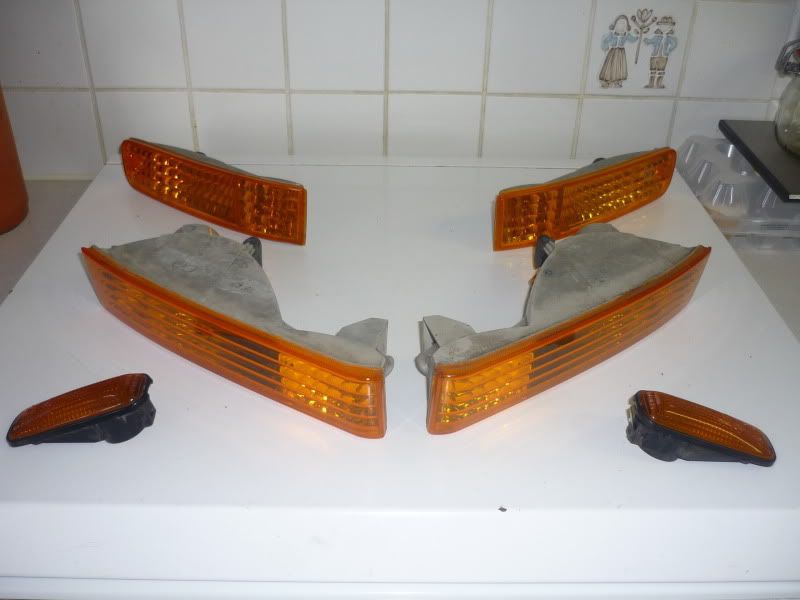
Then today I had a package arrive courtesy of Drax. I've been wanting to add a bit of colour back to the car, being silver and black, although cool, can be a tad lifeless. I've already acquired a set of yellow JDM front fog lights to replace the clear ones, but those need a bit of work before they're ready to fit. So this was an almost full set of amber lenses for the front of the car... But with a twist
Now I hadn't noticed it at first... It was only when I came to taking these pictures that I did notice, but spot the now obvious ...
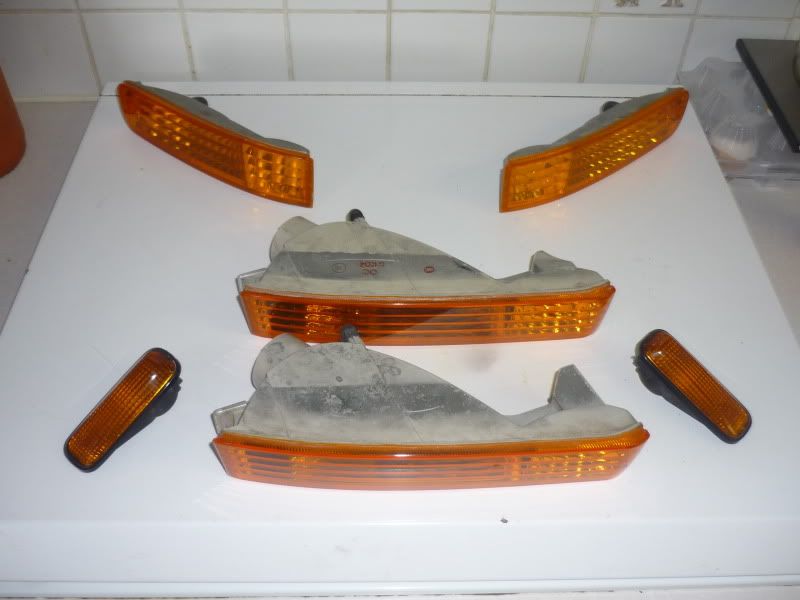
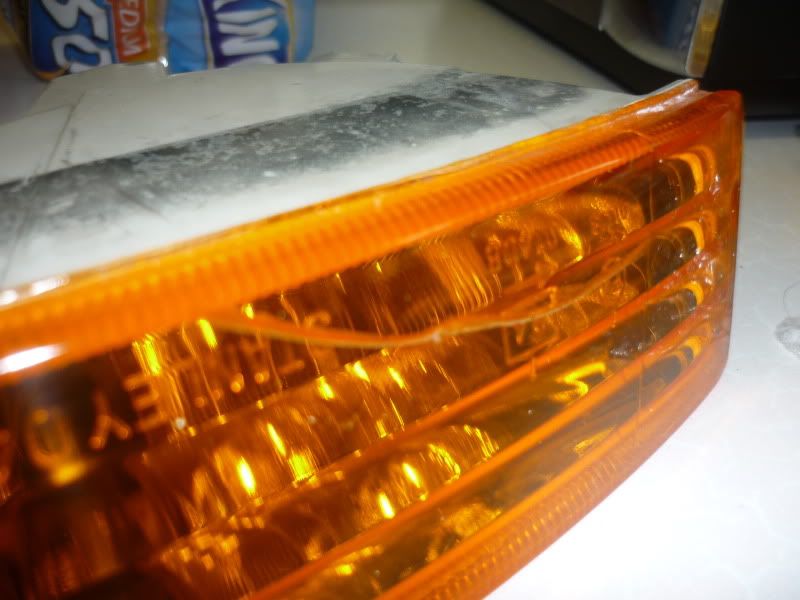
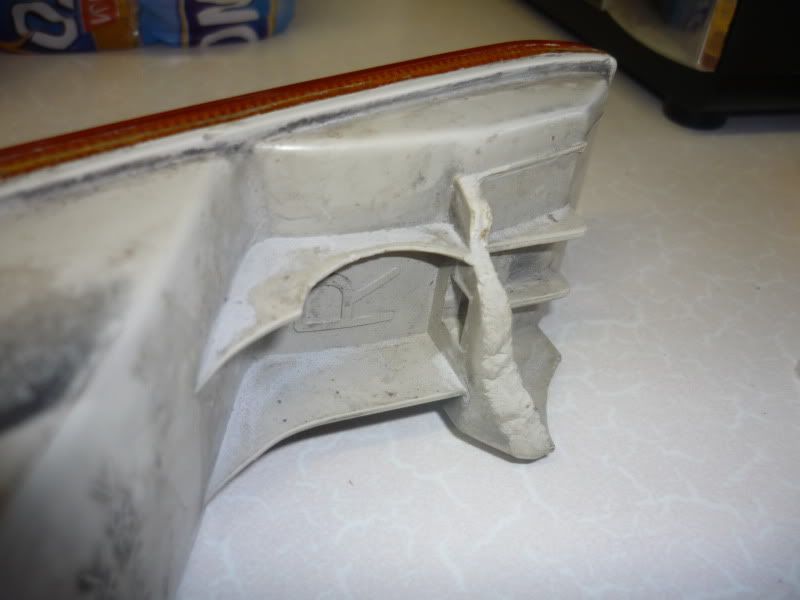
Drax only had one side repeater, but I just so happened to only have one amber side repeater as well, so Drax kindly threw his in with the deal. But when I first opened the parcel, I was a tad disappointed... The first indicator I picked out had quite a large crack down it and then I was to later on realise that the fixing bracket had completely snapped off. There was going to be no simple way to secure it in position even if I did get over the fact it's cracked...
I knew I also had one random amber indicator in the shed as well though. I wasn't going to get my hopes up, but really hoped it was going to be the same side as this knackered one...
... It wasn't Gutted!
So I started to arrange the lights to take pictures to send Drax to show him my predicament. This was when I realised that whether the one knackered light had been knackered or not, if I fitted the other one, there was no possible way I was going to fit this one anyway as it was for the same bloody side!
... So the random spare one I had in my shed was going to be my saviour after all!
I now have a full set of amber lenses! Woo! Some don't believe in fate, but when things like this happen, you have to wonder (I realise the small scale of this story by the way lol)...
However! As I currently have super rare turning lights fitted which are a godsend and I refuse to remove them, I shall not be fitting the amber reflectors. Those shall be utilised to create another indicator conversion on my project lude as the conversions on there are currently clear and I fancy amber ones there too.
I normally don't like clear reflectors next to amber indicators, but I figured my car being silver and the clear lenses giving the illusion of being silver then it'd work quite well. And I like it...

Also I replaced the driver's side rear cluster with one of my 3 spare ( ) as whoever converted it to having a rear foglight fitted obviously didn't have the correct red bulb, so simply painted a blub red The paint had burnt...
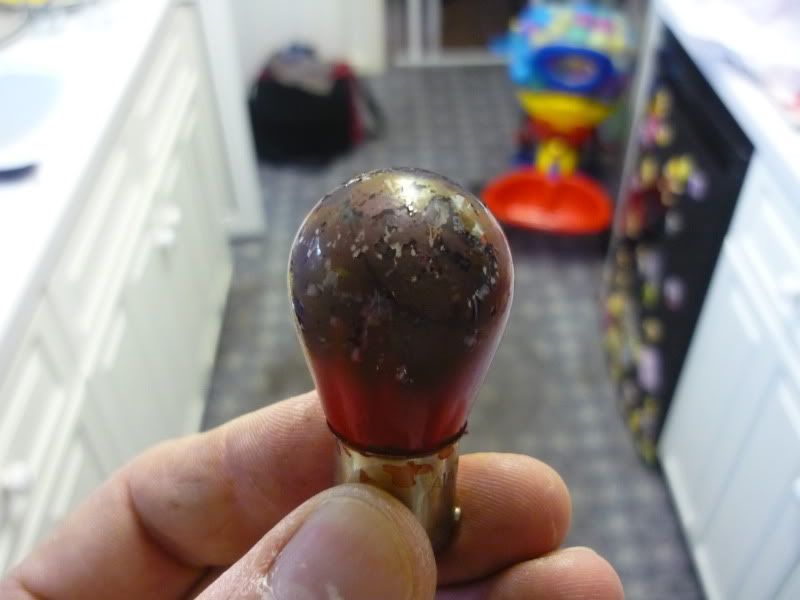
And caused the inside of the lense to blister...
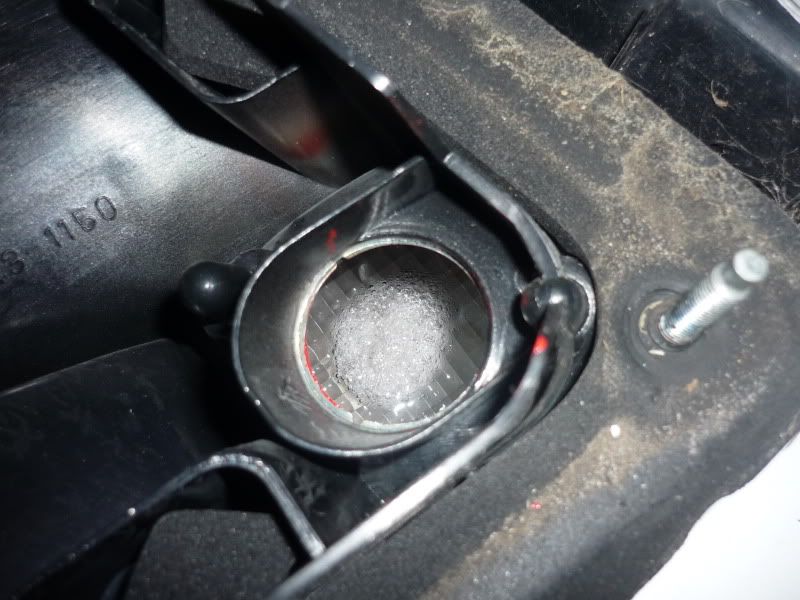
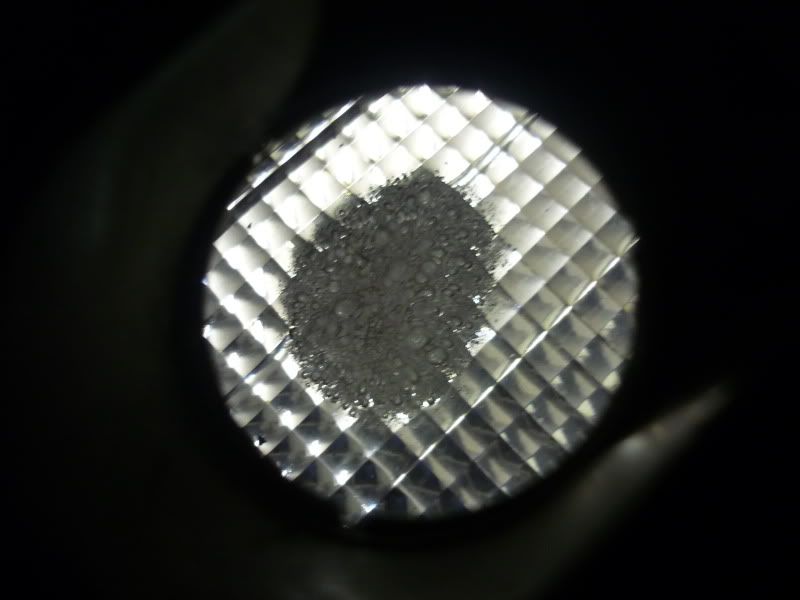
Causing a clouded effect on the outside...
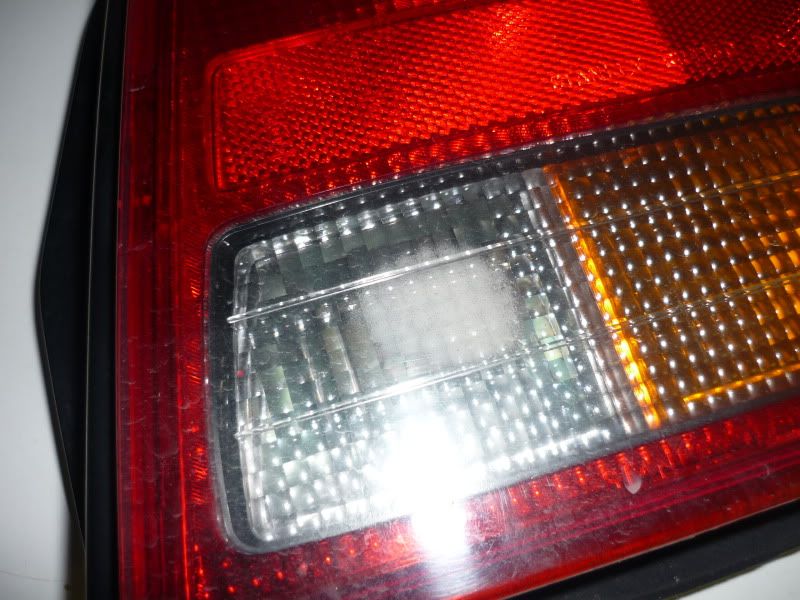
Swapped that over and all looks right as rain
Nearly there now
This finally meant I could tackle this...
So off comes the bumper, and besides the rust I'm about to tackle, she's amazingly clean under there!...
So here is a close up of the rust now the bumper is removed...
Doesn't look that bad... Should be a breeze with my new favourite tool
Oh... It's all the way though
And oh... It's quite a bit larger than I thought it was going to be
Still, at least the other side wasn't that bad, and that really was just surface rust...
Then I also had to tackle the small amount of surface rust from when I removed the door protector strips...
Once I'd removed all the loose rust and pretty much taken all the necessary areas back to bare metal, I then treated the areas with Krust to stop any more rust in it's tracks. I then applied a good helping of rust-converting primer with a paint-brush...
Then the massive hole I filled with Isopon P40 Fibre Compound...
To then smooth over with Isopon Metalik Paste before priming and painting. I've not taken any pictures of these processes as I've been dashing out inbetween showers to get the job done
So at the moment I'm just needing to wet'n'dry-down the paint before applying lacquer. To be honest it's going to be by no means a great job, partly because of it being a rush job and having to do it outside on my drive, but mainly because I'm not terribly bothered to do so as the whole car needs doing anyway.
Anyway, I'll take some picture of the whole repair job once the bumper's back on.
And speaking of bumpers, you may have noticed that my rear bumper had a set of red light/reflectors fitted. I liked them though was never sure of whether or not the were the rather rare-in-this-country USDM rear side repeaters that just hadn't been connected up...
But the thing that bothered me was that they were very subtley in different positions to each other
So as the bumper was off I decided to have a look, and to my great relief they are just a reflector (so no hole has been cut), but I also noticed the screws didn't come through either...
It turns out the "screw" is a fake
I may refit them at a later date once the bumper has been sprayed, but I imagine I'm more likely to source myself a set seals to fit these things I picked up a couple of months ago on the off chance my ones were just reflectors
Genuine OEM USDM rear side repeaters... Which are identical in shape to the reflectors, which are also genuine Honda parts by the way.
I've also fitted a K&N panel filter as part of the general overhaul of the car...
Then today I had a package arrive courtesy of Drax. I've been wanting to add a bit of colour back to the car, being silver and black, although cool, can be a tad lifeless. I've already acquired a set of yellow JDM front fog lights to replace the clear ones, but those need a bit of work before they're ready to fit. So this was an almost full set of amber lenses for the front of the car... But with a twist
Now I hadn't noticed it at first... It was only when I came to taking these pictures that I did notice, but spot the now obvious
Drax only had one side repeater, but I just so happened to only have one amber side repeater as well, so Drax kindly threw his in with the deal. But when I first opened the parcel, I was a tad disappointed... The first indicator I picked out had quite a large crack down it and then I was to later on realise that the fixing bracket had completely snapped off. There was going to be no simple way to secure it in position even if I did get over the fact it's cracked...
I knew I also had one random amber indicator in the shed as well though. I wasn't going to get my hopes up, but really hoped it was going to be the same side as this knackered one...
... It wasn't
So I started to arrange the lights to take pictures to send Drax to show him my predicament. This was when I realised that whether the one knackered light had been knackered or not, if I fitted the other one, there was no possible way I was going to fit this one anyway as it was for the same bloody side!
... So the random spare one I had in my shed was going to be my saviour after all!
I now have a full set of amber lenses! Woo! Some don't believe in fate, but when things like this happen, you have to wonder
However! As I currently have super rare turning lights fitted which are a godsend and I refuse to remove them, I shall not be fitting the amber reflectors. Those shall be utilised to create another indicator conversion on my project lude as the conversions on there are currently clear and I fancy amber ones there too.
I normally don't like clear reflectors next to amber indicators, but I figured my car being silver and the clear lenses giving the illusion of being silver then it'd work quite well. And I like it...
Also I replaced the driver's side rear cluster with one of my 3 spare (
And caused the inside of the lense to blister...
Causing a clouded effect on the outside...
Swapped that over and all looks right as rain
Nearly there now


-
NafemanNathan
- LotM Winner
- Posts: 20144
- Joined: Sun Aug 08, 2010 9:37 pm
- My Generation: 0G
- Location: Yeovil, Somerset
- Has thanked: 8 times
- Been thanked: 124 times
Arches finished. Rear Window Trim fitted. Blackened Badges
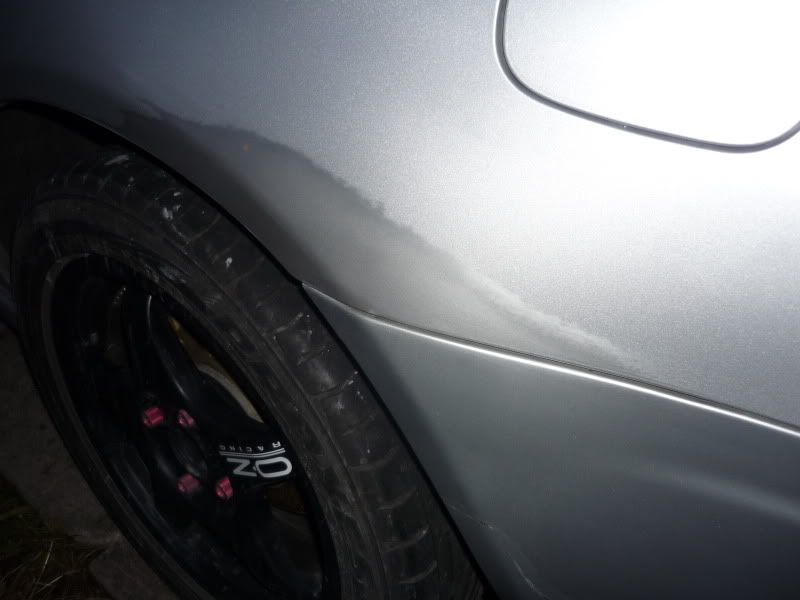
Well the rear bumper is back on, but it was too dark to take any pictures. But I can show you that the paint match is diabolical!
It was a can of paint that had been mixed up and given to me when I bought the car. I assumed Shaun had used it when he repaired the front lip. Anyway...
The painted areas were so large as I was obviously intending to blend the areas in as I didn't imagine the match to be perfect... I just didn't anticipate it being that bad 
But it was evident when I came to put the rear bumper back on that that too had been sprayed with the same paint! I just hadn't notice the poor colour match before due to the dividing line. (The camera flash enhances the colour difference)...

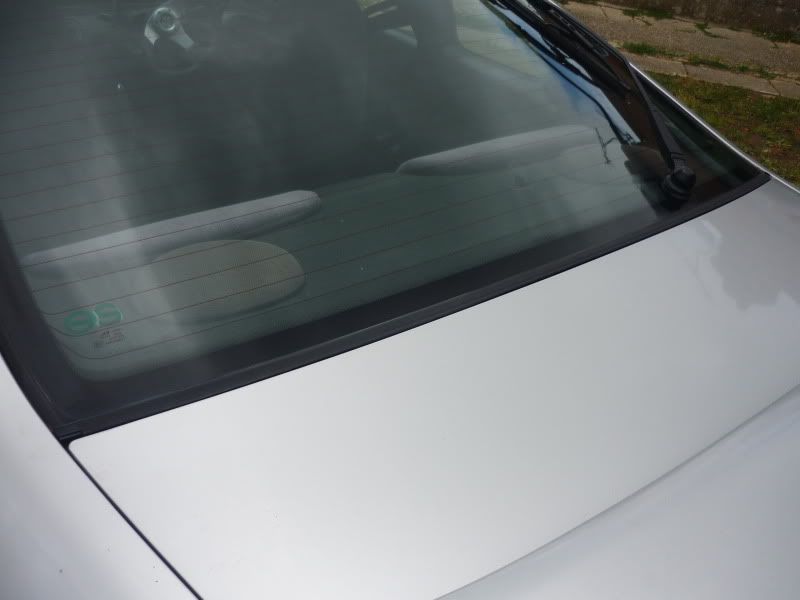
Also today I finally got around to doing something about the god-awful rear window lower trim. As most 4th geners know, this particular trim is more often than not in a very sorry state. Mine looked like this...
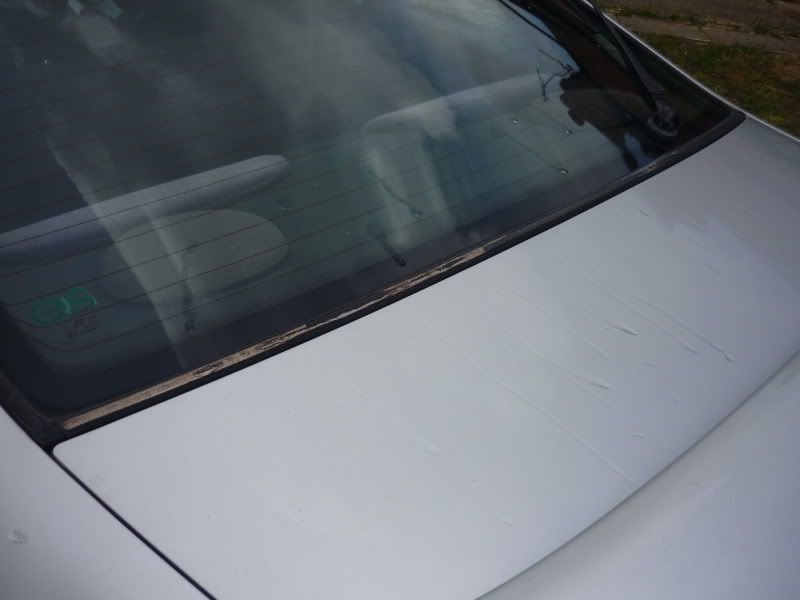
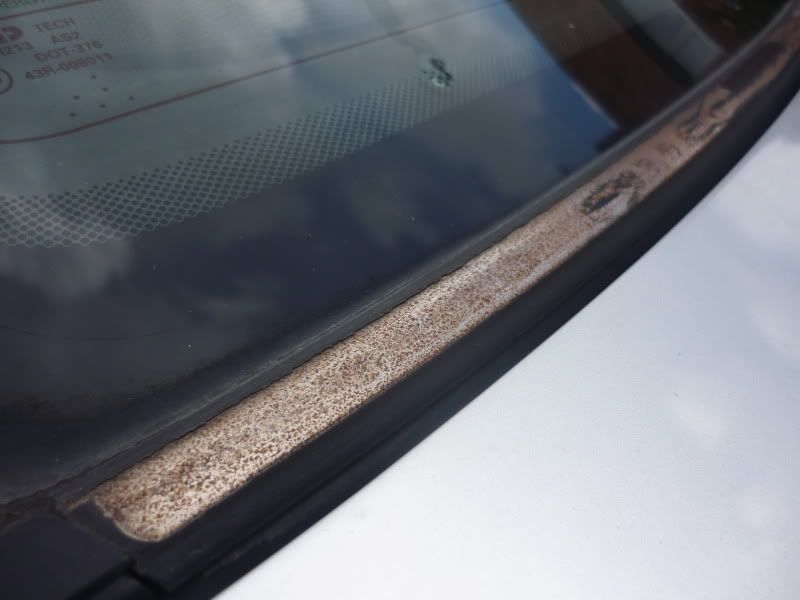
I can't tell if someone had already tried re-painting it, but it hadn't lasted if they had...

So I've been on the look out for a half decent replacement for a little while, or at least one that wouldn't take much to spruce up. So when I saw Ash was breaking his lude and his trim looked pretty tidy (all black anyway) I thought I'd give it a shot.
Only turned out to be bloody immaculate didn't it?! ...
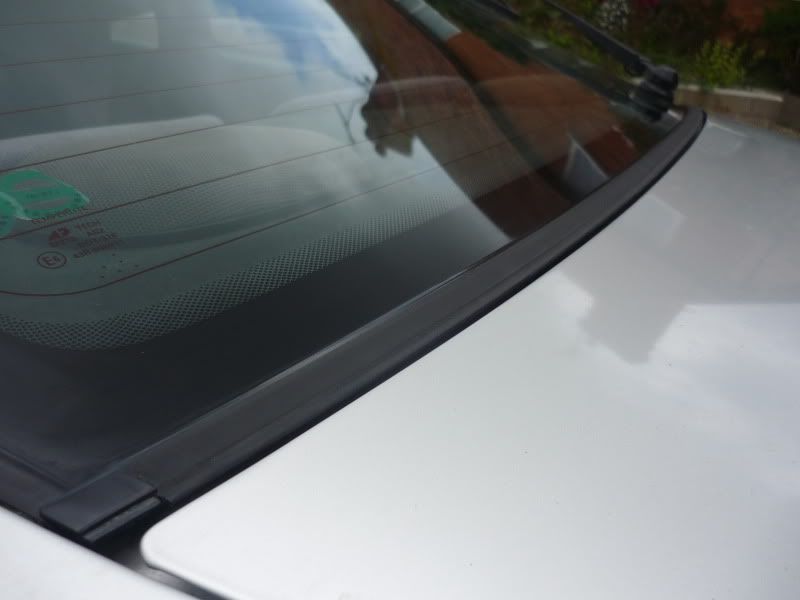
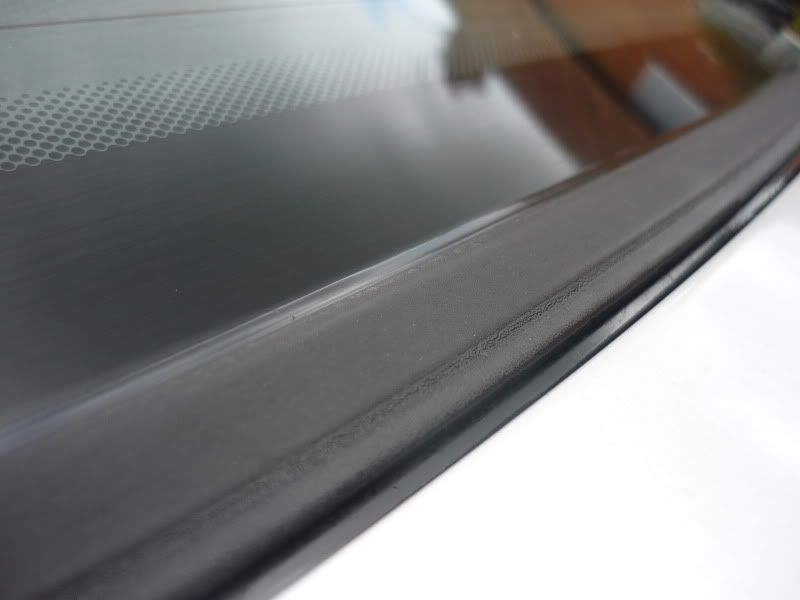
Tidies up the back end no end ...
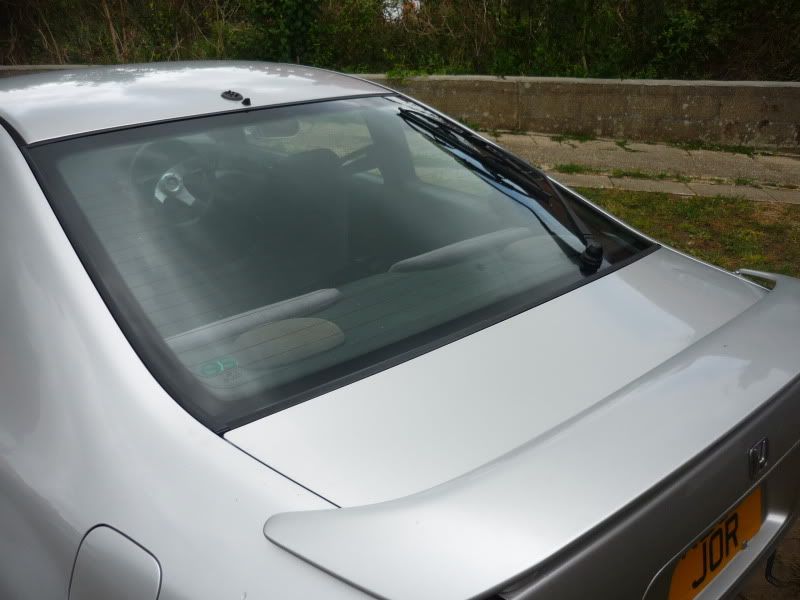
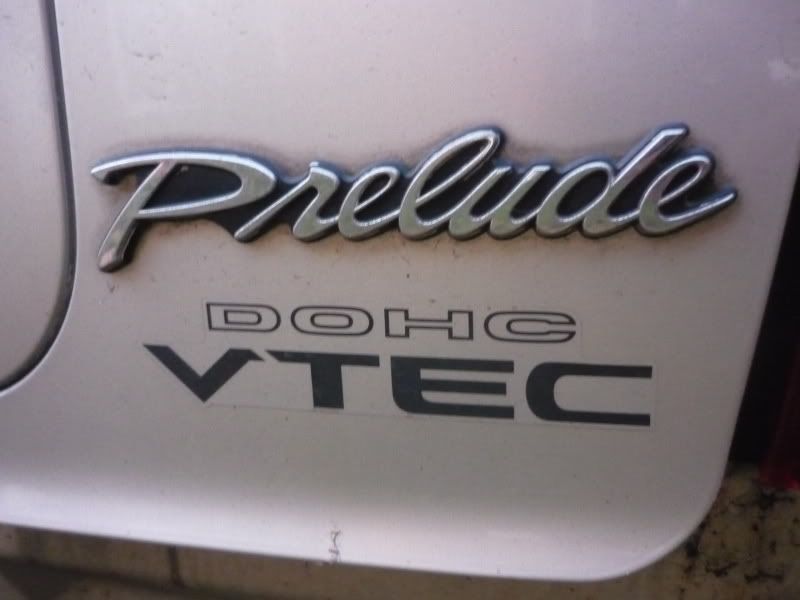
Then I've also satin-blacked my badges today too...
I would have also done the "Prelude" badge as well, but as this is black-backed it would have been lost...
I may spray the whole thing sebring silver and then blacken the letters in time, but we'll see.
Just a couple more pics from before I refitted the rear bumper...

It was a can of paint that had been mixed up and given to me when I bought the car. I assumed Shaun had used it when he repaired the front lip. Anyway...
But it was evident when I came to put the rear bumper back on that that too had been sprayed with the same paint! I just hadn't notice the poor colour match before due to the dividing line. (The camera flash enhances the colour difference)...
Also today I finally got around to doing something about the god-awful rear window lower trim. As most 4th geners know, this particular trim is more often than not in a very sorry state. Mine looked like this...
I can't tell if someone had already tried re-painting it, but it hadn't lasted if they had...
So I've been on the look out for a half decent replacement for a little while, or at least one that wouldn't take much to spruce up. So when I saw Ash was breaking his lude and his trim looked pretty tidy (all black anyway) I thought I'd give it a shot.
Only turned out to be bloody immaculate didn't it?!
Tidies up the back end no end
Then I've also satin-blacked my badges today too...
I would have also done the "Prelude" badge as well, but as this is black-backed it would have been lost...
I may spray the whole thing sebring silver and then blacken the letters in time, but we'll see.
Just a couple more pics from before I refitted the rear bumper...
-
RattyMcClelland

- Moderator
- Posts: 9208
- Joined: Wed Aug 04, 2010 10:02 pm
- My Generation: 5G
- PSN GamerTag: RattyMcClelland
- Location: Leicestershire
- Been thanked: 203 times

-
NafemanNathan
- LotM Winner
- Posts: 20144
- Joined: Sun Aug 08, 2010 9:37 pm
- My Generation: 0G
- Location: Yeovil, Somerset
- Has thanked: 8 times
- Been thanked: 124 times
Re: Nathan's Daily Drive BB4
Thanks for the advise Ratty. It was always going to be a temporary patch up. I am actually considering a slightly different colour as and when I get the whole car done. Nothing too drastically different... Still inkeeping with the silver/grey scheme, but different 
-
Lude-dude

- Moderator
- Posts: 2181
- Joined: Tue Aug 03, 2010 10:39 pm
- My Generation: 5G
- XBOX GamerTag: Vtec Junky
- PSN GamerTag: Rob7niner
- Has thanked: 3 times
- Been thanked: 3 times
yeah ive sand back the base, laqured over the top and its gone cloudy.
so never sand the colour, just laquer
and never read the instructions
so never sand the colour, just laquer
and never read the instructions

H22a5 UKDM 2.2 VTI 244Bhp 180lbs/ft Crower stage 2
http://www.ludegeneration.co.uk/profile ... t3211.html