Congratulations to vtecmec for winning May/June's Lude Of The Month, with his DIY Turbo BB1 build.
>>> Click Here For Profile <<<

>>> Click Here For Profile <<<

4g interior swap
- nickyboy
- Posts: 784
- Joined: Thu Jun 21, 2012 11:54 pm
- My Generation: 4G
- XBOX GamerTag: nickCTR
- PSN GamerTag: nickyboyUK
- Location: near Inverness
4g interior swap
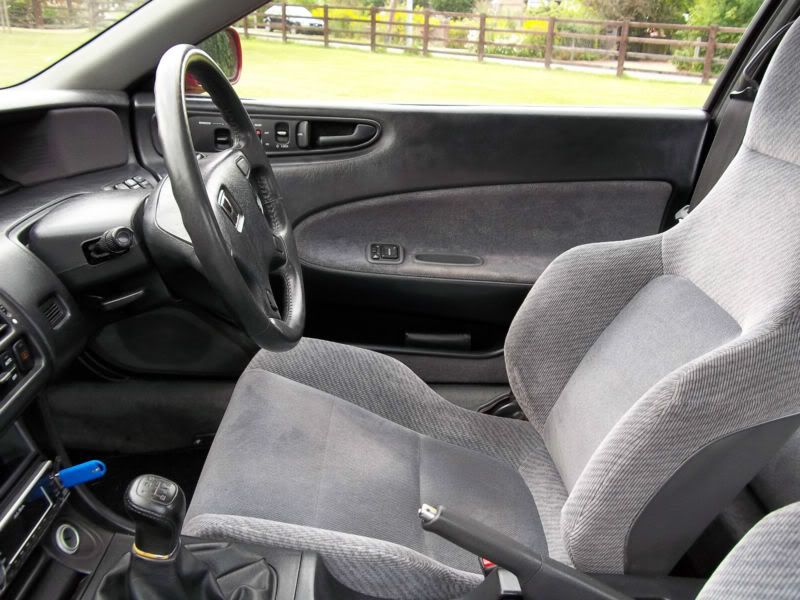
Can the facelift centre cupholder bit be swapped into the preface cars?
How easy to change the doorcards, seats & carpets etc?
How easy to change the doorcards, seats & carpets etc?
- NafemanNathan
- LotM Winner
- Posts: 20144
- Joined: Sun Aug 08, 2010 9:37 pm
- My Generation: 0G
- Location: Yeovil, Somerset
- Has thanked: 8 times
- Been thanked: 124 times
Doorcards are easy. Need to remove all the fixings screws and various clipped in bits (the switch cluster) and then pop the whole thing upwards. (EDIT: Sorry, worded that wrong... The switch cluster can stay in the doorcard, but you need to disconnect the connections from behind it once you've pulled the door card away enough).
Seats are simple also. They're just bolted down. There's a release mechanism if I remember rightly under the fronts of the rears.
Carpet's a little trickier. Obviously you need all the seats out, but then it's also tucked under the centre console and around the front structure. You can neatly cut down the centre of it where it can't be seen under the dash/behind the centre console, or you can go through the whole process of removing the dash/centre console structure.
The trouble with fitting a facelift centre console into a pre-facelift is the hand brake position. You need to make up a bracket and there's other gubbins I think. I think it's a bit of a head ache. Lemon posted a link to a how-to not that long ago. Hopefully he'll read this and know where it is.
Last edited by NafemanNathan on Fri Aug 24, 2012 9:08 am, edited 1 time in total.
- NafemanNathan
- LotM Winner
- Posts: 20144
- Joined: Sun Aug 08, 2010 9:37 pm
- My Generation: 0G
- Location: Yeovil, Somerset
- Has thanked: 8 times
- Been thanked: 124 times
- NafemanNathan
- LotM Winner
- Posts: 20144
- Joined: Sun Aug 08, 2010 9:37 pm
- My Generation: 0G
- Location: Yeovil, Somerset
- Has thanked: 8 times
- Been thanked: 124 times
- NafemanNathan
- LotM Winner
- Posts: 20144
- Joined: Sun Aug 08, 2010 9:37 pm
- My Generation: 0G
- Location: Yeovil, Somerset
- Has thanked: 8 times
- Been thanked: 124 times
You can indeed my friend 
Many of the guys on here have recovered theirs to colour co-ordinate as well. Think Rob (Nucleustylzlude) did a how too on it (if it's on here). But basically, remove the door card, and the insert is simply held in place with folded over tabs. Just unfold the tabs and remove. Not sure if there's any glue holding it on as well, but that's no major issue if there is.
EDIT: I do quite like the grey though
EDIT 2: Shame you're all the way up north... I'd happilly do a straight interior swap with you


