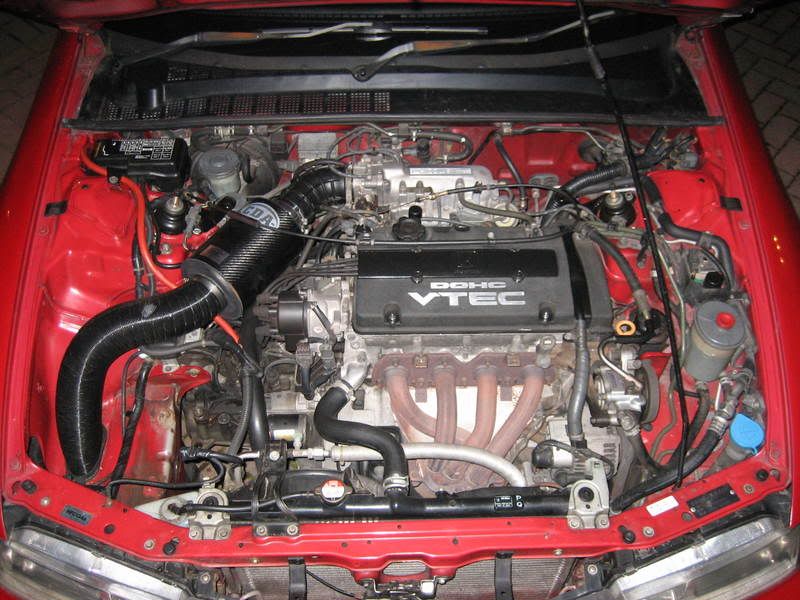
Congratulations to vtecmec for winning May/June's Lude Of The Month, with his DIY Turbo BB1 build.

>>> Click Here For Profile <<<

Image

Nathan's Road-Legal/Track BB4

Tell us all about your Lude, you know you want to ...
User avatar
NafemanNathan
LotM Winner
Posts: 20144
Joined: Sun Aug 08, 2010 9:37 pm
My Generation: 0G
Location: Yeovil, Somerset
Has thanked: 8 times
Been thanked: 124 times

Re: PLEASE DO NOT POST IN THIS THREAD YET (Under Constructio

Post by NafemanNathan » Mon Feb 06, 2012 1:34 pm

How can you see there's a fixing from the bumper missing from there?!!!!! :shock:

I used the standard top mounts dude. I just cleaned them up real good! 8) The Tein top pillar mounts aren't needed for a Lude, so you don't get them. You just wanted me to travel 5 hours to come and see you again didn't you? :lol:

Anyway father is home. Lets go get the heavy MF to go stand on my hub! :lol:

User avatar
NafemanNathan
LotM Winner
Posts: 20144
Joined: Sun Aug 08, 2010 9:37 pm
My Generation: 0G
Location: Yeovil, Somerset
Has thanked: 8 times
Been thanked: 124 times

Re: PLEASE DO NOT POST IN THIS THREAD YET (Under Constructio

Post by NafemanNathan » Mon Feb 06, 2012 1:35 pm

Drewster wrote:nice work there the rims i am looking at getting in the near future 8)

User avatar
NafemanNathan
LotM Winner
Posts: 20144
Joined: Sun Aug 08, 2010 9:37 pm
My Generation: 0G
Location: Yeovil, Somerset
Has thanked: 8 times
Been thanked: 124 times

Re: PLEASE DO NOT POST IN THIS THREAD YET (Under Constructio

Post by NafemanNathan » Mon Feb 06, 2012 1:40 pm

Drewster wrote:nice work there the rims i am looking at getting in the near future 8)
Cool... Matching red ludes 8) See if you can better £102 for all 4 tho :wink: :P

User avatar
NafemanNathan
LotM Winner
Posts: 20144
Joined: Sun Aug 08, 2010 9:37 pm
My Generation: 0G
Location: Yeovil, Somerset
Has thanked: 8 times
Been thanked: 124 times

Re: PLEASE DO NOT POST IN THIS THREAD YET (Under Constructio

Post by NafemanNathan » Mon Feb 06, 2012 1:40 pm

aardvark64 wrote:Wow, you've been busy! The car will look really great with the new rims and shocks.

You should also notice a real difference with the EGR de-gunked. That was a lot of soot.

Best wishes, Colin

User avatar
NafemanNathan
LotM Winner
Posts: 20144
Joined: Sun Aug 08, 2010 9:37 pm
My Generation: 0G
Location: Yeovil, Somerset
Has thanked: 8 times
Been thanked: 124 times

Re: PLEASE DO NOT POST IN THIS THREAD YET (Under Constructio

Post by NafemanNathan » Mon Feb 06, 2012 1:41 pm

I noticed a definate difference this morning on the way to work due to the EGR valve. A lot smoother, and balancing the clutch queuing on the hill was a lot lot easier to :)

Think I need to replace the suspension bushes as well. The front's are still squeaky over speed bumps. And when I tightened up the lower fork bolt (before locating the bottom of the Tein in it) I couldn't actually move the fork afterwards (back and forth)... And I'm assuming I should have been able to? :? ....

User avatar
NafemanNathan
LotM Winner
Posts: 20144
Joined: Sun Aug 08, 2010 9:37 pm
My Generation: 0G
Location: Yeovil, Somerset
Has thanked: 8 times
Been thanked: 124 times

Re: PLEASE DO NOT POST IN THIS THREAD YET (Under Constructio

Post by NafemanNathan » Mon Feb 06, 2012 1:41 pm

mercutio wrote:nice work matey great project 8)

User avatar
NafemanNathan
LotM Winner
Posts: 20144
Joined: Sun Aug 08, 2010 9:37 pm
My Generation: 0G
Location: Yeovil, Somerset
Has thanked: 8 times
Been thanked: 124 times

(LB) Rear Window Trim Refurb

Post by NafemanNathan » Mon Feb 06, 2012 1:42 pm

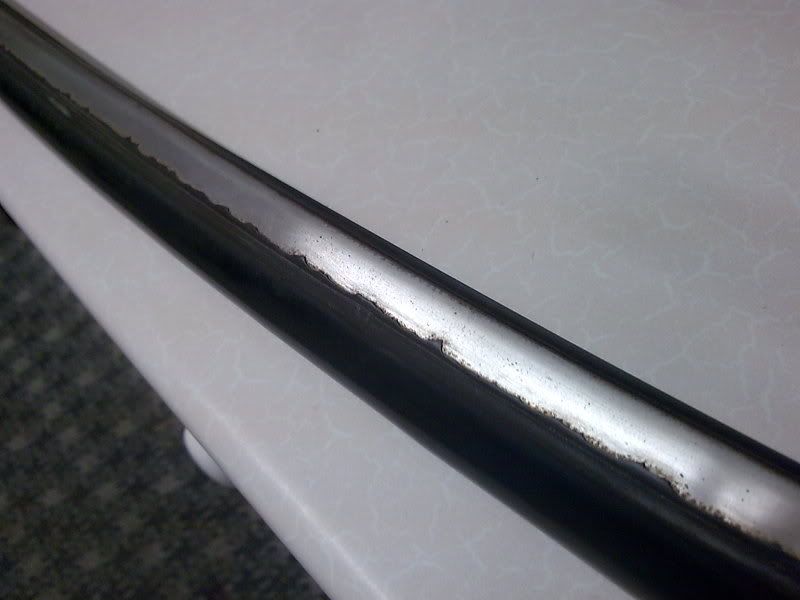
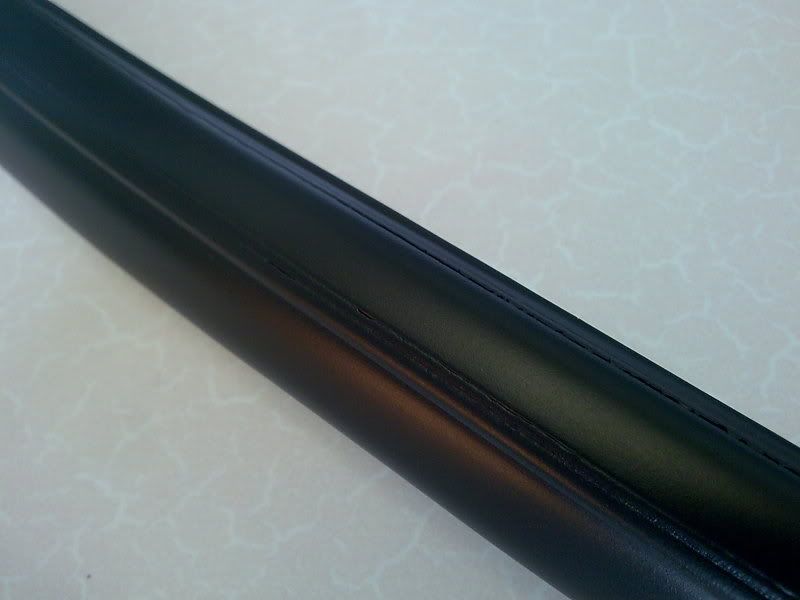
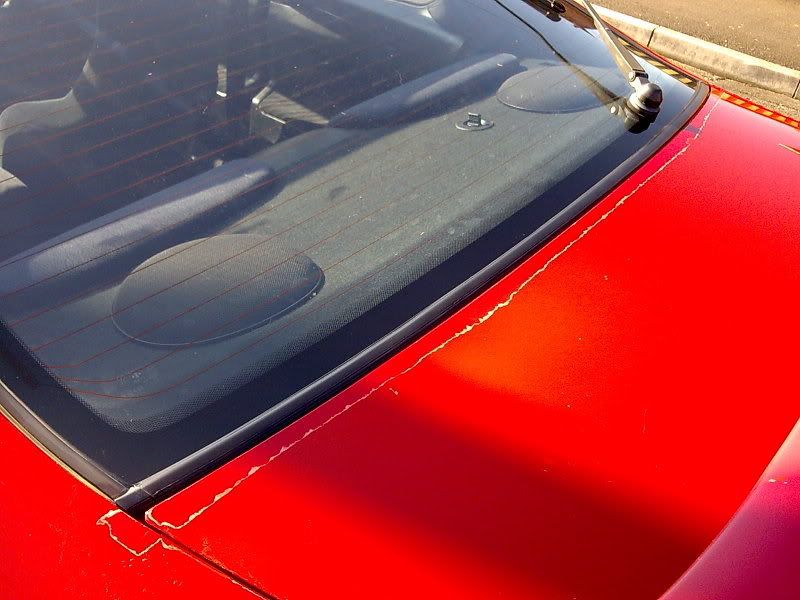
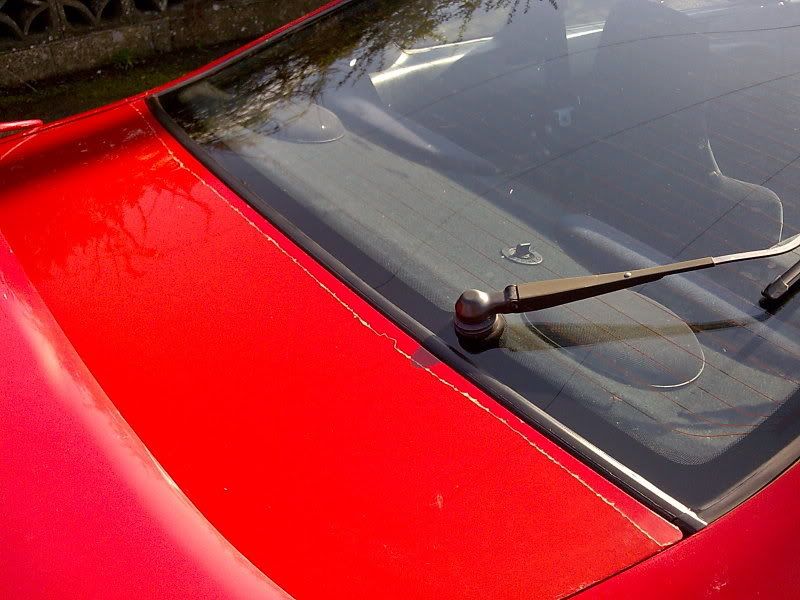
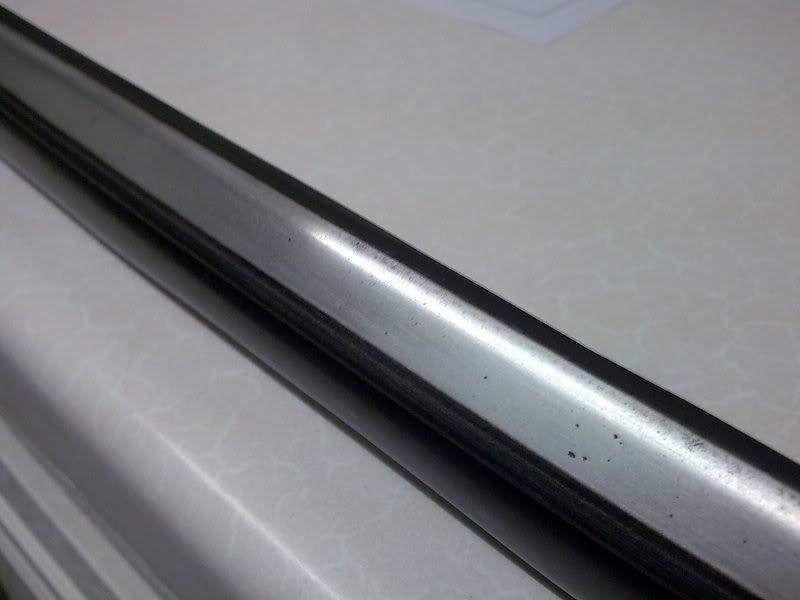
This weekend I had time to "make nice" the wind trim at the foot of the rear window. (As seen on "How to by Colin :wink: ) The thing had classically lost nearly all of it's plastic coating and was turning a nice shade of orange.

I forgot to take a picture of it before the first sanding, but here's what it looked like after...

Image

Image

Then after a good bit of wet and dry...

Image

Image

Then after a bit of a prime and then a few coats of satin black...

Image

Not perfect, as there's quite a bit of pitting when you look closely and you have to leave a certain amount of the plastic on and just make nice, but much better! :D

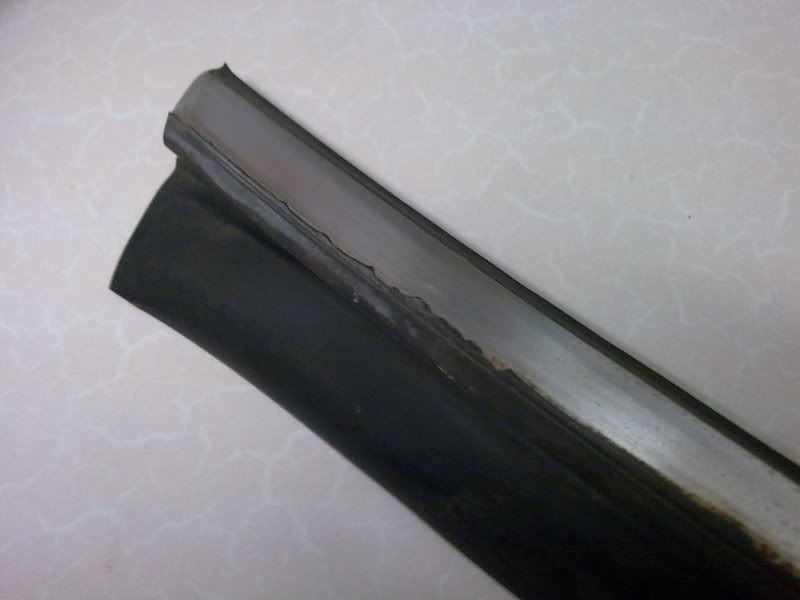
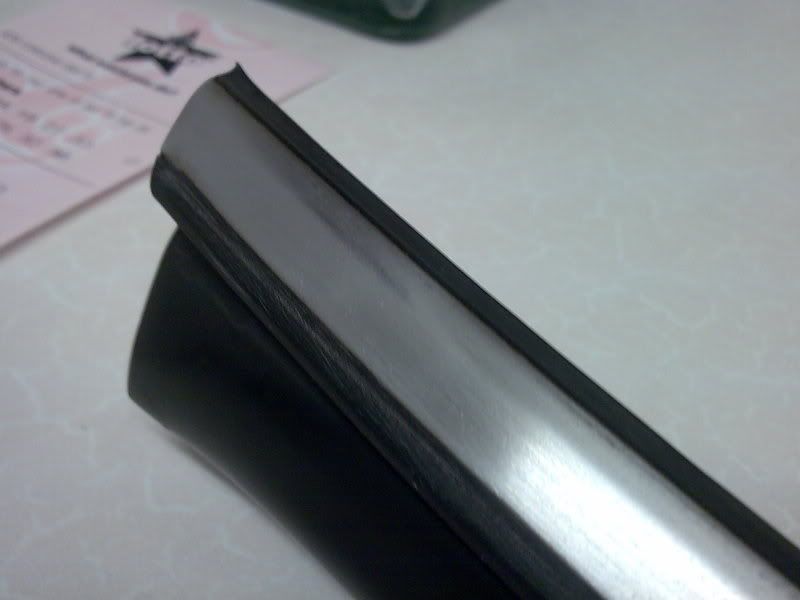
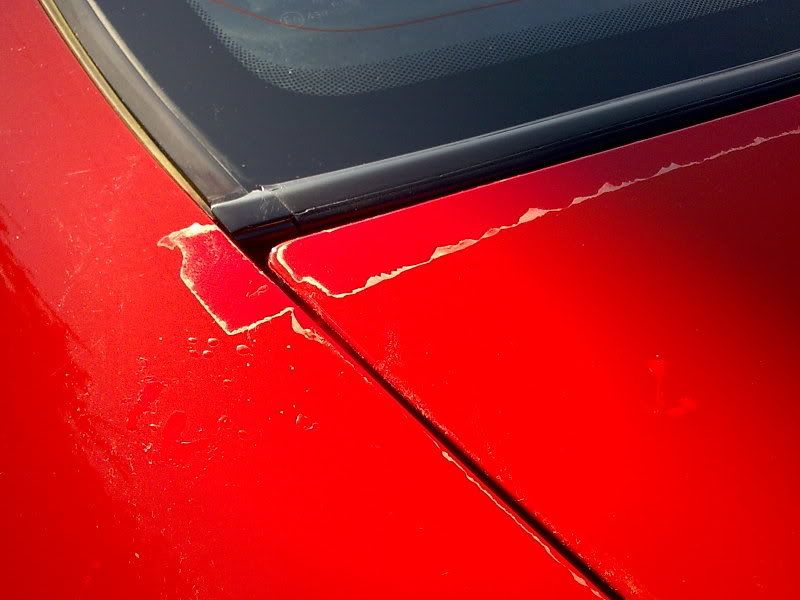
Only trouble was, being I don't trust the british weather, I thought it would be wise to cover up the gap left at the foot of the window whilst I had the trim removed for a couple of days. I new my paint was bad... but I didn't realise quite how bad the laquer was as well... until I removed what I'd taped up :lol: ..........


Image

Image

Image

:? :lol: Don't worry... It hasn't bothered me too much... I've planned from the start to eventually get a new paint job... It'll just make it all the more worth while now :wink:
Last edited by NafemanNathan on Tue Feb 07, 2012 2:02 pm, edited 1 time in total.

User avatar
NafemanNathan
LotM Winner
Posts: 20144
Joined: Sun Aug 08, 2010 9:37 pm
My Generation: 0G
Location: Yeovil, Somerset
Has thanked: 8 times
Been thanked: 124 times

Re: PLEASE DO NOT POST IN THIS THREAD YET (Under Constructio

Post by NafemanNathan » Mon Feb 06, 2012 1:43 pm

m.styles wrote:nice one mate i think that i will do mine now

User avatar
NafemanNathan
LotM Winner
Posts: 20144
Joined: Sun Aug 08, 2010 9:37 pm
My Generation: 0G
Location: Yeovil, Somerset
Has thanked: 8 times
Been thanked: 124 times

(LB) Front Bumper Refurb, Rear Teins & Rear Strut Brace Fitt

Post by NafemanNathan » Mon Feb 06, 2012 1:46 pm

Been a busy weekend for me this weekend.

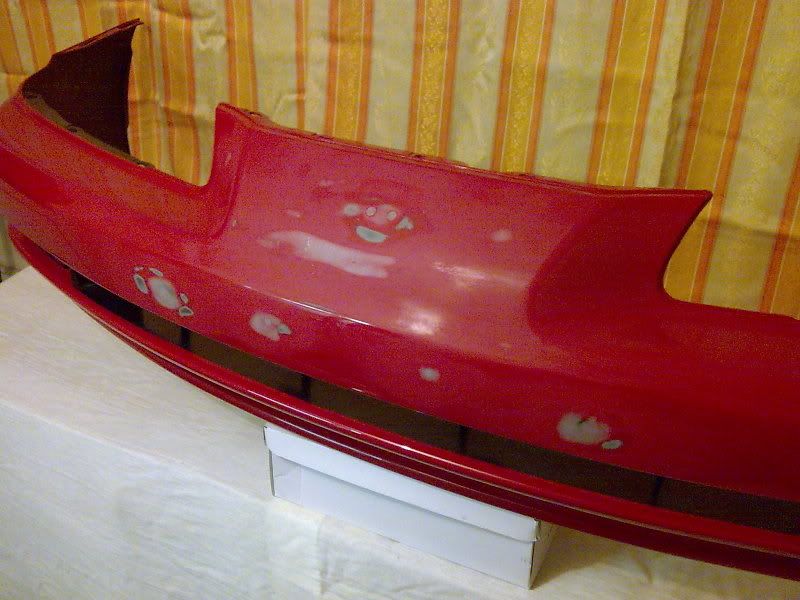
Friday night I finally finished off my replacement front bumper that I purchased from nucleustylz a while ago. It had a few holes in it from the UKDM number plate mount and also I wanted to get rid of the badge holes, so I had a bit of filling to do...

Image

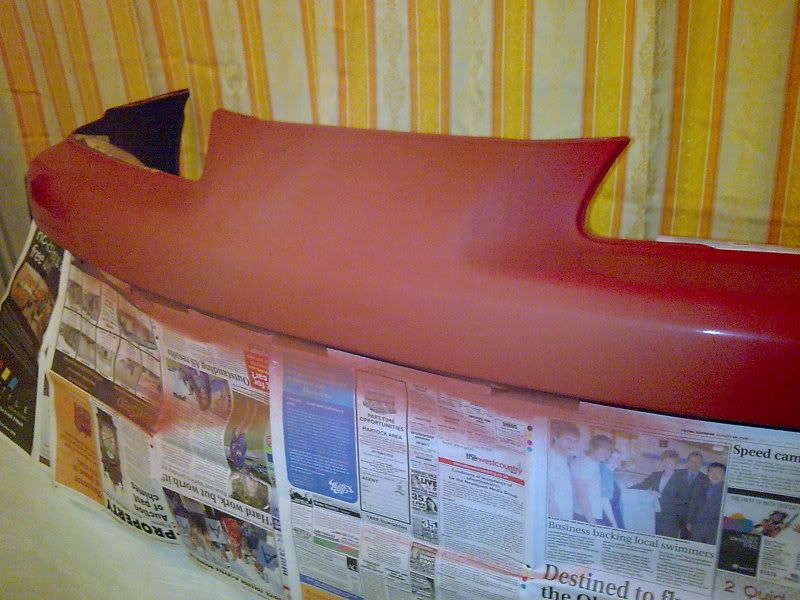
Then priming...

Image

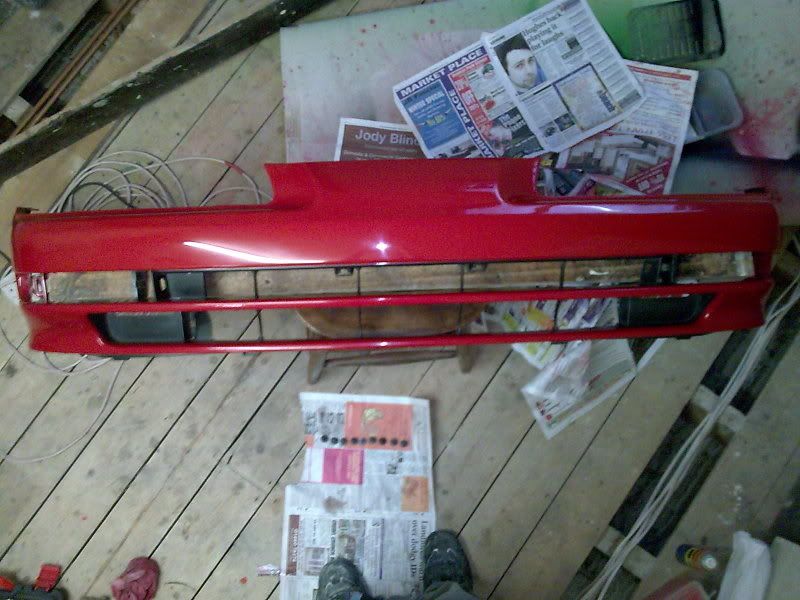
Then painting, followed by some sanding and a hell of a lot of buffing!...

Image

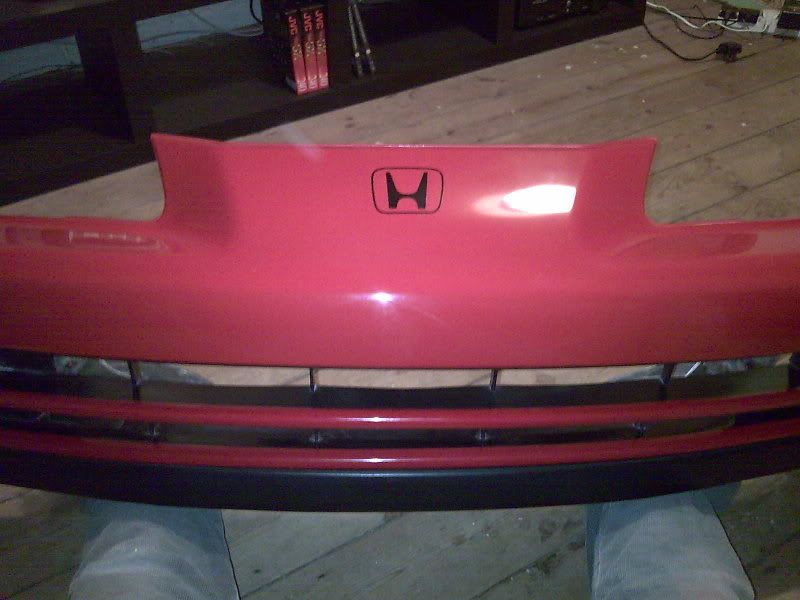
I then gave it a finishing touch :wink: 8) ...

Image

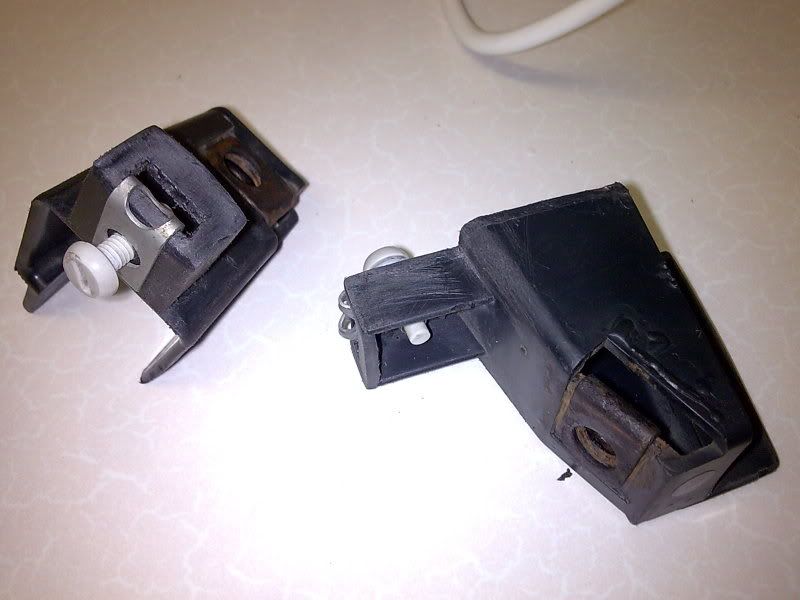
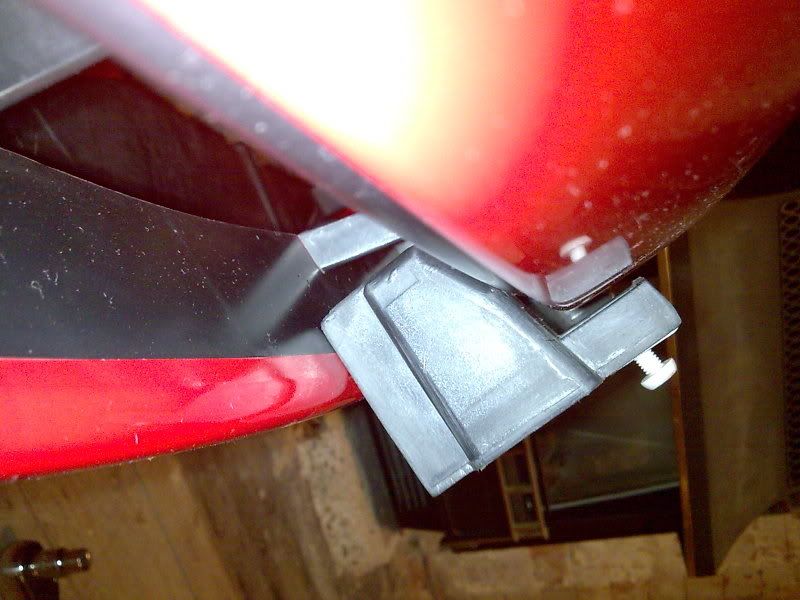
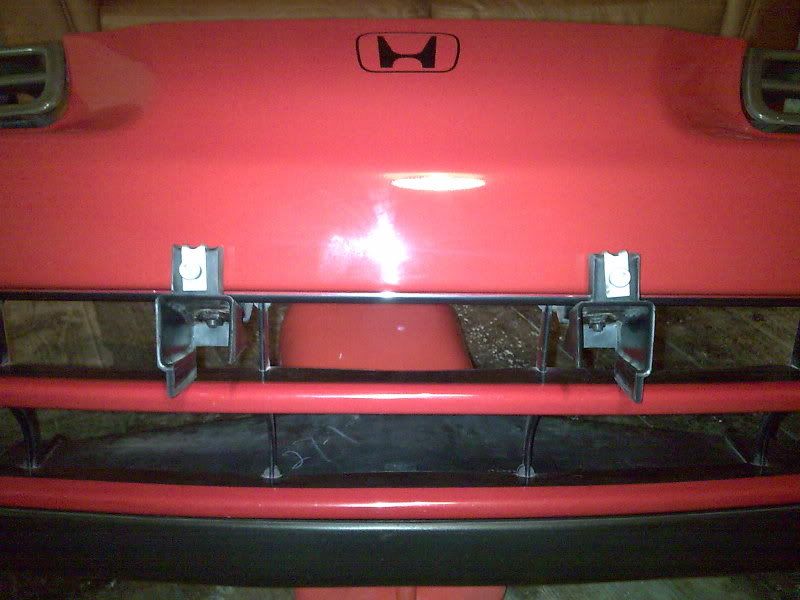
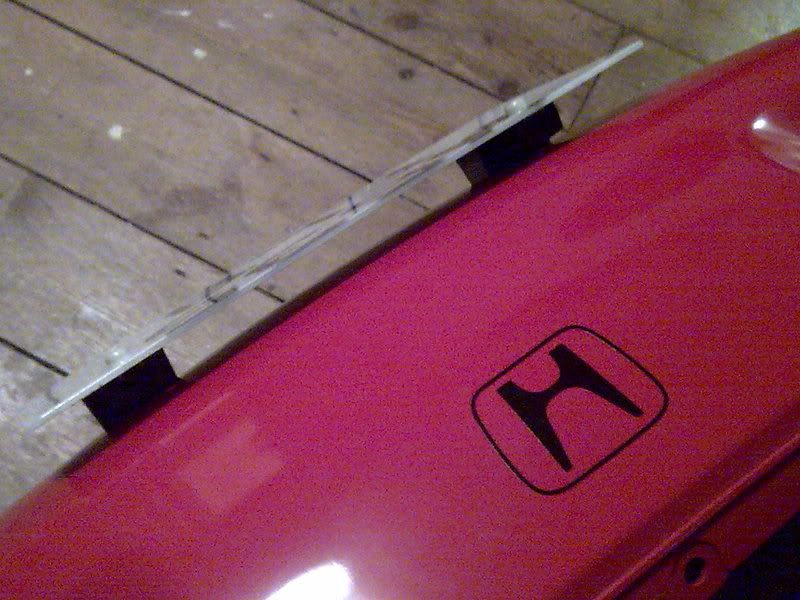
I've never been a big fan of the oem number plate box. Besides looking ugly IMO, they tend to wear the paint off the bumper. Not wanting to lose any paint this way and also not wanting to drill any hole in my freshly painted bumper, I decided to improvise. I cut the mounts from the oem box and left just enough plastic to secure to...

Image

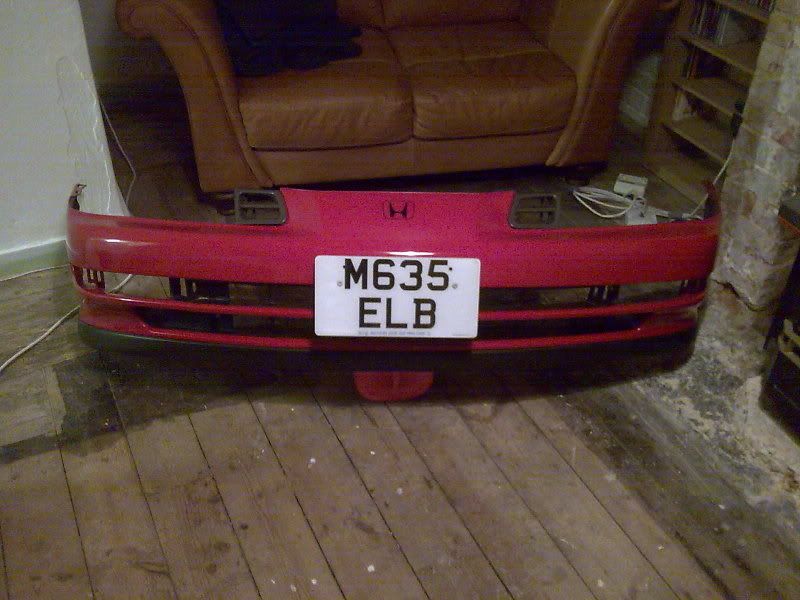
When attached, nothing is in contact with the paintwork and you have a whole lot more tolerance with number plate height...

Image

Image

Image

It also allows you just enough room to get behind the plate and clean :wink: ...

Image


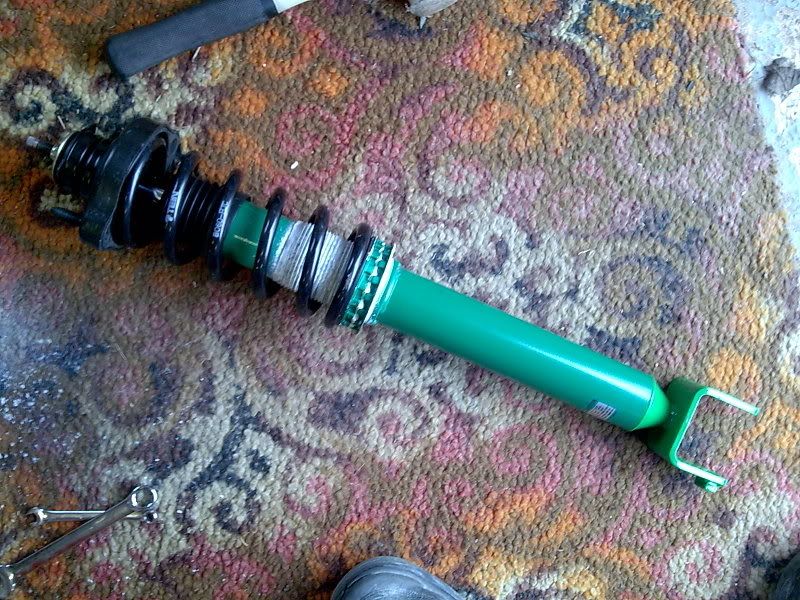
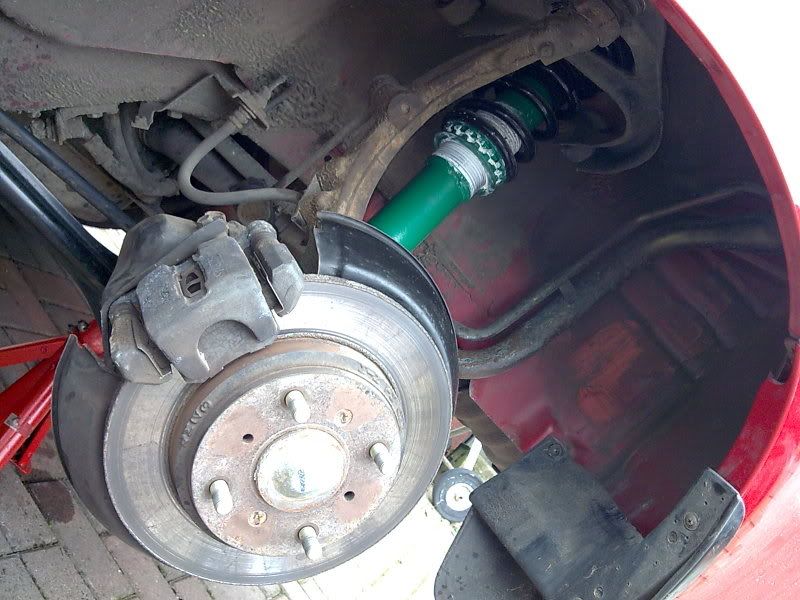
So then there was Saturday. I finally got around to fitting my rear Tein Super Streets 8) :D ...

Image

They went in a lot easier than the fronts did :wink:

Image

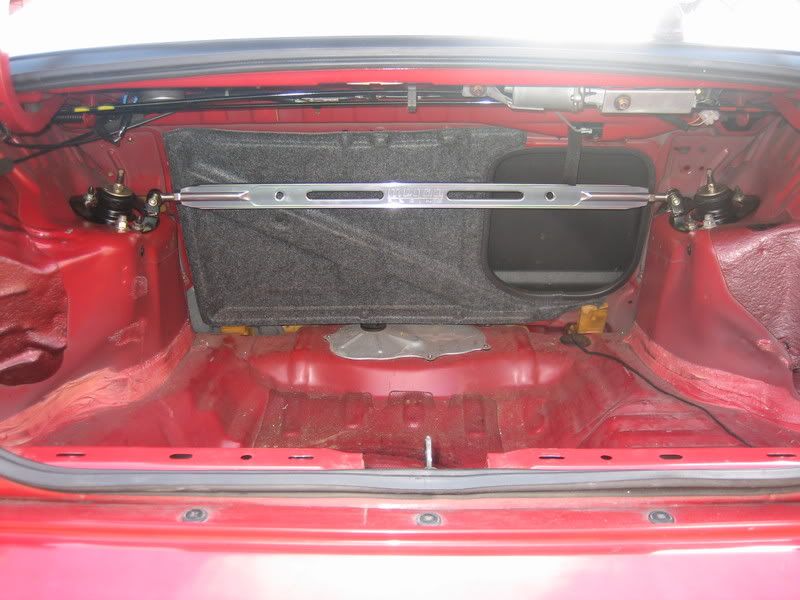
I also got to fit my rear Megan racing brace, which looks super! :D ...

Image
Last edited by NafemanNathan on Tue Feb 07, 2012 2:02 pm, edited 1 time in total.

User avatar
NafemanNathan
LotM Winner
Posts: 20144
Joined: Sun Aug 08, 2010 9:37 pm
My Generation: 0G
Location: Yeovil, Somerset
Has thanked: 8 times
Been thanked: 124 times

(LB) Battery Relocation

Post by NafemanNathan » Mon Feb 06, 2012 1:47 pm

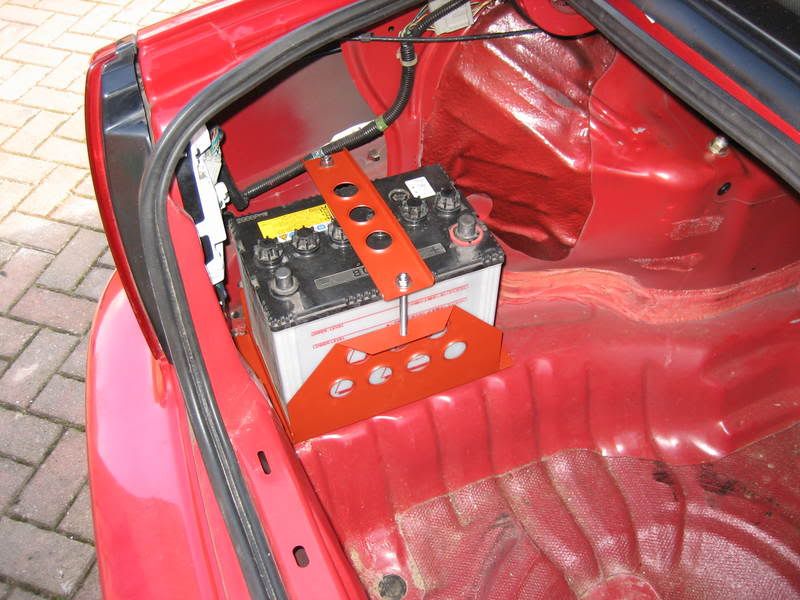
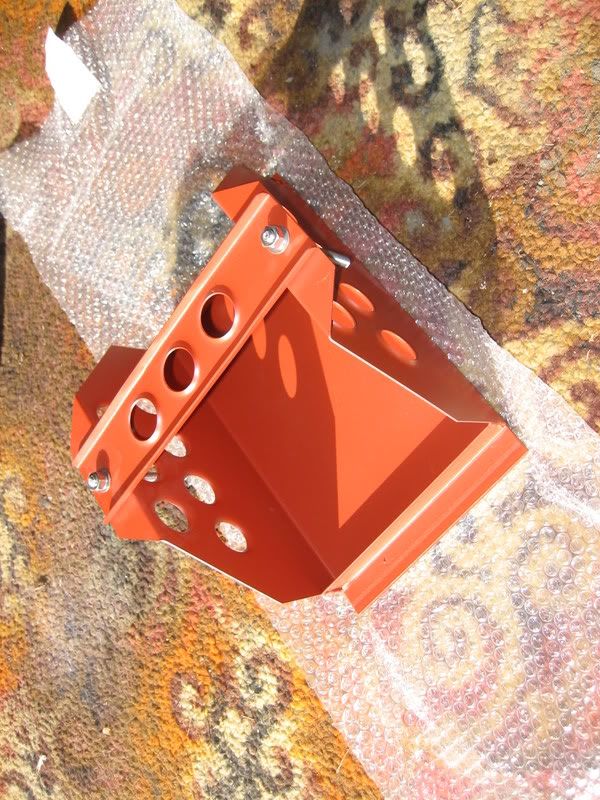
Now I've still not been able to fit my front Megan Racing brace due to my air filter being in the way. So a while back I decided I was going to shift my battery to the boot of the car to give myself enough room to bring my air filter forward and do just about anything with the ducting. So I set about doing that today :wink: I had all the stuff arrive a while ago... 5 metres of 50mm2 red cable and this baby, that I got from a guy on ebay...
Image

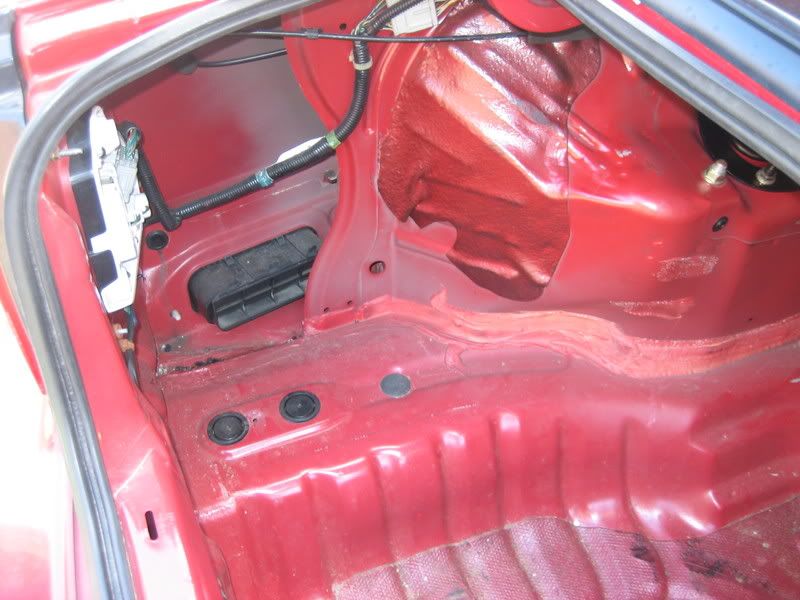
Anyway, I decided I wanted to install it here...
Image

So I made sure it would fit... And it fit perfect! :D 8) ...

Image

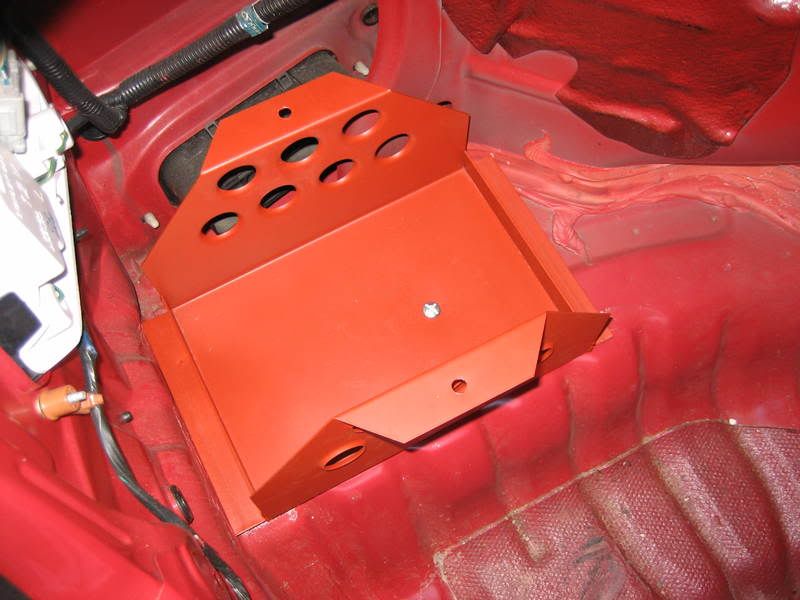
In order to secure it I drilled a pilot hole...
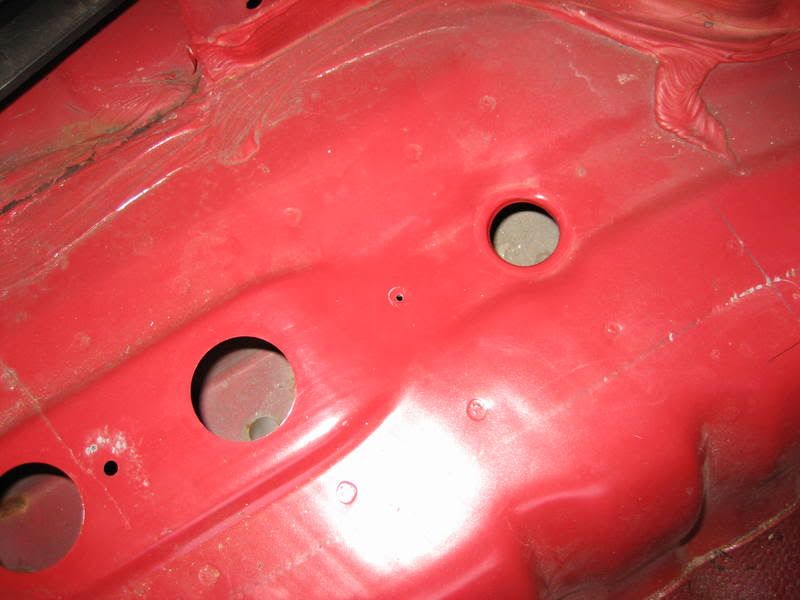
Image

which was directly above this hole (once the bung was removed) to enable me to get at the nut I was going to use...
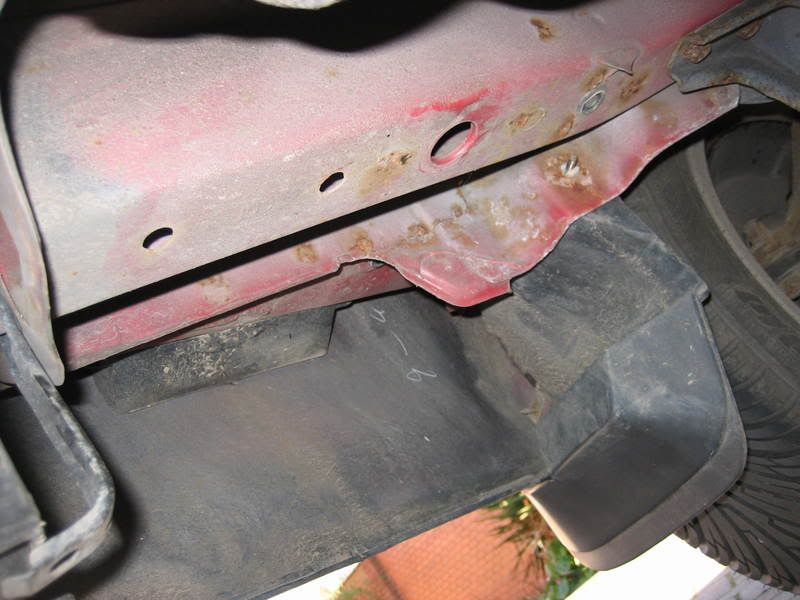
Image

(There's no way the tray can slip, but having completed the job now I think I'll install at least on other bolt soon, as there is a very slight wobble. Nothing serious tho) Anyway, here it is secured with a low profile head bolt :wink: ...

Image

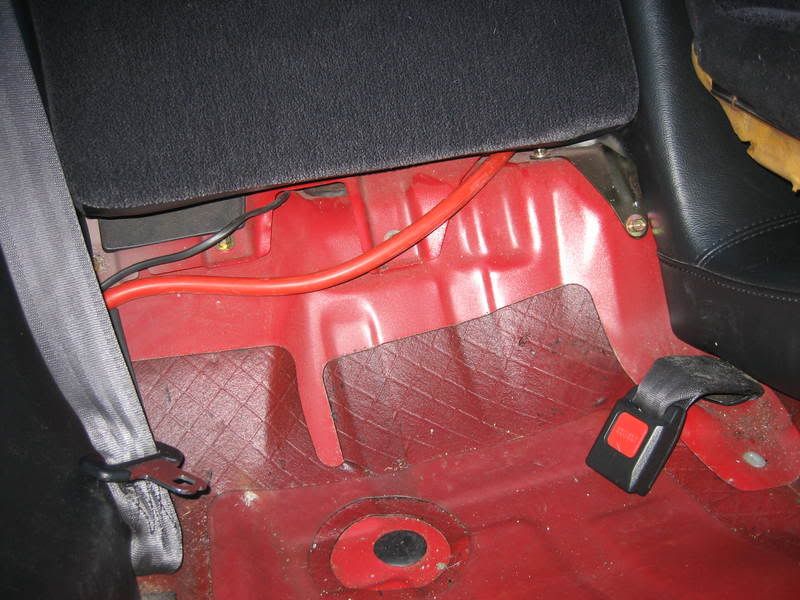
Cable wise, I started in the boot, passing it through the rear OS seat (which by the way I didn't realise were so easy to remove! :lol: ) ...

Image

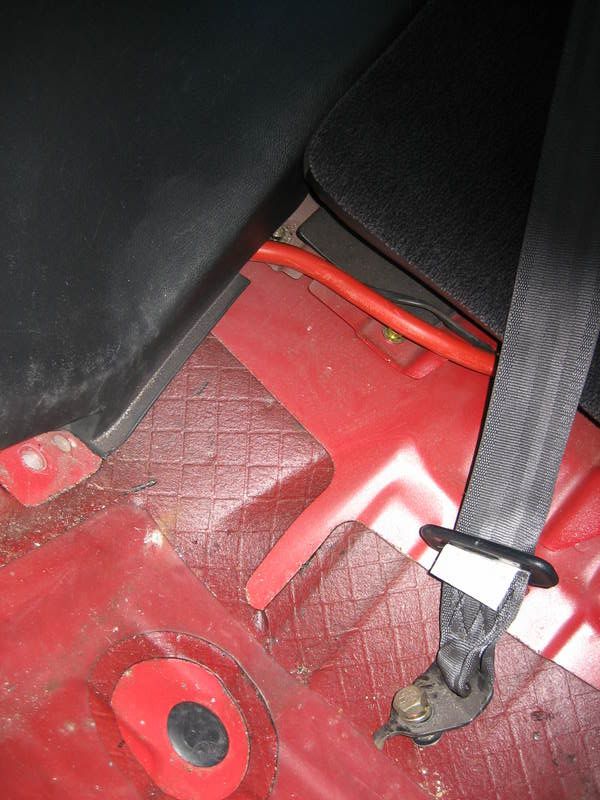
Then by removing the seat belt bolt and one other screw I was able to tuck it under the side panel...
Image

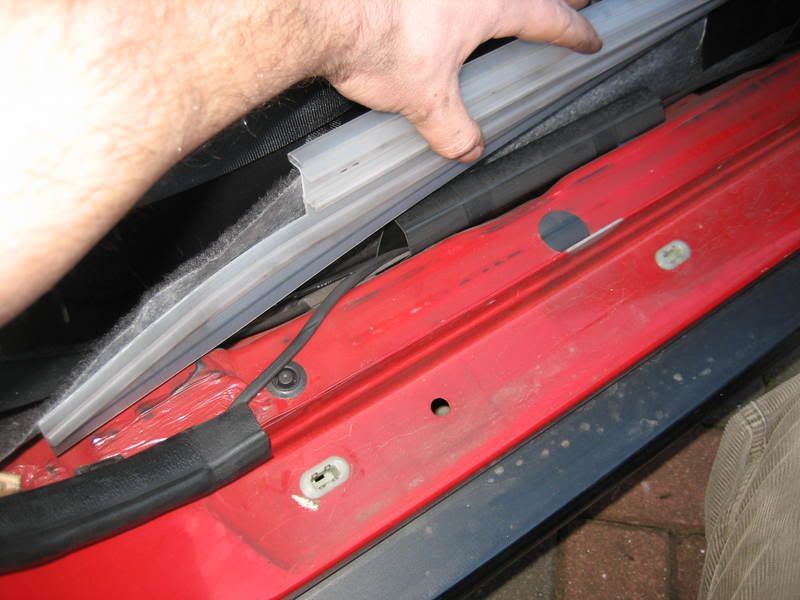
Then by removing the step plate I had access to thread the cable through the guides...
Image

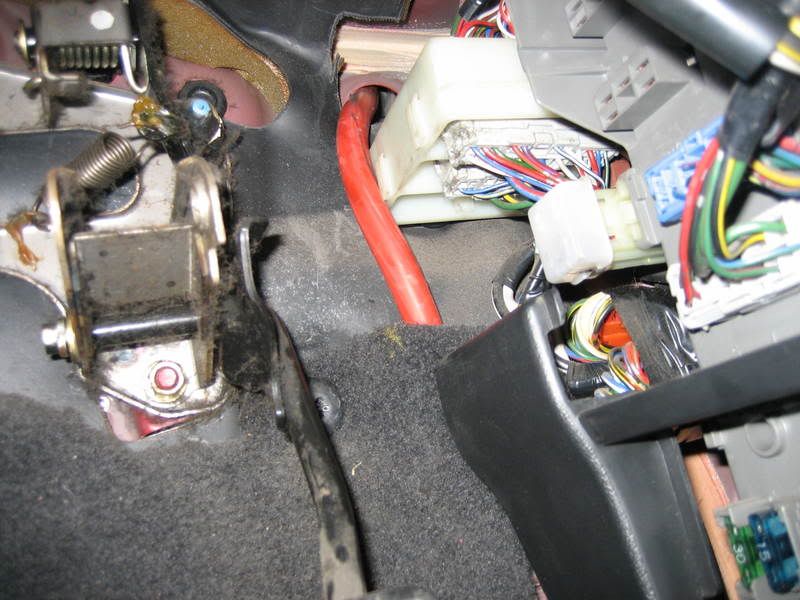
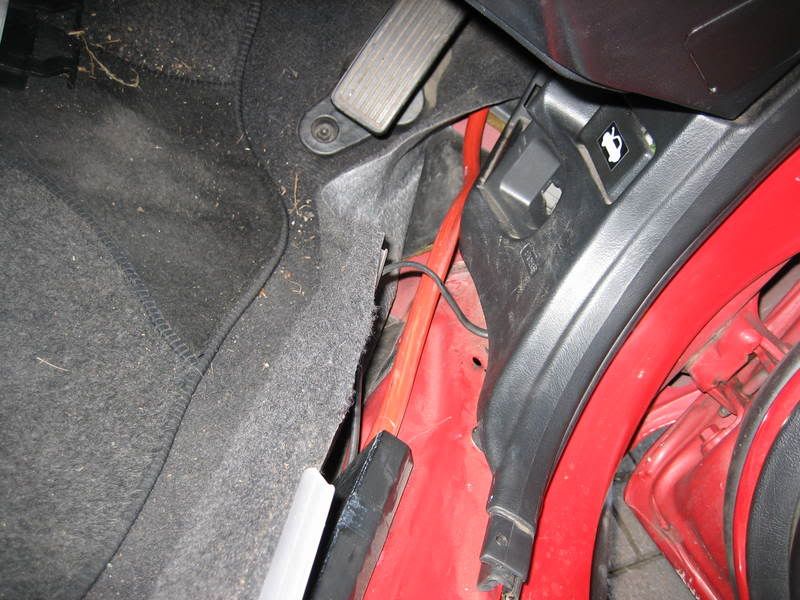
which brought it out near the under-dash fuse box...
Image

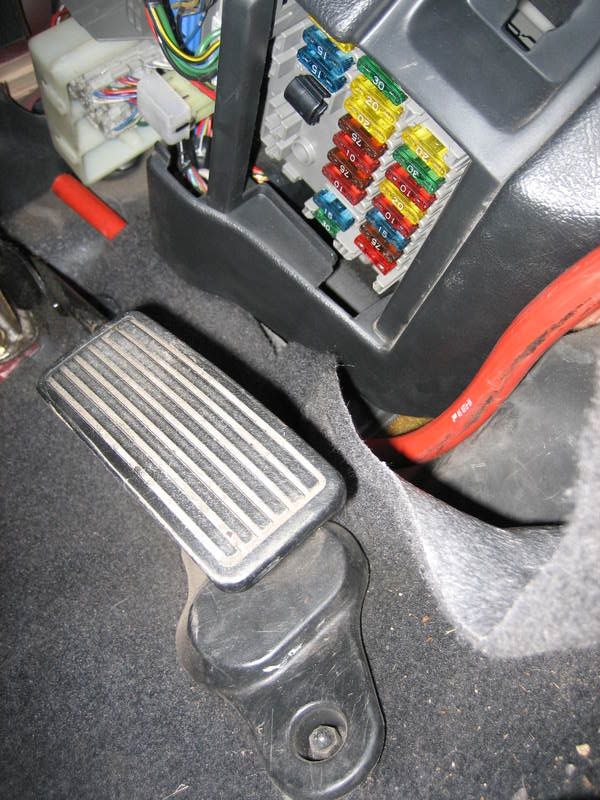
I then pulled the carpet out from behind the fuse box fascia to enable me to tuck the cable behind it...
Image

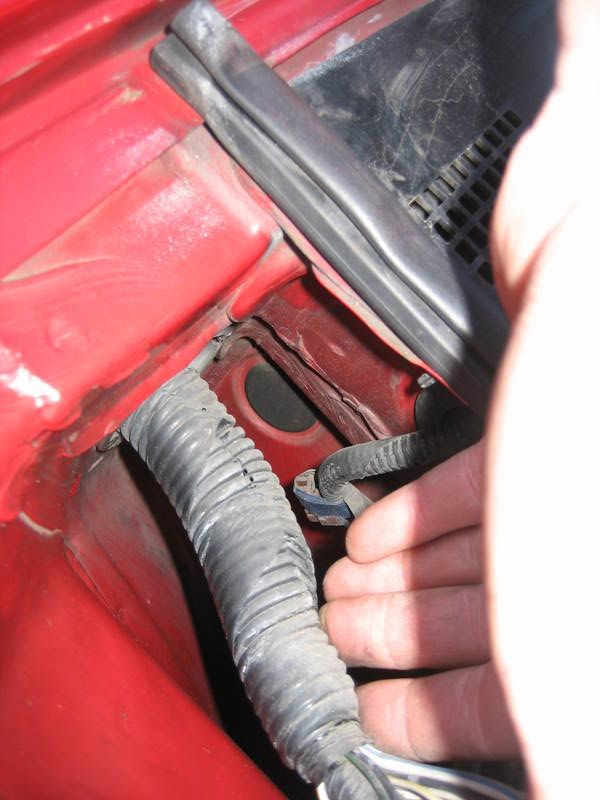
And aimed for that hole!...

Image

On the outside then, I detached the engine fuse box...
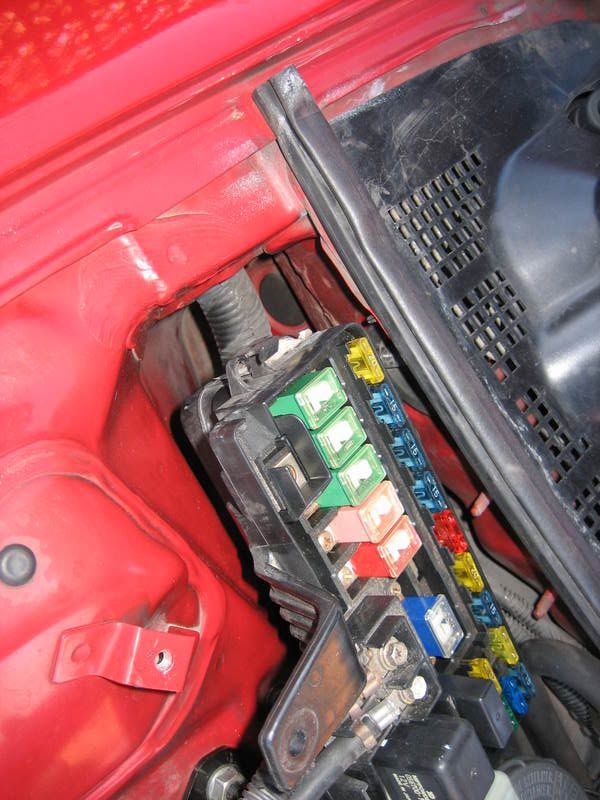
Image

which gave me access to this bung

Image

from which my cable was going to emerge...
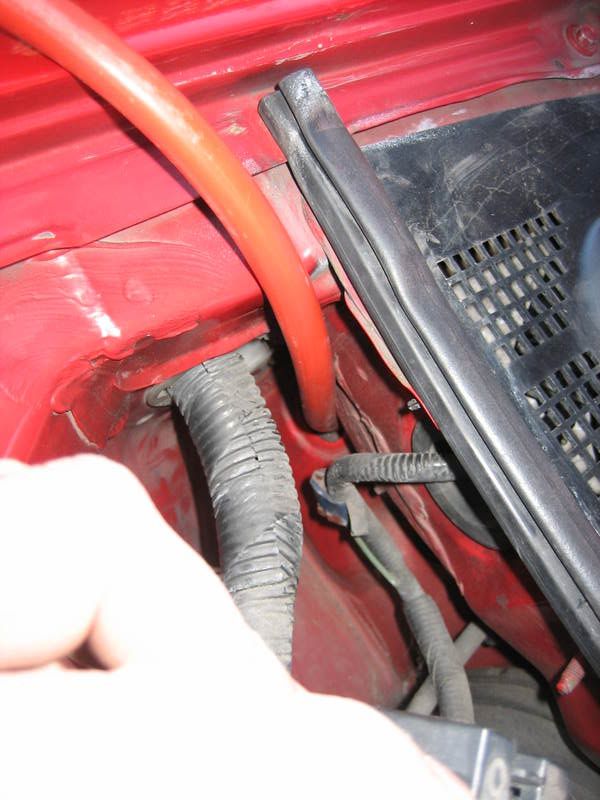
Image

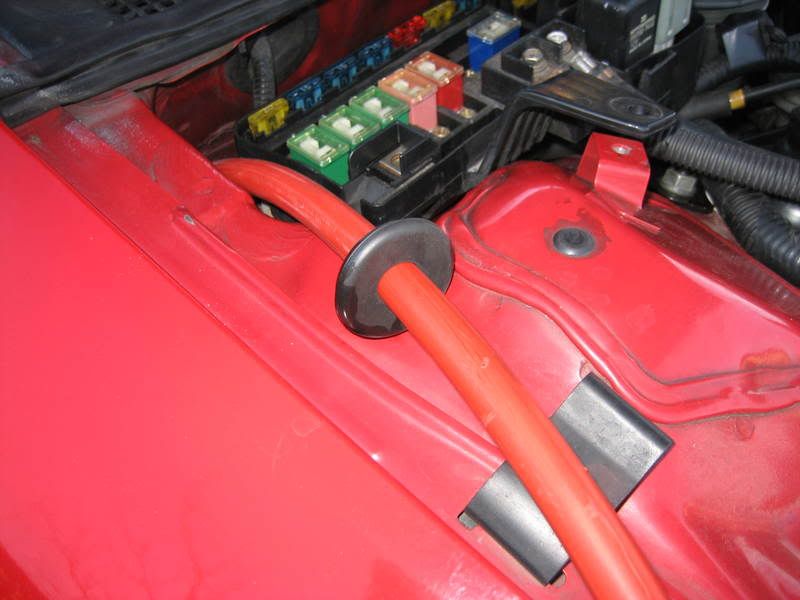
I then bored a hole in the centre of the rubber bung to keep the seal. This by the way was a complete pain in the arse to get back in! :x ...

Image

Anyway, once done I bolted the fuse box back down and threaded the cable like so...
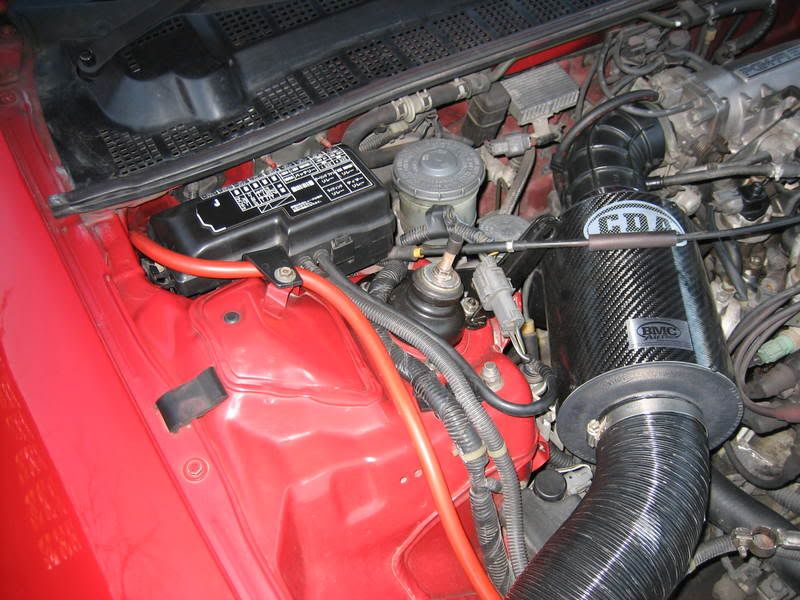
Image

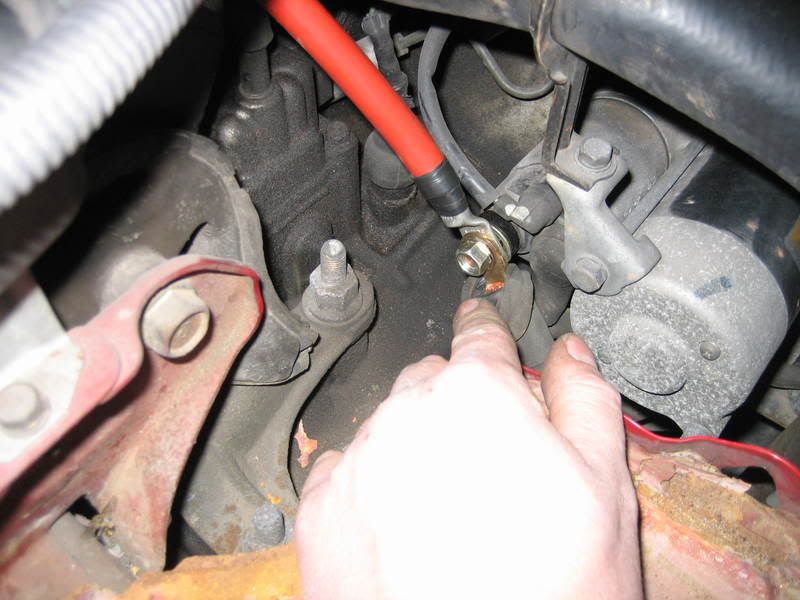
I then removed the plastic battery box/thing to give me access to the starter motor...
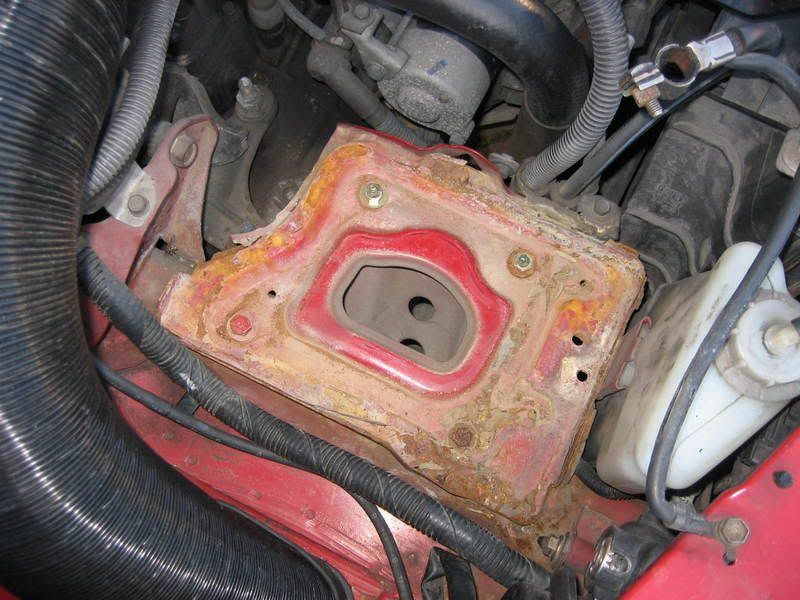
Image

where I attached my cable with its freshly crimped M8 connected...
Image

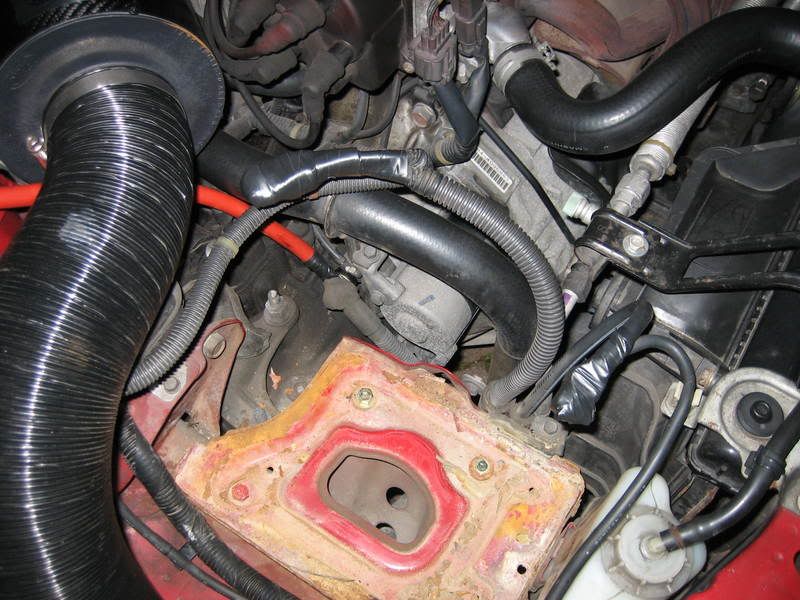
I taped up the oem battery terminals for now as I ran out of daylight, but eventually I'll do away with these...
Image

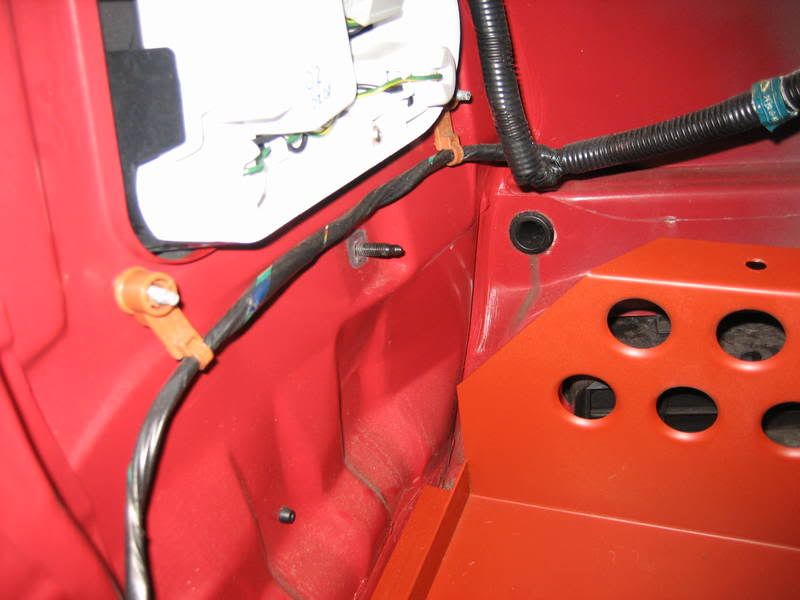
Meanwhile back at the arse-end my alternate-self removed the nut and scraped away the paint from around the rear bumper fixing below the rear light. This would enable me to ground the negative cable...
Image

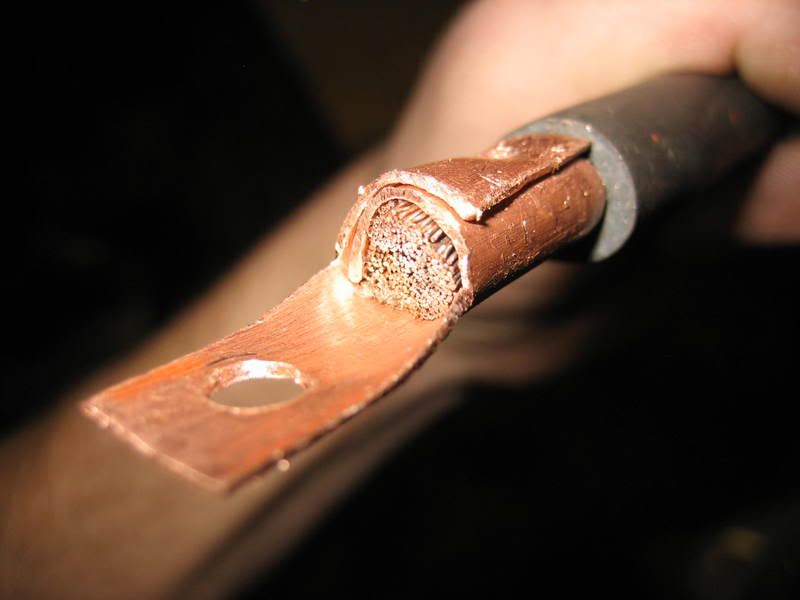
For some reason I only ordered one cable end connector, so I had to improvise with a piece of copper pipe. So check out this little beauty! 8) :lol: ...

Image

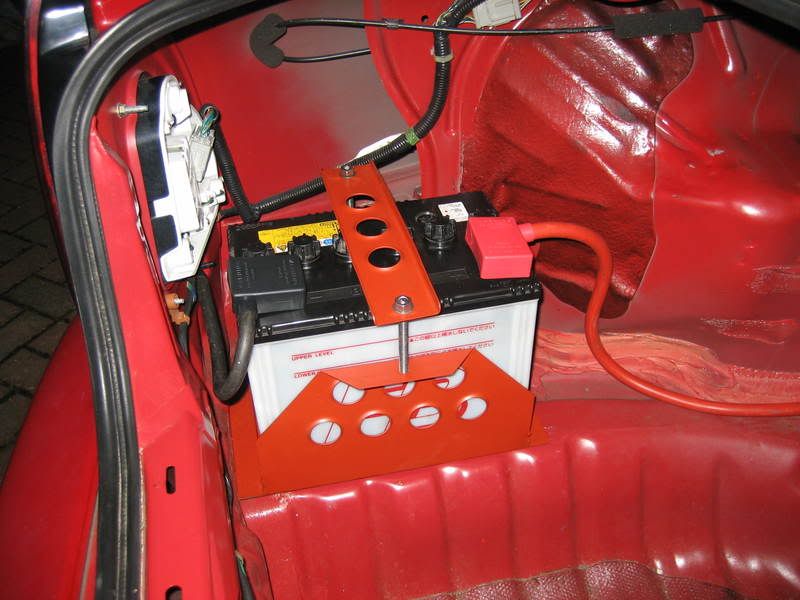
Rather chuffed with myself, the job was coming to an end. All I hopefully had to do now was connect the battery terminals up and to the battery and jobs-a-gooden!...
Image

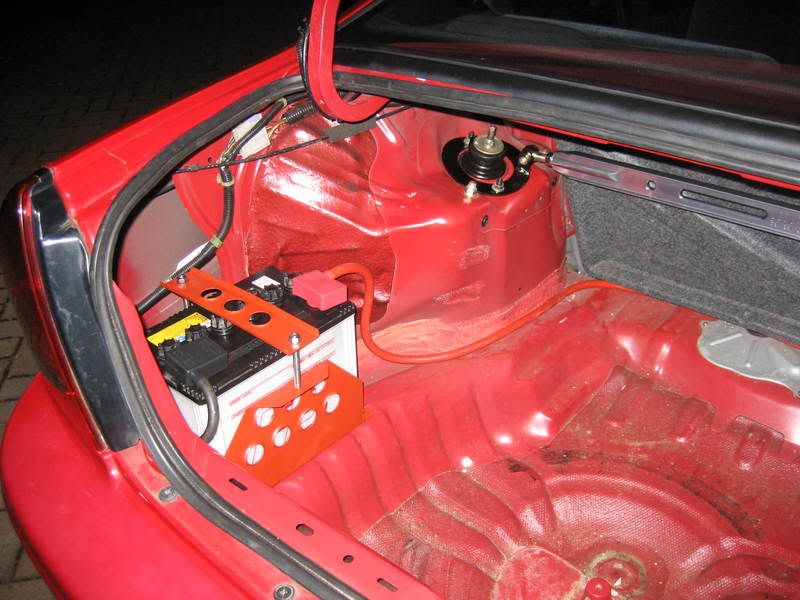
I put a slight twist in the postive cable when connecting the terminal end so as it forces itself into the corner like so...
Image

Anyway... Moment of truth....


And it works!!! :D =D> 8) :wink:

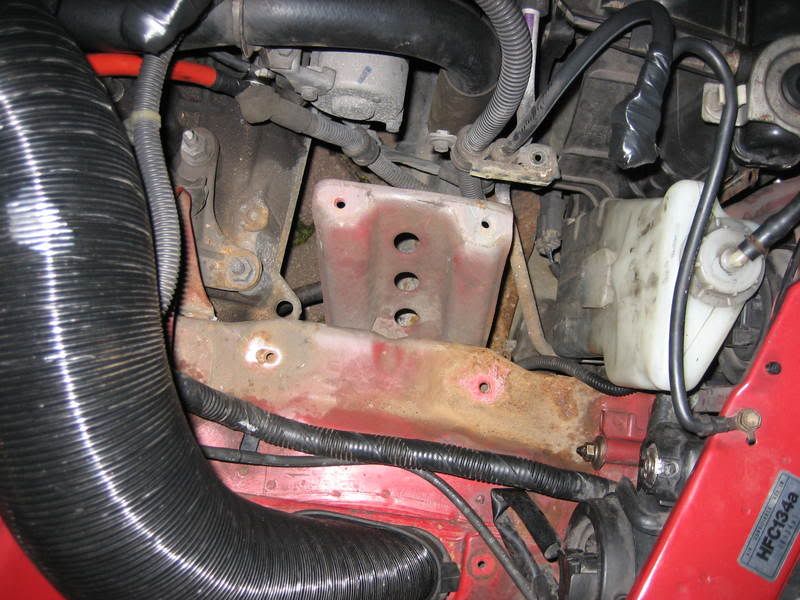
Next was to remove the rust-ridden battery tray...
Image

And then the brace/support. Now I've got a whole lot of room to play with! :D ...

Image

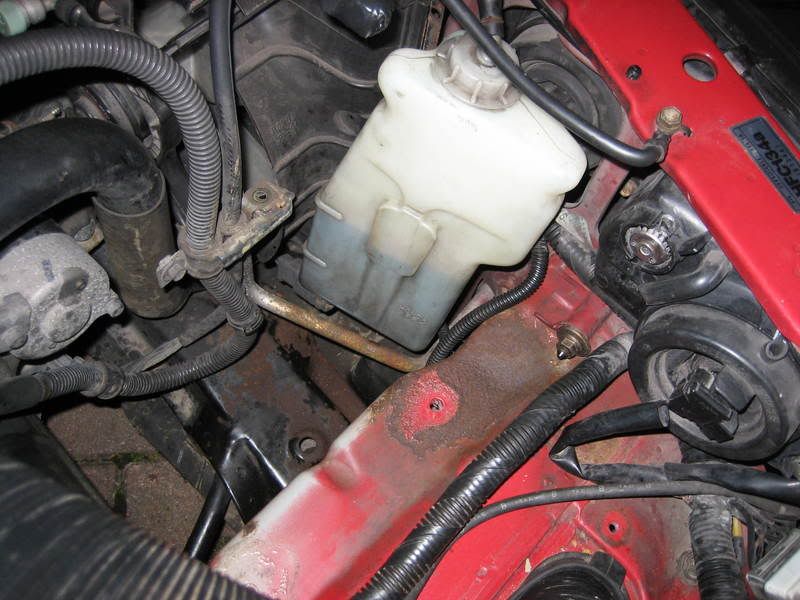
The coolant bottle which was supported by the battery tray was left floating...
Image

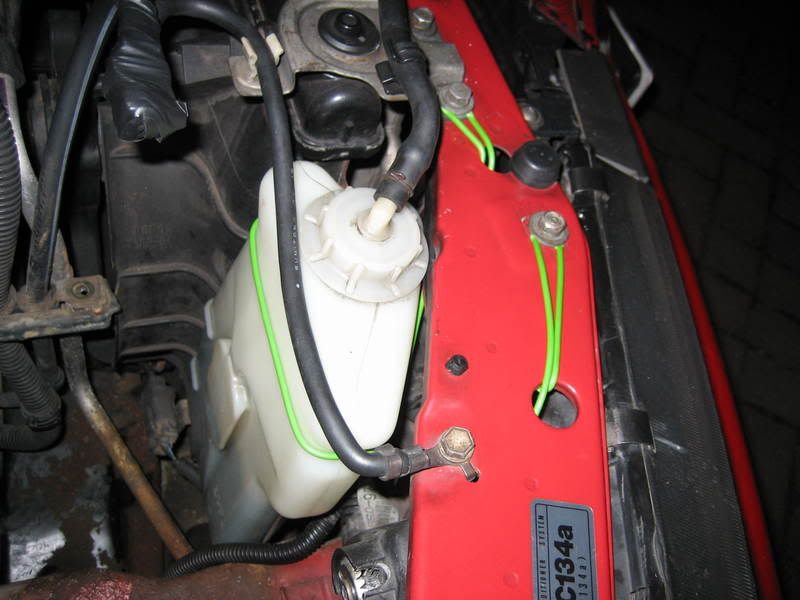
So i improvised for now as I'll need to make a bracket up...
Image

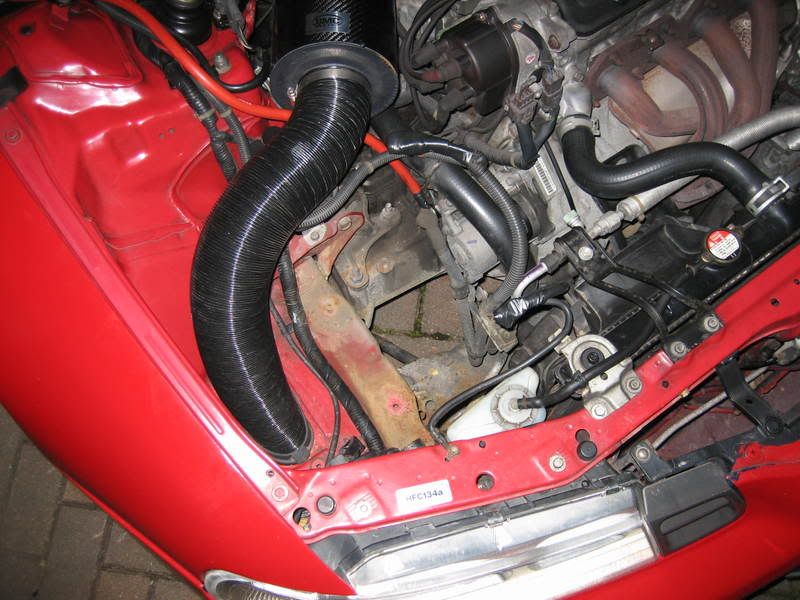
And this is what she's looking like at the moment :D ...

Image

You can see where the battery tray rust has infected below where it was, and part hasn't even been painted. So she'll need a bit of sanding, priming and a lick of paint and she should look right as rain :wink: :D

I'm knackered and all achey now! :lol:
Last edited by NafemanNathan on Tue Feb 07, 2012 2:02 pm, edited 1 time in total.

Post Reply

Return to “Lude Profiles”