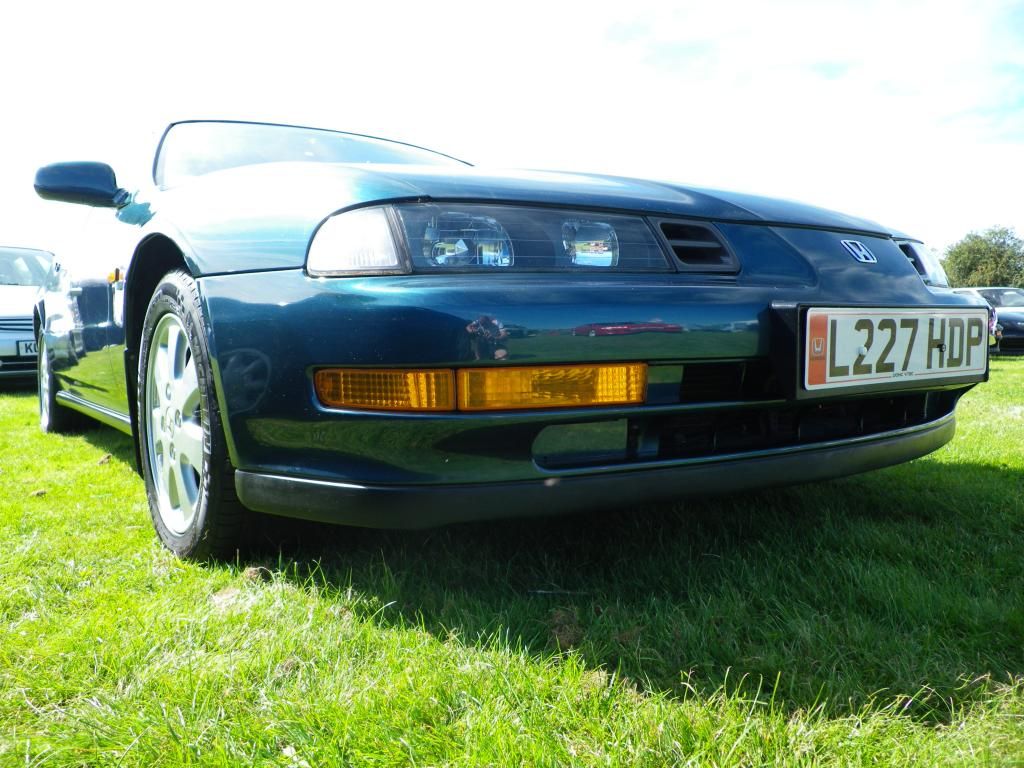
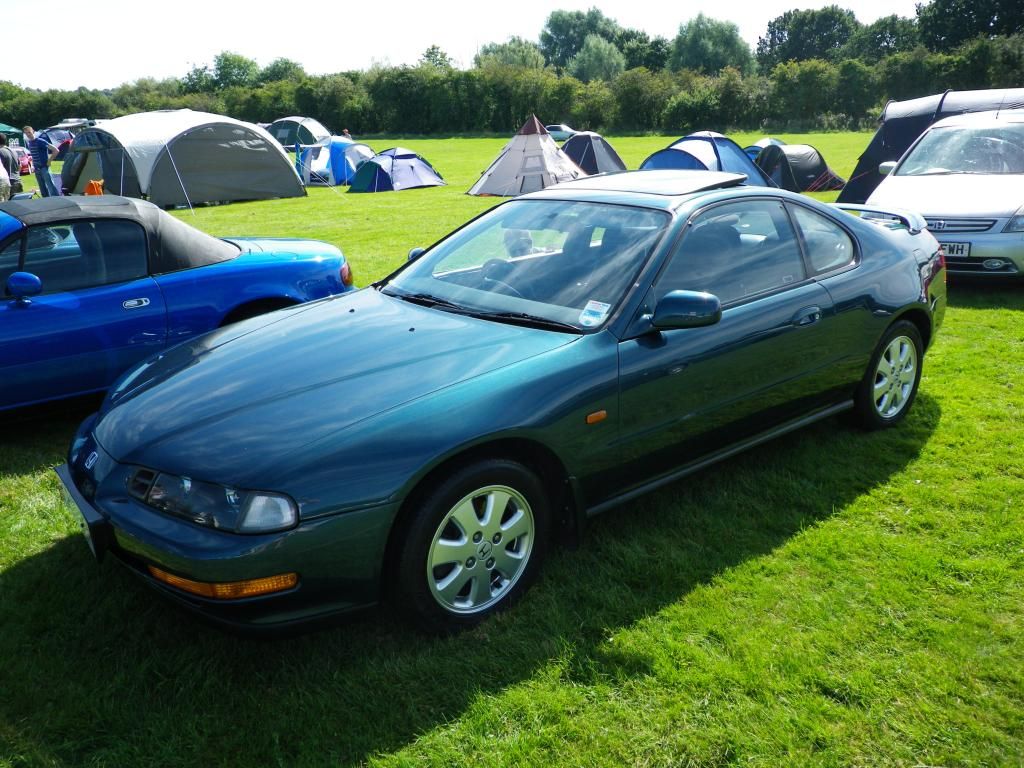
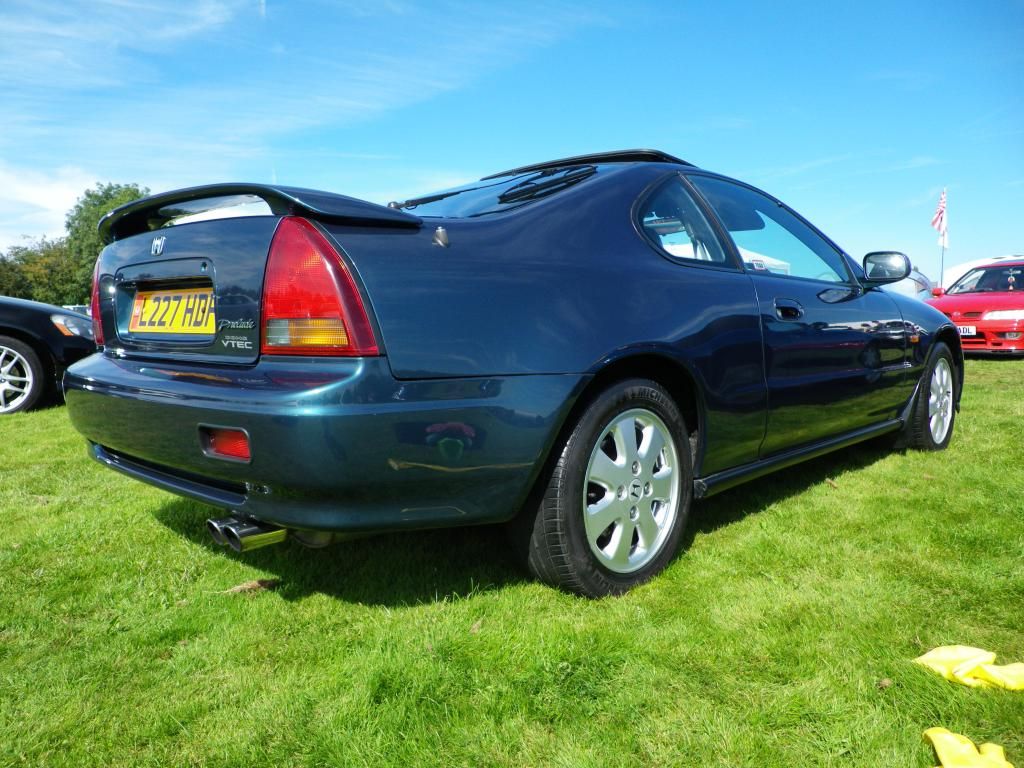
Congratulations to vtecmec for winning May/June's Lude Of The Month, with his DIY Turbo BB1 build.

>>> Click Here For Profile <<<

Image

wurlycorner's UKDM 4th gen

Tell us all about your Lude, you know you want to ...
User avatar
wurlycorner
Ye are glad to be dead, RIGHT?
Posts: 21493
Joined: Sat May 19, 2012 3:33 pm
My Generation: 4G
Location: Chelmsford, Essex
Has thanked: 2481 times
Been thanked: 306 times

Re: wurlycorner's UKDM 4th gen

Post by wurlycorner » Fri Mar 08, 2013 8:59 pm

So now for the drivers side.

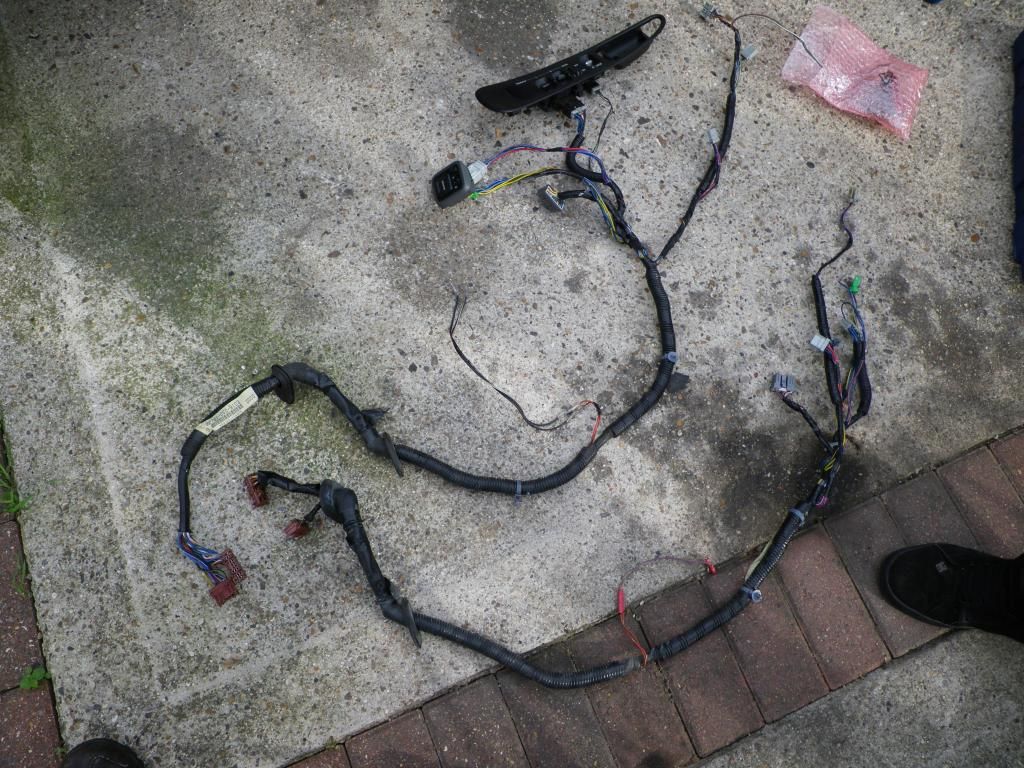
Again I had a donor loom that had puddle lights and folding mirrors.
Original at the bottom and donor at the top.
Image

However, for some reason lots of bits about the new loom didn't match up with the old loom, so I couldn't just swap it in and sort out the connector in the 'A' pillar for the extra stuff, as I had been able to with the passenger side.
I forget what was different exactly, but I think the pin-out was different, there were a different number of pins in the plugs that meant neither could be re-used and I think even the window motor connector was different and there was another extra connector near the back of the door that I couldn't work out what it was for.

So this needed a different approach...

I sussed out that for the main stuff, all I actually needed to do was to transplant 4 wires (with 2 connectors) out of the donor loom into the original loom.
Unfortunately this meant COMPLETELY unpicking and dismantling both looms, which took ages grrr... On the flip side, it gave me the advantage that I could properly incorporate the wiring for the after market alarm solenoid into the loom instead of the cheap/easy way it had been run by the 'professional' installers before. This made a sad man very happy (the way it had been done before had pissed me off EVERY time I got into the car since I'd owned it!) :lol: :ugeek:

So removed connectors and wires below
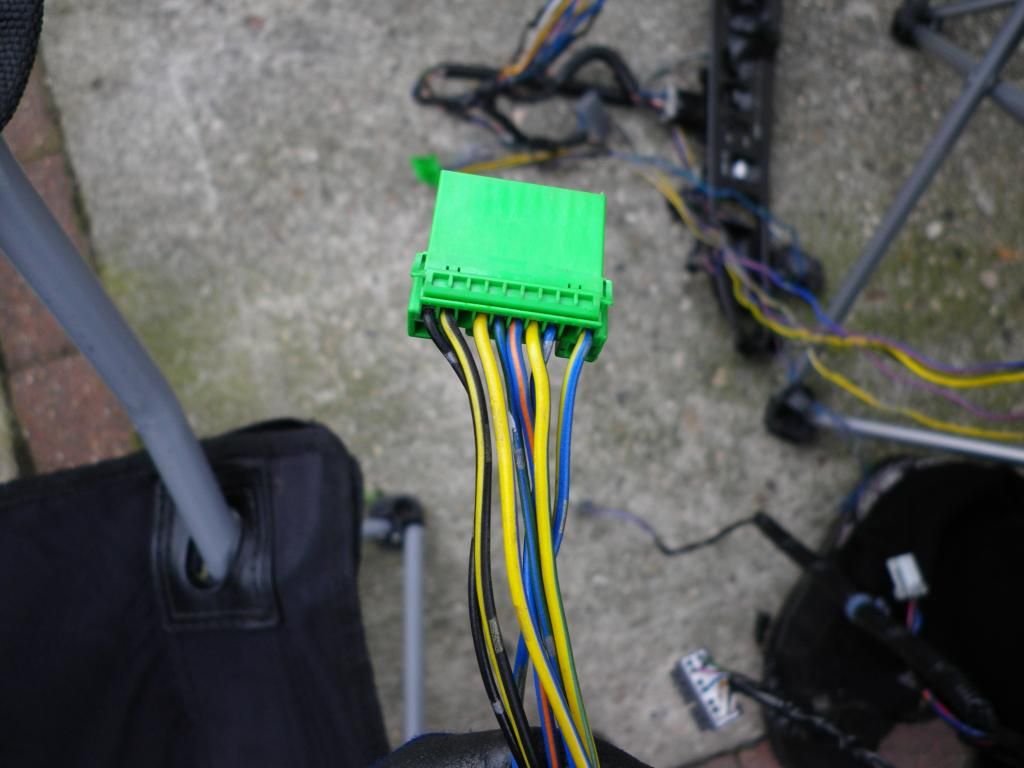
(Bottom is puddle lights, top is the 8 pin connector for the folding mirrors with the 2 additional cables that you need to take all the way back over to the passenger side relay)
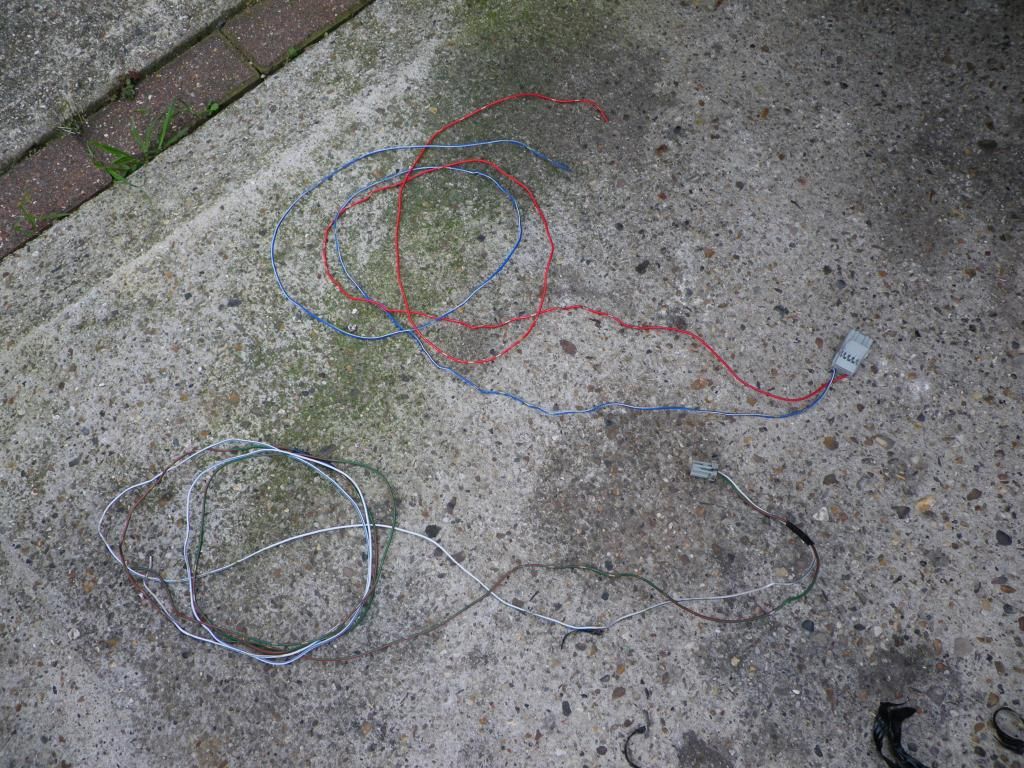
Image

So after they'd been inserted into the original loom, I had to unpick the 3 wires out of the original electric mirror plug, so I could put them into the new 6 pin folding mirror plug (with the additional 2 wires I'd transplanted across)
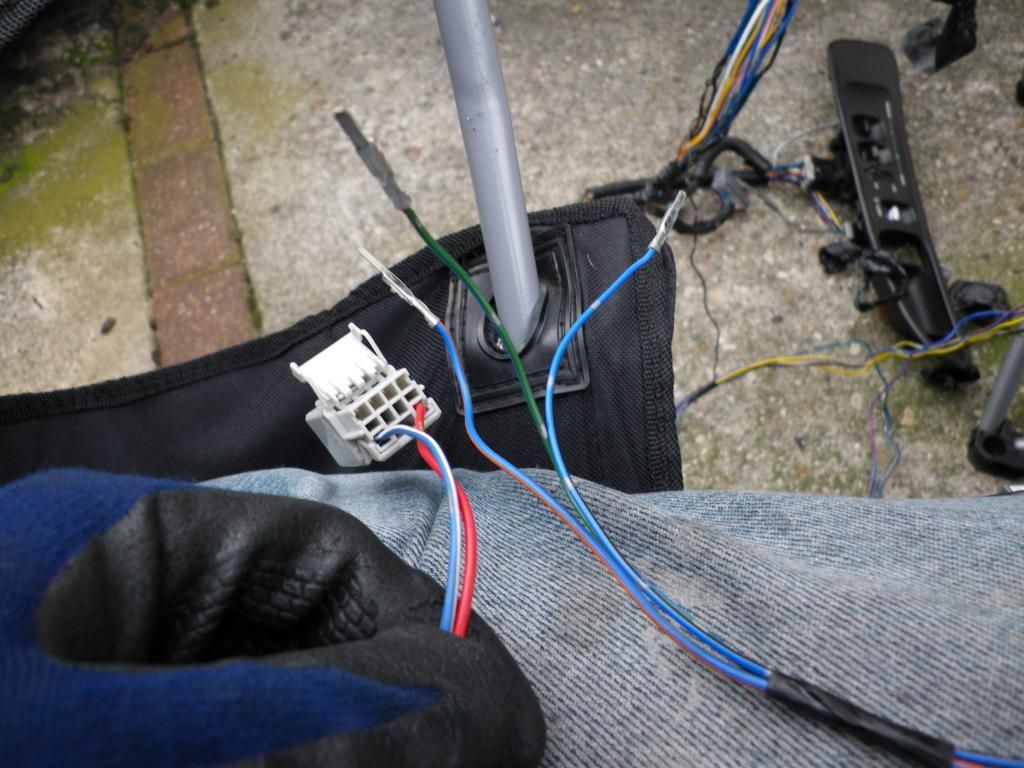
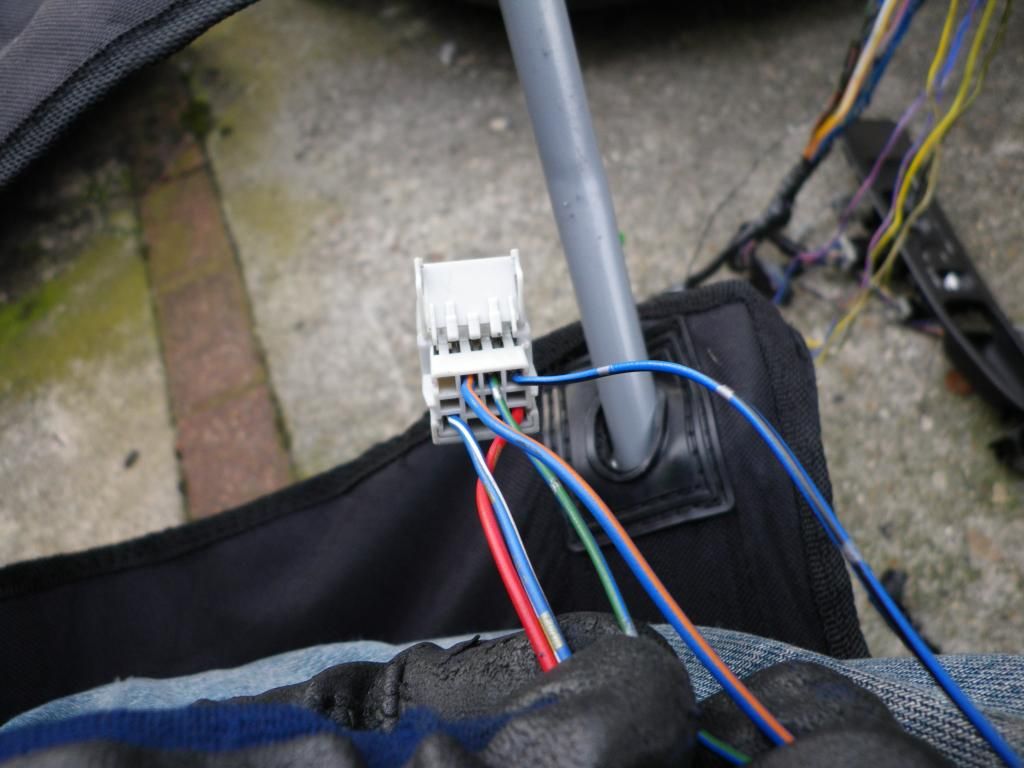
Image

Image

Then I realised I also had to stick an extra wire into the mirror control plug, so ripped that out of the donor loom.

Original plug
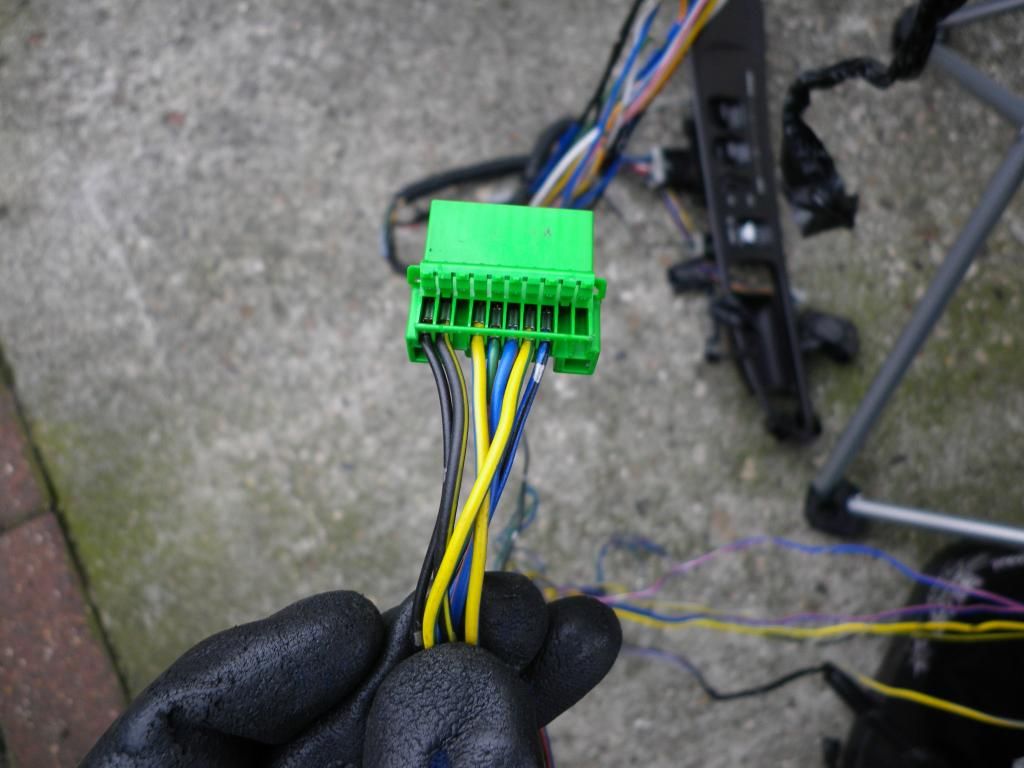
Image

Suddenly gained an extra wire :D

Image

By studying the wiring diagram, I found that you can actually pick up both the puddle light feeds you need from inside the existing loom (drivers door open signal is fed to the central locking relay box and there's also a ground in there) so there's no need to take them out into the cabin like there was on the passenger side. I just cut, spliced and soldered into the existing wires there.
This meant only 3 wires going out in an extra connector on this side - mirror fold signal from the switch and mirror fold in/mirror fold out feed to the mirror itself (switch feeds the relay in the passenger door, relay then feeds back to the mirror in the drivers door)

So finished loom ready to go back in
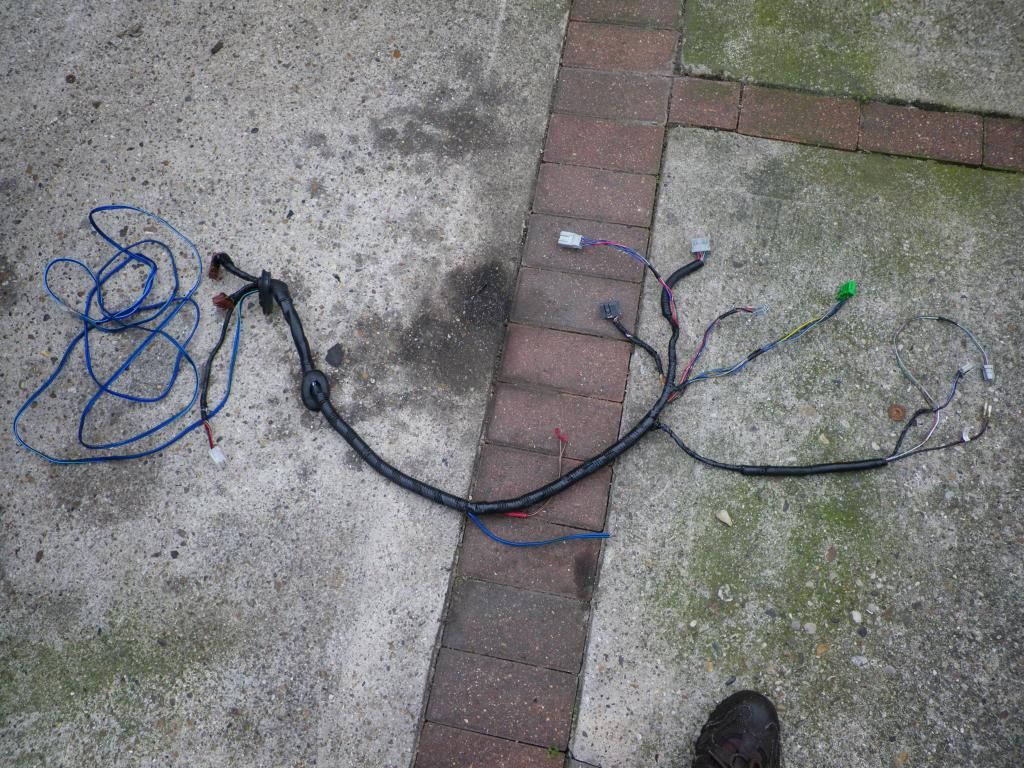
Image

Door loom installed, new cross-dash loom finished and plugged into the new connector coming out of the door loom (3 wires as mentioned above, plus to two for the after market alarm door lock solenoid)
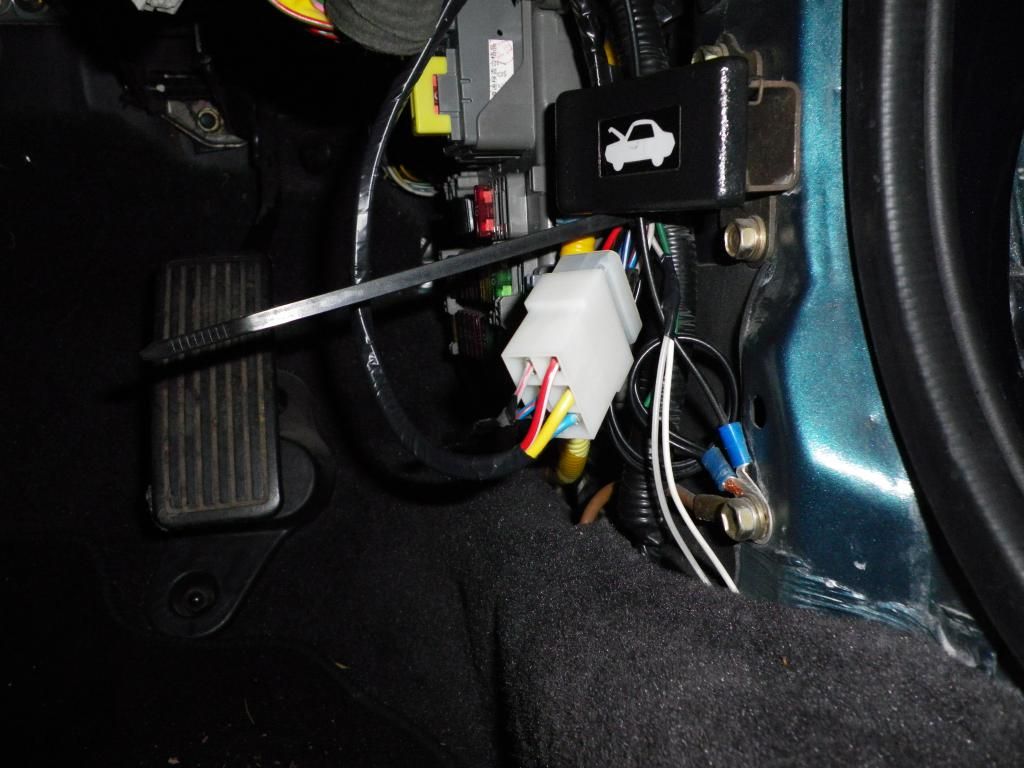
Image

Hidden away like you'd never know it was there...
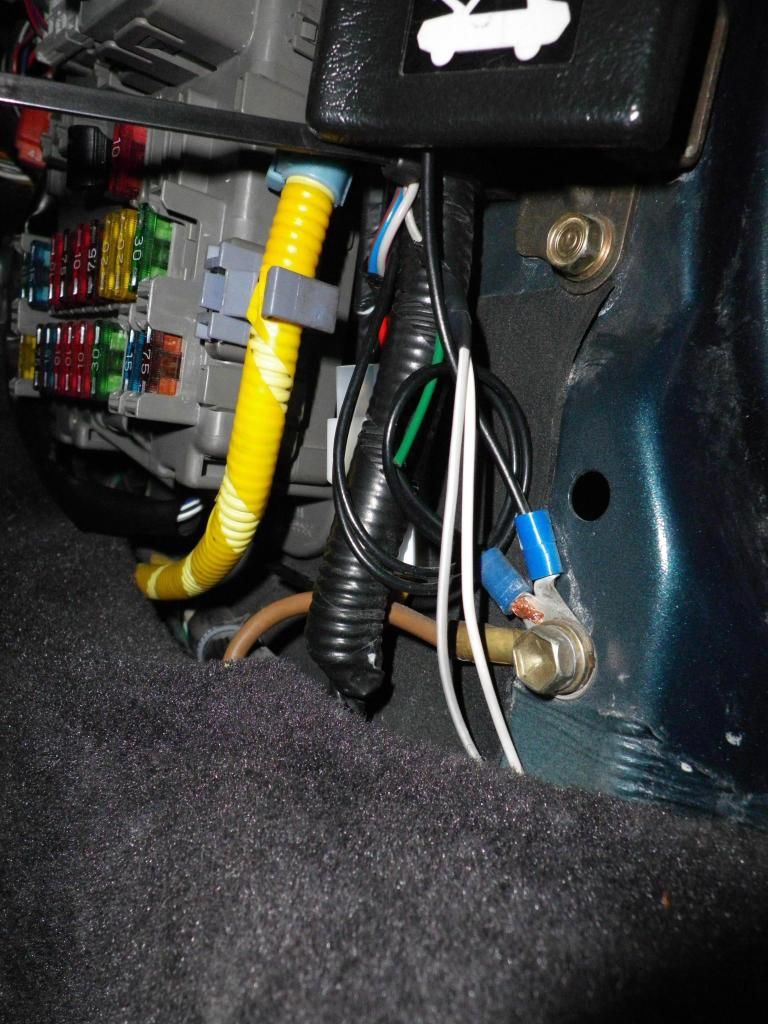
Image

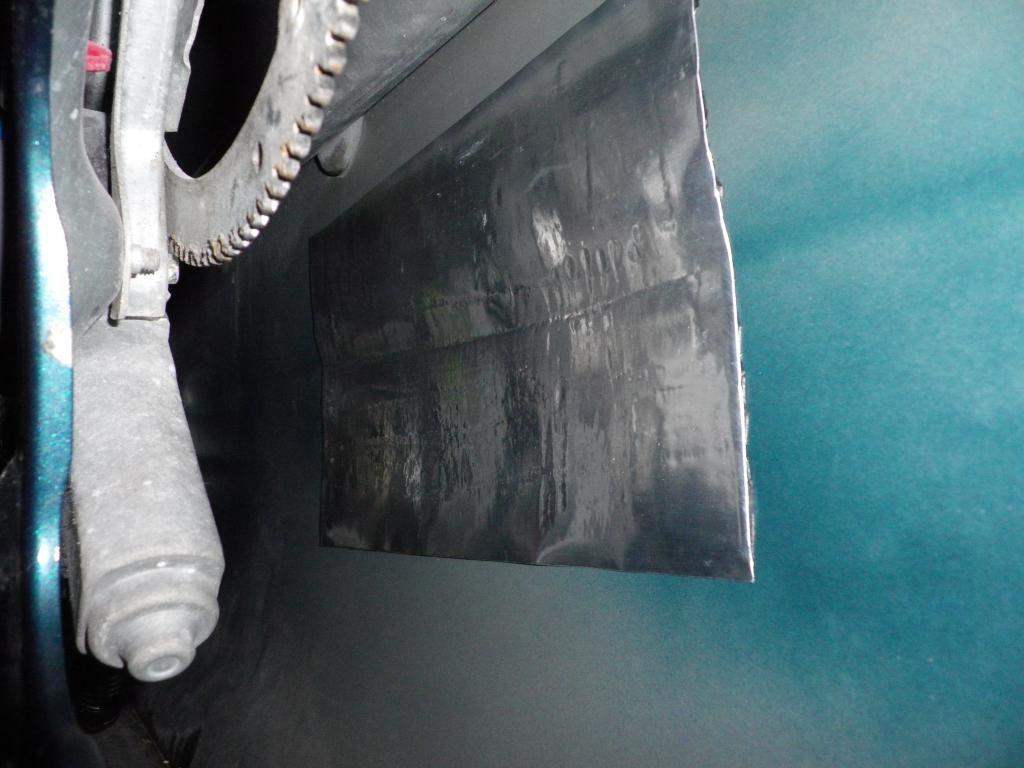
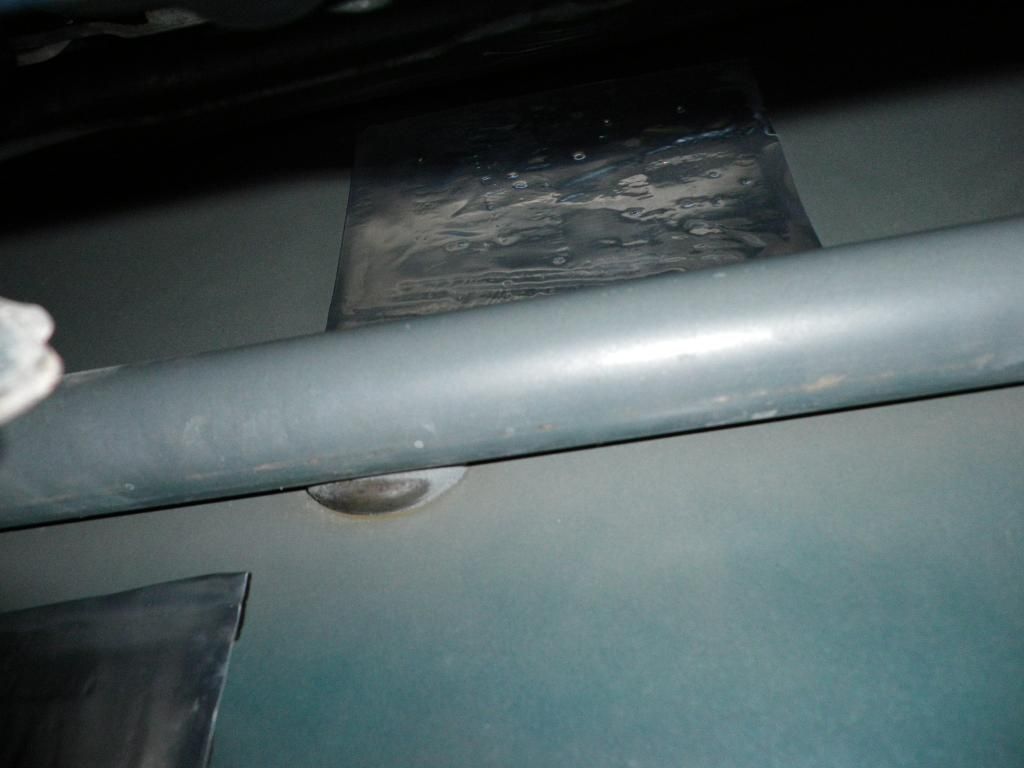
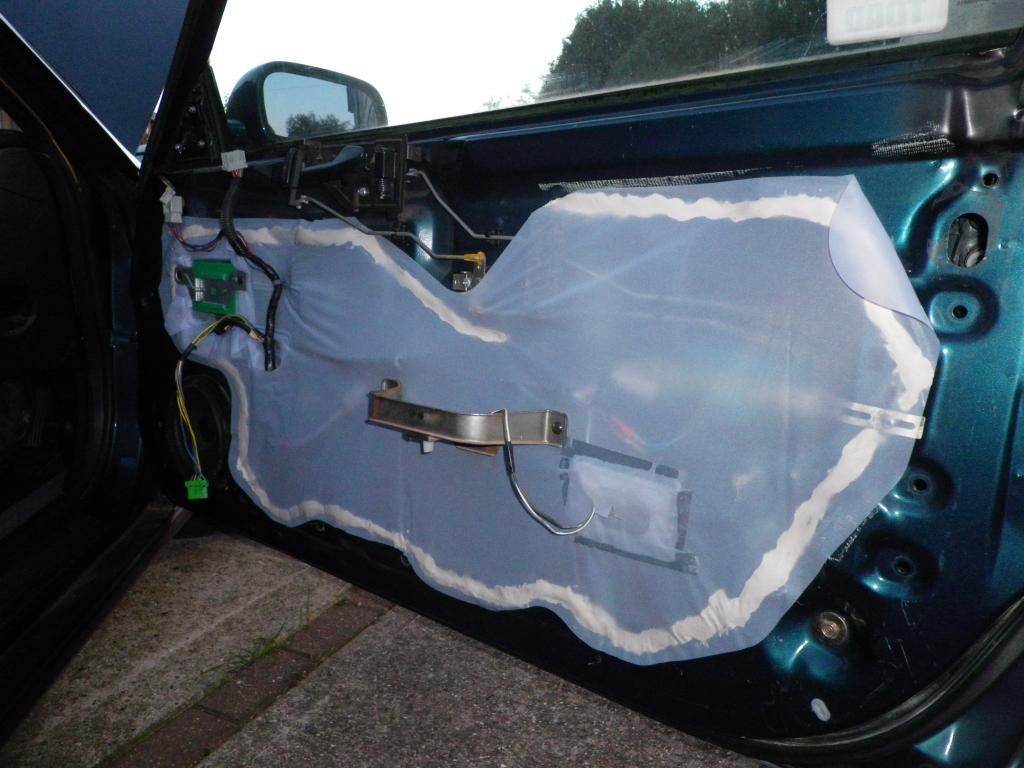
I mentioned before about putting some CLD tiles in, this is what went into both front doors
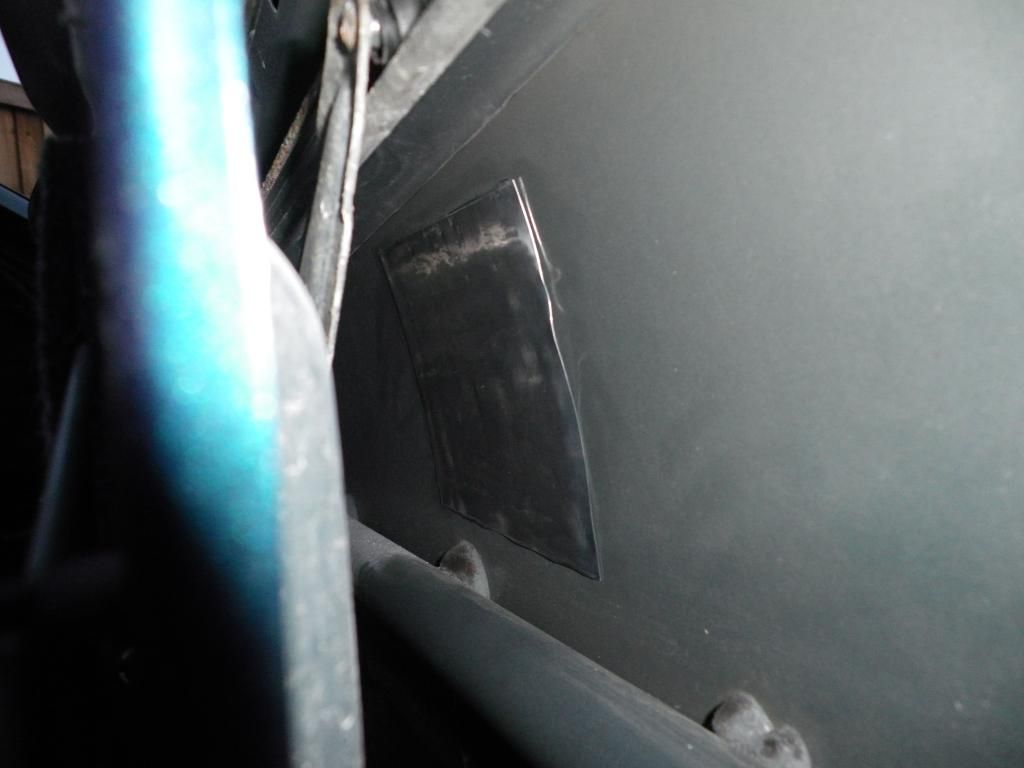
Image

Image

Image

Yep, just 2 small squares per door - trust the man on sound deadener showdown when he says that's all you need if you buy decent stuff, he REALLY does know his stuff!
CLD tiles also went in the rear quarter panels, rear wings and a couple of the small panels inside the boot. Basically anywhere there was obvious resonance and i could get at. It's made a BIG difference!


All installed and the LAST new stock 4th gen weather skin in Honda Europe and Japan fitted (unfortunately it was a non-puddle light version so I had to cut a slit in it and transplant the flap over from the old knackered skin lol)
Image

And that was it, main part of the job done! One UKDM car analy fitted with all the wiring needed for JDM puddle lights and folding mirrors.
Last edited by wurlycorner on Mon Mar 11, 2013 12:21 pm, edited 3 times in total.

User avatar
wurlycorner
Ye are glad to be dead, RIGHT?
Posts: 21493
Joined: Sat May 19, 2012 3:33 pm
My Generation: 4G
Location: Chelmsford, Essex
Has thanked: 2481 times
Been thanked: 306 times

Re: wurlycorner's UKDM 4th gen

Post by wurlycorner » Fri Mar 08, 2013 9:02 pm

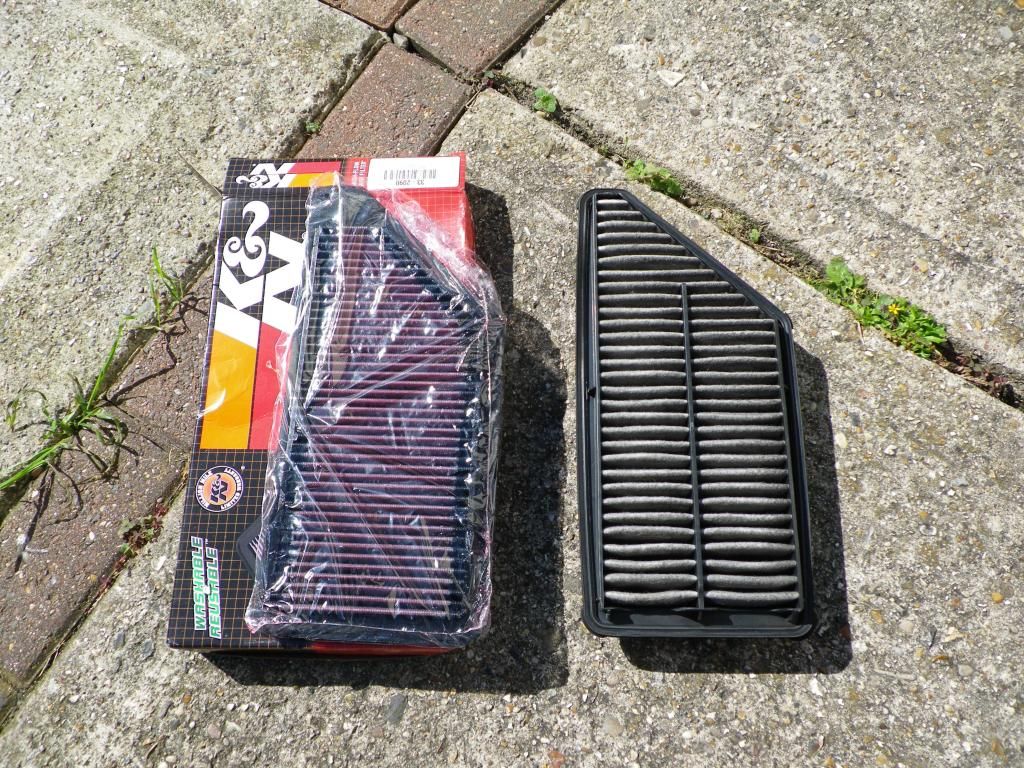
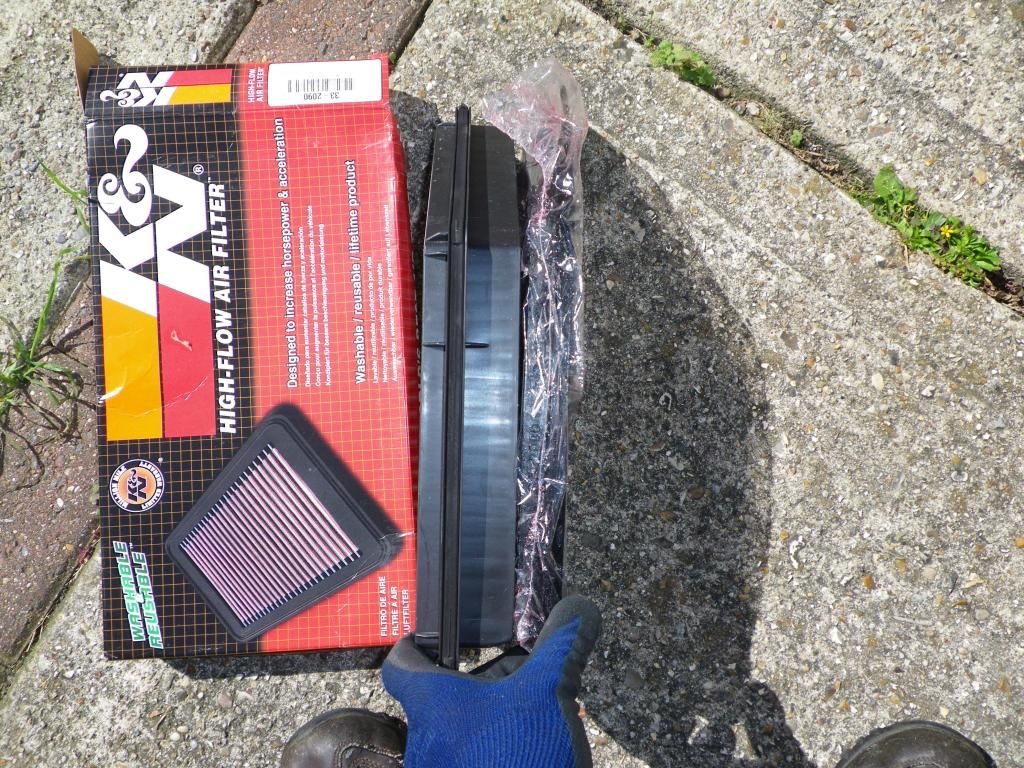
Another addition before JAE last year

Image

Old and new side-side (quite a difference!)

Image

Car sounds and definitely goes much better since the change, too. A well recommended mod if you're keeping the original filter box.

User avatar
wurlycorner
Ye are glad to be dead, RIGHT?
Posts: 21493
Joined: Sat May 19, 2012 3:33 pm
My Generation: 4G
Location: Chelmsford, Essex
Has thanked: 2481 times
Been thanked: 306 times

Re: wurlycorner's UKDM 4th gen

Post by wurlycorner » Fri Mar 08, 2013 9:03 pm

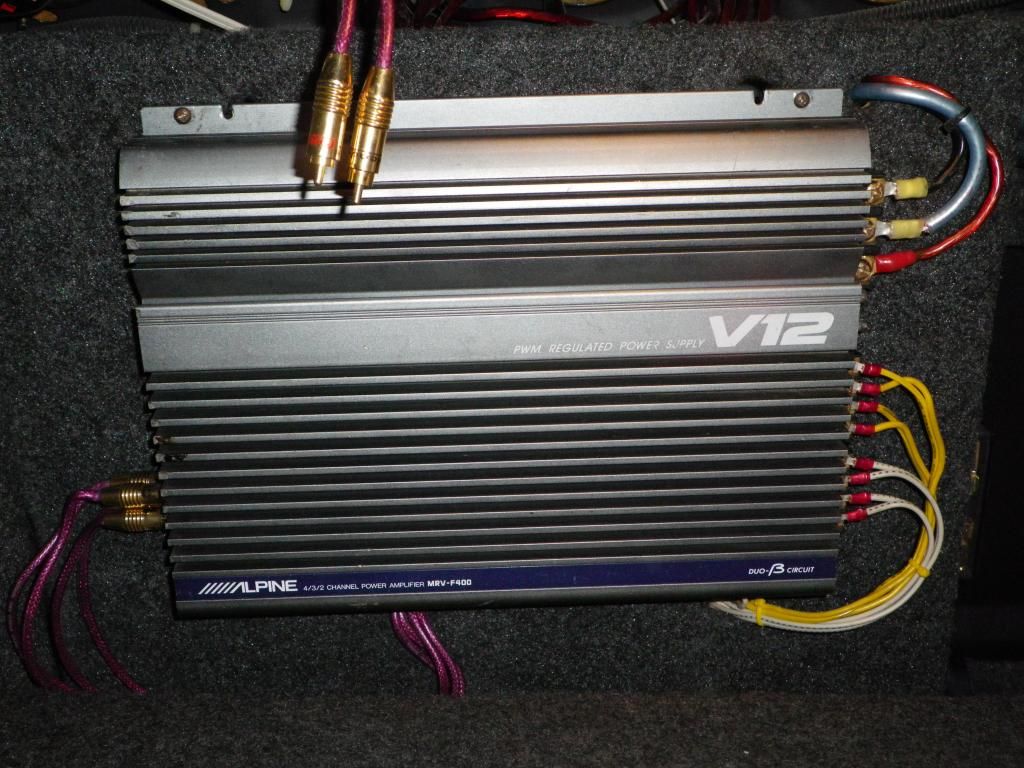
Amp back in (couldn't be doing driving all that way to JAE with no tunes)

Image

(The extra 2 RCA leads dangling from the top are for the sub)

'course since refitting that, the 4WS ECU has gone tits up, which is a right PITA to get at now

User avatar
wurlycorner
Ye are glad to be dead, RIGHT?
Posts: 21493
Joined: Sat May 19, 2012 3:33 pm
My Generation: 4G
Location: Chelmsford, Essex
Has thanked: 2481 times
Been thanked: 306 times

Re: wurlycorner's UKDM 4th gen

Post by wurlycorner » Fri Mar 08, 2013 9:08 pm

At JAE, polished up ready for some finishing touches

Image

(Yep MORE new trim!)

Image

Image

Image

Image

Image

User avatar
wurlycorner
Ye are glad to be dead, RIGHT?
Posts: 21493
Joined: Sat May 19, 2012 3:33 pm
My Generation: 4G
Location: Chelmsford, Essex
Has thanked: 2481 times
Been thanked: 306 times

Re: wurlycorner's UKDM 4th gen

Post by wurlycorner » Fri Mar 08, 2013 9:10 pm

More JAE pics

Image

Image

Image

Not too shabby for a 19 year old...

User avatar
Drax
Moderator
Posts: 6342
Joined: Wed Dec 22, 2010 4:05 pm
My Generation: 4G
Location: Wrexham, North Wales
Has thanked: 24 times
Been thanked: 431 times

Post by Drax » Sun Mar 10, 2013 12:44 pm

god that respray job looks soooOOO nice - i wish mine was that clean :cry:
great work on the electrics mate, ive gotta get my arse into gear and start tidying up some of mine too :?
2.2 JDM DOHC SI-VTEC LSD TCS 4WS ABS BB1 MANUAL 1992
Image
FOR PAUL

User avatar
bristol_bb4
LotM Winner
Posts: 3369
Joined: Mon Oct 10, 2011 2:19 pm
My Generation: 4G

Post by bristol_bb4 » Sun Mar 10, 2013 2:15 pm

wow :hail:

great work mate
Image

Space1999
Posts: 256
Joined: Sat Jan 19, 2013 8:17 pm
My Generation: 3G

Post by Space1999 » Sun Mar 10, 2013 4:28 pm

Love what you've done with this car - a sympathetic rebuild keeping it original. 4th gens are now getting rare, especially unmodified ones in mint condition like yours!

User avatar
Donald
Supporter 2015
Posts: 9894
Joined: Sun Jun 12, 2011 10:17 pm
My Generation: 0G
Location: Earth 3.0
Been thanked: 7 times

Post by Donald » Sun Mar 10, 2013 5:49 pm

I'm sure I read this on PUK... didn't you have quite a run of bad luck? :lol:

Nevertheless, it looks awesome now. 8-)

User avatar
Bri
Posts: 923
Joined: Thu Aug 05, 2010 10:33 pm
My Generation: 4G
PSN GamerTag: funky_bri
Location: Wrexham area

Post by Bri » Sun Mar 10, 2013 6:24 pm

Wow epic amounts of work money and effort gone into this. I hope to delve into as much detail on mine, Looking fantastic! well done bud, well deserved rep.

Post Reply

Return to “Lude Profiles”