Thanks a lot for the welcomes!
In the mean time some work already started to fix some small imperfections...
Start with taking out the broken tail lamps...
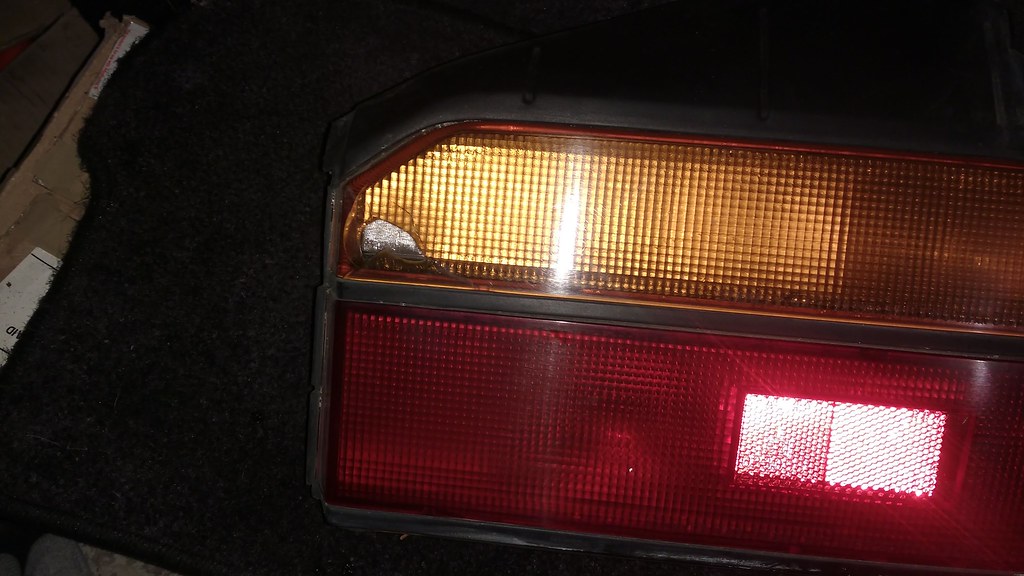 IMG_20171118_204501957
 by
C Pan, from Flickr
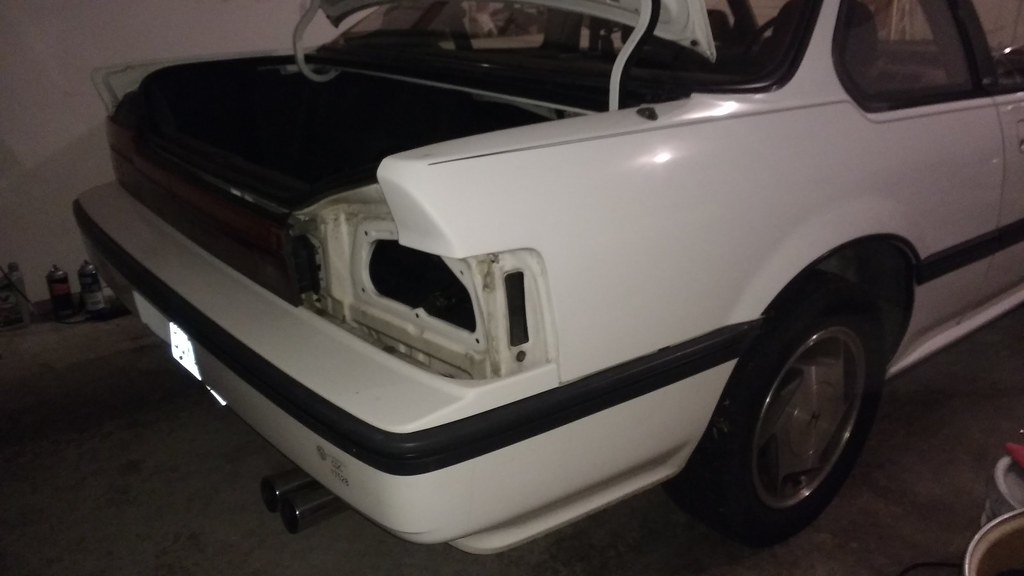 IMG_20171118_204412867
 by
C Pan, from Flickr
Fixing up the shaky rear view mirror... was lucky to find the broken piece from the mirror mount wedged at the bottom...
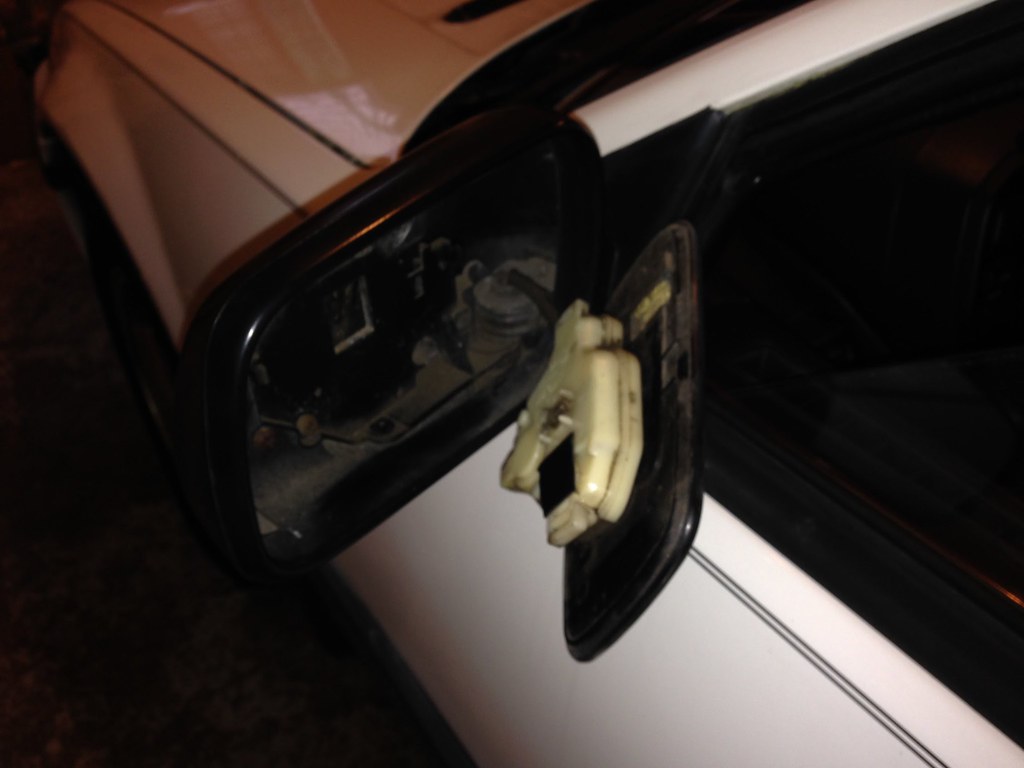 IMG_0674
 by
C Pan, from Flickr
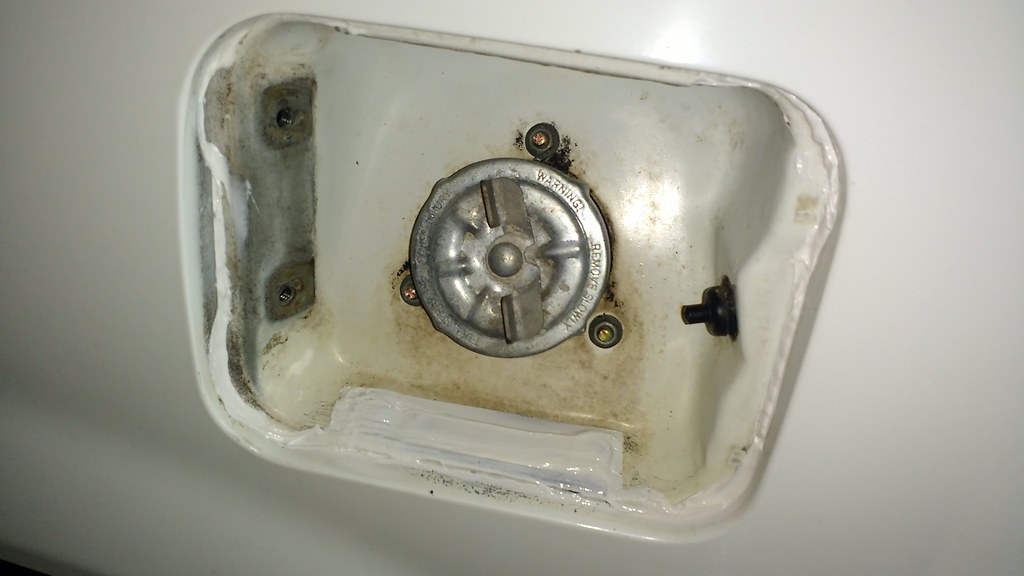
The only rust I found so far... looks like the sealant around the gas filler opening is letting water in, grind it off then reseal the whole opening from the outside, also cleaned the sun roof drain. Haven't looked into the front bottom of the rear fender yet... will stick an endoscope in to take a peek sometime, but from the outside the jacking point and sill looks perfect... and no rust spot near the bottom. Seems like those yellow wax did their job keeping all the moist touching the metal.
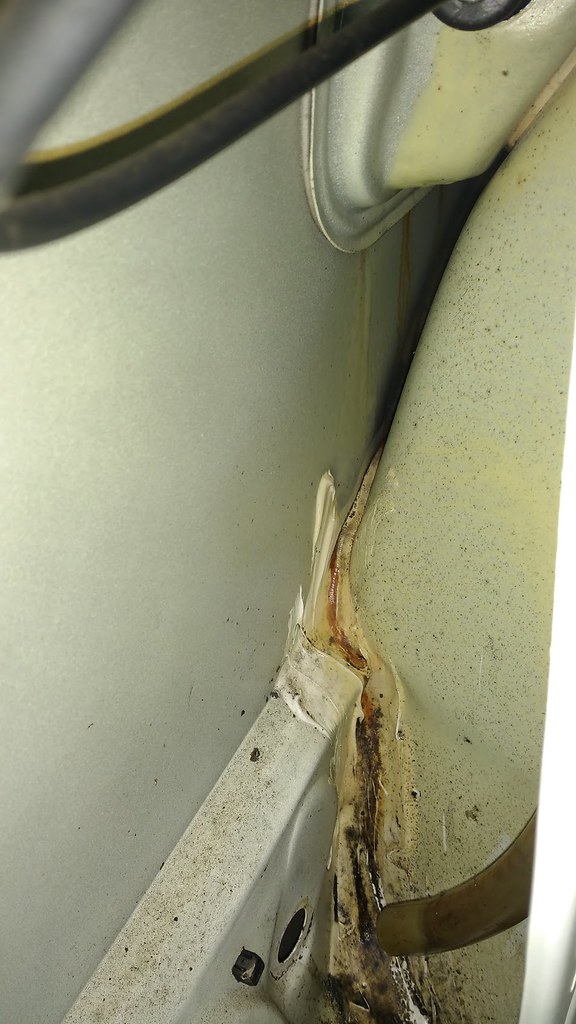 IMG_20171124_191949742
 by
C Pan, from Flickr
 IMG_20171129_102849671
 by
C Pan, from Flickr
Valve cover and exhaust cover needs some tidy up...
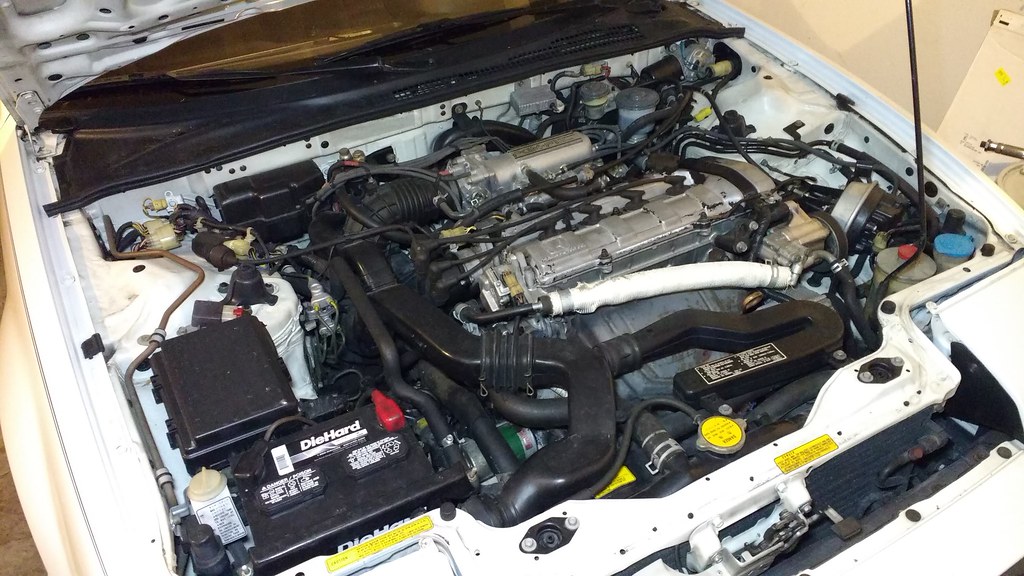 IMG_20171115_213125022
 by
C Pan, from Flickr
Glad the original owner from 89 got the extra rust proof package...
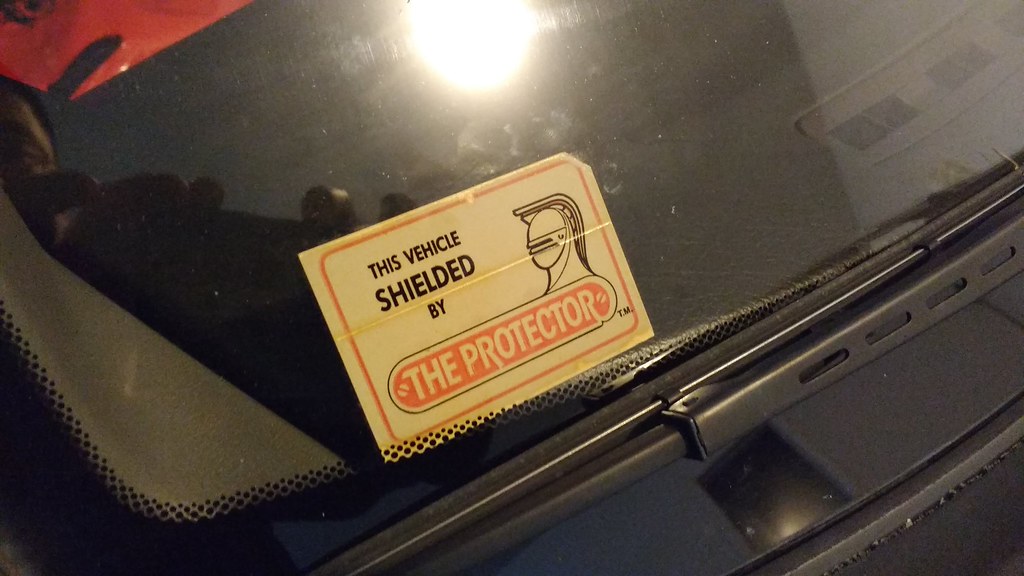 IMG_20171202_194745715
 by
C Pan, from Flickr

 IMG_5254 by C Pan, from Flickr
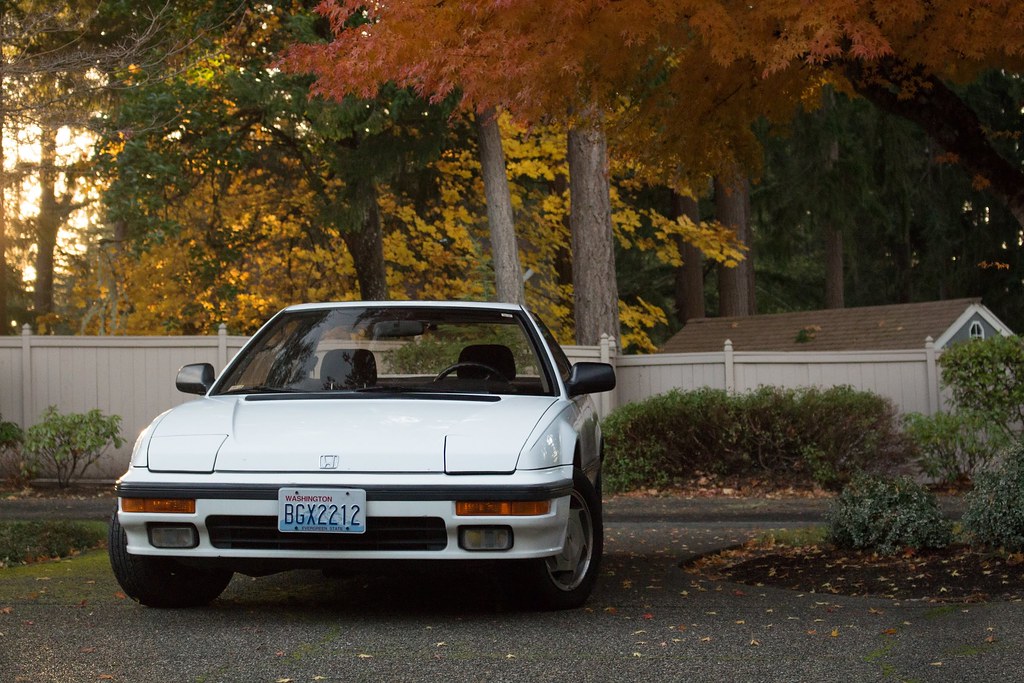 IMG_5250 by C Pan, from Flickr


