I finished off the wiring at the weekend.
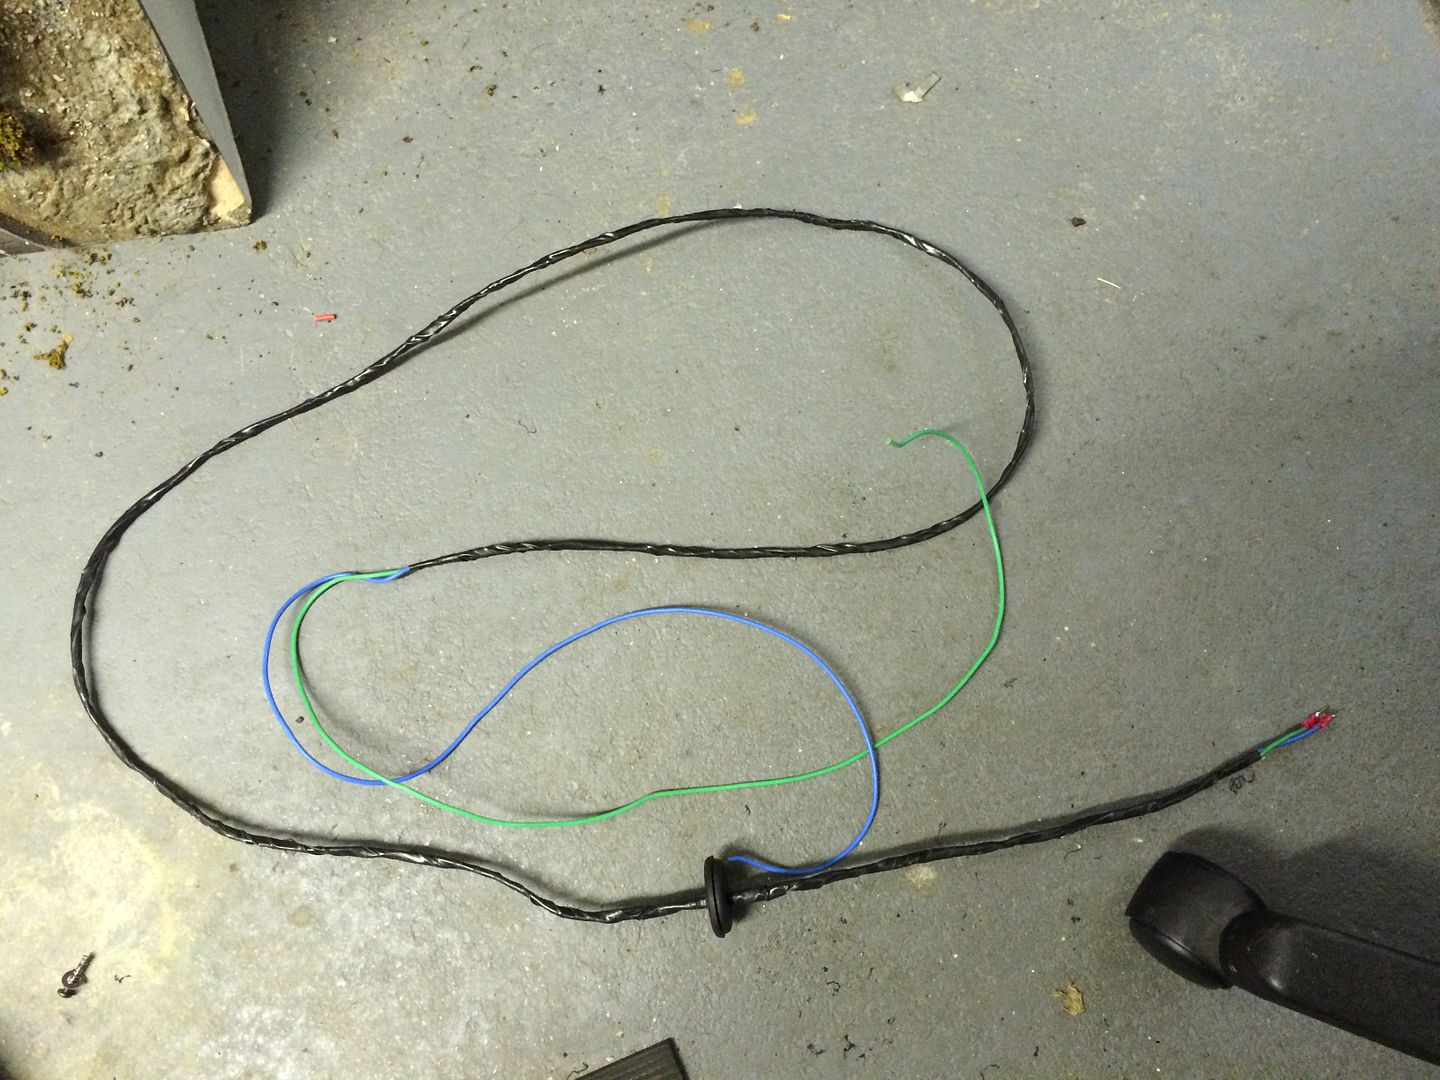
There is a 2 wire loom between the pole and the interior accessory loom, this didn't come with mine as it'd be a nightmare to remove from the donor car and is an easy one to make. So here is the final piece of the electrical puzzle:
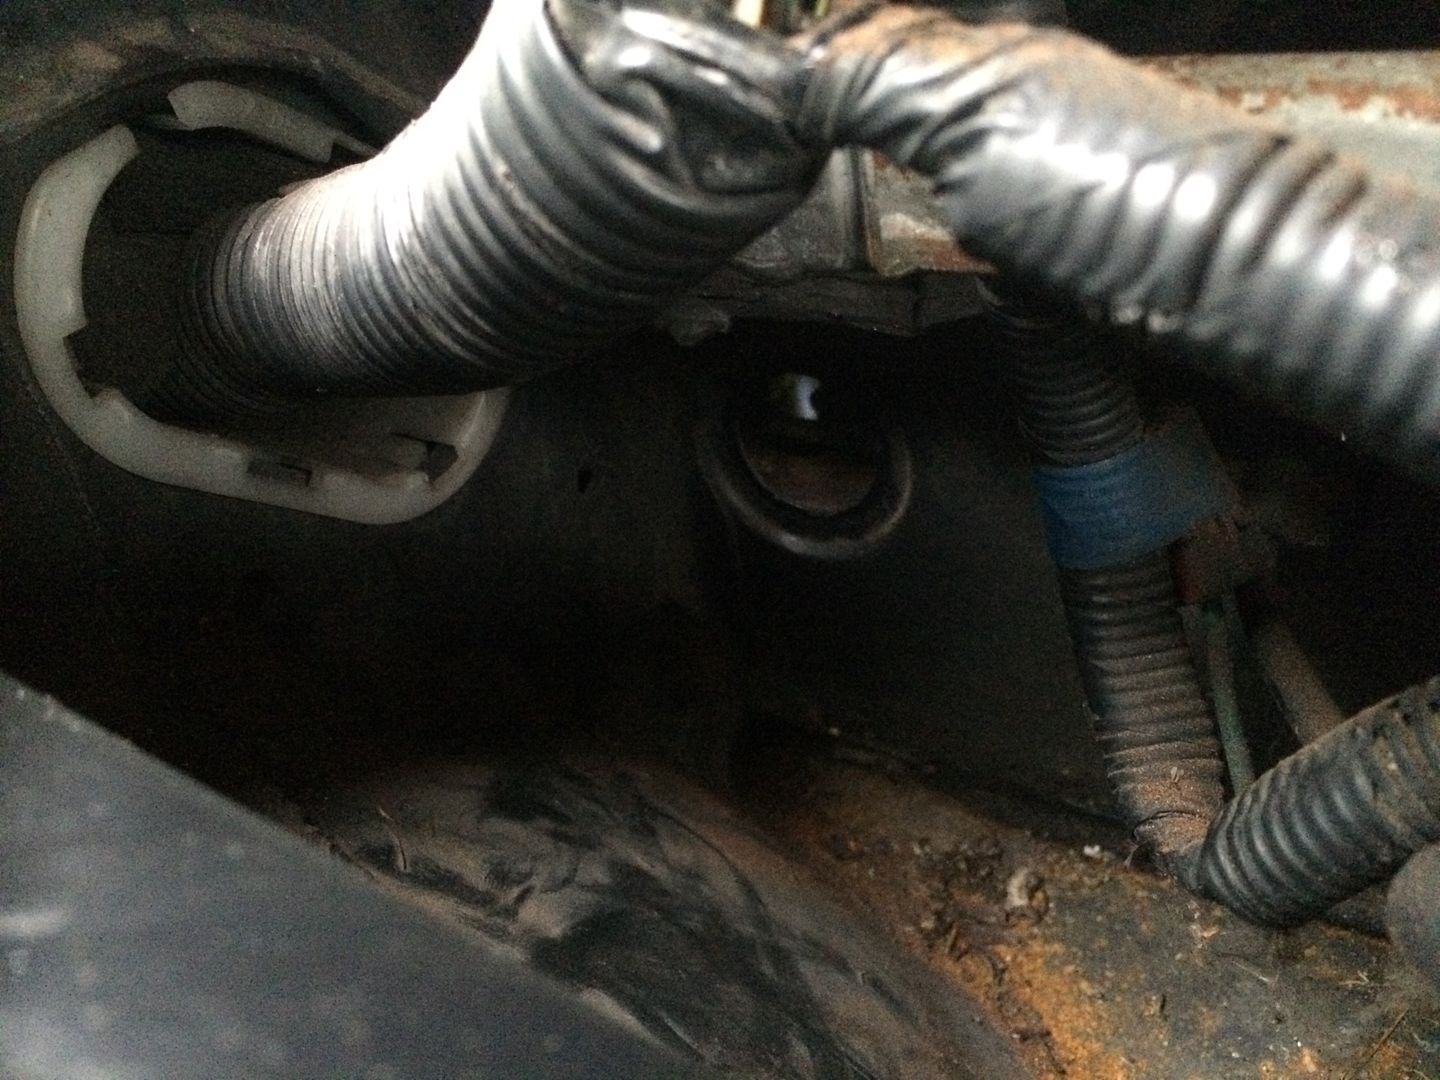
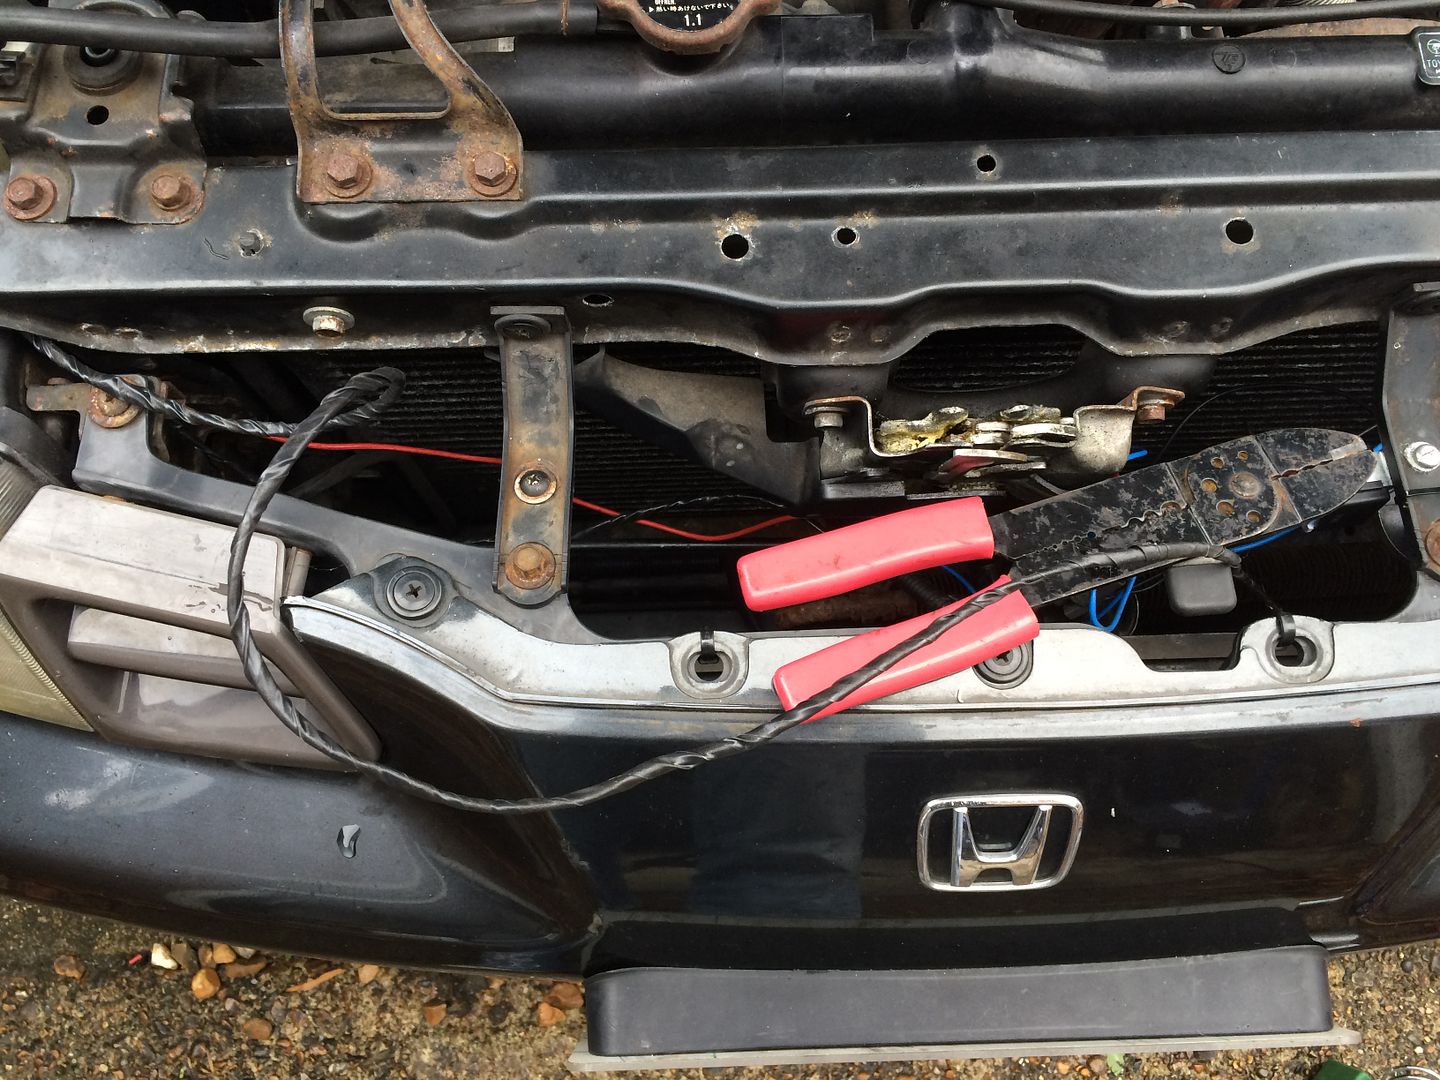
I found the easiest place to route the wiring through was the grommet under the fuse box, in the above pic I had already drilled the grommet and put it on my wiring. Here's the location in the bulkhead where it came from, could be handy for anyone trying to run wires from the engine bay to the cabin:
Lately I've been practicing my soldering

Here is where I joined the pigtail of the OEM bumper pole connecting loom to my home made special - a few weeks ago this probably would have been a kilo blob of solder with the wires at 90 degrees

I even pushed the boat out and used a bit of heat shrink...
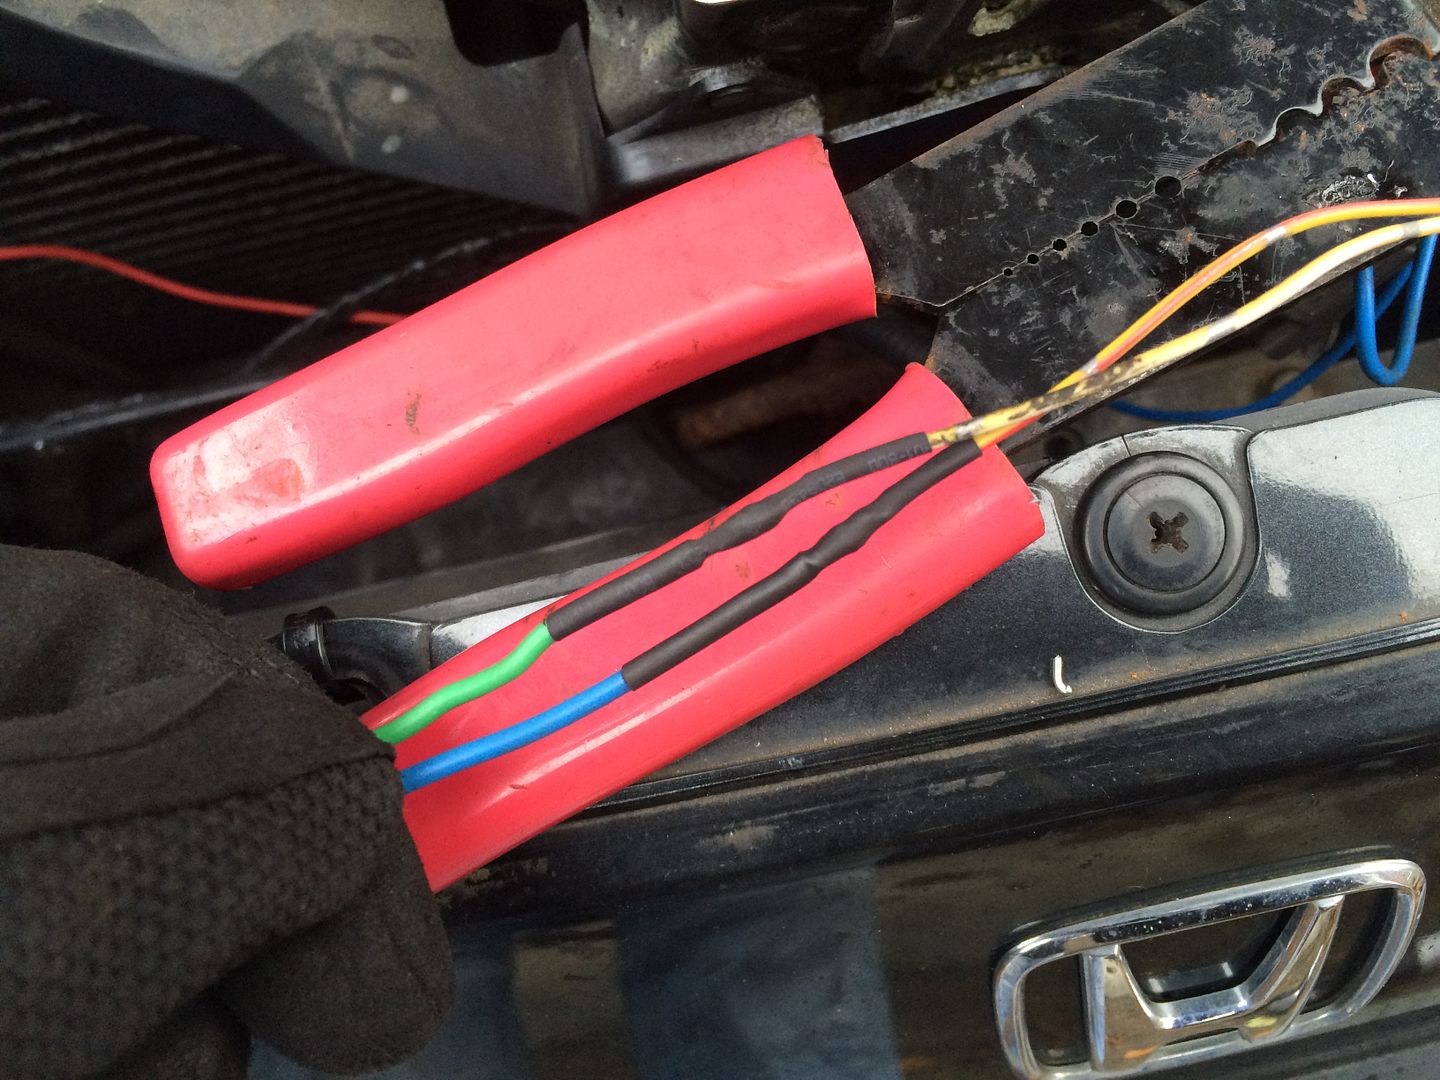
All wrapped up:
I then cable tied everything out of sight - it was a good chance to tidy up my horn wiring as well which whilst being functional, looked like multi-coloured spaghetti. I think it might have been the first time in my life that I actually used cable ties for securing cables. On a cable tidying high I then went into the driver's footwell and tidied up the loose wiring in there as it had been catching my feet lately

With that all done it was time to push the button


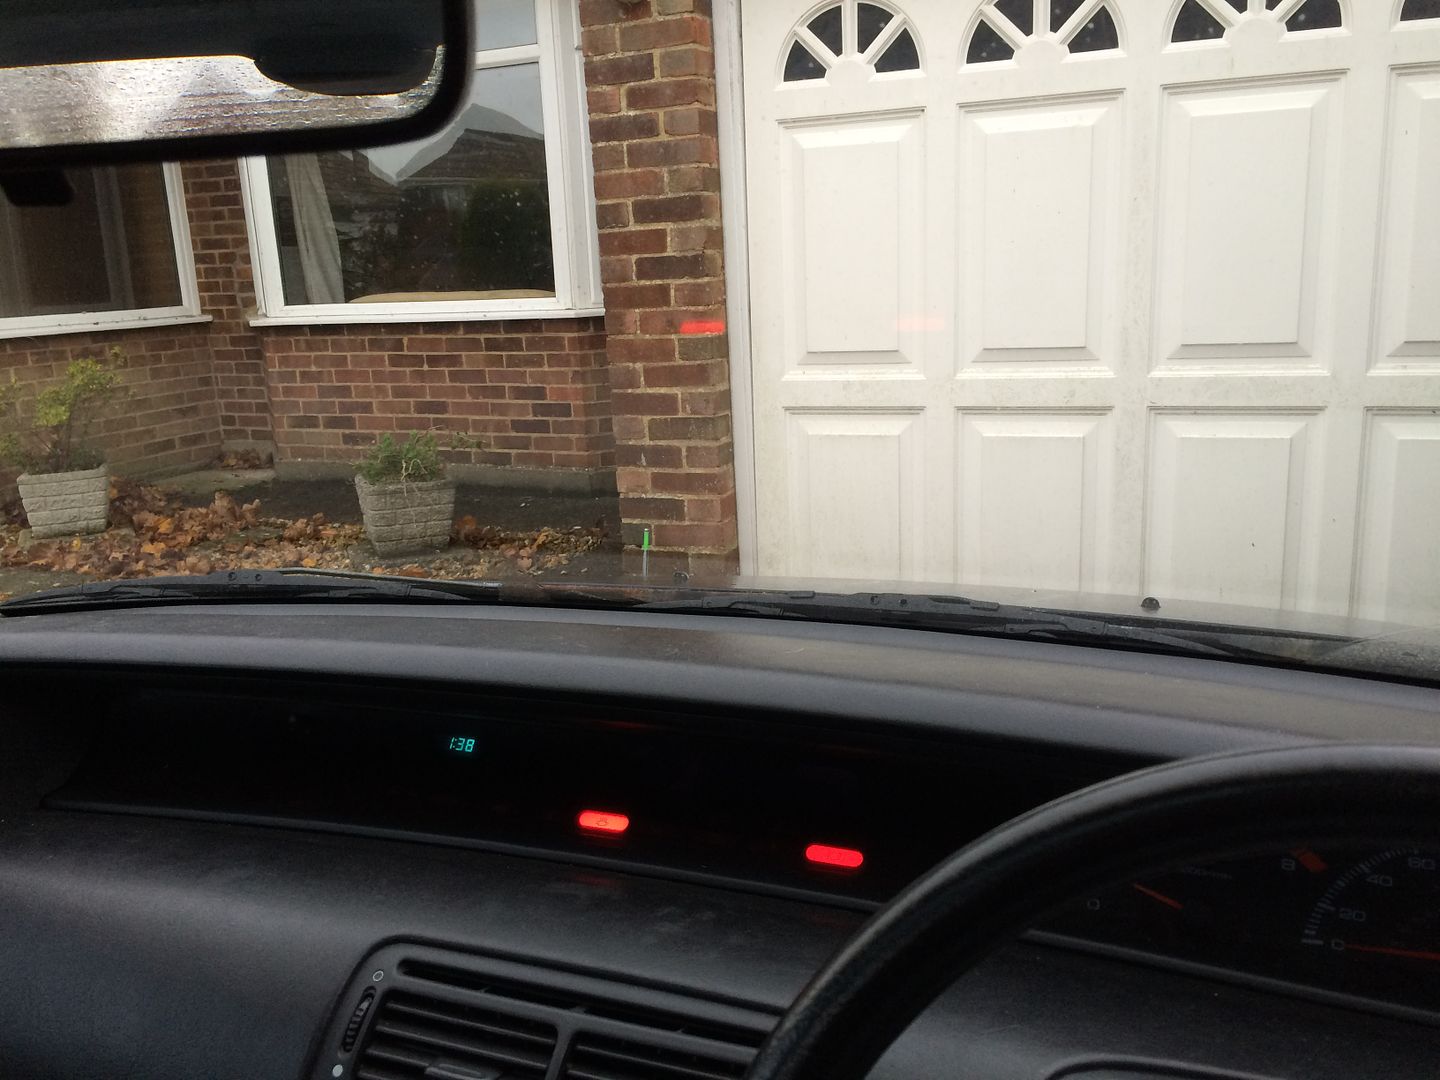
I'm so content now
As if things couldn't get any better, I opened the coin tray and found this:
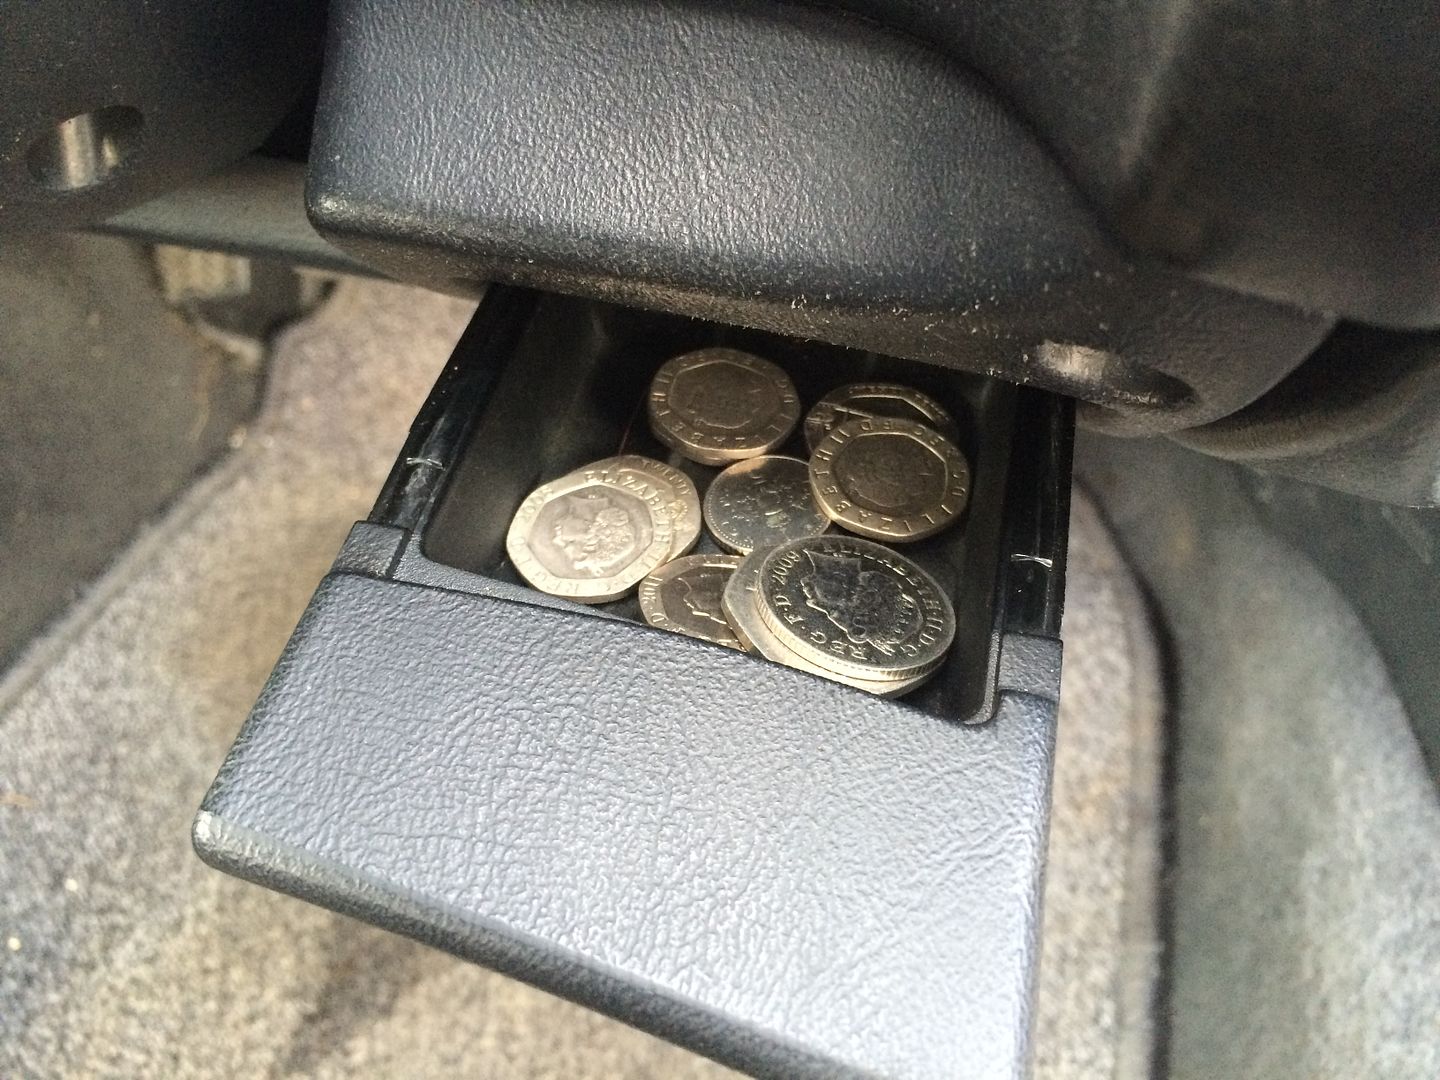
That was a few coffees paid for at work
All in all a productive weekend