BUILD PART 5) - Build (Cont'd) – Painting and Cleaning
Well, well, who would have guessed it? I wrote in a previous profile update here:
http://www.ludegeneration.co.uk/post201040.html#p201040
Following another nipper on the way I had to get this on the road by September and that I need to worry about getting things fitted and working rather than looking pretty too. That comment has kind of gone out of the window as I’ve been cleaning things up and painting more parts.
What am I like?!?!
 Cleaning the Engine Bay
I was given some decent engine bay degreaser from a valet friend and thought I’d try and clean up the engine bay a bit. It’s not in too shabby a condition, a little dust mostly from the time it was in the bodyshop. The worst areas which will need more than a clean is the area below the old battery tray which tends to always have unpainted primer exposed bits and most likely some spots of surface rust from the battery living above it. Also going back a few years to my engine bay fire at Japshow, the powder fire extinguisher left the area around the starter motor a little corroded in places. Luckily most of the corrosion is on parts which I’m replacing – gearbox, front sub frame, etc.
So some nice before and after shots, apologies that most of the pics were in poor light on my phone camera:
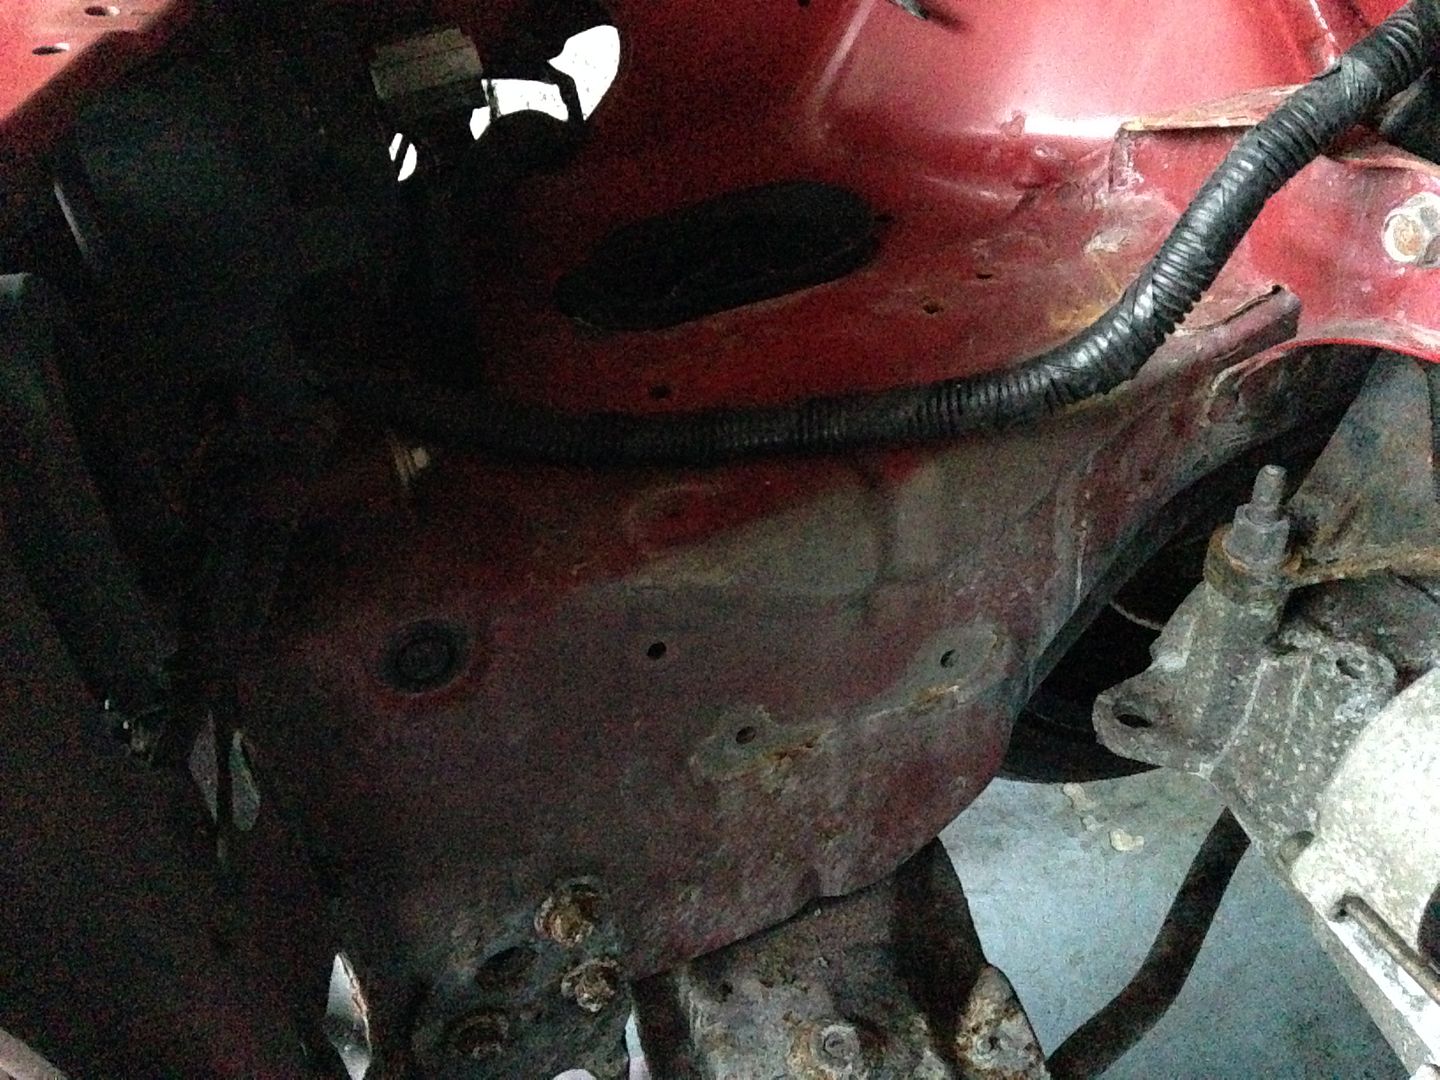
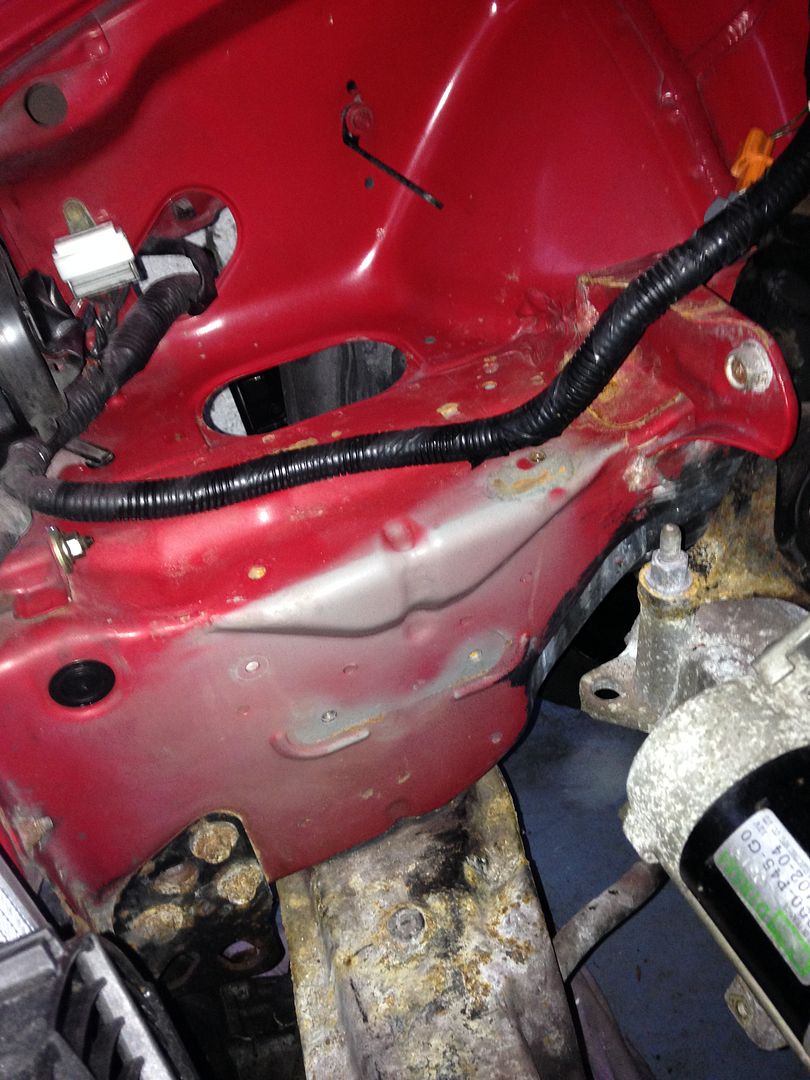
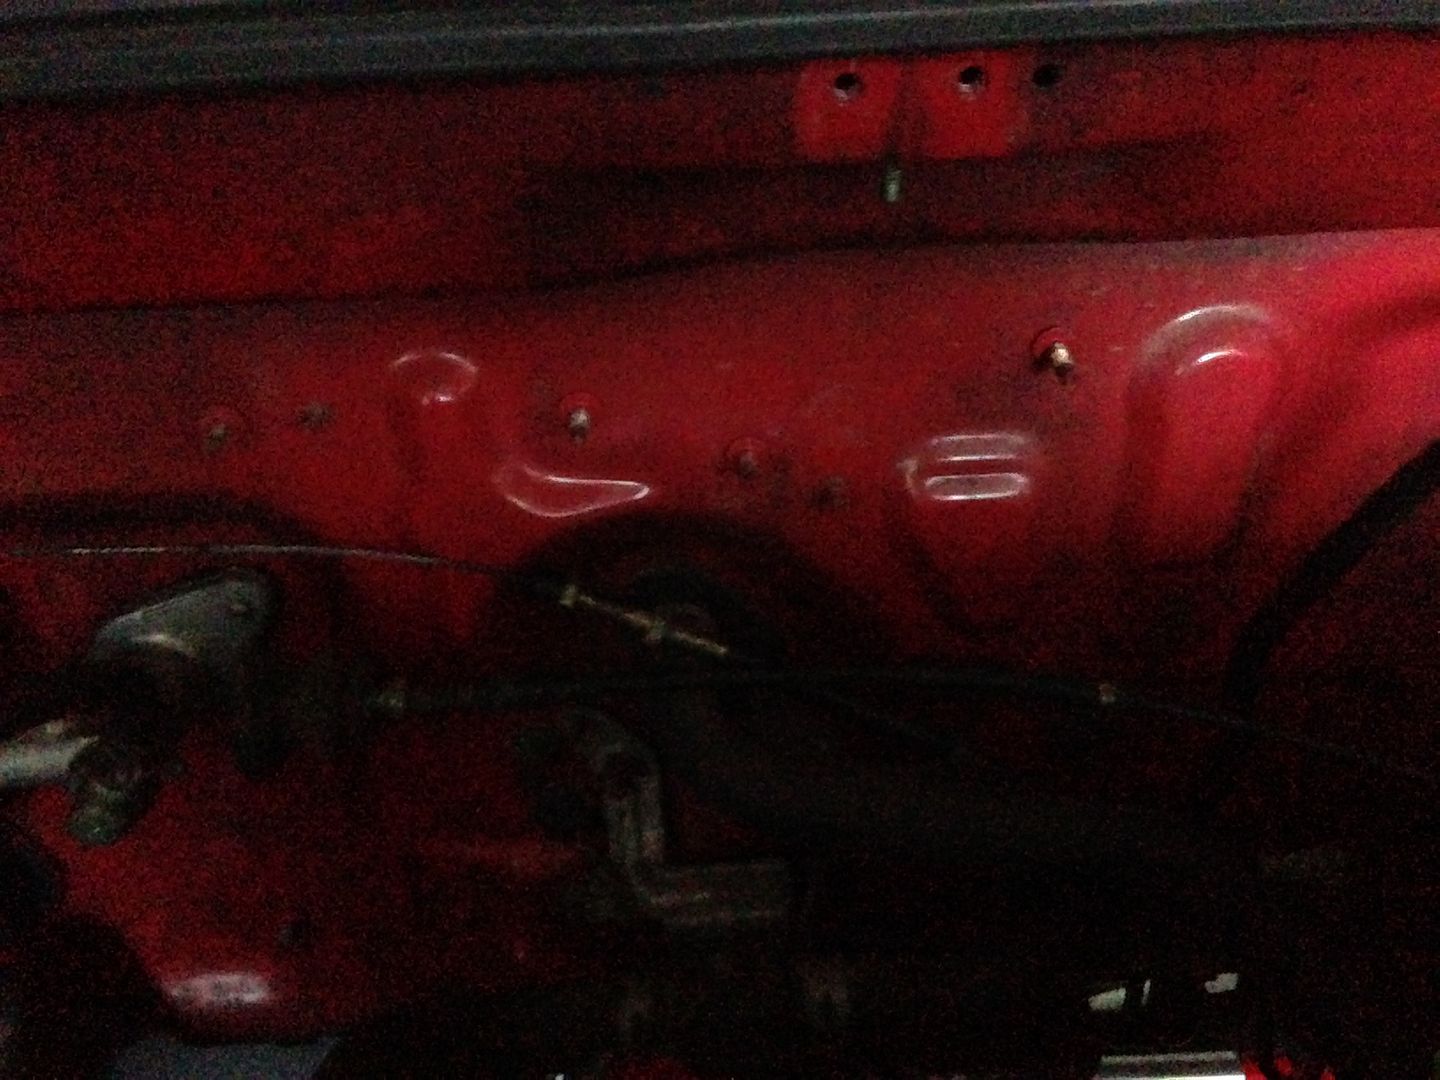
The area mentioned above, the OEM battery location, drivers side. You can see the corrosion I mentioned:
BEFORE:
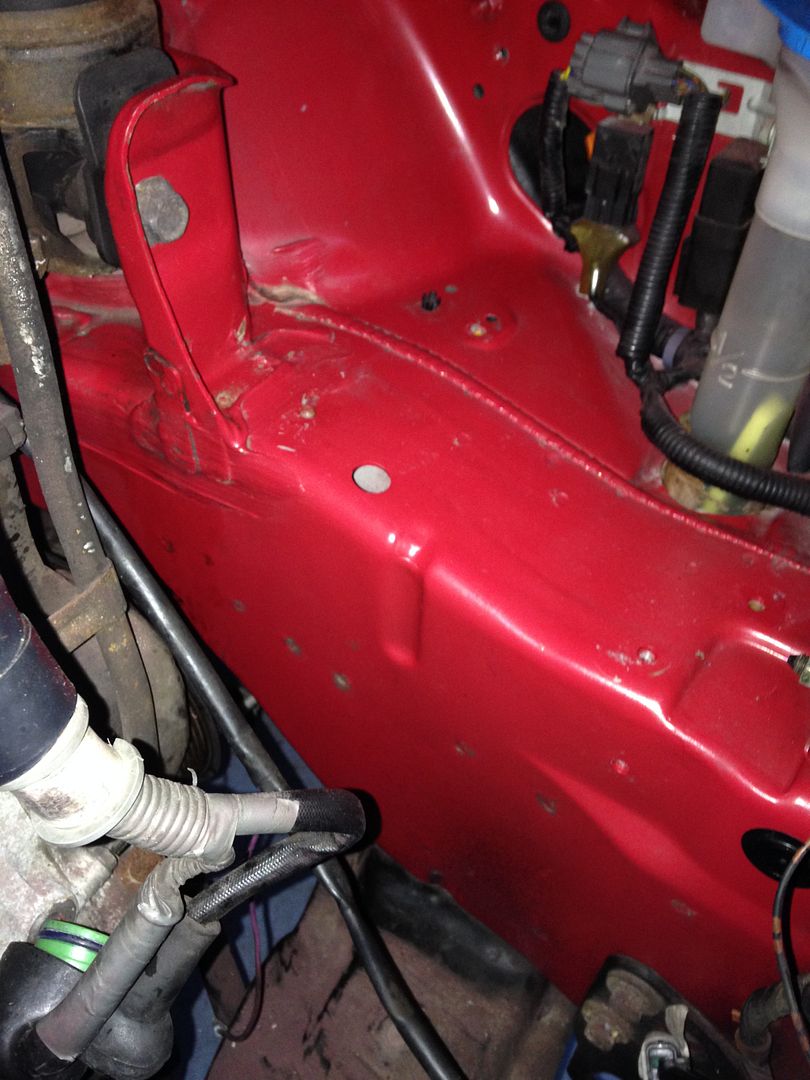
AFTER:
Came up pretty well but definitely need to treat some of that surface rust and paint an area – I’ll just do some black as most of this area will be covered by the intake/custom intake box, oil filter relocation and possibly some chargecooler bits (but more on that another time).
Same location on the passenger side:
BEFORE:

AFTER:
The area to the side of the pulley was thick with muck and dirt build up which shifted well and has somehow managed to keep the paint pretty well protected? Some small recess areas above could do with a little toothbrush to get into the gaps.
The firewall came up great. It had very engrained dirt which you couldn’t wipe off but the degreaser seemed to bring it up great:
BEFORE:
AFTER:
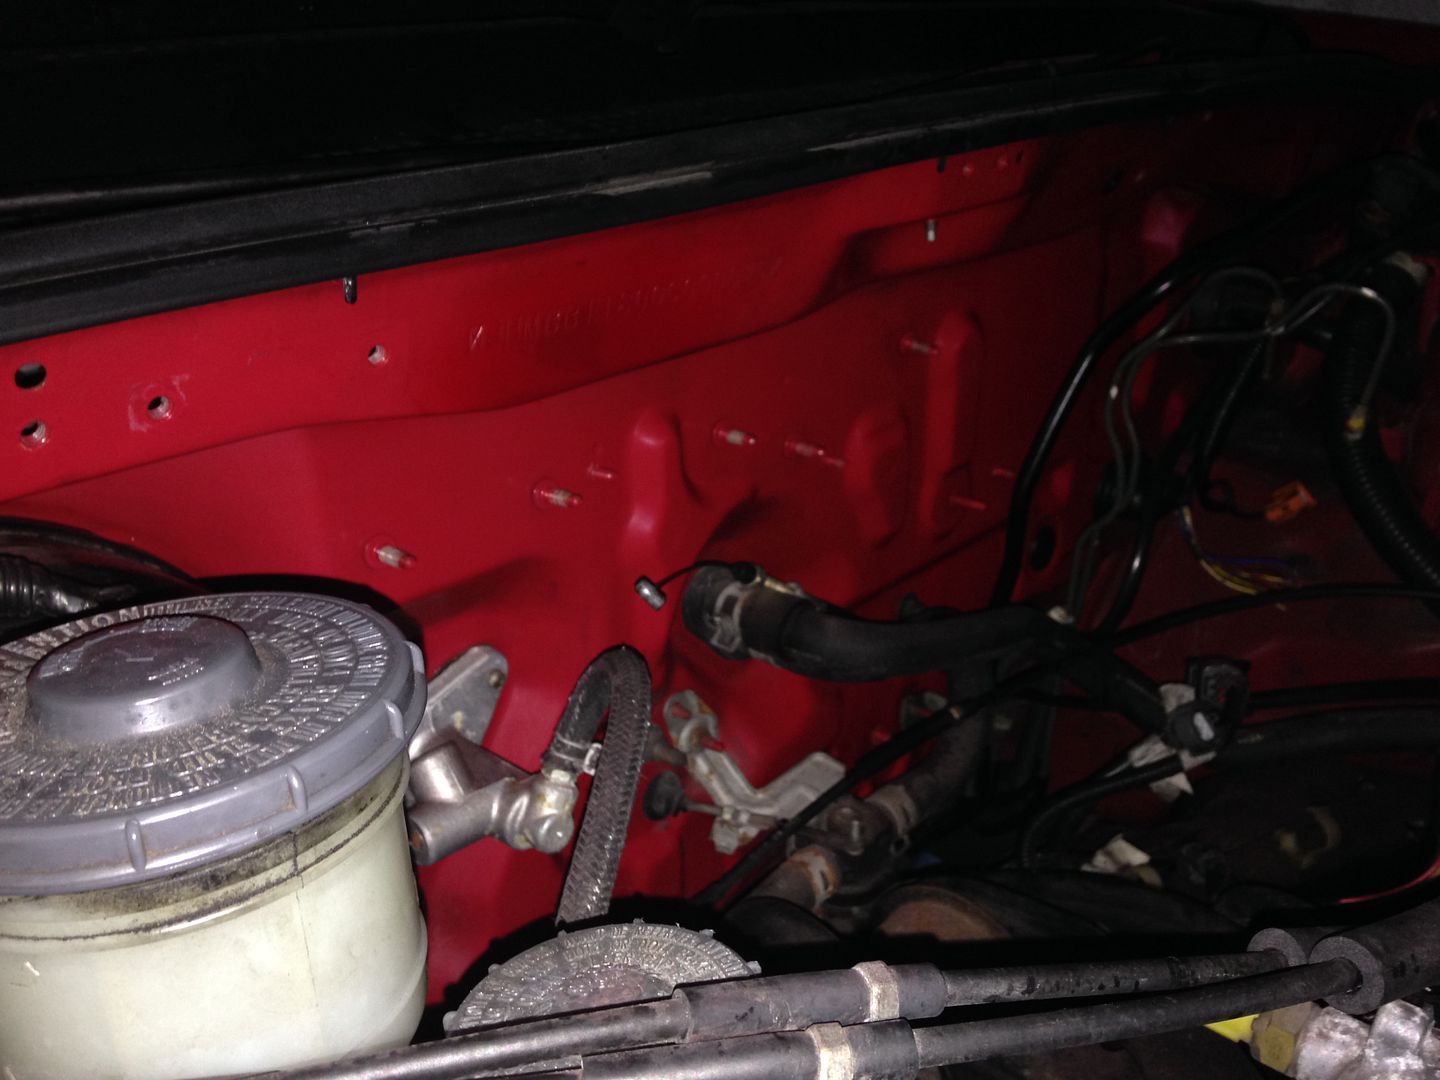
Two of the worst areas were around my strut towers. Annoyingly some of the painted seam sealer has been disturbed where I had a strut brace fitted. Easiest answer is to get a custom strut brace made up after everything is fitted that clears the supercharger.
BEFORE:
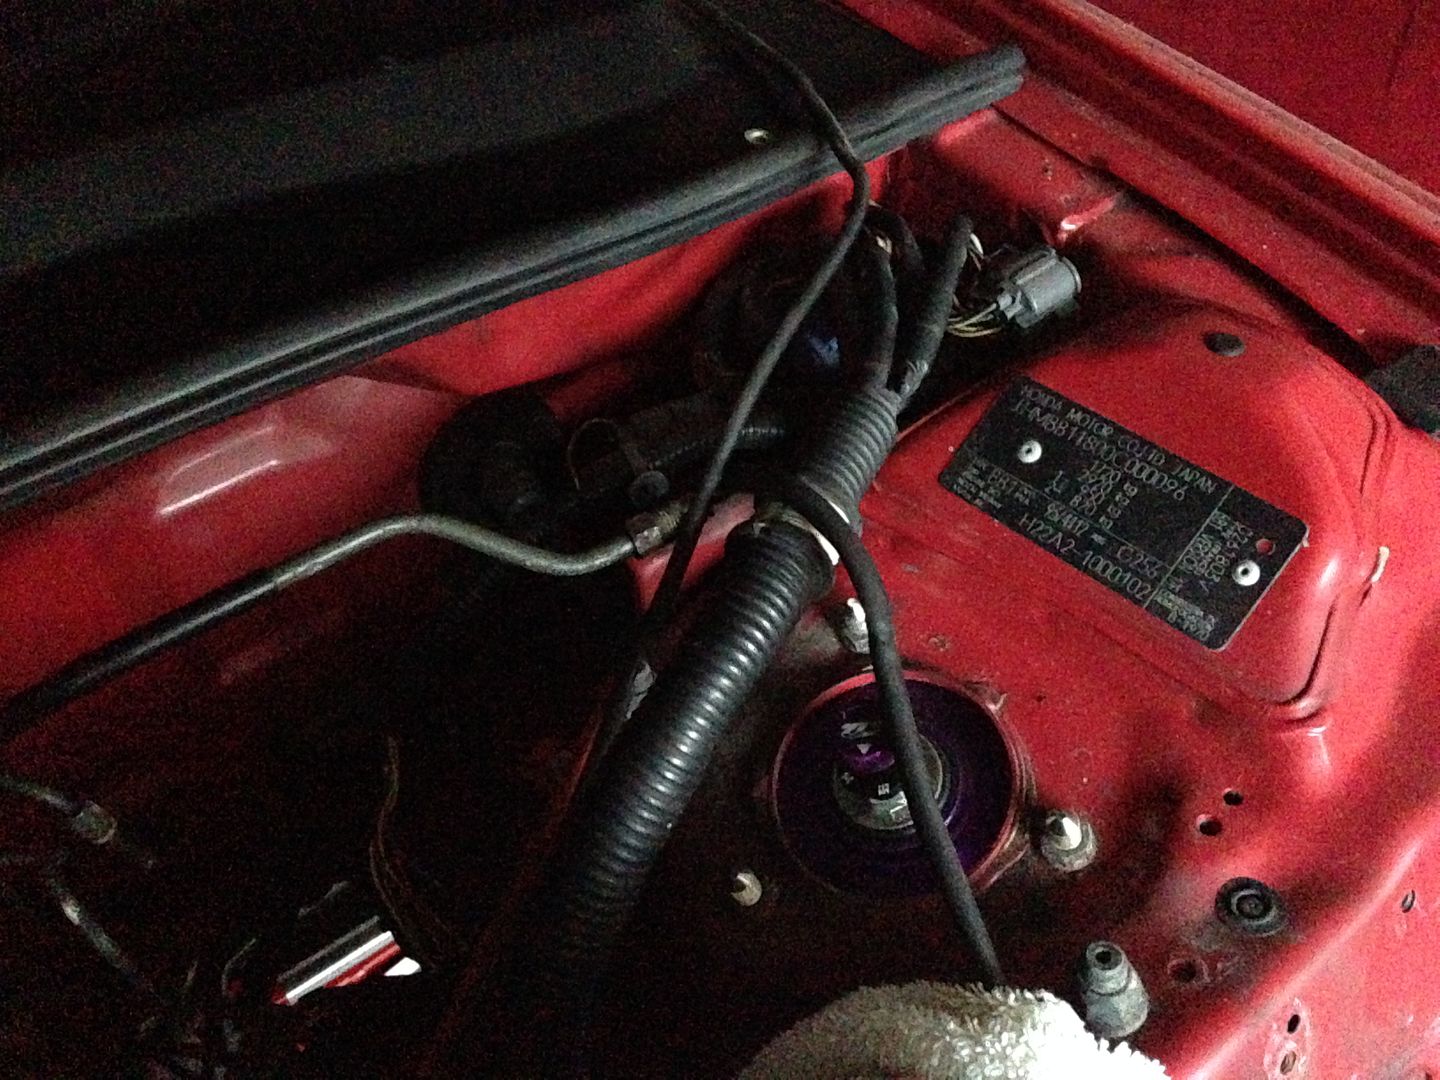
AFTER:
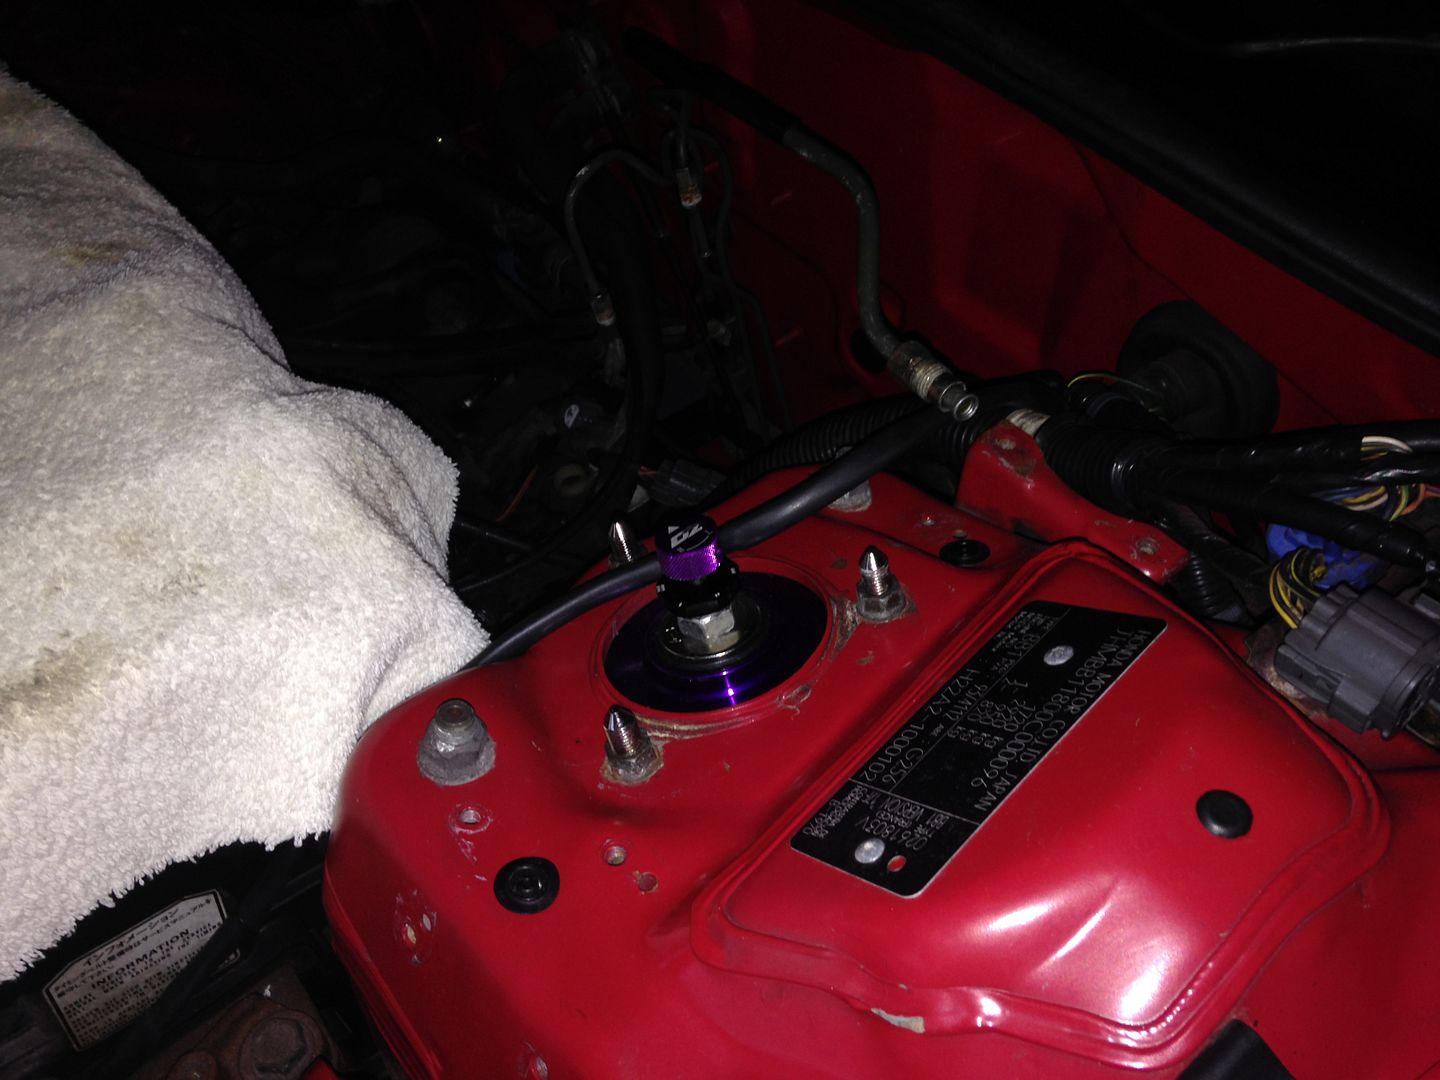
Like I said, not the best pics in the world, but the cleaning effort did pay off a bit. It’s by no means a show winning finish but an improvement while I have all the gubbins out of the way.
 Parts Painting – Supercharger Bits
Throughout the last few months when there was the odd dry spell, I’ve been busy prepping and painting a number of parts.
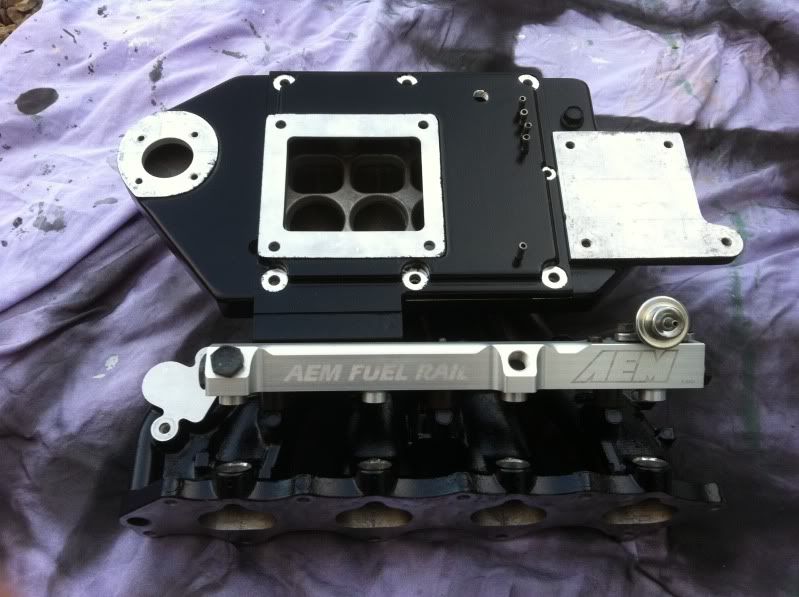
The last bits and pieces I painted and posted on here were the lower intake manifold and JRSC plenum and baseplate:
I’ve been using Simoniz Engine Enamel as the finish is a glossy and tough, plus it should withstand some high temps if needs be. I bought a few cans of this:

Plus, I also went a bit mad measuring up and buying replacement stainless steel nuts, bolts and washer:

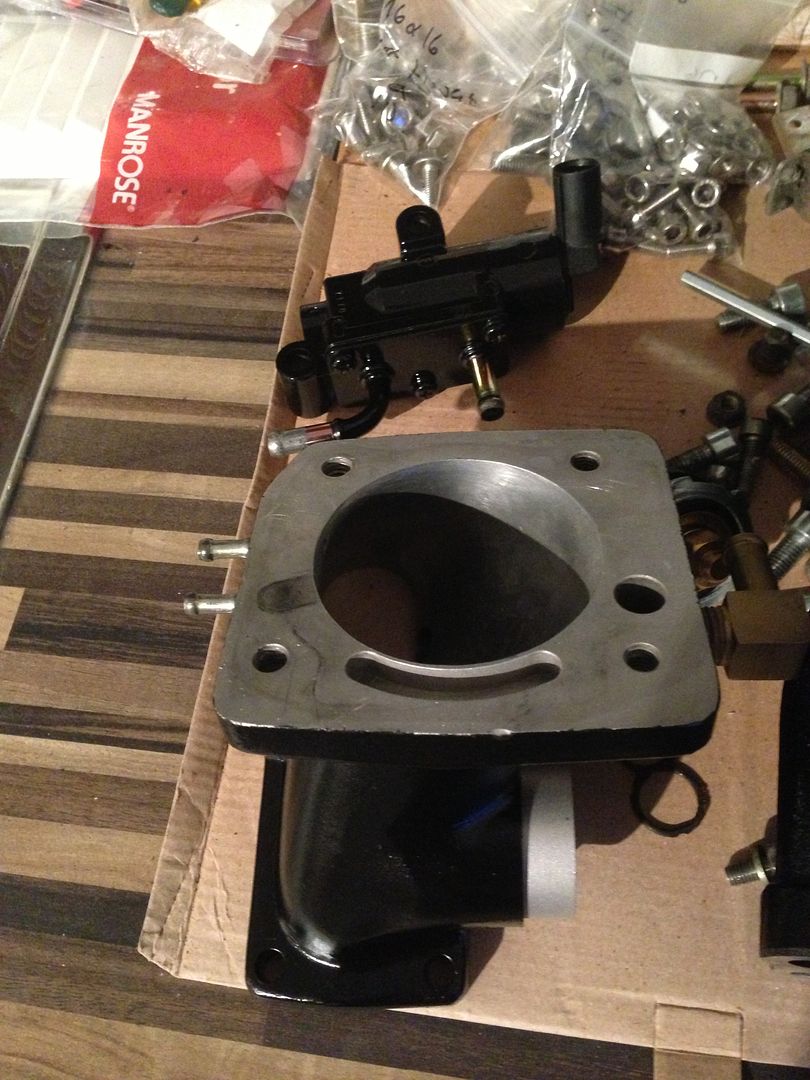
So on to the intake tubing from the throttle body to the supercharger – referred in the US as the ‘S-tube’.
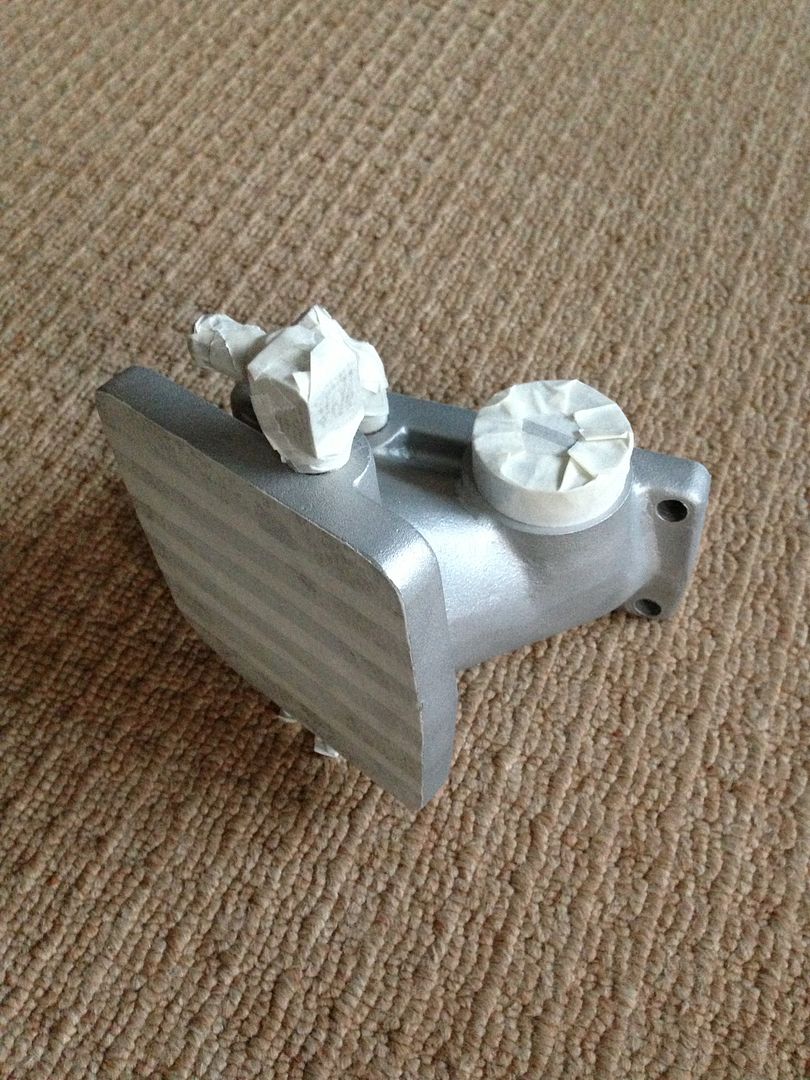

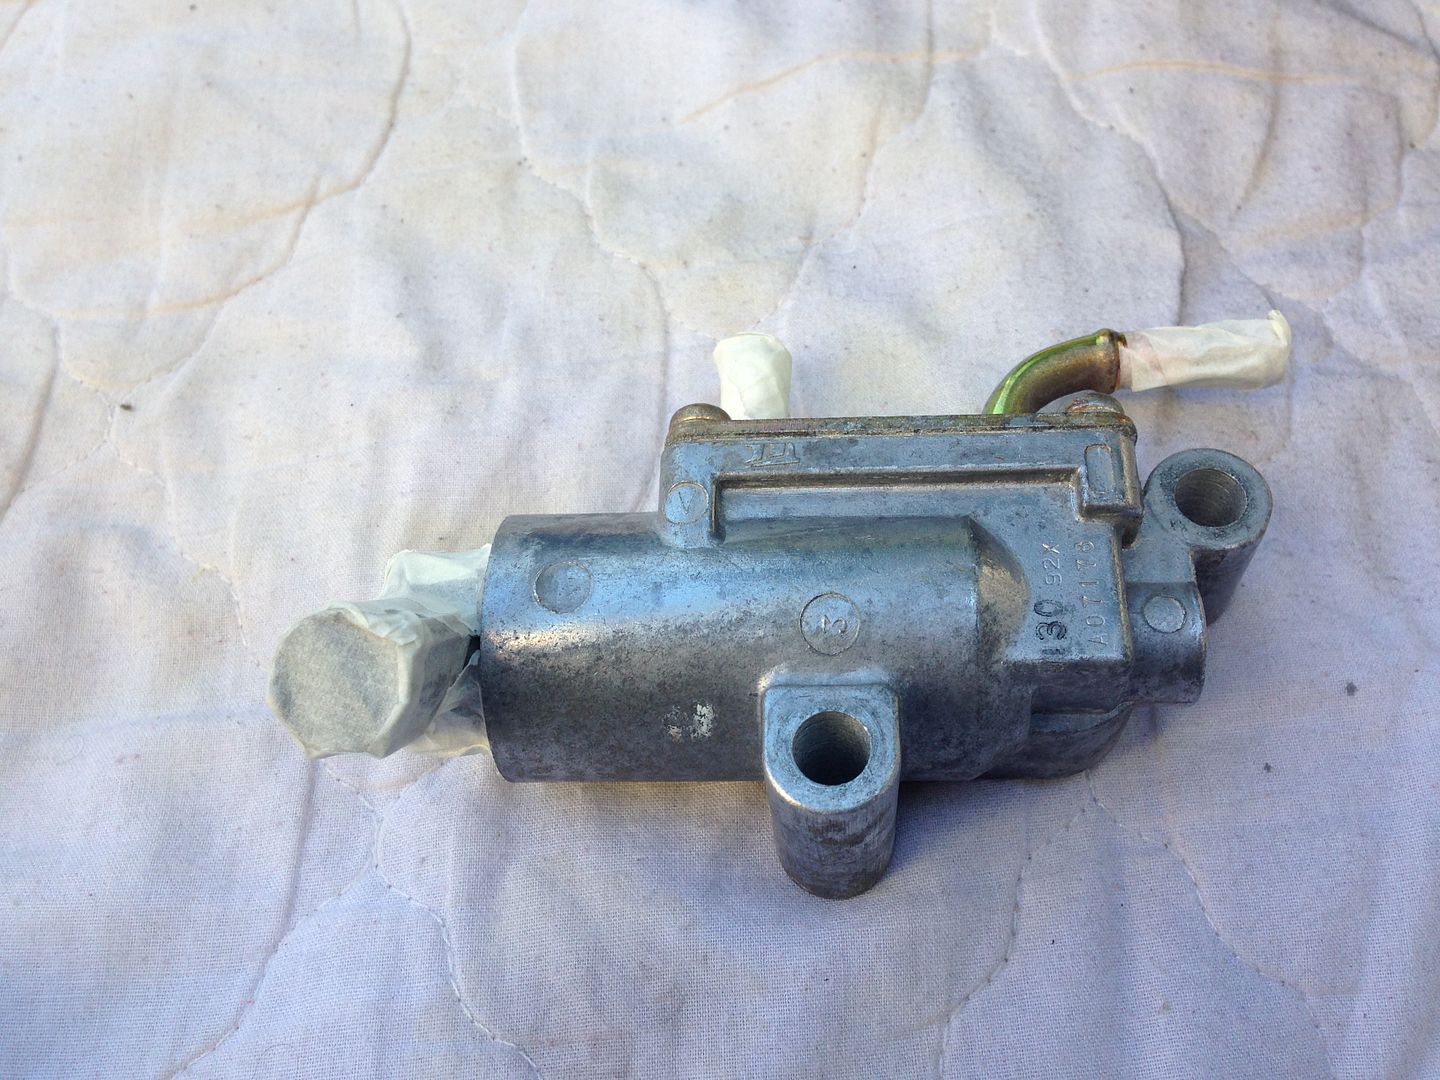
Cleaned up the IACV, masked up:
Looks a bit better.

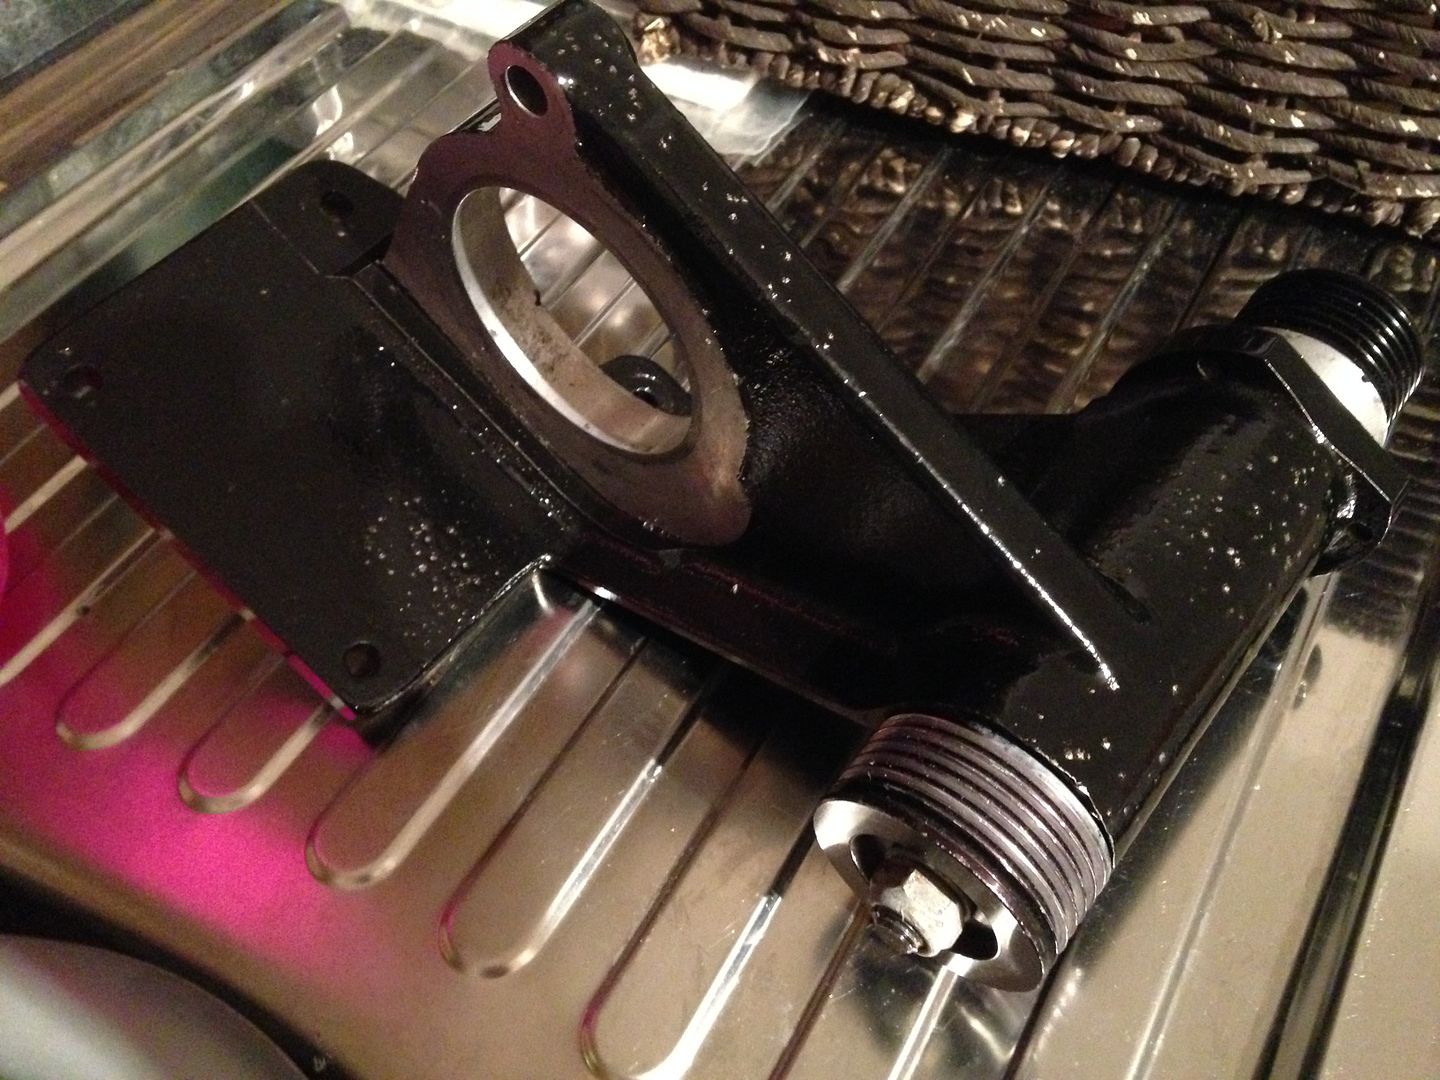
Not sprayed (yet) but some of the more complicated stainless bits I had to piece together – small belt tensioner:

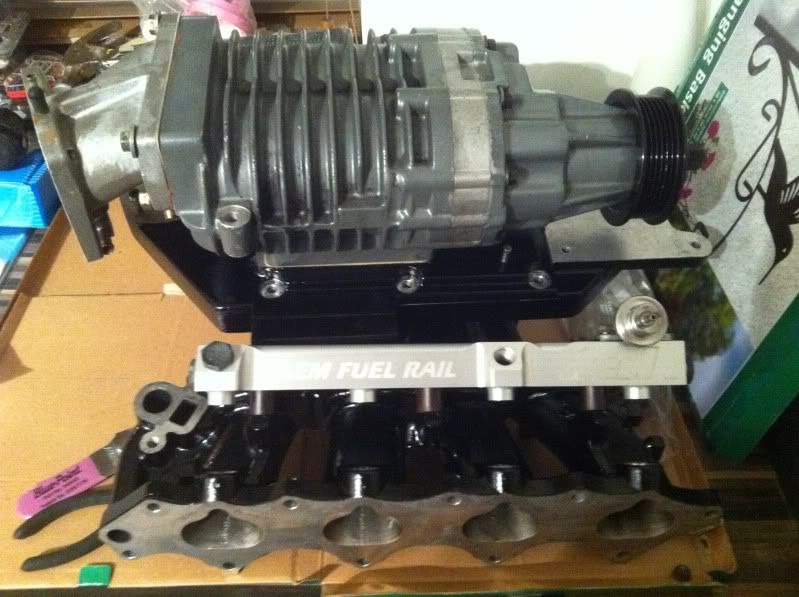
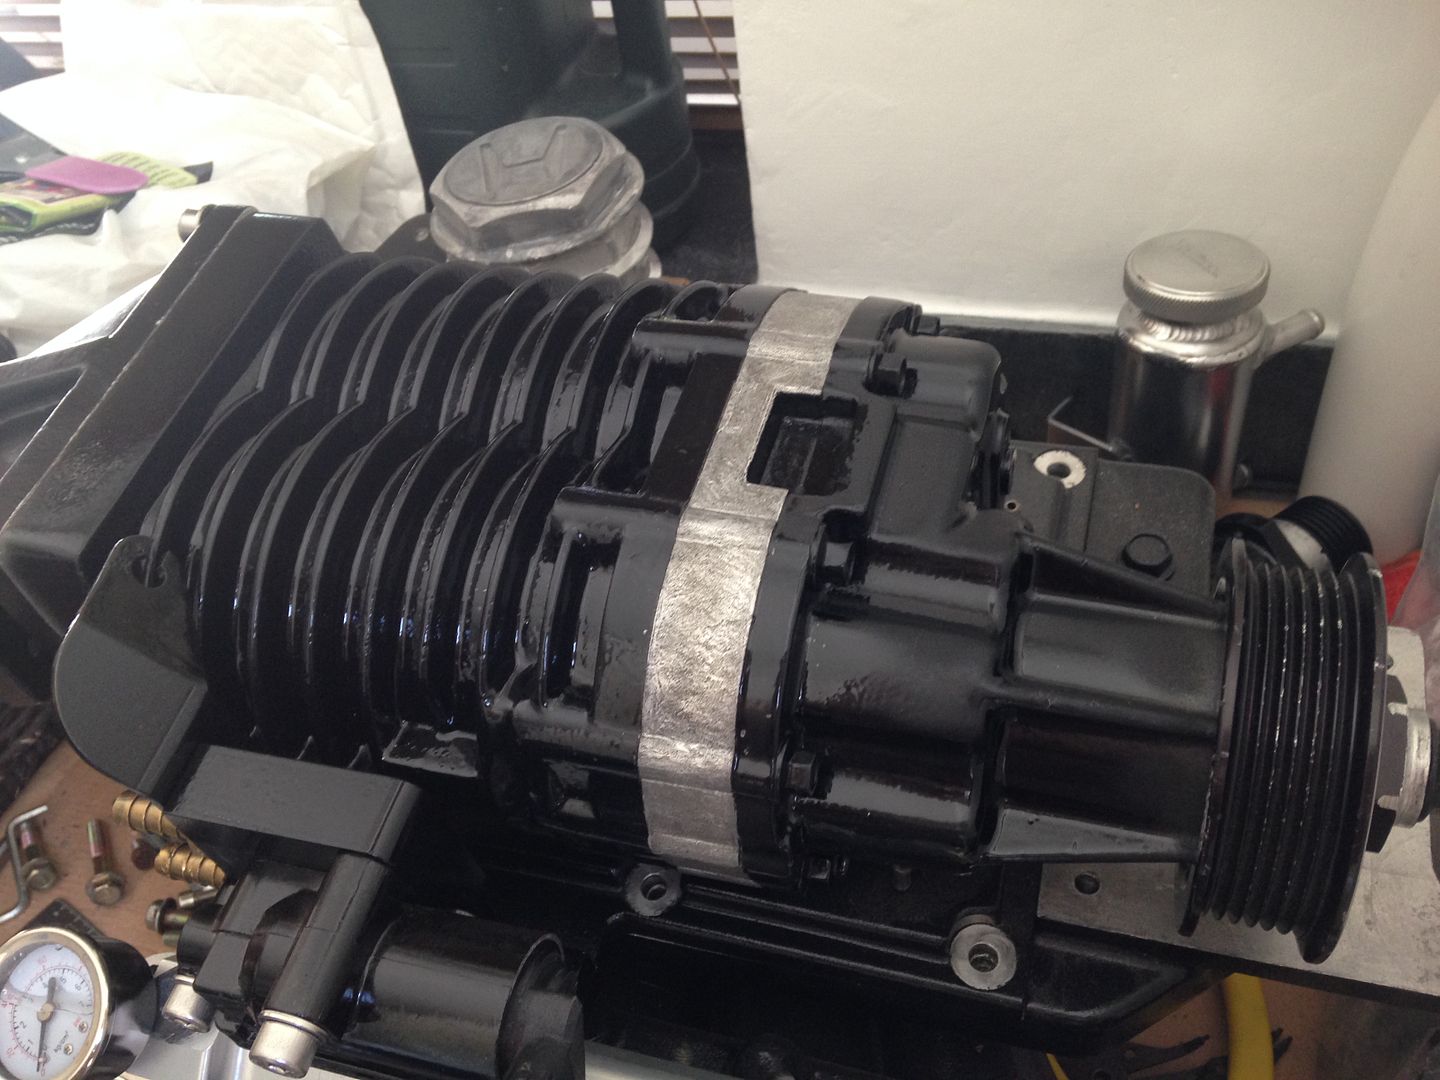
Still needs more black, the big decider was whether to paint the supercharger or not. After seeing Ratty’s in the flesh I decided to just go for it. I also painted the IACV bracket, the throttle cable bracket and the jackshaft. No during pics, took a while to clean and mask up the charger. I happen to run out of masking tape and resorted to gaffa tape – worked surprisingly well!
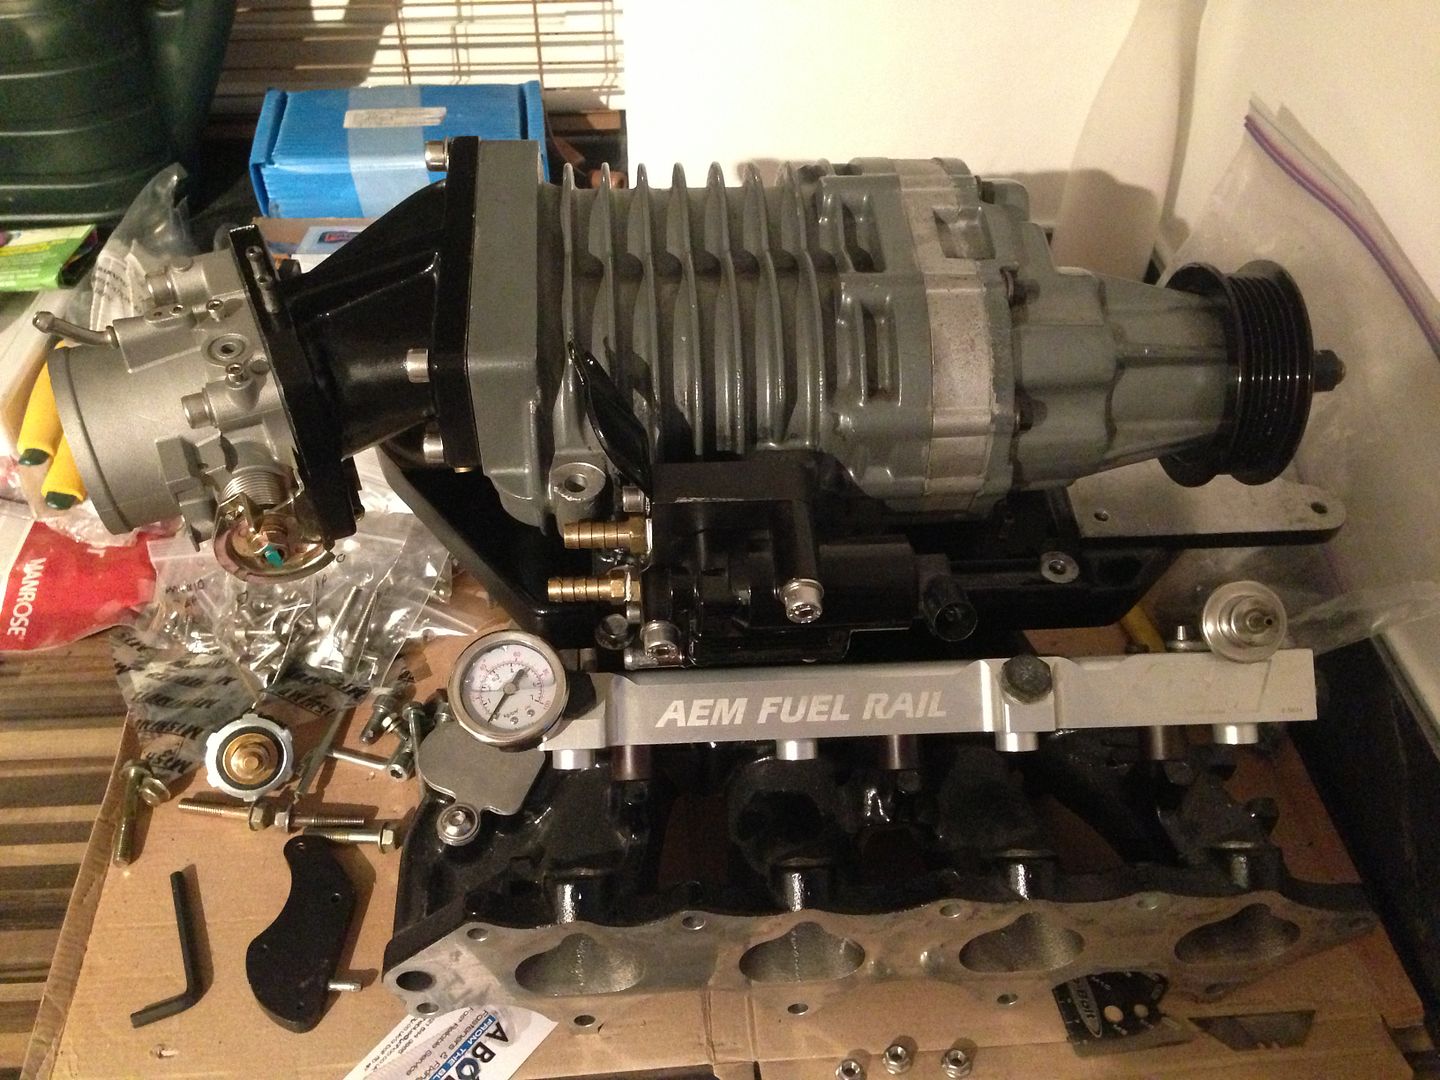
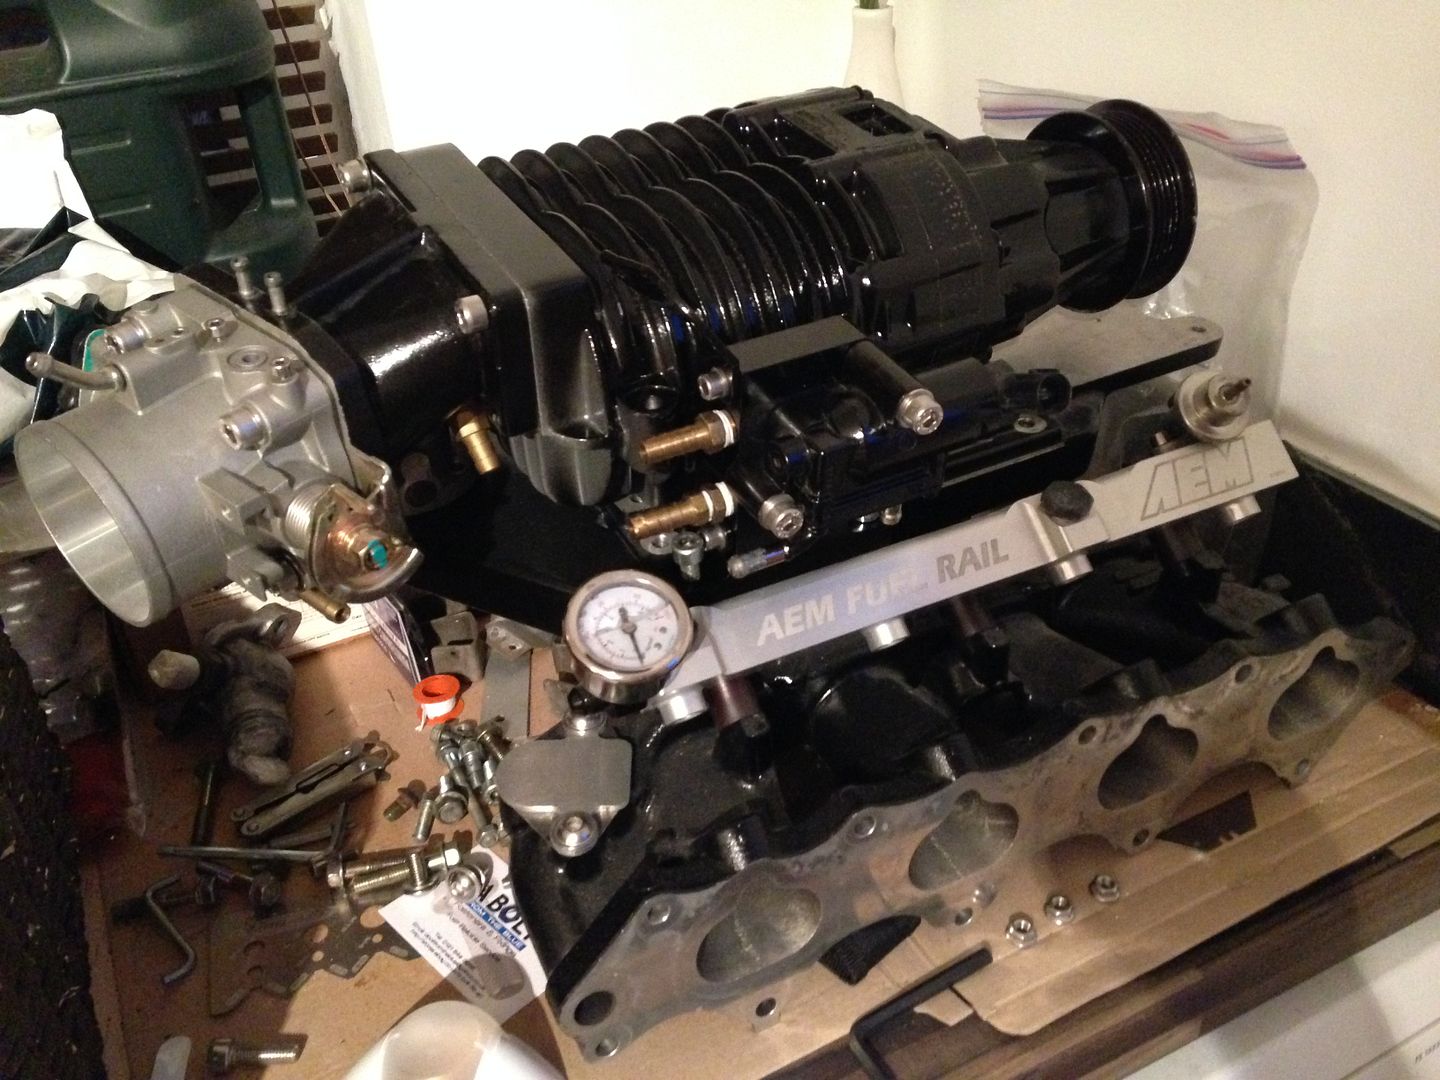
Finished Eaton M62:

Only bit that didn’t come out to well on the charger was this unpainted ‘adaptor’ like plate in between the rotor housing and the nosedrive:
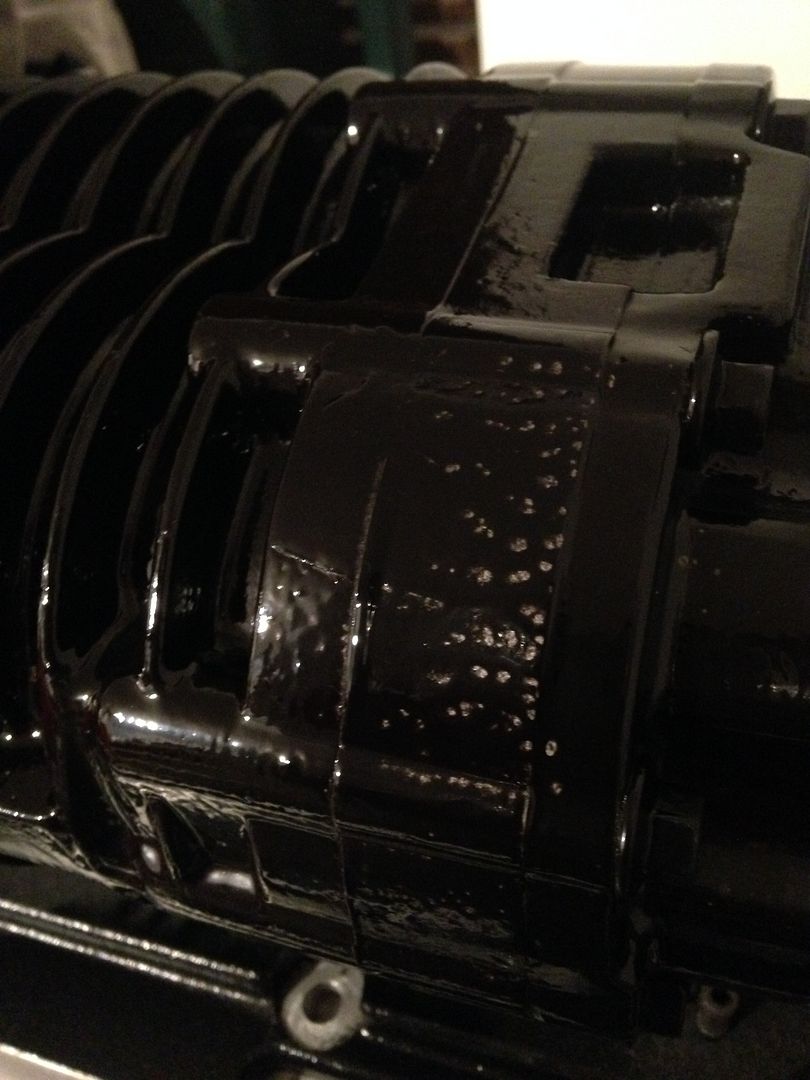
A bit annoying, the rest of it came out nice, almost a powder coated finish:
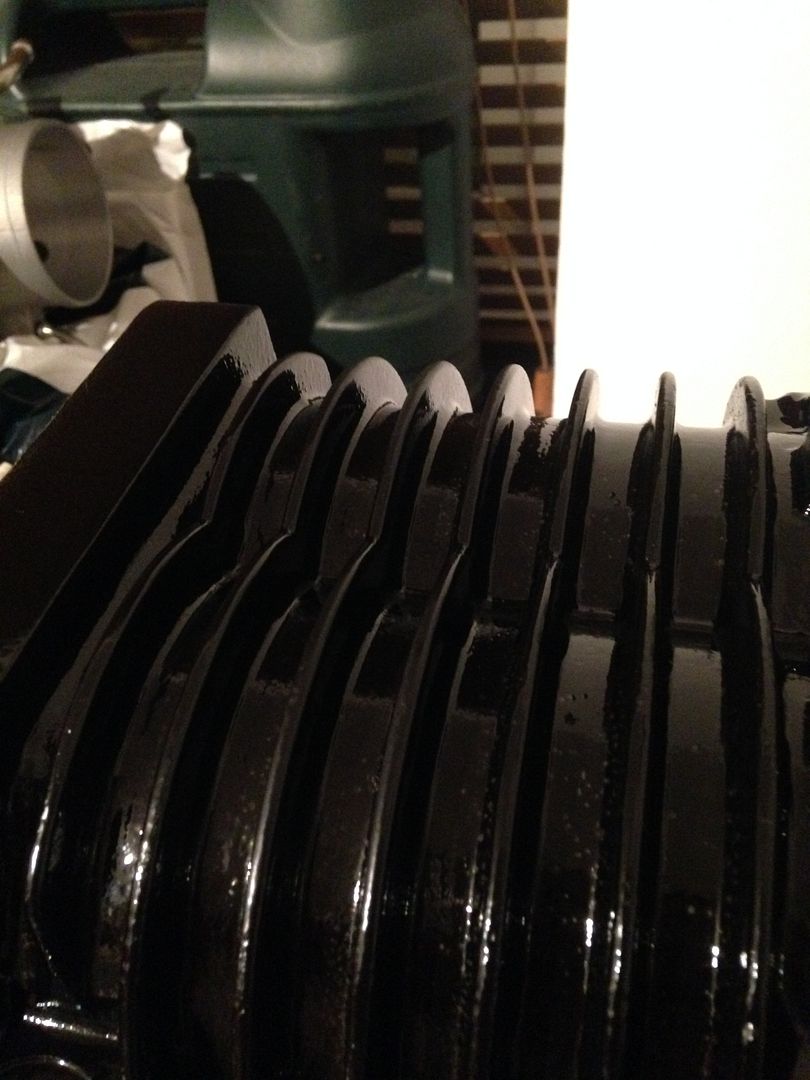
I’m going to add a little touch to the rotor housing fins I think just to make it stand out a bit as everything is pretty much black now!
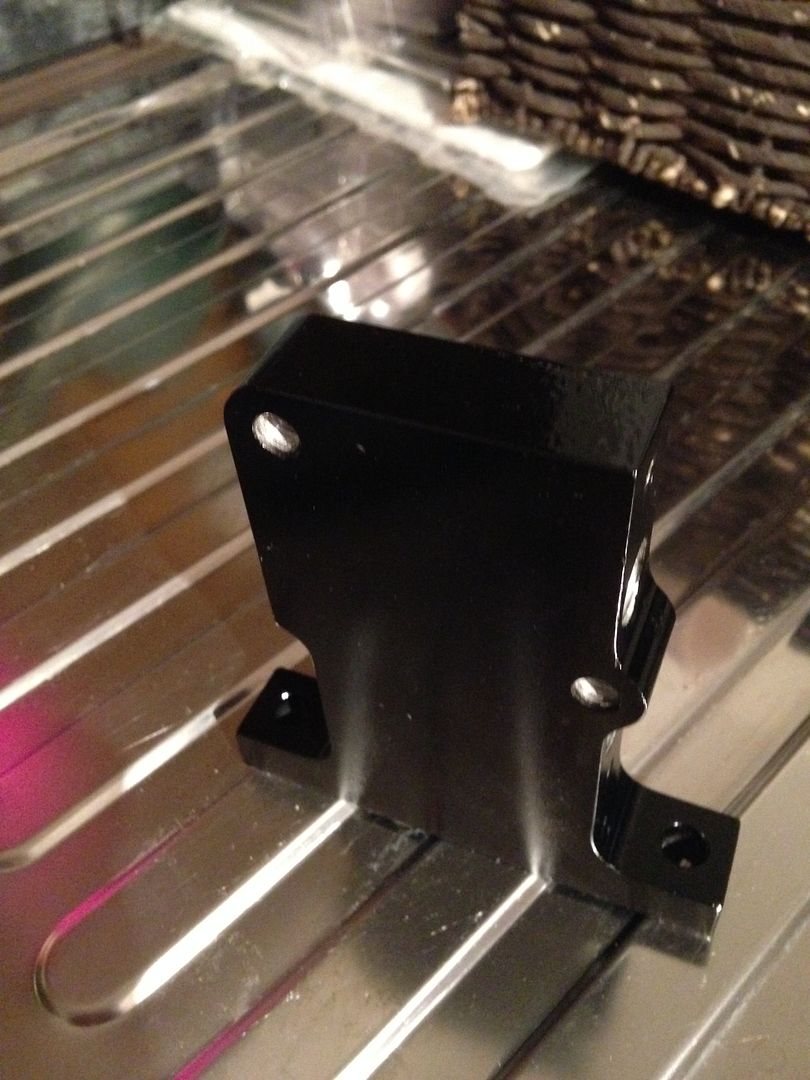
IACV bracket:
Jackshaft:
Came out great on the back (which you don’t see):
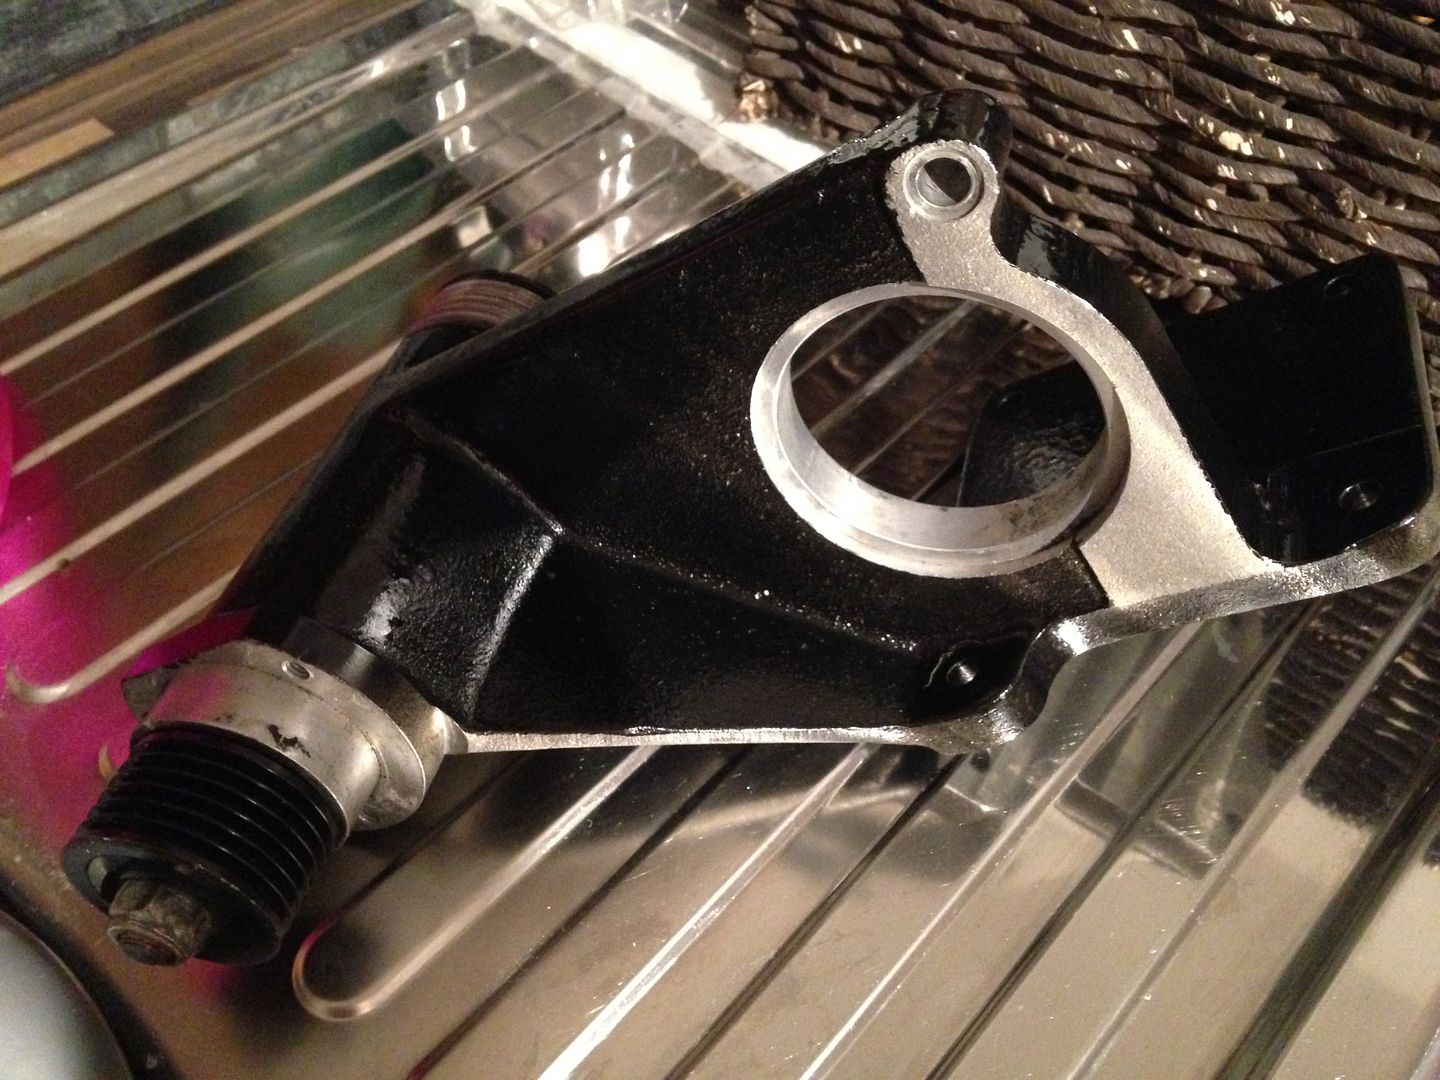
But I had the same pinholing on the front part annoyingly. I expect I’ll leave this for now. If it really starts to give me restless nights I’ll redo it!
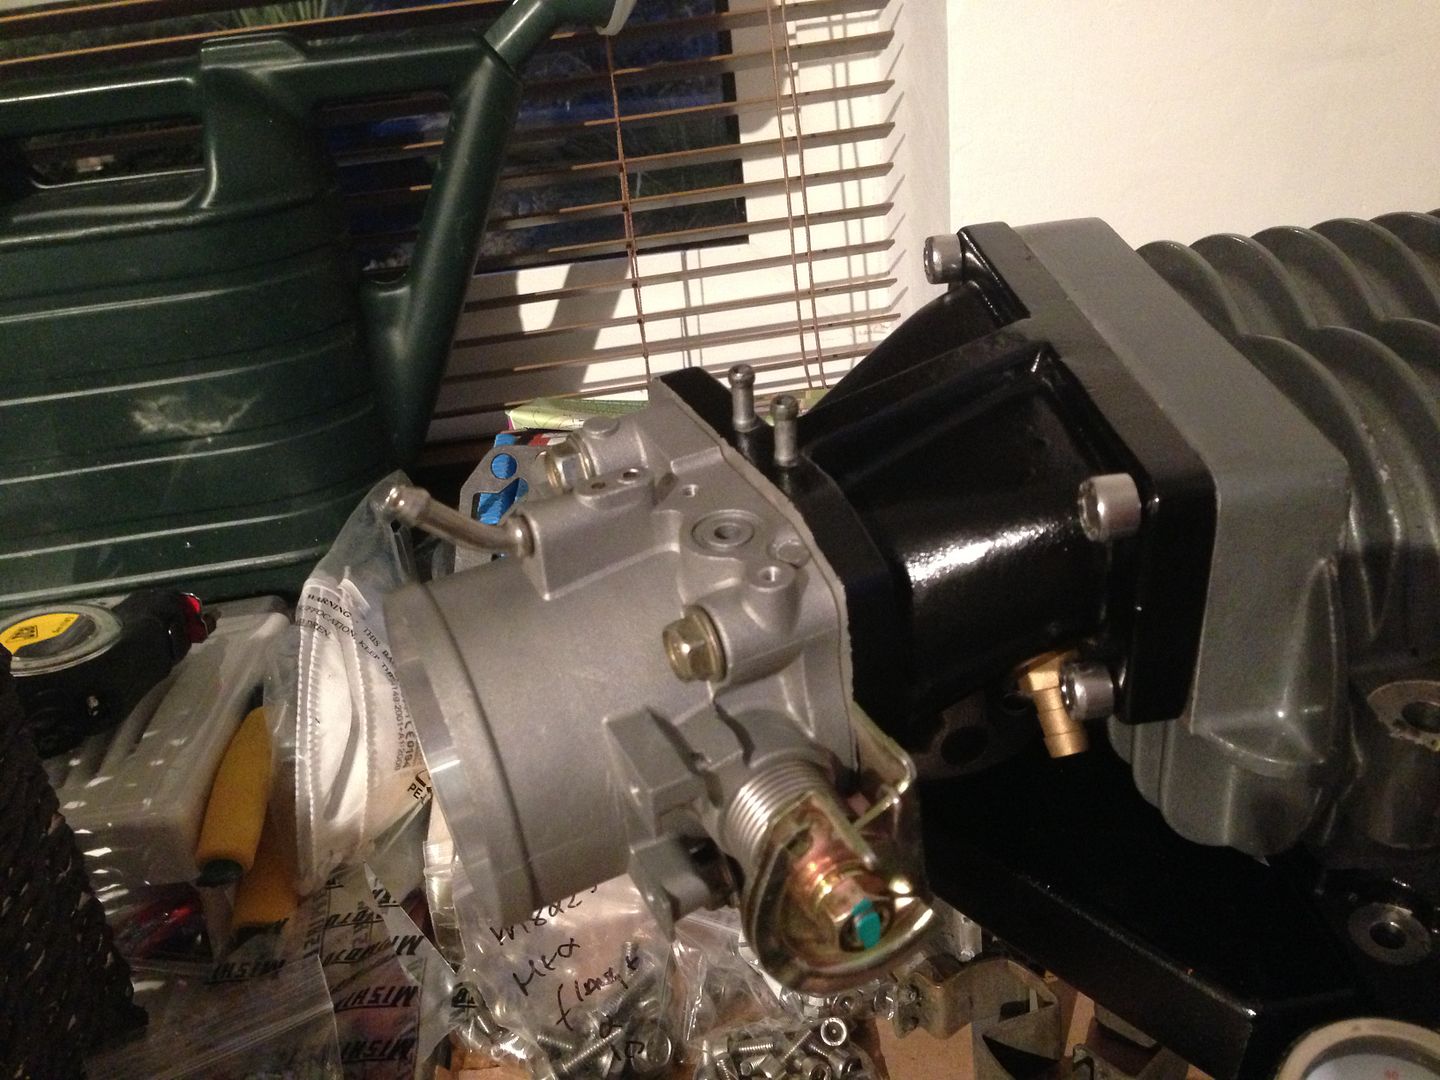
Back together loosely (hence why it’s not straight):
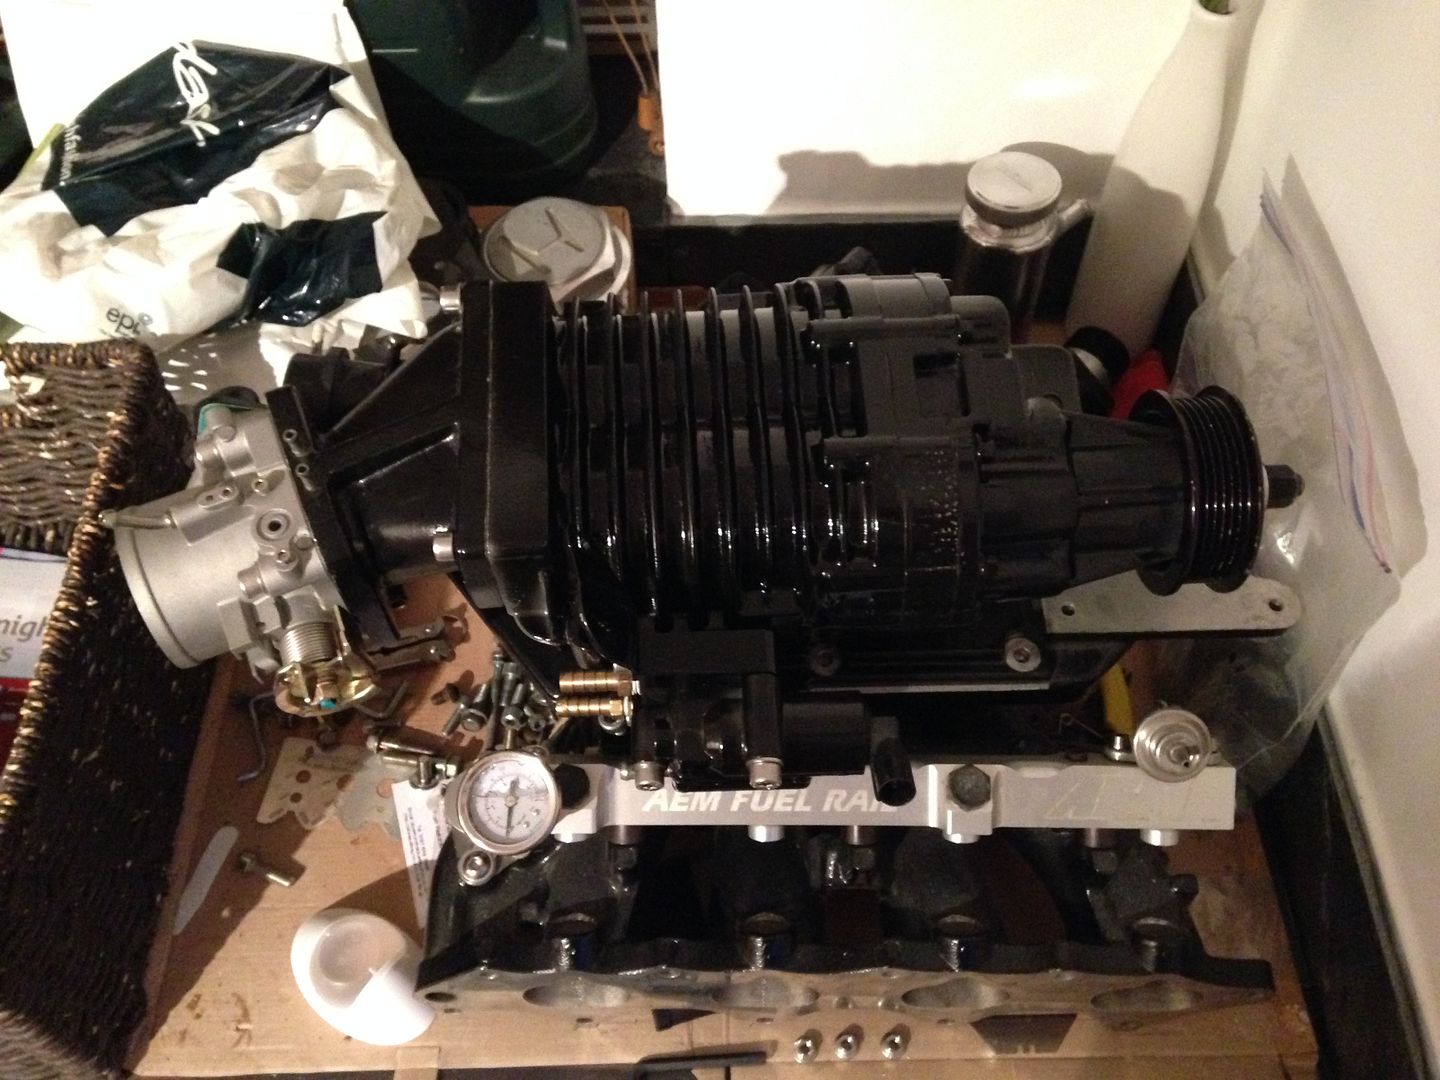
You can see a little grey at the bottom of the supercharger where I had the charger upright to spray but overall, I was very happy with the outcome. Well…kind of. The pinholing on the M62 was bugging me, so I took a gasket scraper to it and carefully took it back to the join line either side. Just needs a little elbow grease with some Autosol metal polish and it should look pretty decent:
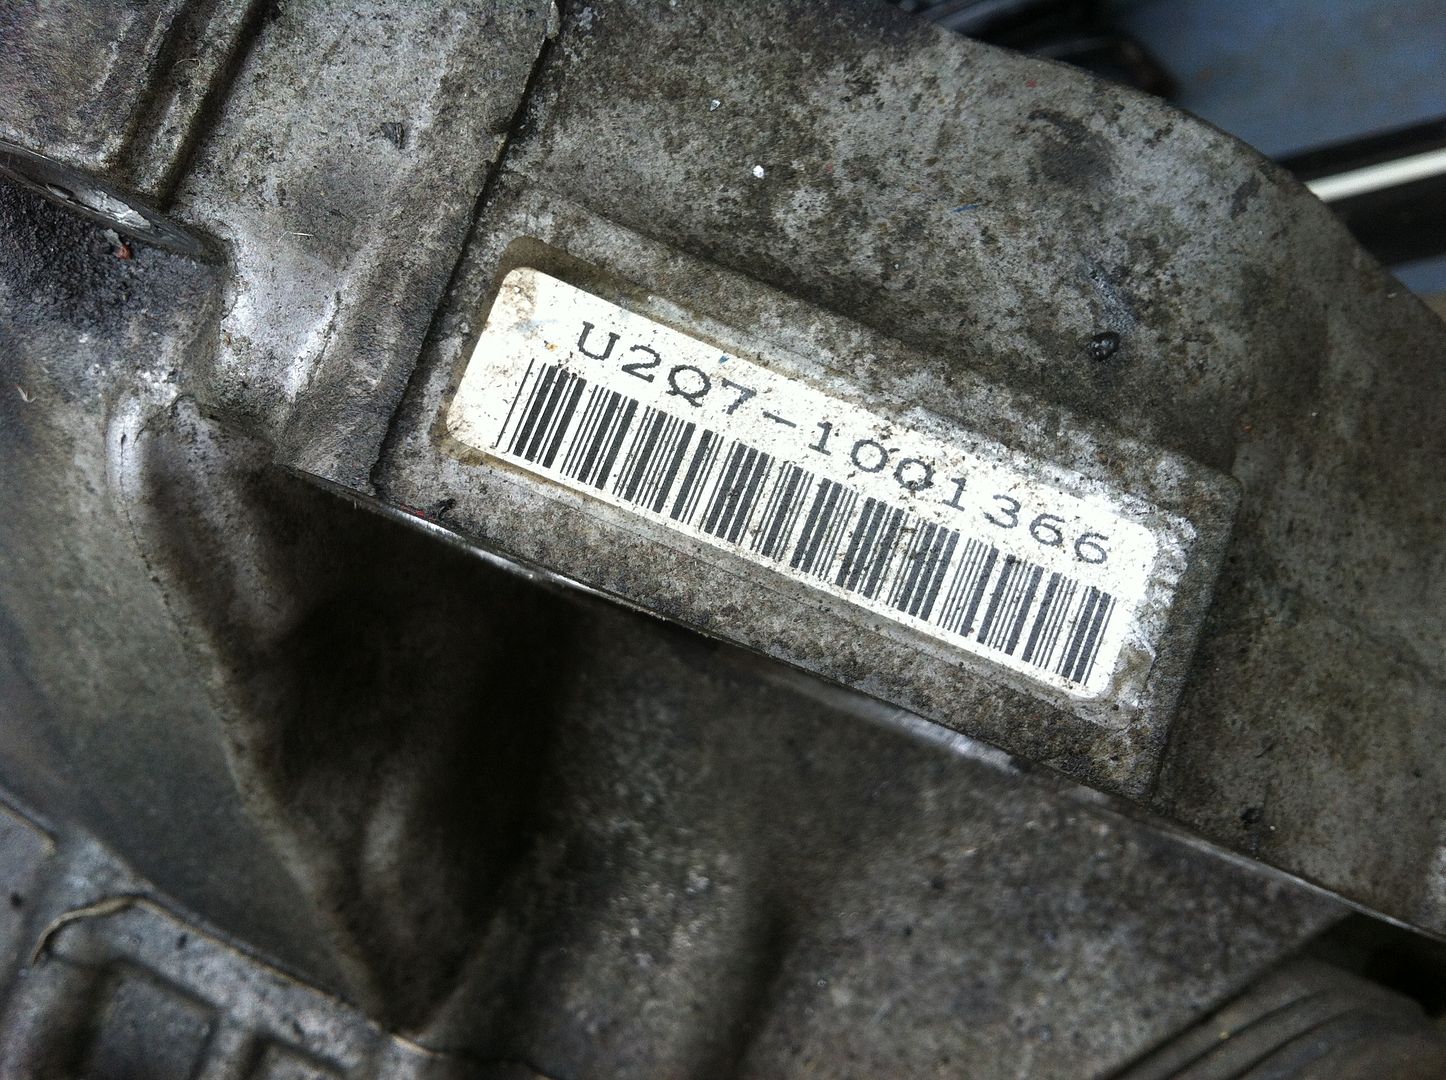
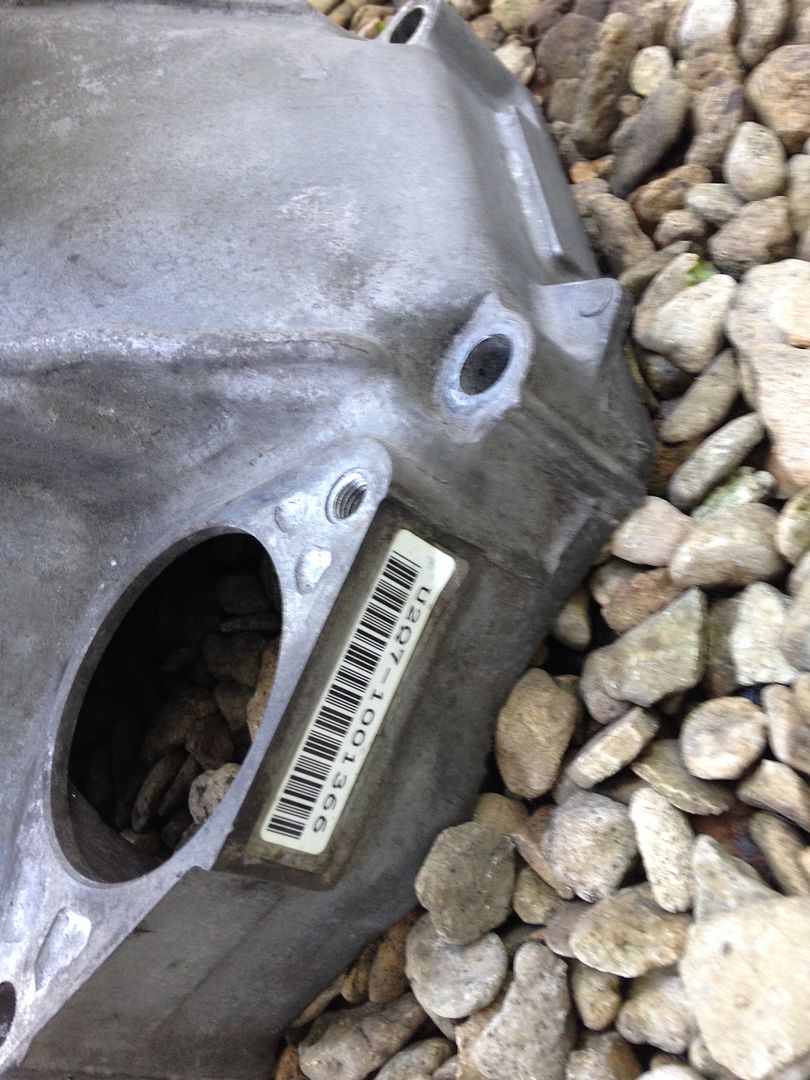
 Parts Painting – U2Q7 Gearbox
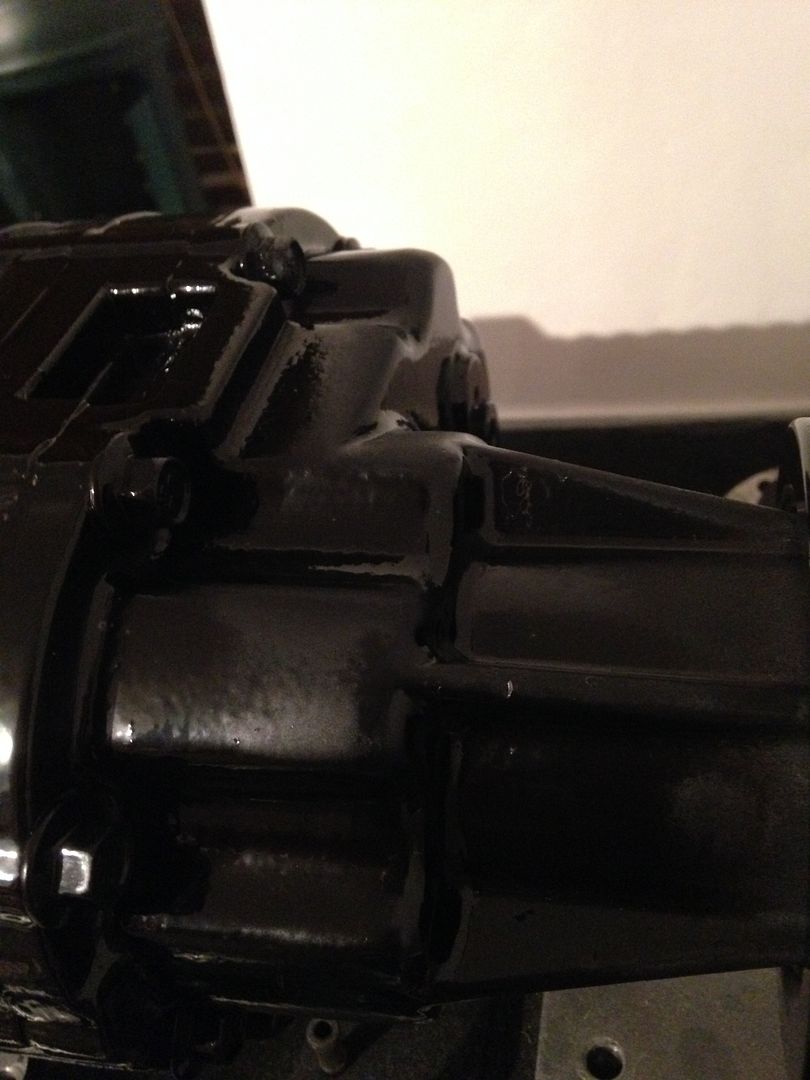
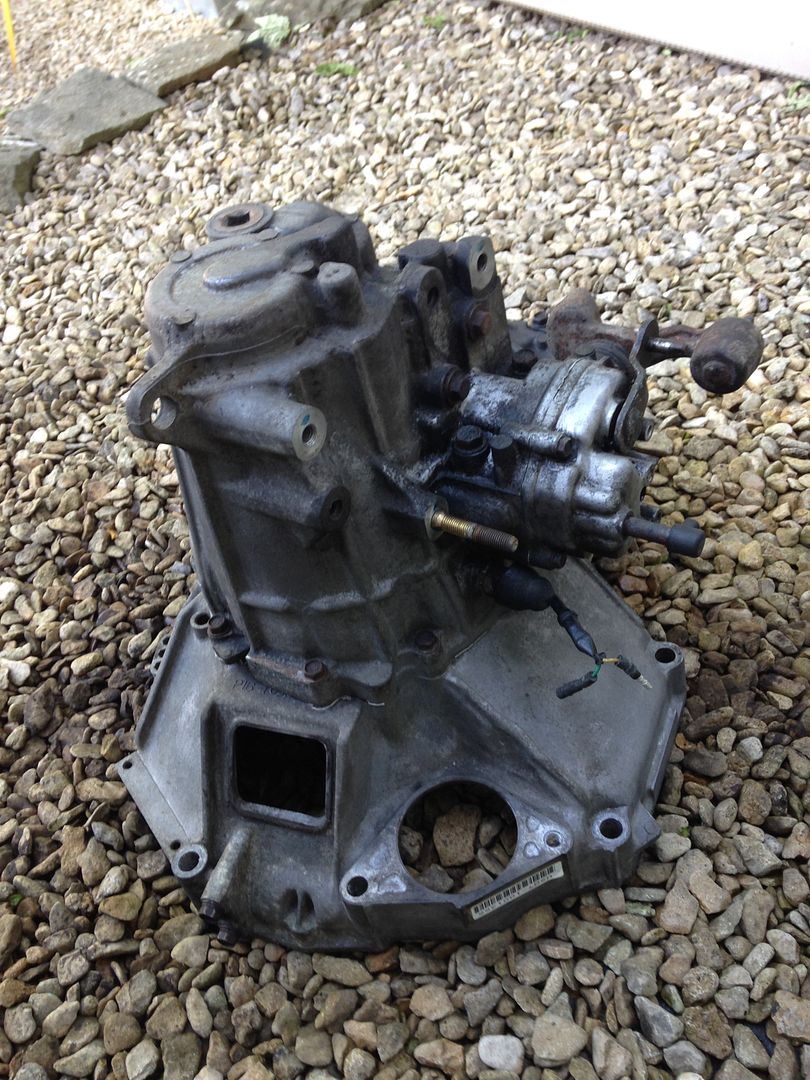
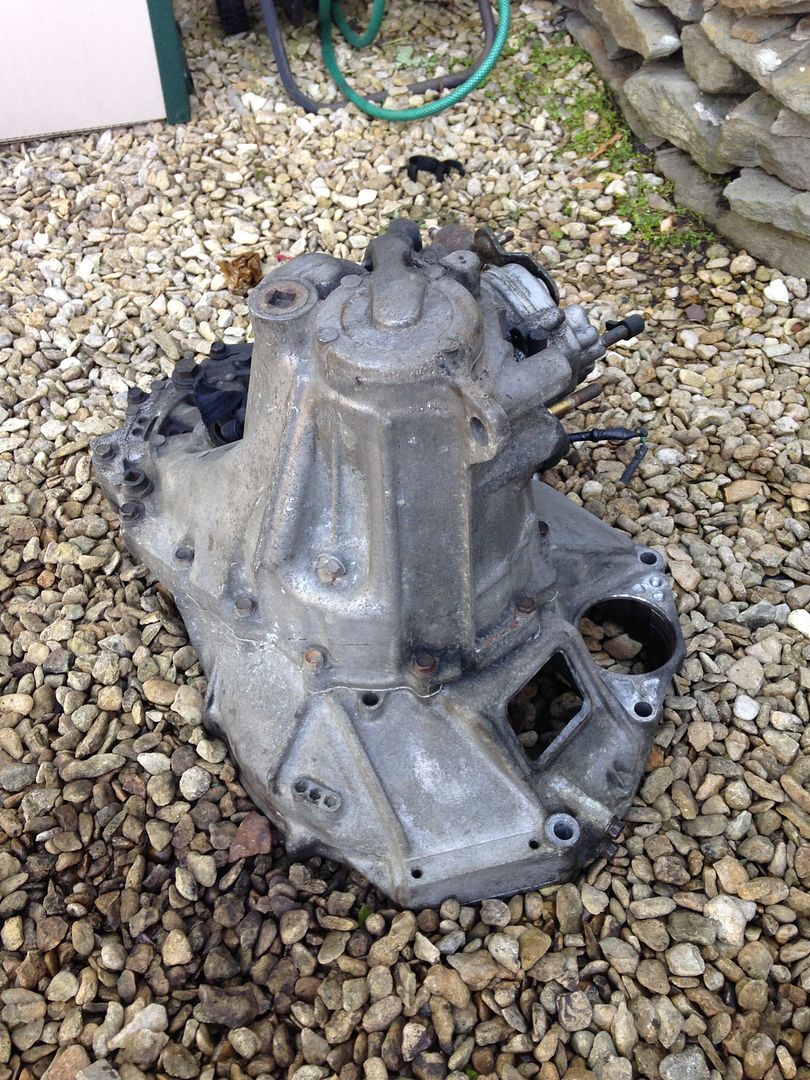
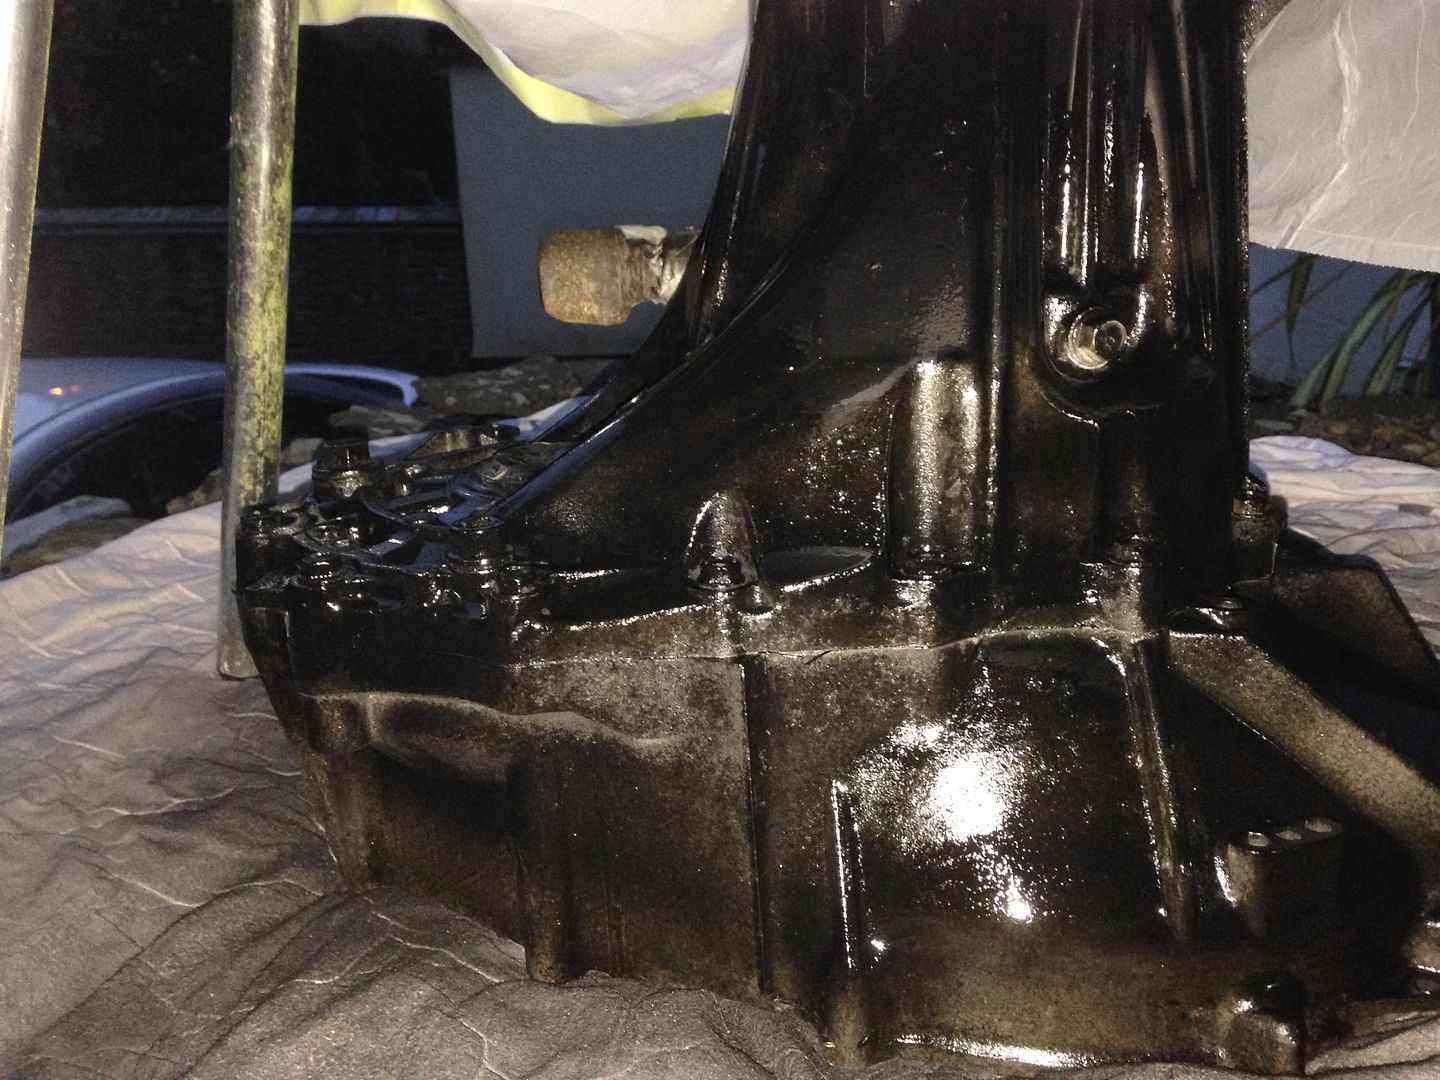
Next big item which was getting urgent now as I’m dropping the gearbox ASAP, was to sort out the U2Q7 ATR gearbox I’d picked up. It was very grubby and some areas of the gearbox was thick with grease/grime. So many hours after a few work days I spent cleaning it with Gunk Engine Degreaser, the valet degreaser I did my engine bay with and some elbow grease with some wire brushes it came up decent enough to lay some paint on.
Oh yeah:
Before clean:
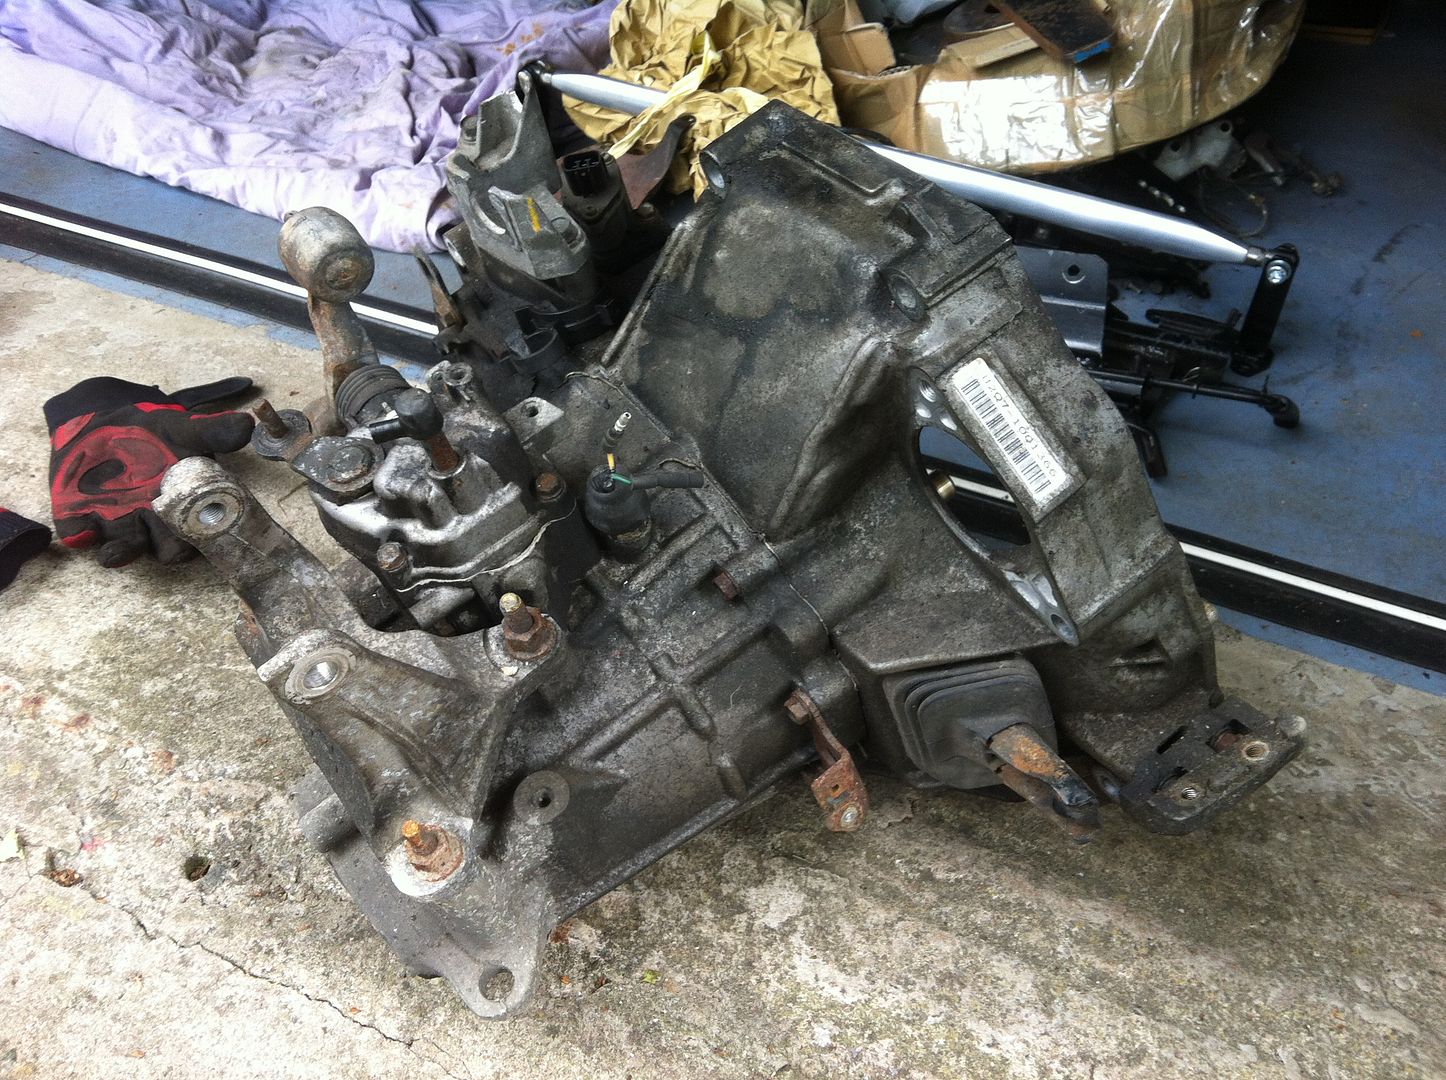
After clean:
Lovely jubbly. On to paint. Took a while masking everything up. First few coats was put down just as the light started to go (crap pics alert again!). In addition a light rain shower started. It was under a tree so had a little protection, but I had to improvise with a patio chair, some bin bags and good ole gaffa tape:
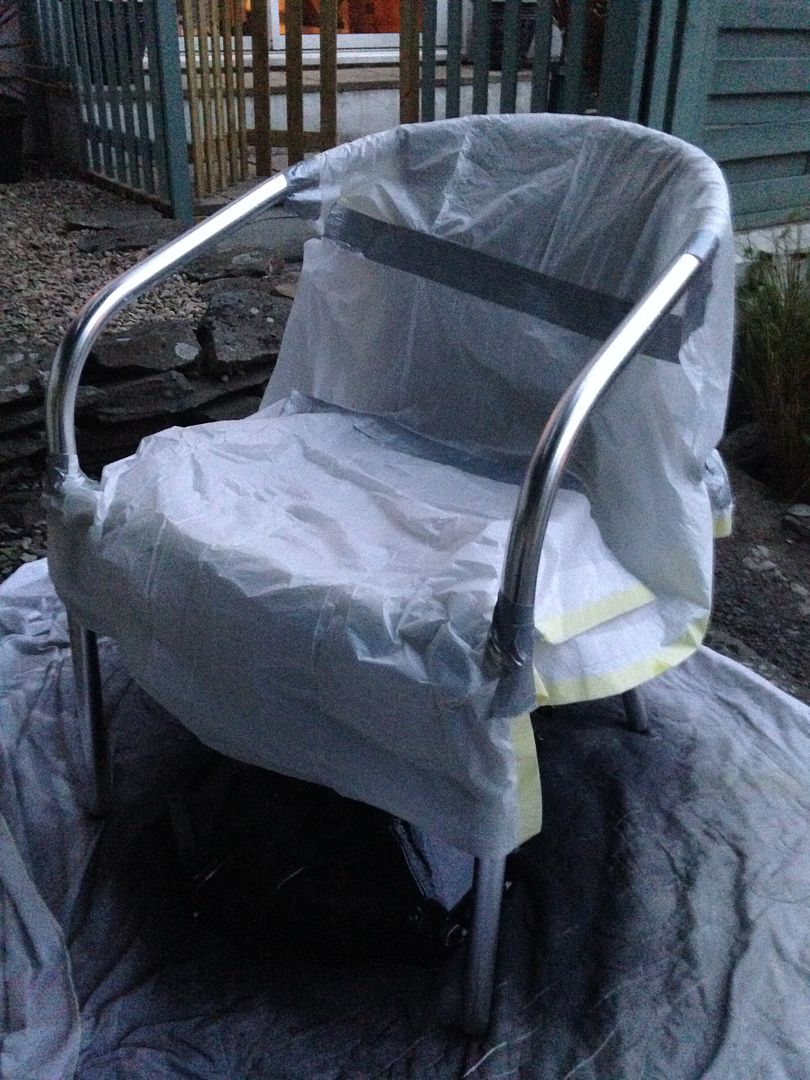
Under the makeshift protection, you can see the lack of light made me miss areas and go a little light on coats here and there:
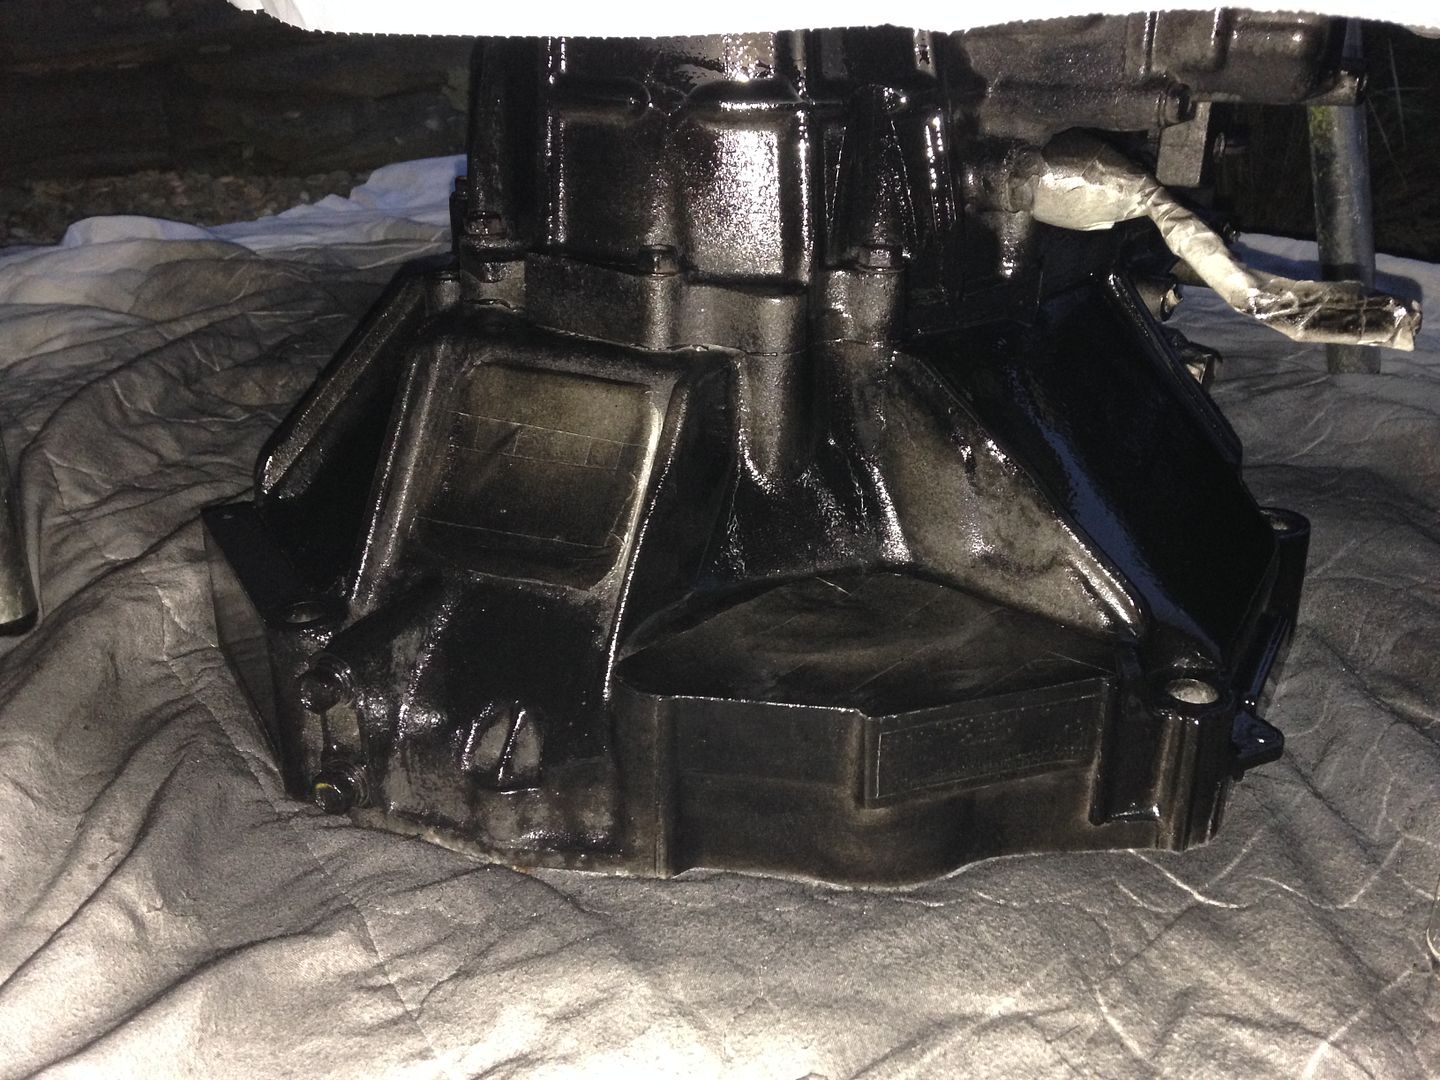
So on to round two the next evening:
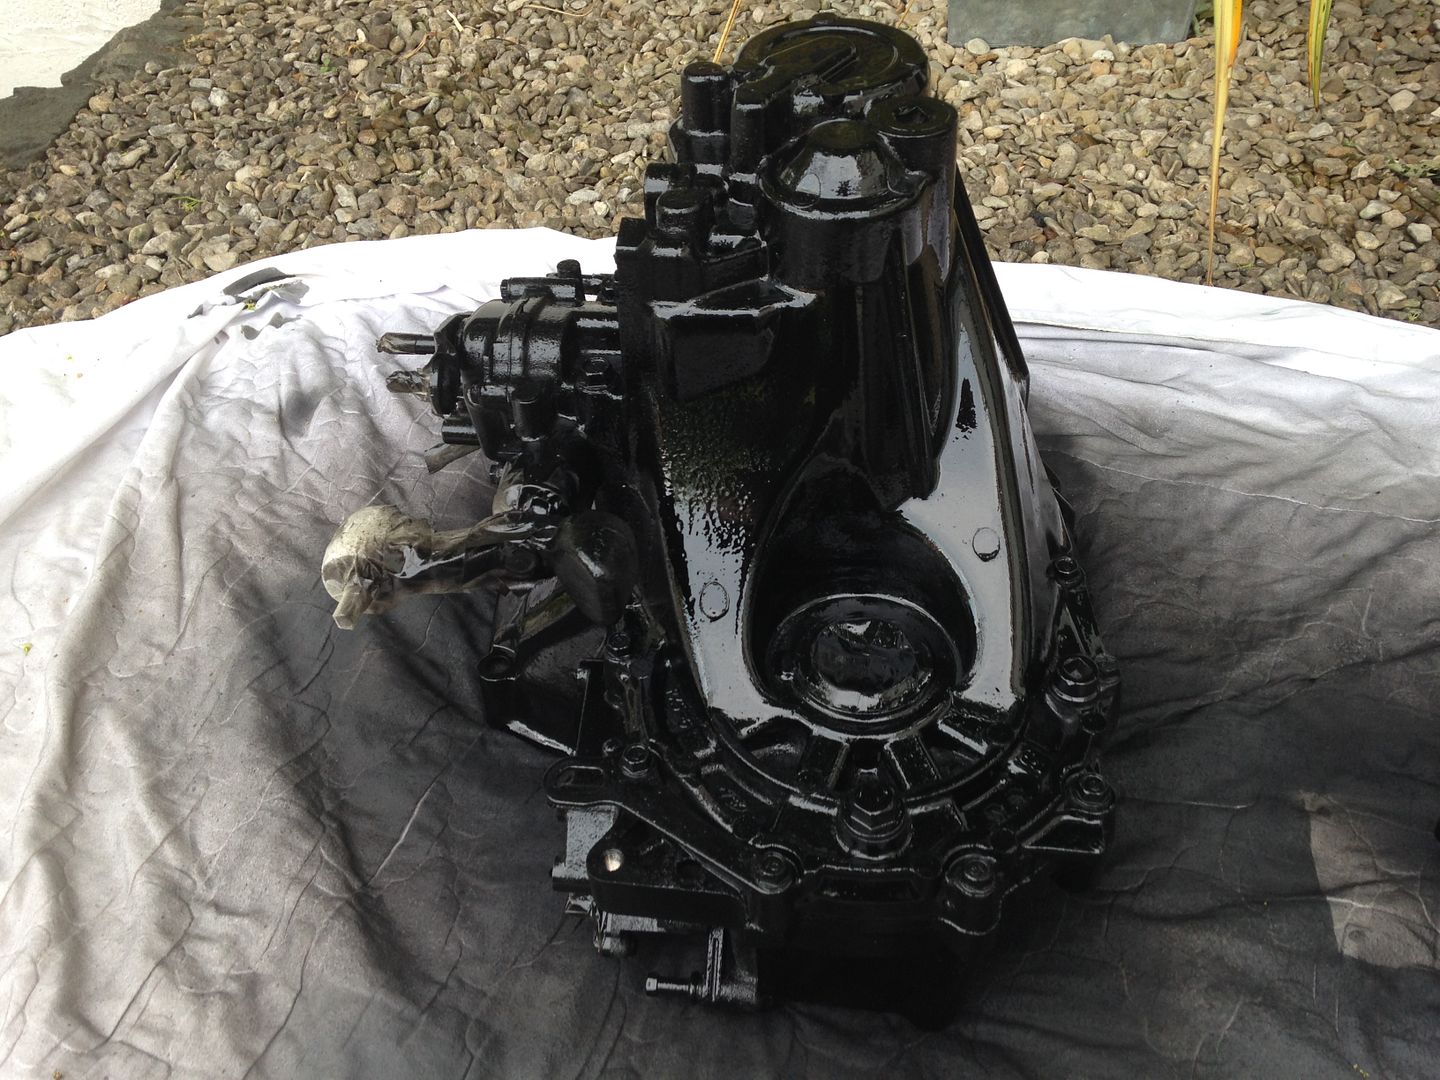
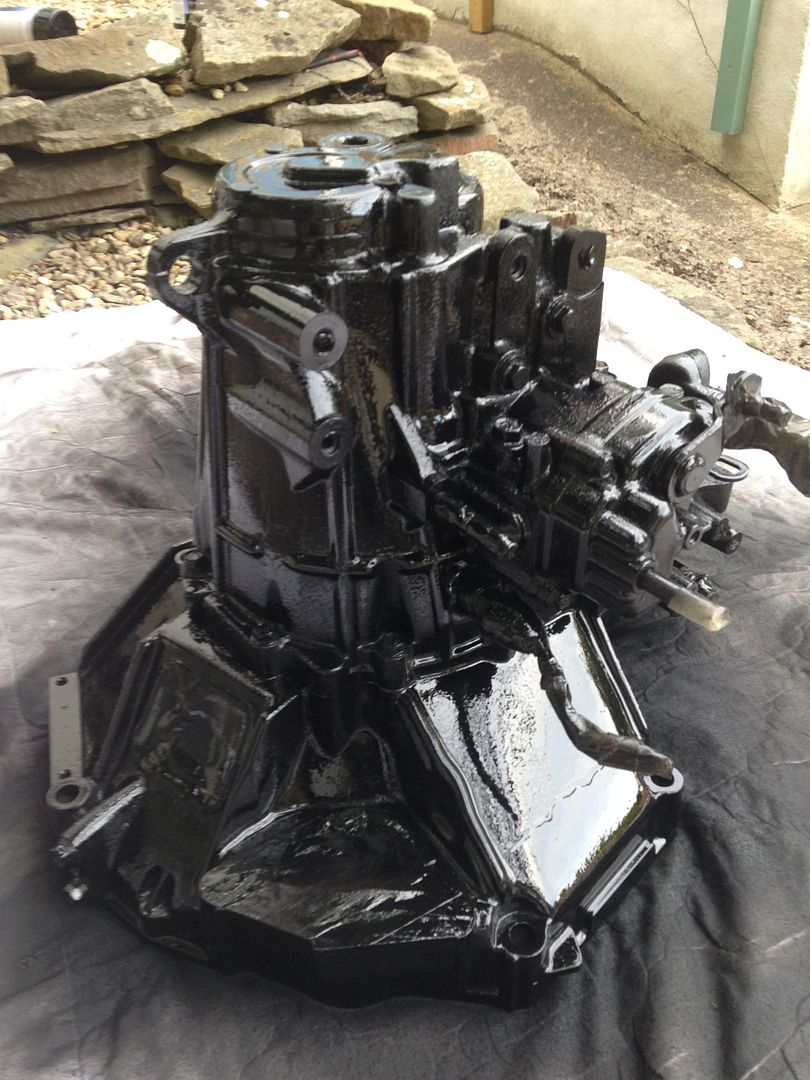
Although I got a little trigger happy on the main flat area that you’ll most likely see – damn you run!
F it! It’s staying, I’m not doing this again!
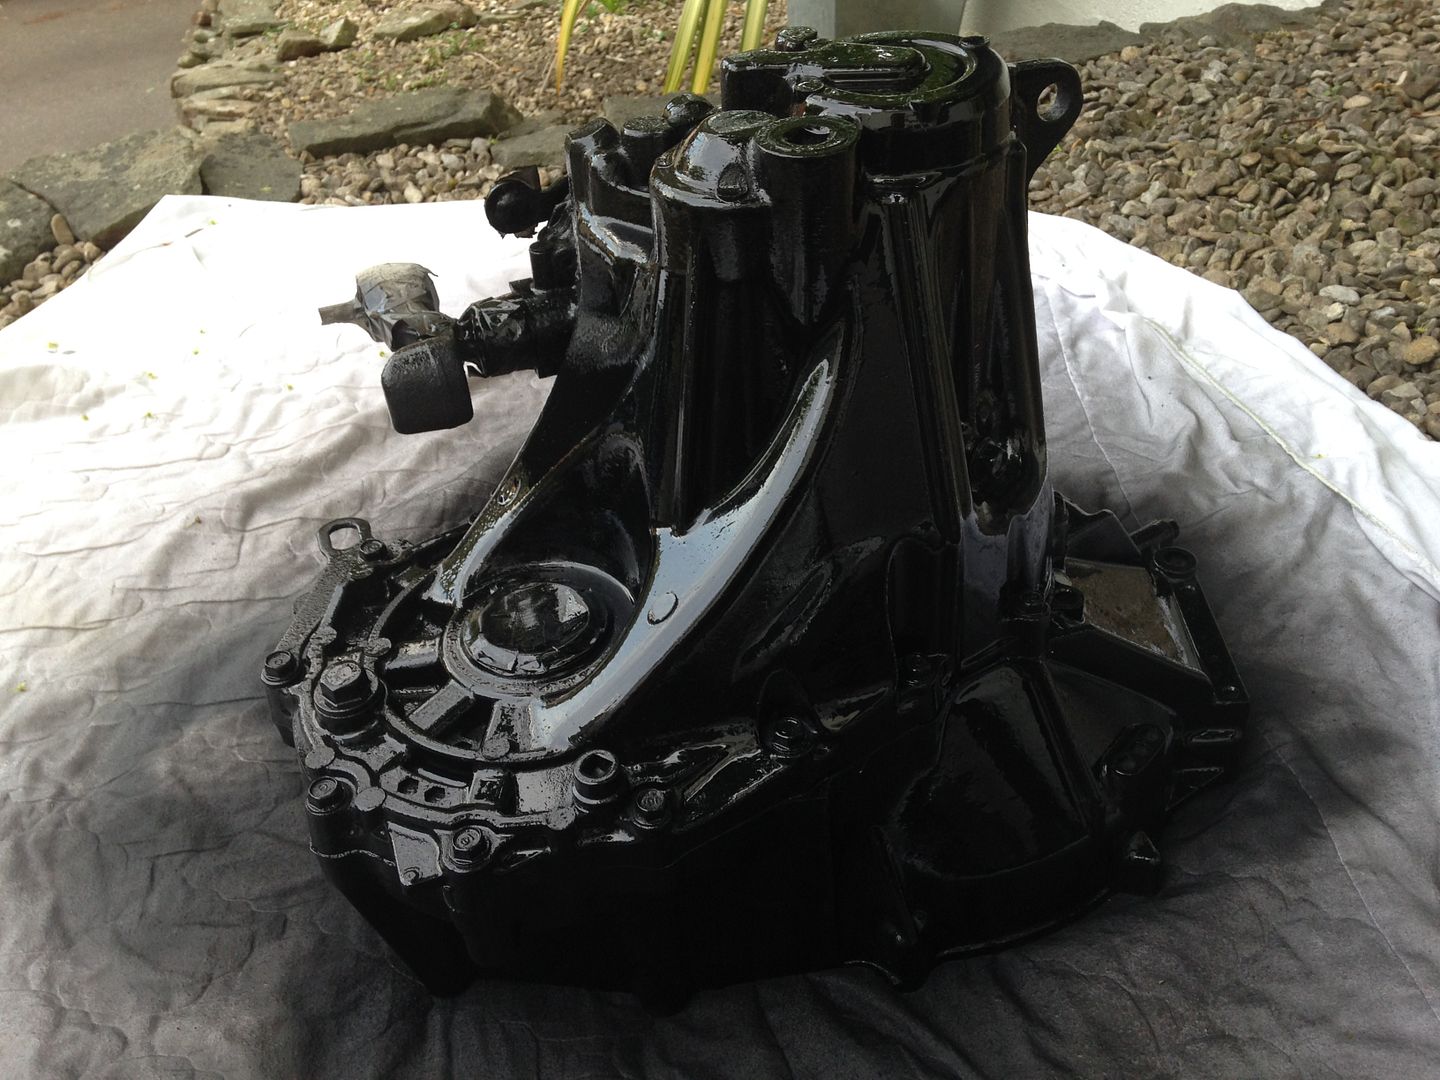
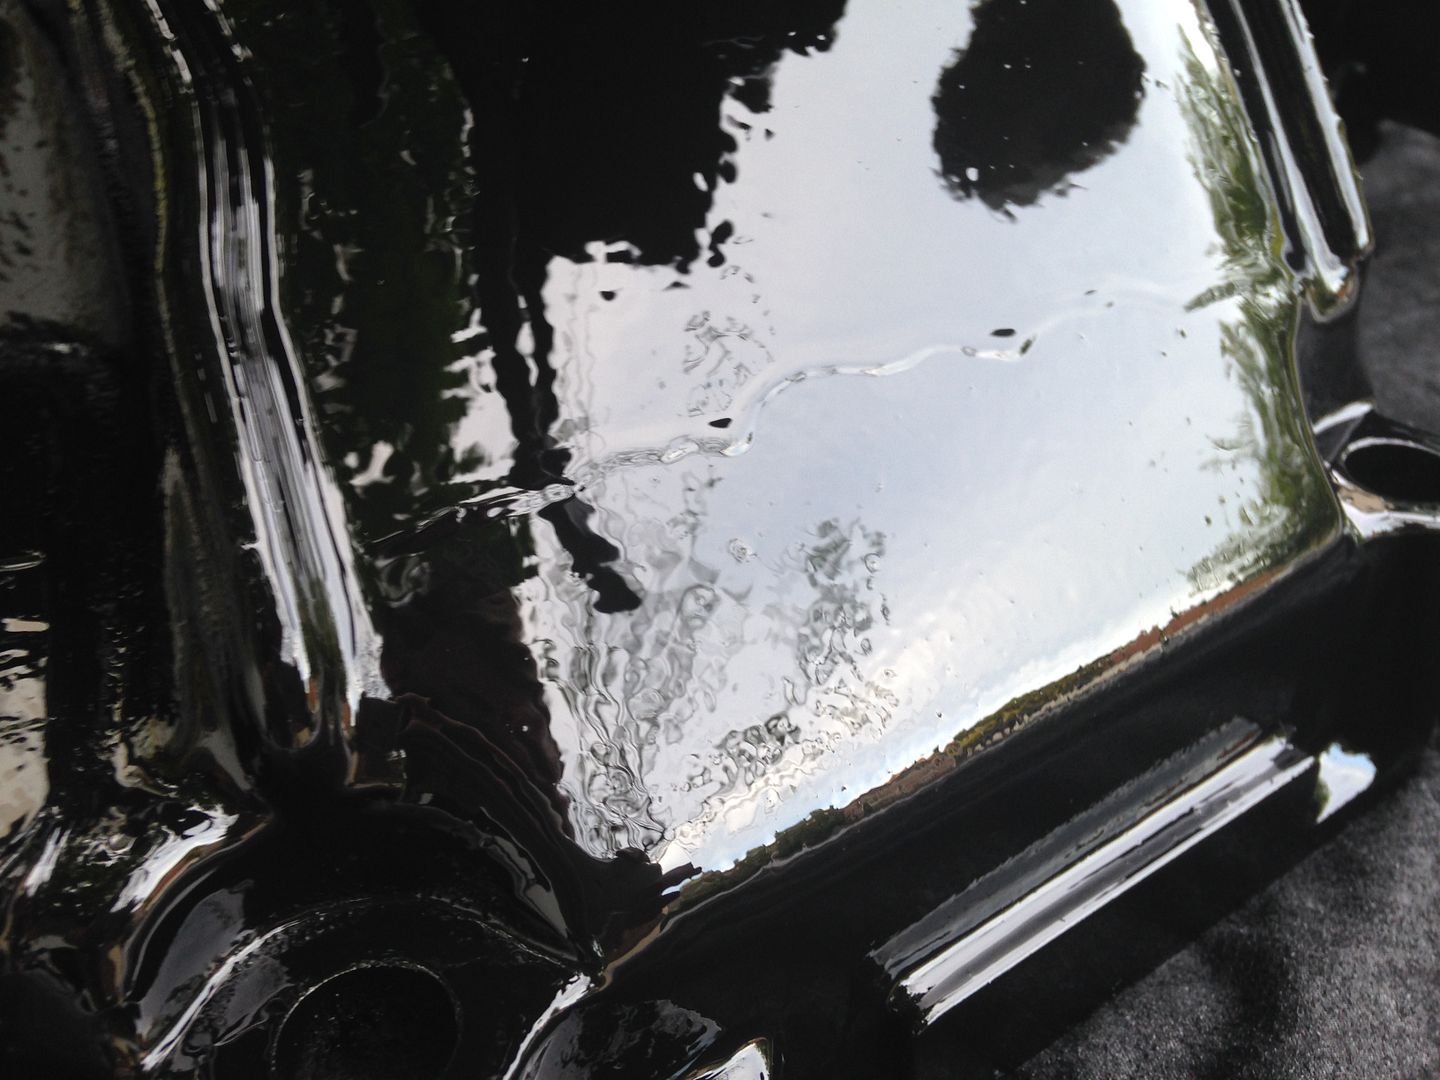
On the second coat I also sprayed up the front coolant hose pipe that I had lying around:
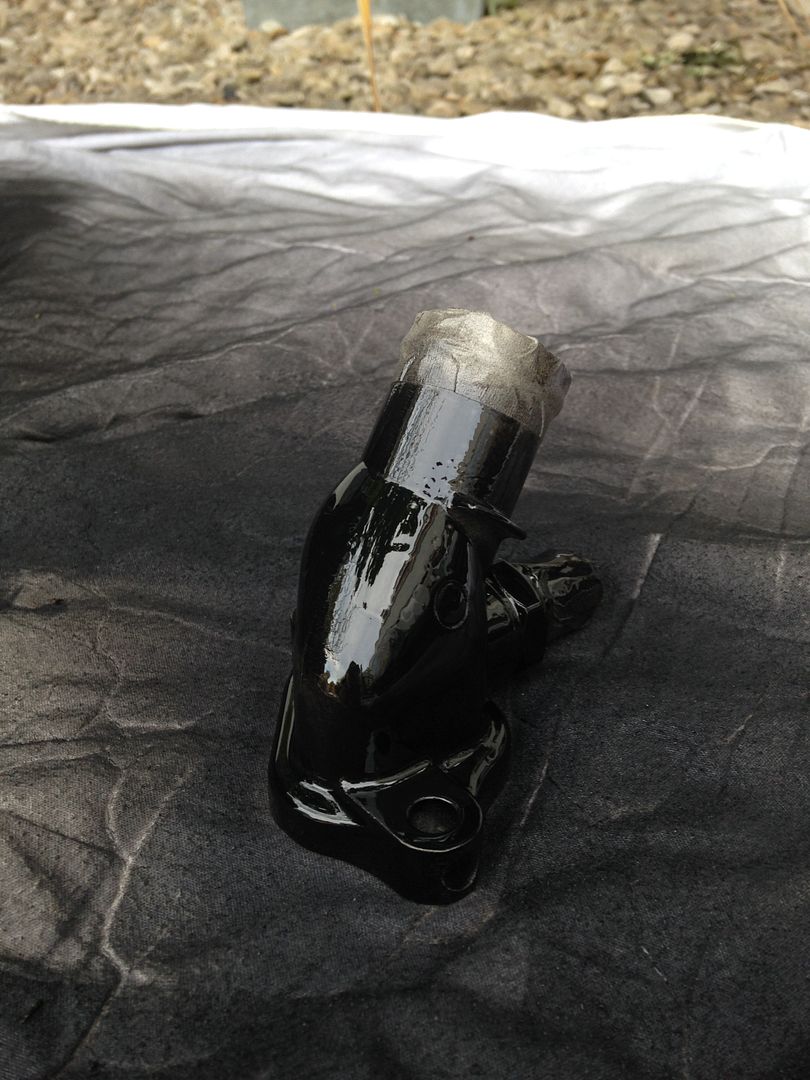
That’s it for this update. Only thing left to paint to tie it all together is the front and dizzy side of the engine block (in situ). Just needs another clean and endless amounts of masking and that should be done pretty soon.
Cheers,
Rob