
Congratulations to vtecmec for winning May/June's Lude Of The Month, with his DIY Turbo BB1 build.
>>> Click Here For Profile <<<

>>> Click Here For Profile <<<
C5 - schmokes
-
mercutio

- LotM Winner
- Posts: 14958
- Joined: Sun Aug 08, 2010 8:45 pm
- My Generation: 5G
- Location: Sunny Manchester
- Has thanked: 1 time
- Been thanked: 3 times
- Contact:
its a car that the artist impression is better than the actual car i am afraid
bristol_bb4 wrote:ahhh a 5th gen, i love 5th gens
Dino wrote:I loves the 5th gen really.... just dont quote me on it...
4thgenphil wrote:Mines 4 1/4 unches mate, sorry
http://www.ludegeneration.co.uk/profile ... -t618.html
-
Doggo

- Court Jester
- Posts: 2895
- Joined: Wed Jan 09, 2013 11:26 pm
- My Generation: 5G
- PSN GamerTag: FfyreDog
- Location: Glasgow
I did enjoy driving it though, Merc. I had mine in the early 90's and with the noise and the fact that I was young & foolish and drove everywhere flat out (unless posing) it was distinctive, or as a good friend said "It certainly has road presence". Pillarless looks, low driving position, nice twin webers that together with the 4-2-1 manifold sounded lovely, overdrive on 3rd and 4th, and RWD. Towards 120ish BHP wasn't all that unrespectable at the time either. A good GT car and personally I think better looking than the Lotus Cortina which had similar performance when they were both new.
Mine was a 1973 model, and as you say P91, you never saw them on the road.
The car liked Hendrix and lots of throttle, and I liked the car.
Mine was a 1973 model, and as you say P91, you never saw them on the road.
The car liked Hendrix and lots of throttle, and I liked the car.
Last edited by Doggo on Mon Mar 02, 2015 10:59 pm, edited 2 times in total.
-
wurlycorner

- Ye are glad to be dead, RIGHT?
- Posts: 21224
- Joined: Sat May 19, 2012 3:33 pm
- My Generation: 4G
- Location: Chelmsford, Essex
- Has thanked: 1968 times
- Been thanked: 240 times
Re: C5 - spec upgrades continue :D
Higher spec central display fitted. From this;
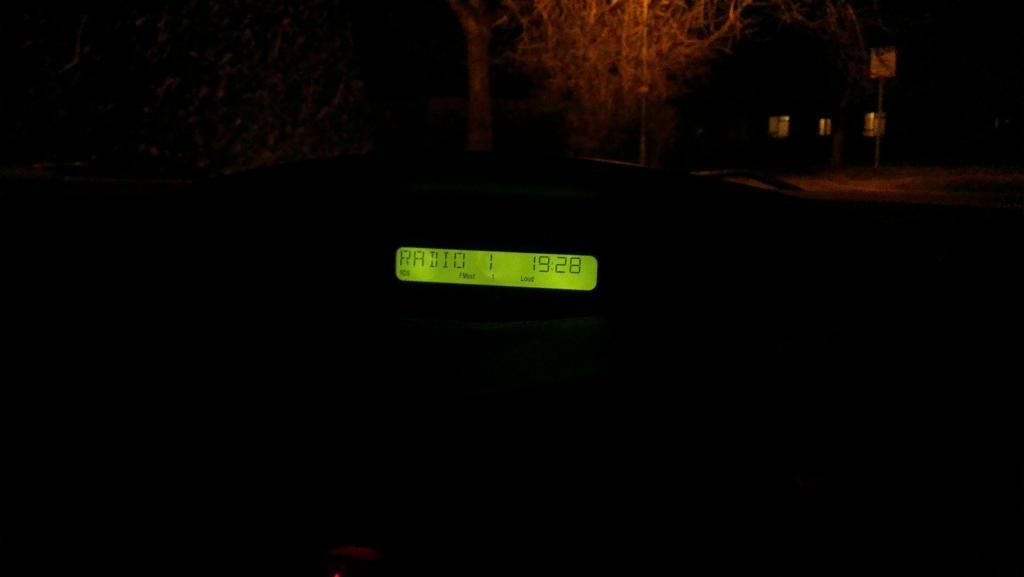
To this;
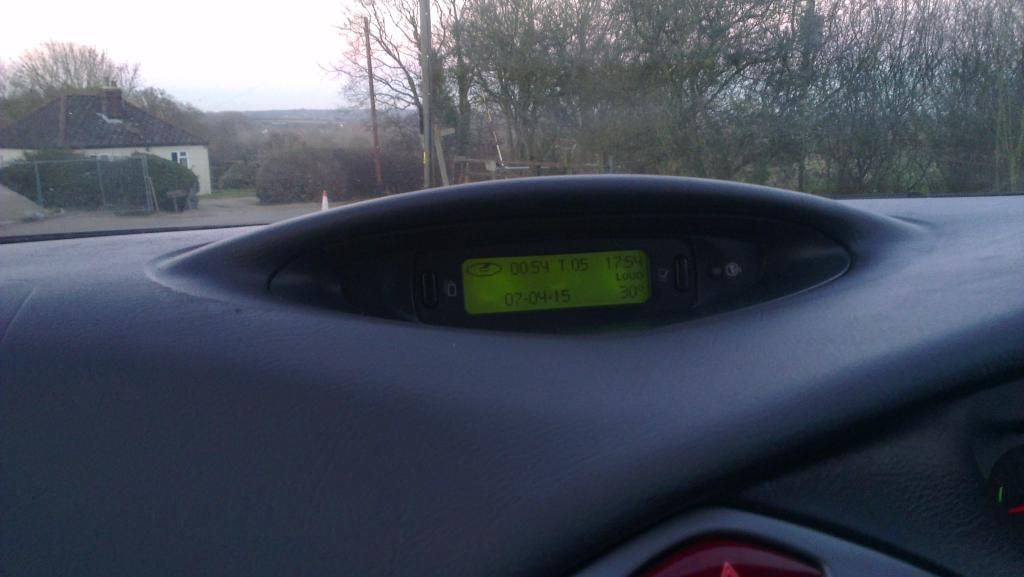
Shows more info generally and means that things like the suspension height are now shown on this display, instead of on lights on the clocks (which means I can keep my battery volts and oil temp gauges )
)
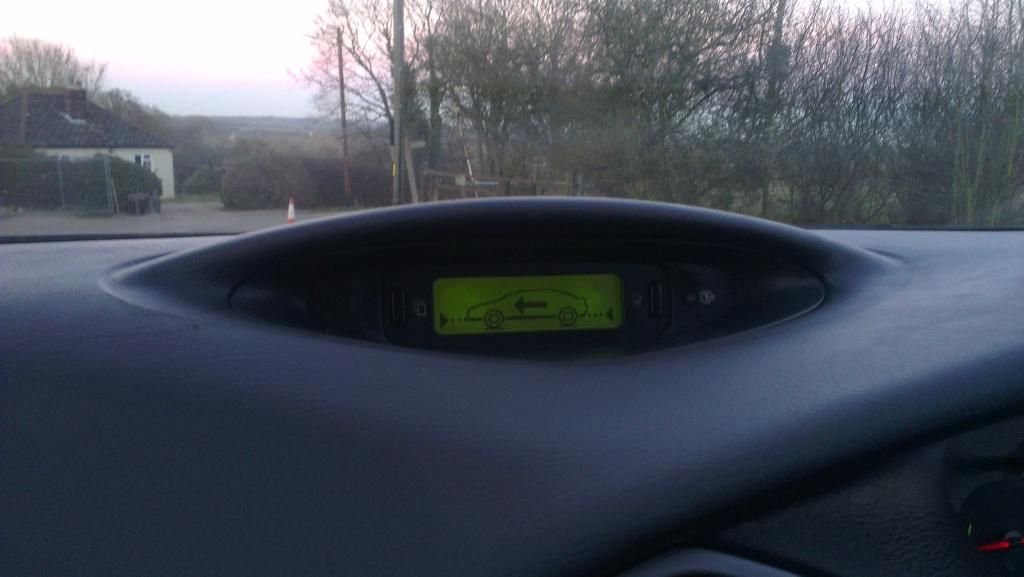
Also gone from this;

To this;
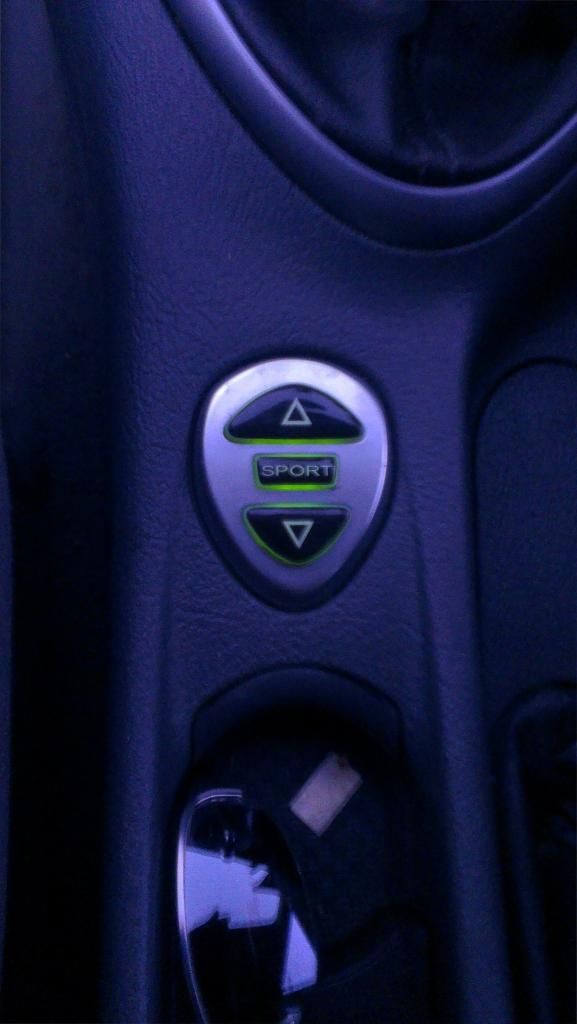
Which means I can do this;


Vital on a diesel estate!
I do love how easy it is to upgrade the spec on this car - all the wiring and functionality is there, just need to swap in the upgraded switch/display/gauge
To this;
Shows more info generally and means that things like the suspension height are now shown on this display, instead of on lights on the clocks (which means I can keep my battery volts and oil temp gauges
Also gone from this;
To this;
Which means I can do this;
Vital on a diesel estate!
I do love how easy it is to upgrade the spec on this car - all the wiring and functionality is there, just need to swap in the upgraded switch/display/gauge
--
Iain.
Iain.
Super Secret 1G (not really super secret!)
-
wurlycorner
- Ye are glad to be dead, RIGHT?
- Posts: 21224
- Joined: Sat May 19, 2012 3:33 pm
- My Generation: 4G
- Location: Chelmsford, Essex
- Has thanked: 1968 times
- Been thanked: 240 times
Re: C5 - Ride height corrected
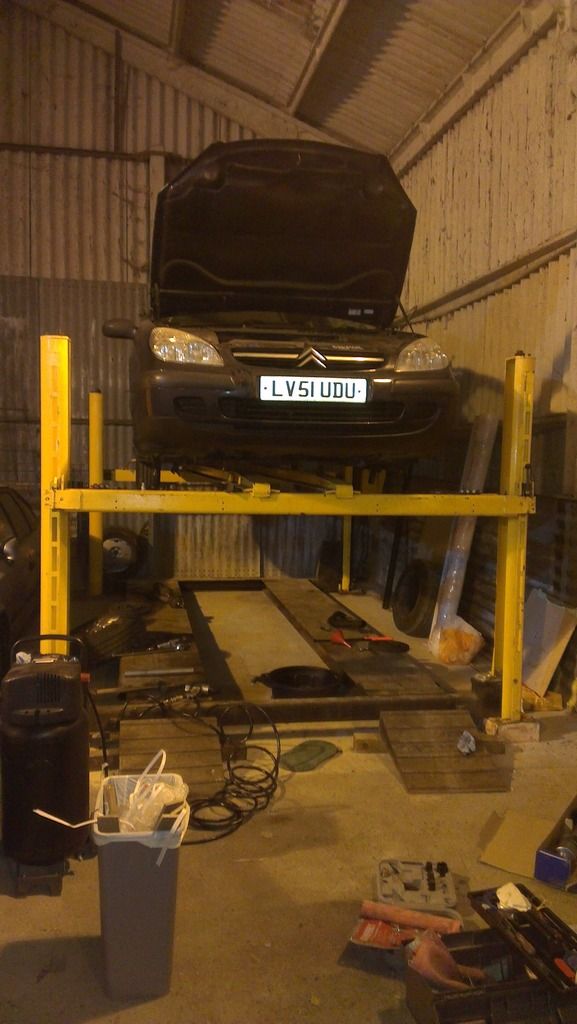
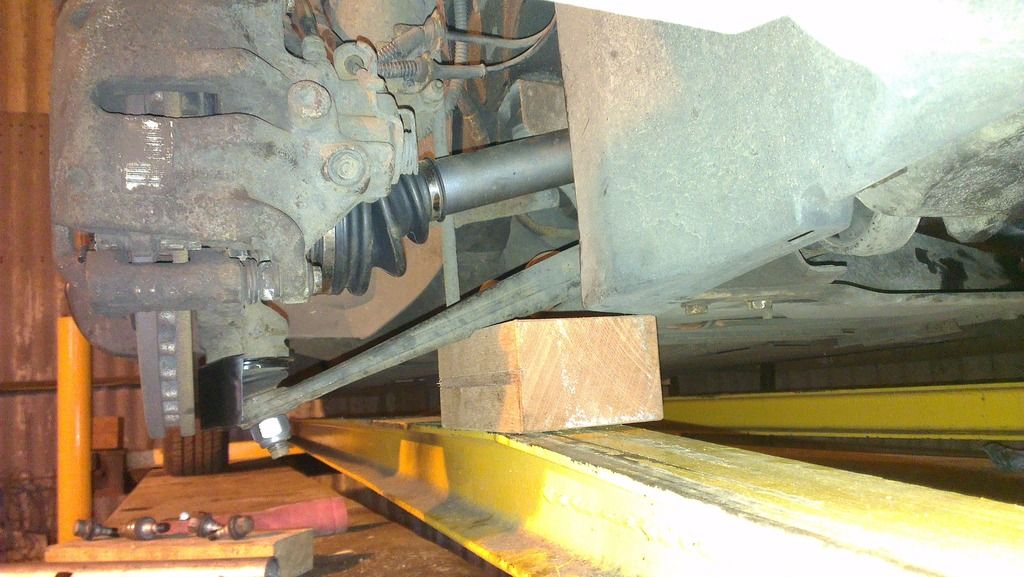
This is the sort of job that can only be done safely on a ramp (messing up with the ride height on a hydraulic citroen while you're underneath it, is not a good idea on the drive!)
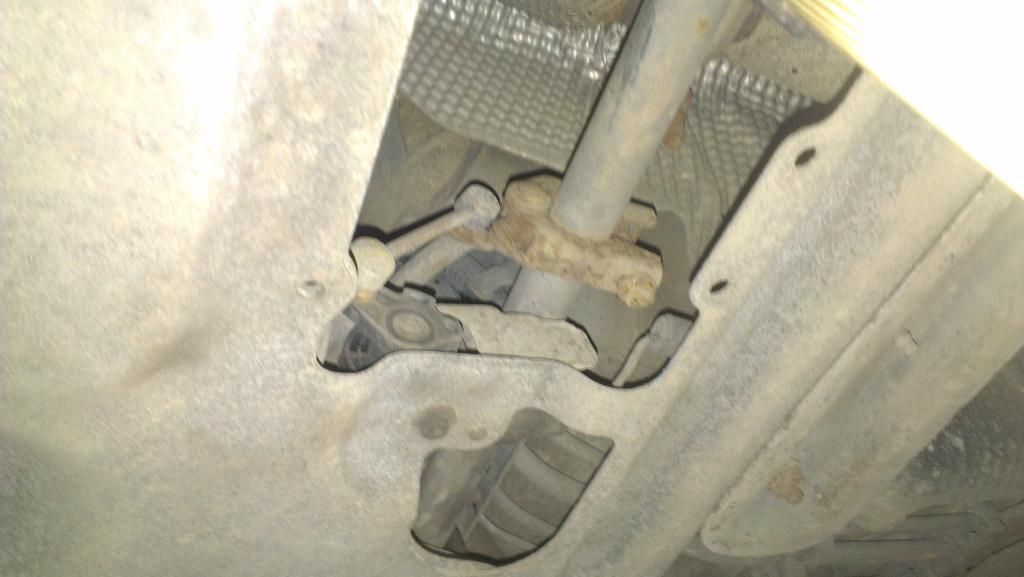
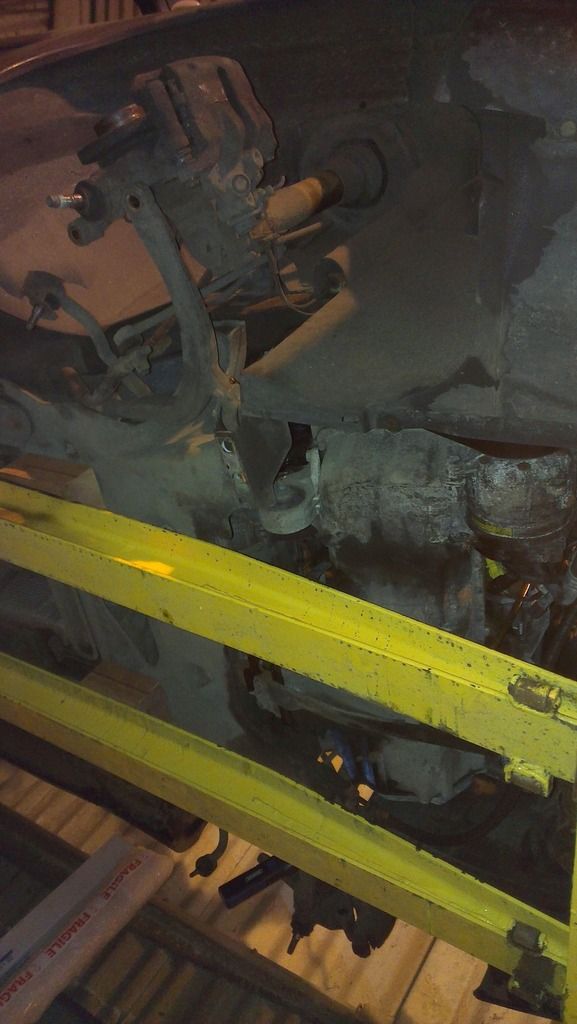
That thing there (left hand side of the pic) is the front ride height sensor.
It's electronic on these, rather than mechanical on my CXs and Xantia, but the principle is the same. A clamp round the anti-roll bar, connected to a sensor that is rotated with the roll bar (which rotates dependant on height of the car).
Loosen the clamp slightly and tap it round with the engine running and suspension pressurised (and keep your head ducked )
All sorted now and rides and handles much better as a result.
The passenger side drive-shaft has been damaged by so much driving at the wrong height (before I bought the car) so I'l have to do that, although you can't actually feel it now the height is back to where it should be.
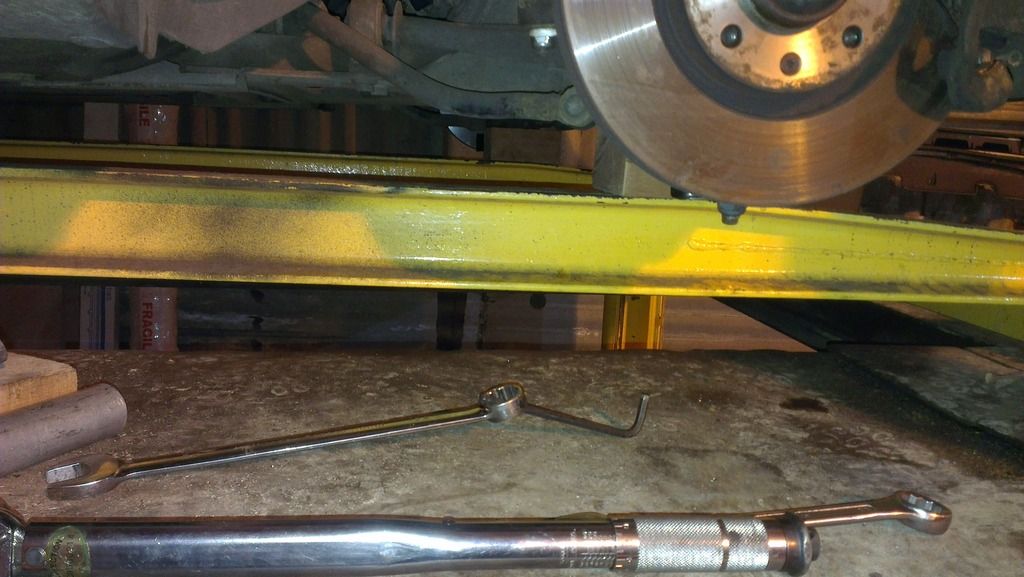
Rear and mid section of the exhaust are new but it's typical sloppy fitting;
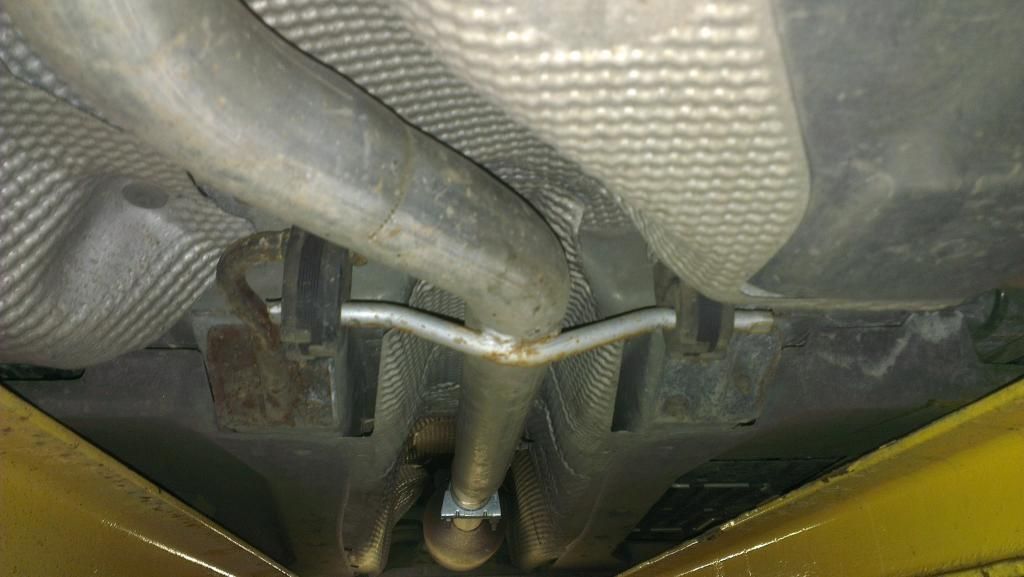
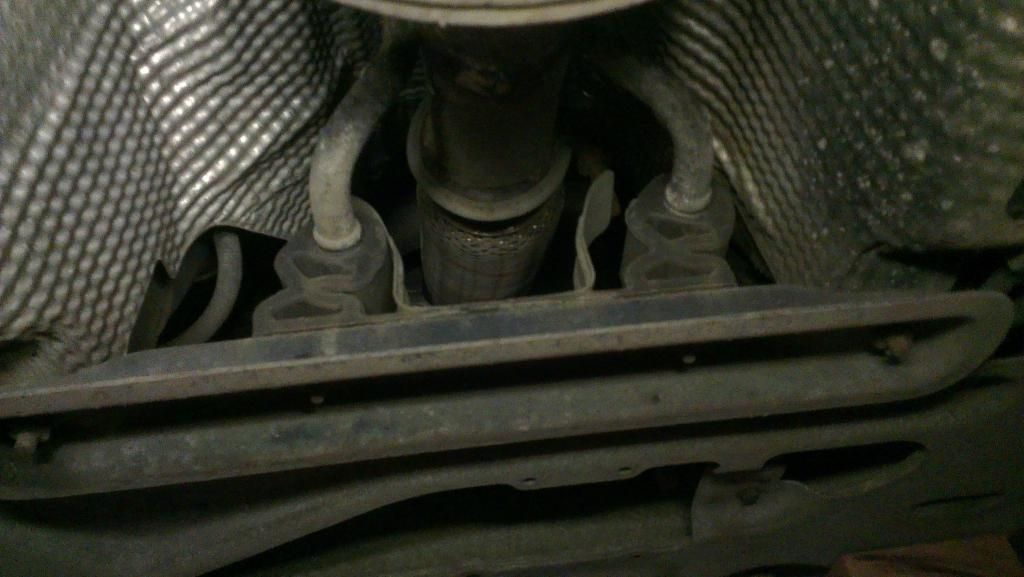

Will have to sort that sometime soon, to stop the mounts failing. Also found a small blow on the top of the only original section before the first silencer (that will explain the turbo whistle noise I've been hearing ) soon sorted with a bit of exhaust putty
That thing there (left hand side of the pic) is the front ride height sensor.
It's electronic on these, rather than mechanical on my CXs and Xantia, but the principle is the same. A clamp round the anti-roll bar, connected to a sensor that is rotated with the roll bar (which rotates dependant on height of the car).
Loosen the clamp slightly and tap it round with the engine running and suspension pressurised (and keep your head ducked
All sorted now and rides and handles much better as a result.
The passenger side drive-shaft has been damaged by so much driving at the wrong height (before I bought the car) so I'l have to do that, although you can't actually feel it now the height is back to where it should be.
Rear and mid section of the exhaust are new but it's typical sloppy fitting;
Will have to sort that sometime soon, to stop the mounts failing. Also found a small blow on the top of the only original section before the first silencer (that will explain the turbo whistle noise I've been hearing
--
Iain.
Iain.
Super Secret 1G (not really super secret!)
-
wurlycorner
- Ye are glad to be dead, RIGHT?
- Posts: 21224
- Joined: Sat May 19, 2012 3:33 pm
- My Generation: 4G
- Location: Chelmsford, Essex
- Has thanked: 1968 times
- Been thanked: 240 times
Re: C5 - Ride height corrected
Right, catching up with this one...
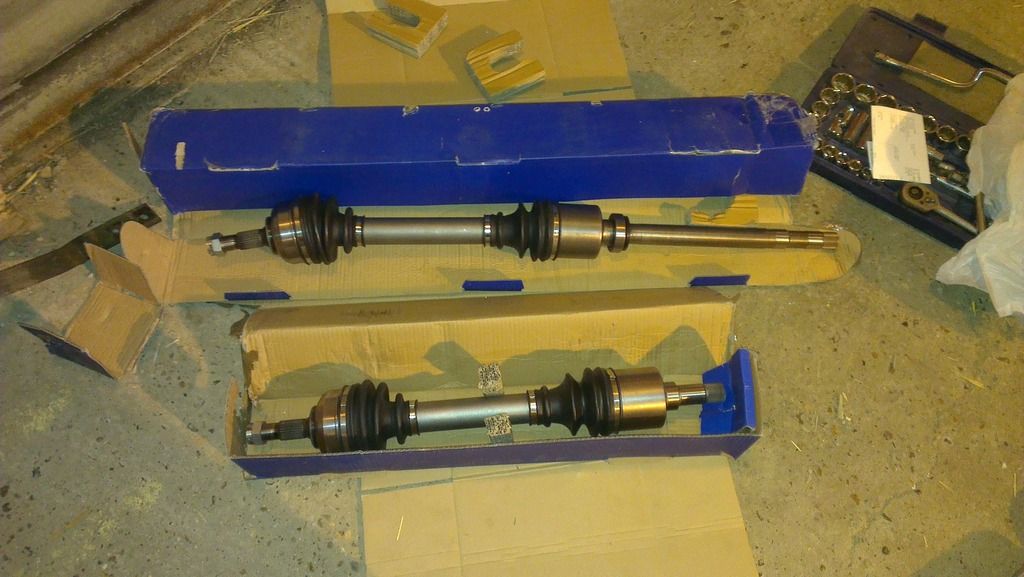
Nearside driveshaft was on its way out (vibrating badly under load and when I checked it, had nice loads of play both ends ). Found out they're stupidly cheap (one side is £35 and the other £40), so decided if I was stripping it all to do one side, I might as well do both sides.
When they turned up, they were actually brand new ones not reconditioned!
So, up on the ramp
Most of it stripped down pretty easily. Thankfully no silly buggers with the driveshaft nuts (windy gun helped )
)

The gearbox drain plug was a PITA...
No hex outer and the centre square drive turned out to be between the 2 standard smaller square drive socket set sizes (3/8 and 1/4 ) so you need a proper drain plug kit, which I didn't have. So the oil came out the old fashioned messy way

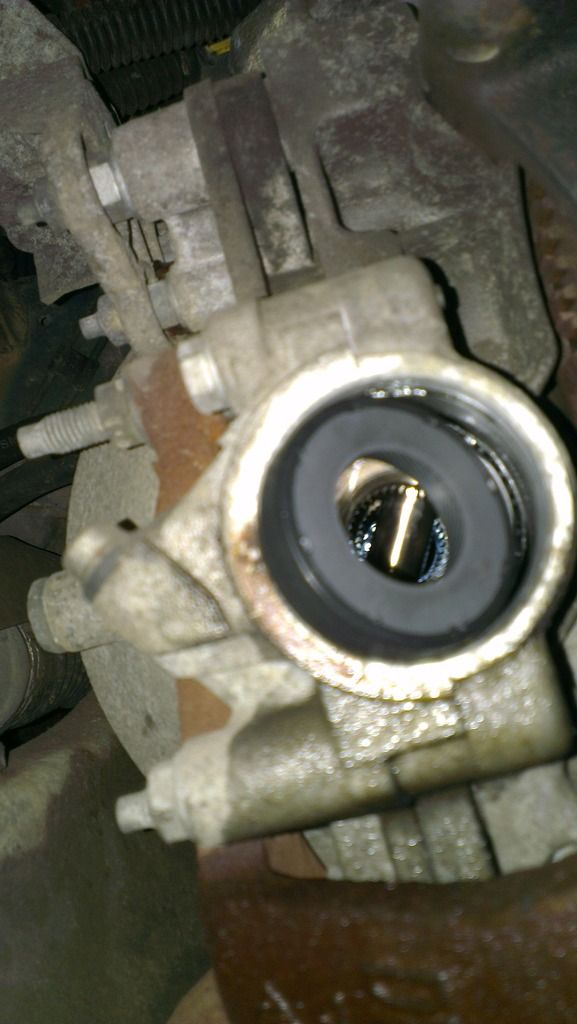
Haynes didn't help, being full of lies as usual. It said the usual 'prise out the old driveshaft oil seals with a screwdriver and tap new ones in'... Complete horseshit for this box - one side seal sits behind a drive plate that you have to unbolt, for a start! That was just a minor inconvenience though, compared to the rest of the oil seal saga
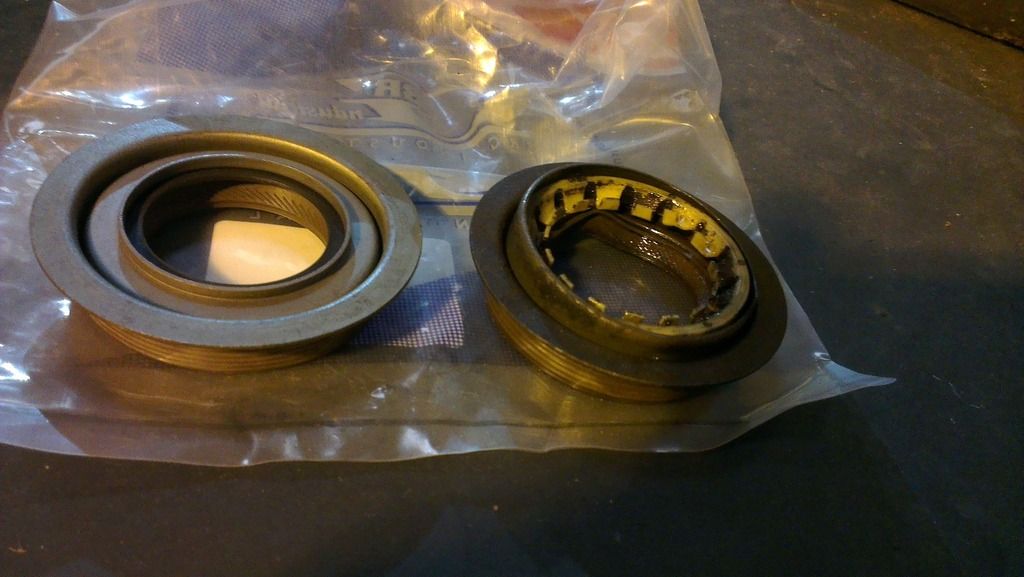
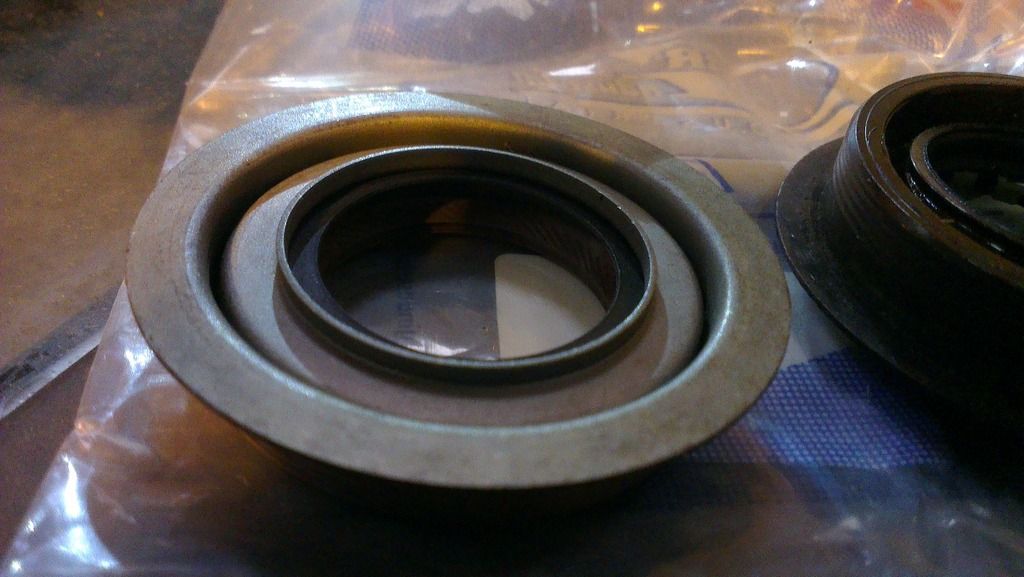
I'd ordered new driveshaft oil seals of course. The nearside one (that sits behind the plate) was fine. The off side one though, was not...
When I took the old one out, I noticed it had some kind of plastic insert that sat inside the main seal, fitted around the driveshaft and rotated within the seal. I pulled this out and then set to work popping the rest of the seal out. What happened was a 'sleeve' popped out the end of the box, with what looked like a normal oil seal inside it.
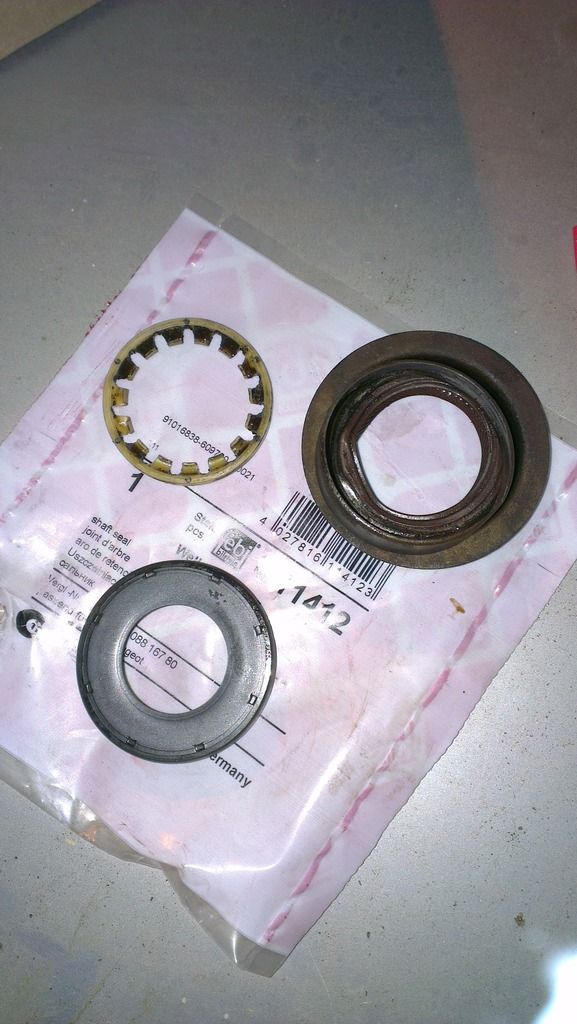
The replacement just looked like an ordinary oil seal. Pics;
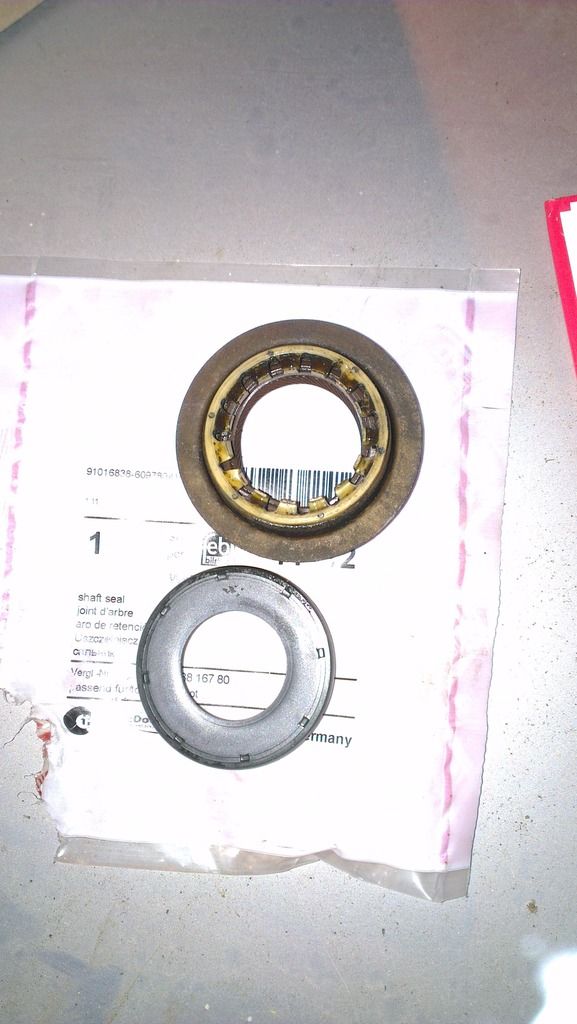
(The white nylon bit is the 'insert' I mentioned earlier).
The new seal was too small to locate properly in the box;
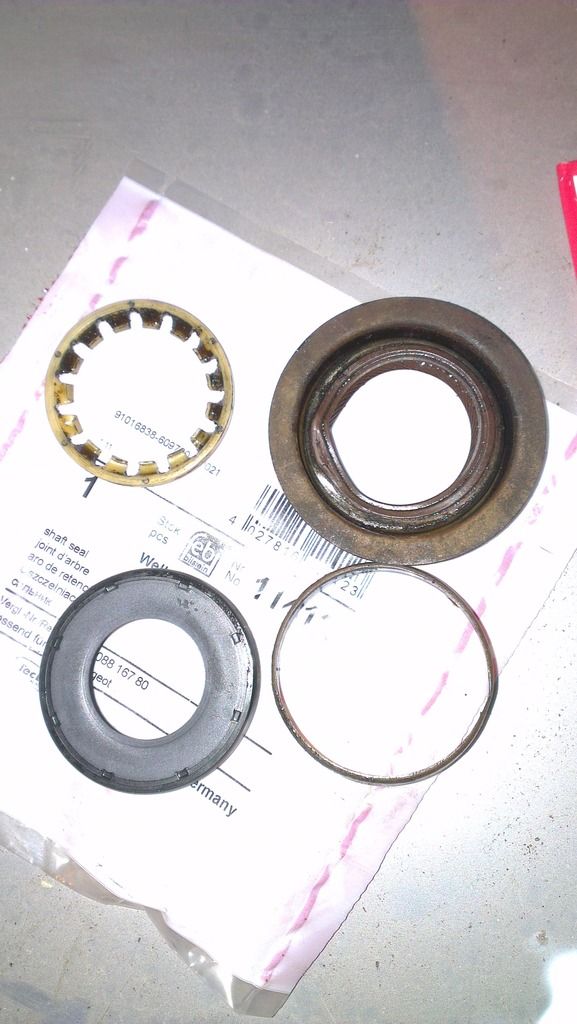
I assumed that the old seal consisted of a standard oil seal within the outer sleeve, so set to work trying to tap it out of the sleeve. Found that the combination of an old exhaust pipe and a socket made the perfect combination of sizes to support the outer sleeve and whack the inside of the oil seal
But...
Whacked the jobby out of it and couldn't get the old seal to budge. All that happened was that the metal former inside the old seal deformed and yet another inner sleeve seperated;
This was Sunday, so that left me with no options for parts till the next week.
End of the day, had to leave it buried away at the back, in bits
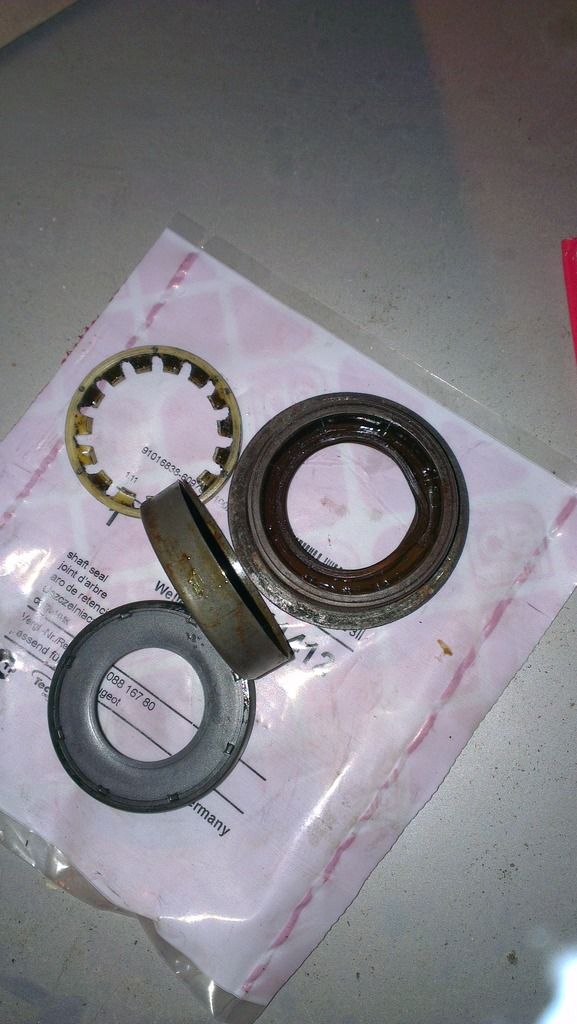
Consulting on the french car forum turned up someone that knew there were 2 types of oil seal at this end on some boxes (not clear on the Citroen parts diagrams) and an aftermarket supplier. So, duly ordered and delivered
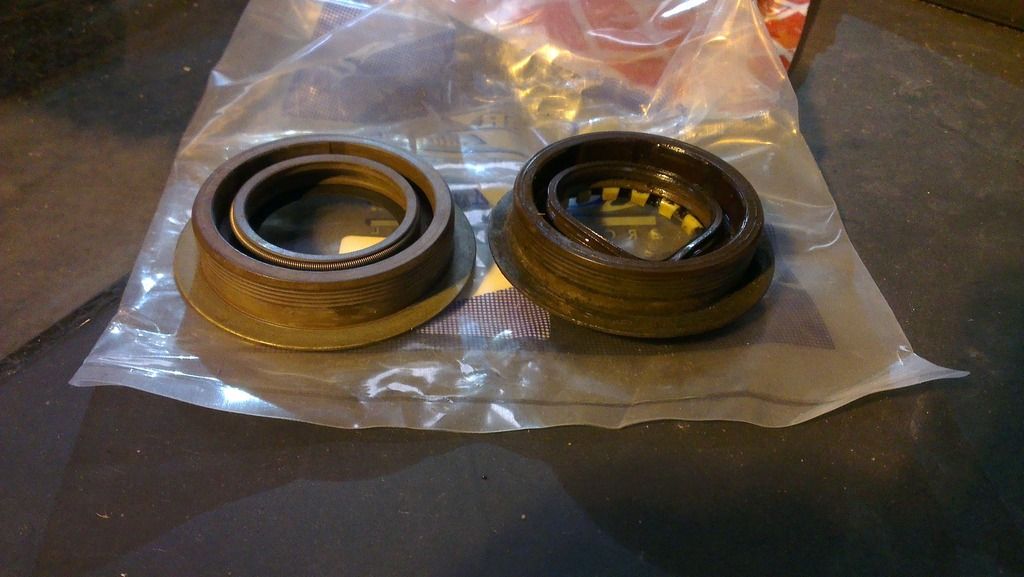
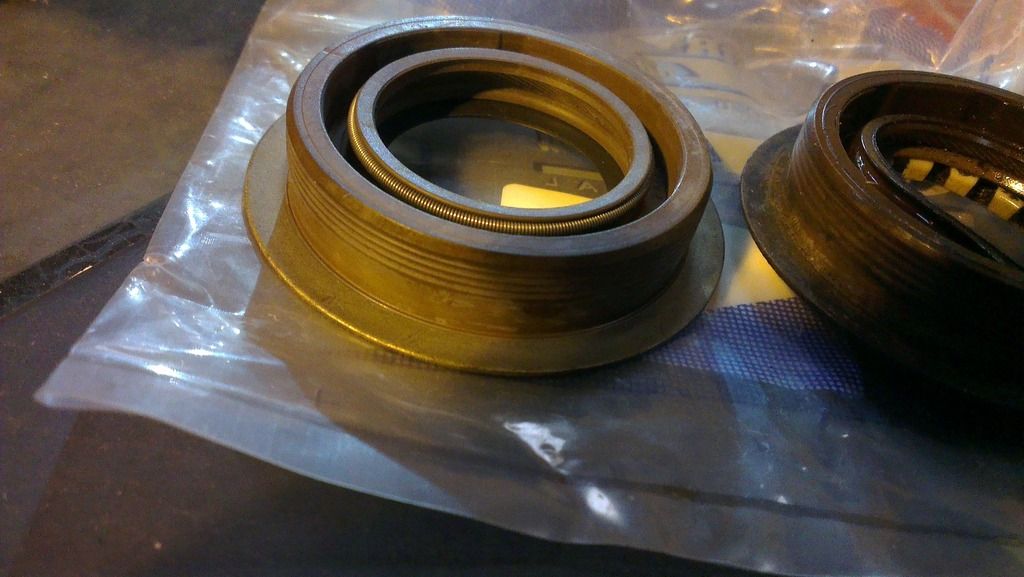
Ah... That explains why I couldn't knock the inner seal out of the sleeve - it isn't an inner seal at all, it's all one piece!
Easy to understand when you see the new one, not easy when you look at the old one, covered/stained in dirt and oil.
God knows why it's like that, but whatever... Who cares now!
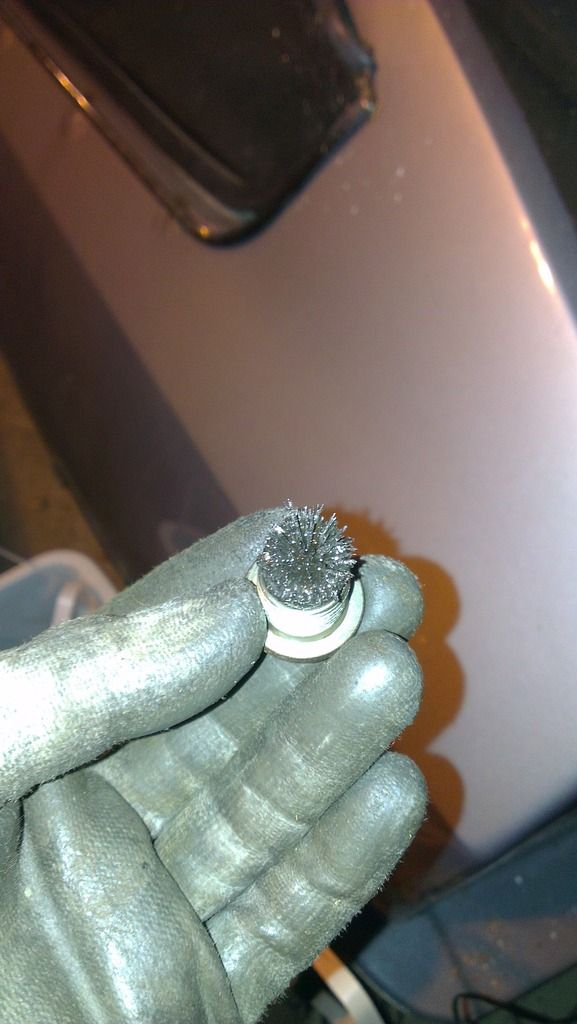
Had also got a drain plug key set by now, so the next weekend back at the car, drain plug out to get the rest of the oil out and check for bits. The oil was a disgusting grey... Definitely been in there for the full 150k!!!
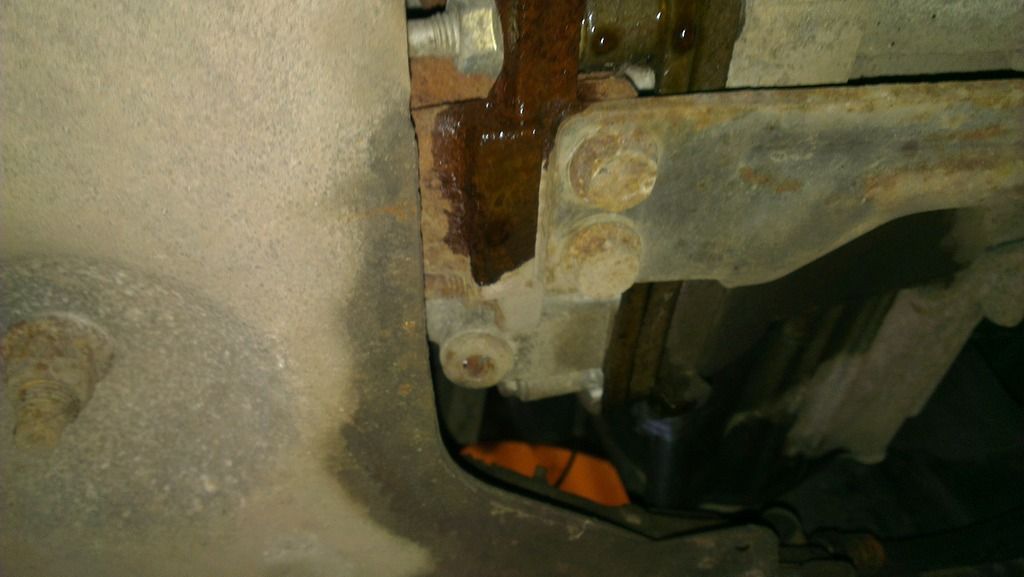
Build up on the drain plug not too bad though, considering that amount of mileage;

Fill plug was nicely located
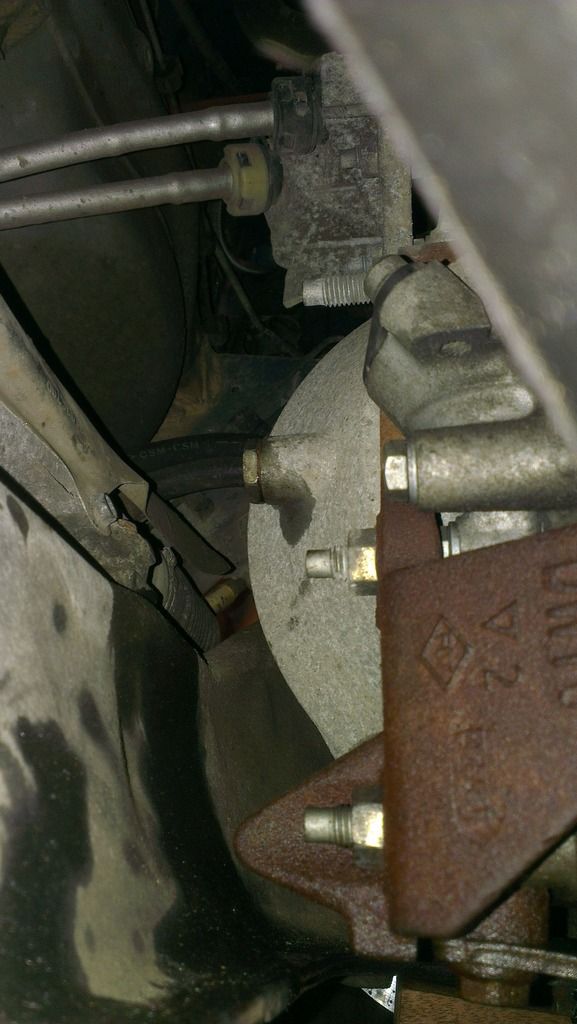
I had horrible visions of this being square drive only (there was no room to get a tool in between the sub frame and the plug) but fortunately it was hex outer drive, so a spanner did just nicely
Driveshafts in, seals in, oil in... Home straight then?
Bottom ball joints were a total jobby to refit and do up Could not stop them spinning so I could do up the new nuts I'd bought.
I resorted to putting the whole weight of the front of the car through them by putting the wheels free block under the front suspension arms (don't try this at home kids);
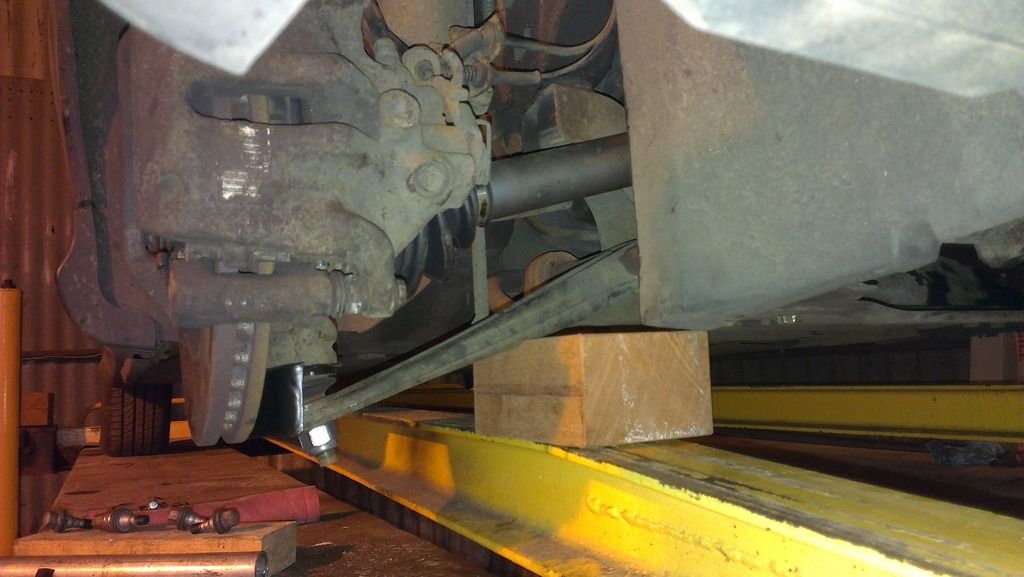
That worked for the nearside but not on the drivers side - it was still spinning.
The nearside was an after market ball joint so had no hex drive in the bottom of the pin, but fortunately the off side was the original one, so with the combination of all the weight of the car on the cone and with a massive extension on the alen key and all my weight on the end of it,
I was just able to get the nut done up (it was f'ing tight on that thread for some reason, hence the need for so much leverage).
So then, job done.
Sweet
At this point I started to clear up, poured the oil from the drain pan into my waste oil bottle and... Found a plug washer at the bottom of it WTF?
*checks fill plug*
Nope, sealing washer on there.
*checks drain plug*

Not leaking, but no sealing washer on there.
I only had about 300ml of box fluid left, so doing a full drain and refill was not an option...
Only one thing for it then...
Yep, underneath the car, open the drain plug with the box full and quickly refit the washer while oil pisses out all over your arm and stick the plug back in asap
Nearside driveshaft was on its way out (vibrating badly under load and when I checked it, had nice loads of play both ends
When they turned up, they were actually brand new ones not reconditioned!
So, up on the ramp
Most of it stripped down pretty easily. Thankfully no silly buggers with the driveshaft nuts (windy gun helped
The gearbox drain plug was a PITA...
No hex outer and the centre square drive turned out to be between the 2 standard smaller square drive socket set sizes (3/8 and 1/4
Haynes didn't help, being full of lies as usual. It said the usual 'prise out the old driveshaft oil seals with a screwdriver and tap new ones in'... Complete horseshit for this box - one side seal sits behind a drive plate that you have to unbolt, for a start!
I'd ordered new driveshaft oil seals of course. The nearside one (that sits behind the plate) was fine. The off side one though, was not...
When I took the old one out, I noticed it had some kind of plastic insert that sat inside the main seal, fitted around the driveshaft and rotated within the seal. I pulled this out and then set to work popping the rest of the seal out. What happened was a 'sleeve' popped out the end of the box, with what looked like a normal oil seal inside it.
The replacement just looked like an ordinary oil seal. Pics;
(The white nylon bit is the 'insert' I mentioned earlier).
The new seal was too small to locate properly in the box;
I assumed that the old seal consisted of a standard oil seal within the outer sleeve, so set to work trying to tap it out of the sleeve. Found that the combination of an old exhaust pipe and a socket made the perfect combination of sizes to support the outer sleeve and whack the inside of the oil seal
But...
Whacked the jobby out of it and couldn't get the old seal to budge. All that happened was that the metal former inside the old seal deformed and yet another inner sleeve seperated;
This was Sunday, so that left me with no options for parts till the next week.
End of the day, had to leave it buried away at the back, in bits
Consulting on the french car forum turned up someone that knew there were 2 types of oil seal at this end on some boxes (not clear on the Citroen parts diagrams) and an aftermarket supplier. So, duly ordered and delivered
Ah... That explains why I couldn't knock the inner seal out of the sleeve - it isn't an inner seal at all, it's all one piece!
Easy to understand when you see the new one, not easy when you look at the old one, covered/stained in dirt and oil.
God knows why it's like that, but whatever... Who cares now!
Had also got a drain plug key set by now, so the next weekend back at the car, drain plug out to get the rest of the oil out and check for bits. The oil was a disgusting grey... Definitely been in there for the full 150k!!!
Build up on the drain plug not too bad though, considering that amount of mileage;
Fill plug was nicely located
I had horrible visions of this being square drive only (there was no room to get a tool in between the sub frame and the plug) but fortunately it was hex outer drive, so a spanner did just nicely
Driveshafts in, seals in, oil in... Home straight then?
Bottom ball joints were a total jobby to refit and do up
I resorted to putting the whole weight of the front of the car through them by putting the wheels free block under the front suspension arms (don't try this at home kids);
That worked for the nearside but not on the drivers side - it was still spinning.
The nearside was an after market ball joint so had no hex drive in the bottom of the pin, but fortunately the off side was the original one, so with the combination of all the weight of the car on the cone and with a massive extension on the alen key and all my weight on the end of it,
I was just able to get the nut done up (it was f'ing tight on that thread for some reason, hence the need for so much leverage).
So then, job done.
Sweet
At this point I started to clear up, poured the oil from the drain pan into my waste oil bottle and... Found a plug washer at the bottom of it WTF?
*checks fill plug*
Nope, sealing washer on there.
*checks drain plug*
Not leaking, but no sealing washer on there.
I only had about 300ml of box fluid left, so doing a full drain and refill was not an option...
Yep, underneath the car, open the drain plug with the box full and quickly refit the washer while oil pisses out all over your arm and stick the plug back in asap
--
Iain.
Iain.
Super Secret 1G (not really super secret!)
-
wurlycorner
- Ye are glad to be dead, RIGHT?
- Posts: 21224
- Joined: Sat May 19, 2012 3:33 pm
- My Generation: 4G
- Location: Chelmsford, Essex
- Has thanked: 1968 times
- Been thanked: 240 times
Re: C5 - driveshafts done, cruise control in
Next up was cruise control fitting.
To do that, you need;
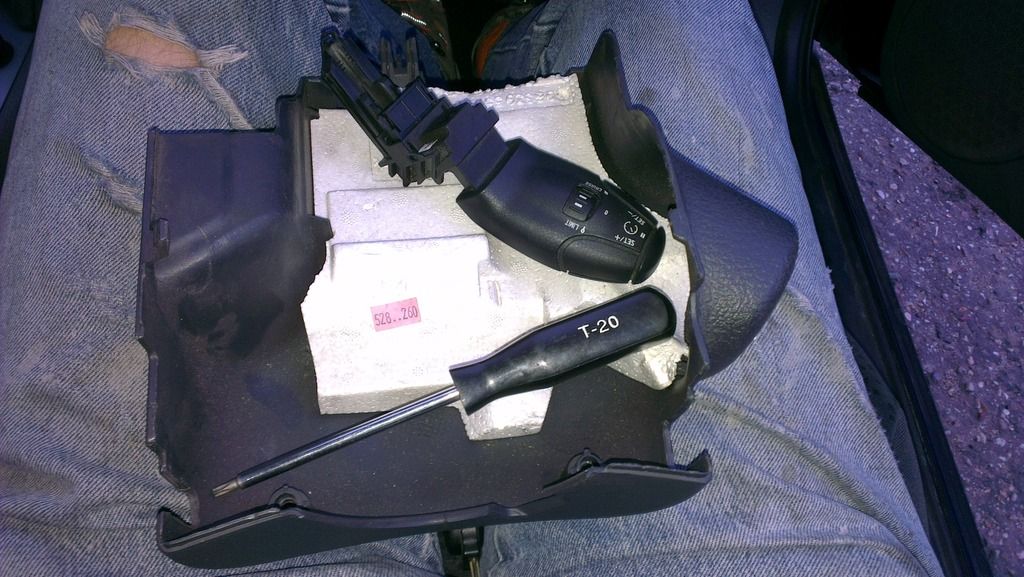
Take off the old steering column under-cowl
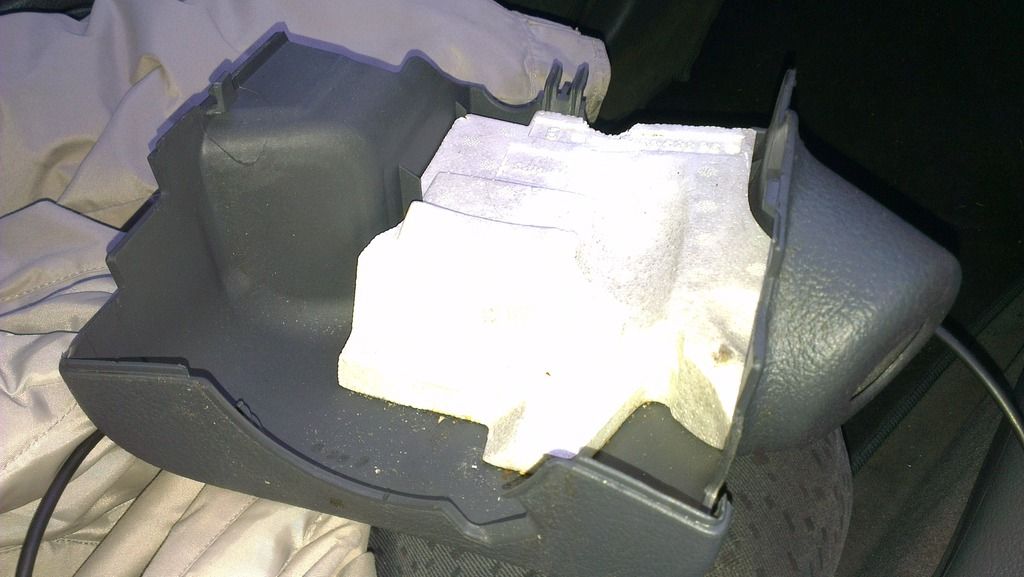
Reveals the side of the column;
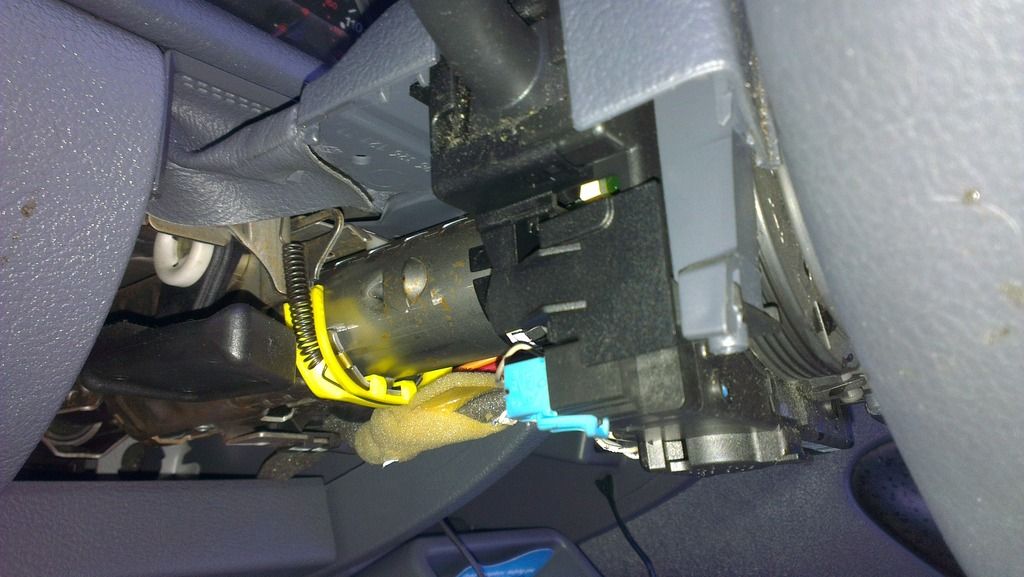
Remove the plastic cover to reveal the end of the PCB;
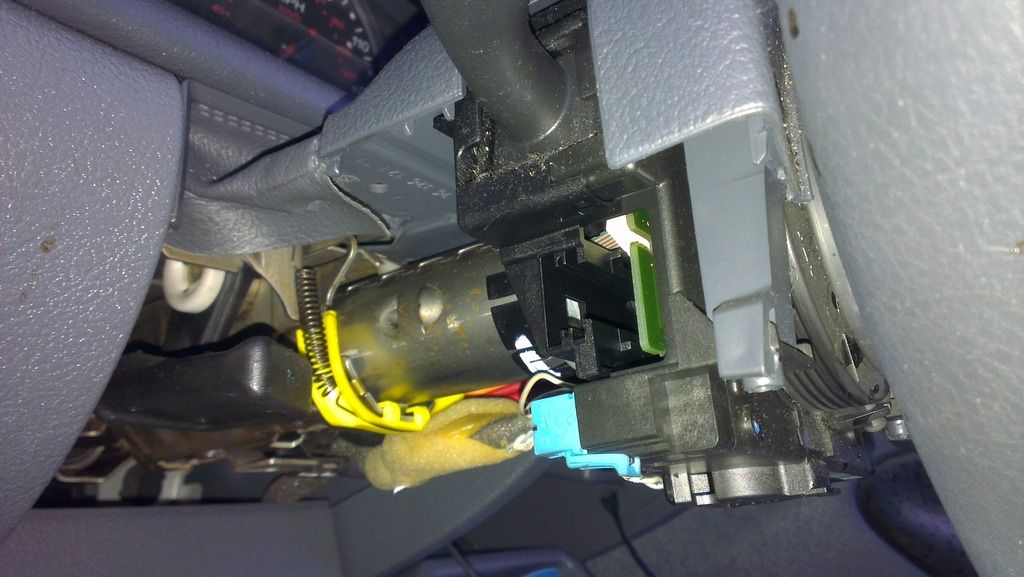
Slide the cruise control stalk in and refit the new lower cover (which has a slot for the extra stalk - you could just cut a slot in the old cover of course)
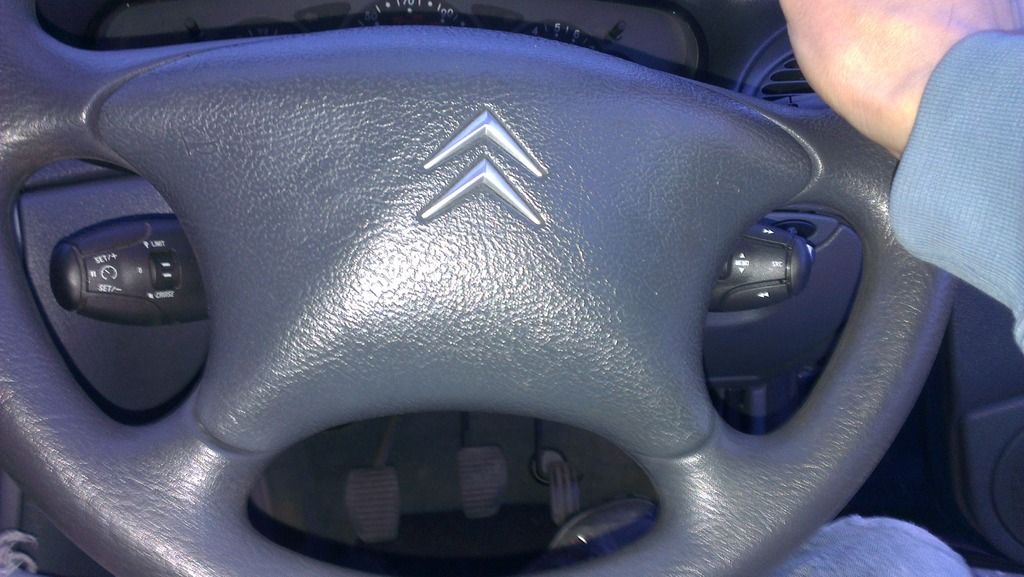
Total time?
5 mins
Unfortunately you do then need something a bit more complex in order to 'enable' it;
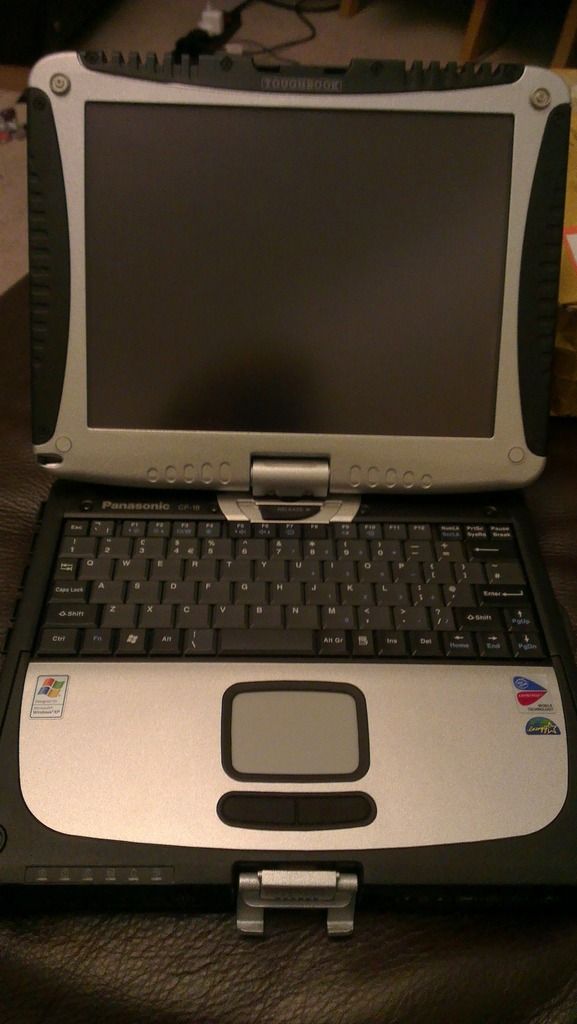
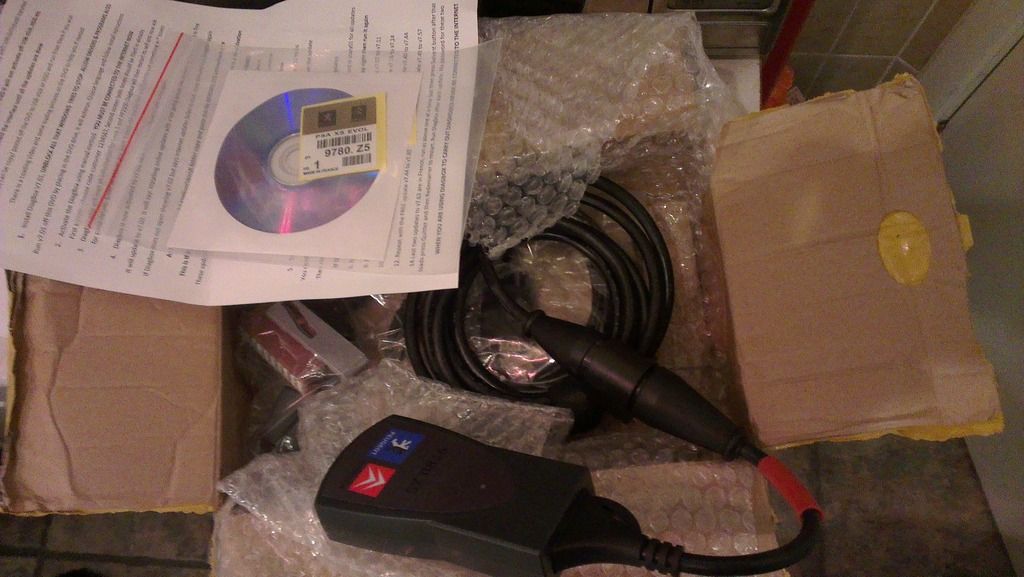
Bargain £80 'refurb' (it's actually brand new! ) toughbook plus also bought a genuine Citroen Lexia diagnostic software/hardware
Still struggling to get that set up and working at the mo, but I'll get there...
I wouldn't have forked out for the laptop and software if it was just for cruise (I could have found a member of the citroen car club nearby that has one, to do it for me) but I need to do some diagnostics on my Activa, so worth the expense.
To do that, you need;
Take off the old steering column under-cowl
Reveals the side of the column;
Remove the plastic cover to reveal the end of the PCB;
Slide the cruise control stalk in and refit the new lower cover (which has a slot for the extra stalk - you could just cut a slot in the old cover of course)
Total time?
5 mins
Unfortunately you do then need something a bit more complex in order to 'enable' it;
Bargain £80 'refurb' (it's actually brand new!
Still struggling to get that set up and working at the mo, but I'll get there...
I wouldn't have forked out for the laptop and software if it was just for cruise (I could have found a member of the citroen car club nearby that has one, to do it for me) but I need to do some diagnostics on my Activa, so worth the expense.
--
Iain.
Iain.
Super Secret 1G (not really super secret!)
-
mercutio
- LotM Winner
- Posts: 14958
- Joined: Sun Aug 08, 2010 8:45 pm
- My Generation: 5G
- Location: Sunny Manchester
- Has thanked: 1 time
- Been thanked: 3 times
- Contact:
great work wurly i bet the citroen club love you
bristol_bb4 wrote:ahhh a 5th gen, i love 5th gens
Dino wrote:I loves the 5th gen really.... just dont quote me on it...
4thgenphil wrote:Mines 4 1/4 unches mate, sorry
http://www.ludegeneration.co.uk/profile ... -t618.html