
I did let Nathan take the strut brace off
Congratulations to vtecmec for winning May/June's Lude Of The Month, with his DIY Turbo BB1 build.
>>> Click Here For Profile <<<

>>> Click Here For Profile <<<
Kawa's Lude
-
Kawa

- Posts: 3405
- Joined: Sun Jun 20, 2010 5:58 pm
- My Generation: 4G
- XBOX GamerTag: kawa222
- Location: Nottingham
- Contact:
Re: Kawa's Lude
I know matey, but you got more important stuff at mo  2 vital ingredients missing at the moment anyways
-
Kawa
- Posts: 3405
- Joined: Sun Jun 20, 2010 5:58 pm
- My Generation: 4G
- XBOX GamerTag: kawa222
- Location: Nottingham
- Contact:
Re: Kawa's Lude
Right, got a new job starting next week - programming robots 
Cannot go into too much detail as it's top secret stuff and Cyberdyne Systems don't like their staff talking too much....maybe that autobot badge will finally come in handy??
Anyway, need to get the lude back on the road for next week, so time to pull my finger out. I've ordered an engine hoist for Wednesday/Thursday. Plan is to swap the flywheels over and put the lsd box on the new engine.
I wont have the time to swap the belts or fix my headers - but I can do that later when I have more time.
Get her MOT'd Friday.
At least that's the plan

-
wurlycorner

- Ye are glad to be dead, RIGHT?
- Posts: 21511
- Joined: Sat May 19, 2012 3:33 pm
- My Generation: 4G
- Location: Chelmsford, Essex
- Has thanked: 2507 times
- Been thanked: 317 times
-
Kawa
- Posts: 3405
- Joined: Sun Jun 20, 2010 5:58 pm
- My Generation: 4G
- XBOX GamerTag: kawa222
- Location: Nottingham
- Contact:
Re: Kawa's Lude
Have been loaned a car do pressure off.
I've just this minute lifted the old engine out
I've just this minute lifted the old engine out
-
Kawa
- Posts: 3405
- Joined: Sun Jun 20, 2010 5:58 pm
- My Generation: 4G
- XBOX GamerTag: kawa222
- Location: Nottingham
- Contact:
2013 - Engine Removal
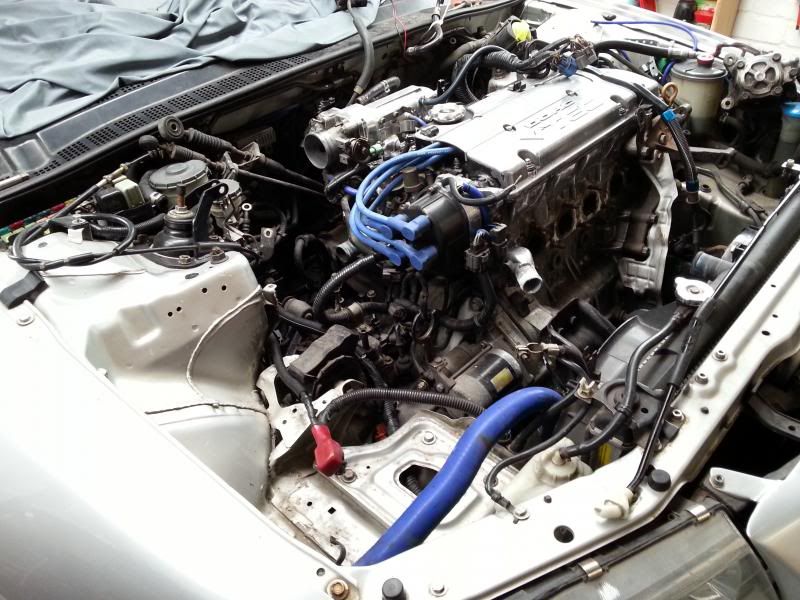
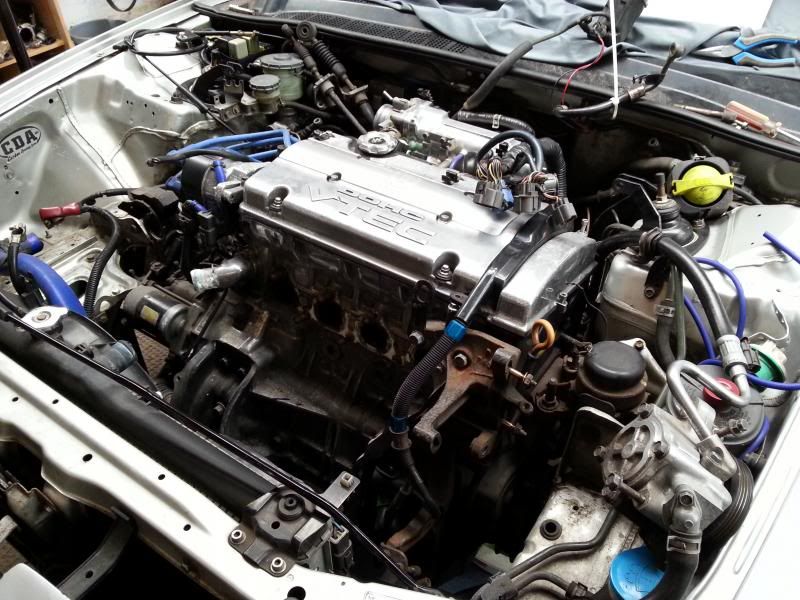
List of stuff to remove engine...
Bonnet off
Loosen the front wheel nuts
Loosen the front axle / driveshaft nuts
Jack her up and secure with axle stands.
Remove driveshafts
Disconnect o2 sensor
Remove primaries and secondaries (front portion of exhaust)
drop engine oil
drop gearbox oil
drop coolant
undo throttle cable
remove battery
remove strut brace (if any)
remove air filter / disconnect engine breather (top corner of cam cover)
disconnect vacuum pipes - take lots of pictures of these
disconnect electrical connectors / large blocks from passenger side area of firewall
disconnect electrical cables to alternator.
disconnect any connectors between the engine loom and any periphery sensors along the wings and firewall.
note, a lot of connectors can remain connected - if they plug into the engine, most of the loom comes away with the engine.
disconnect rad hoses
disconnect water hoses to heater matrix (firewall)
disconnect water hose that goes into rear of the engine (accessible from under the car)
disconnect gear selector cables
disconnect clutch hydraulic cable
disconnect speed sensor / power steering fluid cables (from behind the engine)
disconnect fuel pipe from top of fuel rail
disconnect any earth wires to engine (passenger side engine mount ?)
remove power steering belt and pump and secure/tape out of the way.
loosen any power steering pipes away from the passenger side / rear of the engine. (follows wiring loom).
remove alternator and belt.
remove small exhaust heat shield.
remove mounting brackets for the alternator and air con (if you have air con? I don't)
leave the power steering pump bracket in place.
loosen off all the engine mountings.
position engine hoist
rope/chain between the 2 engine hoist points (power steering pump bracket and rear of gearbox)
pump the hoist - but not too much.
Remove the passenger side engine mounting entirely.
Loosen and remove all bolts from driver side engine mounting. (We need to remove this entirely, but it's a PITA)
Remove the main bolt from rear engine mounting only.
Remove the bolt from the front engine mounting and the black mounting bracket.
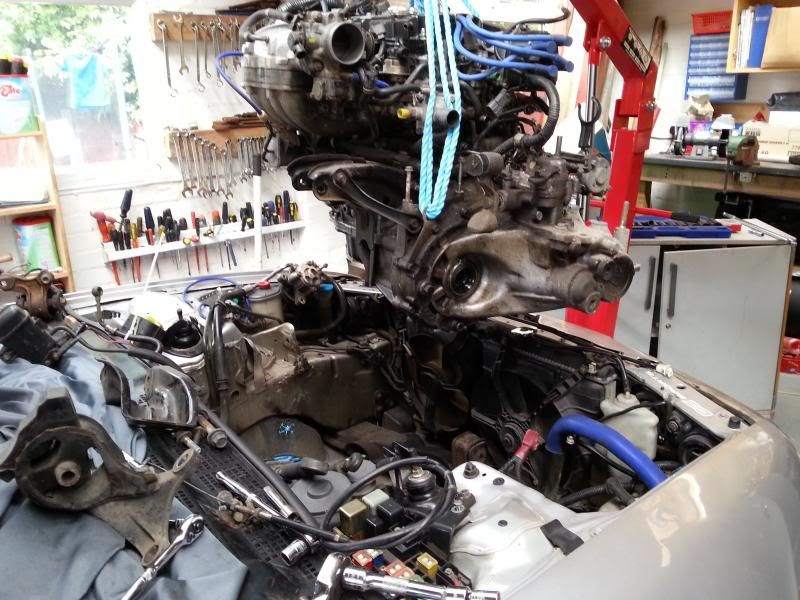
Hoist the engine up a few inches, just making sure nothing is still connected - I surprised myself
Here's the tricky bit. The engine and gearbox is wider than the hole you are trying to get it through!! The driver side chassis gets in the way. You have to try a few ups and downs to wangle the drivers side engine mount out of the way to give you a few extra mm. A more intelligent person may have removed the lower pulley to give a little more space. Think this would have made it a lot easier.
Any she's out. The gear box, clutch and flywheel are off. The look ok, so will be going back on the new engine - that's a job for tomorrow
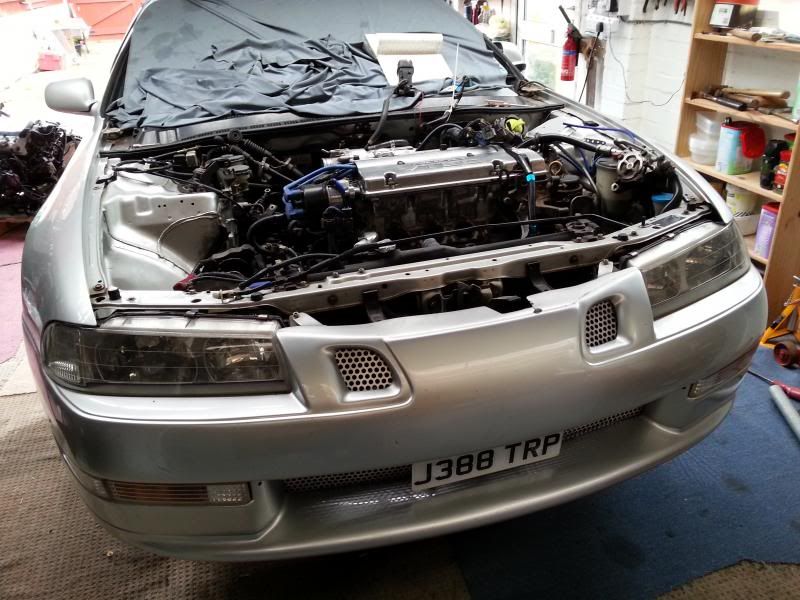

Bonnet off
Loosen the front wheel nuts
Loosen the front axle / driveshaft nuts
Jack her up and secure with axle stands.
Remove driveshafts
Disconnect o2 sensor
Remove primaries and secondaries (front portion of exhaust)
drop engine oil
drop gearbox oil
drop coolant
undo throttle cable
remove battery
remove strut brace (if any)
remove air filter / disconnect engine breather (top corner of cam cover)
disconnect vacuum pipes - take lots of pictures of these
disconnect electrical connectors / large blocks from passenger side area of firewall
disconnect electrical cables to alternator.
disconnect any connectors between the engine loom and any periphery sensors along the wings and firewall.
note, a lot of connectors can remain connected - if they plug into the engine, most of the loom comes away with the engine.
disconnect rad hoses
disconnect water hoses to heater matrix (firewall)
disconnect water hose that goes into rear of the engine (accessible from under the car)
disconnect gear selector cables
disconnect clutch hydraulic cable
disconnect speed sensor / power steering fluid cables (from behind the engine)
disconnect fuel pipe from top of fuel rail
disconnect any earth wires to engine (passenger side engine mount ?)
remove power steering belt and pump and secure/tape out of the way.
loosen any power steering pipes away from the passenger side / rear of the engine. (follows wiring loom).
remove alternator and belt.
remove small exhaust heat shield.
remove mounting brackets for the alternator and air con (if you have air con? I don't)
leave the power steering pump bracket in place.
loosen off all the engine mountings.
position engine hoist
rope/chain between the 2 engine hoist points (power steering pump bracket and rear of gearbox)
pump the hoist - but not too much.
Remove the passenger side engine mounting entirely.
Loosen and remove all bolts from driver side engine mounting. (We need to remove this entirely, but it's a PITA)
Remove the main bolt from rear engine mounting only.
Remove the bolt from the front engine mounting and the black mounting bracket.
Hoist the engine up a few inches, just making sure nothing is still connected - I surprised myself
Here's the tricky bit. The engine and gearbox is wider than the hole you are trying to get it through!! The driver side chassis gets in the way. You have to try a few ups and downs to wangle the drivers side engine mount out of the way to give you a few extra mm. A more intelligent person may have removed the lower pulley to give a little more space. Think this would have made it a lot easier.
Any she's out. The gear box, clutch and flywheel are off. The look ok, so will be going back on the new engine - that's a job for tomorrow


