Ok, so here's the rub.
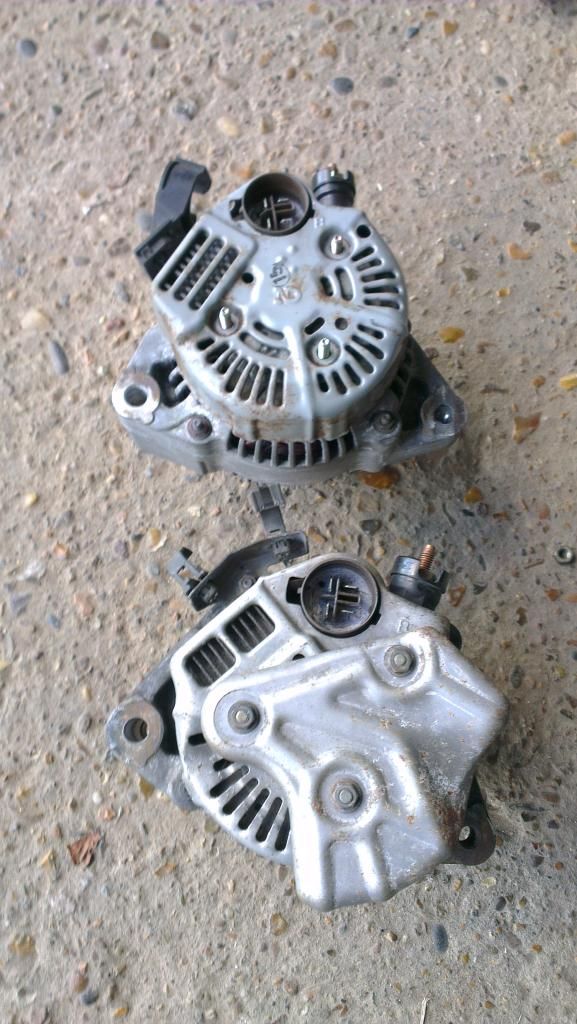
Some photo's of a 4th gen and 3rd gen alternator next to each other for comparison;
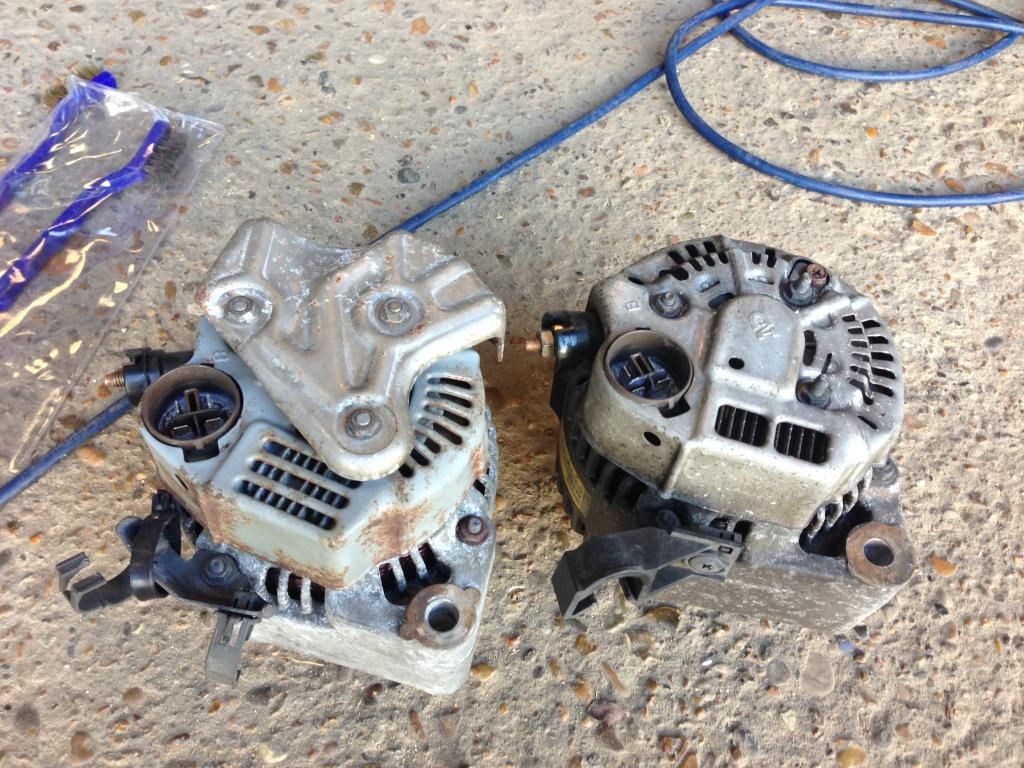

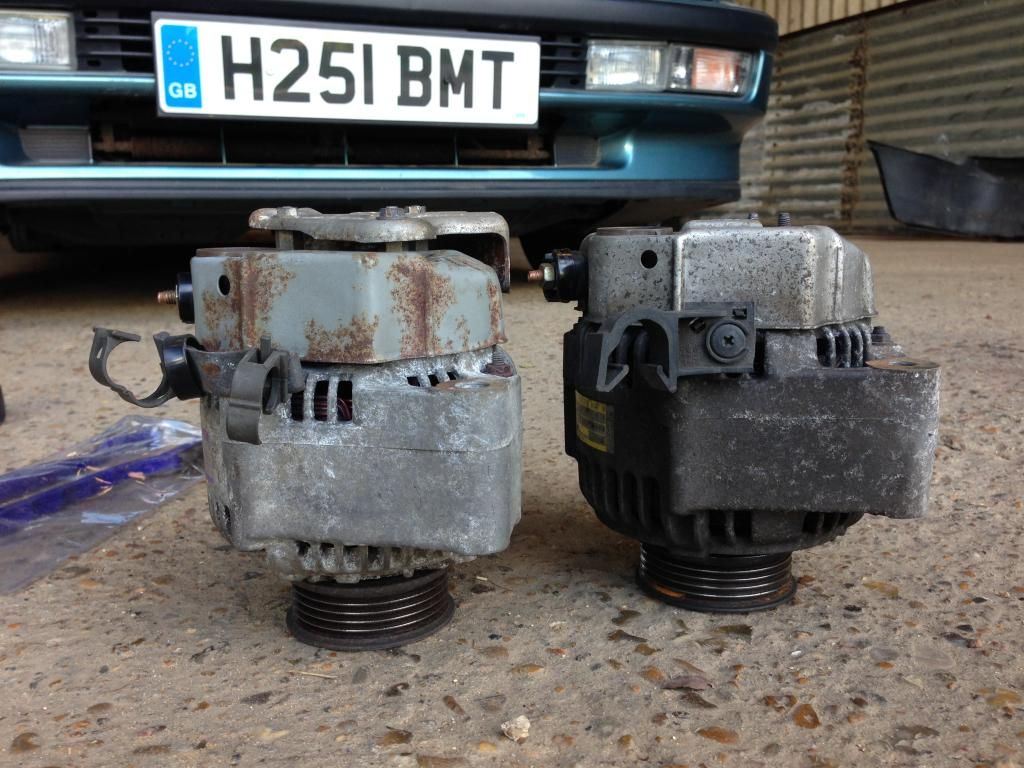
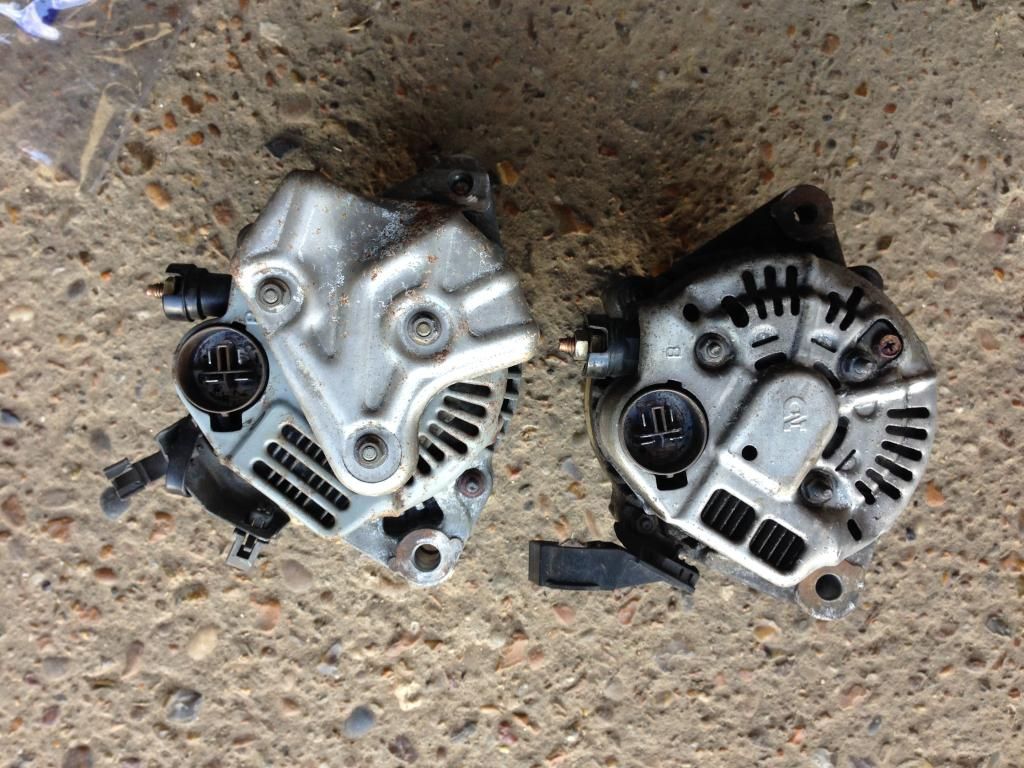
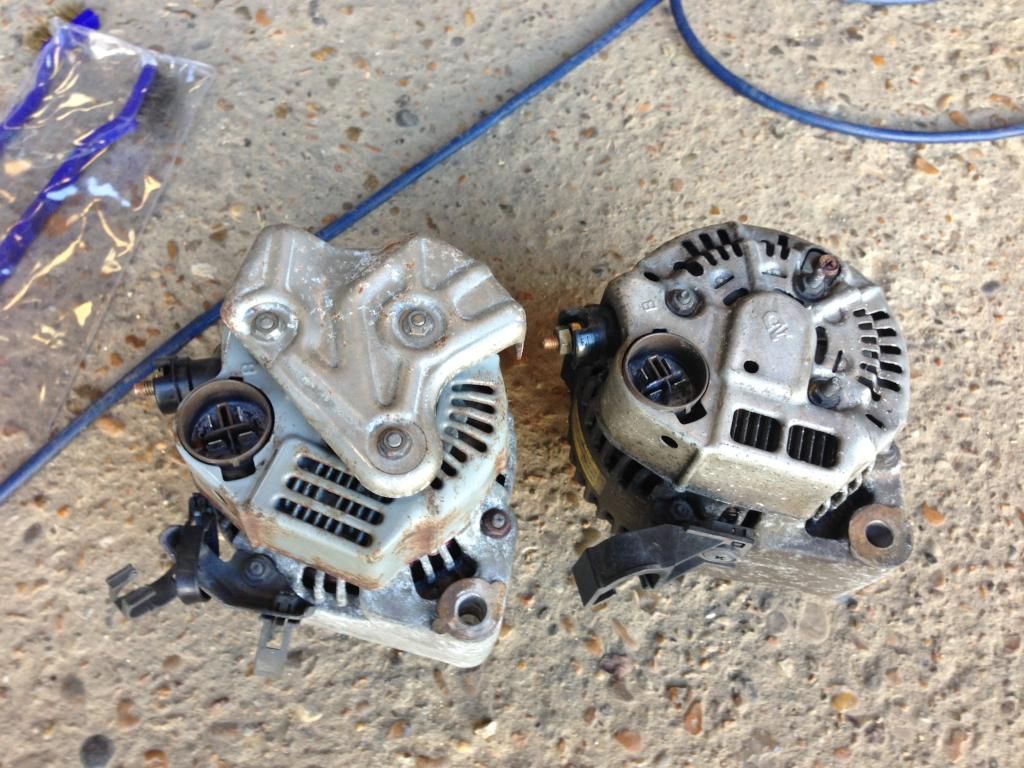
3rd gen on the left, 4th gen on the right.
So basically exactly the same. The key things match - overall size, mounting points and positions, connection location and type, pulley etc.
Some of the differences are obvious - extra heat shield on the 3g, different loom clip/bracket, different cooling slots in the back cover and in the side casing.
For the geeks, there are some other differences inside the alternator (probably manufacturing cost reduction related);
The brush boxes are different;
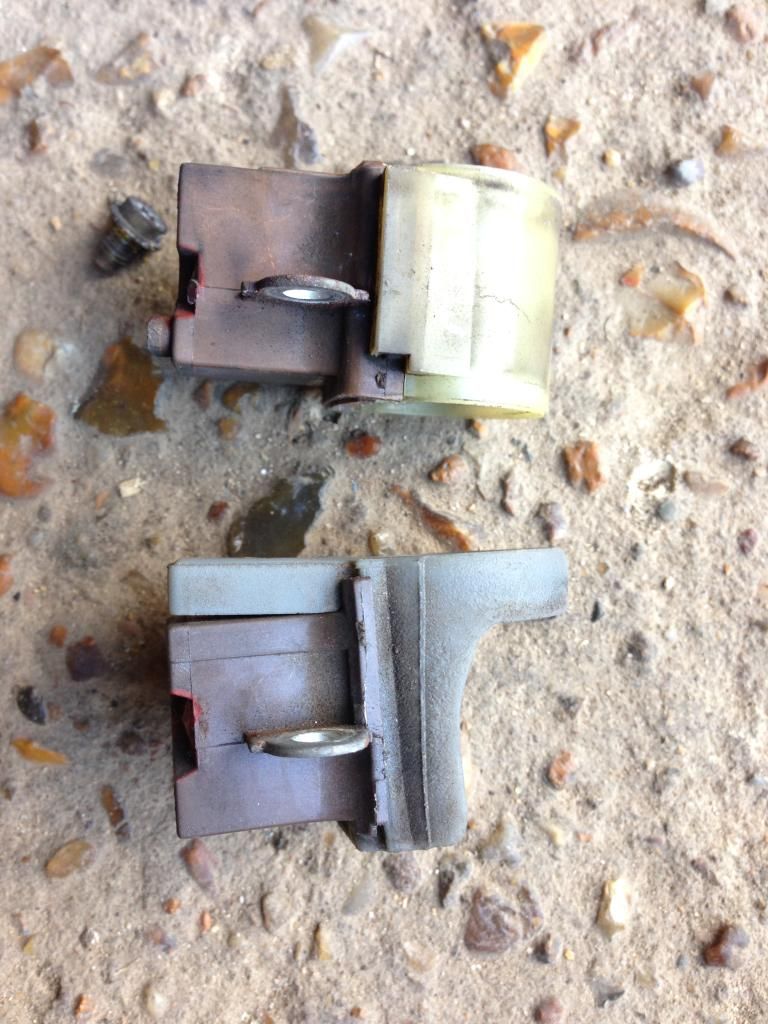
Overall size is the same, but they're not interchangeable because part of the casting is different;
4g brush box fully self-encloses the commutator
3g brush box only self-encloses a small part of the commutator and relies on an extra protrusion from the main body casting to enclose the rest of it
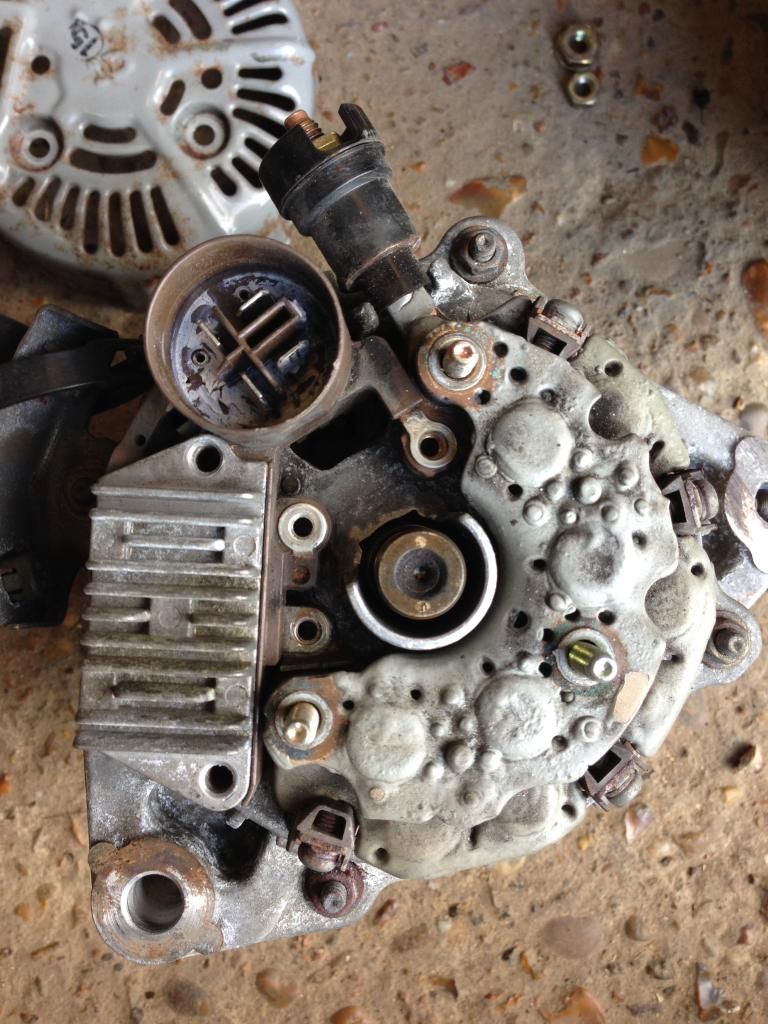
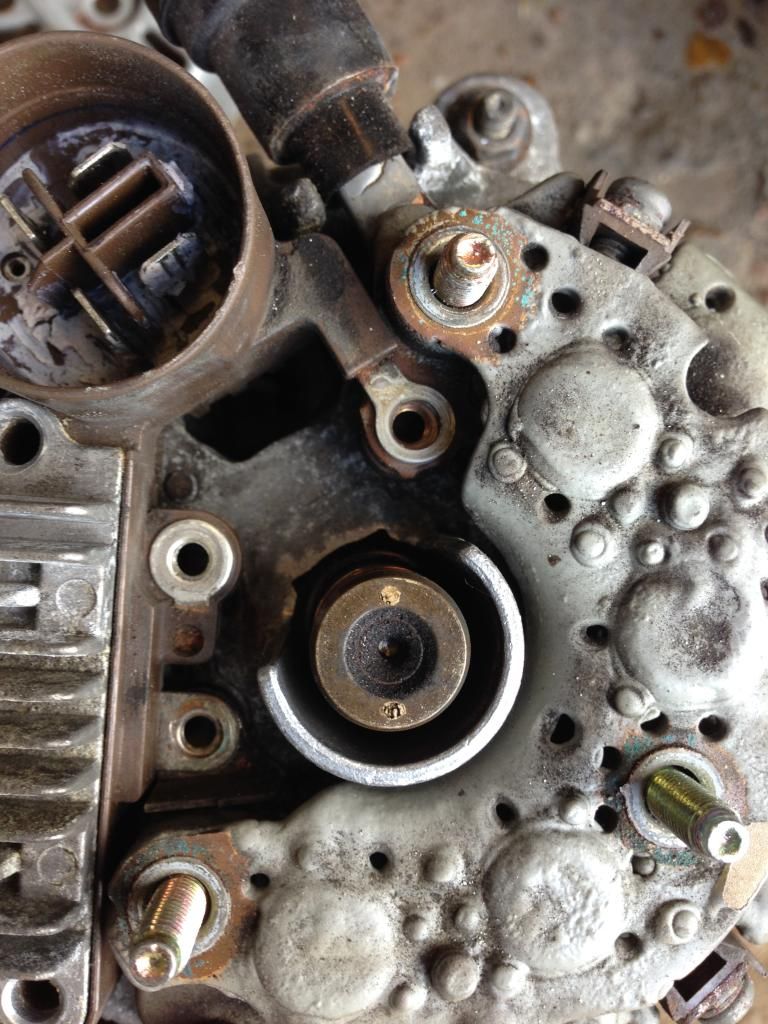
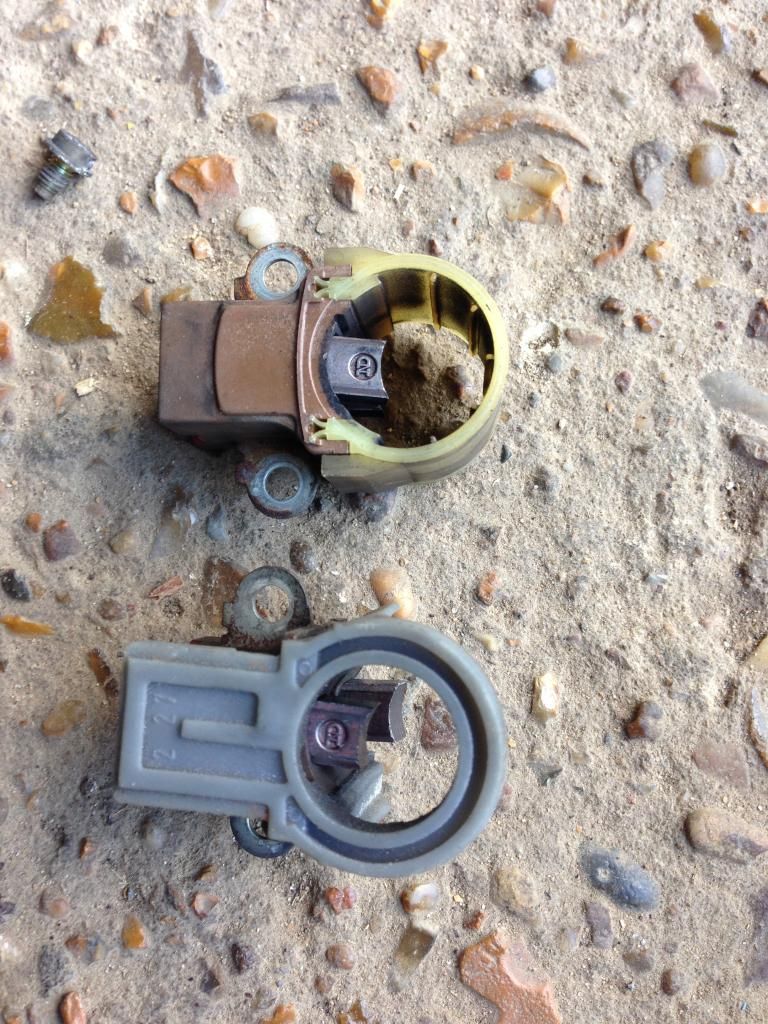
There is also an additional earth connection stud between the top diode pack and the rear cover plate. This means you can't swap the rear covers over between 3g/4g alternators.
You might also notice that the heat sink on the voltage regulator is different, but that looks completely immaterial to me - both look completely interchangeable (though I didn't actually try it, due to time pressures). Also the top diode pack on the 4g alternator is a slightly smaller package overall (also immaterial) but it has an extra bolt hole for the extra cover plate earth that I mentioned earlier. For that reason I think you could use a 4g top diode pack in a 3g alternator, but not vice-versa.

Anyway, so
how to use a 4g alternator on a 3g;
- Undo and remove the 3 nuts from the back casing of the 4g alternator
- Unbolt and remove the additional heat shield from the 3g alternator. This exposes 3 stud extenders - remove these. Then remove the back cover from both alternators (this is only necessary so give the clearance to access the loom bracket nut, you don't need to do anything inside the alternators). Note, to get the cover off you will need to undo the nuts on the B terminal post and slide the black insulator up.
- Unbolt the loom bracket from the side of both alternators and swap them;
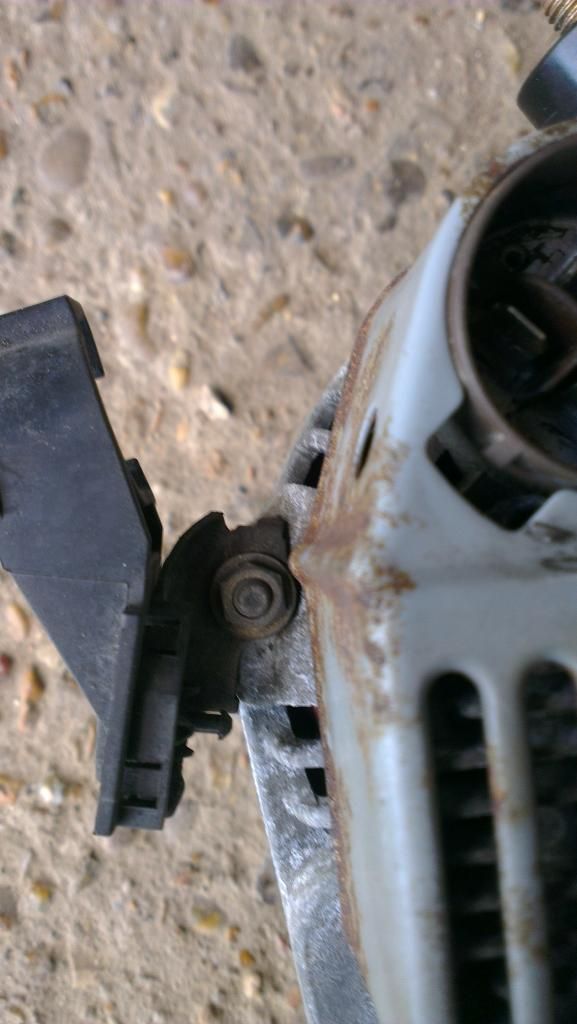
This pic ^^ shows the 4g bracket fitted to the 3g alternator (note there is loads of clearance around the bracket and the casing)
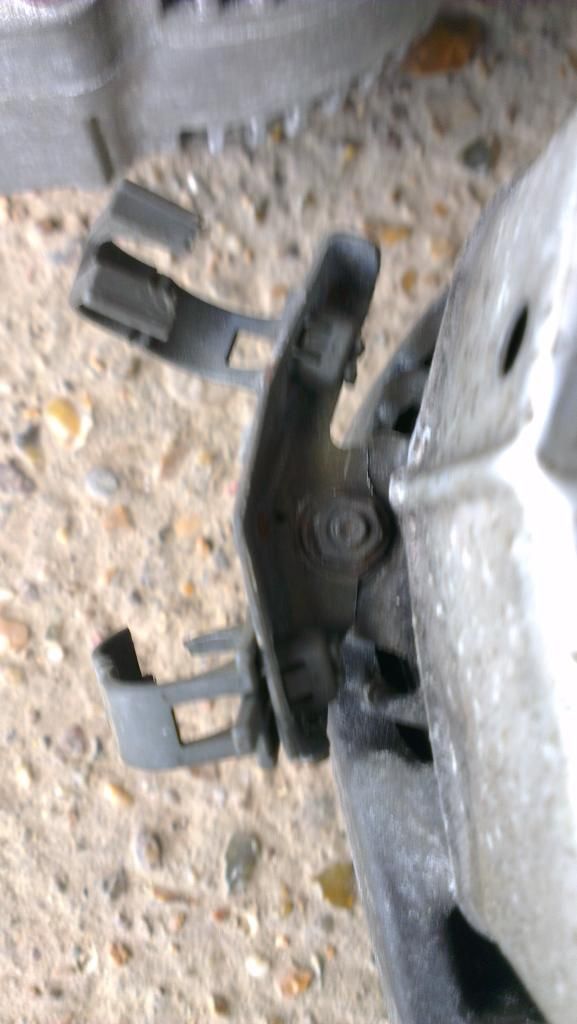
This pic ^^ shows the 3g bracket fitted to the 4 alternator - note there is NO clearance between the bracket and the casing. The 4g casing is slightly bigger here, so you need to file the 3g bracket a bit to make it fit on. Easy stuff.
- Then replace the rear covers.
- Next, swap the stud extenders onto the 4g alternator on the back of the rear cover, in place of the nuts you removed earlier;
- Then put the additional heat shield on top of the studs on the 4g alternator and replace the nuts;
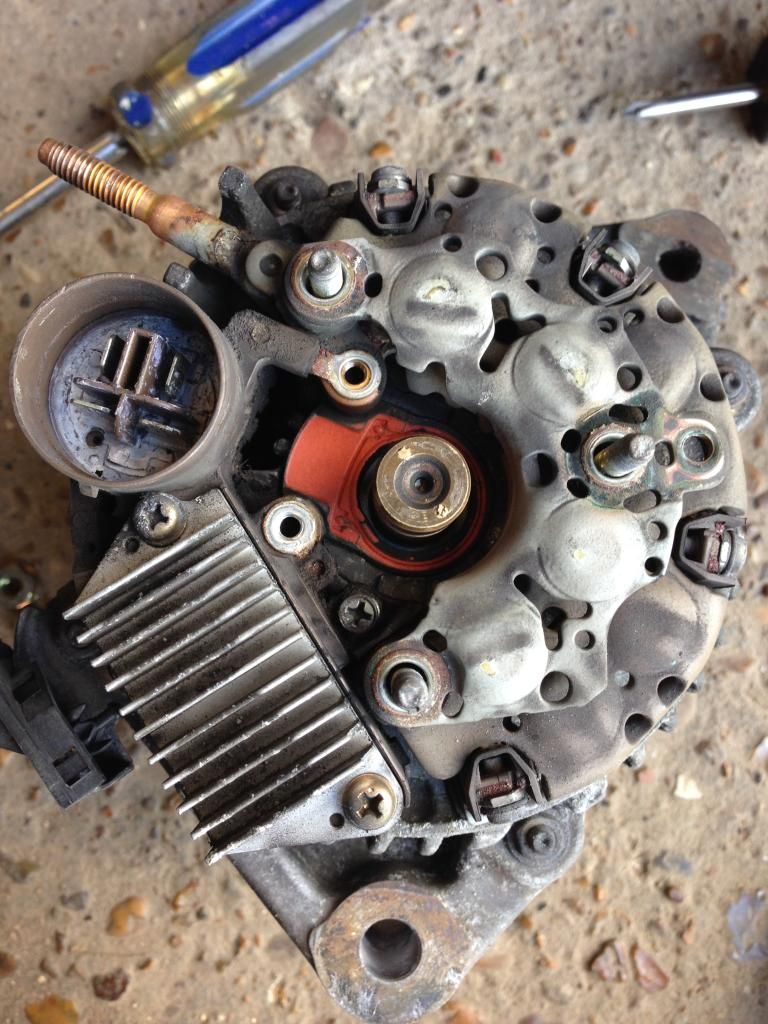
That basically covers all the alterations you need to make to the alternator itself, so get on and hang it in position on the engine.
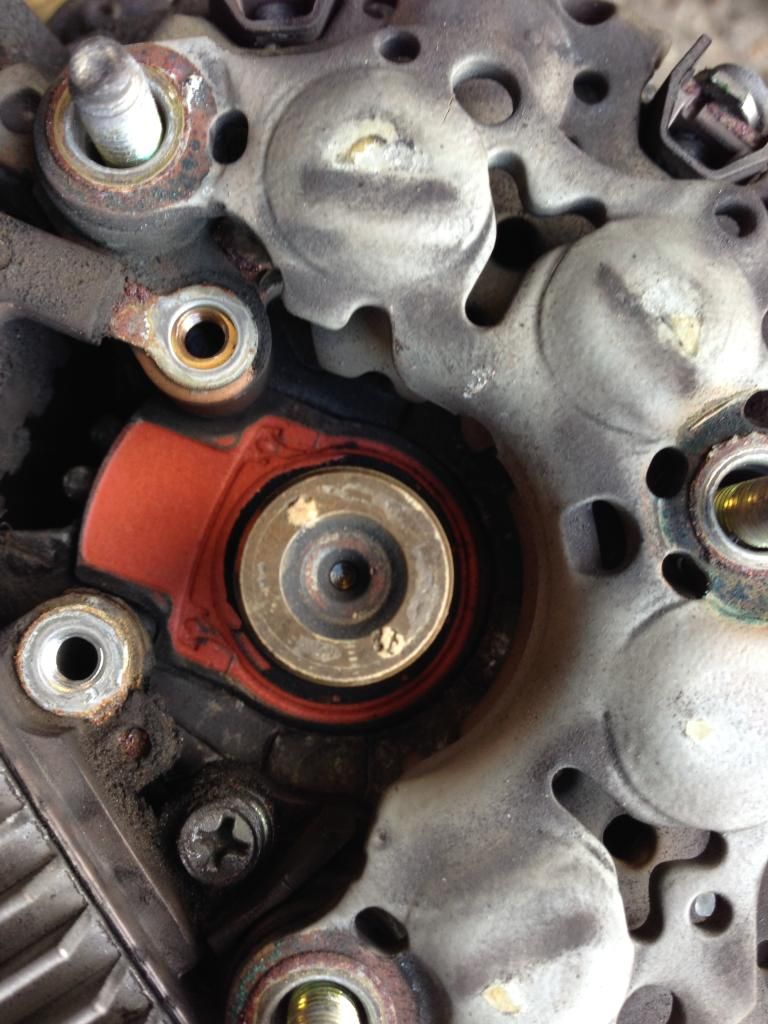
At this point, after getting it into position, fannying about getting the pivot bolt in place and the belt refitted... You discover one other difference that you hadn't seen before...


On the 4g, the tensioner bolt hole is a through hole (it uses a nut to tighten down against the side of the alternator)
On the 3g, the tensioner bolt hole is a threaded hole (the tensioner bolt tightens directly into the case of the alternator)
The standard 3g tensioner bolt isn't long enough to go through the 4g case to allow you to put a nut on the end of it instead.
Differences in the 4g and 3g tensioner bolts and tensioner adjuster mechanisms are below;
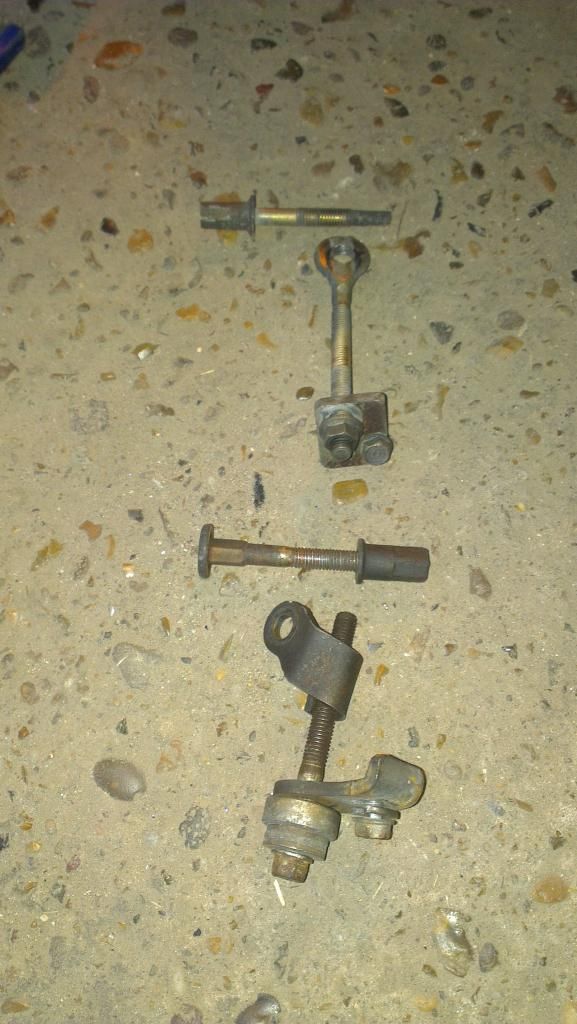
4g at the bottom, 3g at the top.
You can't swap the complete 4g tensioner setup onto the 3g, because the tensioner bracket (on the engine) is different and on a/c fitted cars, one of the pipes from the pump is right in front of where the tensioner adjuster screw would sit (can't get a tool on it and there isn't a big enough gap to let the tensioner screw to move in/out).
The answer is to cannibalise both tensioners and modify the 3g tensioner screw;
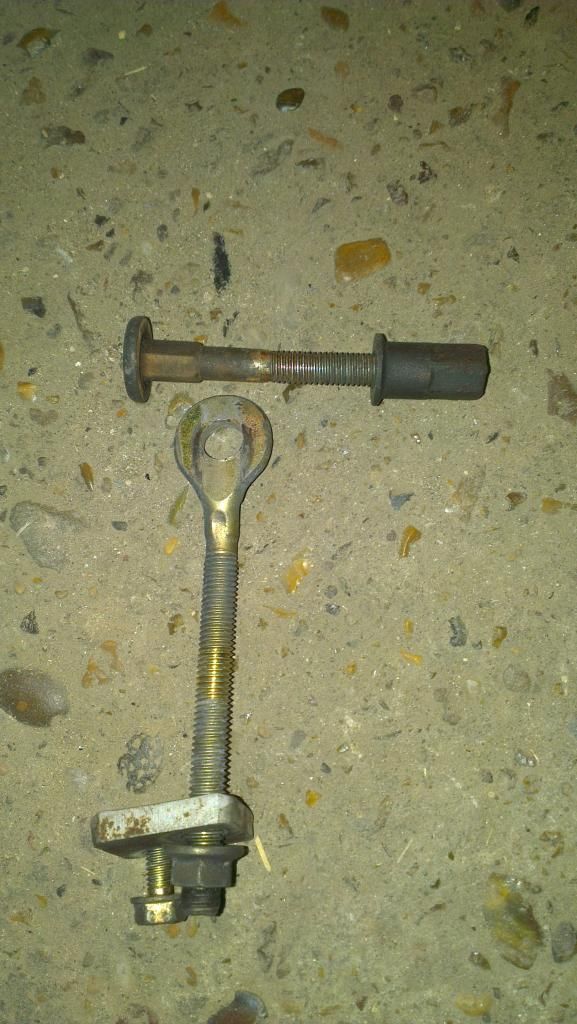
- Use the 4g tensioner bolt
- Use the 4g tensioner bolt nut
- Use the 3g tensioner screw/bracket assembly, but...
- Drill out the hole in the end of the 3g tensioner screw (the eyelet) to 11mm, so that it slides all the way to the end of the 4g tensioner bolt (over the hex shank);
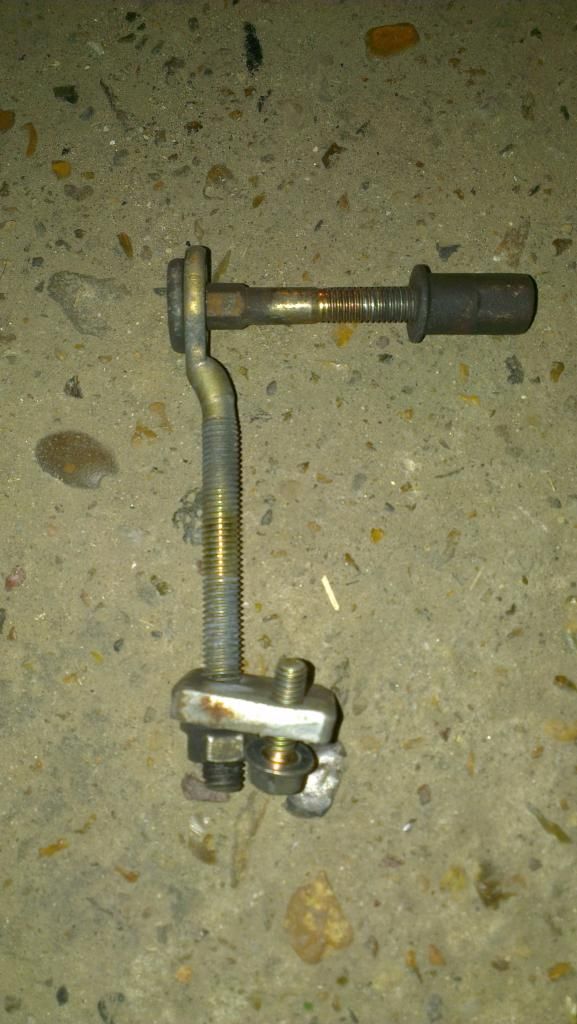
Et voila! That all fits up nicely in place.
The only difference now is that the tensioner bolt needs to be done up from the nut on the rhs of the alternator, instead of from the left hand side of the alternator like before.
Incidentally, in the last photo the tensioner screw is the wrong way round - it should dog-leg over the end of the tensioner bolt head, instead of towards the nut.