Rear Arches Repaired:
Last year at Beaulieu I noted a small amount of bubbling where the rear arch meets the side skirt, both sides in near identical stage of bubbling, (about the size of a 10p piece, unfortunately I forgot to get pre repair shots).
The rot hadn't broken through the paintwork, but I figured i'd better get it looked at, though I just assumed it was superficial rust and a rub down respray, etc would sort it.
Come service I had the area inspected, fresh metal, both arches, was required, the corrosion wasn't superficial as I had hoped.
I left the car up north again, still fresh from it's cam belt adventure it was back in the shop again.
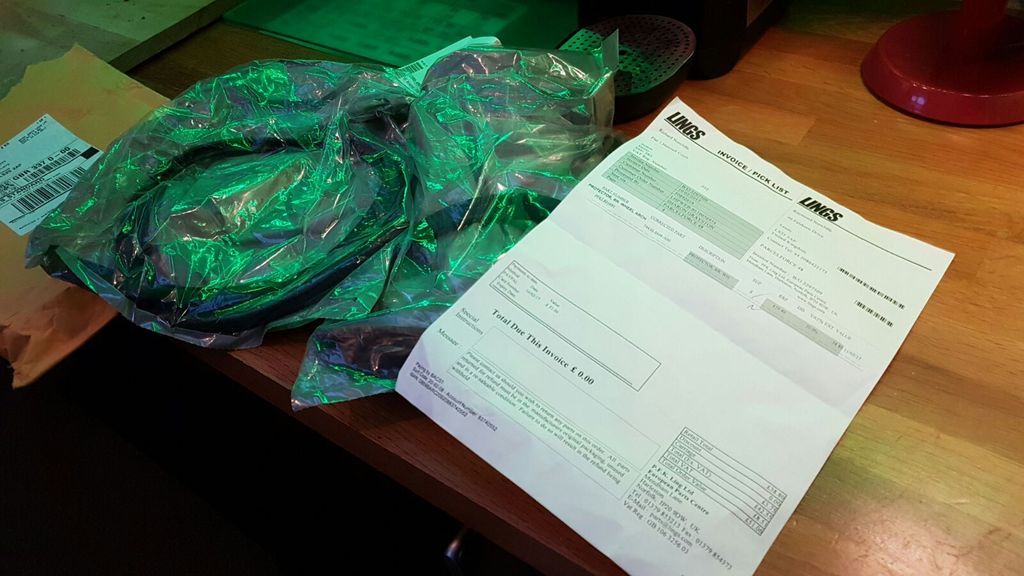
In preparation for the repair I ordered some fresh rubber arch surrounds.
Whilst the side skirts where removed they where re painted, both had developed some cracks from excess stone chips.
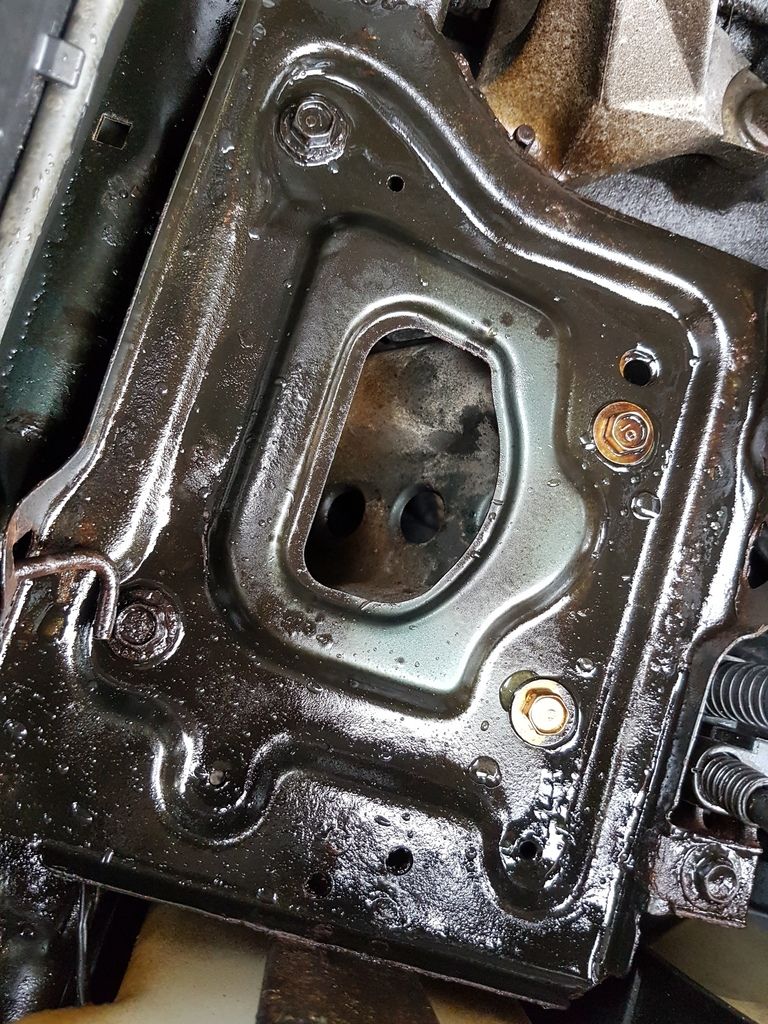
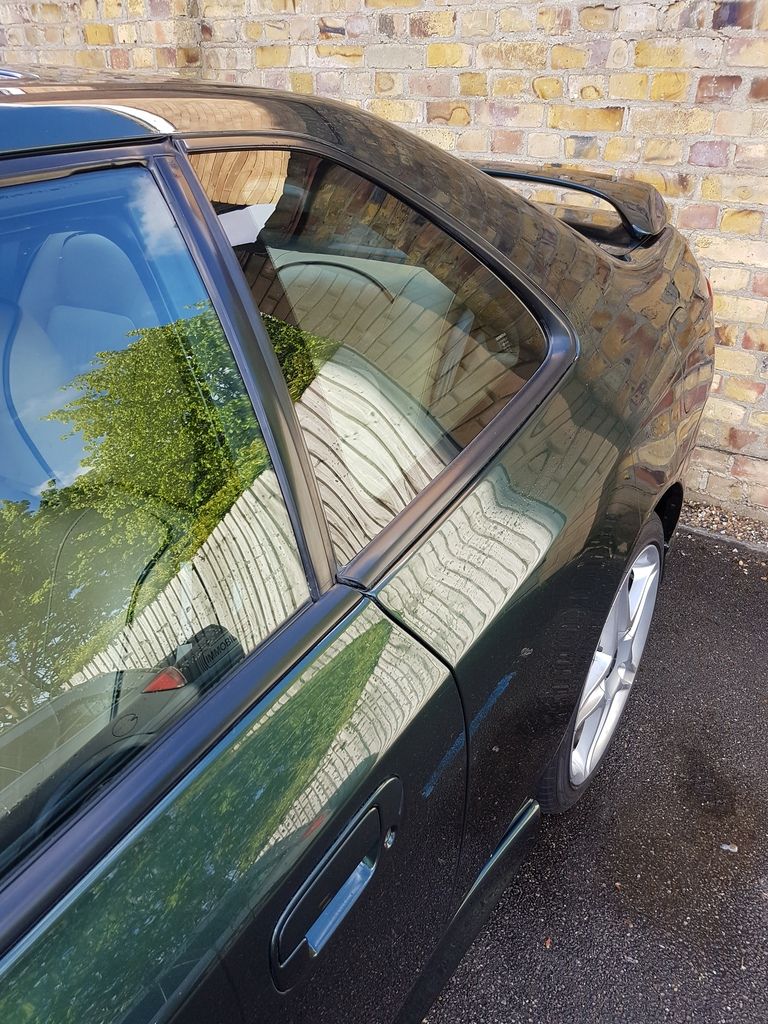
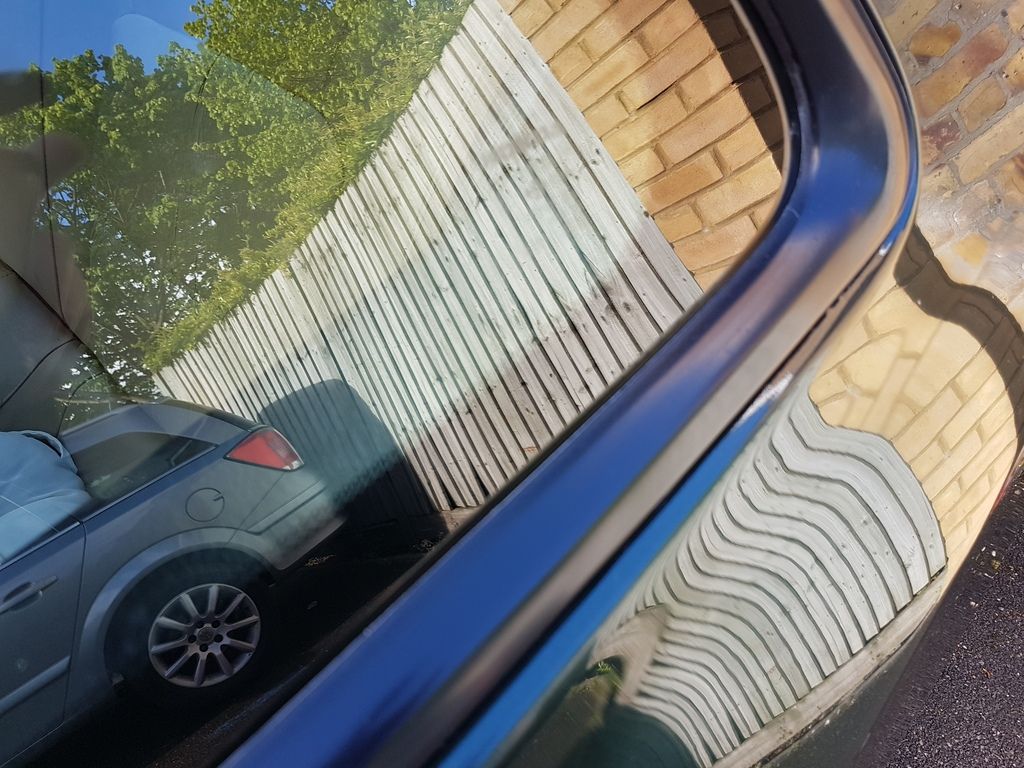
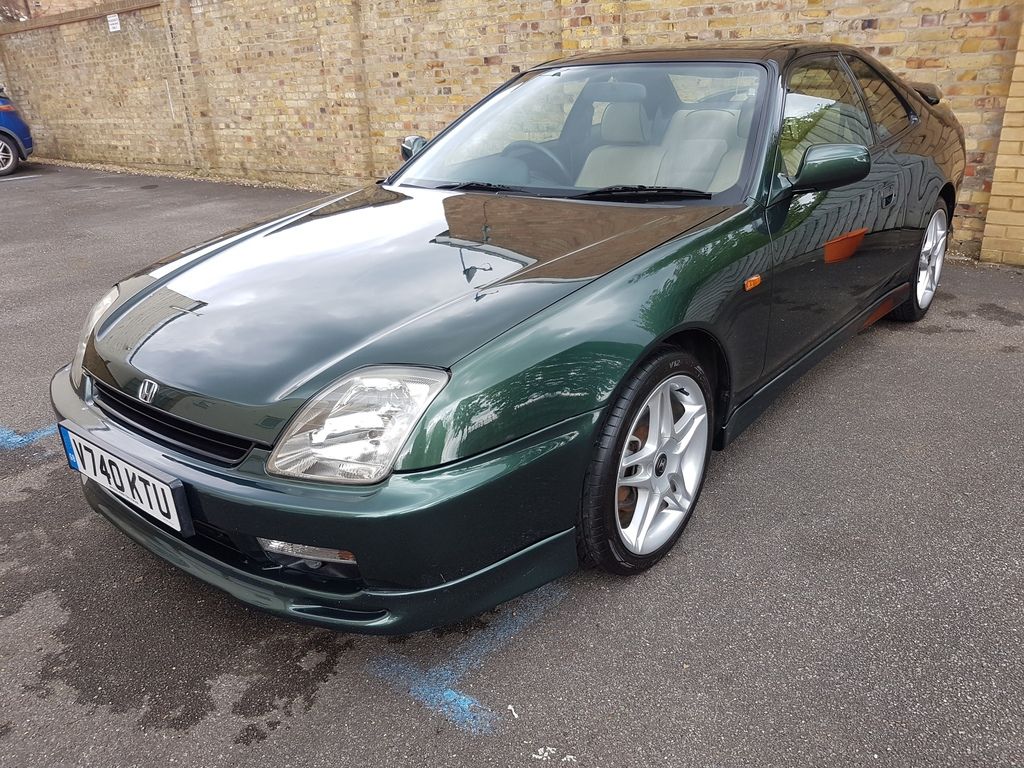
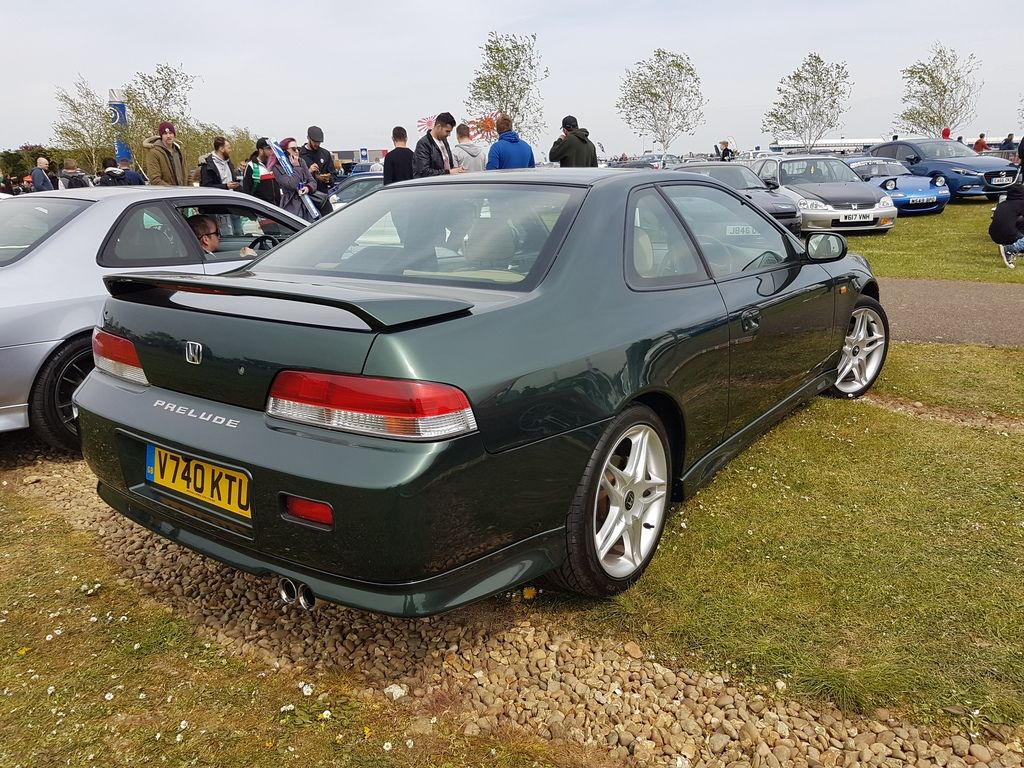
Post repair photos:
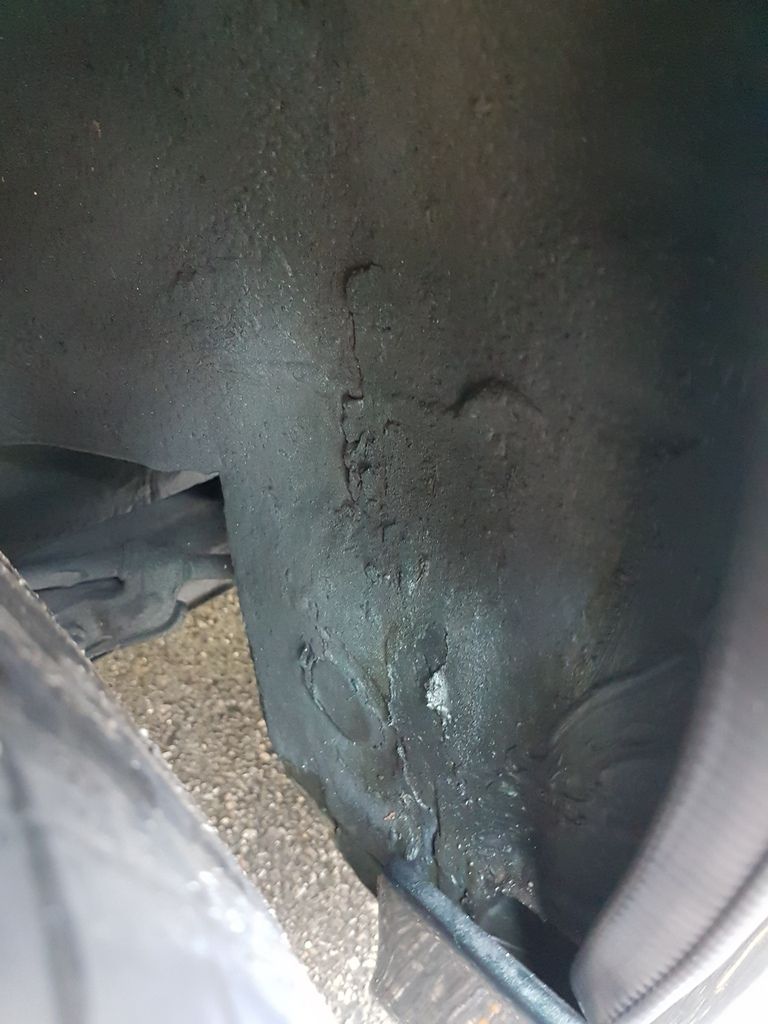
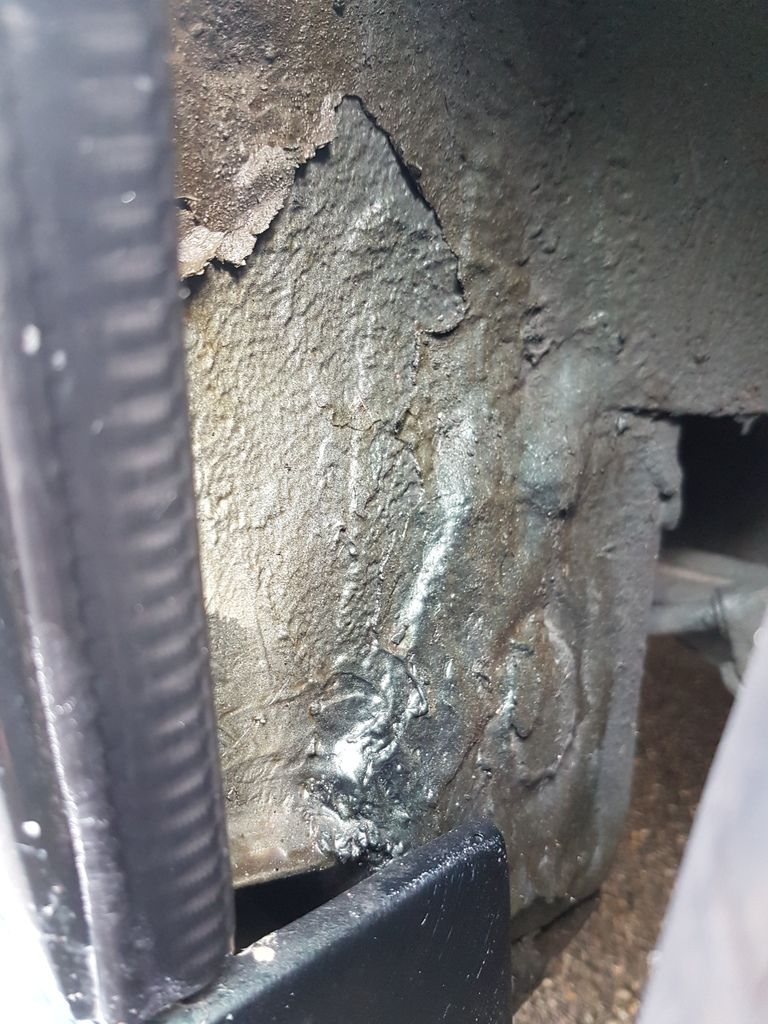
Seems to be thick layers of underseal applied, which I obviously approve of. I'm no expert, but I guess it's a good job, well it's surgery that can't be undone and hopefully it'll last. It does come with a 3 year warranty, so some piece of mind.
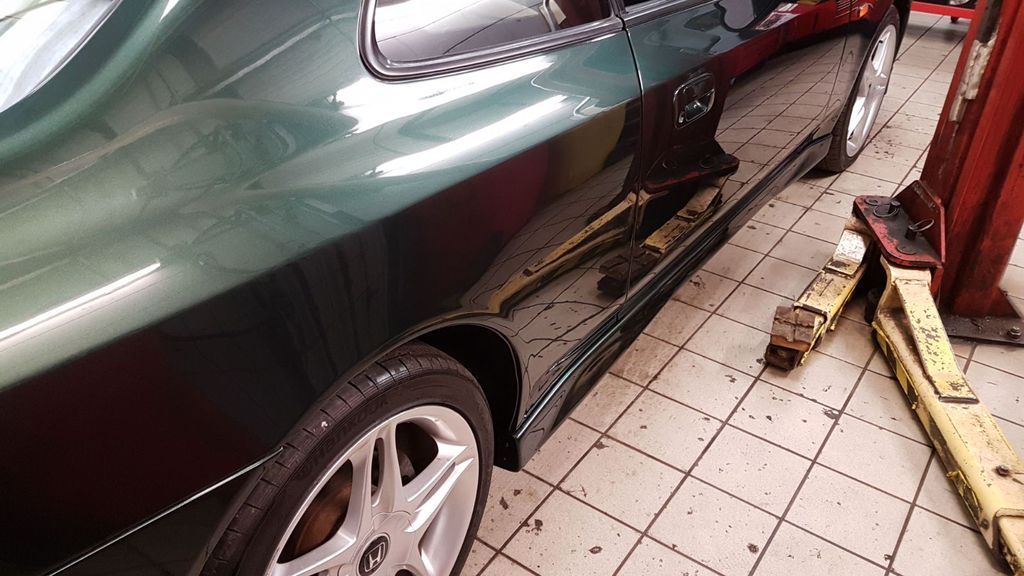
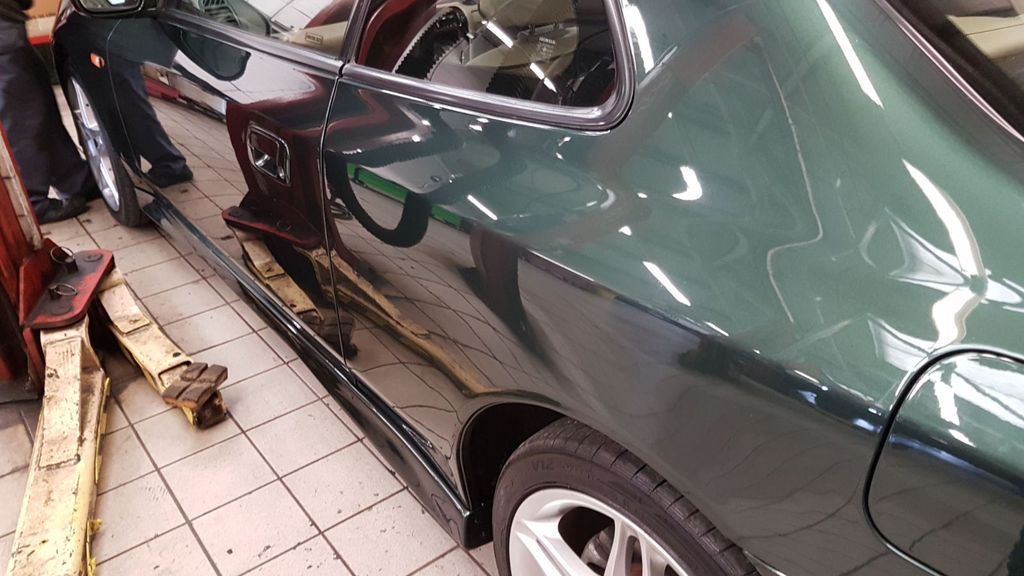
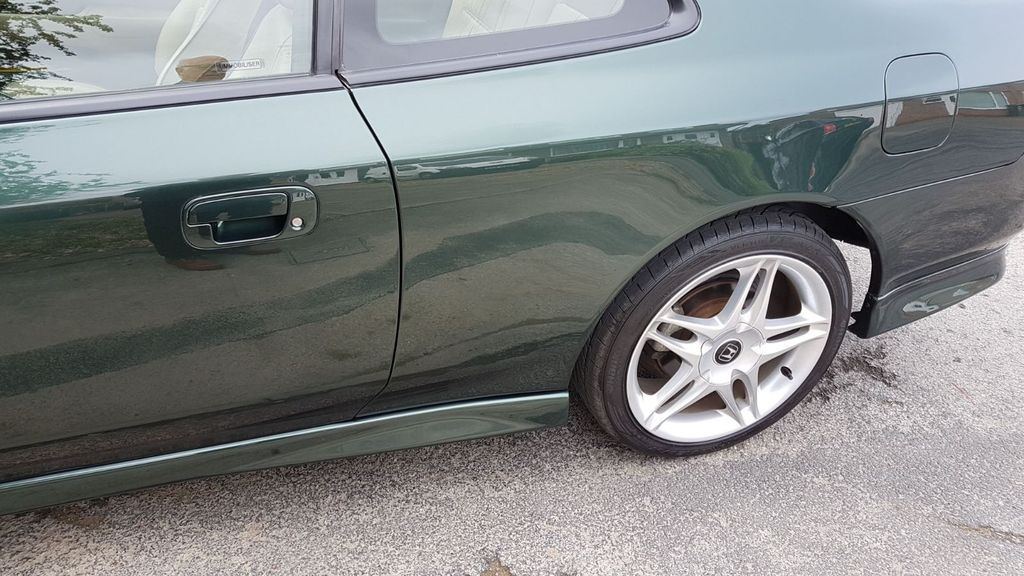
As far as I can tell it looks to be a very smart job.
Got the car back down south and had 2 days to get some detailing done, smarten the Lude up so to speak. If you have any suggestions or if I've used any poor techniques please let me know. I've usually spent a day cleaning a car at a slow pace, never really tried to give the car a proper clean with so many paintwork prep products. To be honest I could have spent a third day, (I'm a slow worker with a dodgy neck so this wax on wax off karate kid jobby is a pain in the neck!).
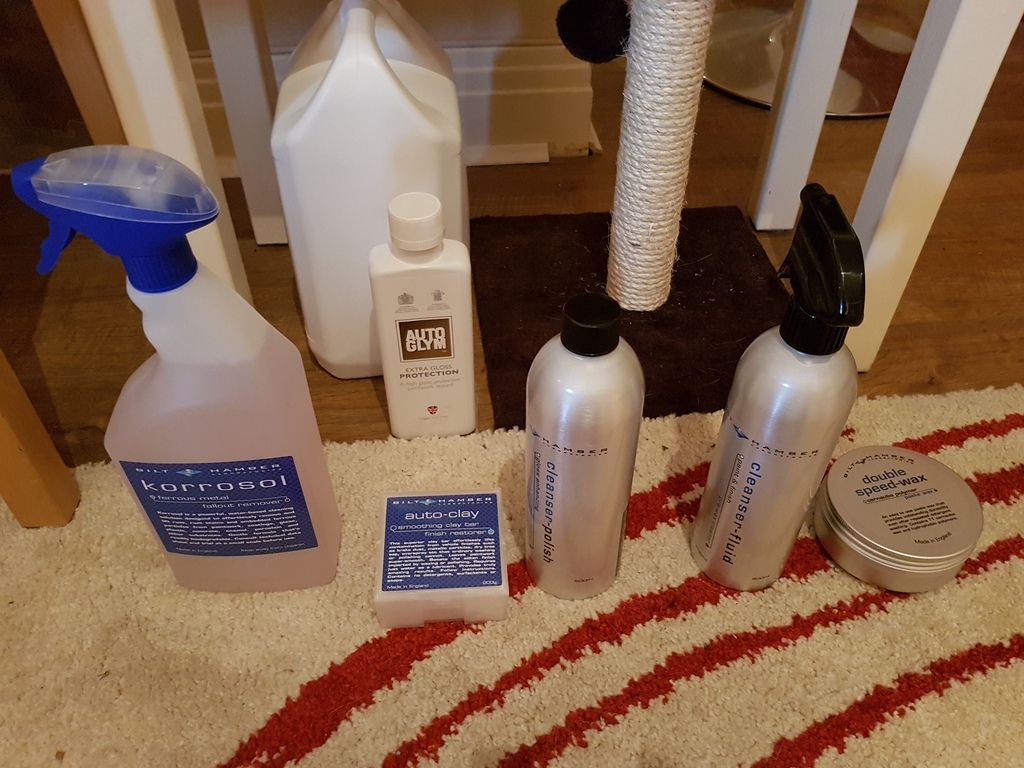
Pre clean:
P.S. not meant to be an advert for Bilt Hamber products, just the stuff I decided to go with having been a Meguiars convert for many years. Appreciated @RattyMcClelland vouching for their quality.
http://www.bilthamber.com/detailing-kit ... ailing-kit
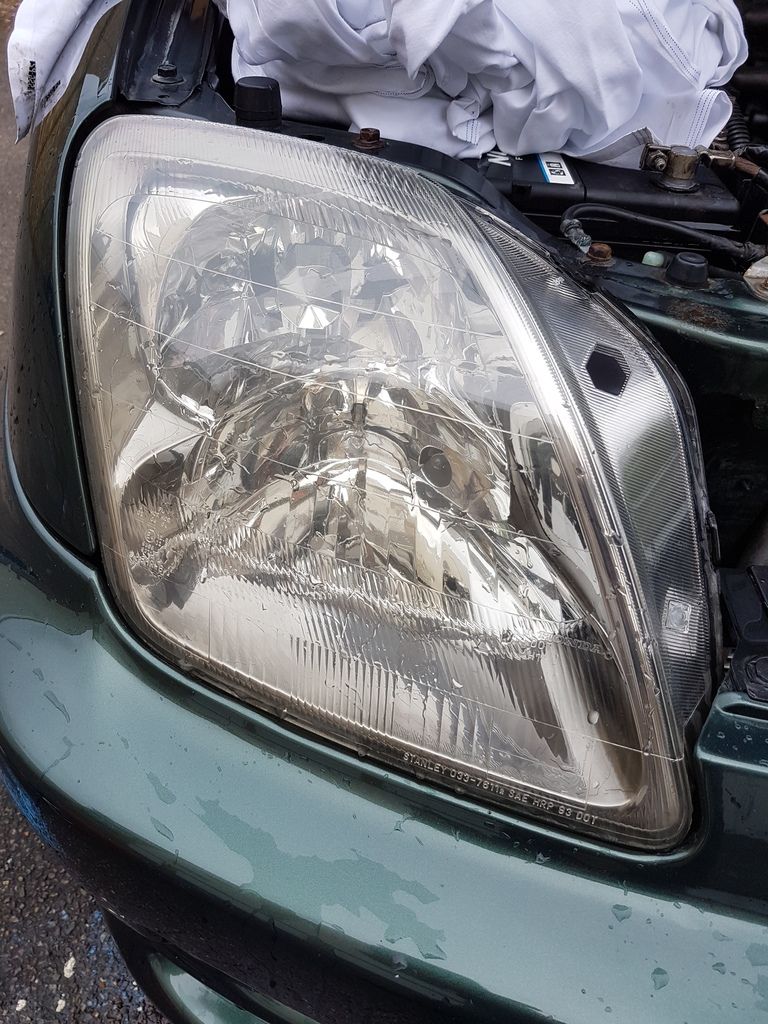
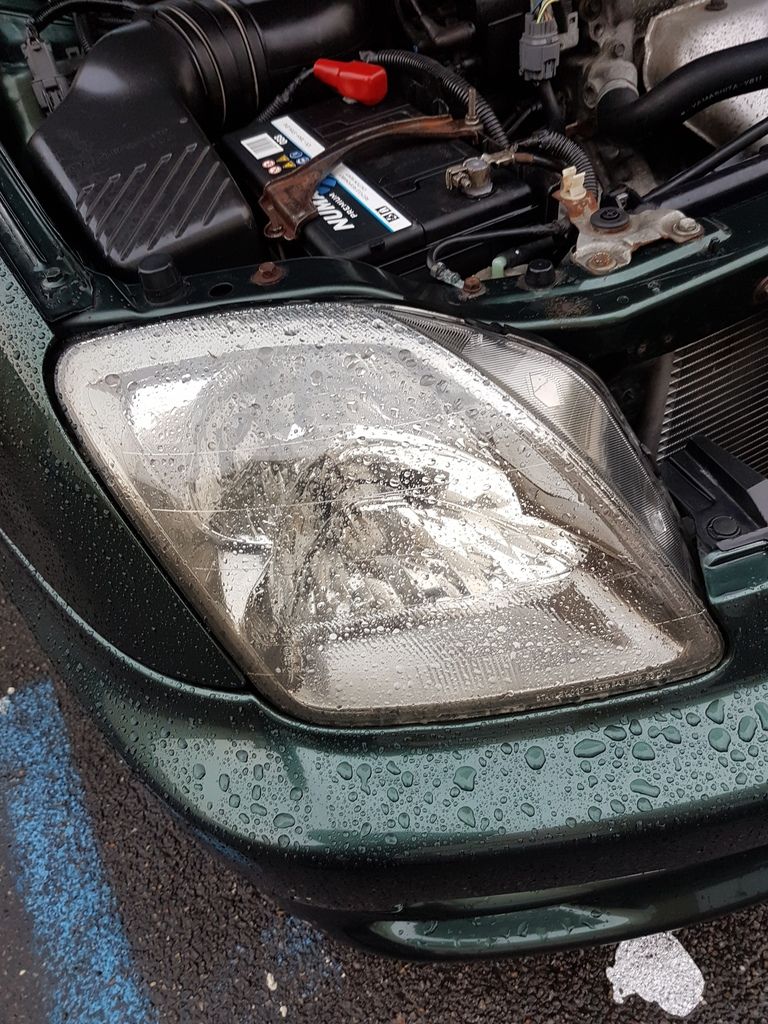
Headlights:
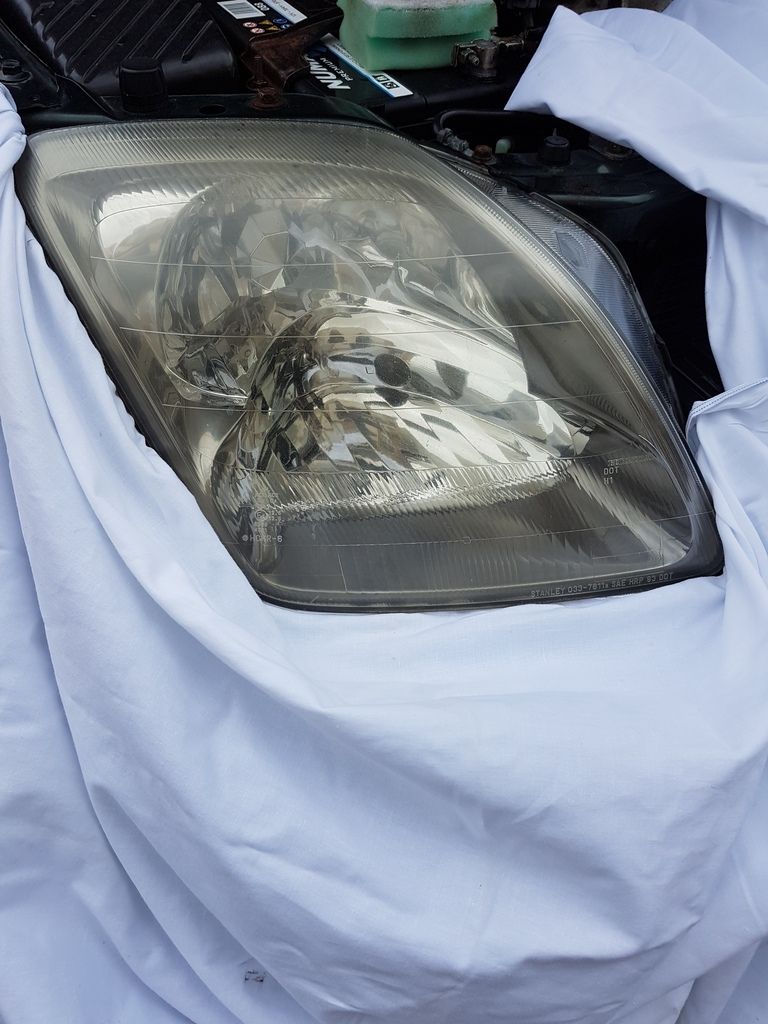
Could not get that sodding sheet to stay in place. Anyway, the usual yellowing.
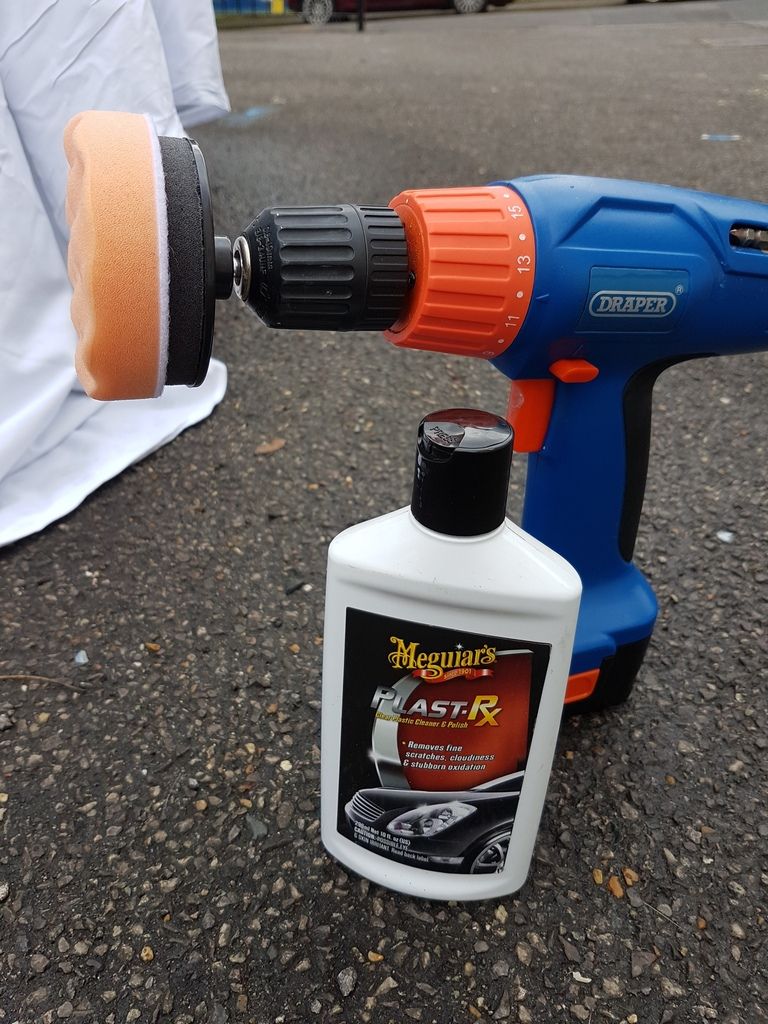
I'd bought the 3M headlight restoration kit, however I felt it was overkill to use all the varying sandpapers, and frankly I don't trust myself to not F it up.
I took the buffer attachement only, liberally applied polish to the headlamp and a reasonable amount on the buffer.
With the drill off I rub the buffer around the lens to ensure equal coverage of polish on the buffer and headlamp lens.
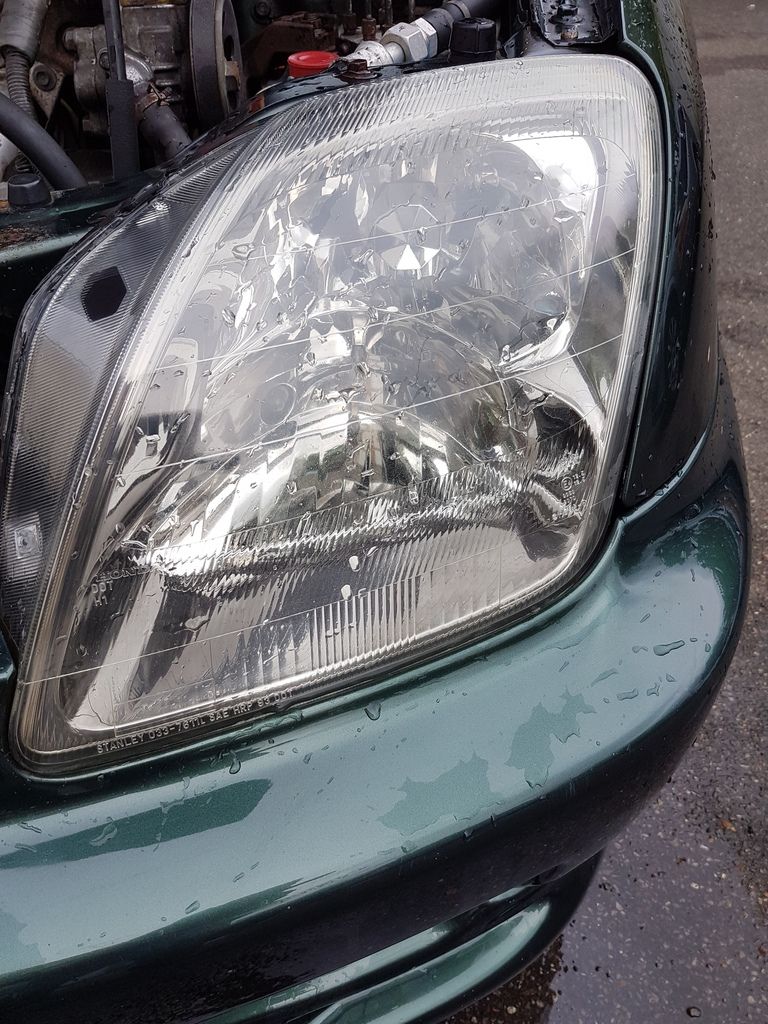
With the drill on I just made tiny slow circles and worked my way methodically around the lens, hovering around particularly yellowed areas and applying fresh polish so it didn't dry. Rinse and repeat if necessary.
Previously I've found patient use of a regular foam backed kitchen scouring pad with the polish has been effective, the drill just felt like a deeper clean.

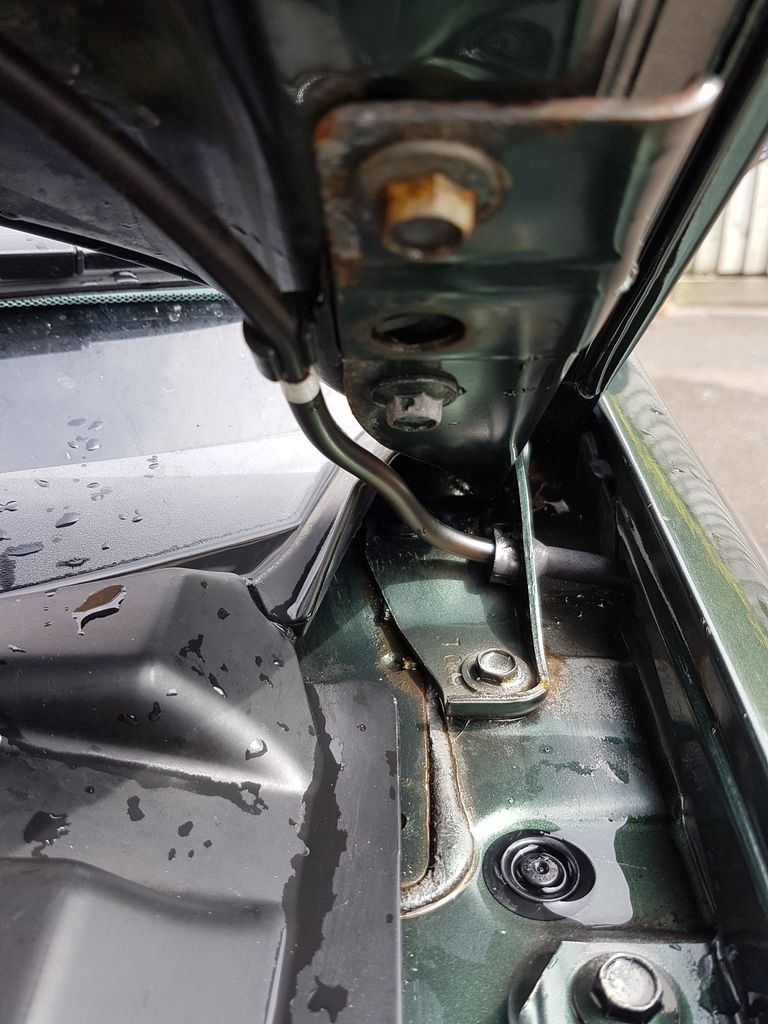
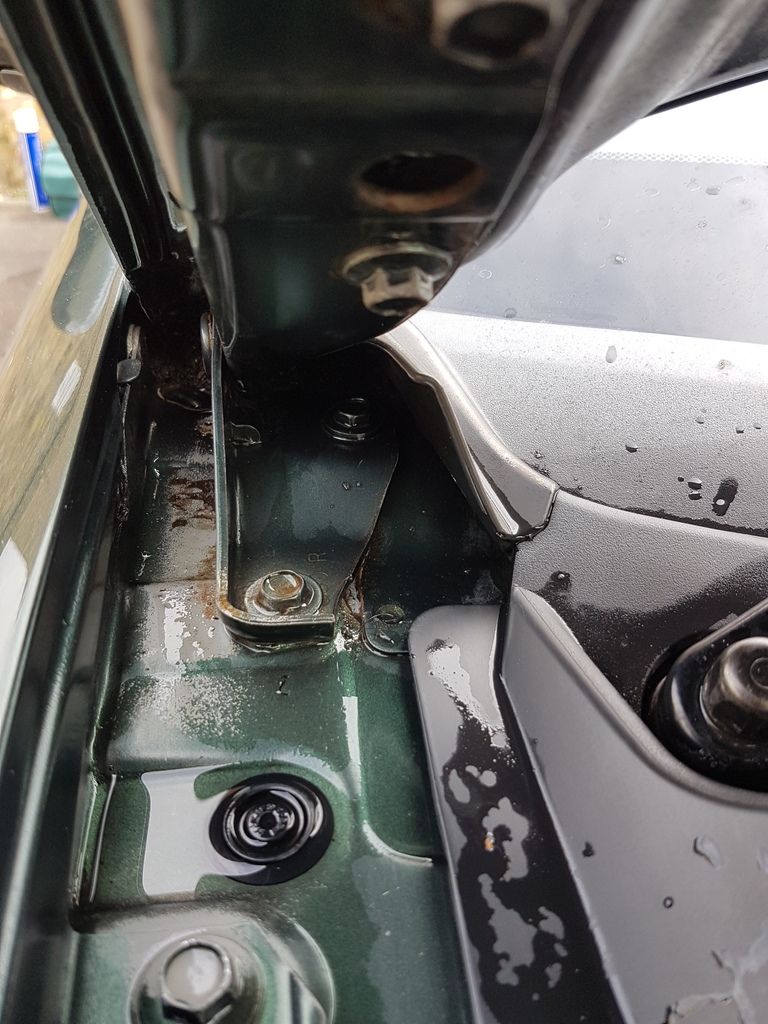
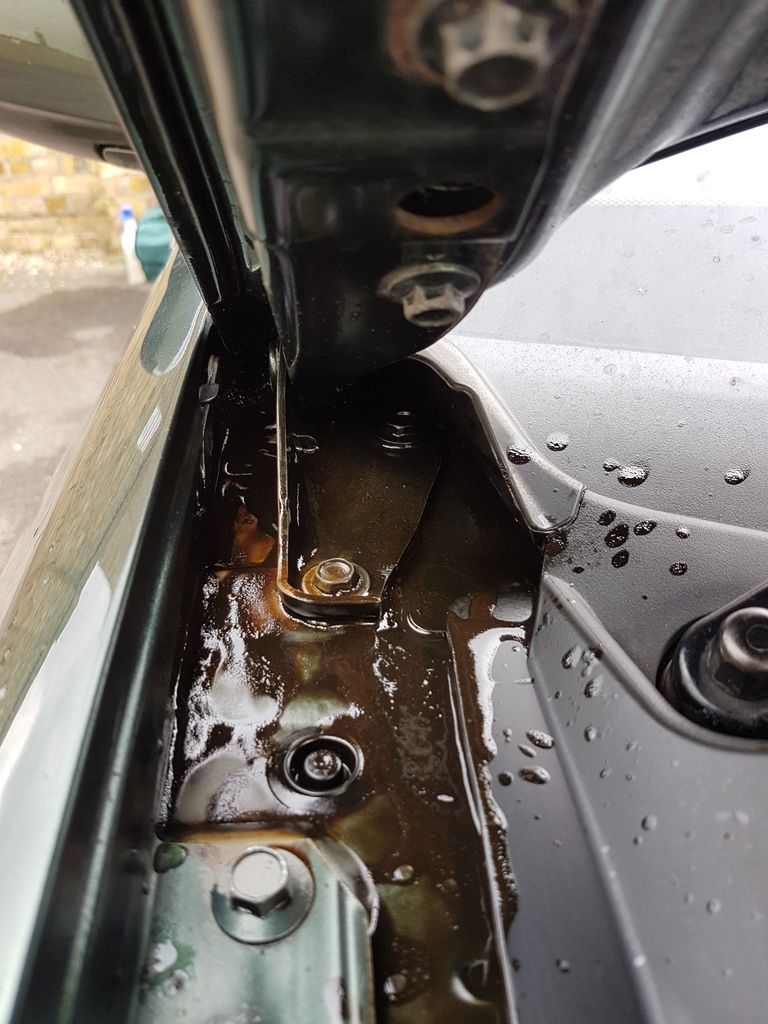
Bonnet Hinges:
I'm sure I read on here that these could be an unseen joint prone to rot?
I knew that crud used to build up in that region.
http://www.bilthamber.com/car-cleaning- ... /surfex-hd
I used this with a spray attachment and a collection of cheap brushes from Amazon.
Used neat it needs a thorough rinsing to wash away residue.
Not sure if the approach I'ved used here is a good quick solution, just seemed like a good idea at the time. I realise the correct approach would be to remove the bonnet, clean, prime and touch up all affected areas, but, this is intended as a quick fix so to speak.
Once the area around the hinges was dry I used this:
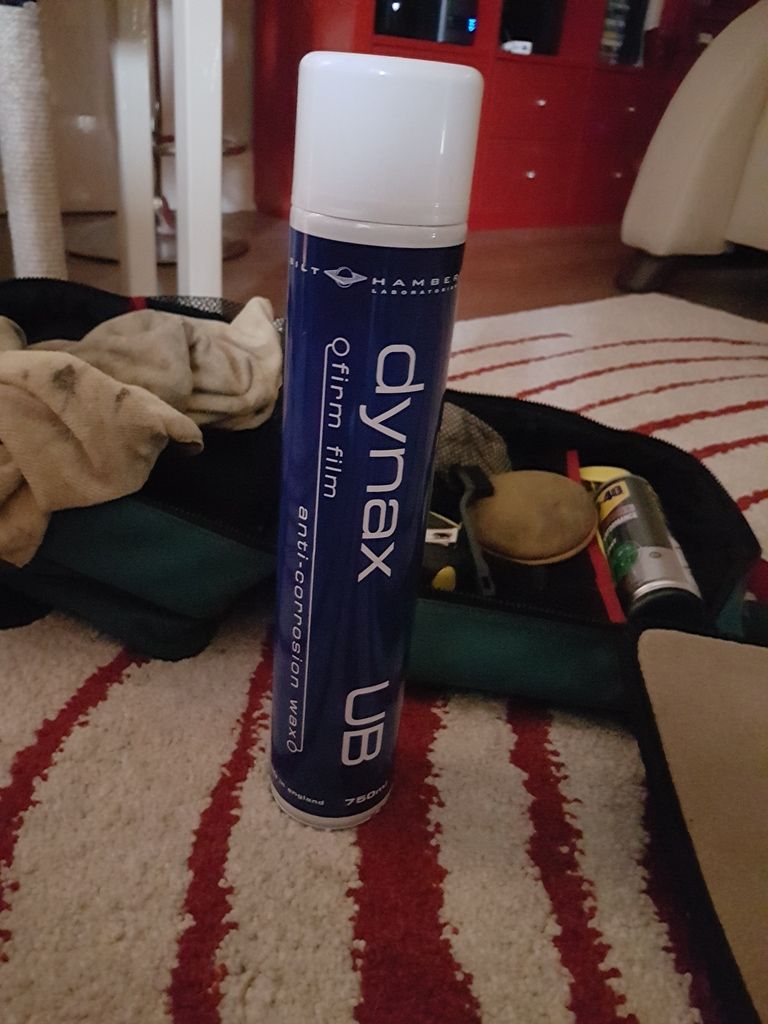
http://www.bilthamber.com/corrosion-pro ... s/dynax-ub
"dynax-UB is able to arrest existing corrosion and to provide long-term protection to pre-corroded and corrosion-free surfaces"
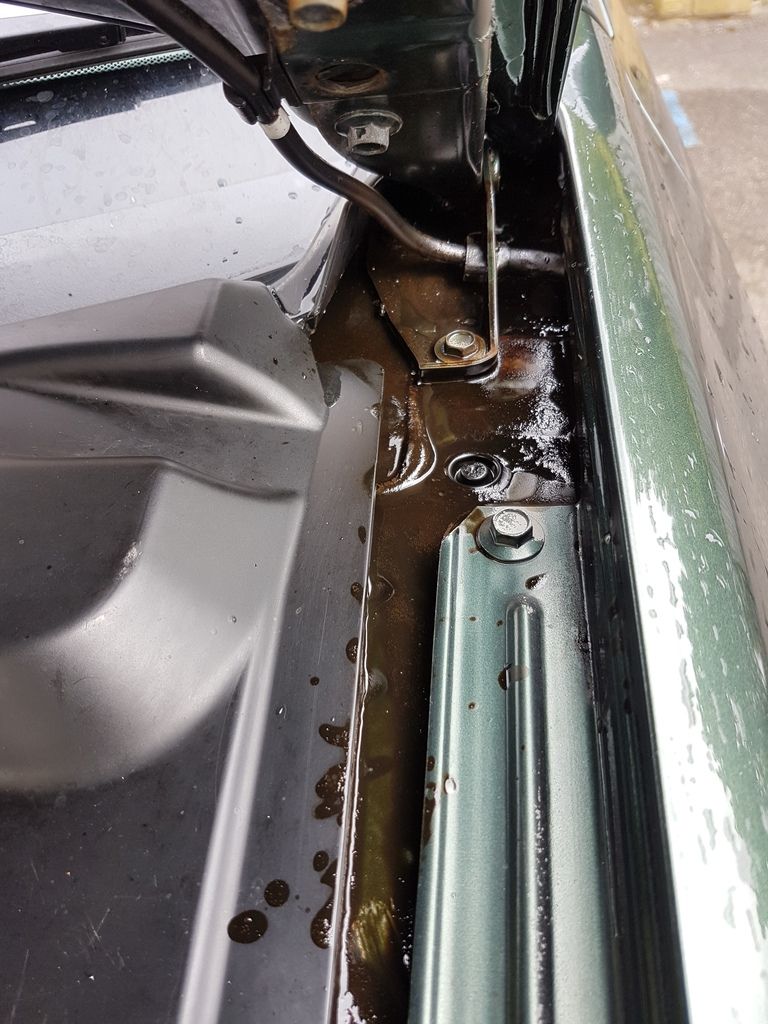
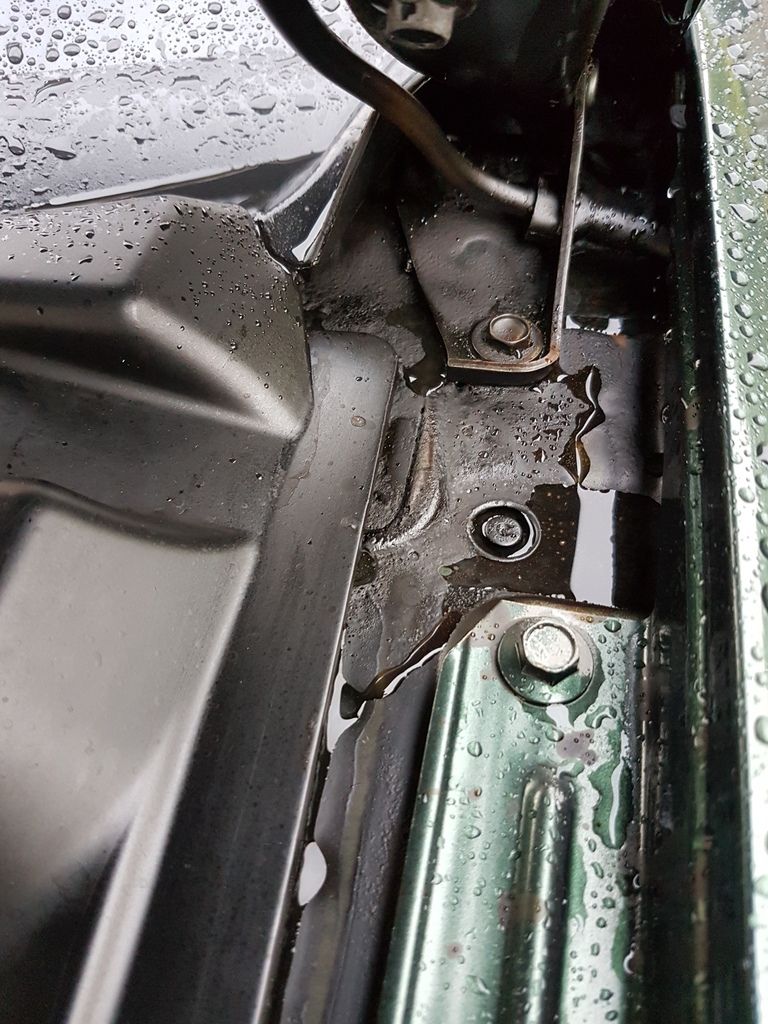
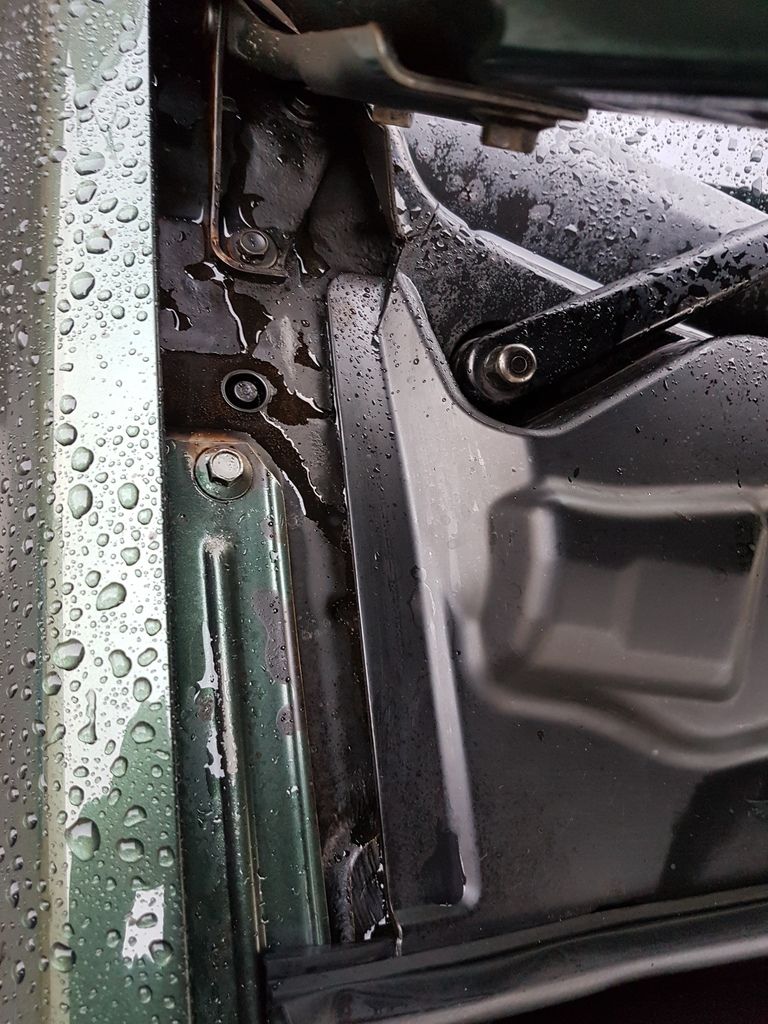
I applied a layer, waited for it to vaguely dry and applied a second layer, nozzle was nicely controlable, and it forms a stiff, slightly tacky layer once dried.
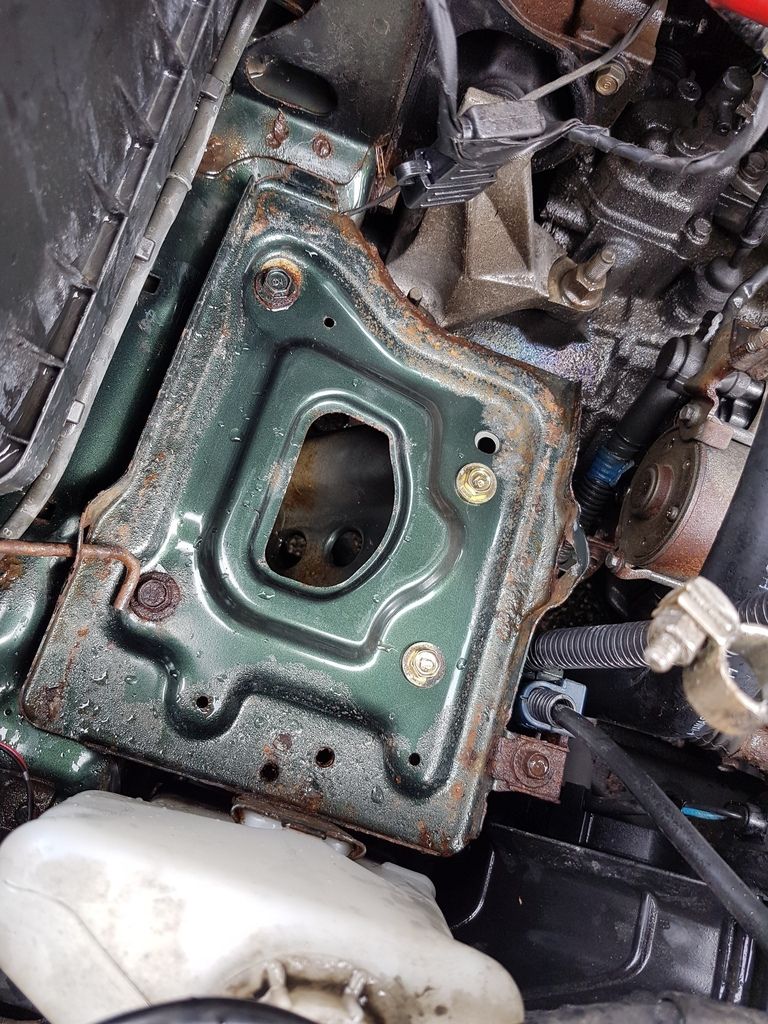
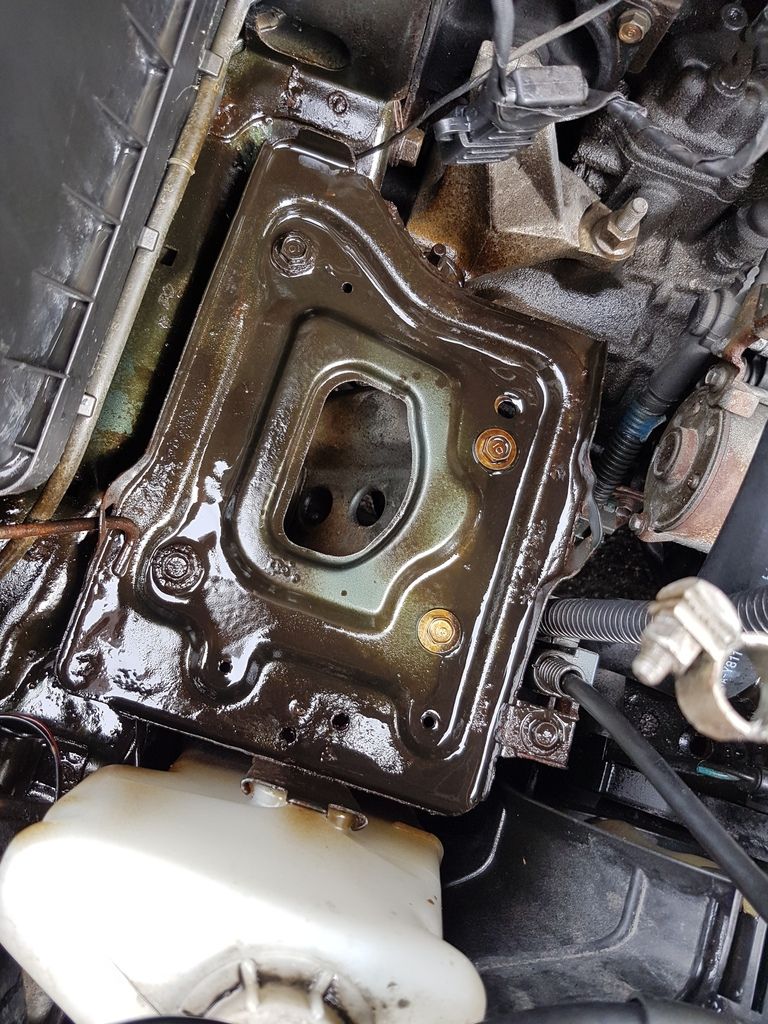
I applied the same logic to the metal base the battery holder rests on:

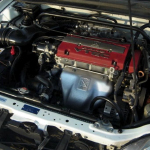
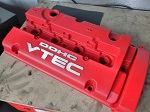
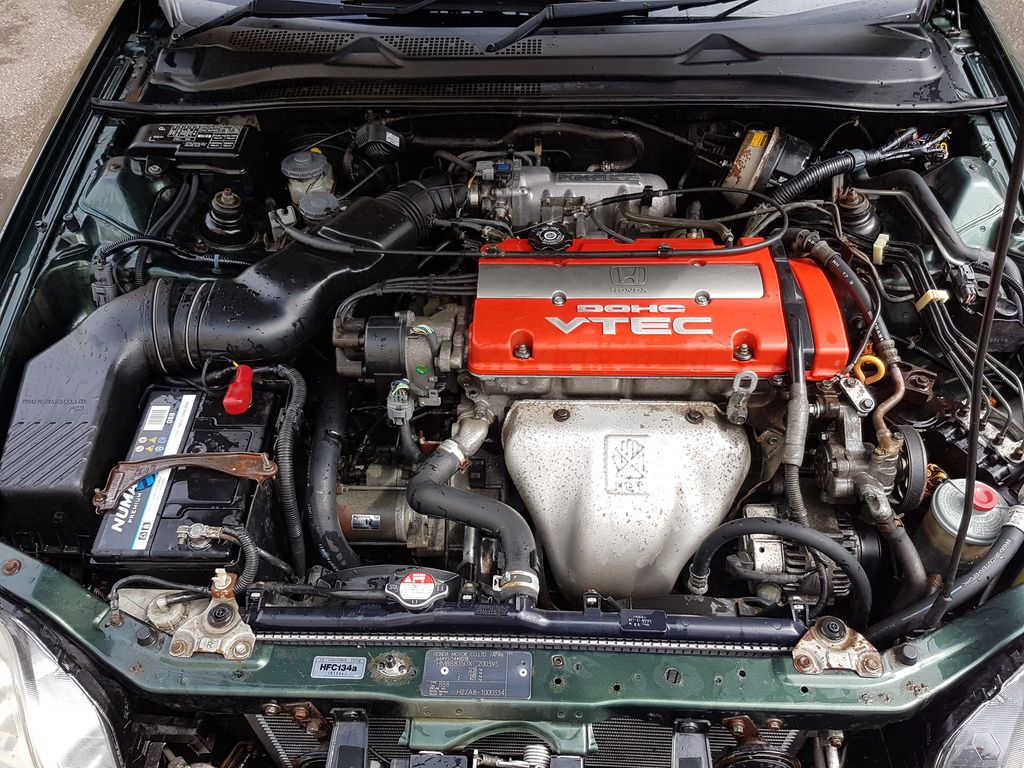
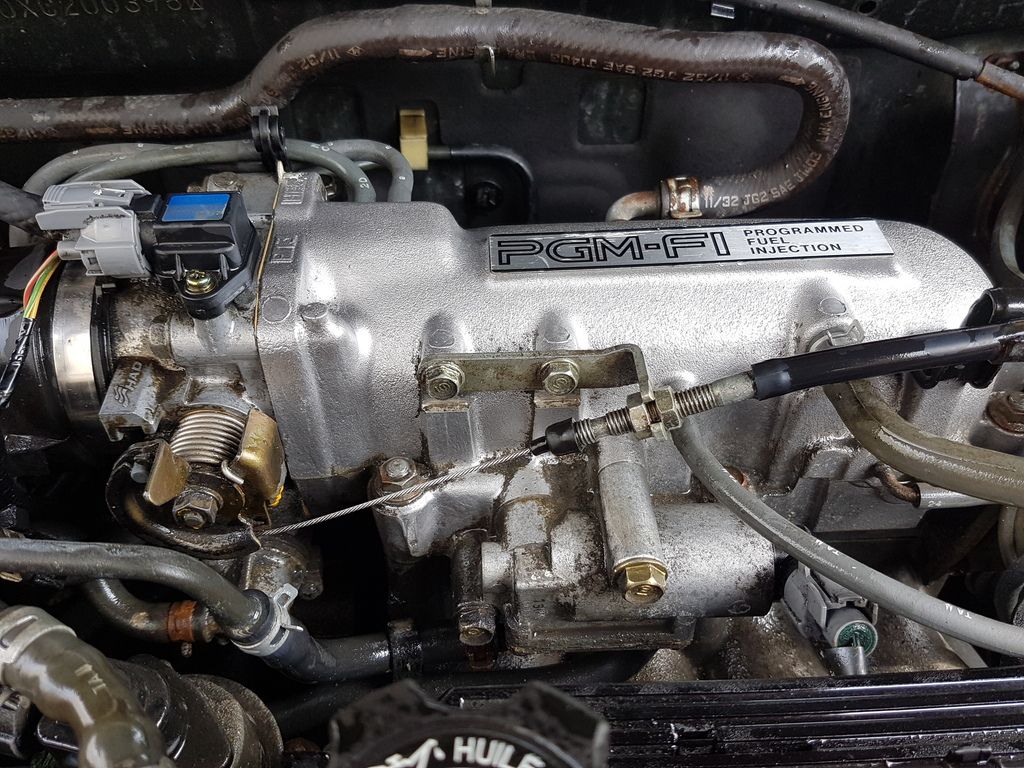
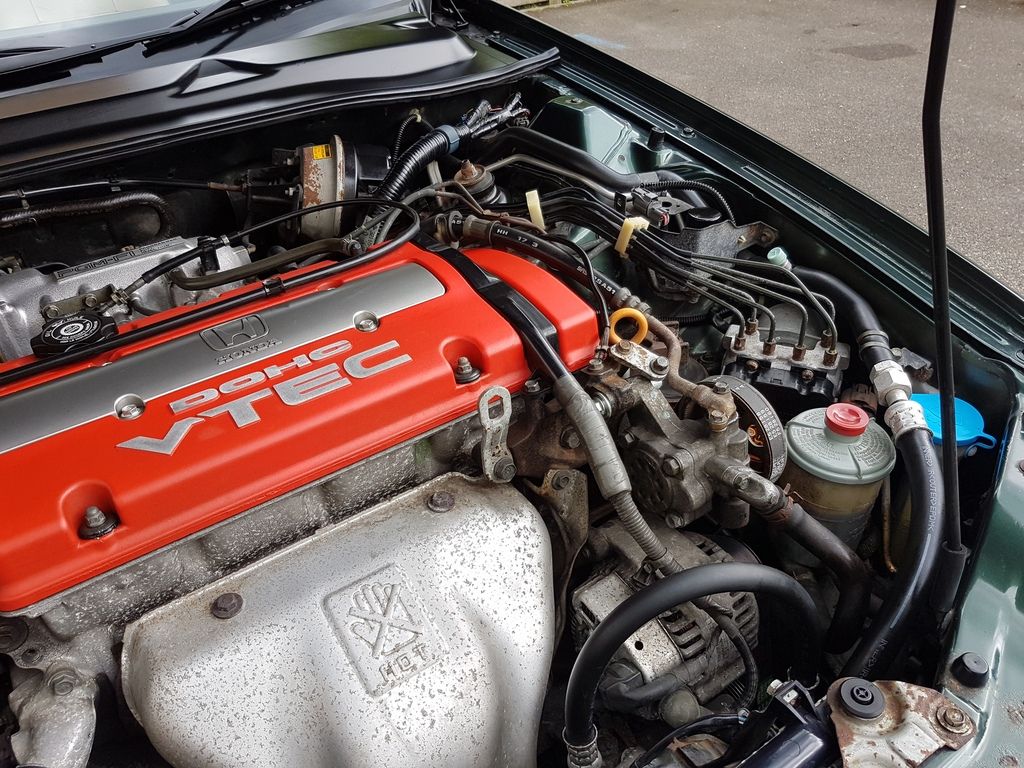
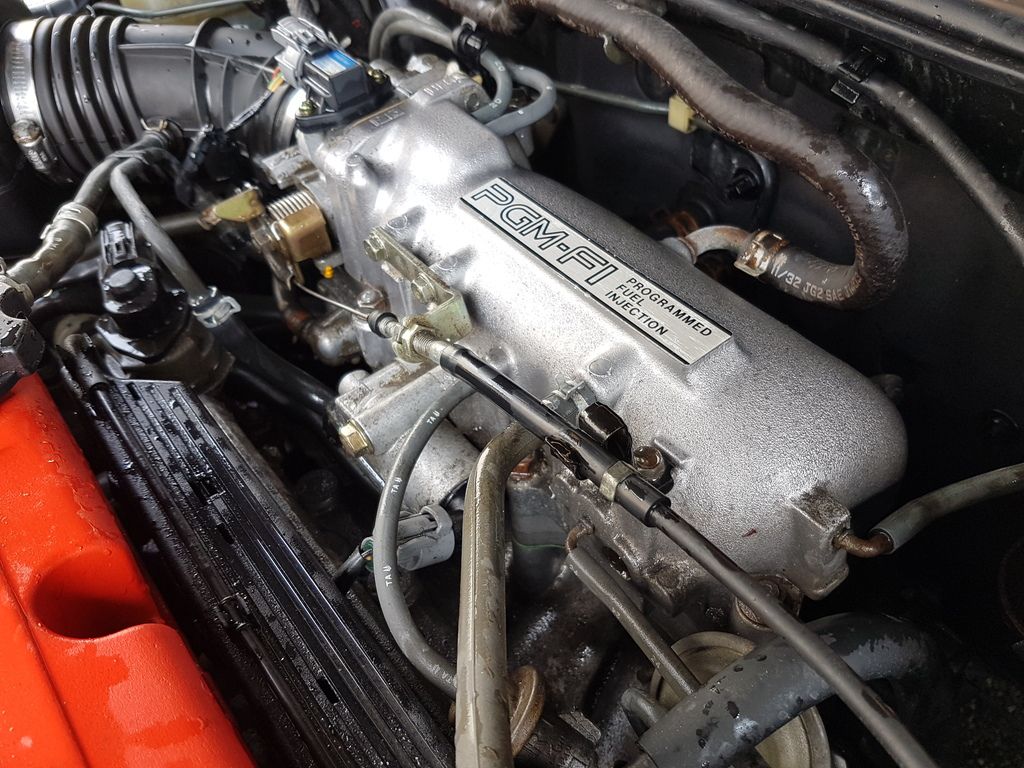
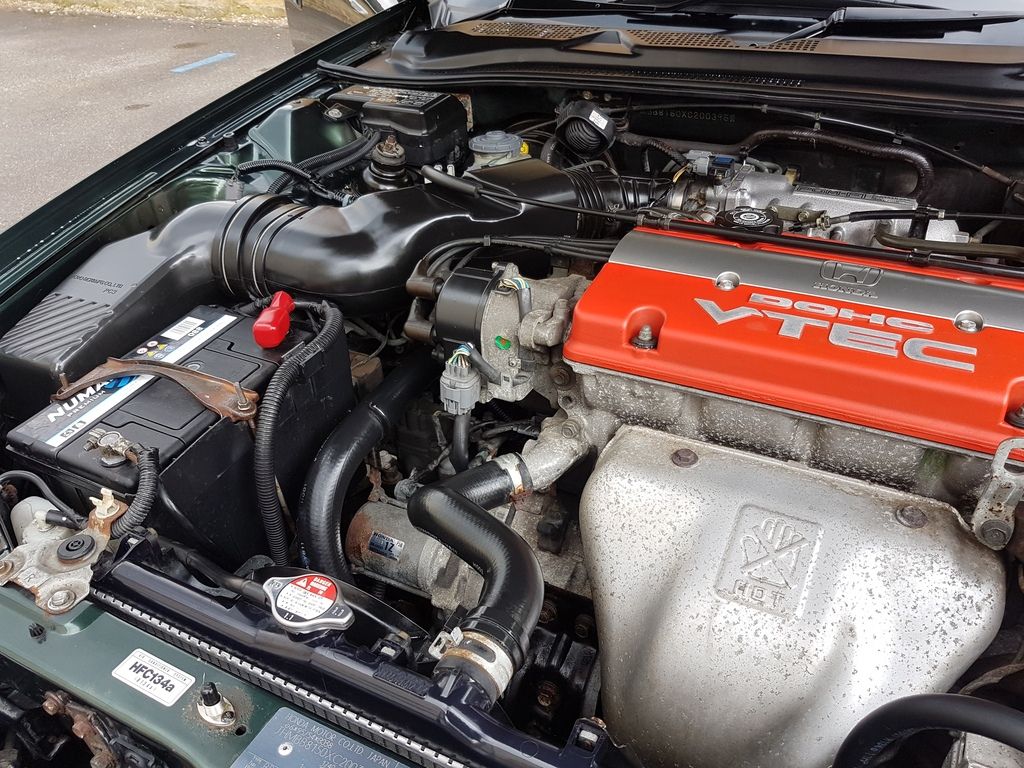
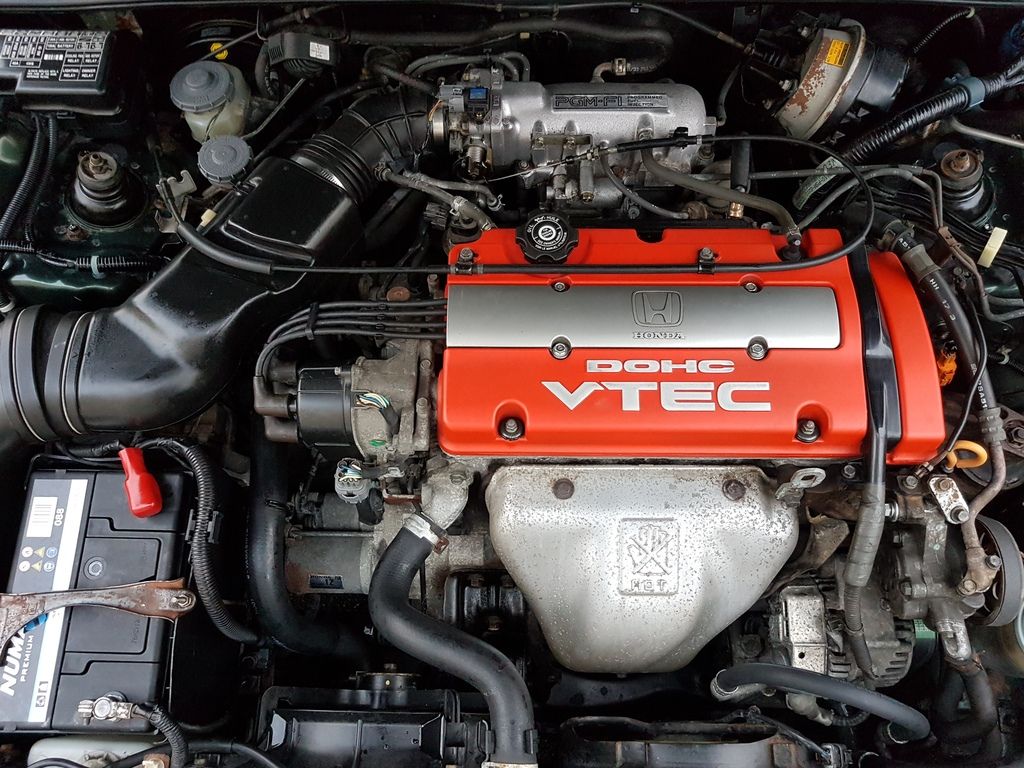
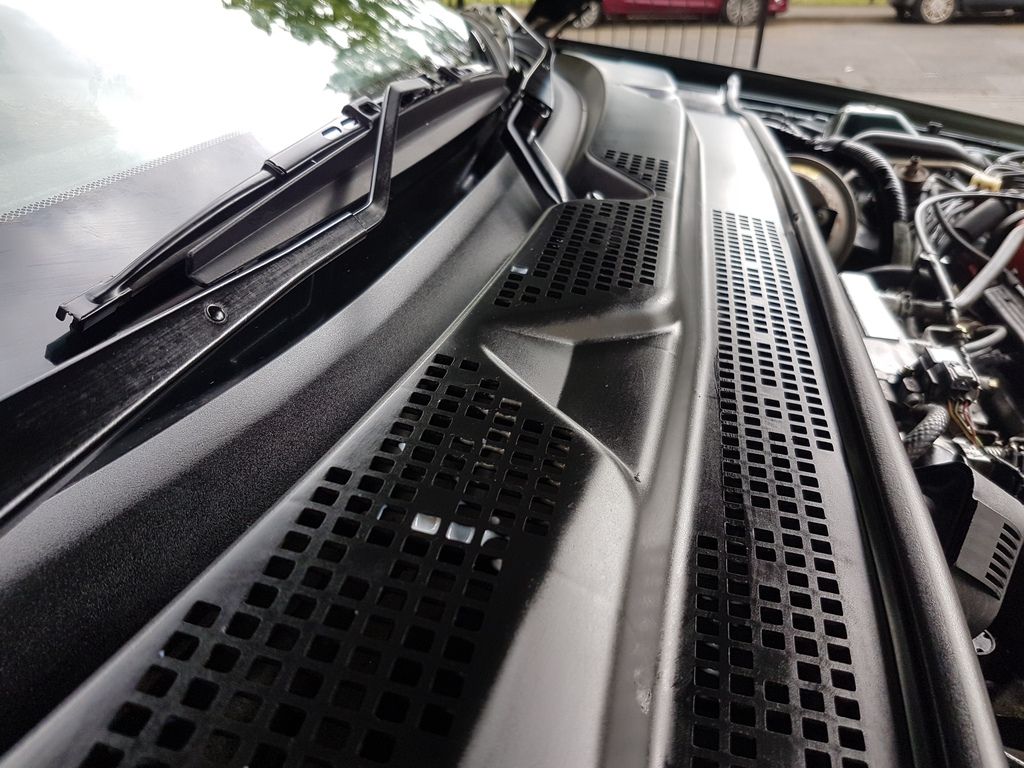
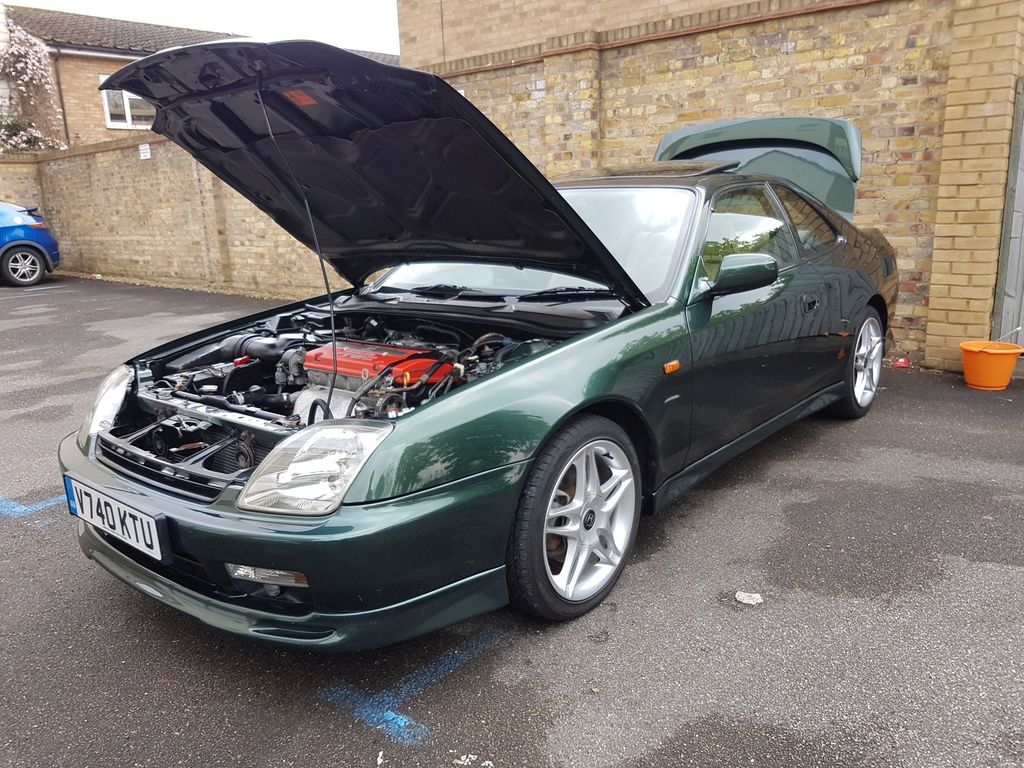
Engine Bay:
With various brushes and the Surfex HD I tried to de gunk various parts of the engine.
[youtube]GM2UNYZjp3U[/youtube]
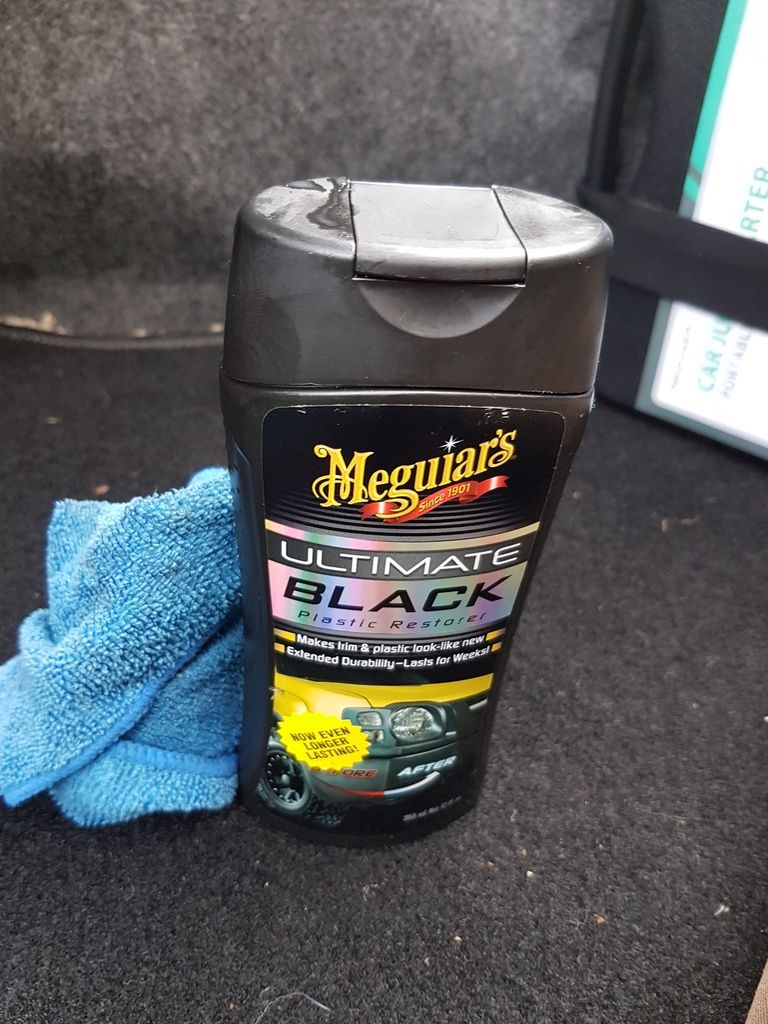
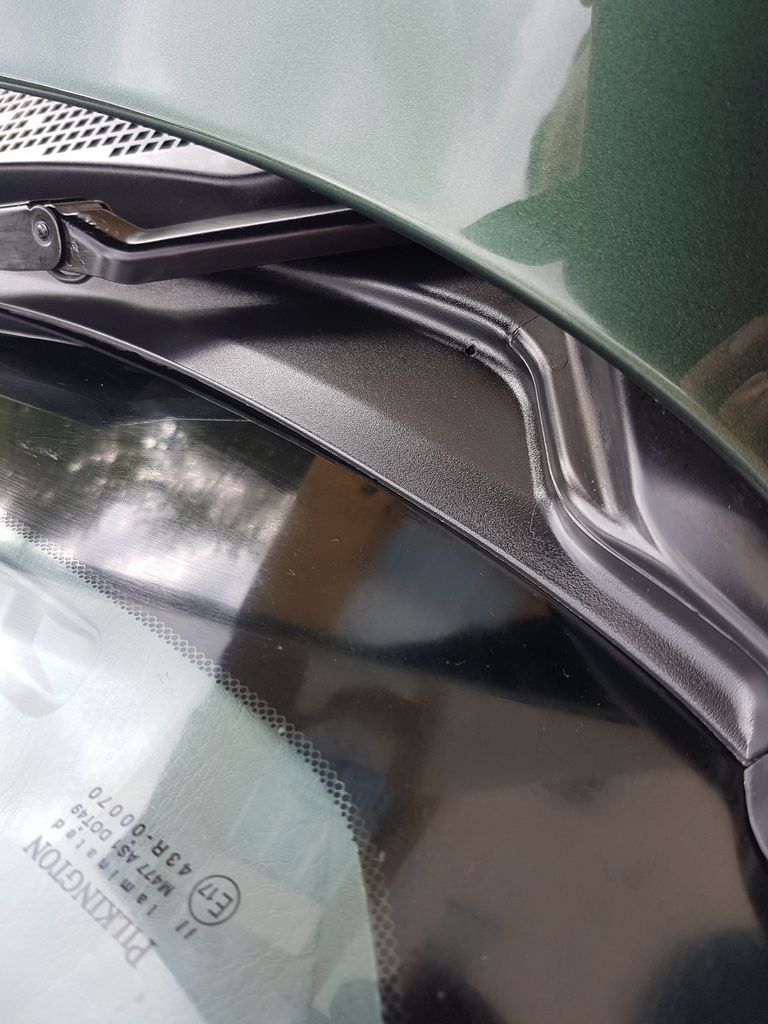
For the cowl I used a Meguiars back to black product. Seemed to do a decent job with little effort.
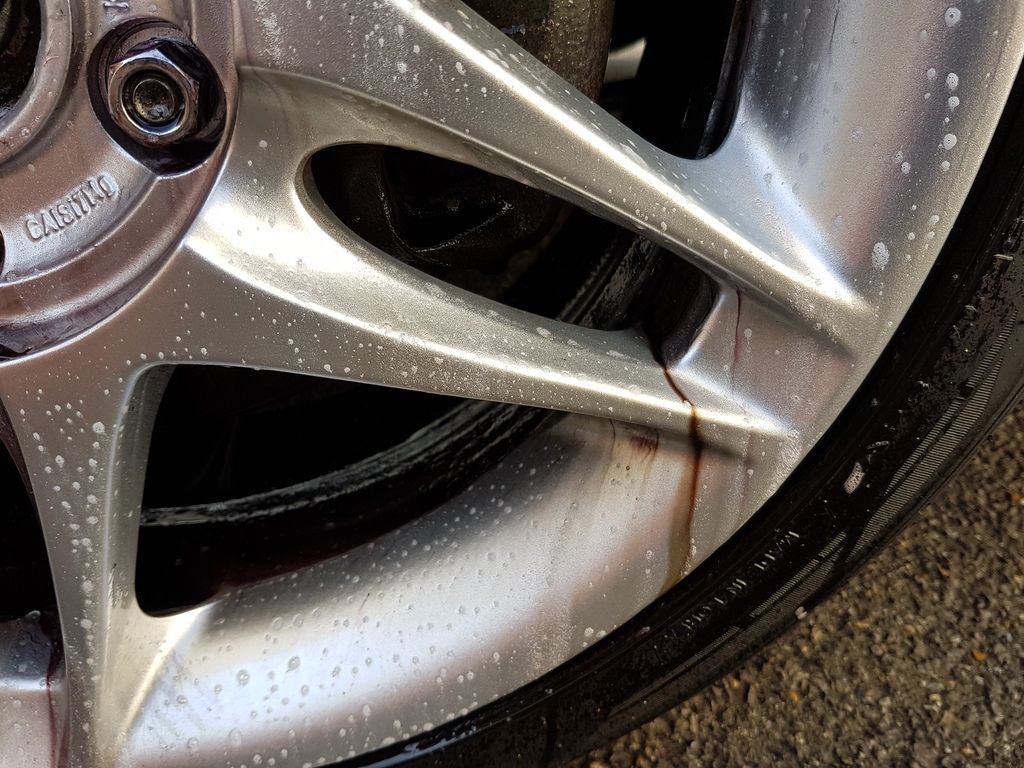
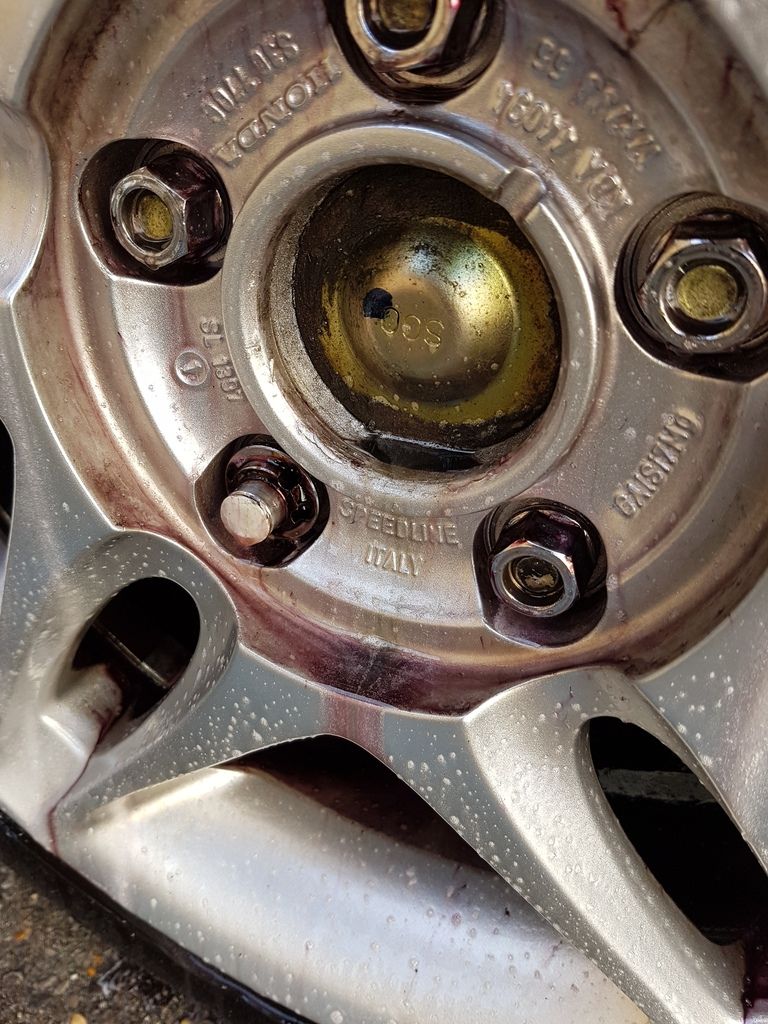
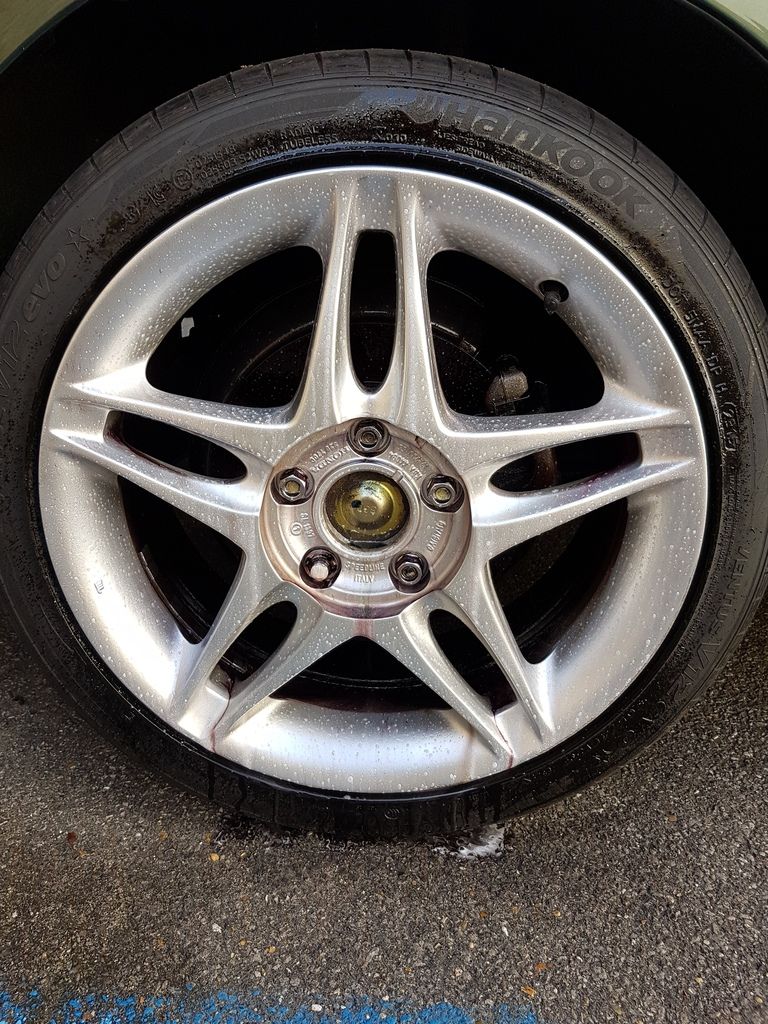
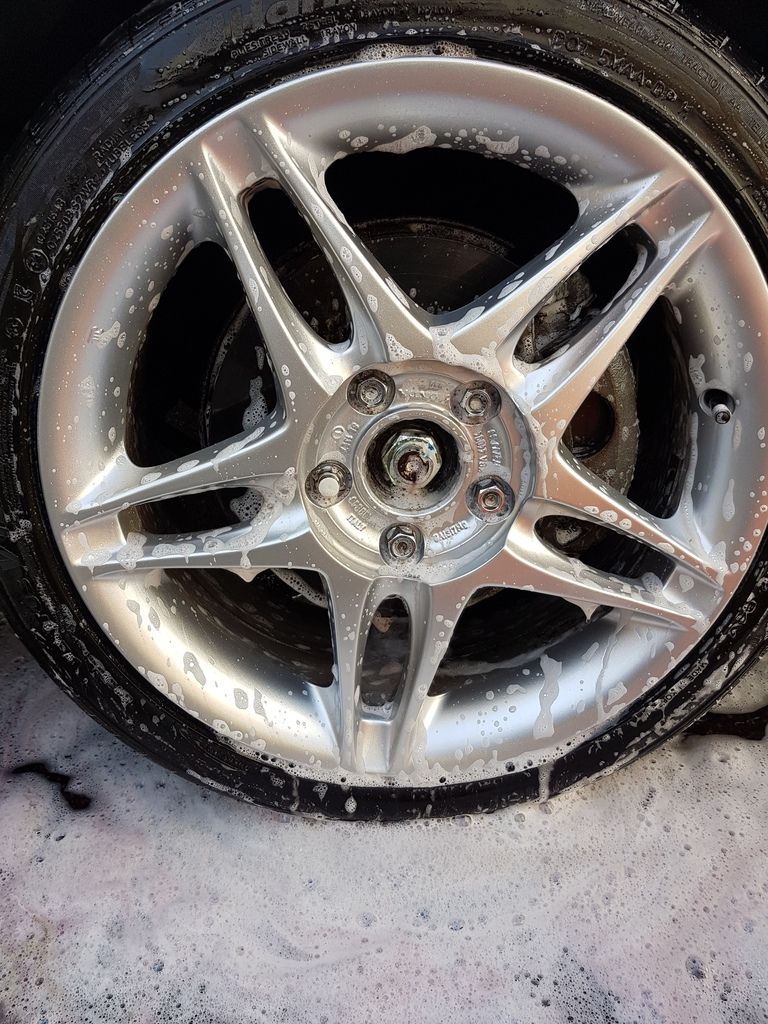
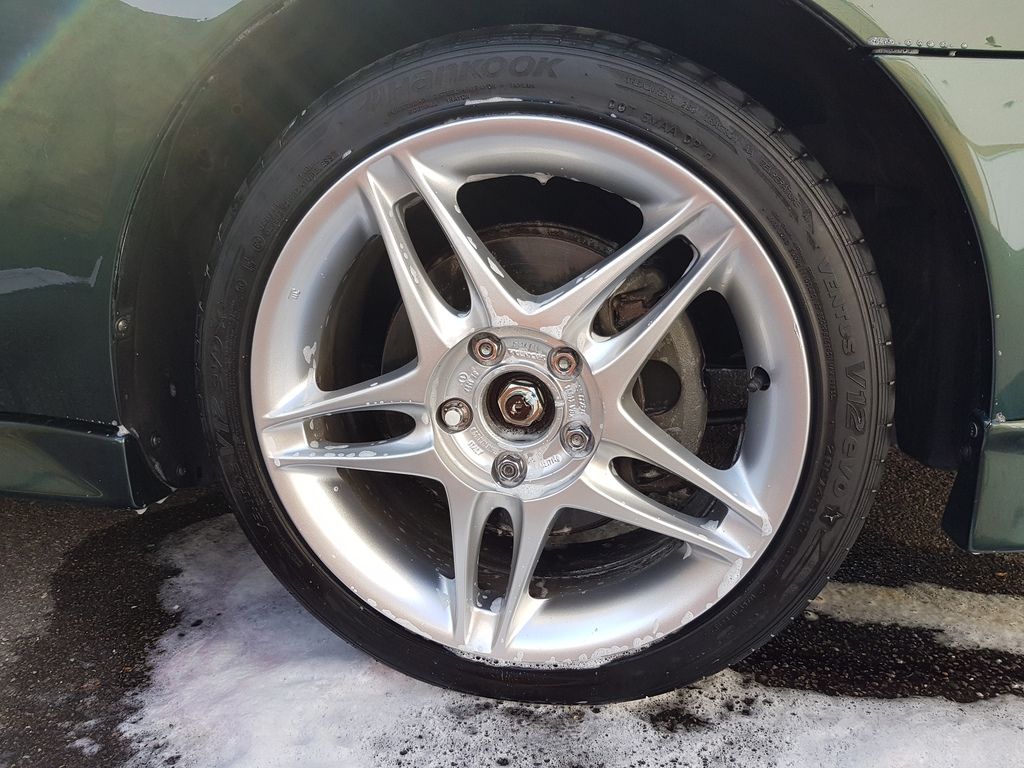
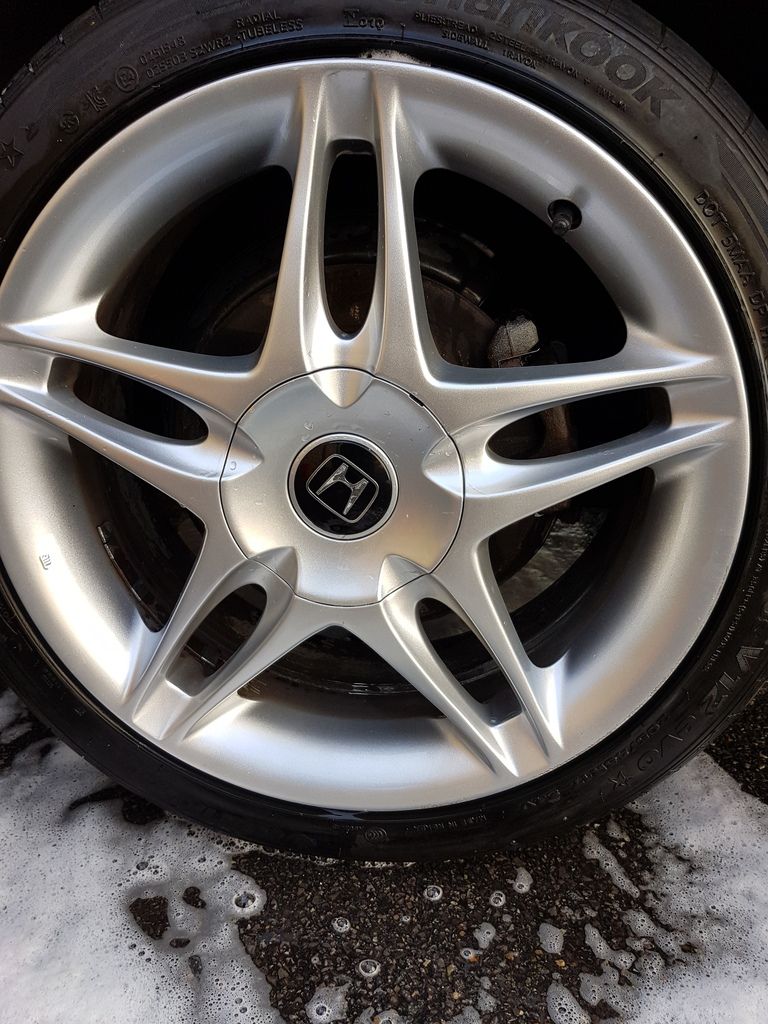
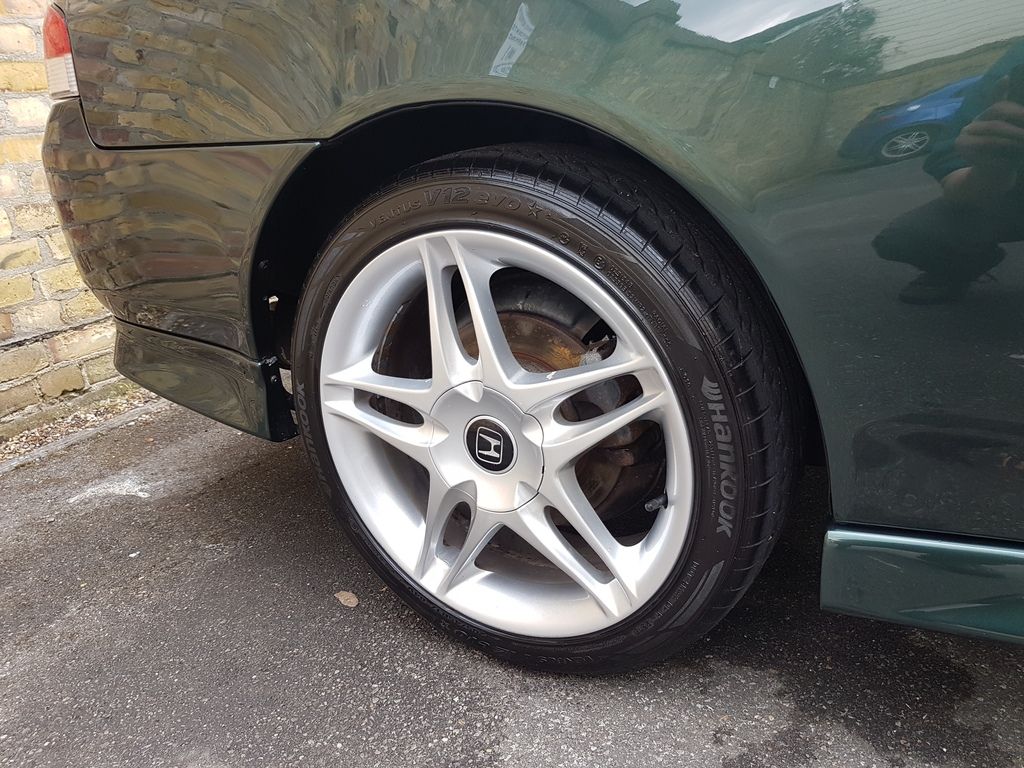
Alloy Wheels:
http://www.bilthamber.com/car-cleaning- ... auto-wheel
Just spray and let it do it's thing.
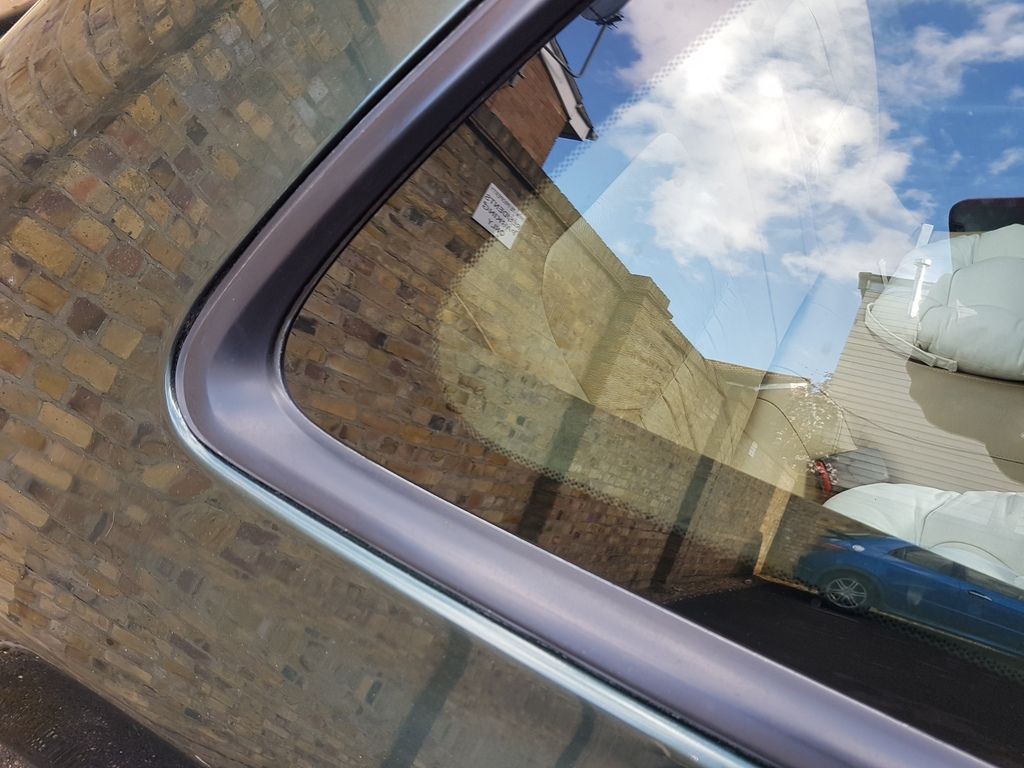
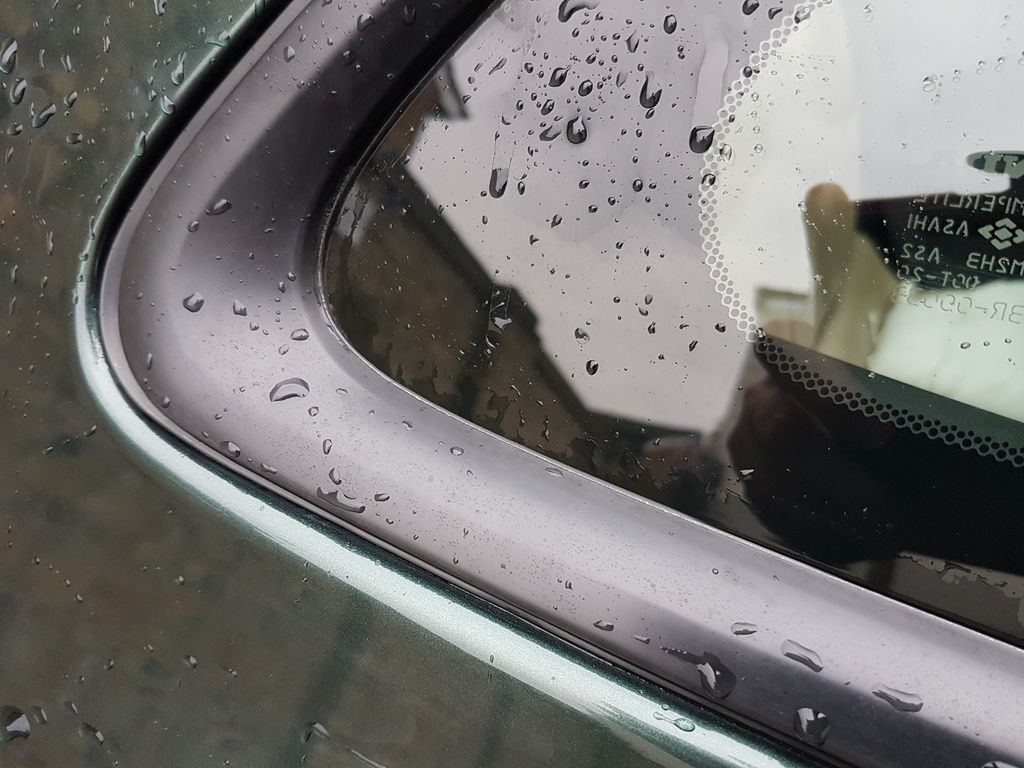
Rear Quarter Window Surround:
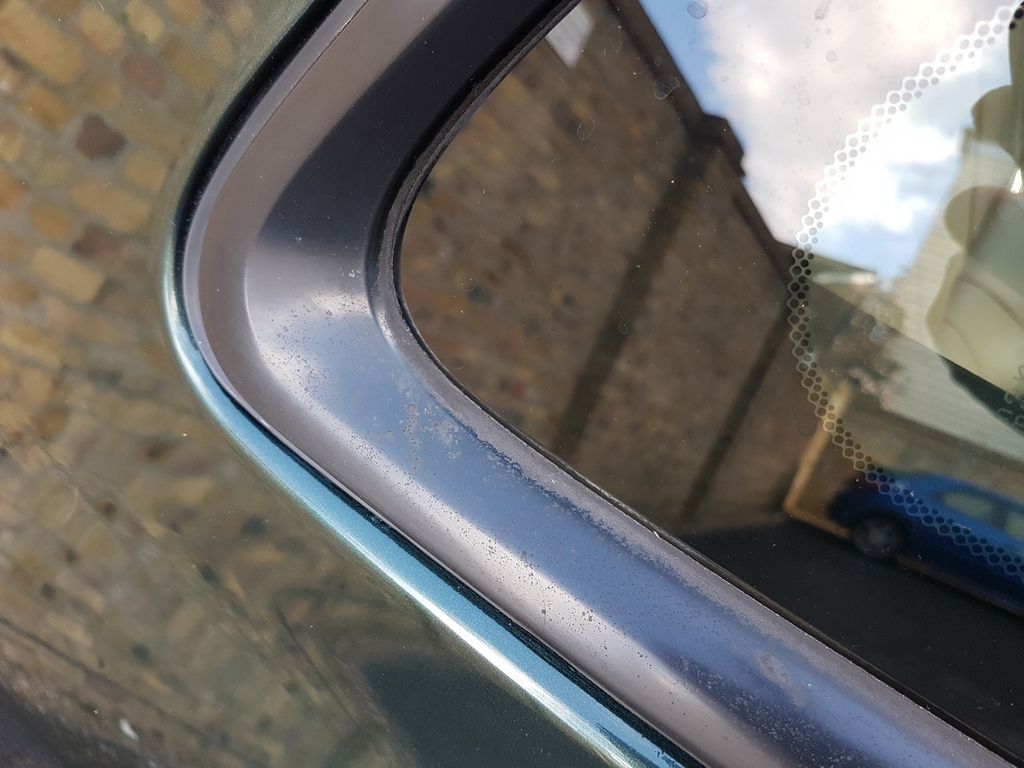
Previously I've just masked the problem with a wipe of Meguiars Tyre Gel. I've seen a member on the forum use a metal polish to good effect. Ensure you mask off as the metal polish will leave fine scratches on the paintwork. After that some Meguiars back to black stuff.
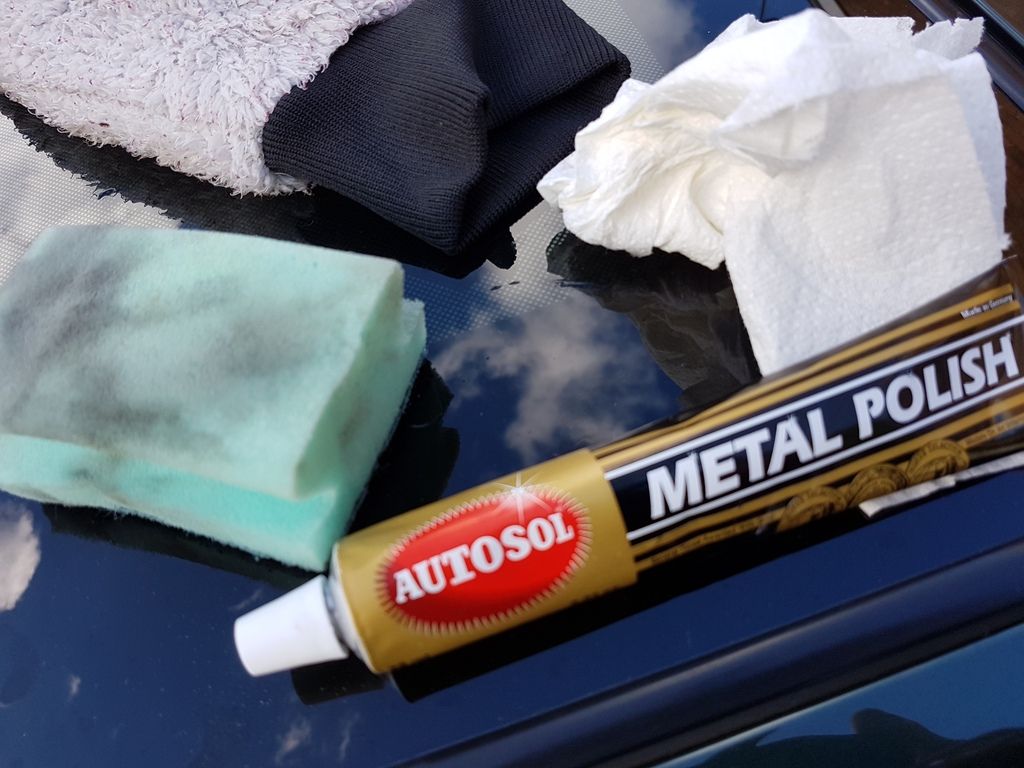
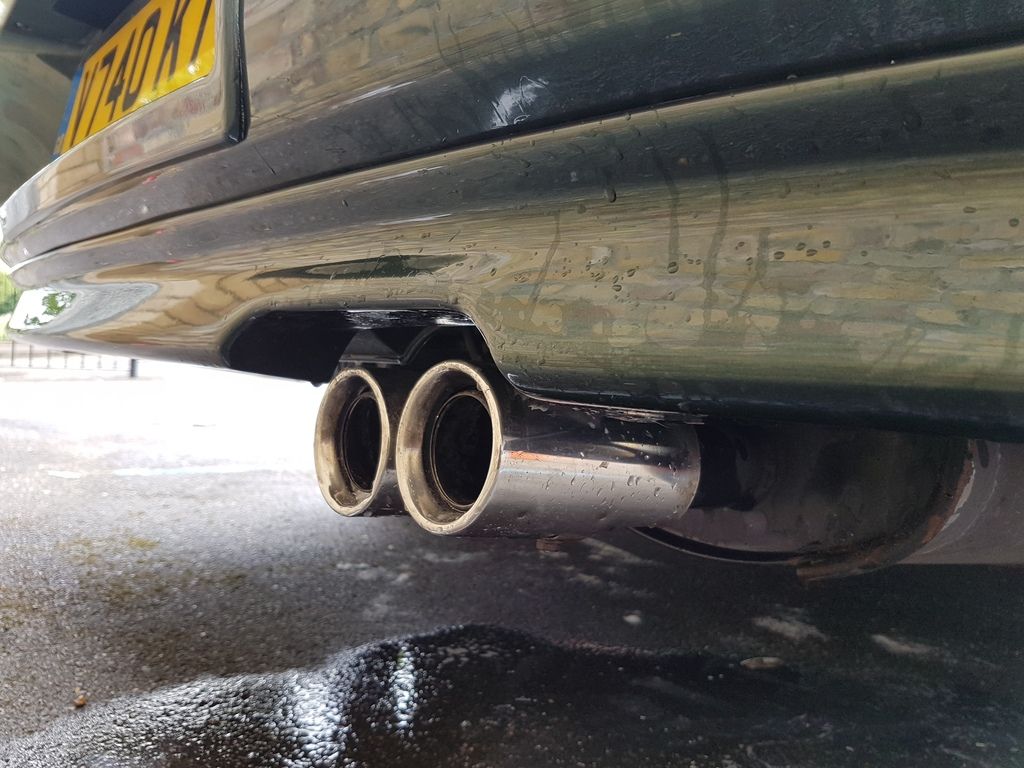
Metal polish on chrome tips, might be time to renew these, look ok, maybe a little tired?
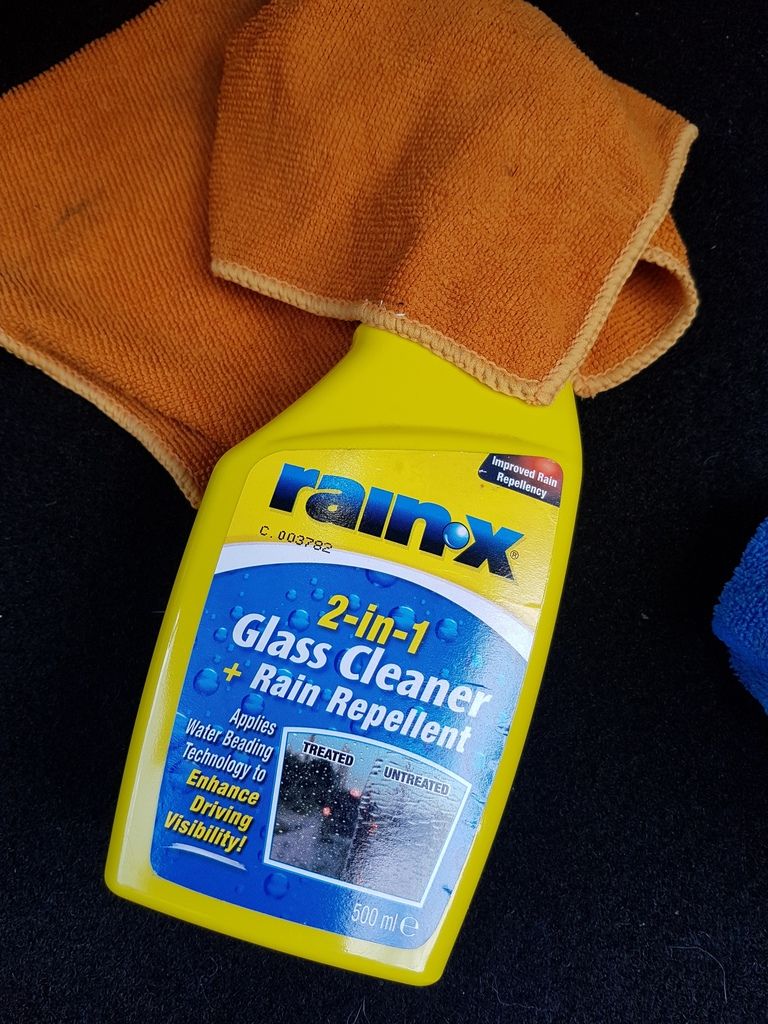
For the glass I like this stuff:
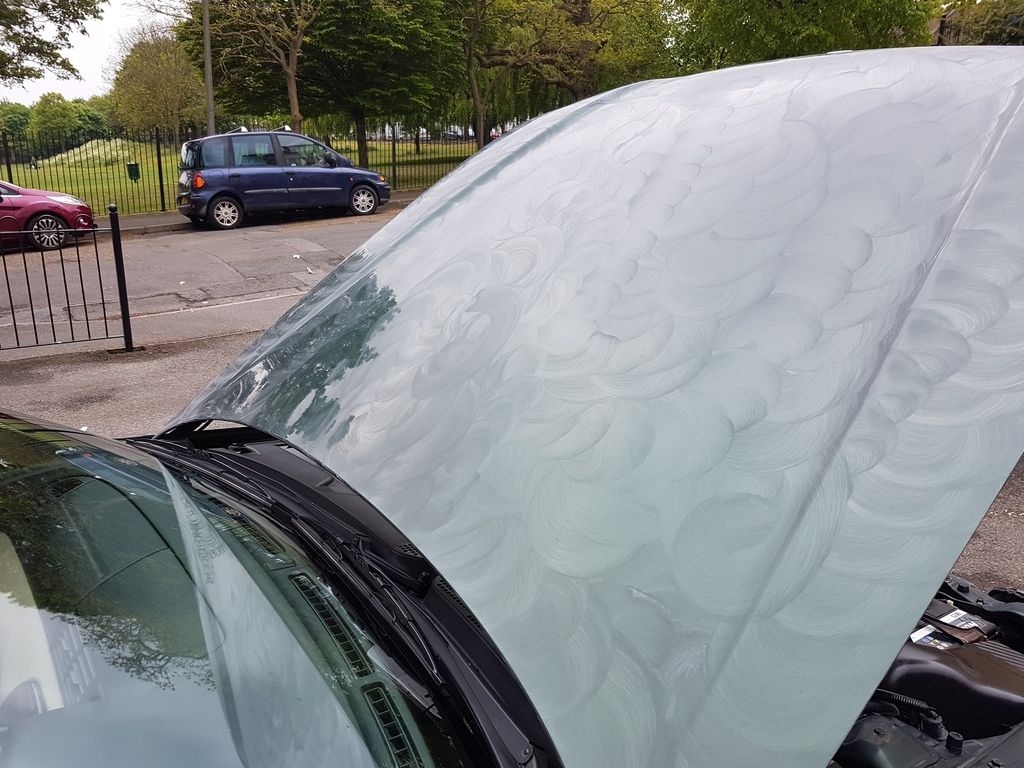
Bodywork:
This was the time consuming element. I wanted to be methodical and prep the paintwork and try minimise blemishes.
After a 3-4 bucket wash and dry I had some liquid Meguiars Paint Cleaner, it's easy wipe on wipe off, panel at a time. Figured it couldn't hurt.
I switched to the Bilt Hamber products.
http://www.bilthamber.com/car-cleaning- ... g/korrosol
A case of spray liberally onto each panel, wait several minutes and thoroughly rinse off, (at this point I really wish I had access to a hose pipe). It should release the metal particles that build up in paintwork. Dry off car then clay the paintwork.
http://www.bilthamber.com/waxes-polishe ... /auto-clay
Very nice clay to use, malleoable when kept wet, I regularly dipped it into water and kneaded it into a usable shape. After the previous paint cleaner and Korrosol it didn't seem to pick up much dirt but there where definitely specs picked up. I wasn't sure if all these steps I'd taken where overkill and just a clay would have done the job?
I went around the body looking for any obvious areas that required a spot of compound to get rid of any persistant swirl marks, etc. I've been using this one bottle of 3M Finesse-it 09639 for years and with some elbow grease you can rid yourself of fairly deep scratches, though it is not a miracle maker it does ok.
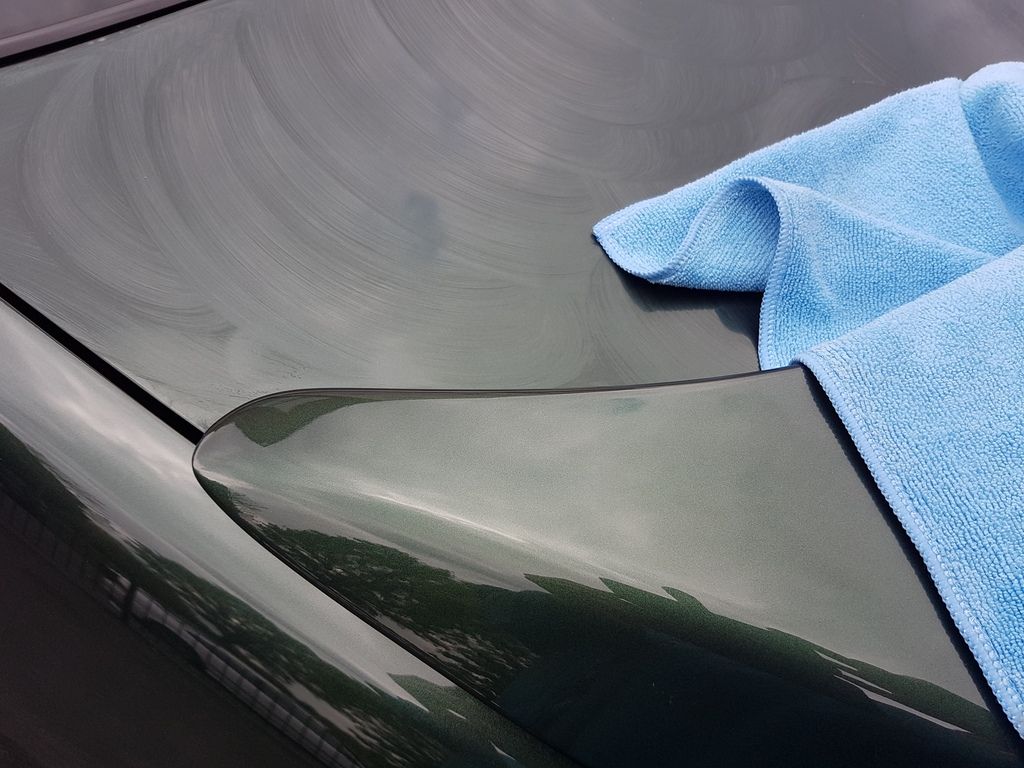
Now the finer polish:
http://www.bilthamber.com/waxes-polishe ... ser-polish
The applicator pad provided was excellent and made the job an easy one.
After the polish:
http://www.bilthamber.com/waxes-polishe ... nser-fluid
An easy spray on, wipe off. Very useful for getting rid of residue.
Rain then stopped play.
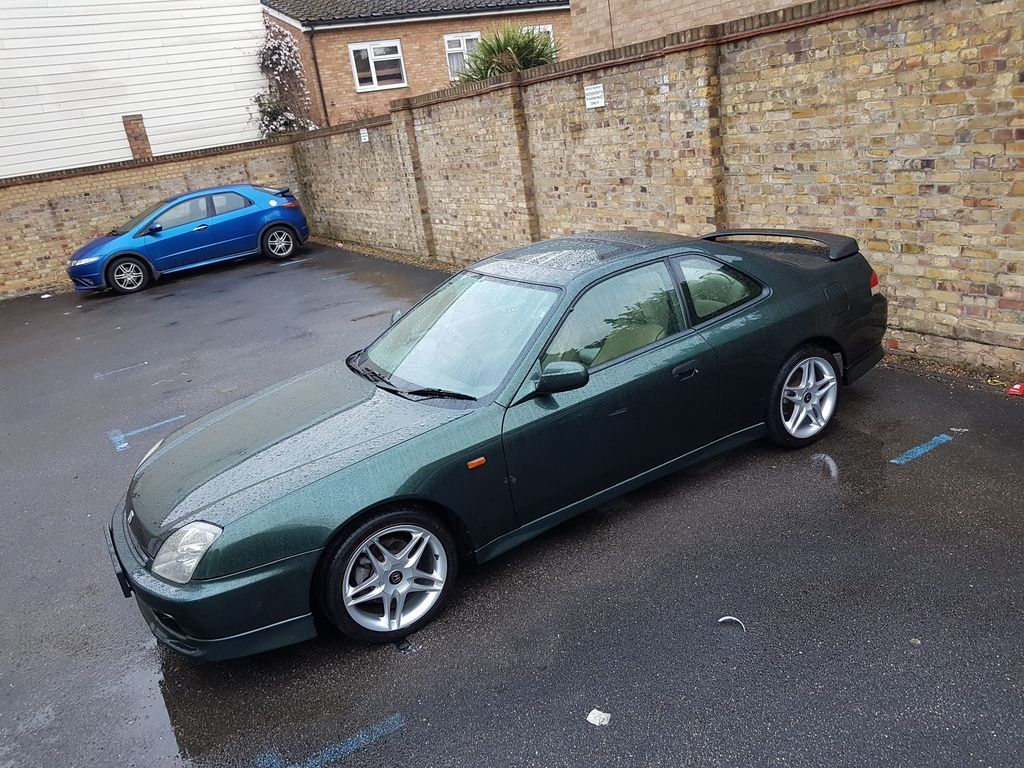
Not really beading as such. Now in need of a wax.
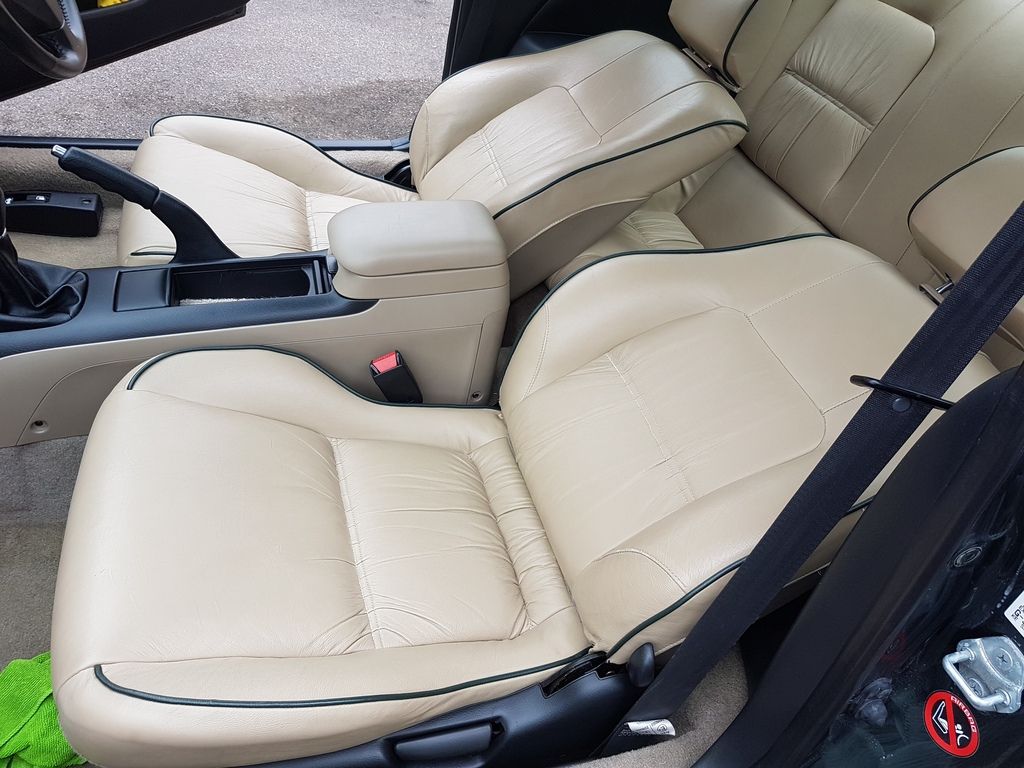
Ready to be cleaned and conditioned, although they kinda look clean anyway. I left a relatively thick layer of conditioner on the seat and left for several hours. Don't really buff them afterwards. The conditioner seems to get absorbed by the leather.
I also use the leather cleaner and the conditioner on the interior plastics. Never liked back to black products on the interior trim, always gives a very gloss finish, I prefer a more matt look, not too shiny.
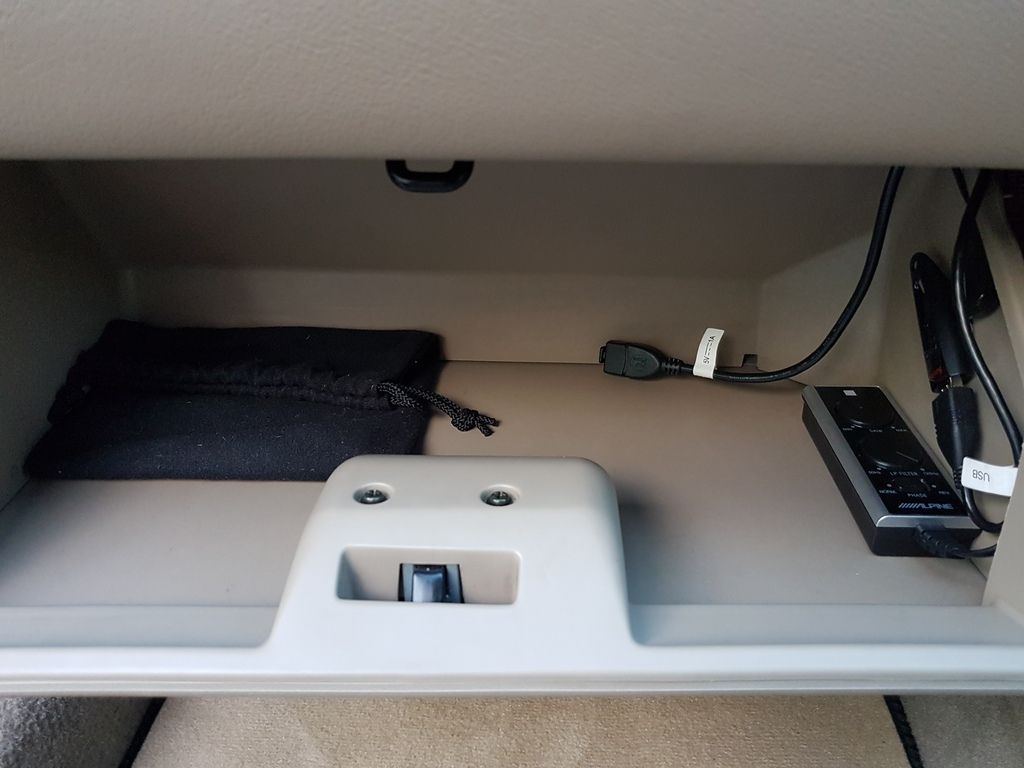
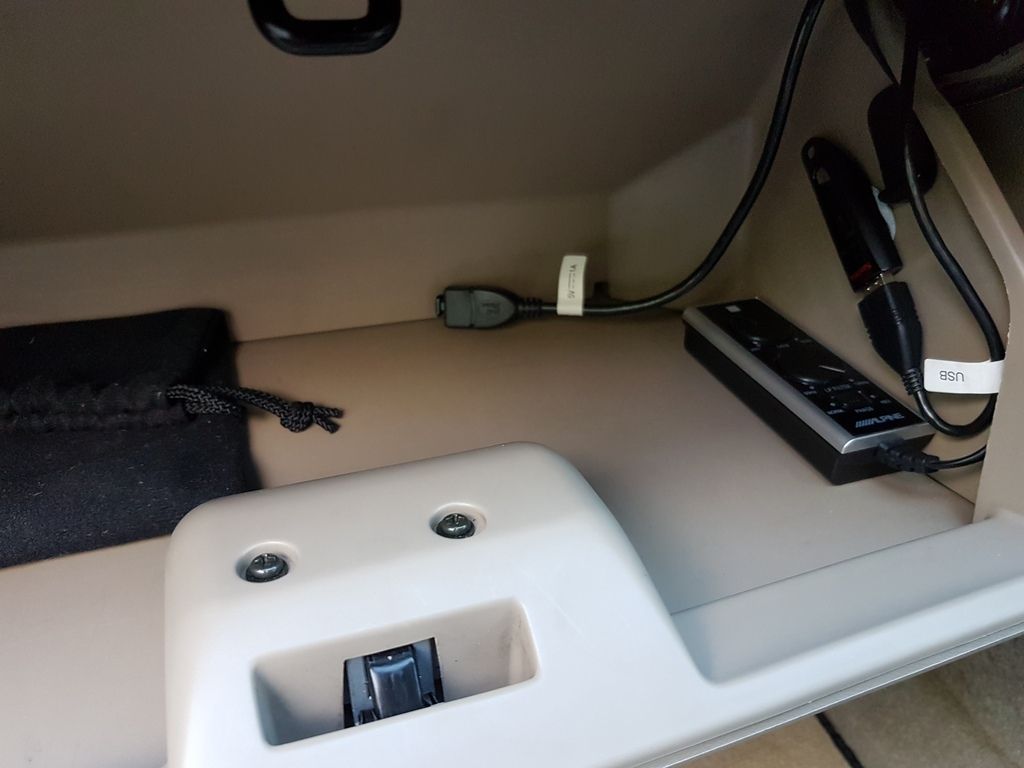
Starting to get a bit 'one flew over the cuckoos nest' now! Cough, OCD, cough.
Tidied up leads in the glove box and blu tac'd the subwoofer control and memory stick connection, left one lead loose for a phone charger or ipod.
Got to have Tyre Gel:
Before the wax I applied a layer of Autoglym Extra Gloss Protection, been using for years and always rated it.
I figured this layer would be more durable and once dried and buffed I'd apply an additional layer of Bilt Hamber paste wax for additional shine.
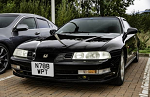
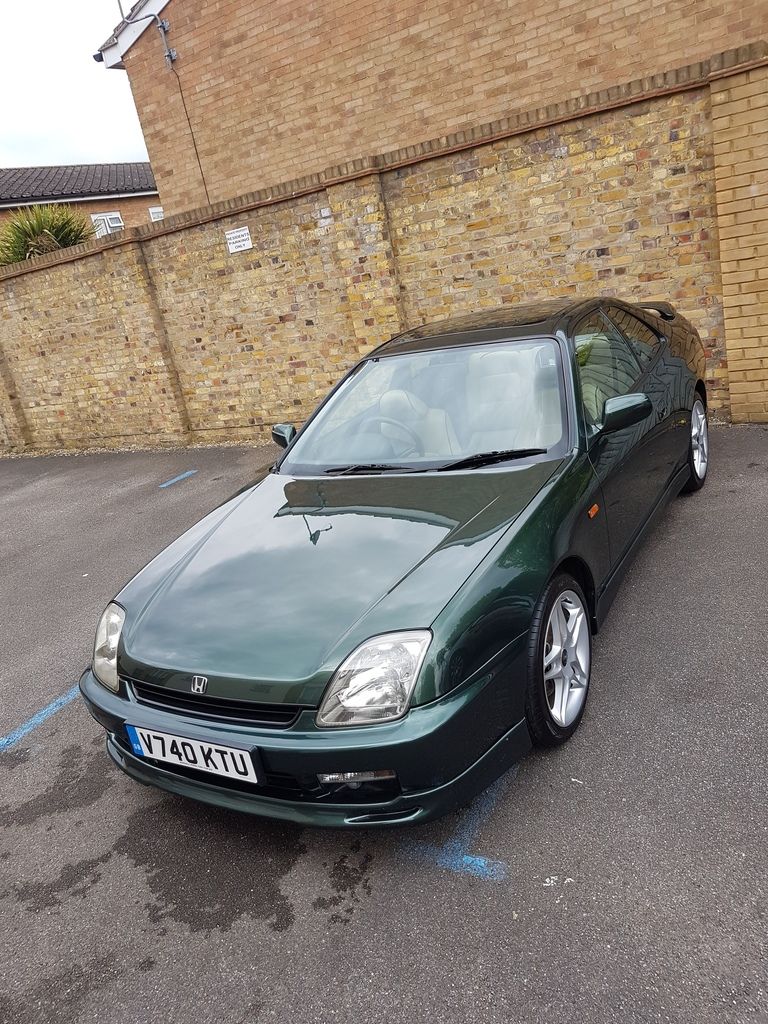
The end result:
[youtube]9ZNJPxG5jqc[/youtube]
[youtube]lHwAlCpkn4g[/youtube]
Sorry long read that one.
There is still plenty to do.
Manifold heat sheild needs sorting.
The stone chip demon needs sorting on the bonnet and bumper and the alloys have some cracks in the finish. A refurb at some point would be nice, once I'm less skint.
My Dad has helped enormously in maintaining the Lude and I'm beginning to think about more permanently locating the car back in Leeds. My Dad's driveway looks far safer than the car park I use. Also with fresh paintwork the door defenders leave marks on the paintwork so I've less protection from dents.
That's all for now, thanks for reading.
Richard