
Congratulations to vtecmec for winning May/June's Lude Of The Month, with his DIY Turbo BB1 build.
>>> Click Here For Profile <<<

>>> Click Here For Profile <<<
Ramp install - we haz soundz

-
vanzep
- Supporter 2016
- Posts: 7174
- Joined: Sun Jan 29, 2012 6:38 pm
- My Generation: 4G
- Location: Edinburgh
- Has thanked: 314 times
- Been thanked: 521 times
That looks good wurly 
bright enough that you dont need an inspection lamp
bright enough that you dont need an inspection lamp
1996-2000 1993 EG9 Blue Civic 1.6 Vti - Traded in against the BB4
2000-2019 1994 2WS BB4 Milano Red JDM Prelude Si VTEC LSD
2015 on > 1991 4WS BB1 Phantom Pearl Grey JDM Prelude Si VTEC LSD
2021 ON > 1998 2WS BB6 White Pearl JDM Prelude Si VTEC
2000-2019 1994 2WS BB4 Milano Red JDM Prelude Si VTEC LSD
2015 on > 1991 4WS BB1 Phantom Pearl Grey JDM Prelude Si VTEC LSD
2021 ON > 1998 2WS BB6 White Pearl JDM Prelude Si VTEC
-
wurlycorner

- Ye are glad to be dead, RIGHT?
- Posts: 21511
- Joined: Sat May 19, 2012 3:33 pm
- My Generation: 4G
- Location: Chelmsford, Essex
- Has thanked: 2507 times
- Been thanked: 317 times
Drilling the metal on that ramp would be a total PITA.NafemanNathan wrote:Would you consider drilling and tapping to fit some P-clips or even just a small piece of flat to hold the LED strip in position?
I was thinking I might use something like a lindapter (though hopefully something lighter duty than that
--
Iain.
Iain.
Super Secret 1G (not really super secret!)
-
NafemanNathan

- LotM Winner
- Posts: 20144
- Joined: Sun Aug 08, 2010 9:37 pm
- My Generation: 0G
- Location: Yeovil, Somerset
- Has thanked: 8 times
- Been thanked: 124 times

-
wurlycorner
- Ye are glad to be dead, RIGHT?
- Posts: 21511
- Joined: Sat May 19, 2012 3:33 pm
- My Generation: 4G
- Location: Chelmsford, Essex
- Has thanked: 2507 times
- Been thanked: 317 times
-
wurlycorner
- Ye are glad to be dead, RIGHT?
- Posts: 21511
- Joined: Sat May 19, 2012 3:33 pm
- My Generation: 4G
- Location: Chelmsford, Essex
- Has thanked: 2507 times
- Been thanked: 317 times
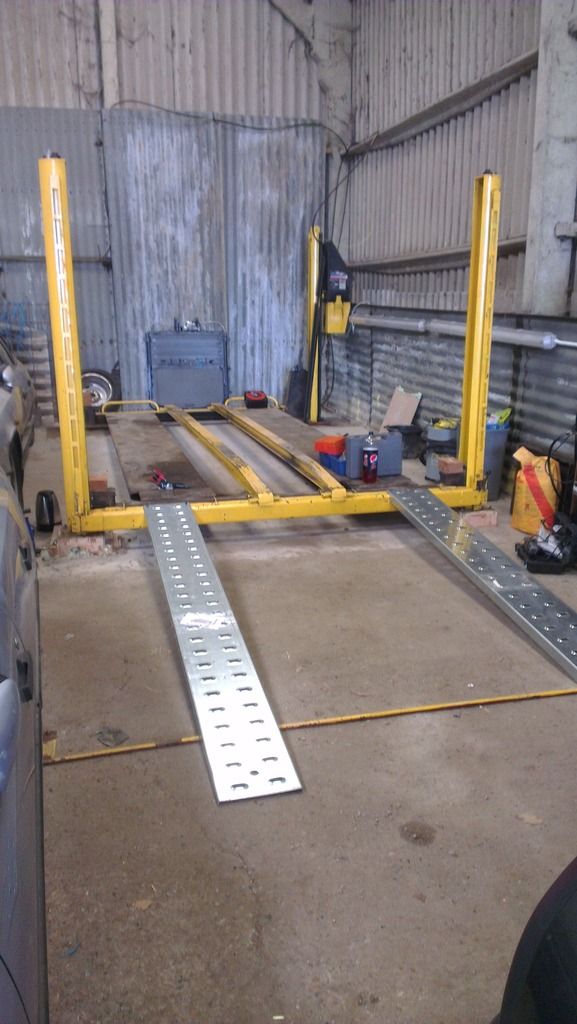

Thanks to some very kind help by susperstar @Donald today my ramp now has properly fitted access ramps, that even a lowered car can get up/on with
Just need to tap a couple of holes so the ramps can be bolted down properly at the top.
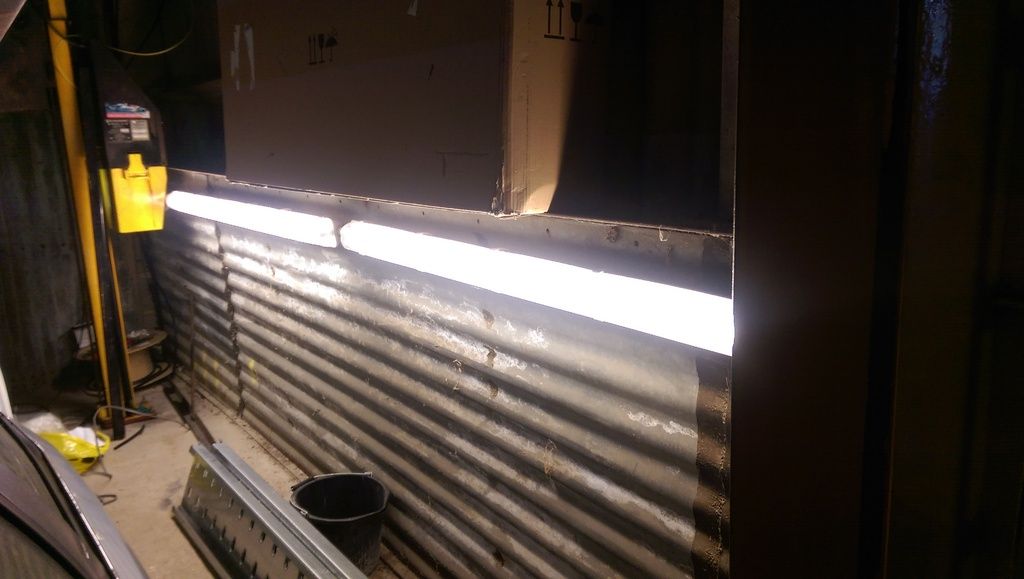
Donald also finished off installing the second lighting baton and sockets for me. I just need to wire them up back to the isolator.
--
Iain.
Iain.
Super Secret 1G (not really super secret!)


-
wurlycorner
- Ye are glad to be dead, RIGHT?
- Posts: 21511
- Joined: Sat May 19, 2012 3:33 pm
- My Generation: 4G
- Location: Chelmsford, Essex
- Has thanked: 2507 times
- Been thanked: 317 times
A few weeks ago I tapped out the holes for the access ramps and used them properly secured for the first time. All Good
If only I hadn't been impatient when moving the CX that was parked over the yellow brace bar on the floor... That way I would have waited till the suspension had lifted and not dragged it on the chassis of the car, bending it
 Anyway, moving on...
Last weekend I started sorting out the rest of the electrical gubbins. I started with the hard bit, fitting another SWA cable into the isolator (hard because SWA is a bit of PITA to work with, but mostly because everything is so bloody cramped within the isolator ) that took bloody ages as a result, so I ran out of time to do the other end, meaning... That I couldn't use the ramp because I would have a live flapping end 
So today, when I was meant to be starting to put the 3g back together, I was instead drokking about with more electrics.
This is where I got to;
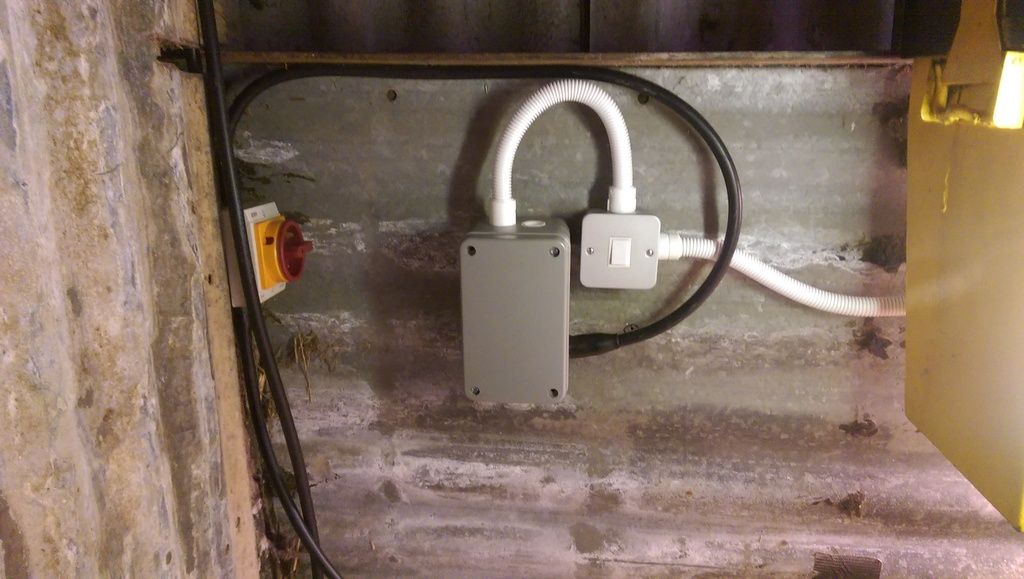
Yeah, it's a little bit of a pigs breakfast of a layout, but meh, it's what came together in the time and space I had.
Anyway...

Sorry to say @Donald, you failed and will have to try harder next time...
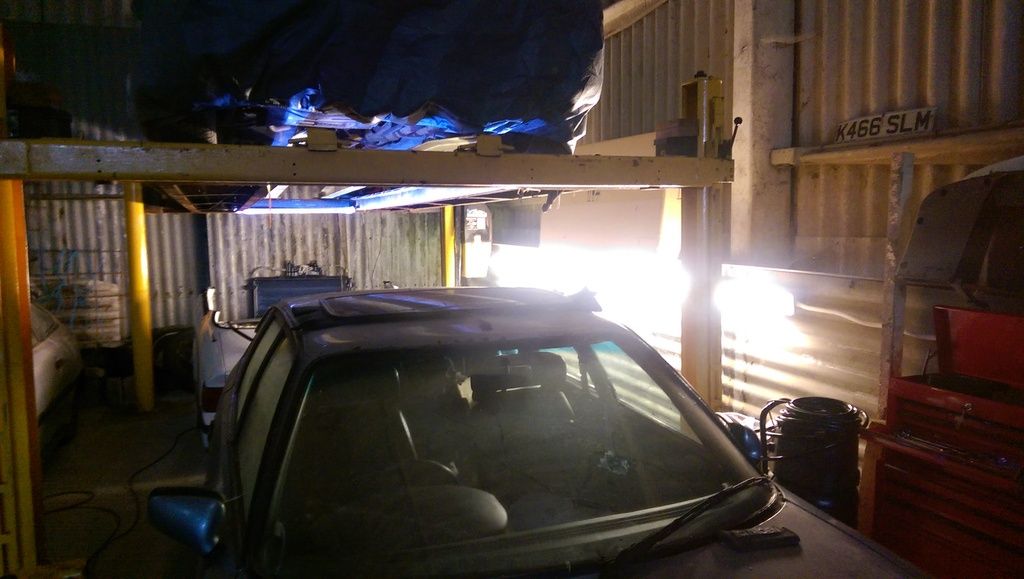
So that's now 2 fluorescent lights and a double socket all working up in that corner of the barn.
Result, because a) it means I can see without having to run several kw of gas-discharge lamps (so I can stay with FOC electricity) b) because it means I don't have to traipse across the barn to plug in an extension lead every day and boil the kettle while it's perched on the trailer
The lights run off 1 phase (and are separately switched) the sockets are on another phase. Both are live whenever the isolator at the front of the barn is on (i.e. they're not affected by the local isolator I installed for the ramp). There's space in the junction box for another 5 things to be wired straight in as and when (1 each for the 2 phases already used and 2 on the third phase).
If you want an example of how much I enjoyed installing all that crap - when it was absolutely hammering it down with rain, I instead went outside and spent 20 minutes unblocking the landlords slot drain across the main entrance, for absolutely no benefit to me what-so-ever
Tomorrow, I'll actually run the main earth connection in to that lot Then at some point I need to decide how I want to properly wire the LED ramp lights in.
If only I hadn't been impatient when moving the CX that was parked over the yellow brace bar on the floor... That way I would have waited till the suspension had lifted and not dragged it on the chassis of the car, bending it
Last weekend I started sorting out the rest of the electrical gubbins. I started with the hard bit, fitting another SWA cable into the isolator (hard because SWA is a bit of PITA to work with, but mostly because everything is so bloody cramped within the isolator
So today, when I was meant to be starting to put the 3g back together, I was instead drokking about with more electrics.
This is where I got to;
Yeah, it's a little bit of a pigs breakfast of a layout, but meh, it's what came together in the time and space I had.
Anyway...
Sorry to say @Donald, you failed and will have to try harder next time...
So that's now 2 fluorescent lights and a double socket all working up in that corner of the barn.
Result, because a) it means I can see without having to run several kw of gas-discharge lamps (so I can stay with FOC electricity) b) because it means I don't have to traipse across the barn to plug in an extension lead every day and boil the kettle while it's perched on the trailer
The lights run off 1 phase (and are separately switched) the sockets are on another phase. Both are live whenever the isolator at the front of the barn is on (i.e. they're not affected by the local isolator I installed for the ramp). There's space in the junction box for another 5 things to be wired straight in as and when (1 each for the 2 phases already used and 2 on the third phase).
If you want an example of how much I enjoyed installing all that crap - when it was absolutely hammering it down with rain, I instead went outside and spent 20 minutes unblocking the landlords slot drain across the main entrance, for absolutely no benefit to me what-so-ever
Tomorrow, I'll actually run the main earth connection in to that lot
--
Iain.
Iain.
Super Secret 1G (not really super secret!)