
Congratulations to vtecmec for winning May/June's Lude Of The Month, with his DIY Turbo BB1 build.
>>> Click Here For Profile <<<

>>> Click Here For Profile <<<
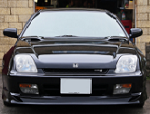
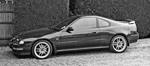
BsBB1
-
NafemanNathan

- LotM Winner
- Posts: 20144
- Joined: Sun Aug 08, 2010 9:37 pm
- My Generation: 0G
- Location: Yeovil, Somerset
- Has thanked: 8 times
- Been thanked: 124 times

-
NafemanNathan
- LotM Winner
- Posts: 20144
- Joined: Sun Aug 08, 2010 9:37 pm
- My Generation: 0G
- Location: Yeovil, Somerset
- Has thanked: 8 times
- Been thanked: 124 times
-
honda-hardy
- Club Cartographer
- Posts: 6268
- Joined: Sat Jan 28, 2012 7:35 pm
- My Generation: 5G
- Location: chippenham
- Been thanked: 1 time

-
NafemanNathan
- LotM Winner
- Posts: 20144
- Joined: Sun Aug 08, 2010 9:37 pm
- My Generation: 0G
- Location: Yeovil, Somerset
- Has thanked: 8 times
- Been thanked: 124 times
Last time I asked you it was going to be a couple of months before you could sort ithonda-hardy wrote:why you thinking, ive offererd the shot blasting service to you on many occasions but you never get back to me.NafemanNathan wrote:
I decided anyway... I have no requirement at the moment
-
bennyboy
- Art Mechanic
- Posts: 2825
- Joined: Sat Aug 20, 2011 11:59 am
- My Generation: 4G
- PSN GamerTag: OCbennyboy
- Location: St Albans, Herts.
- Has thanked: 7 times
- Been thanked: 21 times
- Contact:
Re: BsBB1
I'll post up the progress shots anyway, and the offer is there if required
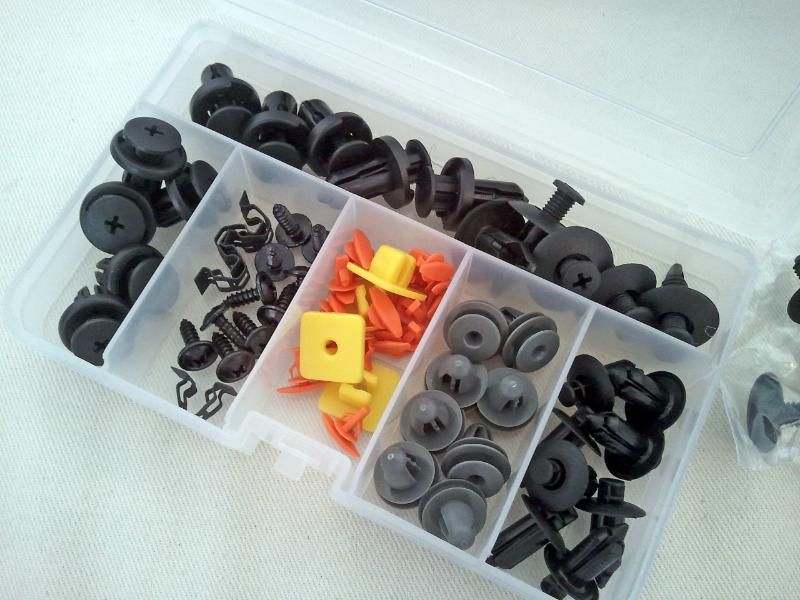
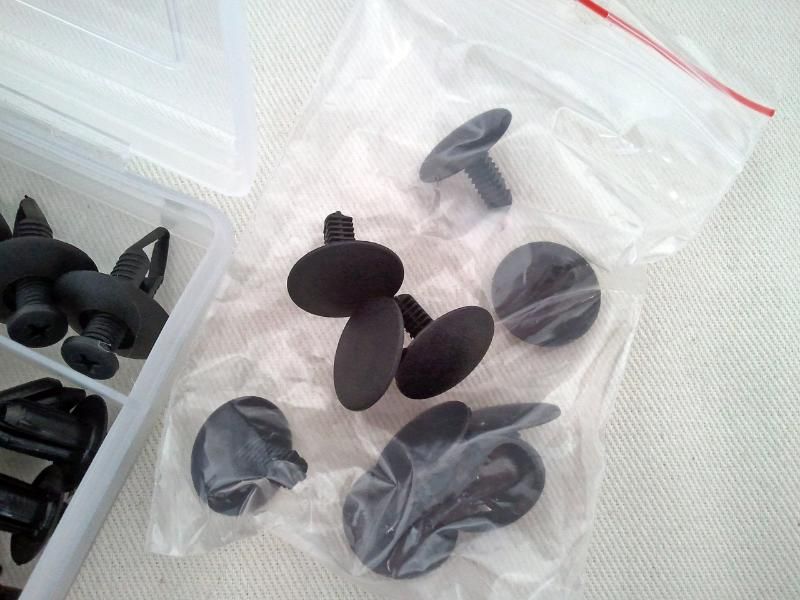
Right, in keeping with the 'small stuff' agenda, I ordered a box of various fixings, as I mentioned in the thread here.
Well they arrived and I thought a shot of what's contained would be of help. As I suspected when ordering, the only ones (that I can think of) that weren't in the set are the boot lining clips, which is actually all I was looking for!
Anyway, the same supplier does them so I ordered those to, pics below:
-
bennyboy
- Art Mechanic
- Posts: 2825
- Joined: Sat Aug 20, 2011 11:59 am
- My Generation: 4G
- PSN GamerTag: OCbennyboy
- Location: St Albans, Herts.
- Has thanked: 7 times
- Been thanked: 21 times
- Contact:
Re: BsBB1
Well Monday (My 'day off') I looked out the window, clear blue skies and thought great! Car TLC day! \o/
But no....
Went out to get a few bits to do said TLC and got home to the smell of burning...OSR calliper


So instead it trying to get that sorted, I have a couple of good parts suppliers locally but neither of them could touch Brakes International, even after the postage.
New (refurbed) calliper will stand me at about £68 after I've had the rebate back, which is over £20 less than the other guys.
Got to say the quality of the refurb was excellent, really and truly looked brand new, electroplated, grease and new slider boots / brake washers supplied. Got the thing fitted last night and I have brake feel again
Not so much of an update as a venting...
But no....
Went out to get a few bits to do said TLC and got home to the smell of burning...OSR calliper
So instead it trying to get that sorted, I have a couple of good parts suppliers locally but neither of them could touch Brakes International, even after the postage.
New (refurbed) calliper will stand me at about £68 after I've had the rebate back, which is over £20 less than the other guys.
Got to say the quality of the refurb was excellent, really and truly looked brand new, electroplated, grease and new slider boots / brake washers supplied. Got the thing fitted last night and I have brake feel again
Not so much of an update
-
bennyboy
- Art Mechanic
- Posts: 2825
- Joined: Sat Aug 20, 2011 11:59 am
- My Generation: 4G
- PSN GamerTag: OCbennyboy
- Location: St Albans, Herts.
- Has thanked: 7 times
- Been thanked: 21 times
- Contact:
Window, roof trims, handles, plug cover...
OK, actually got a bit done today! 


First up, drivers door glass. - A few years back some chav scum tried to nick the lude, they didn't get it but they did muller the door in the process A quick (!) trip to wales to see Bri and I had a replacement door on. 
I noticed a few scratches on the glass (I had bought the DOOR btw, so wasn't miffed since Bri just left the glass in)
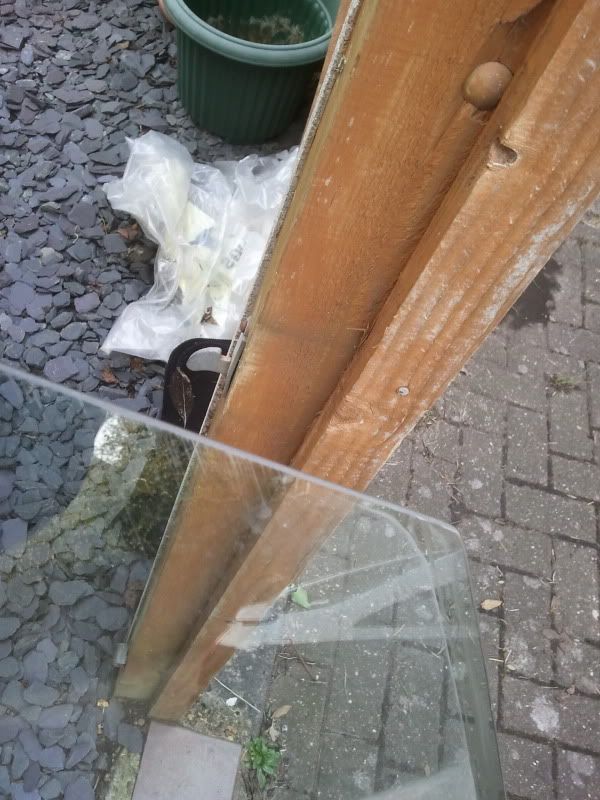
You can just about see them there, but they were a bit more noticeable.....especially when you're a picky sod like I am
Anyway, I'd put it off for so long as I had it in my head that it was going to be a mission......actually a piece of cake! The key is the removal of the the centre guide, access to which is by peeling off the strip, it's just double sided tape that holds it.
You can see the screws here:
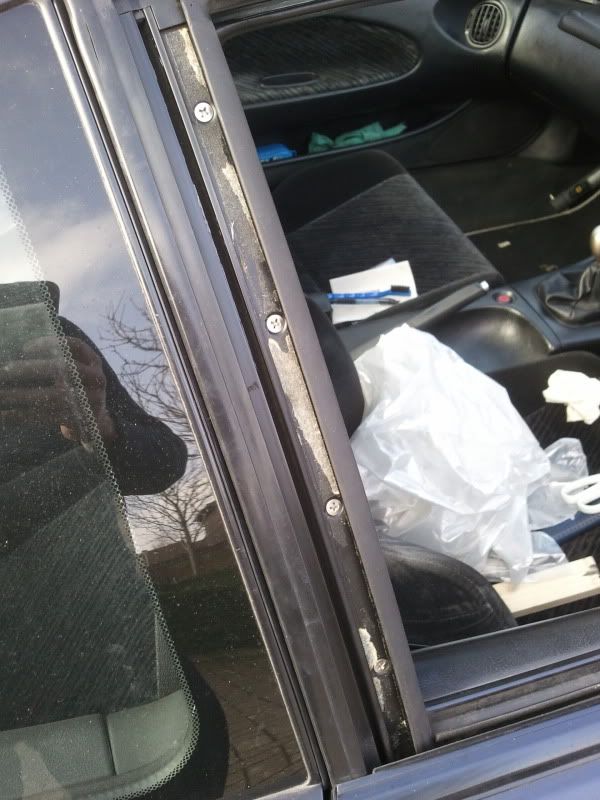
I noticed that the screws weren't all that that tight...more on this in a bit.
So, glass from my original door back in, I had to replace the strip, which means cleaning all the old glue off. Was a little fiddly but I found the best way was with a flat blade screwdriver, then a clean up with iso alc:
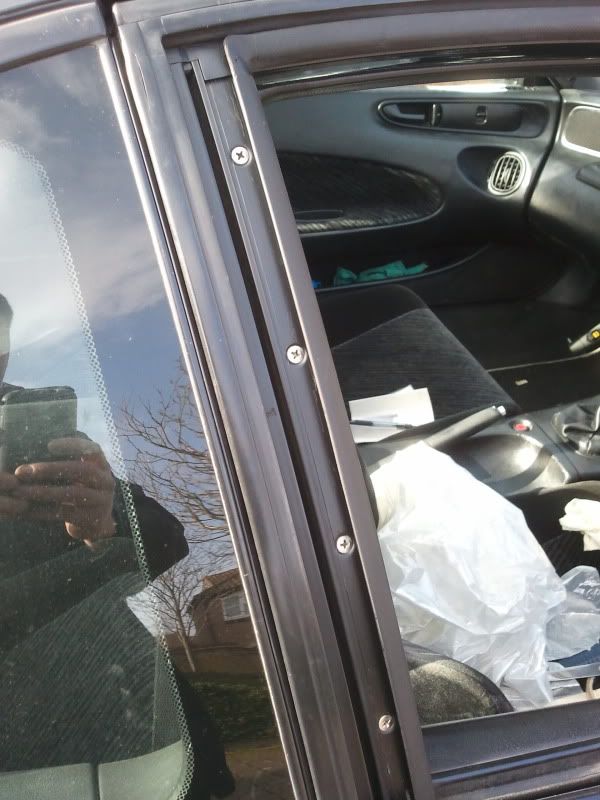
At this point thought I would tackle the window-partially-open rattle, a common bug bear. I hoped that tightening the guide screws properly might do it....and it neeeaarrly did, but there was a little rattle left. The TSB says to use a 'guide setting tool'....I read this as a block of wood and a hammer
I carefully found where the worst part was - about 2" open - and took the hammer to it. Had to tap the window-edge over towards the b pillar just a tad, and also tapped both sides in towards the interior too, worked a treat, no more rattles
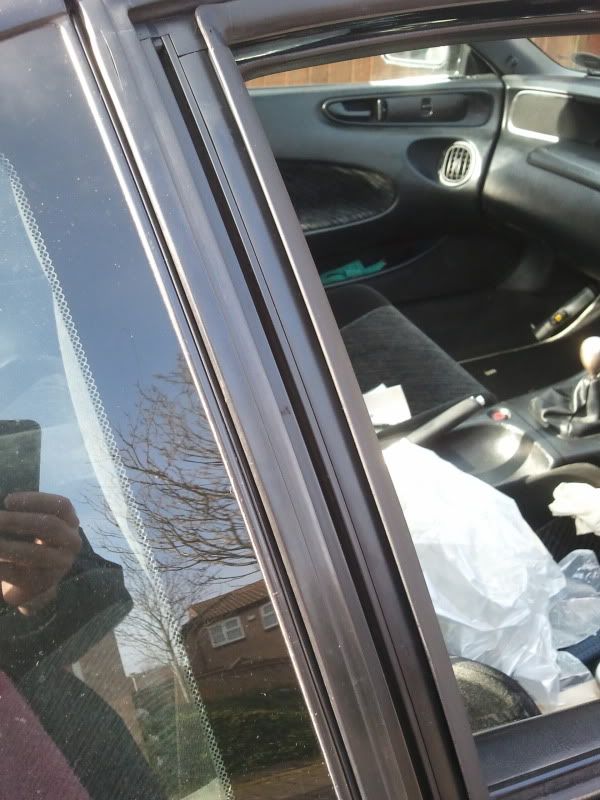
So, new d/s tape and strip applied:
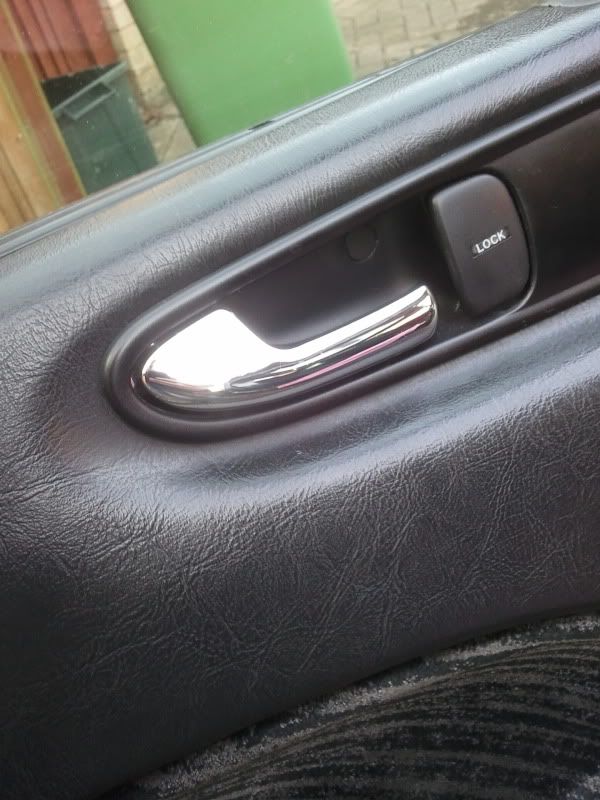
While I had the door card of, I decided to get fitting the chrome handles I got from @honda-hardy
I wanted to try them as I have always found the black handles a little flimsy - the chrome ones are a bit more substantial so it feels a bit more positive. I'm not sure whether I will keep them not, but will see how I get on.
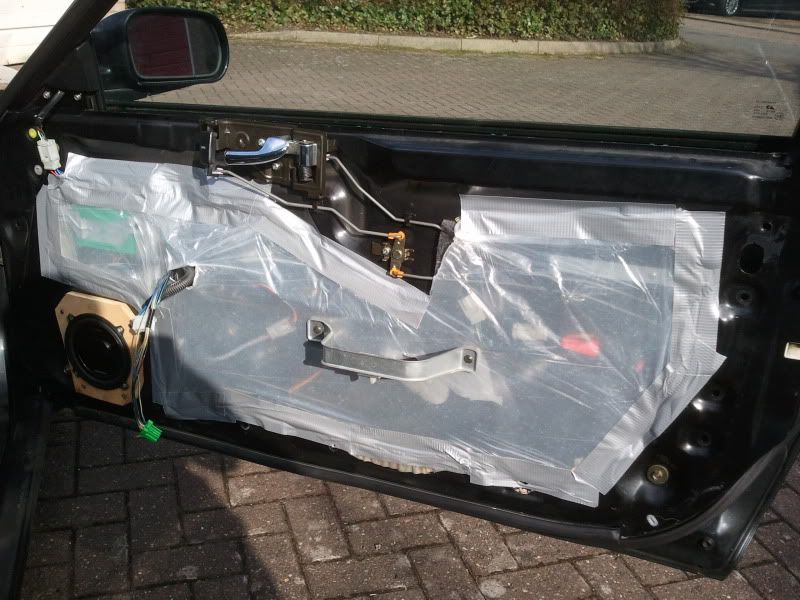
Also stuck some new polythene and gaffer tape on FTW
That little lot done and door cards back on, decided to give the roof trims a clean up. A little before/after (well after/before...):
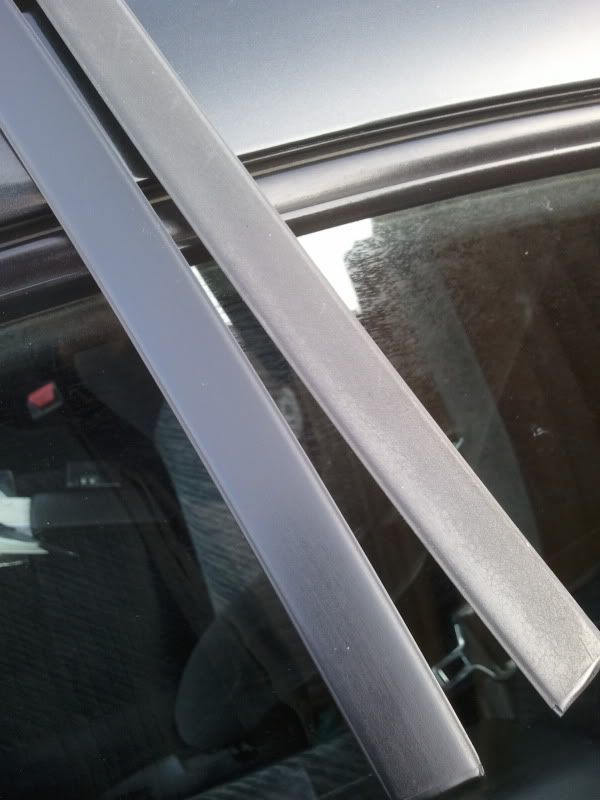
I didn't go mad on them as I would rather a satin look than a gloss, so just took them back with some wire wool and autosol and gave them some bumper black treatment.
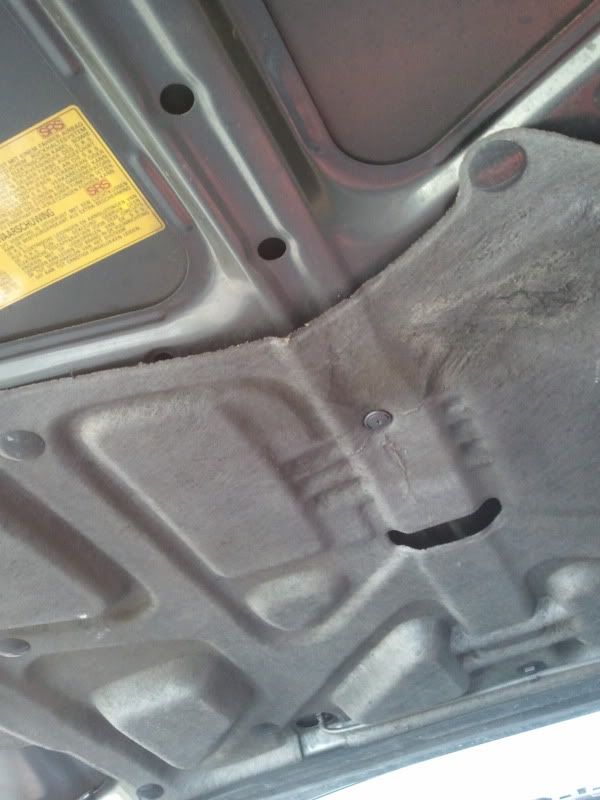
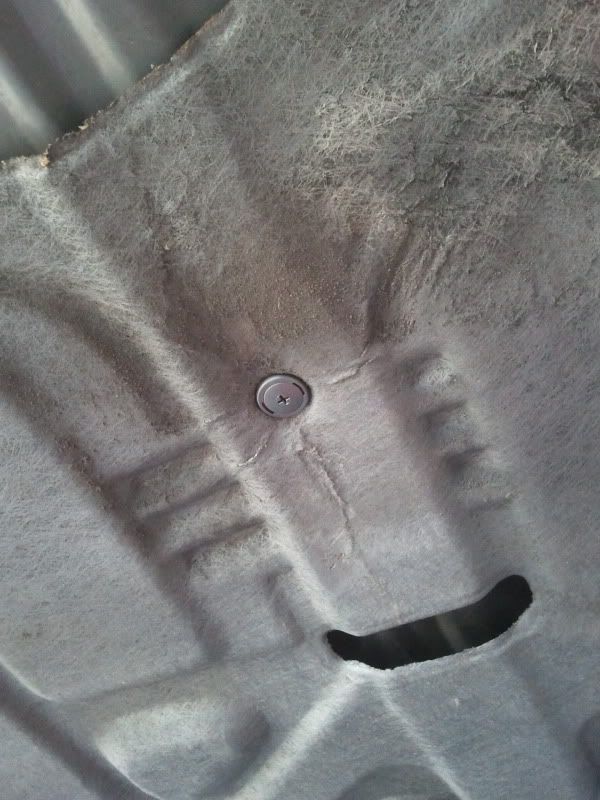
Another PITA is the bonnet heat shield thingymabob. It tends to sag in the middle and rub on my @PerformanceAutoworks plug cover!
So after getting you good folks to show me a pic of the bare bonnet to save me taking the sheet off, I knew where the holes were. I used one of the large rear bumper fixings - had to trim a little off as they are a little too long, but worked a treat:
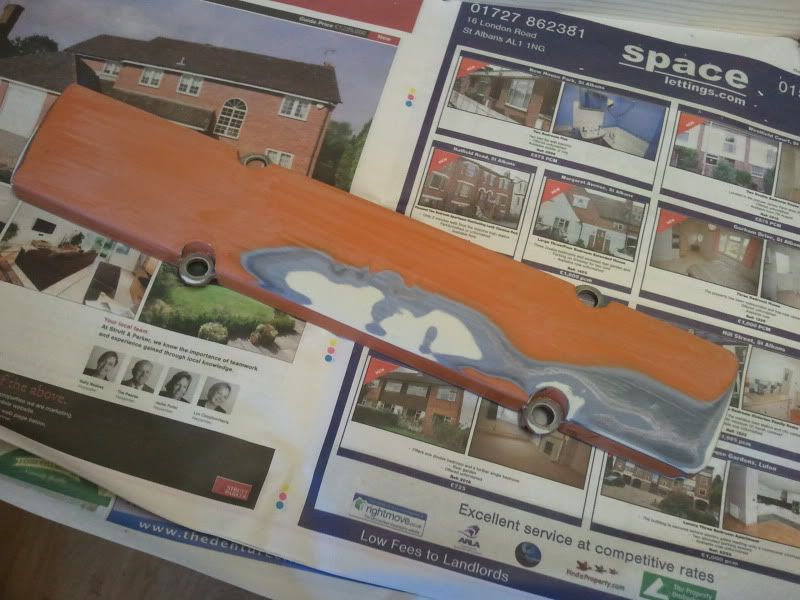
On the subject of the plug cover, because my PAW one is scuffed .....I'm going to make a better one!
Bought a spare one off here, which had had the H sanded off (which is what I was going to do anyway) and been sprayed orange but had seen better days, deep scratches etc. So set to sanding it back a bit The orange was actually really thick and tough, almost like a coating rather than a paint, so decided to just sand off the issues:
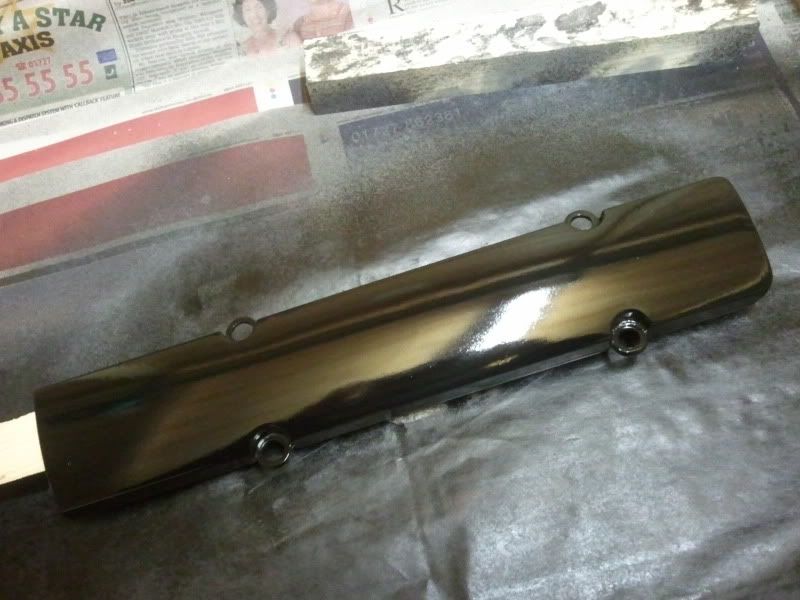
After some primer and a few coats of black, was left with:
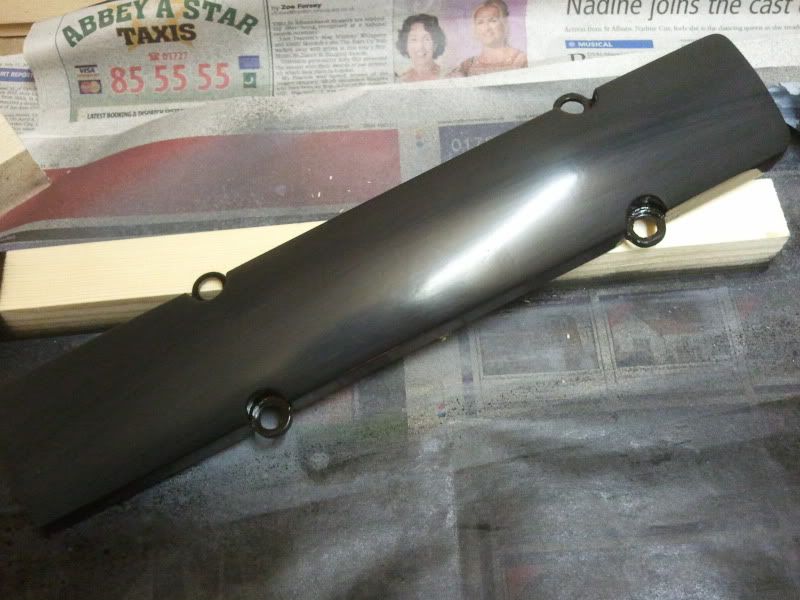
Not bad, but not there yet. Flat back with wet and dry.:
Then apply CotswoldDomesticMarket-yO-instant50BHP-PAW-stickerFTW! \o/ , then laquer over:
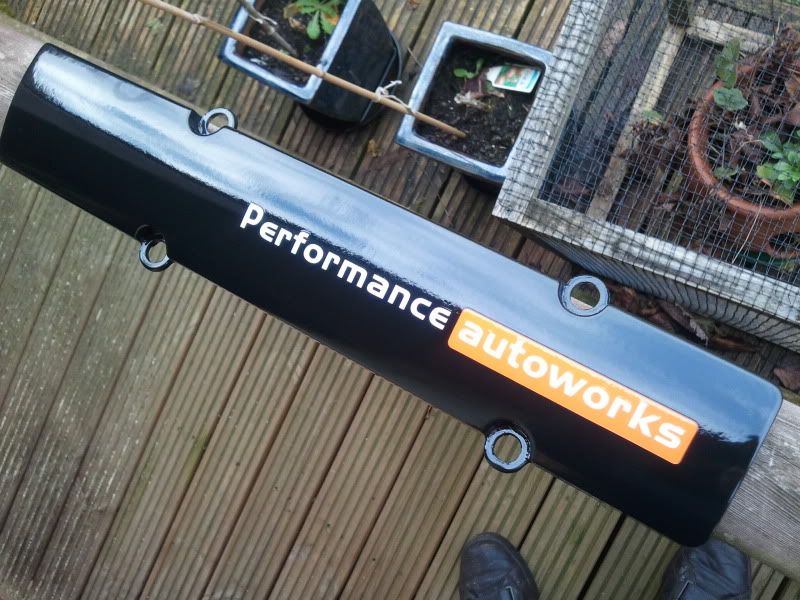
Its not there yet, the bloody laquer decided to spit and clog up, so I'll flat it back and recoat, then polish the mofo. So, for now it's TBC.....
Also TBC, the rad brackets. You may have seen in a previous post that I had the sand blasted. They came up a treat, so after some Zinc182 they looked like this:
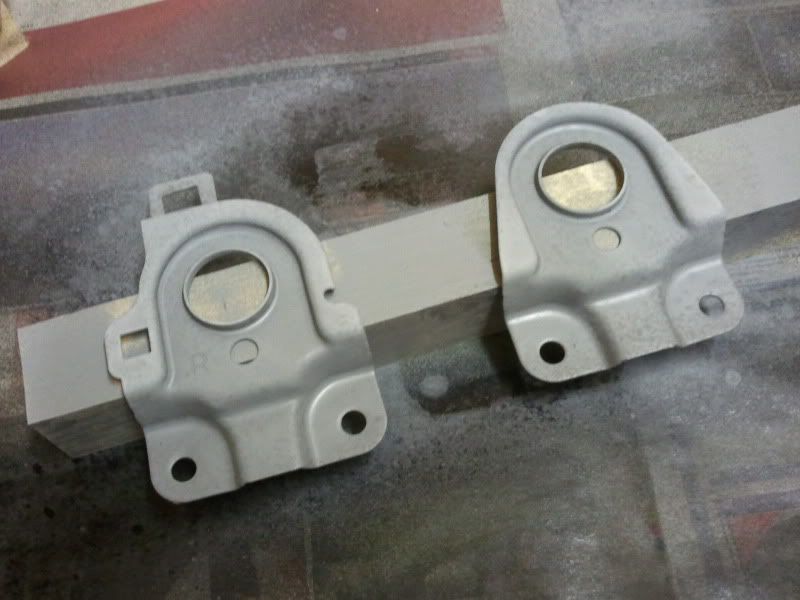
They have since had a good few coats of black hammerite and are looking tasty, will get some more pics of them and the plug cover soon.....
If you got this far, um, thanks
First up, drivers door glass. - A few years back some chav scum tried to nick the lude, they didn't get it but they did muller the door in the process
I noticed a few scratches on the glass (I had bought the DOOR btw, so wasn't miffed since Bri just left the glass in)
You can just about see them there, but they were a bit more noticeable.....especially when you're a picky sod like I am
Anyway, I'd put it off for so long as I had it in my head that it was going to be a mission......actually a piece of cake! The key is the removal of the the centre guide, access to which is by peeling off the strip, it's just double sided tape that holds it.
You can see the screws here:
I noticed that the screws weren't all that that tight...more on this in a bit.
So, glass from my original door back in, I had to replace the strip, which means cleaning all the old glue off. Was a little fiddly but I found the best way was with a flat blade screwdriver, then a clean up with iso alc:
At this point thought I would tackle the window-partially-open rattle, a common bug bear. I hoped that tightening the guide screws properly might do it....and it neeeaarrly did, but there was a little rattle left. The TSB says to use a 'guide setting tool'....I read this as a block of wood and a hammer
I carefully found where the worst part was - about 2" open - and took the hammer to it. Had to tap the window-edge over towards the b pillar just a tad, and also tapped both sides in towards the interior too, worked a treat, no more rattles
So, new d/s tape and strip applied:
While I had the door card of, I decided to get fitting the chrome handles I got from @honda-hardy
I wanted to try them as I have always found the black handles a little flimsy - the chrome ones are a bit more substantial so it feels a bit more positive. I'm not sure whether I will keep them not, but will see how I get on.
Also stuck some new polythene and gaffer tape on FTW
That little lot done and door cards back on, decided to give the roof trims a clean up. A little before/after (well after/before...):
I didn't go mad on them as I would rather a satin look than a gloss, so just took them back with some wire wool and autosol and gave them some bumper black treatment.
Another PITA is the bonnet heat shield thingymabob. It tends to sag in the middle and rub on my @PerformanceAutoworks plug cover!
So after getting you good folks to show me a pic of the bare bonnet to save me taking the sheet off, I knew where the holes were. I used one of the large rear bumper fixings - had to trim a little off as they are a little too long, but worked a treat:
On the subject of the plug cover, because my PAW one is scuffed
Bought a spare one off here, which had had the H sanded off (which is what I was going to do anyway) and been sprayed orange but had seen better days, deep scratches etc. So set to sanding it back a bit The orange was actually really thick and tough, almost like a coating rather than a paint, so decided to just sand off the issues:
After some primer and a few coats of black, was left with:
Not bad, but not there yet. Flat back with wet and dry.:
Then apply CotswoldDomesticMarket-yO-instant50BHP-PAW-stickerFTW! \o/ , then laquer over:
Its not there yet, the bloody laquer decided to spit and clog up, so I'll flat it back and recoat, then polish the mofo. So, for now it's TBC.....
Also TBC, the rad brackets. You may have seen in a previous post that I had the sand blasted. They came up a treat, so after some Zinc182 they looked like this:
They have since had a good few coats of black hammerite and are looking tasty, will get some more pics of them and the plug cover soon.....
If you got this far, um, thanks
Last edited by bennyboy on Mon Feb 18, 2013 11:28 pm, edited 1 time in total.
-
wurlycorner

- Ye are glad to be dead, RIGHT?
- Posts: 21496
- Joined: Sat May 19, 2012 3:33 pm
- My Generation: 4G
- Location: Chelmsford, Essex
- Has thanked: 2484 times
- Been thanked: 307 times