
Congratulations to vtecmec for winning May/June's Lude Of The Month, with his DIY Turbo BB1 build.
>>> Click Here For Profile <<<

>>> Click Here For Profile <<<
Supercharged Mugen Lude (03/06/14 Update!)


-
nucleustylzlude

- Moderator
- Posts: 4013
- Joined: Wed Aug 11, 2010 11:46 pm
- My Generation: 4G
- Location: Bristol, UK!
- Been thanked: 7 times
- Contact:
 Re: Supercharged Mugen Lude (25/07/13 Update)
That makes sense! You guys with your fancy JDM stuff! 

Well for now my OEM heating system is remaining. Might choose to loose it one day and speak to Mudgey for some parts.
Well for now my OEM heating system is remaining. Might choose to loose it one day and speak to Mudgey for some parts.


-
wurlycorner

- Ye are glad to be dead, RIGHT?
- Posts: 21493
- Joined: Sat May 19, 2012 3:33 pm
- My Generation: 4G
- Location: Chelmsford, Essex
- Has thanked: 2481 times
- Been thanked: 306 times
I know you've decided to go 2WS, but you could keep 4WS without ABS - there are some ludes with 4WS and no ABS from build (different ECU and would need to do a couple of mods to the wiring so the rear sensor feed went direct to the 4WS ECU rather than into the ABS ECU).
--
Iain.
Iain.
Super Secret 1G (not really super secret!)
-
nucleustylzlude
- Moderator
- Posts: 4013
- Joined: Wed Aug 11, 2010 11:46 pm
- My Generation: 4G
- Location: Bristol, UK!
- Been thanked: 7 times
- Contact:
Re: Supercharged Mugen Lude (25/07/13 Update)
Nah, too much hassle. Removing it = less weight and more predictability on track, which it is now a track weapon. I mean why loose my PAS but then keep 4WS?
-
wurlycorner
- Ye are glad to be dead, RIGHT?
- Posts: 21493
- Joined: Sat May 19, 2012 3:33 pm
- My Generation: 4G
- Location: Chelmsford, Essex
- Has thanked: 2481 times
- Been thanked: 306 times
-
nucleustylzlude
- Moderator
- Posts: 4013
- Joined: Wed Aug 11, 2010 11:46 pm
- My Generation: 4G
- Location: Bristol, UK!
- Been thanked: 7 times
- Contact:
BUILD PART 5) - Build (Cont'd) – More things to remove!
BUILD PART 5) - Build (Cont'd) – More things to remove!
Final little update to some ancillaries removed for replacement or painting them and the block.
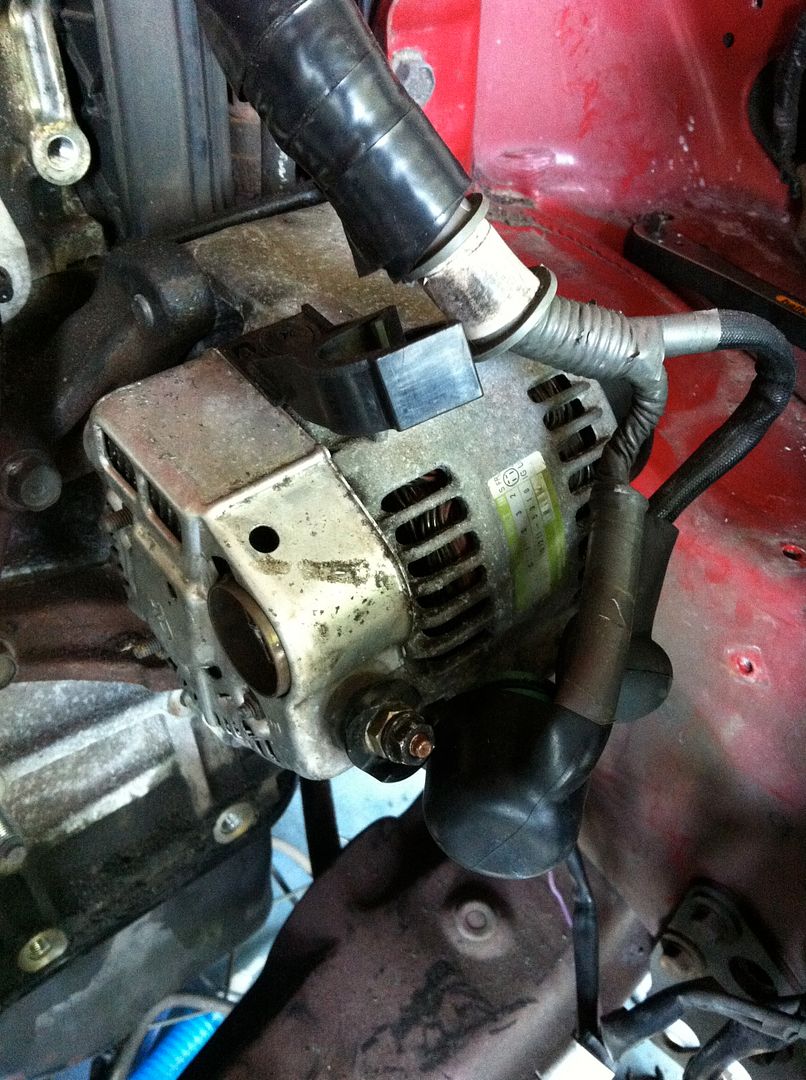
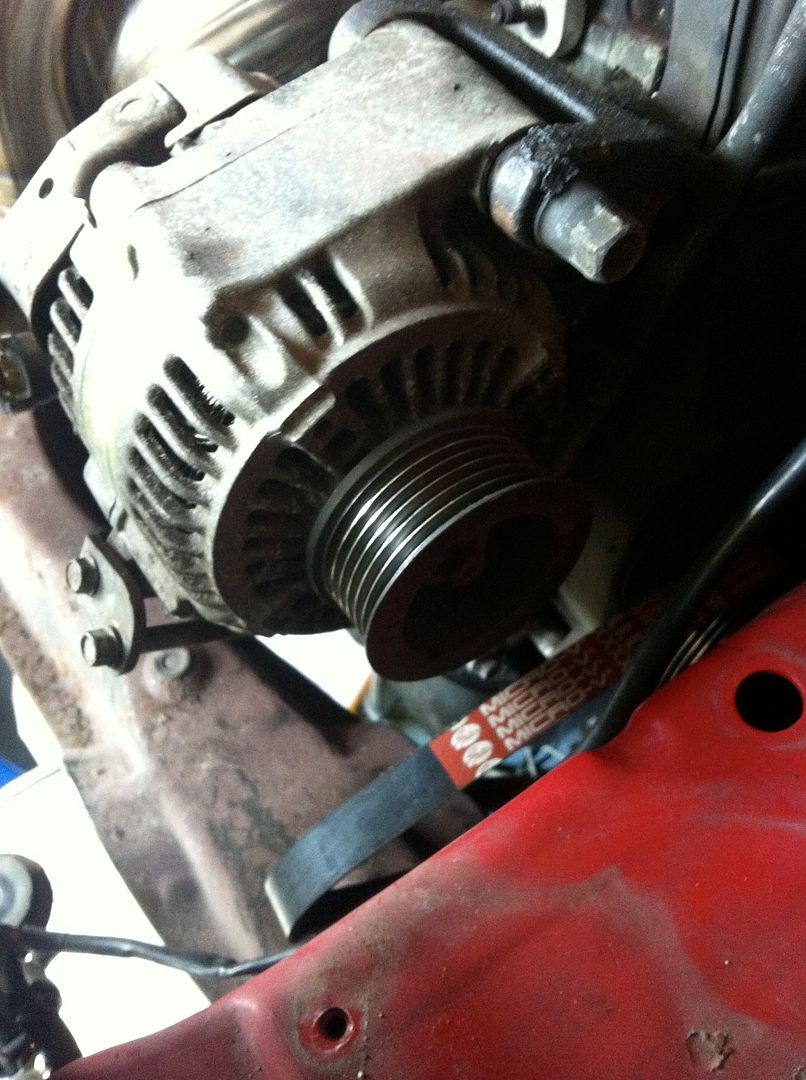
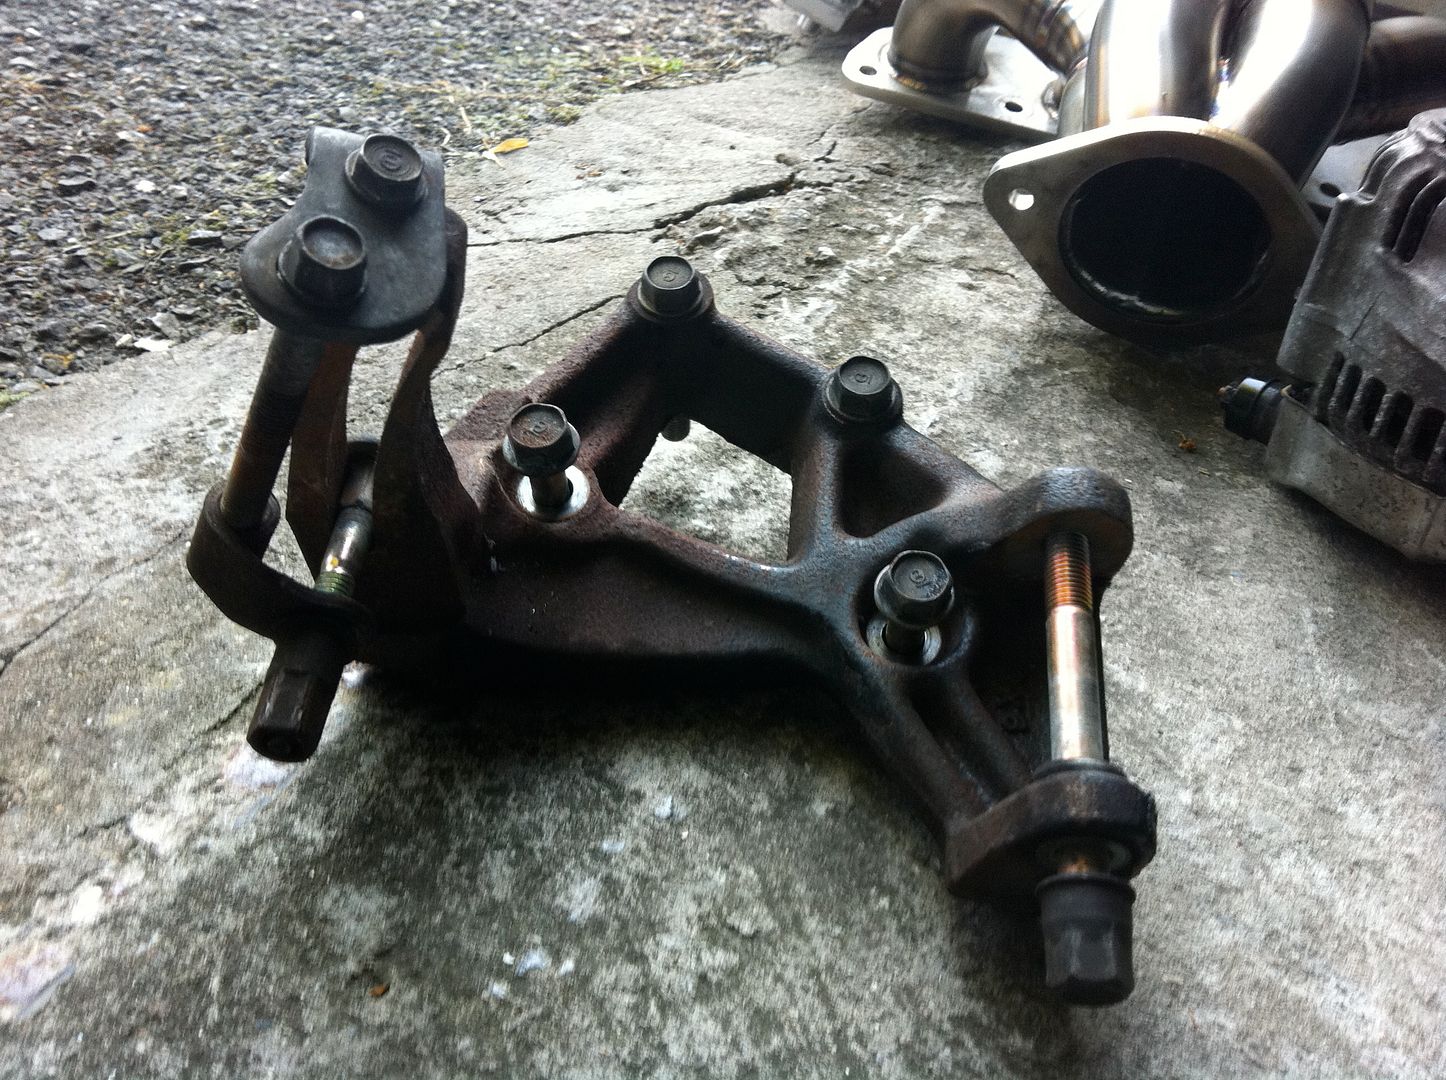
Alternator
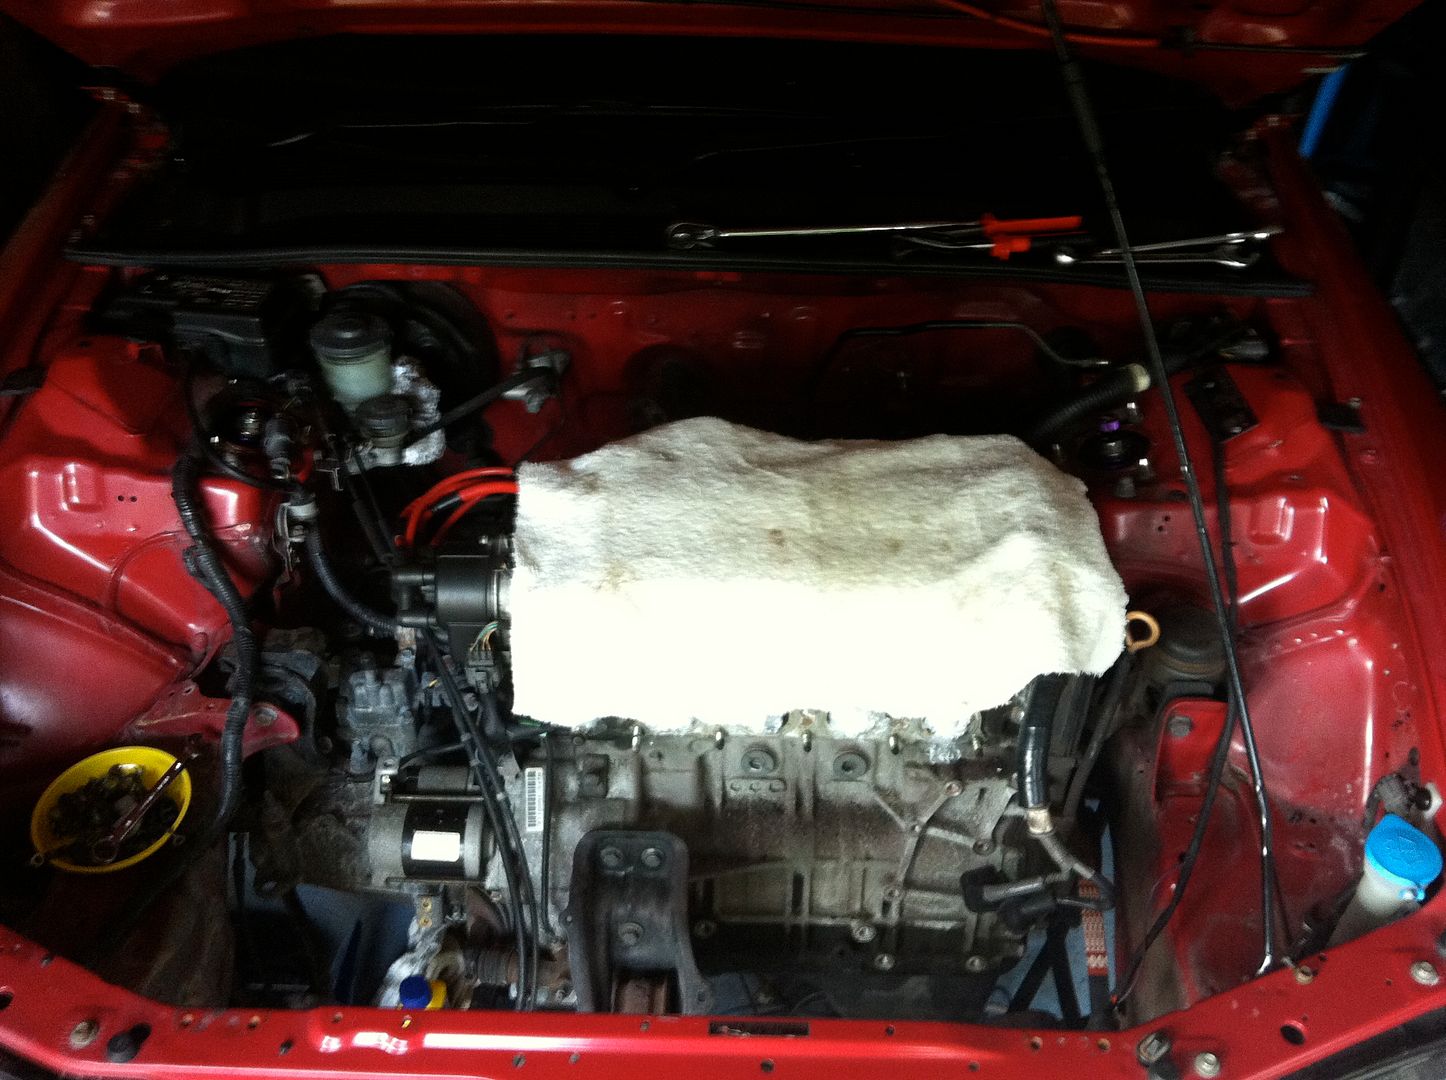
Decided to repaint my block (in situ) in black so had a few more items to take off – going to do it in two sections – front and side (dizzy side). The cam cover side is…well…covered by the cam cover and the back I’m not too fussed about until I have to switch motors in the future.
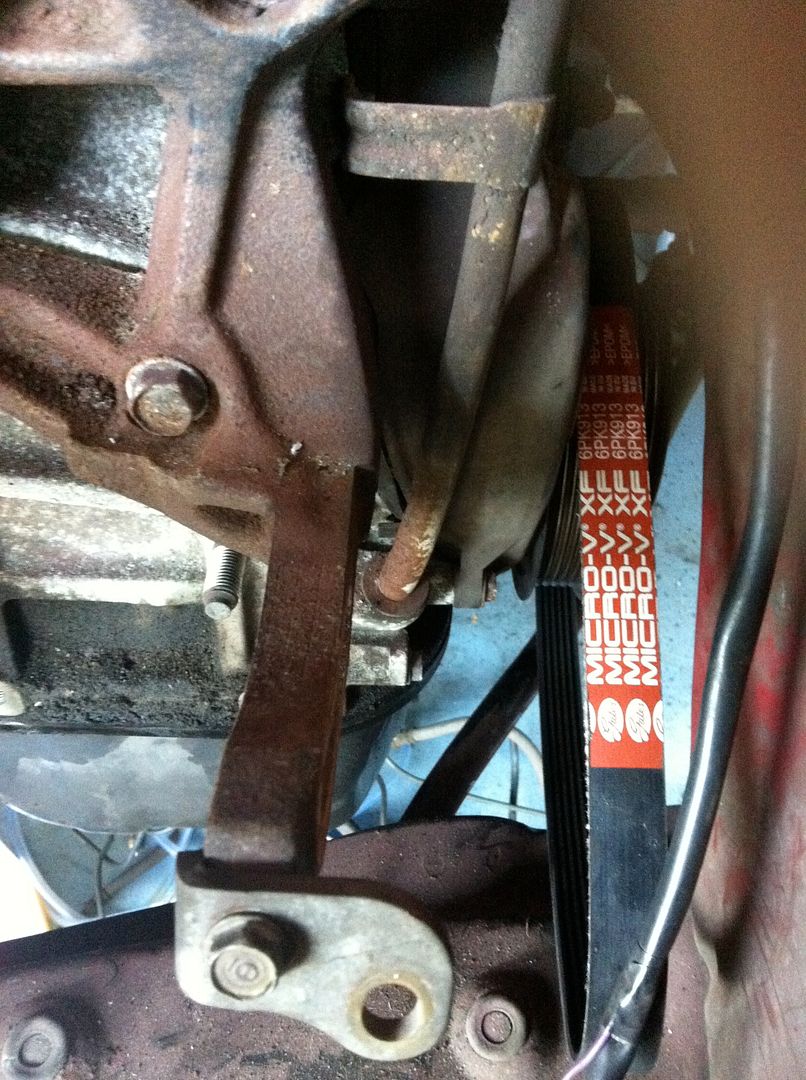
So first off was the alternator removal, I’m sure most know how to remove it, the tensioning system is interesting to get your head around if you’ve never done one, but get the manual and it’s a doddle. I’ll let the pics do the talking:

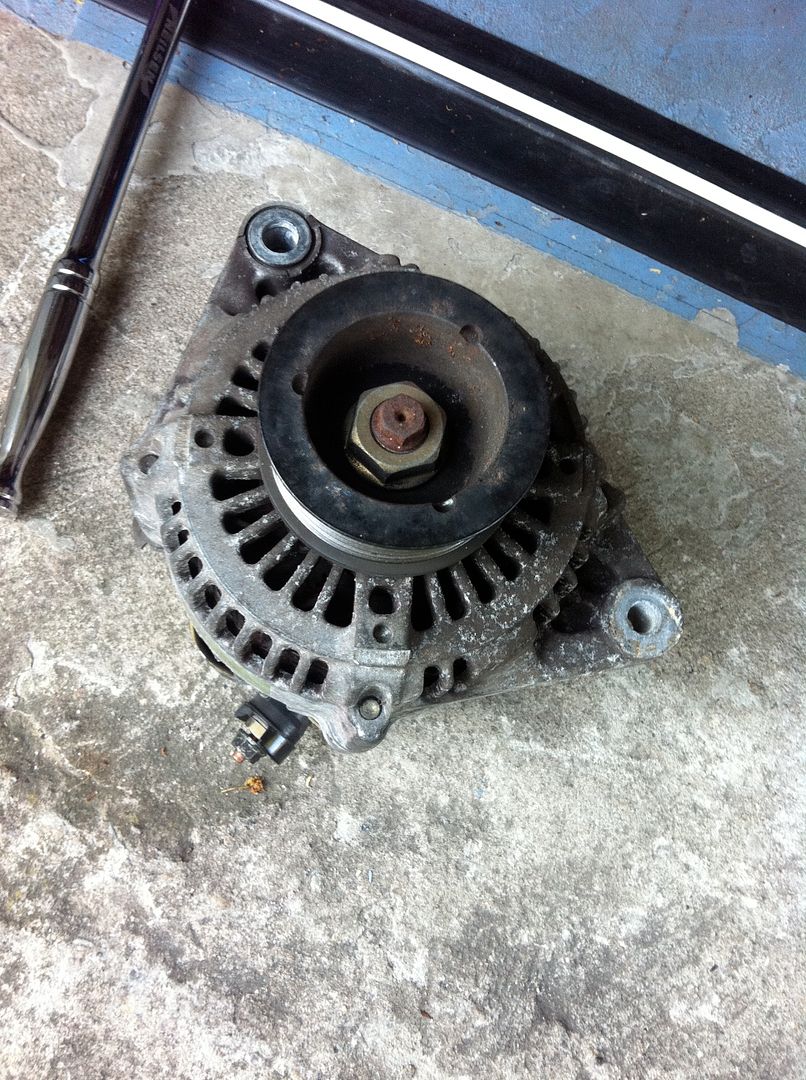
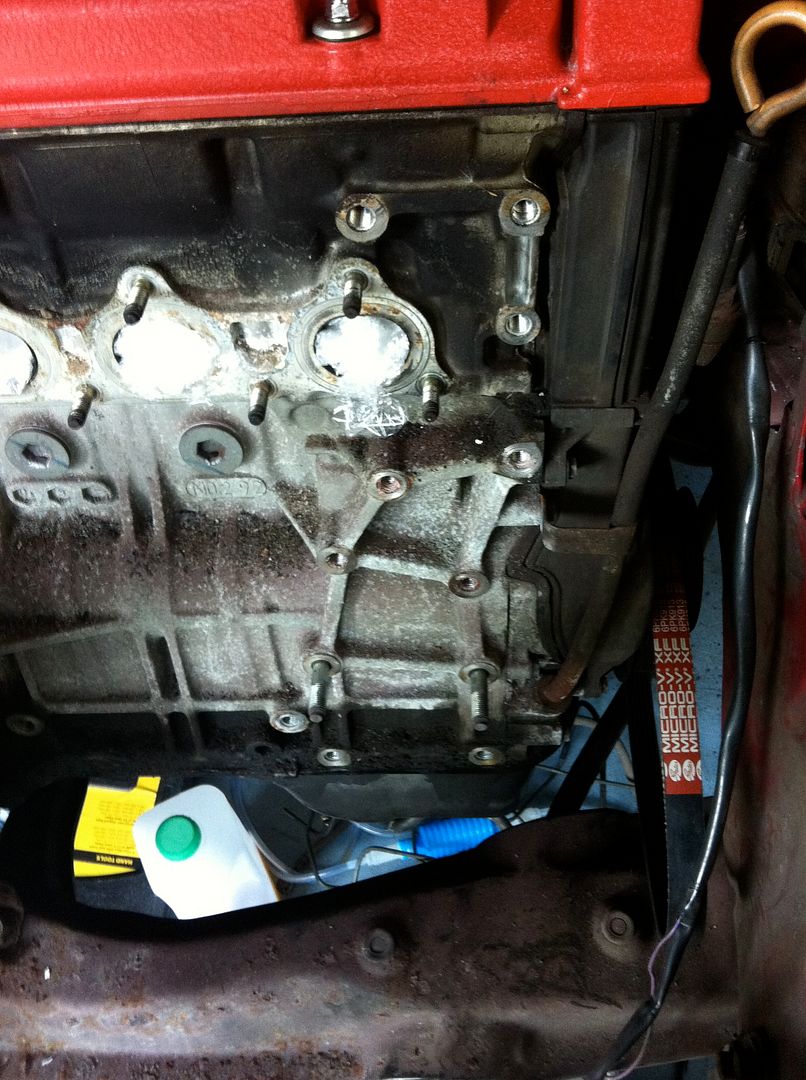
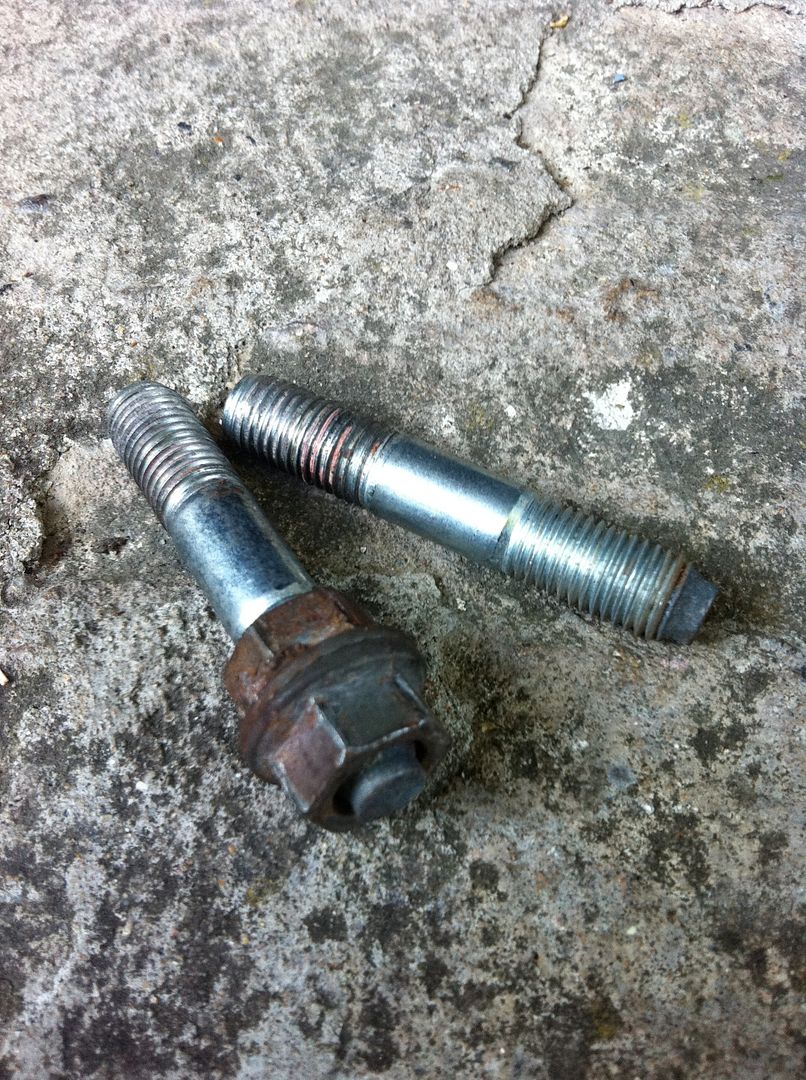
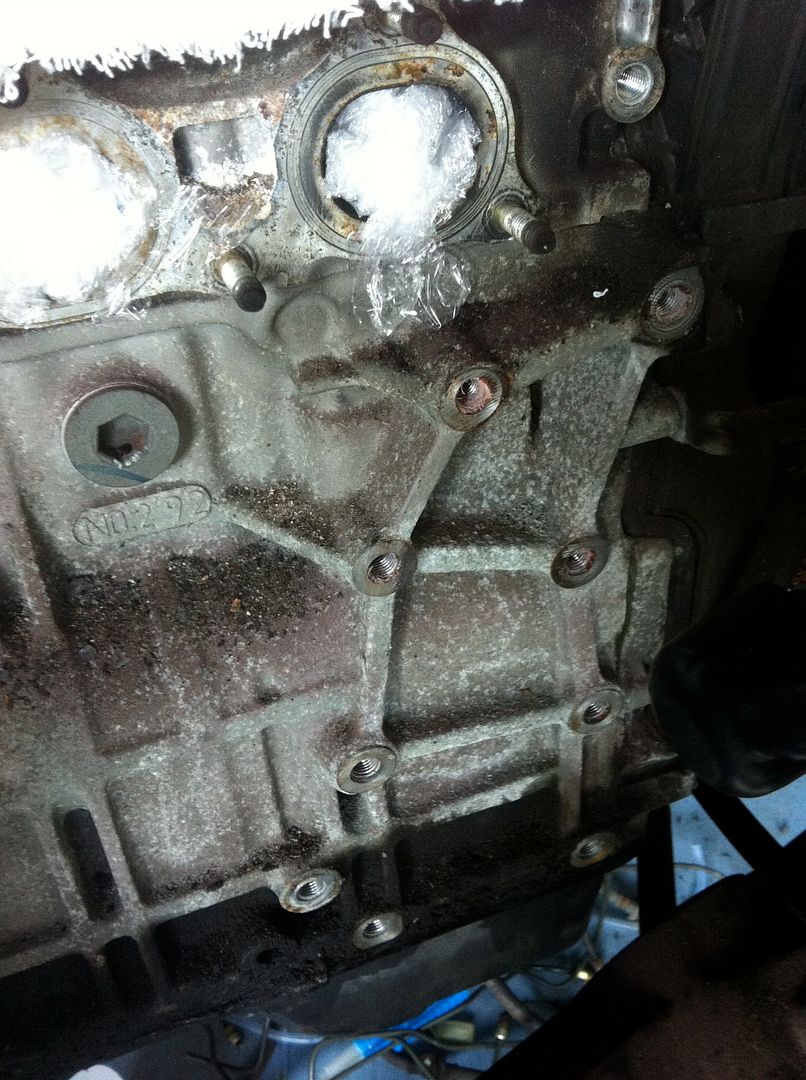
While the area was free I removed some studs that were left from removing the A/C ages ago at Japshow with Jozefsan.
Nice clear front ready for paint…nearly. Needs a damn good clean and scrub first!
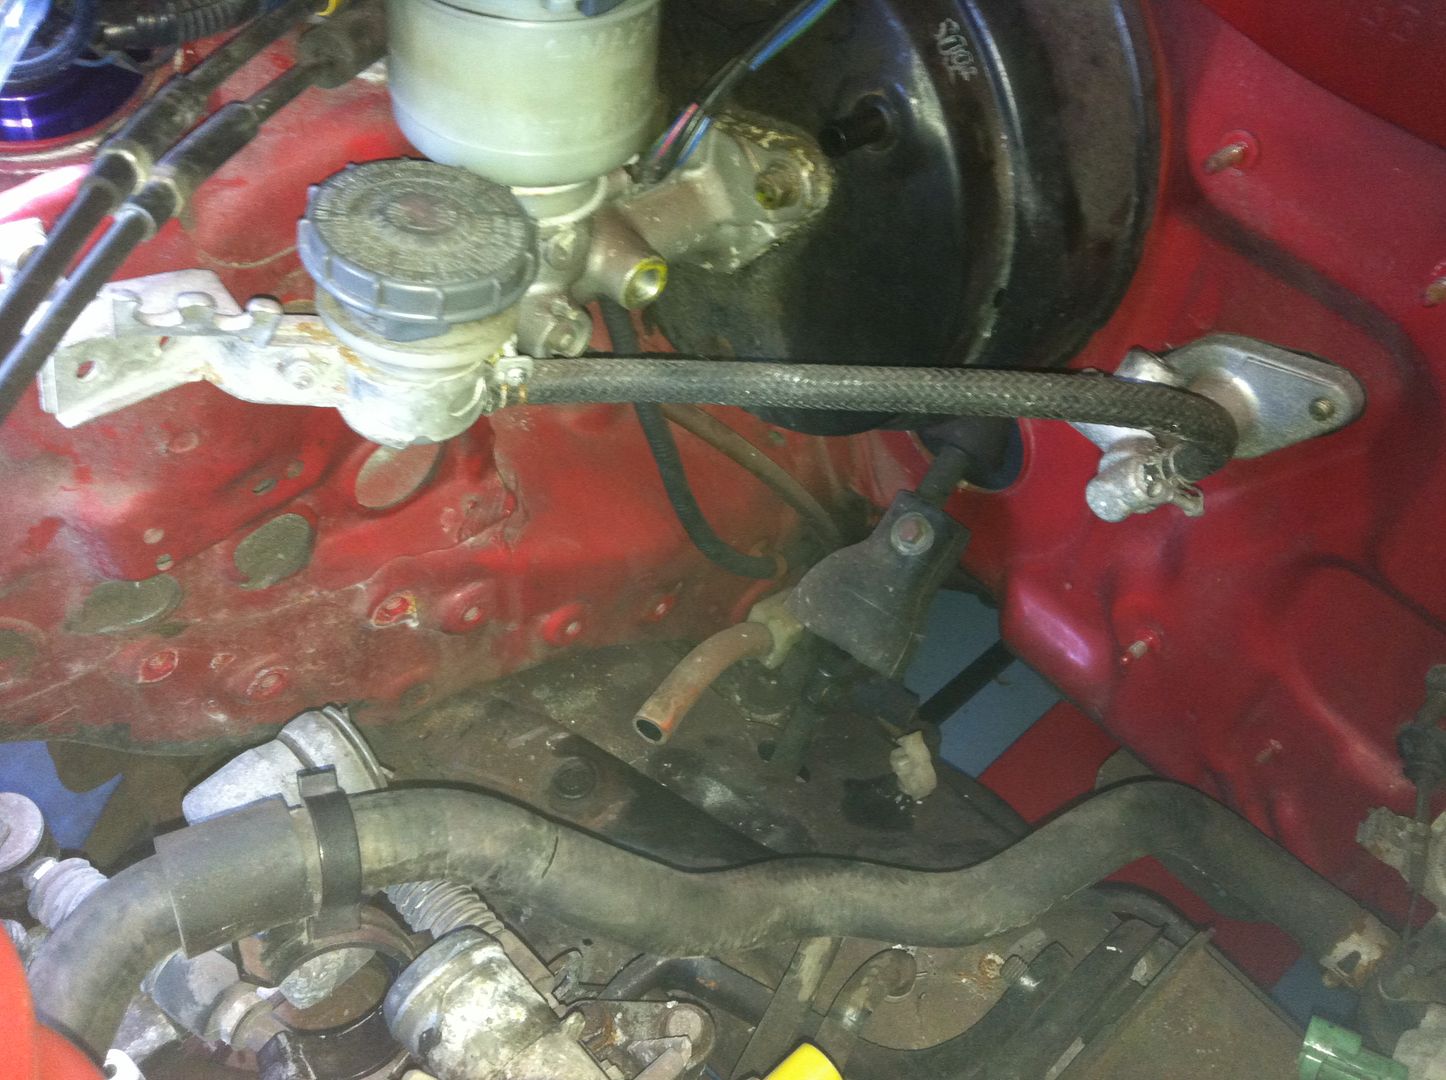
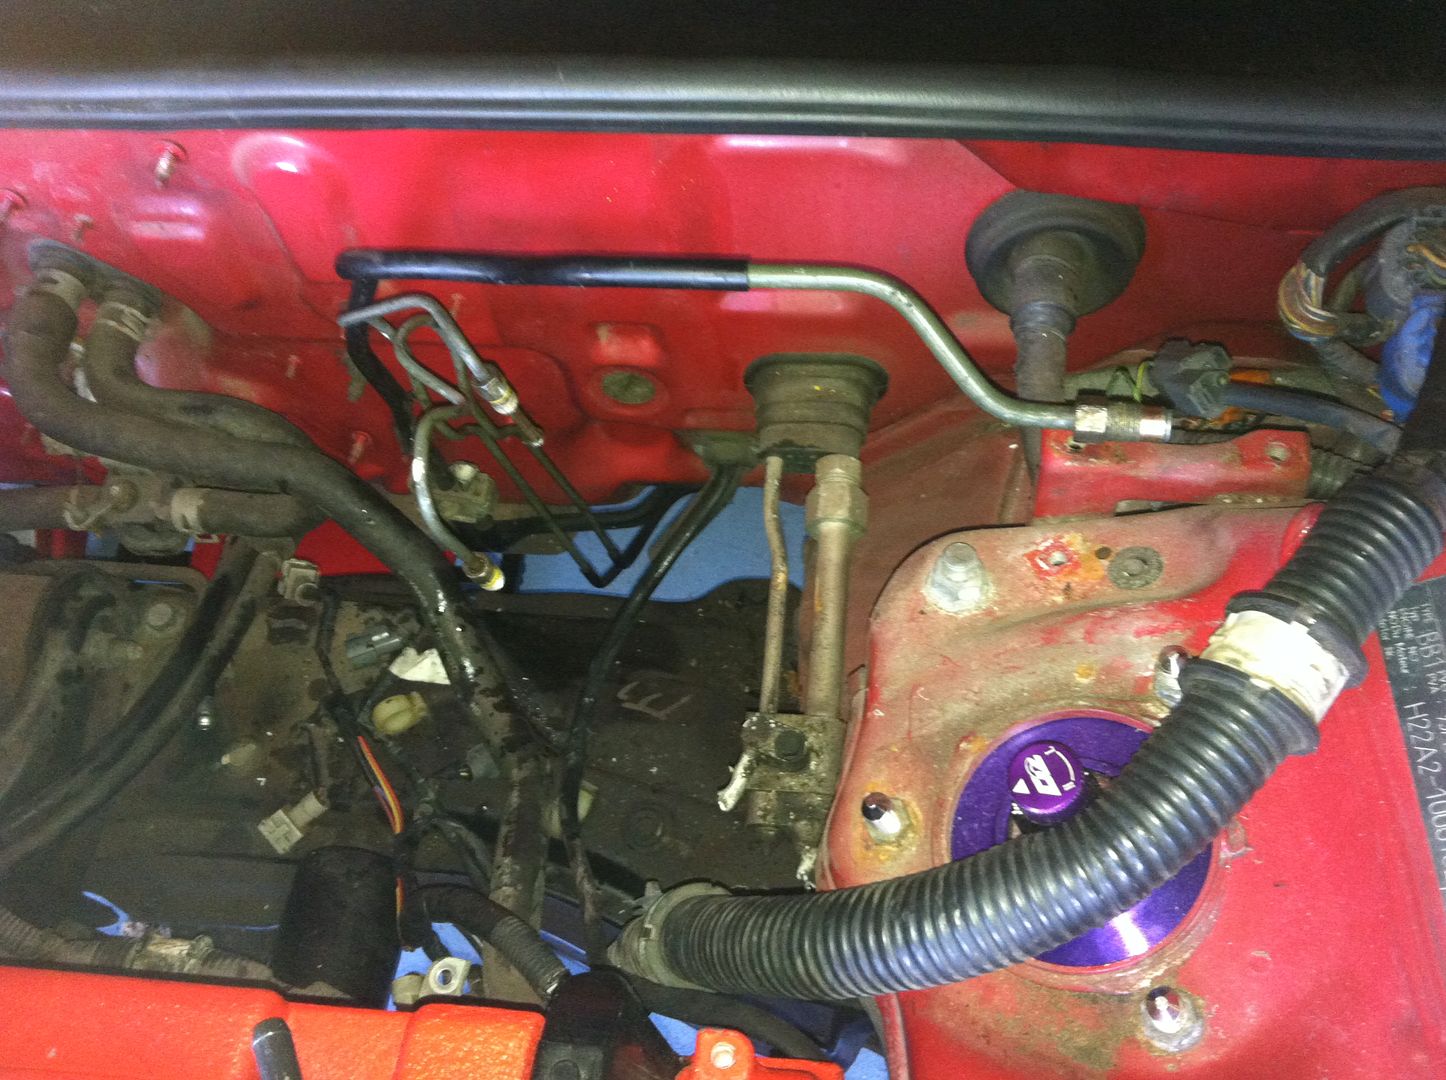
Clutch hydraulic line
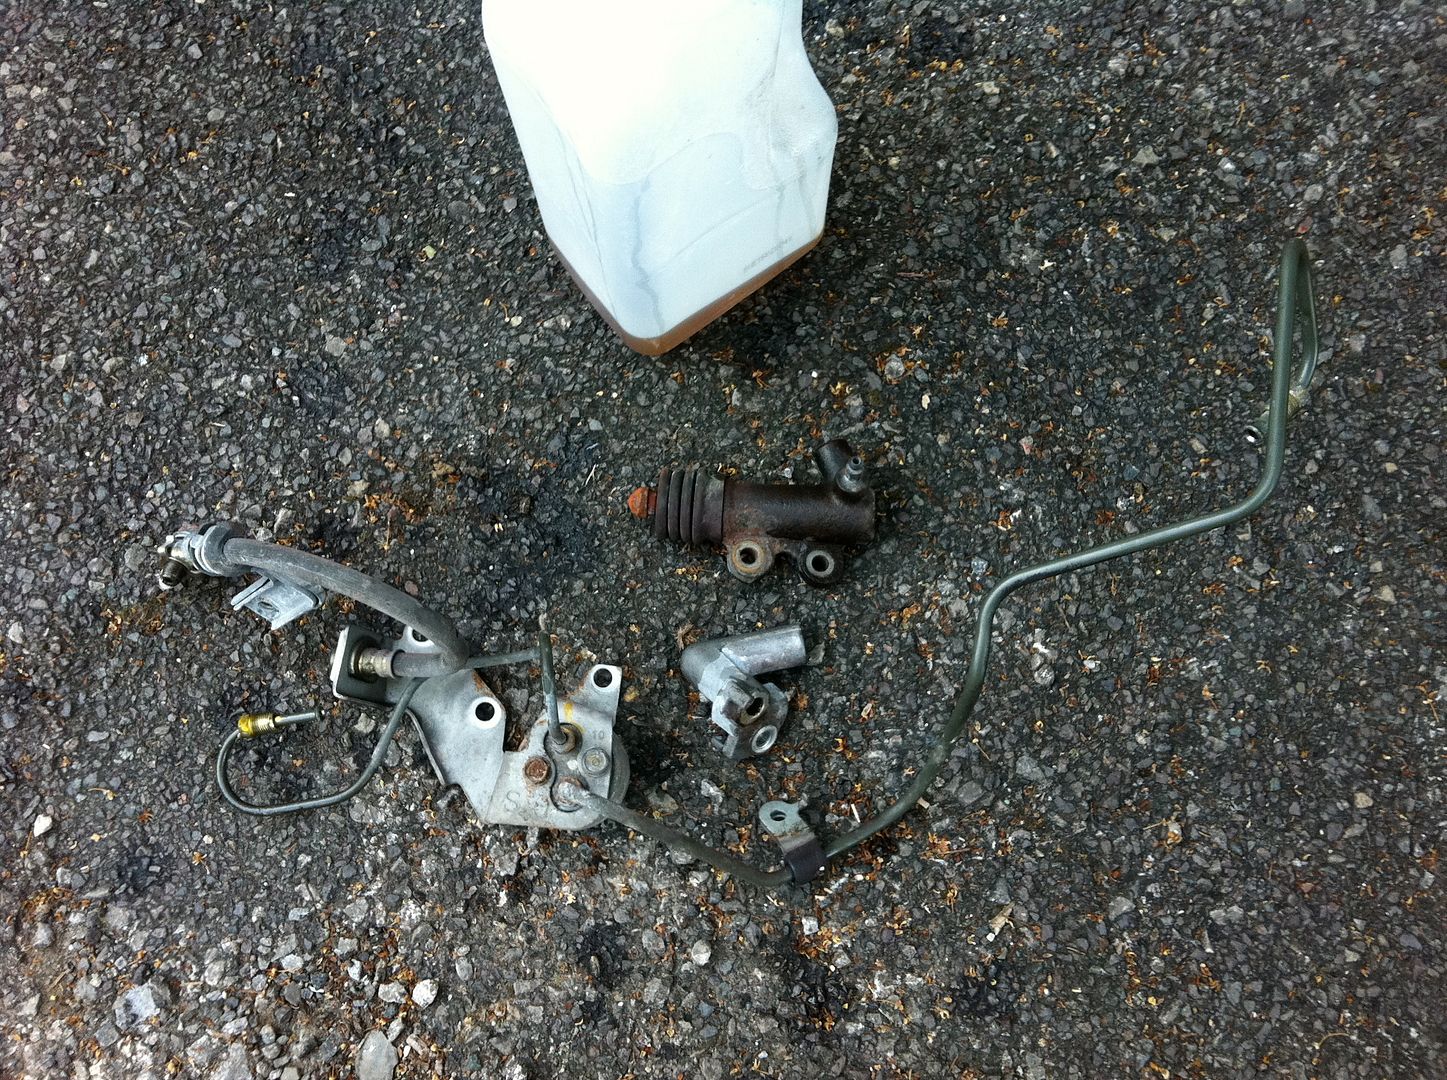
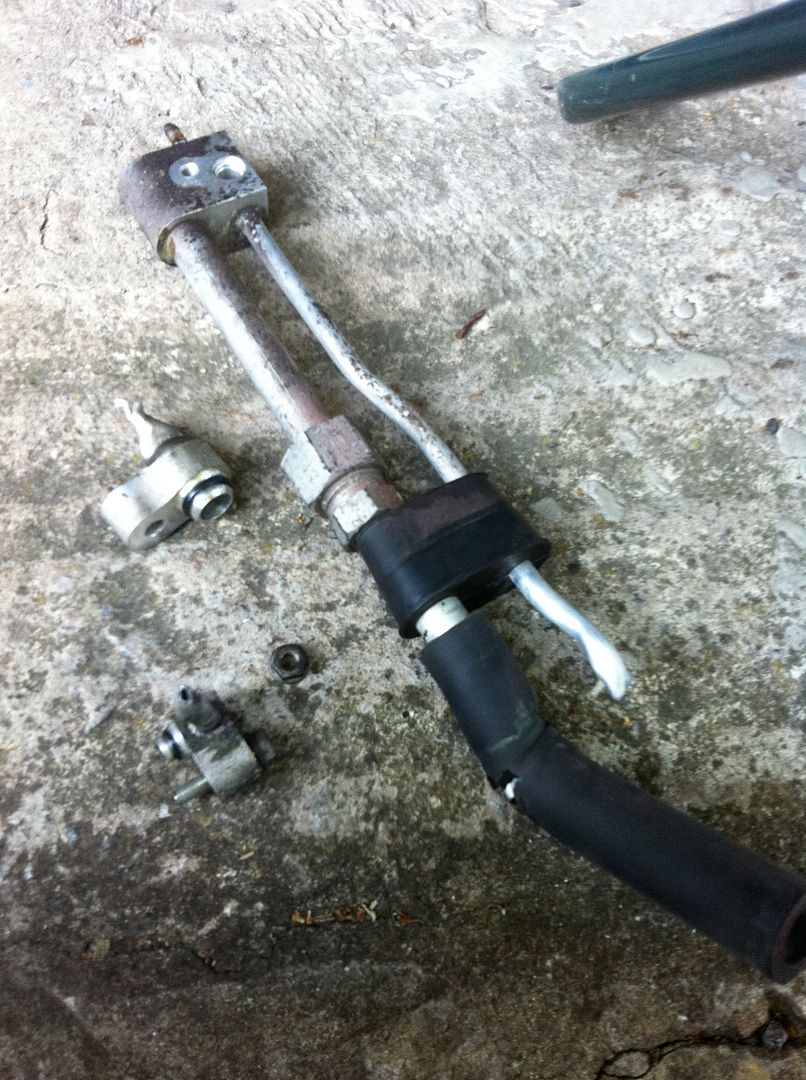
While I was in a removal mood, next up was the clutch line and slave cylinder. I Removed everything including dampener, hardline, rubber line and all brackets + clutch slave cylinder. I have a new Clutch S/C to go on with the new gearbox setup, plus a Goodridge braided clutch line courtesy of Nathan of I-tuned back in the day. Again lot’s of pics:
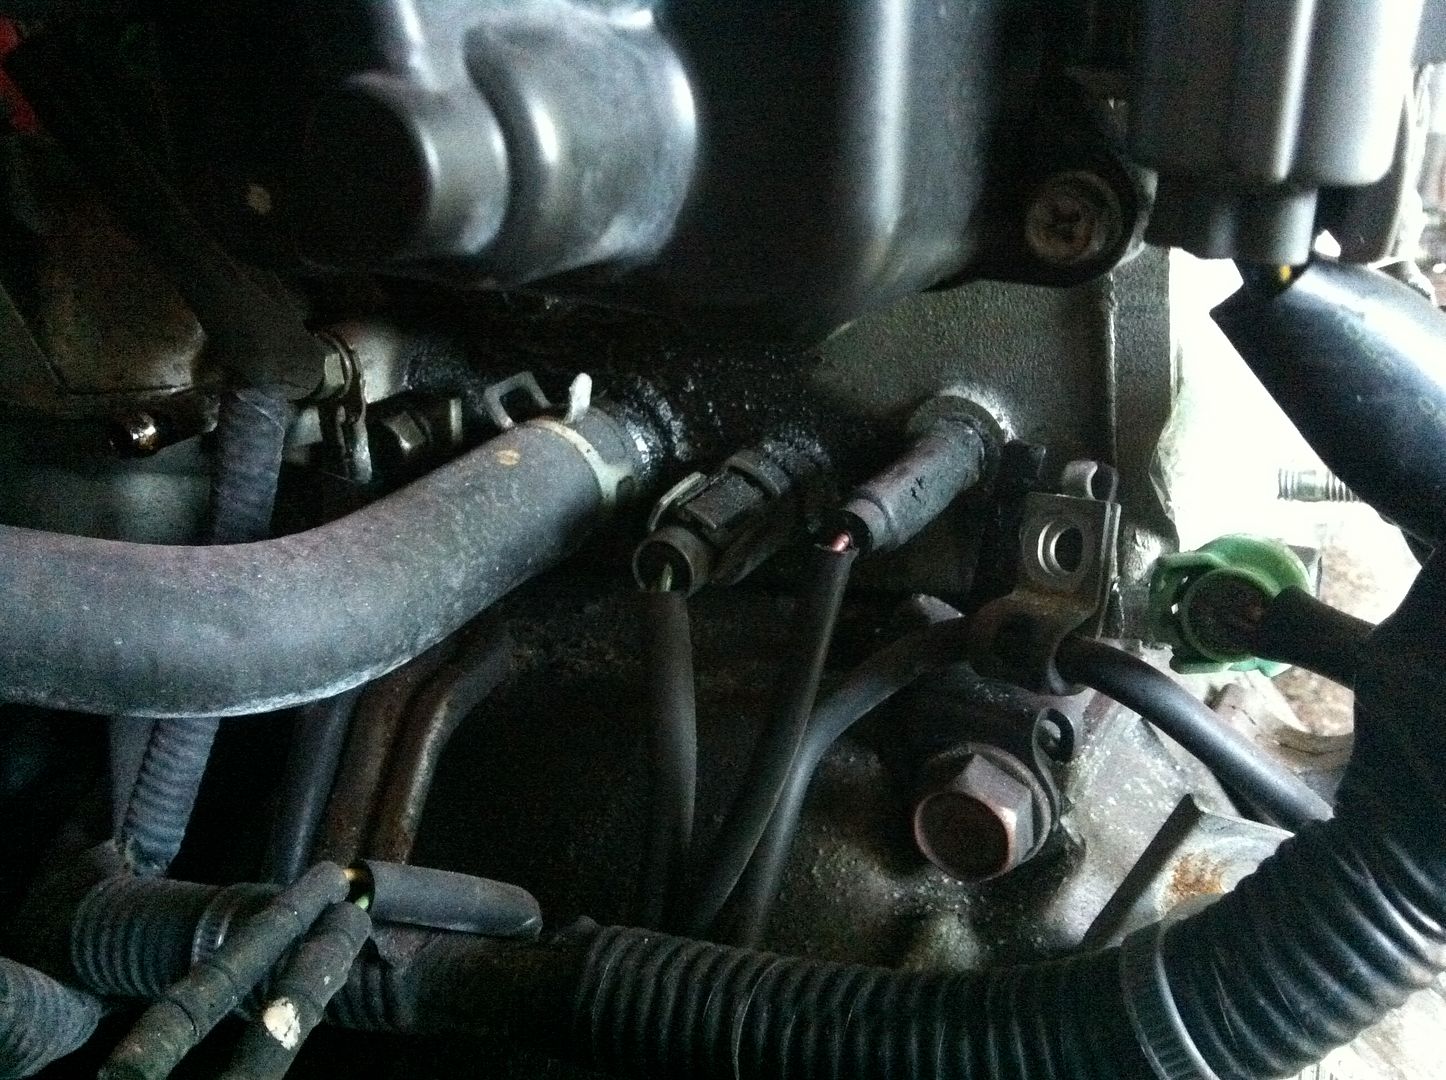
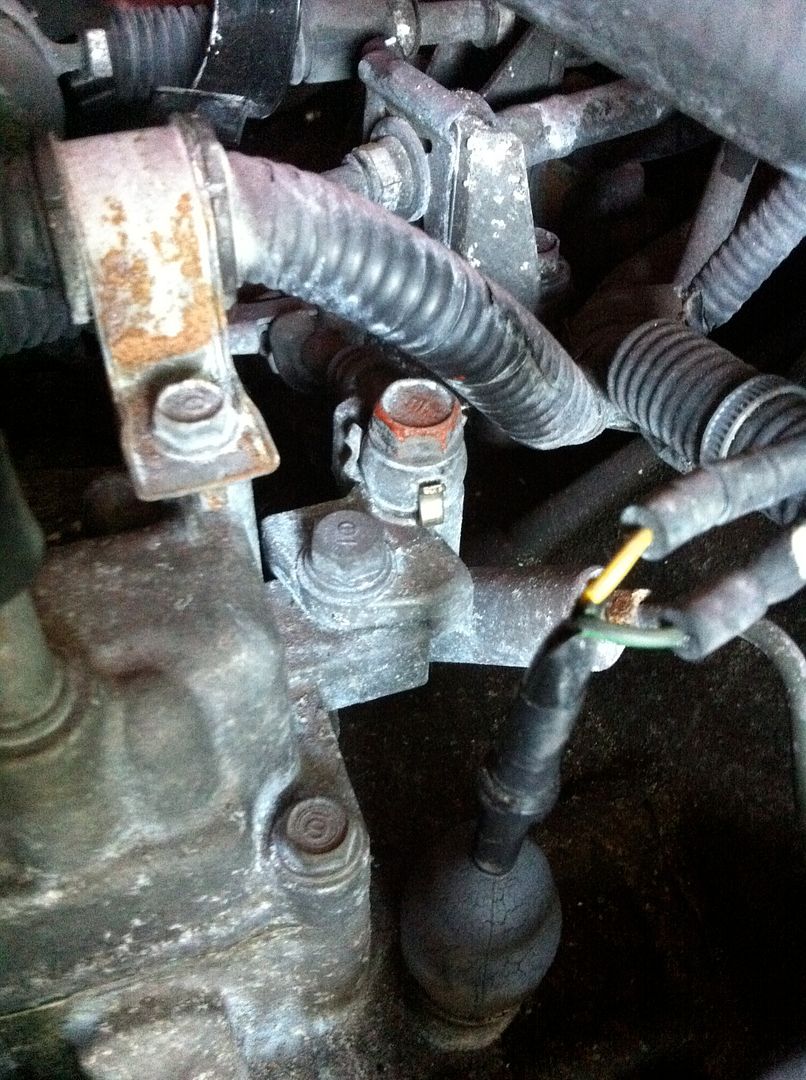
All removed:

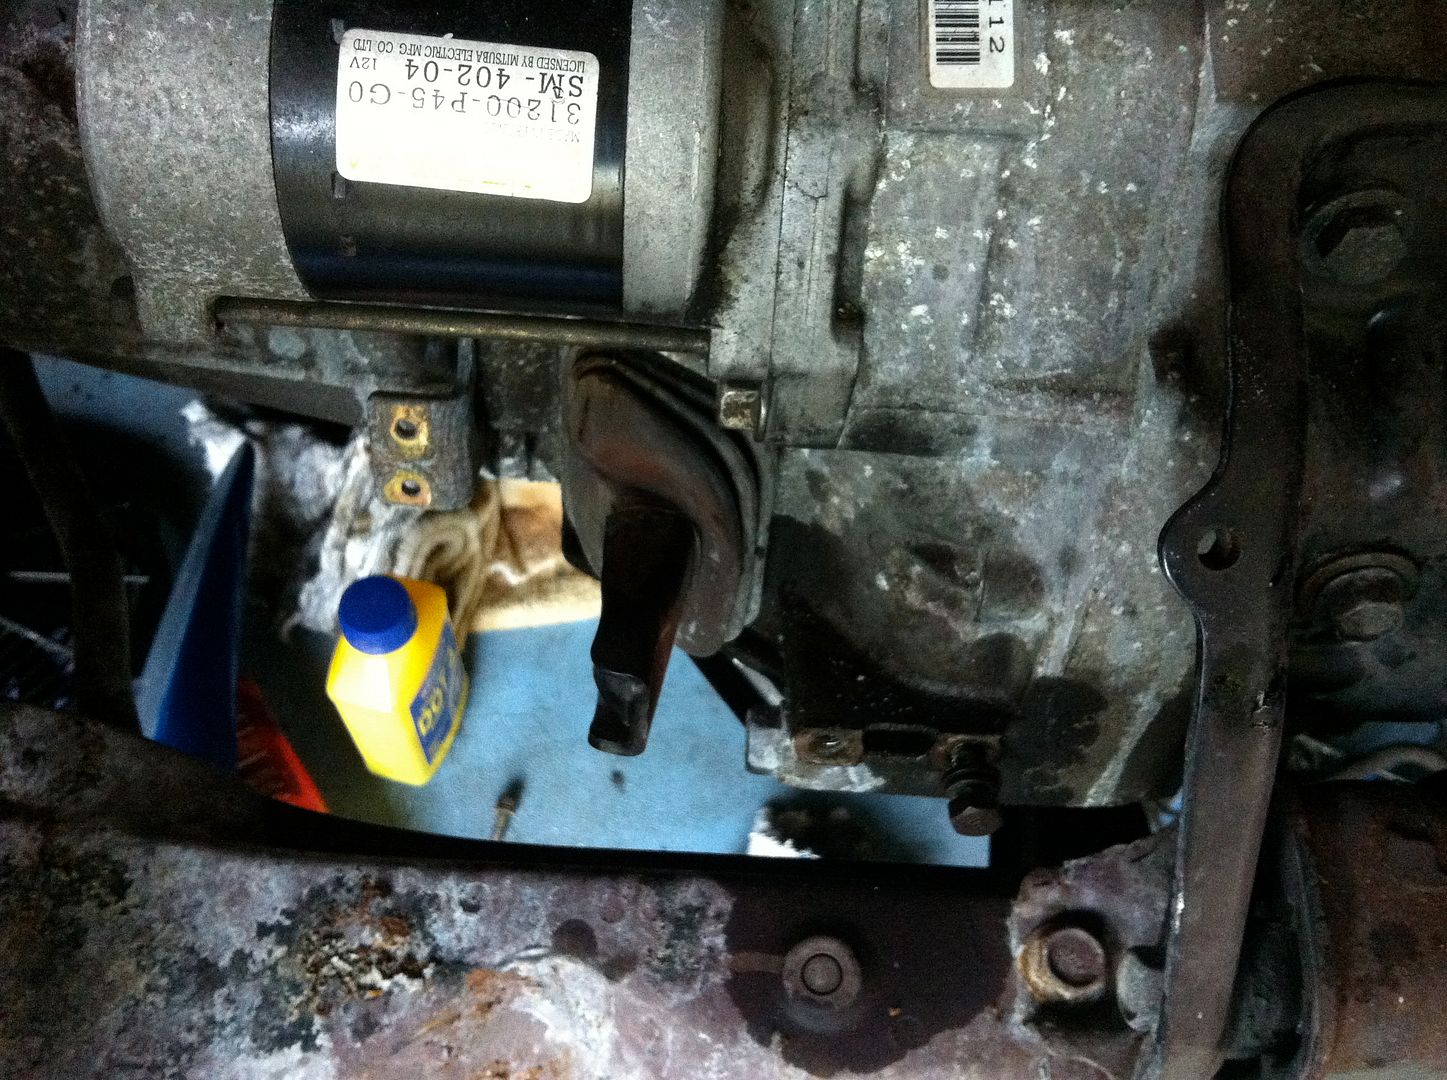
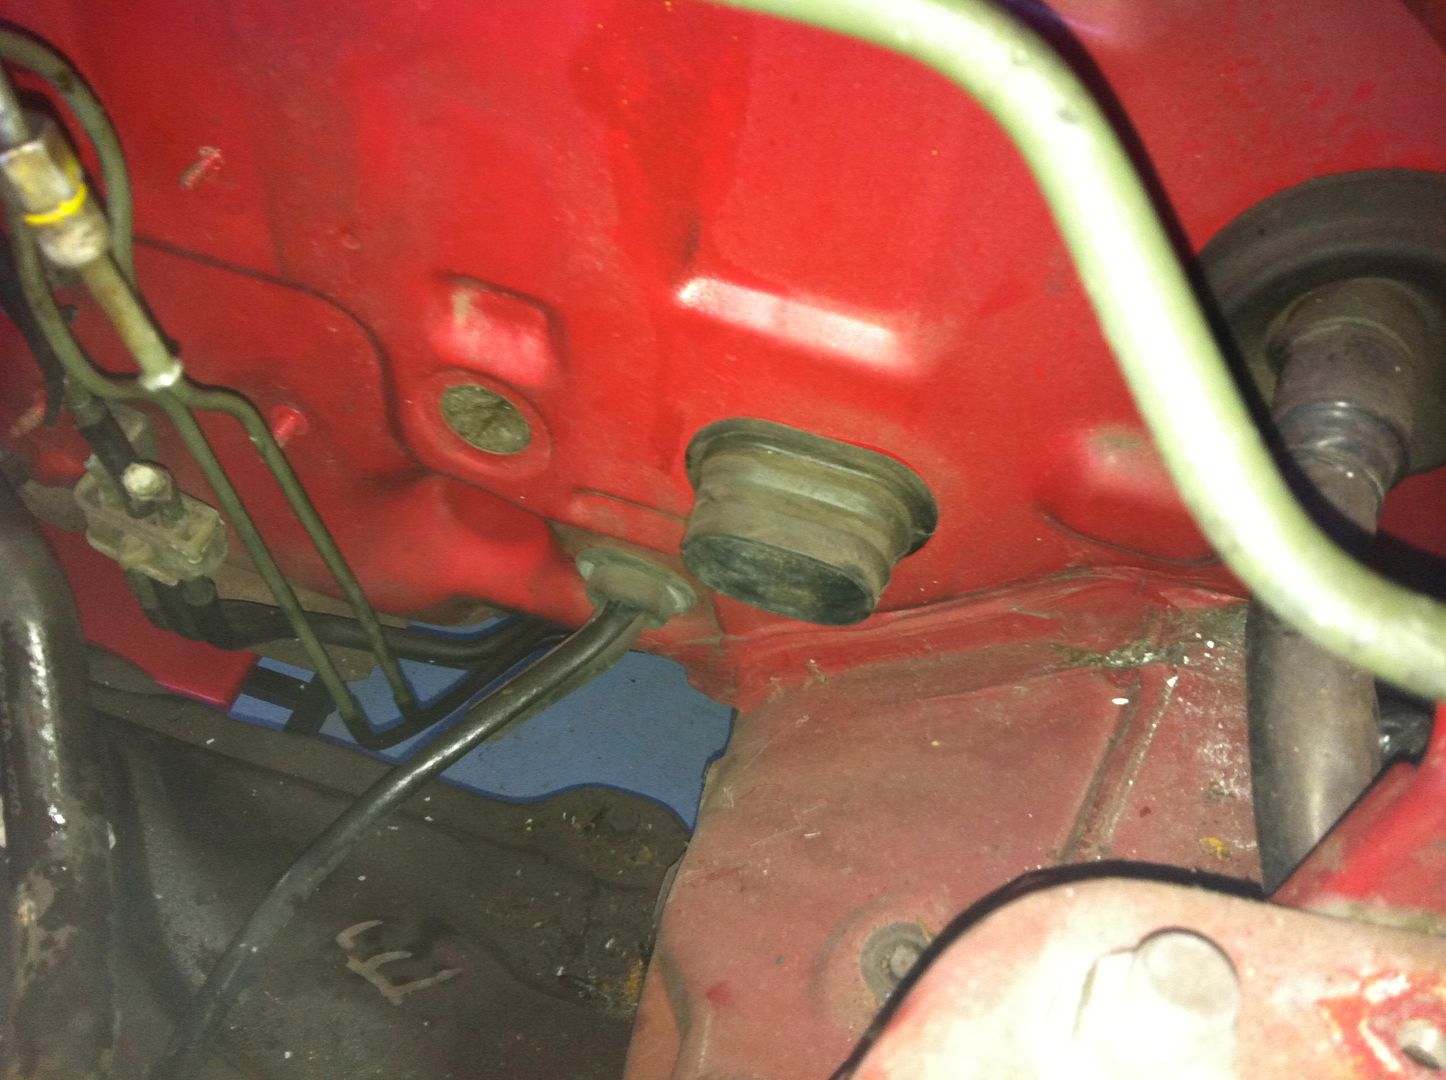
Not a lot left in here:
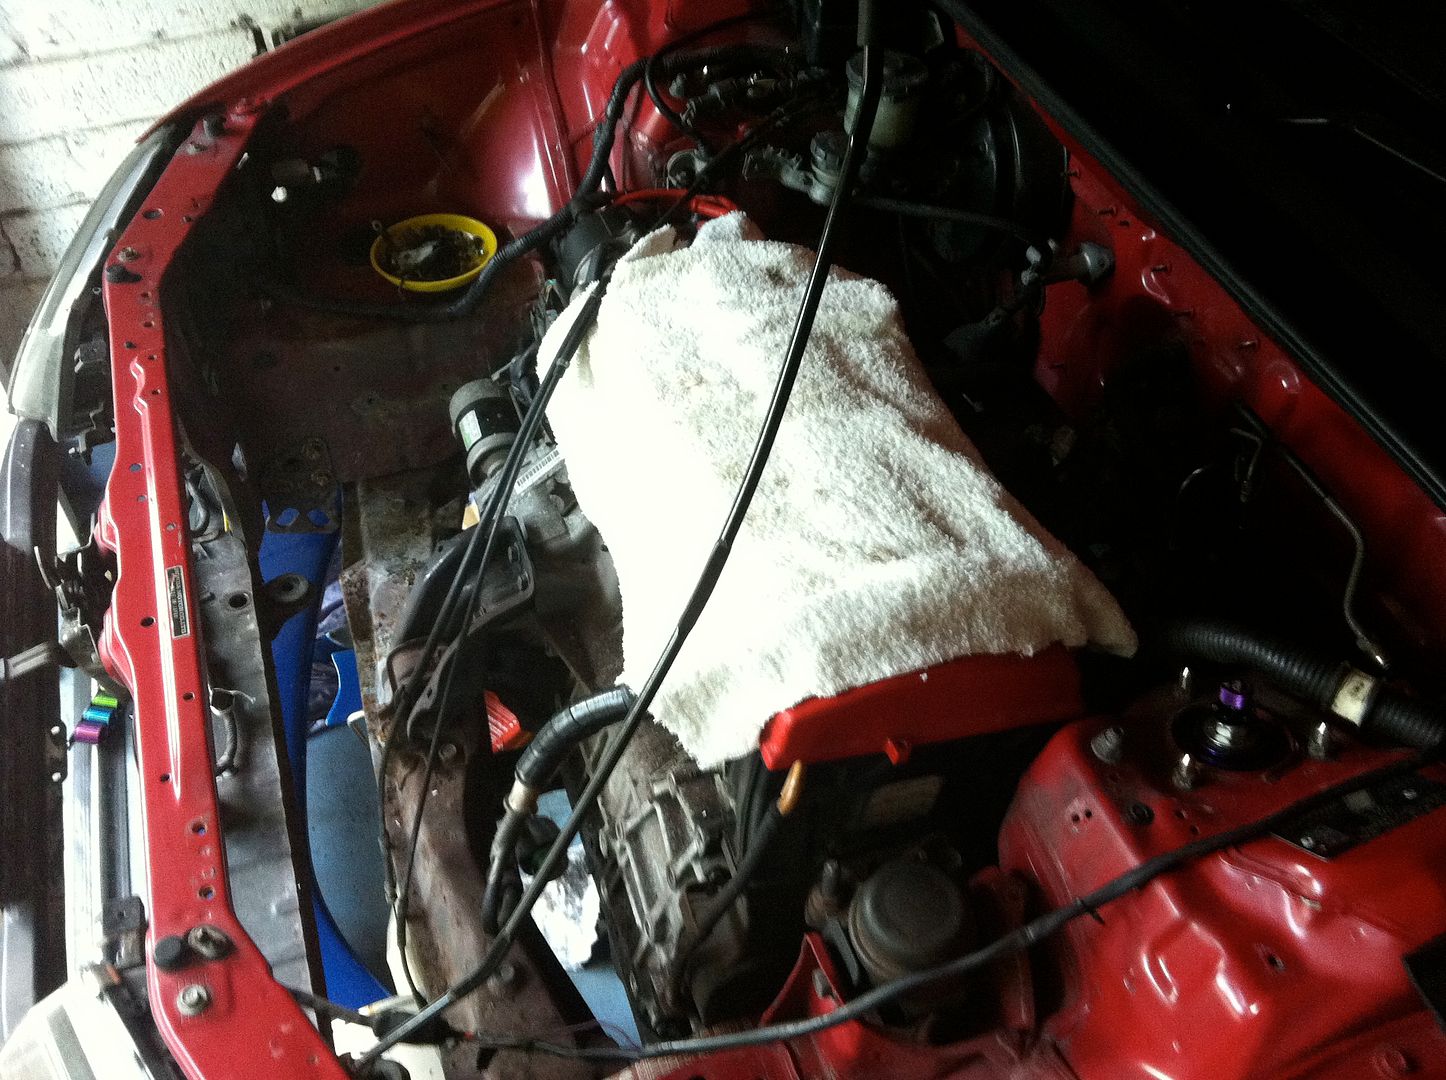
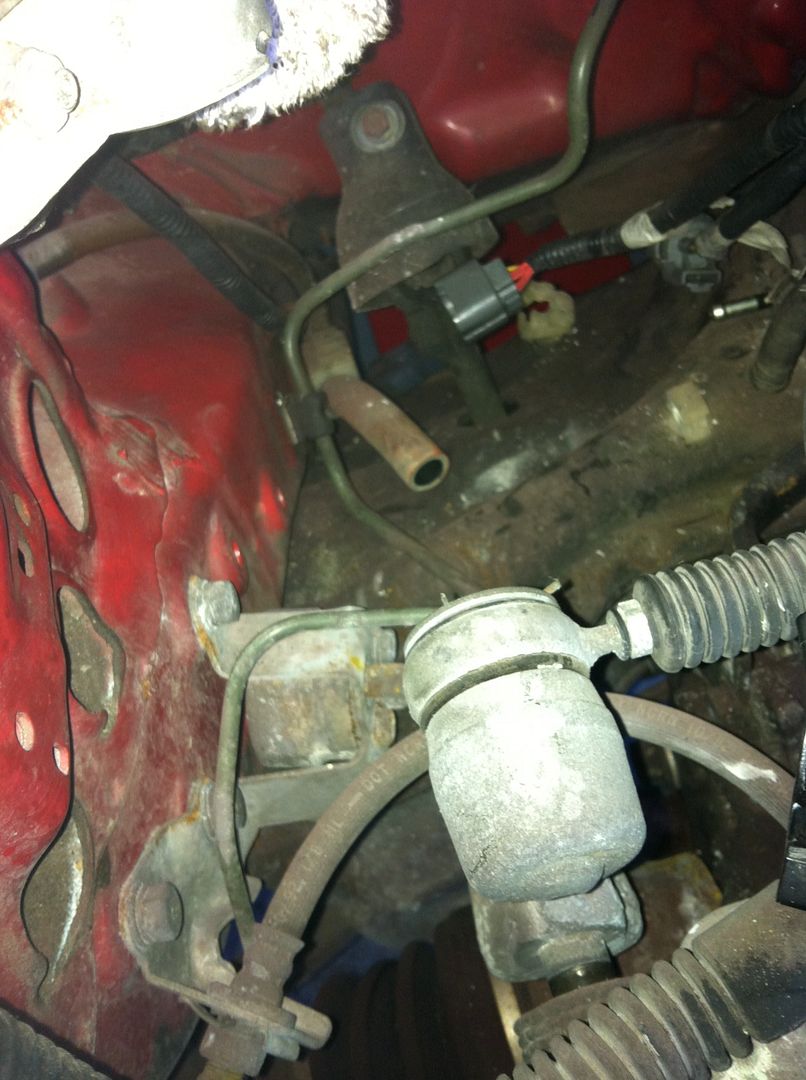
A/C lines to firewall
Final little item was the A/C pipes that I snapped near the firewall on removing my A/C. There was a bit of pipe still sitting there so decided to get rid of that too. I just went to town, wriggling them left, right and centre and they eventually snapped the other side of the firewall. Just the unit in the airbox behind the dash left. I’ll go inside for stuff later.
That’s it, just a little update. I’ll post another with some more work I’ve been doing over the year.
Cheers,
Rob
Final little update to some ancillaries removed for replacement or painting them and the block.
Alternator
Decided to repaint my block (in situ) in black so had a few more items to take off – going to do it in two sections – front and side (dizzy side). The cam cover side is…well…covered by the cam cover and the back I’m not too fussed about until I have to switch motors in the future.
So first off was the alternator removal, I’m sure most know how to remove it, the tensioning system is interesting to get your head around if you’ve never done one, but get the manual and it’s a doddle. I’ll let the pics do the talking:


While the area was free I removed some studs that were left from removing the A/C ages ago at Japshow with Jozefsan.

Nice clear front ready for paint…nearly. Needs a damn good clean and scrub first!

Clutch hydraulic line
While I was in a removal mood, next up was the clutch line and slave cylinder. I Removed everything including dampener, hardline, rubber line and all brackets + clutch slave cylinder. I have a new Clutch S/C to go on with the new gearbox setup, plus a Goodridge braided clutch line courtesy of Nathan of I-tuned back in the day. Again lot’s of pics:


All removed:


Not a lot left in here:

A/C lines to firewall
Final little item was the A/C pipes that I snapped near the firewall on removing my A/C. There was a bit of pipe still sitting there so decided to get rid of that too. I just went to town, wriggling them left, right and centre and they eventually snapped the other side of the firewall. Just the unit in the airbox behind the dash left. I’ll go inside for stuff later.


That’s it, just a little update. I’ll post another with some more work I’ve been doing over the year.
Cheers,
Rob
-
nucleustylzlude
- Moderator
- Posts: 4013
- Joined: Wed Aug 11, 2010 11:46 pm
- My Generation: 4G
- Location: Bristol, UK!
- Been thanked: 7 times
- Contact:
Re: Supercharged Mugen Lude (25/07/13 Update)
Yeah, there's a bunch of work on the inside which I'm saving for when the whether gets a little more crappy.
General theme for everything in the engine bay is black, black and...black. I have some touches of white here and there on the lude, but mostly red and black theme.
I've been going a bit mad painting things black and buying stupid amounts of stainless steel replacements bolts and nuts - you'll see soon.
-
NafemanNathan

- LotM Winner
- Posts: 20144
- Joined: Sun Aug 08, 2010 9:37 pm
- My Generation: 0G
- Location: Yeovil, Somerset
- Has thanked: 8 times
- Been thanked: 124 times
