Congratulations to vtecmec for winning May/June's Lude Of The Month, with his DIY Turbo BB1 build.

>>> Click Here For Profile <<<

Image

Where is the front foglight sub-harness?...

To clarify - that's In Car Entertainment - not frozen water
Post Reply
User avatar
NafemanNathan
LotM Winner
Posts: 20144
Joined: Sun Aug 08, 2010 9:37 pm
My Generation: 0G
Location: Yeovil, Somerset
Has thanked: 8 times
Been thanked: 124 times

Where is the front foglight sub-harness?...

Post by NafemanNathan » Thu Mar 28, 2013 4:14 pm

Can anybody tell me where this Foglight Sub-harness found behind the front bumper supposedly is and also where the relay(s) can be found?

This was taken from another thread and I was directed to it as I am selling my foglights...
Pushki wrote:
Edson wrote:if my JDM lude didn't come with front fogs, will the wires, relays and connectors be there already ?
You should have the wiring behind the front bumper, usually wrapped in blue tape.
You will need everything in this picture. :ugeek:
Image

Image

Image

Image
Having just had a look I can not see such a harness, and now thinking about it, when I removed the entire harness from the project lude to do the wire tuck, there were definitely no detachable sub-harnesses and that came with front foglights from the factory too.

The foglight connectors are obviously there behind the bumper, but they're all part of the rest of the lights harness. I'm assuming these connectors will be in any 4th gen's light harness, just not necessarily with the foglights connect to them. (That's the way things normally work with extras anyway).

So where does this sub-harness connect and where is the relay located?

I can't find anything in the manuals either :oops:

@Pushki
@aardvark64

User avatar
Pushki
Supporter 2015
Posts: 2635
Joined: Sat Aug 07, 2010 9:21 pm
My Generation: 4G
PSN GamerTag: Luigi_Black
Location: Bluff Creek
Has thanked: 2 times
Been thanked: 10 times

Post by Pushki » Thu Mar 28, 2013 5:15 pm

This should help you Nafe. :P

Image
Image
ImageImageImage

User avatar
wurlycorner
Ye are glad to be dead, RIGHT?
Posts: 21493
Joined: Sat May 19, 2012 3:33 pm
My Generation: 4G
Location: Chelmsford, Essex
Has thanked: 2481 times
Been thanked: 306 times

Post by wurlycorner » Thu Mar 28, 2013 5:24 pm

AH!!!

That explains what one of the loose connectors I see under the dash on my UKDM is!!! :D

So basically, the wiring to the fogs themselves should already be there, this just connects it up at the dash end.

User avatar
NafemanNathan
LotM Winner
Posts: 20144
Joined: Sun Aug 08, 2010 9:37 pm
My Generation: 0G
Location: Yeovil, Somerset
Has thanked: 8 times
Been thanked: 124 times

Post by NafemanNathan » Thu Mar 28, 2013 5:44 pm

Are both those pages taken from a UKDM manual @Pushki, as so far nothing applies to either of my JDM's.

I'm just uploading some pictures.
Last edited by NafemanNathan on Thu Mar 28, 2013 5:45 pm, edited 1 time in total.


User avatar
NafemanNathan
LotM Winner
Posts: 20144
Joined: Sun Aug 08, 2010 9:37 pm
My Generation: 0G
Location: Yeovil, Somerset
Has thanked: 8 times
Been thanked: 124 times

Post by NafemanNathan » Thu Mar 28, 2013 6:04 pm

Well I've disconnected this...

Image

Which was bolted to this lug right underneath the steering column...

Image

The stubby little extension shown in the first pic disconnected here...

Image

And it is just a stubby extention as the male plugs are exactly the same...

Image

Having read this it suggests that the USDM's have the same as both my JDM's as the "sub-harness" isn't necessary, but helps locate the "singular" relay where it should locate (As my stubby one does).

http://honda-tech.com/showthread.php?t=1305905

User avatar
aardvark64
Posts: 24
Joined: Wed Aug 11, 2010 5:20 pm
My Generation: 4G
Location: Bristol, UK

Post by aardvark64 » Thu Mar 28, 2013 10:07 pm

This worked for me:

Image

Don't have a 'Lude any more so can't offer you more help than this. Sorry. Hope you get it sorted.

Best wishes, Colin
"My other car is a mid-bulk transport: 03-K64, class: Firefly"

Image

User avatar
NafemanNathan
LotM Winner
Posts: 20144
Joined: Sun Aug 08, 2010 9:37 pm
My Generation: 0G
Location: Yeovil, Somerset
Has thanked: 8 times
Been thanked: 124 times

Post by NafemanNathan » Thu Mar 28, 2013 10:38 pm

That's it Colin! :) If you look at the Sub-harness in part 6 of that page you've just posted up, that's the small stubby extension I have :)

So there must be a difference between JDM/USDM and UKDM as I suspected.

Thought you'd be able to help ;-) Thank you :)

User avatar
mart609
LotM Winner
Posts: 3354
Joined: Sun Aug 08, 2010 10:22 pm
My Generation: 4G
XBOX GamerTag: mart609
PSN GamerTag: mart609
Location: Dudley, West Mids
Has thanked: 9 times
Been thanked: 14 times
Contact:

Post by mart609 » Fri Aug 09, 2013 4:20 pm

Just copied this from my Profile
Pre / Post facelist have the plug for the switch wiring in different places too I think. pre facelift is behind the drivers side tweeter cover.

ok so here goes
the fogs themselves were installed by the bodyshop when it was in for all the work so that steps skipped :lol:

onto the wiring
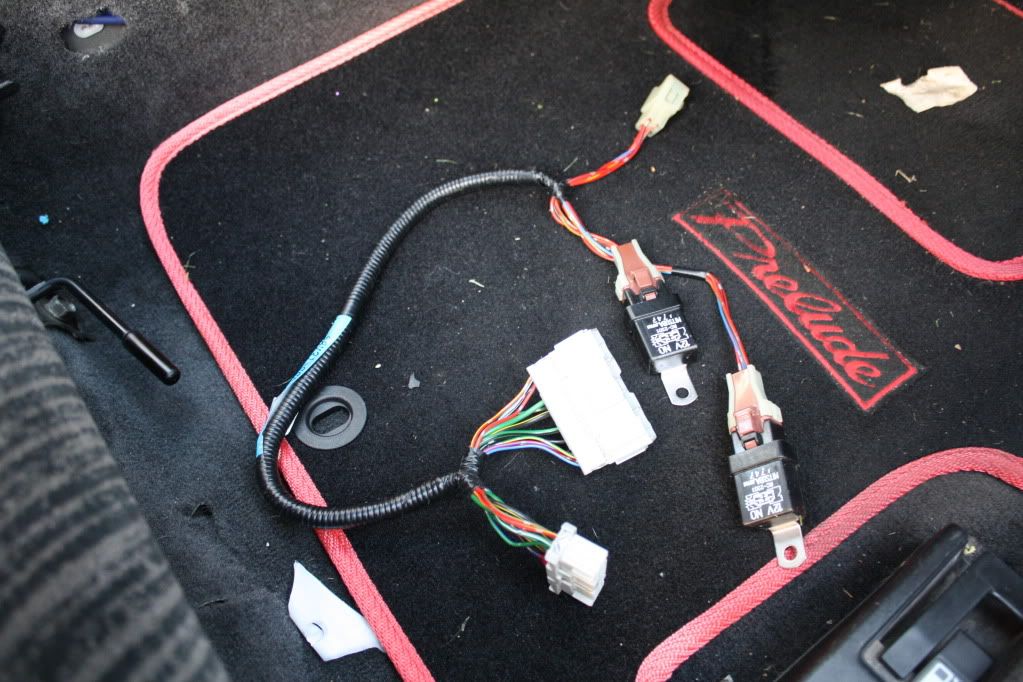
1st of all i had the Wiring harness & relays

Image

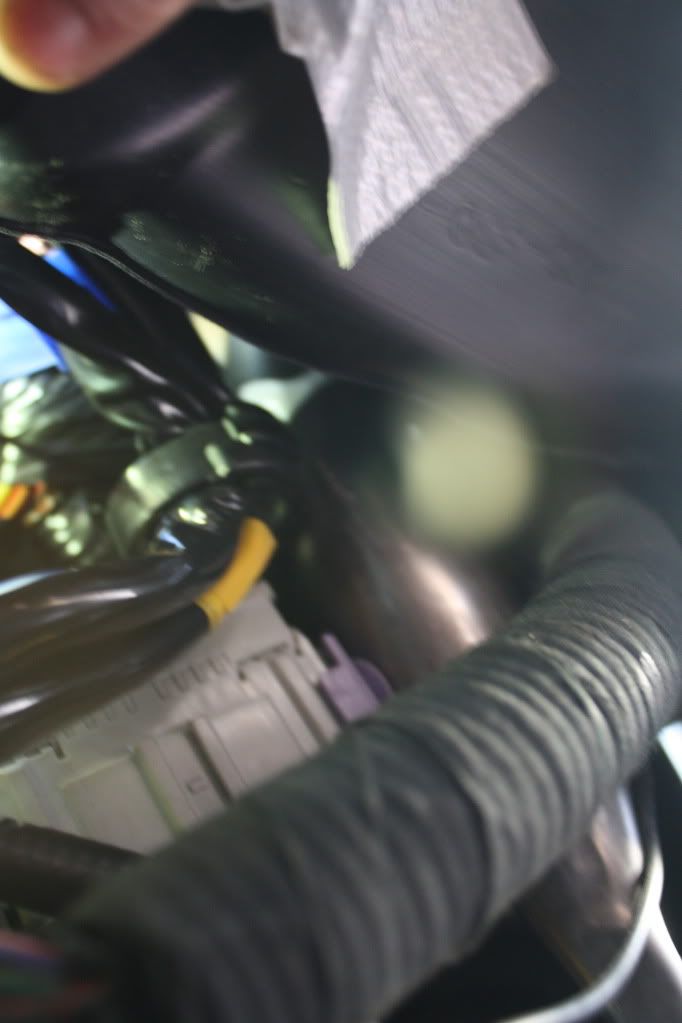
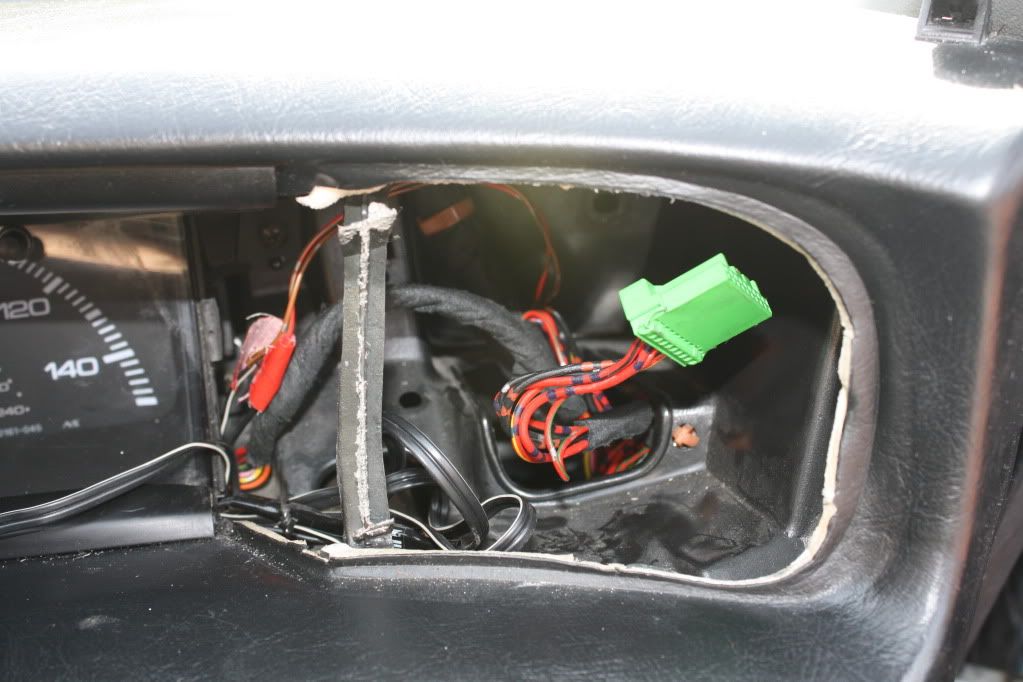
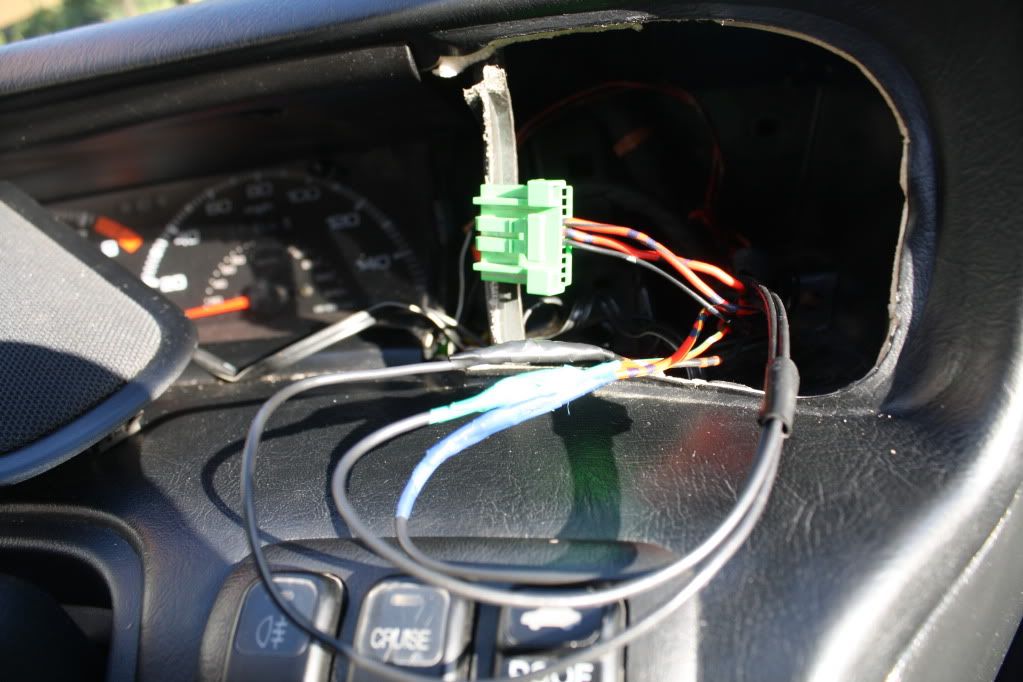
now to find the plug... underneath the dash somewhere... after a bit of searching... nothing. after a longer search with a torch i eventually found the plug taped up high up behind the airduct under the drivers footwell

from this pic you can just see the blue tape high up behind the ducting

Image

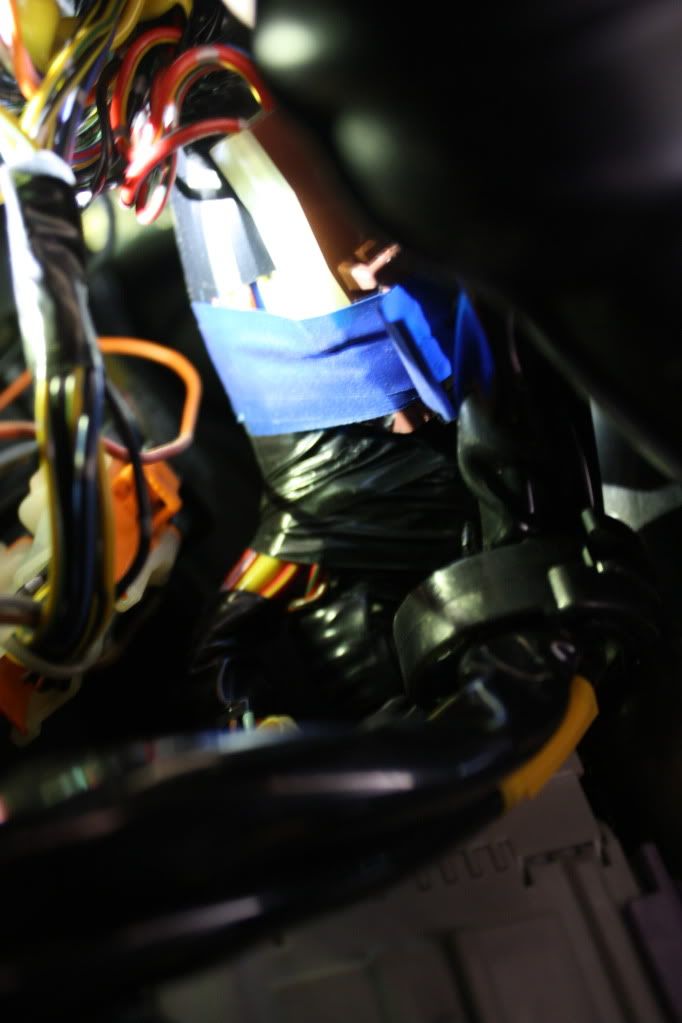
and here a better pic

Image

once uptaped hanging down, i connected that part of the harness to the plug

Image

then next time to connect the rest up.
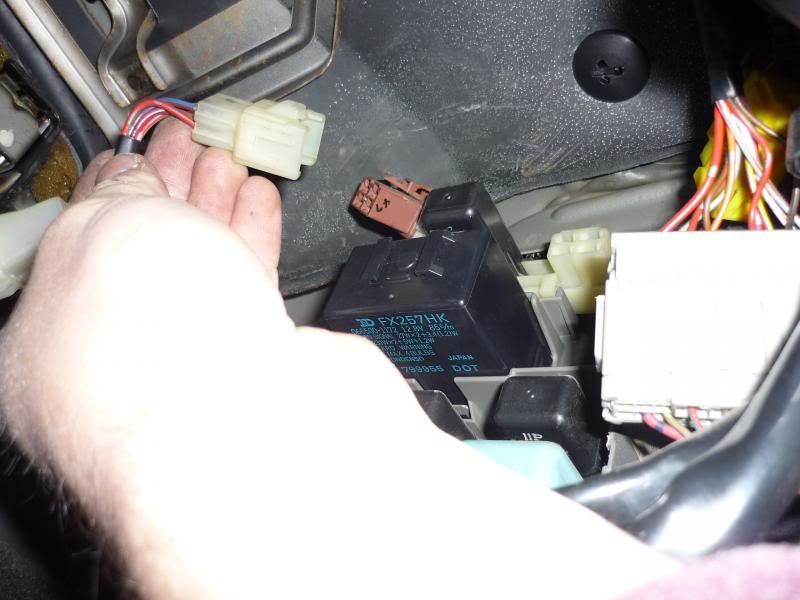
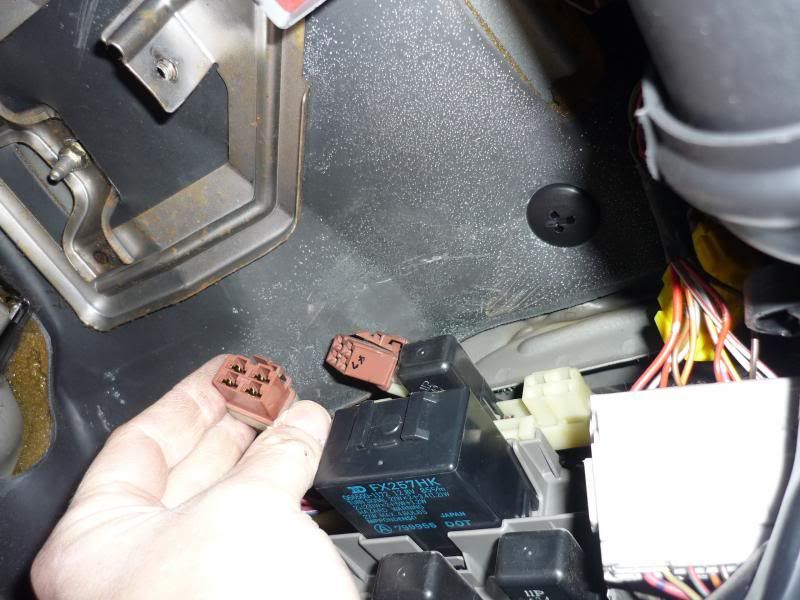
open up the fusebox and upplug the big 20 pin connector and plug it into the harness, then plug the harness back into the fusebox where you removed the connector

Image

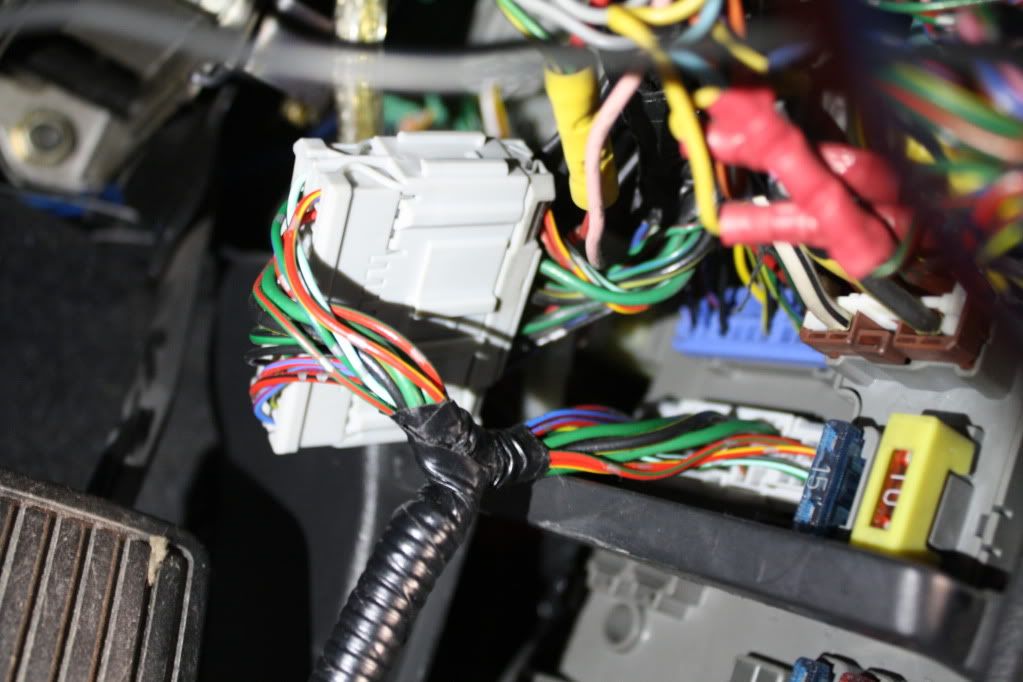
then position the harness neatly away with the rest of the wiring with a few cable ties.
thats that part done!

Now to the switch part
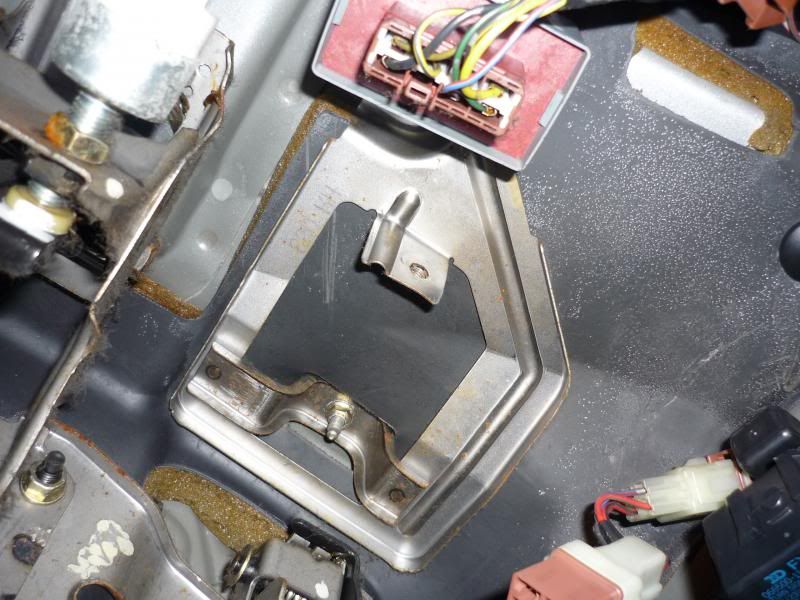
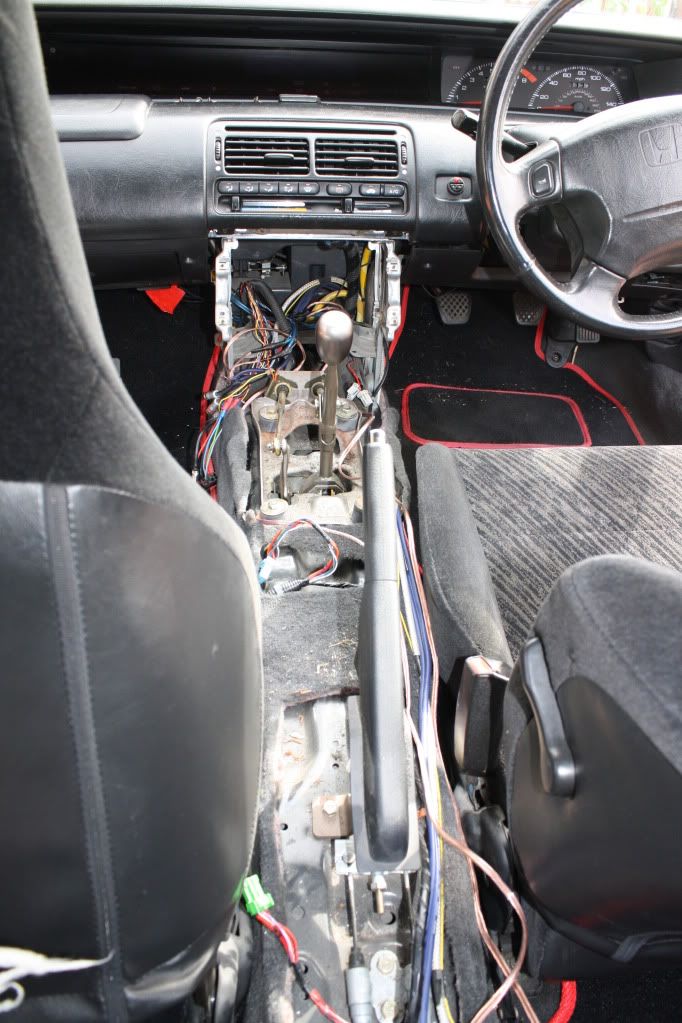
so my cars a pre-facelift so the free places for the switch to go are behind the handbrake just in front of the 'sex blocker'
so i open the cover and take a look for the connector plug

Image

Image

hmmm nothing there

so i removed the whole centre console (which i found later i would have to do anyway to run the new wires neatly)

Image

still nothing :( 
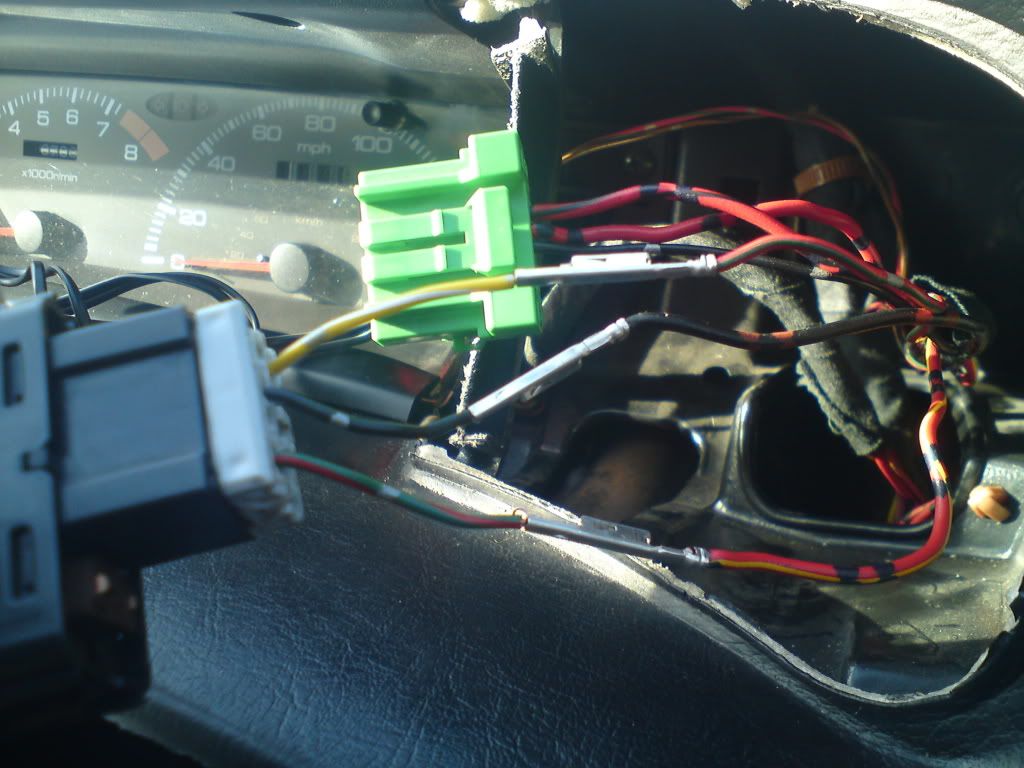
back to the tinterwebs... after some researching (thanks aardvark) i found that the pre-facelift connector is located behind the drivers side tweeter cover

Image

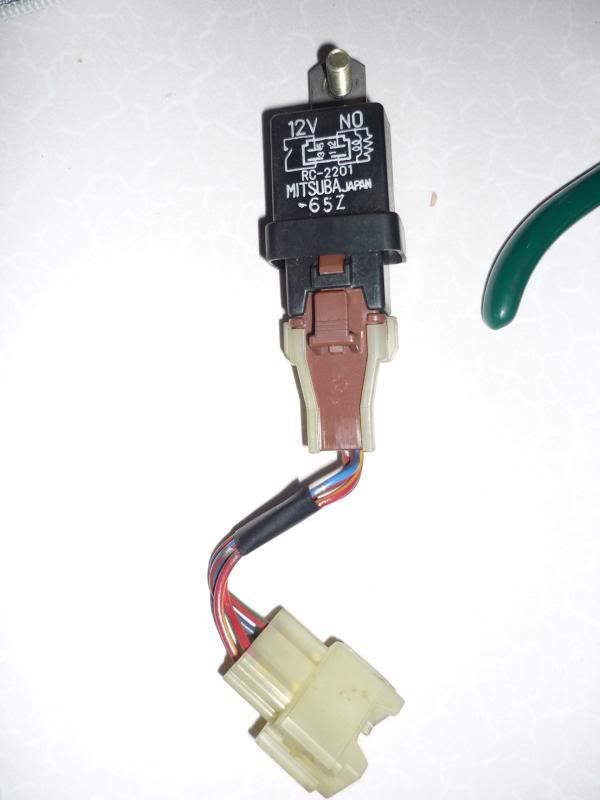
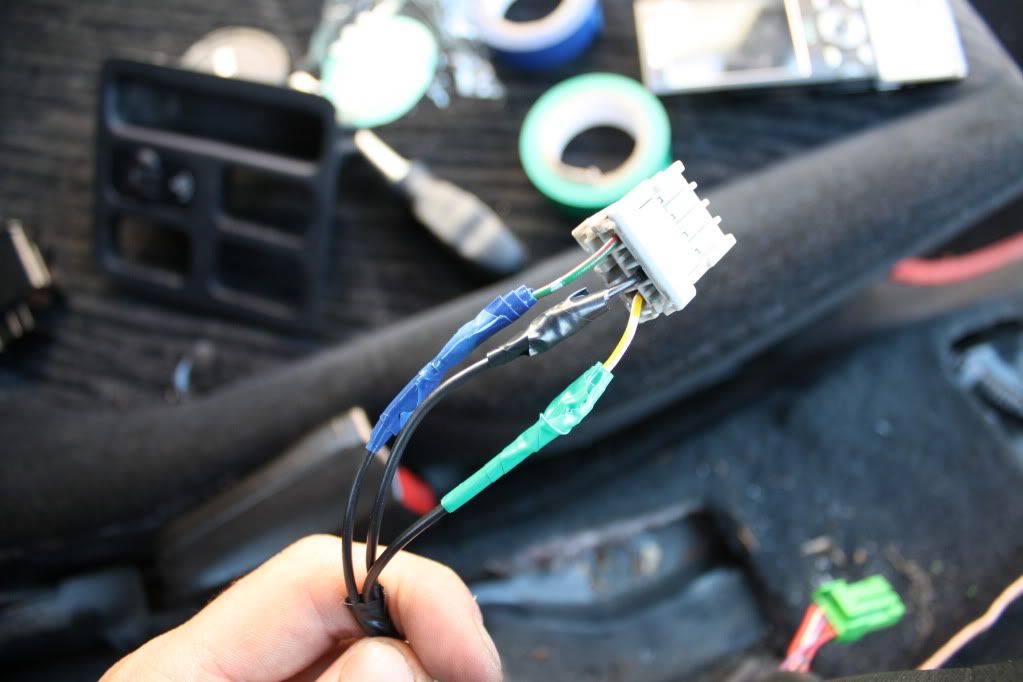
but i had a JDM switch, which had a completly different connector, which i didnt have :( but after some searching in the garage i found 1 :)

so next thing was off down my mates garage to borrow his wire tester...
a short while later, we'd figured out the correct wires... some wires are not needed
then gave it a quick test to double check it worked :)

Image
Image

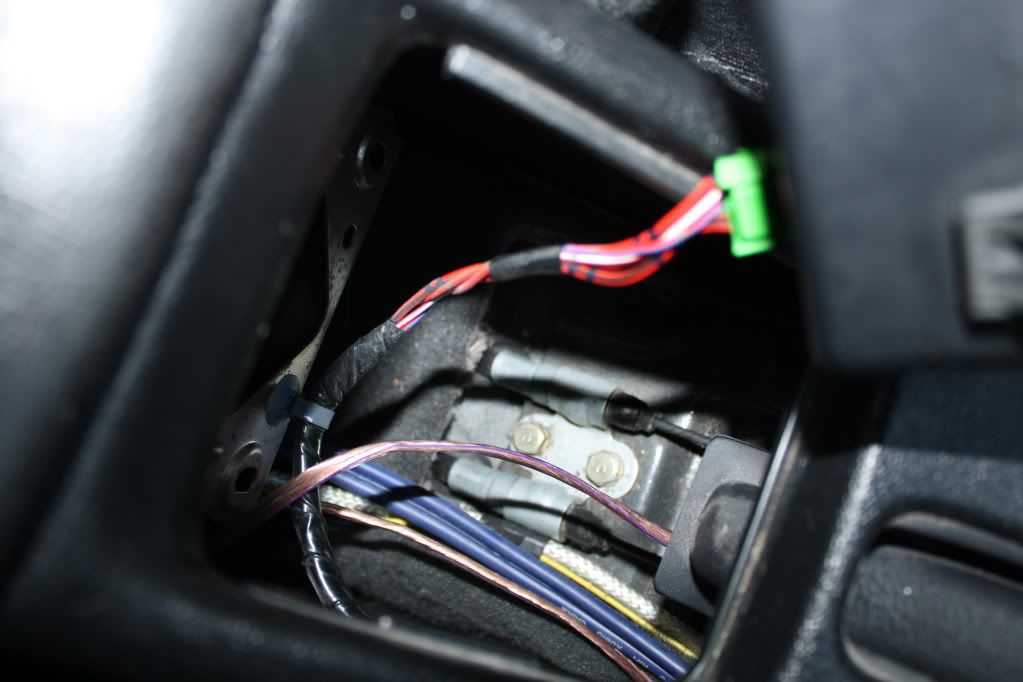
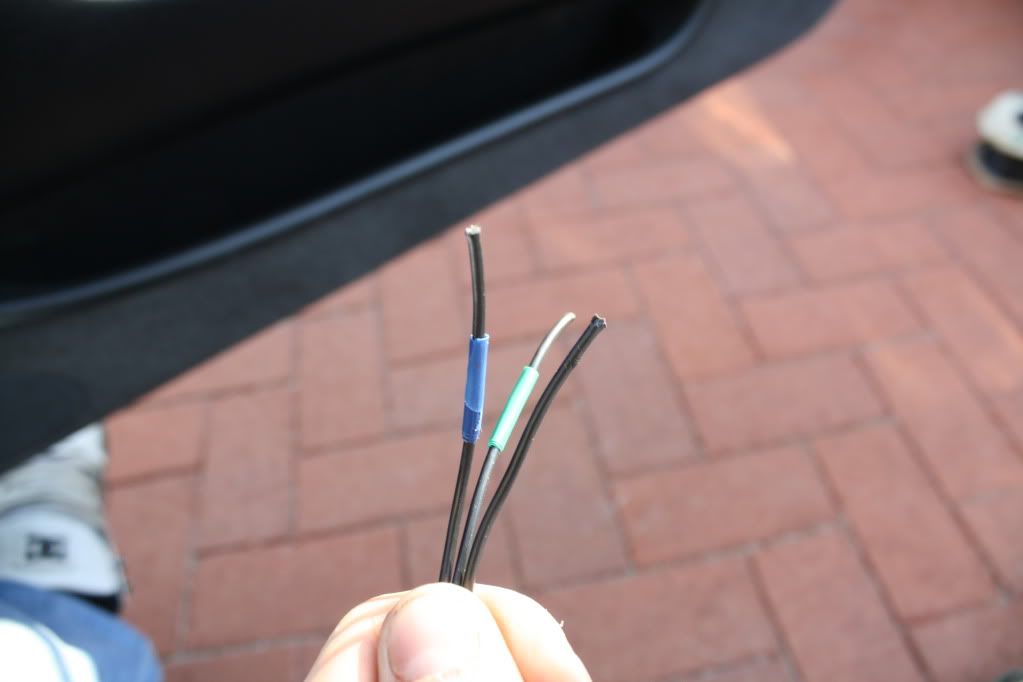
so onto the next, running the extra wiring to where i wanted the switch to be.
so i ran a piece of wire back through behind the tweeter under the dash and down the centre console to just past the handbrake and cut to length
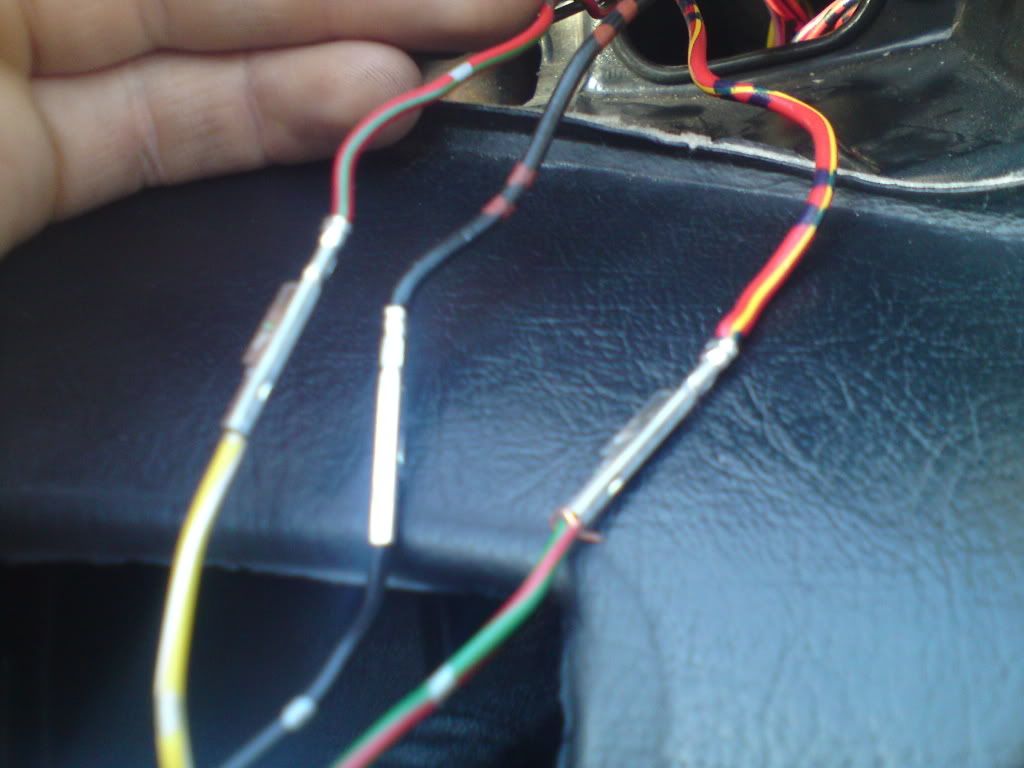
then i cut another 2 pieces to the same length, then to make sure i knew which end was which, i taped the ends different colours

Image

then proceeded to wire both ends up

Image
Image

with that done, only thing left was to put everything back into place, wires neatly tucked away behind the tweeter cover and centre console back in place

Post Reply

Return to “Electrical / Lights / ICE”