Many thanks to photobucket for drokking up this build thread, the chances of relinking the 850 or so photos is, well, it's just not going to happen.
Anyway, let's not let this stop the march.
True to form, I moved house again a little while back. This time to somewhere that has plenty of workshop space.
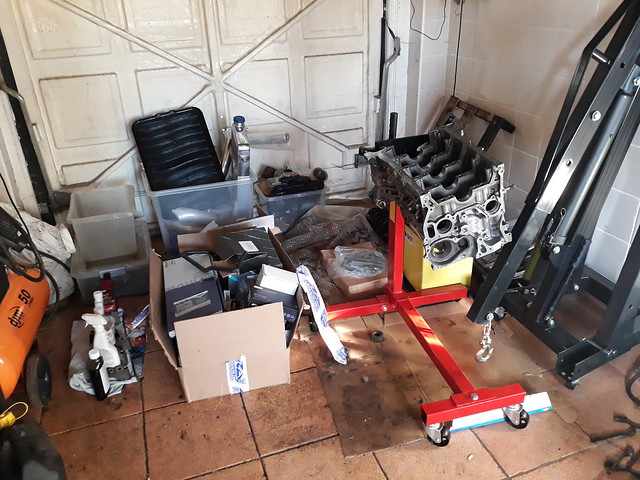
 20180215_161737 by Paul Crake, on Flickr
And in there the car has sat for the last 9 months or so, the new house is a decent project and so has taken most of my time.
But I've been getting bored with that, so back on the spanners for a while.......
I've not been a fan of the lowering springs on the car, theres nothing actually wrong with them, just I want a more compliant ride.
I think the best way to do this is to get some adjustable springs and shocks and tweak them to suit.
I picked up some Tein super Streets ages ago, these seemed in decent condition (but with usual rust), but on arrival it became apparent that all the adjusters had siezed.
Anyway, this meant several hours of graft to get them free again and in true form then it was onto derusting the buggers.
 20180804_150334 by Paul Crake, on Flickr
Stripped.
 20180804_145451(0) by Paul Crake, on Flickr
Primed.
 20180804_145505 by Paul Crake, on Flickr
Painted.
 20180804_171716 by Paul Crake, on Flickr
 20180804_171727 by Paul Crake, on Flickr
Sweet, still yet to fit them, that will happen after the other little thing I have planned for the car.
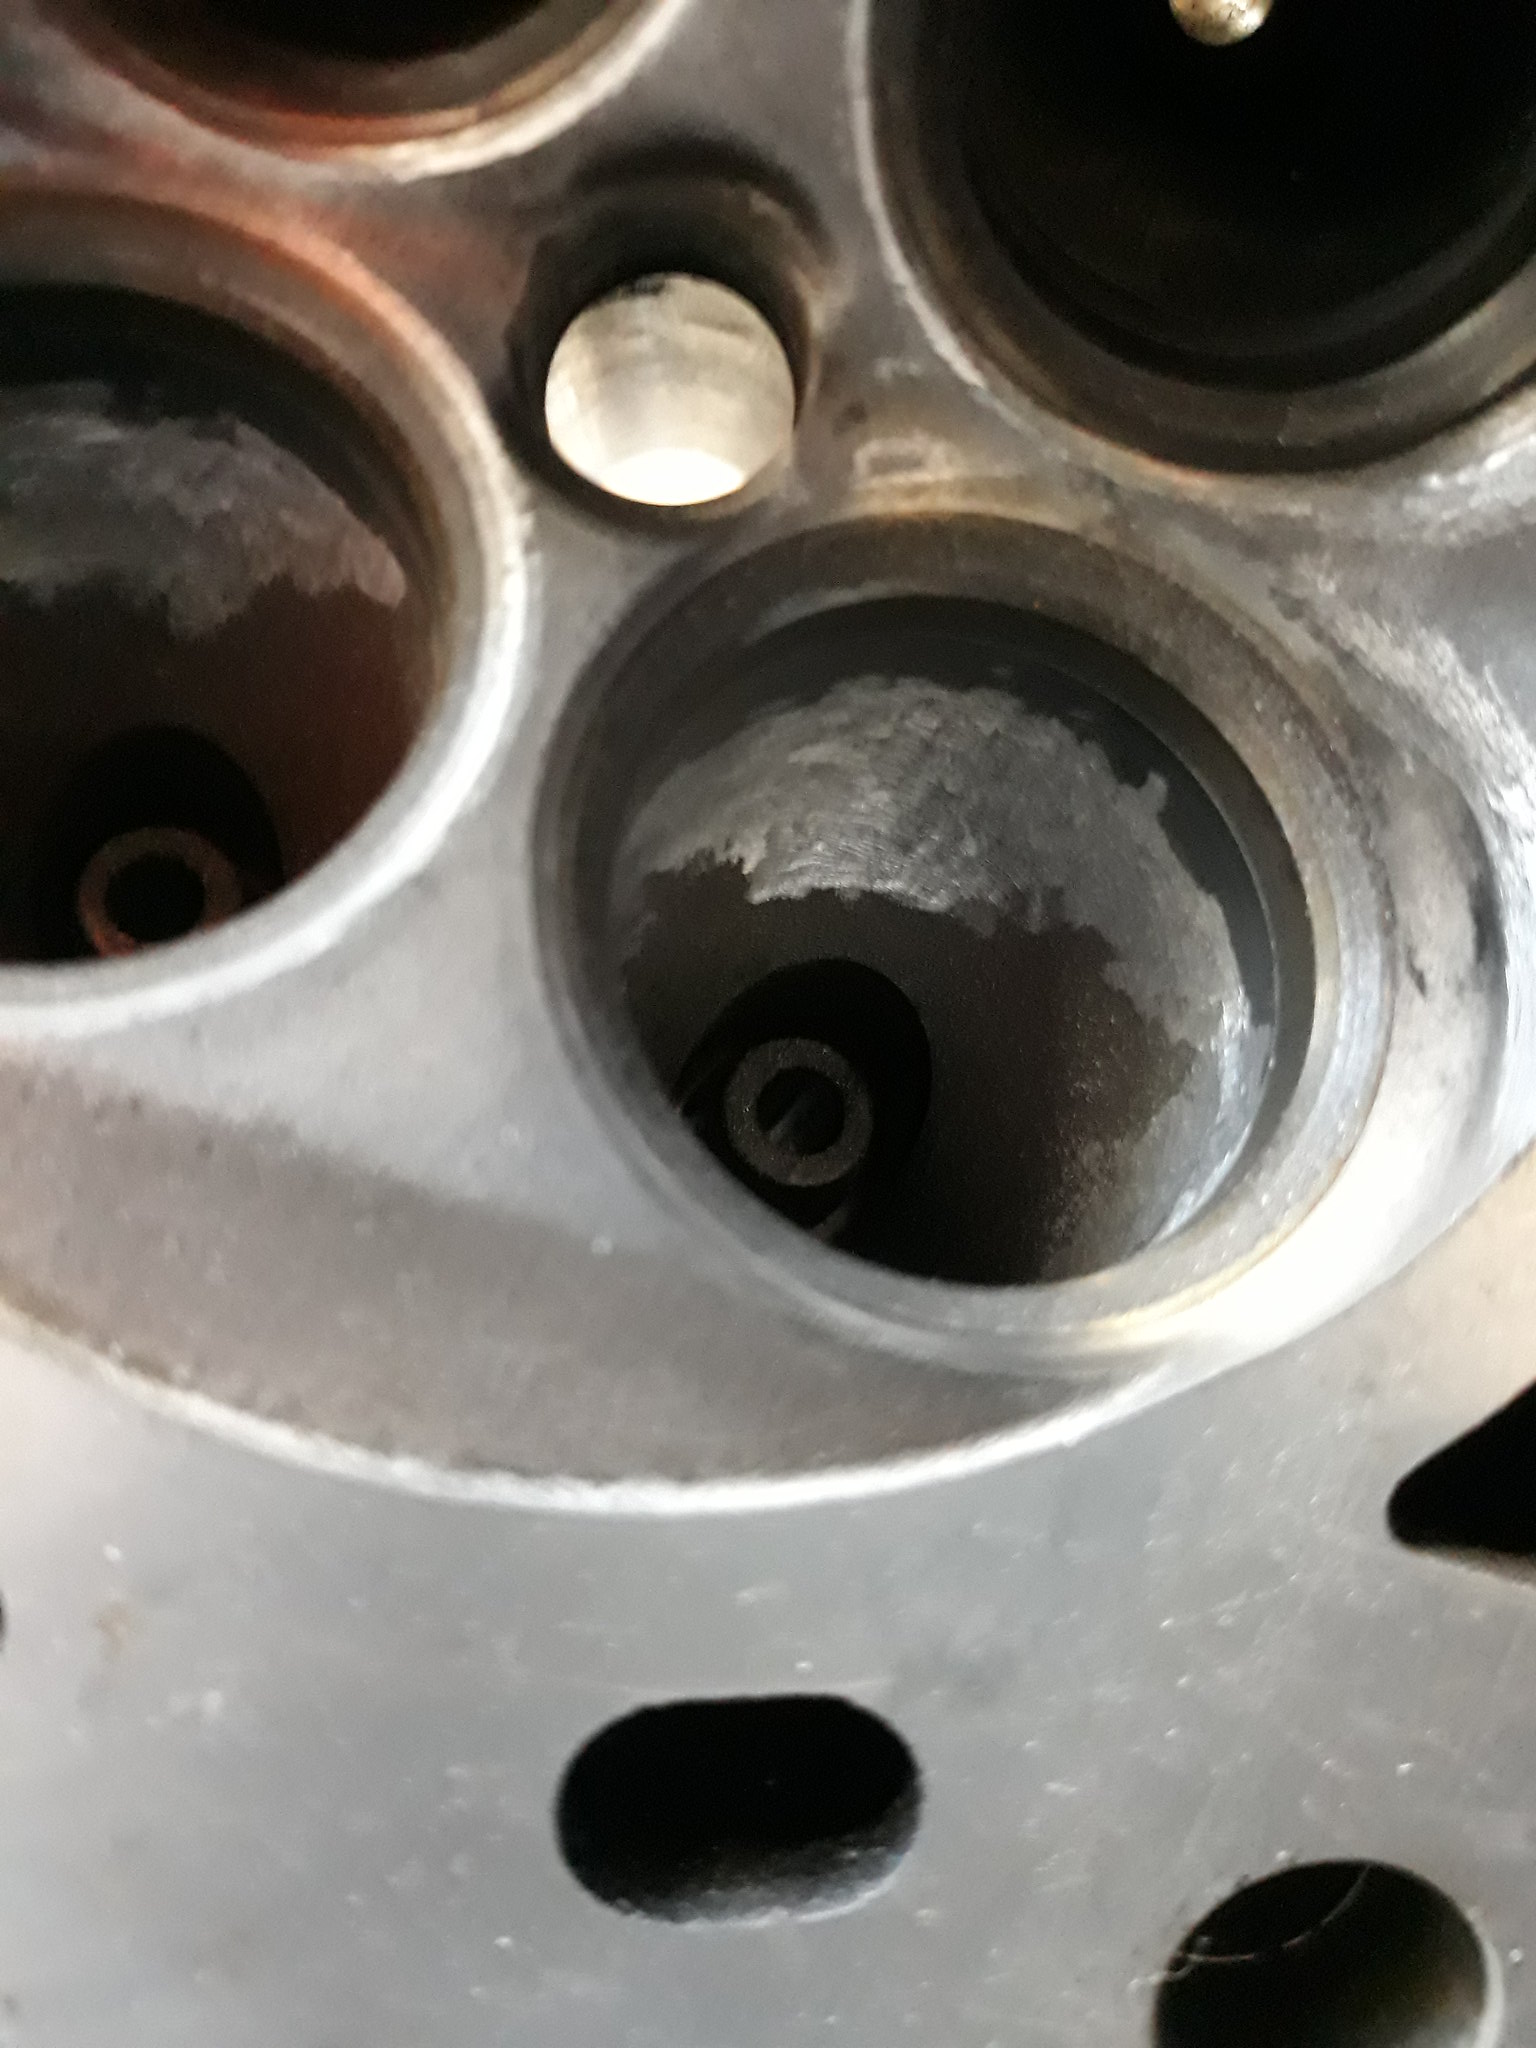
So the engine in the car is a sweet running lump, but I know that the bores are scored and resultantly it suffers from blow by and spits oil back intot the intake, meaning a less than desirable oily smell when stationary at traffic lights.
Can't have that really.
So I decided to buy a spare second hand engine and the original plan was to partially strip it, refersh the seals etc and then swap it into the car.
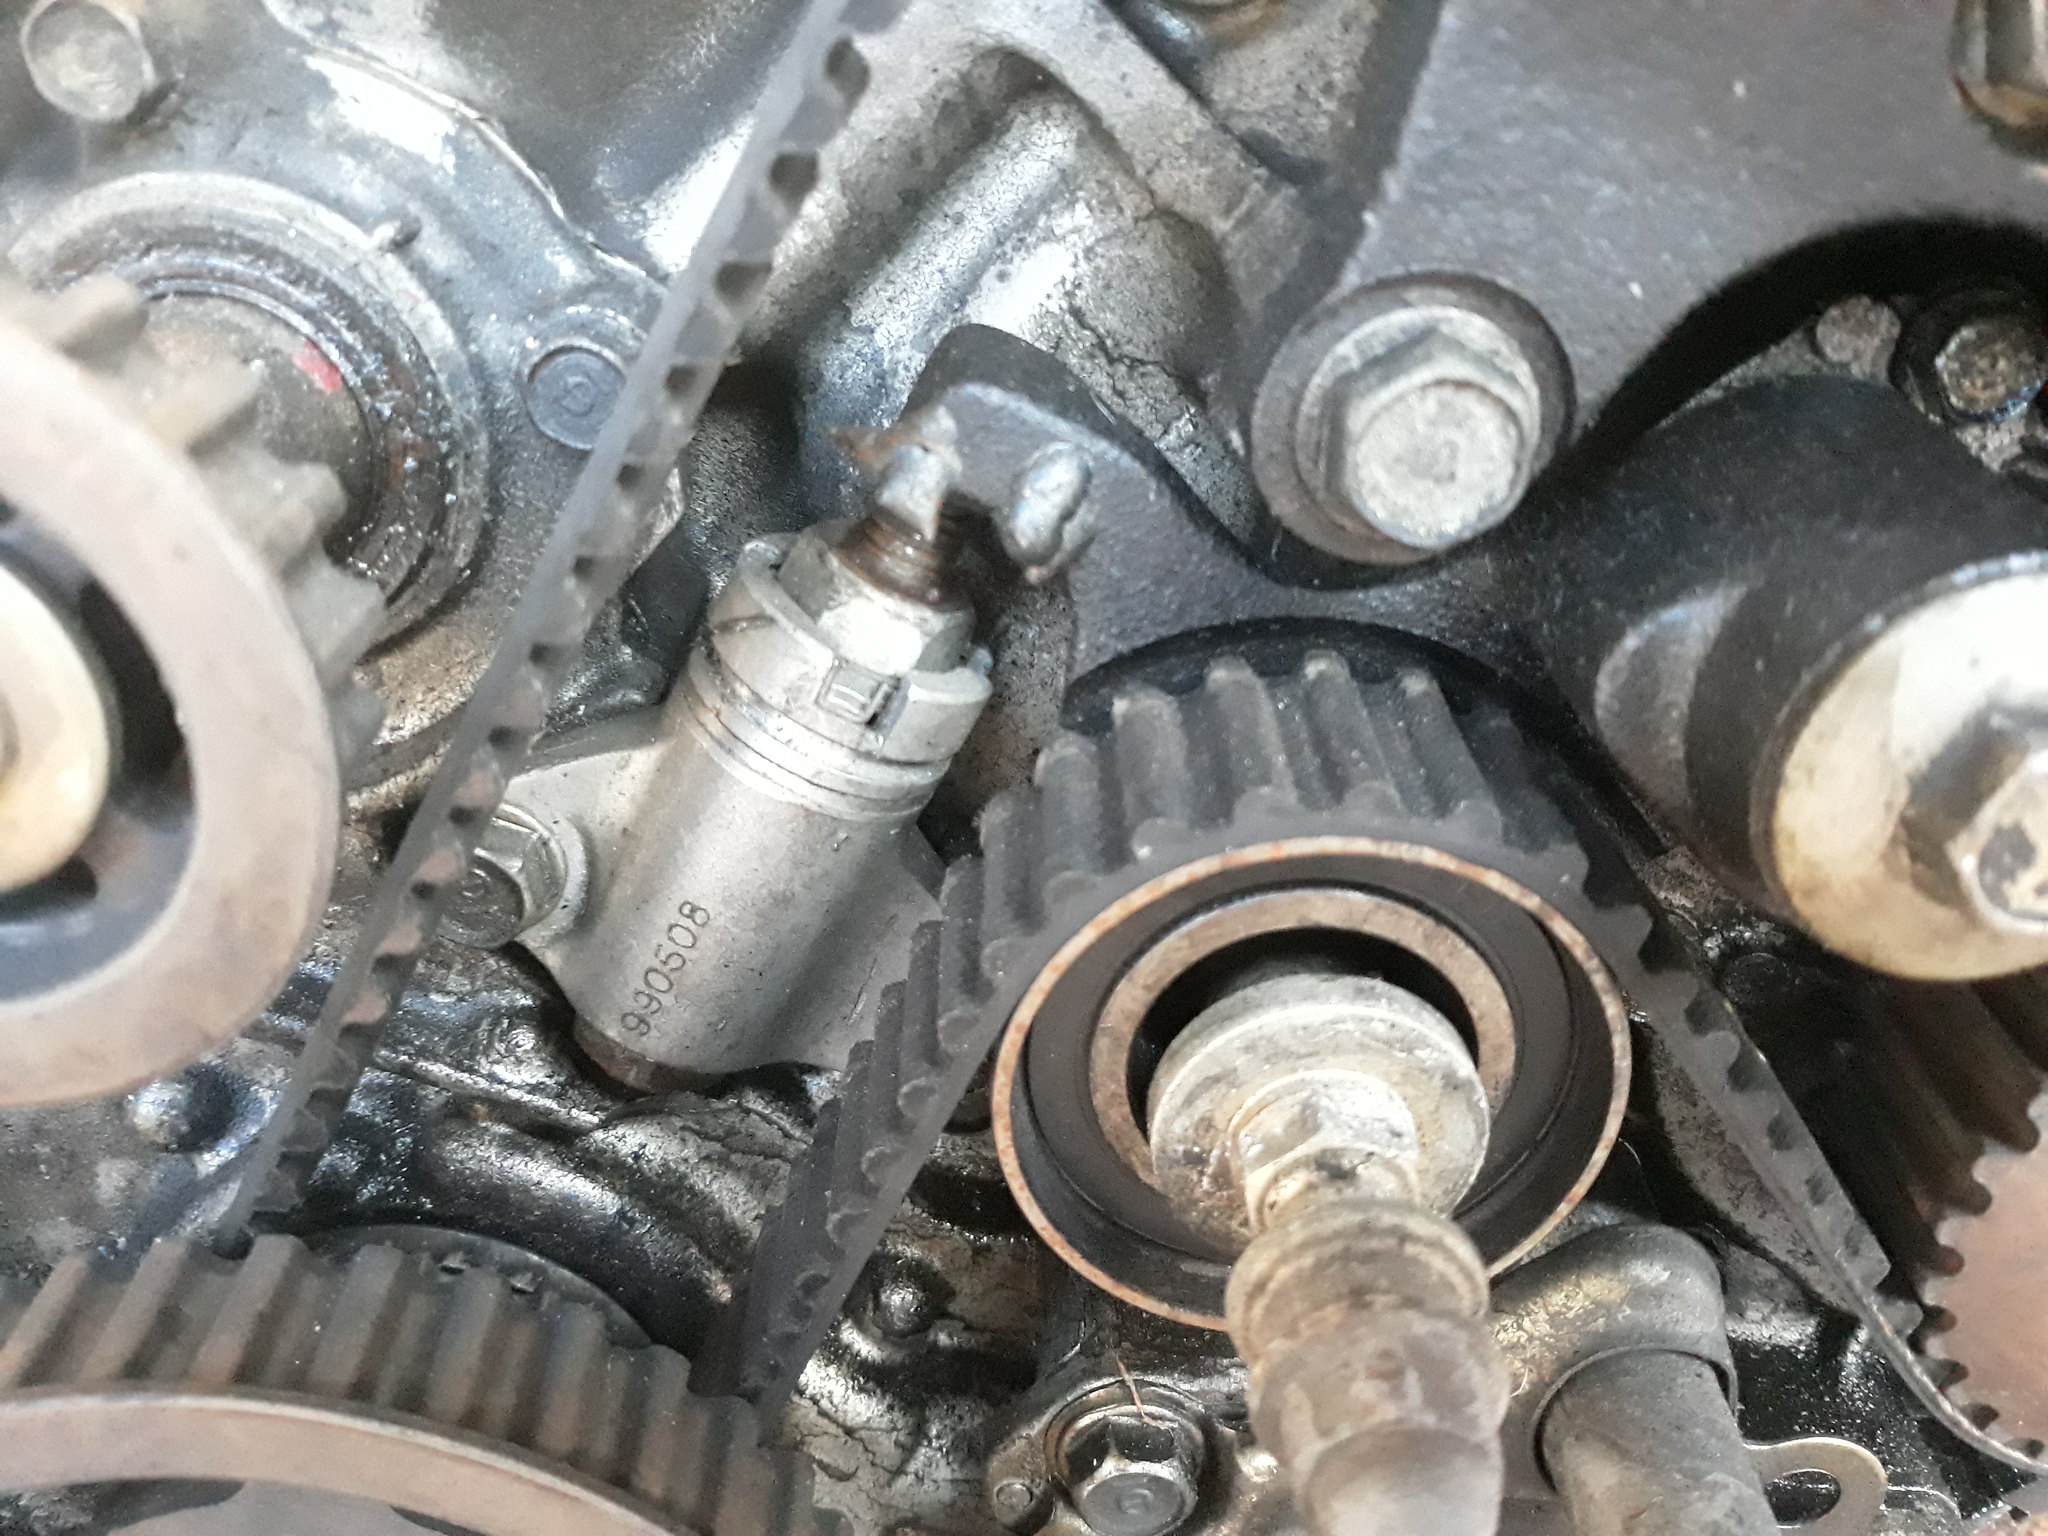
 20180831_110310 by Paul Crake, on Flickr
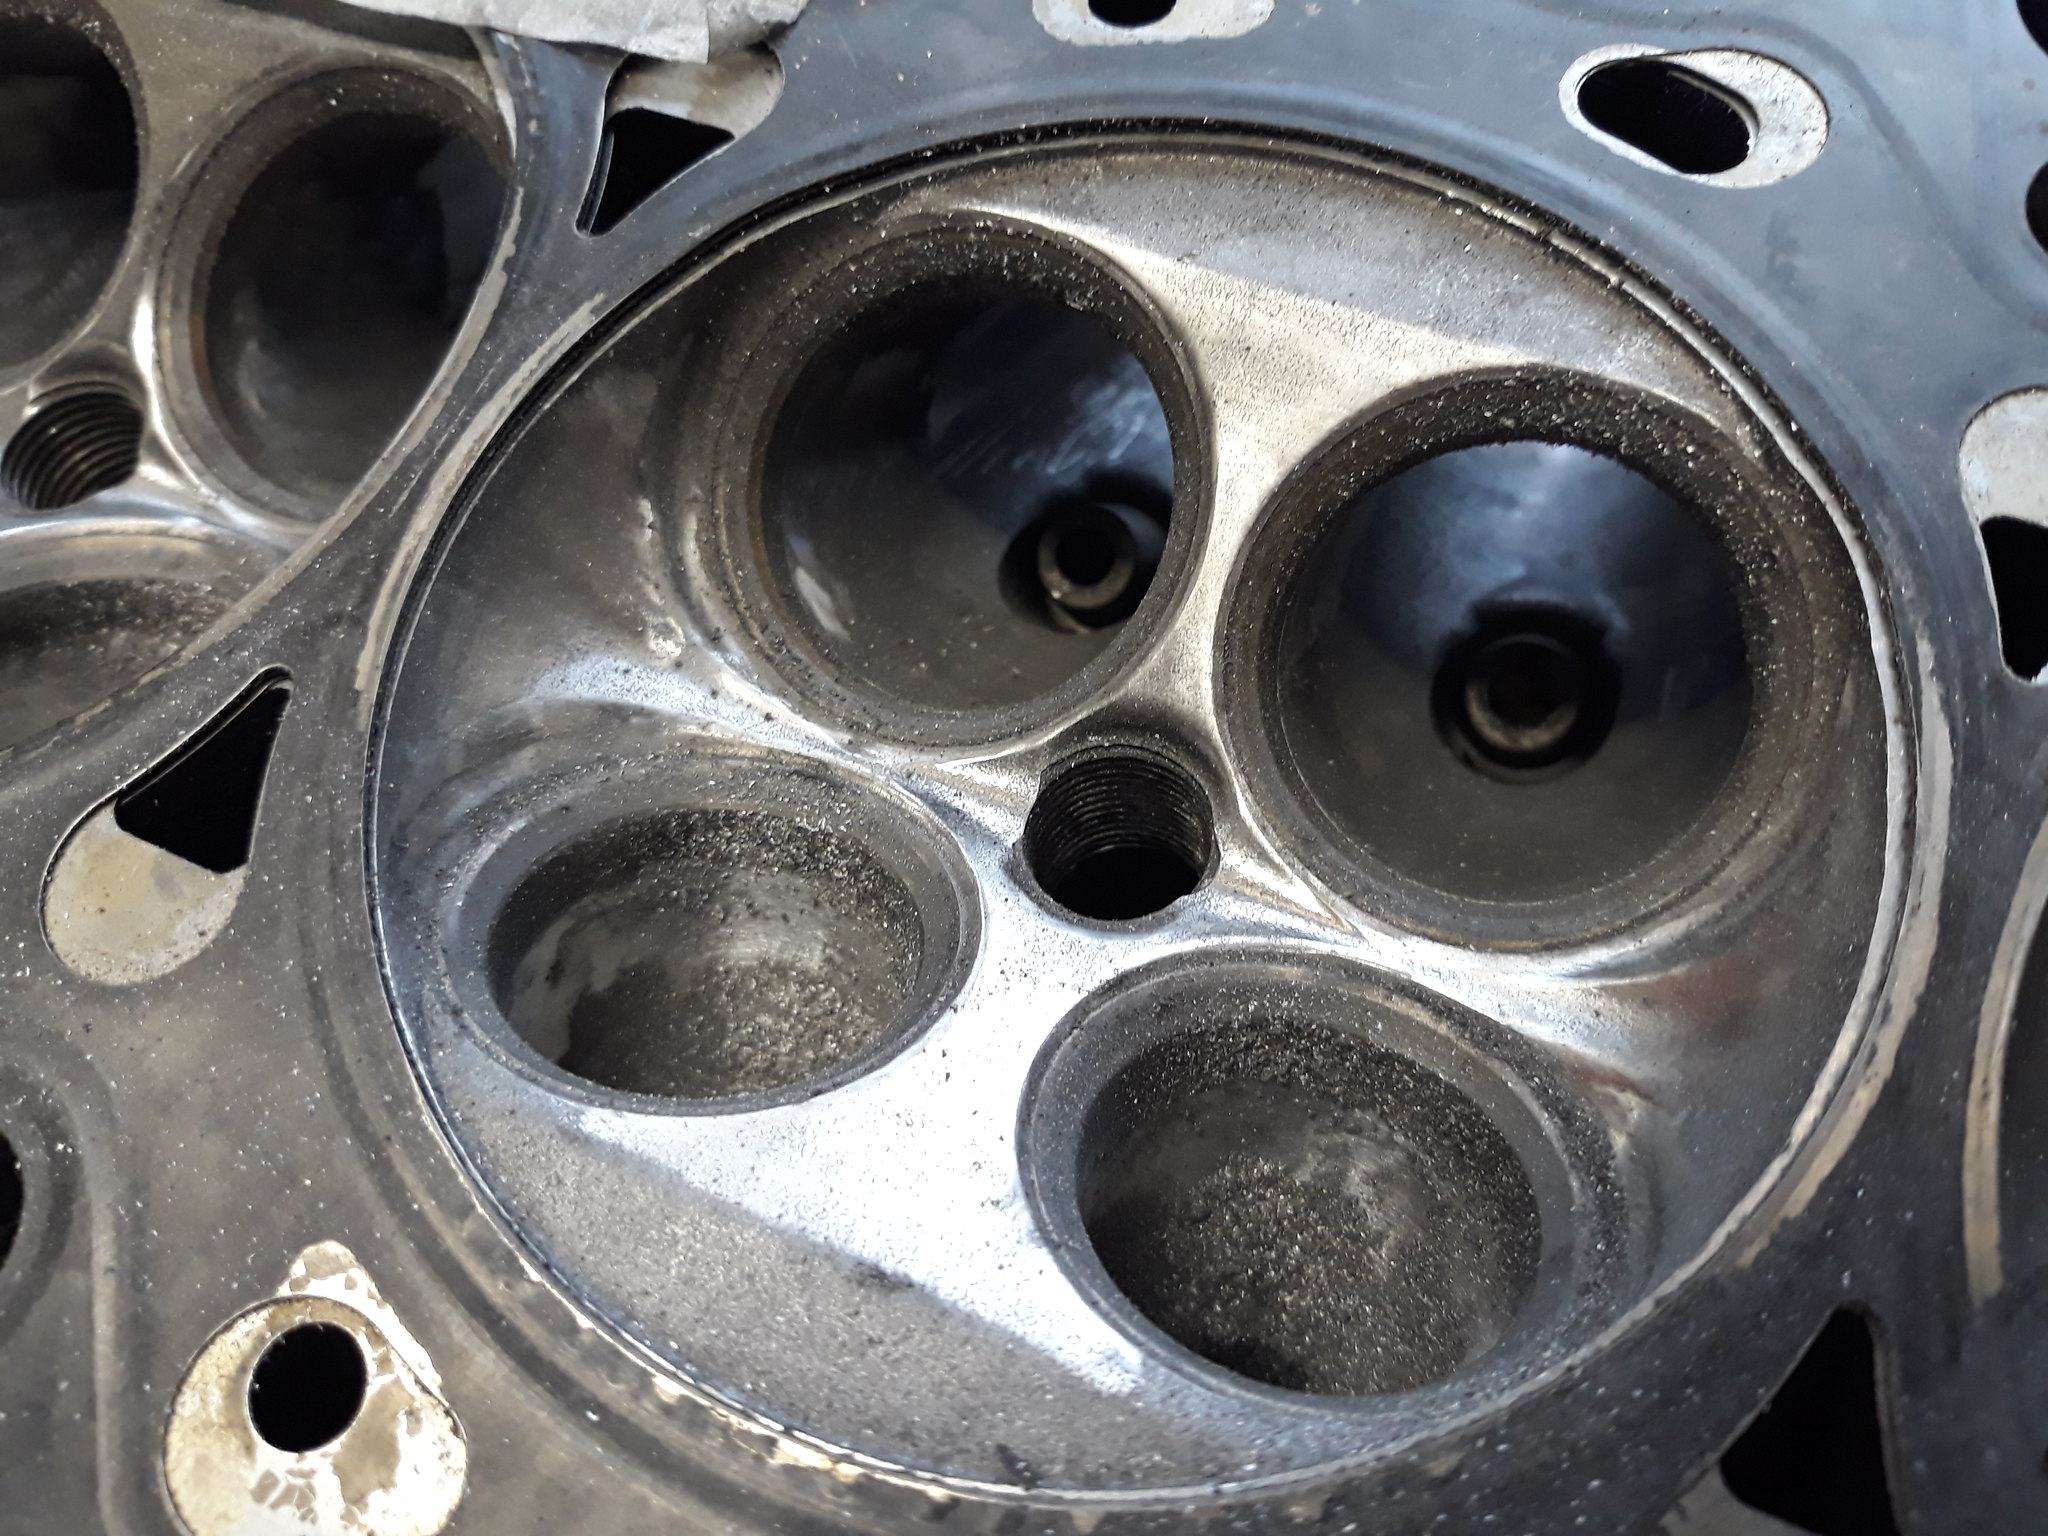
Well, the further I scratched into the lump, the further I went.
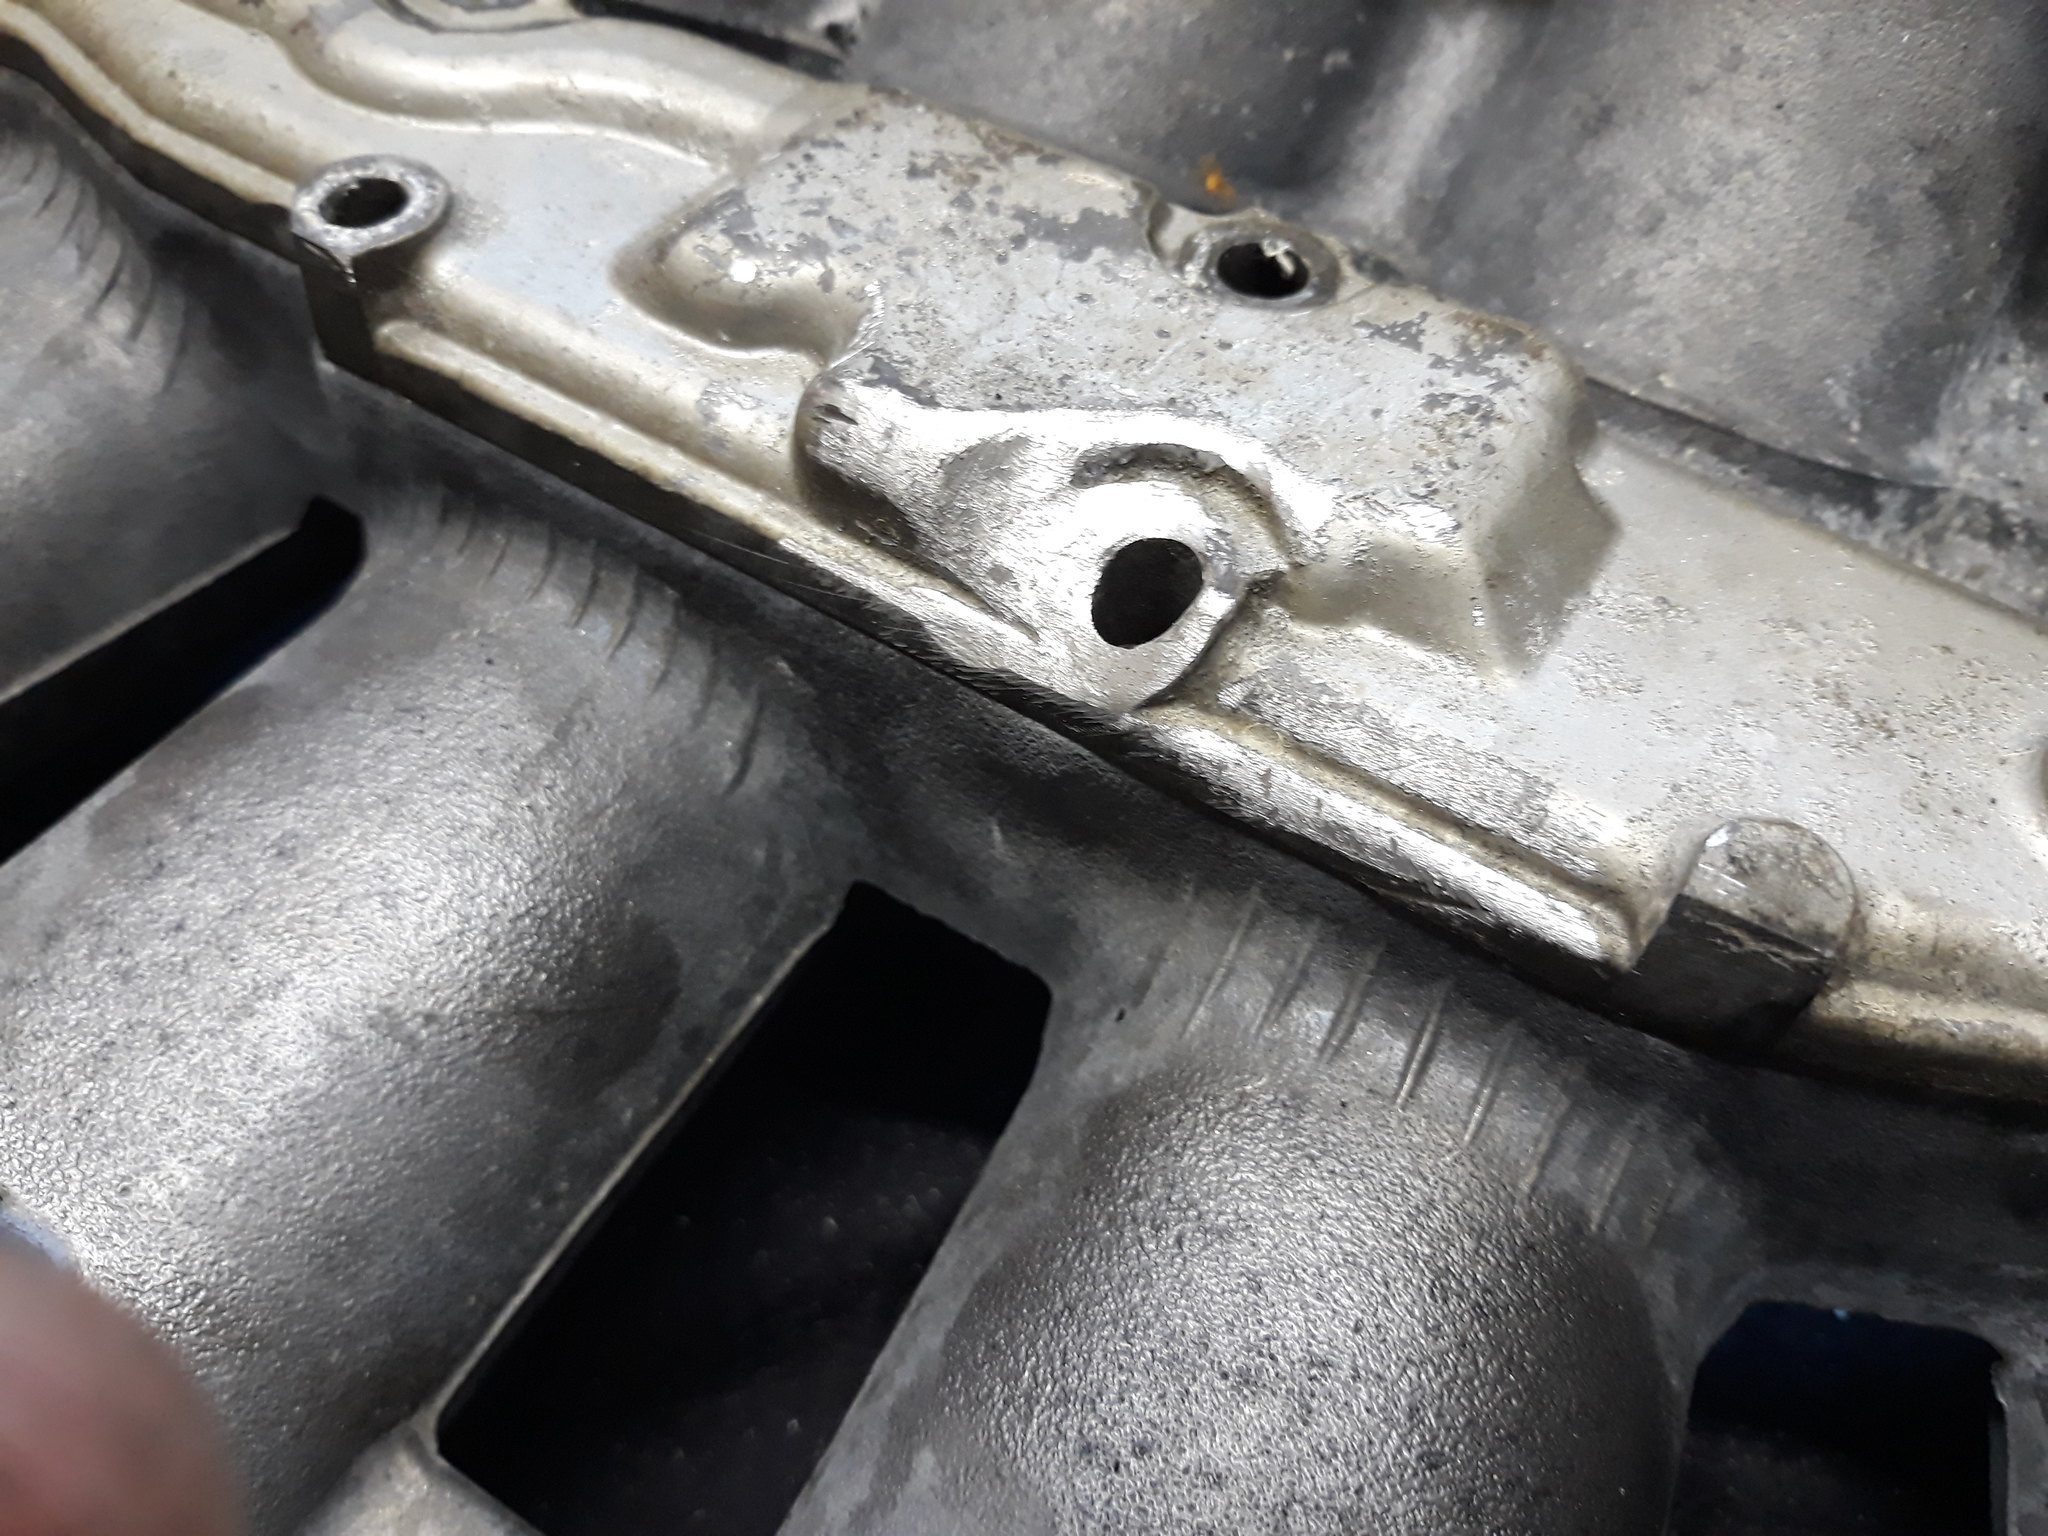
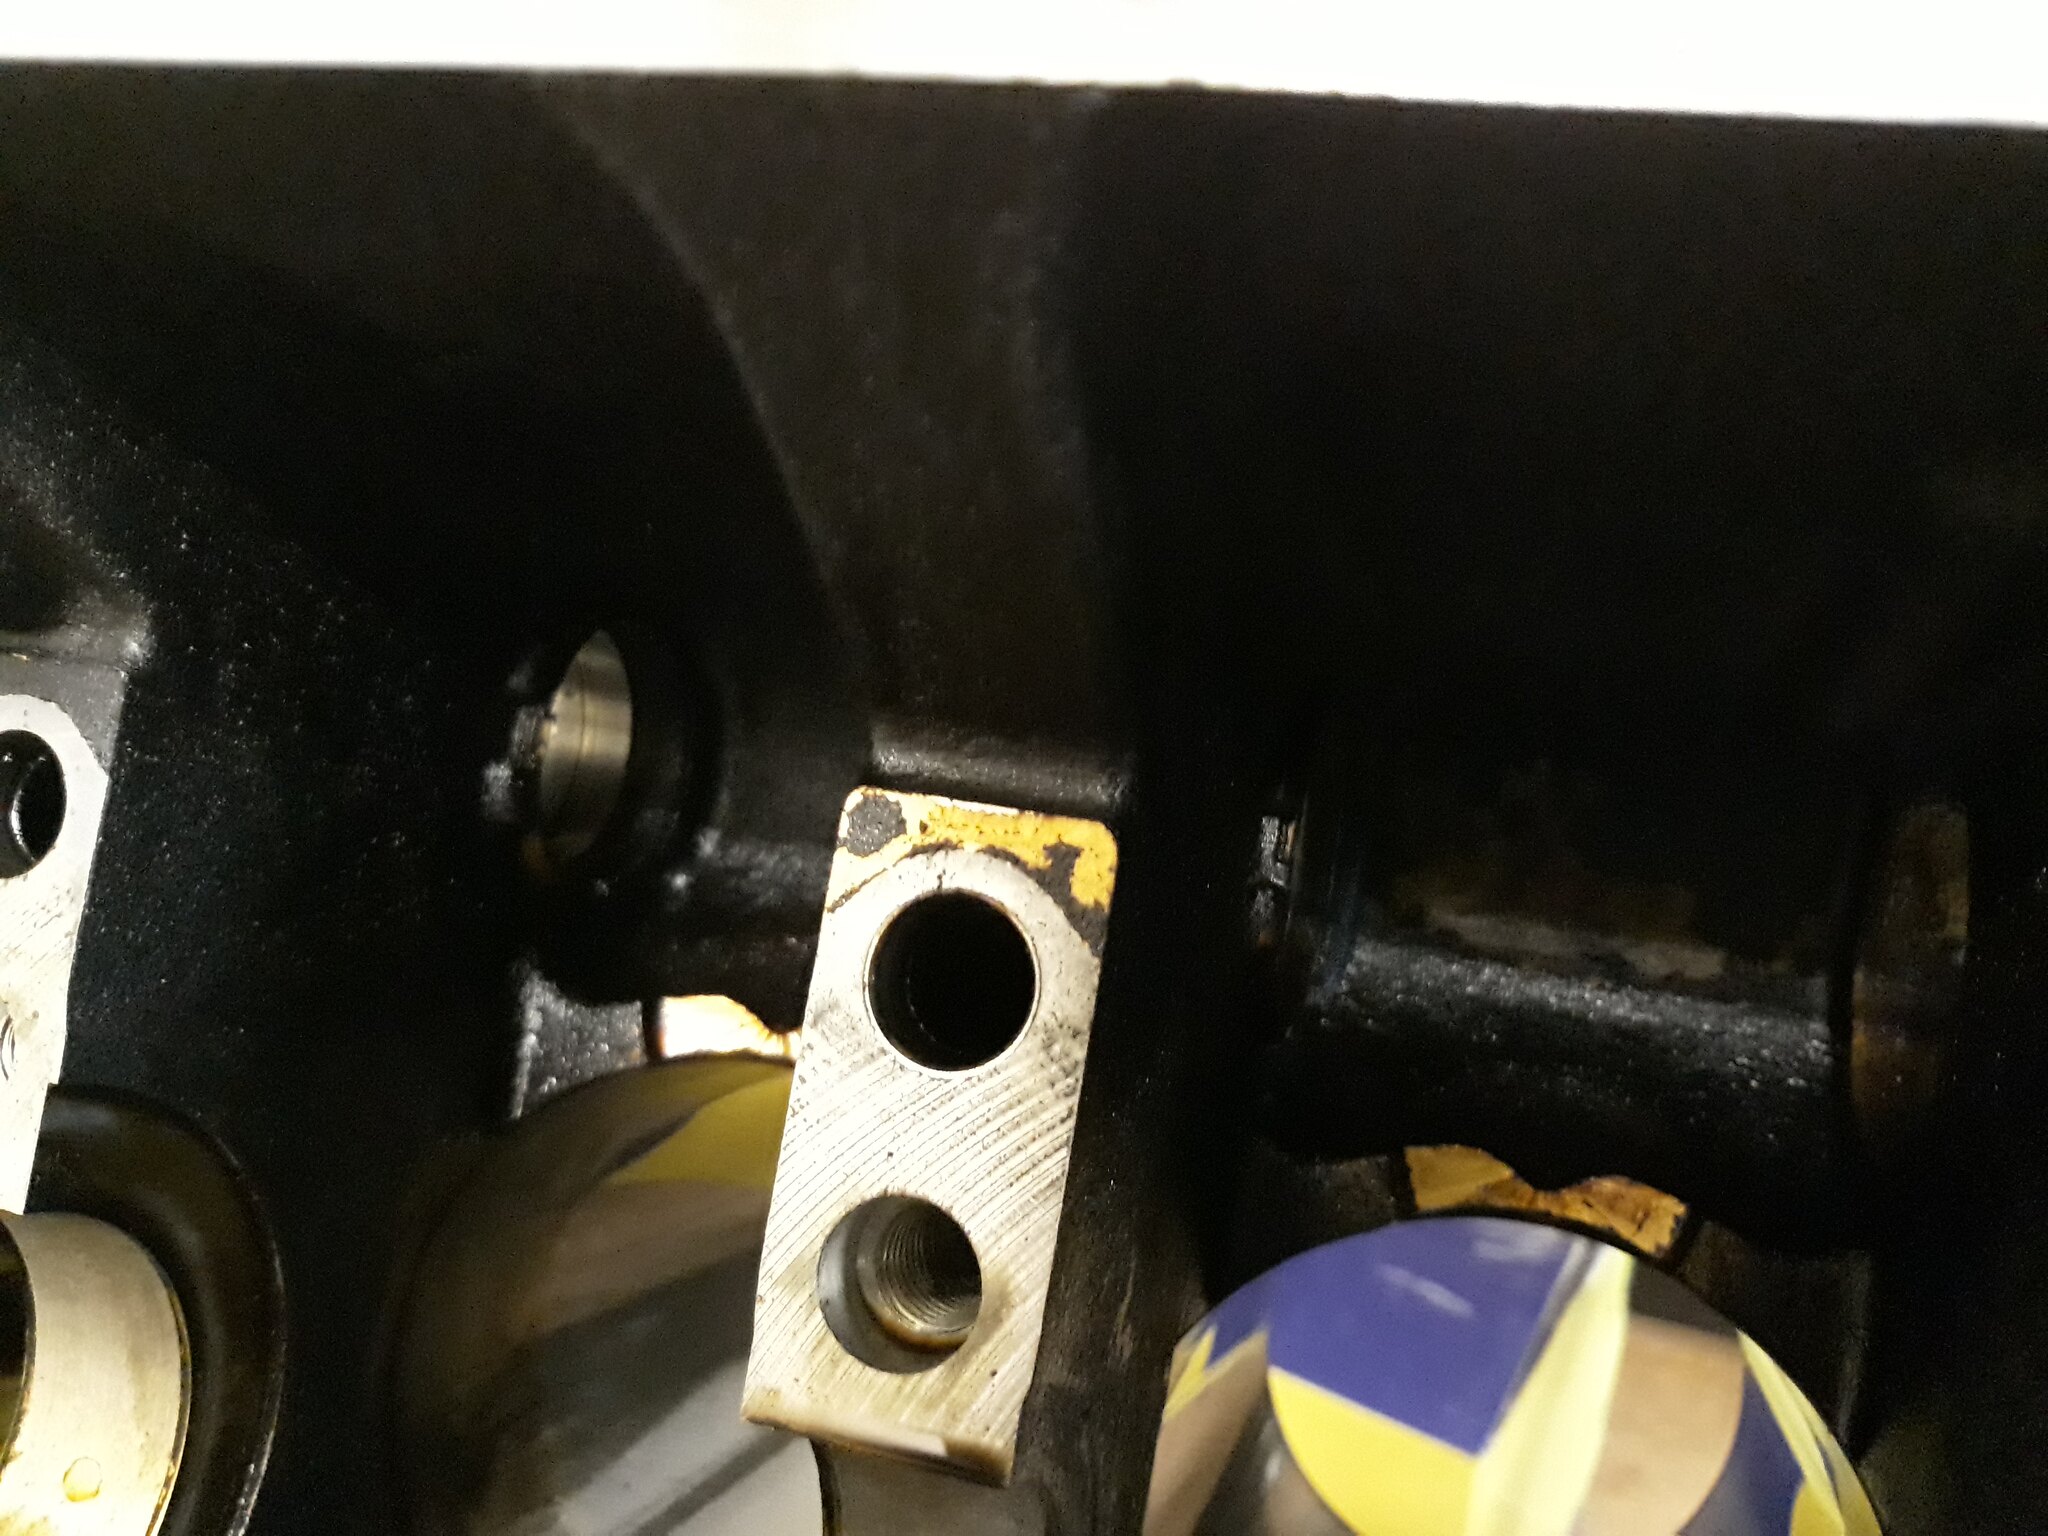
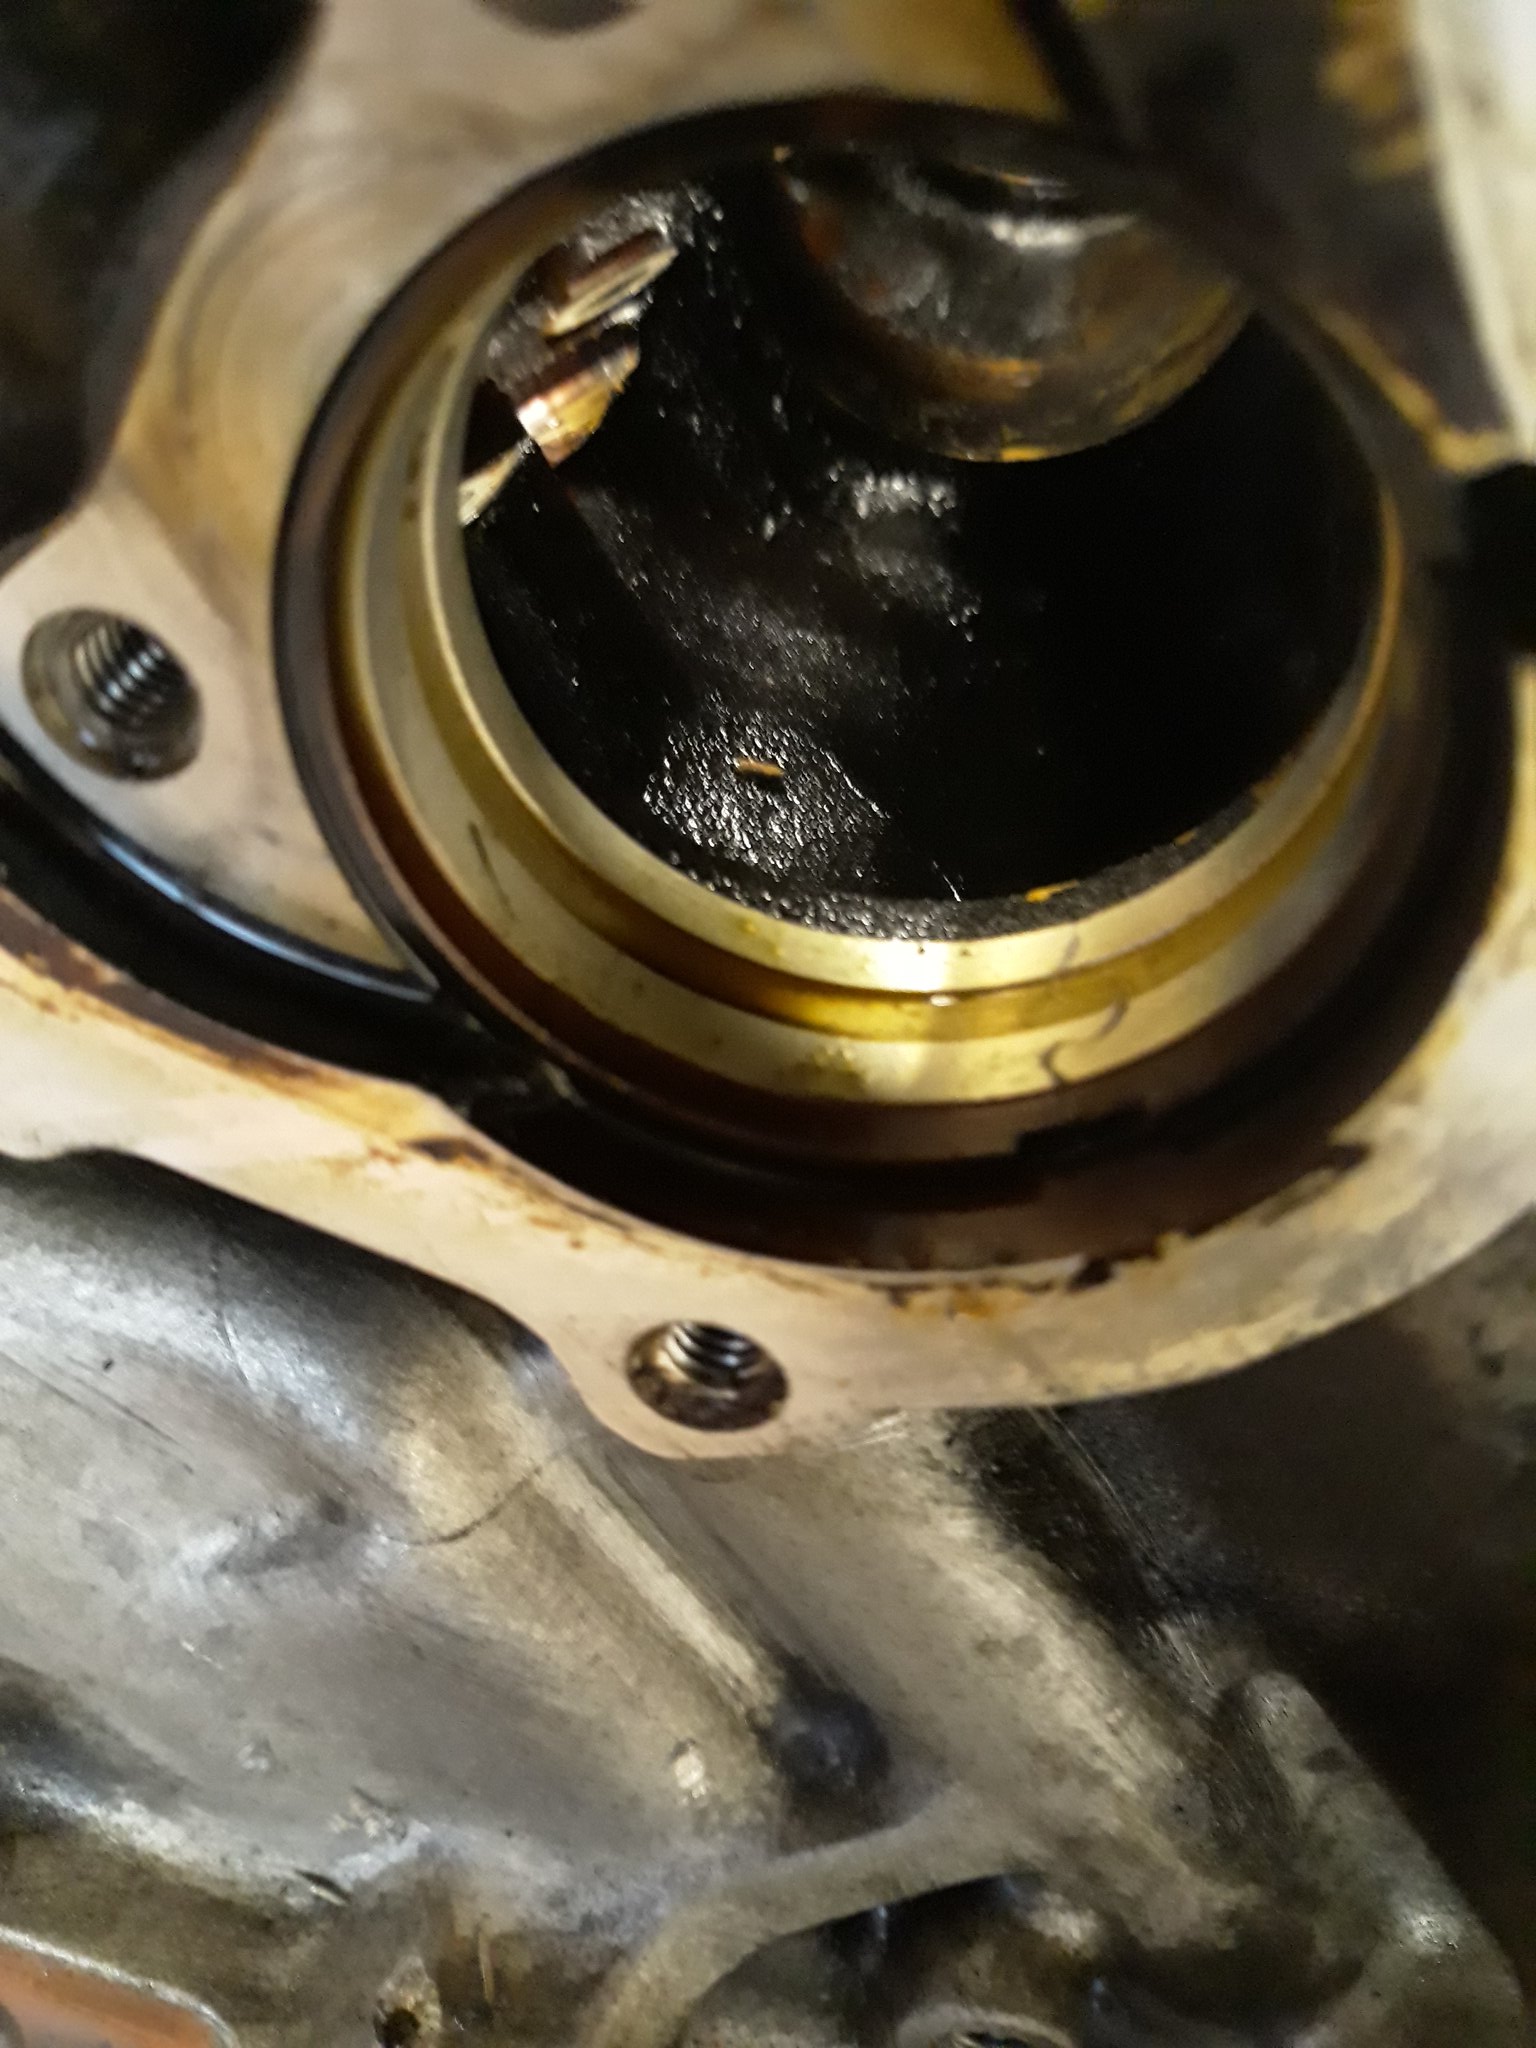
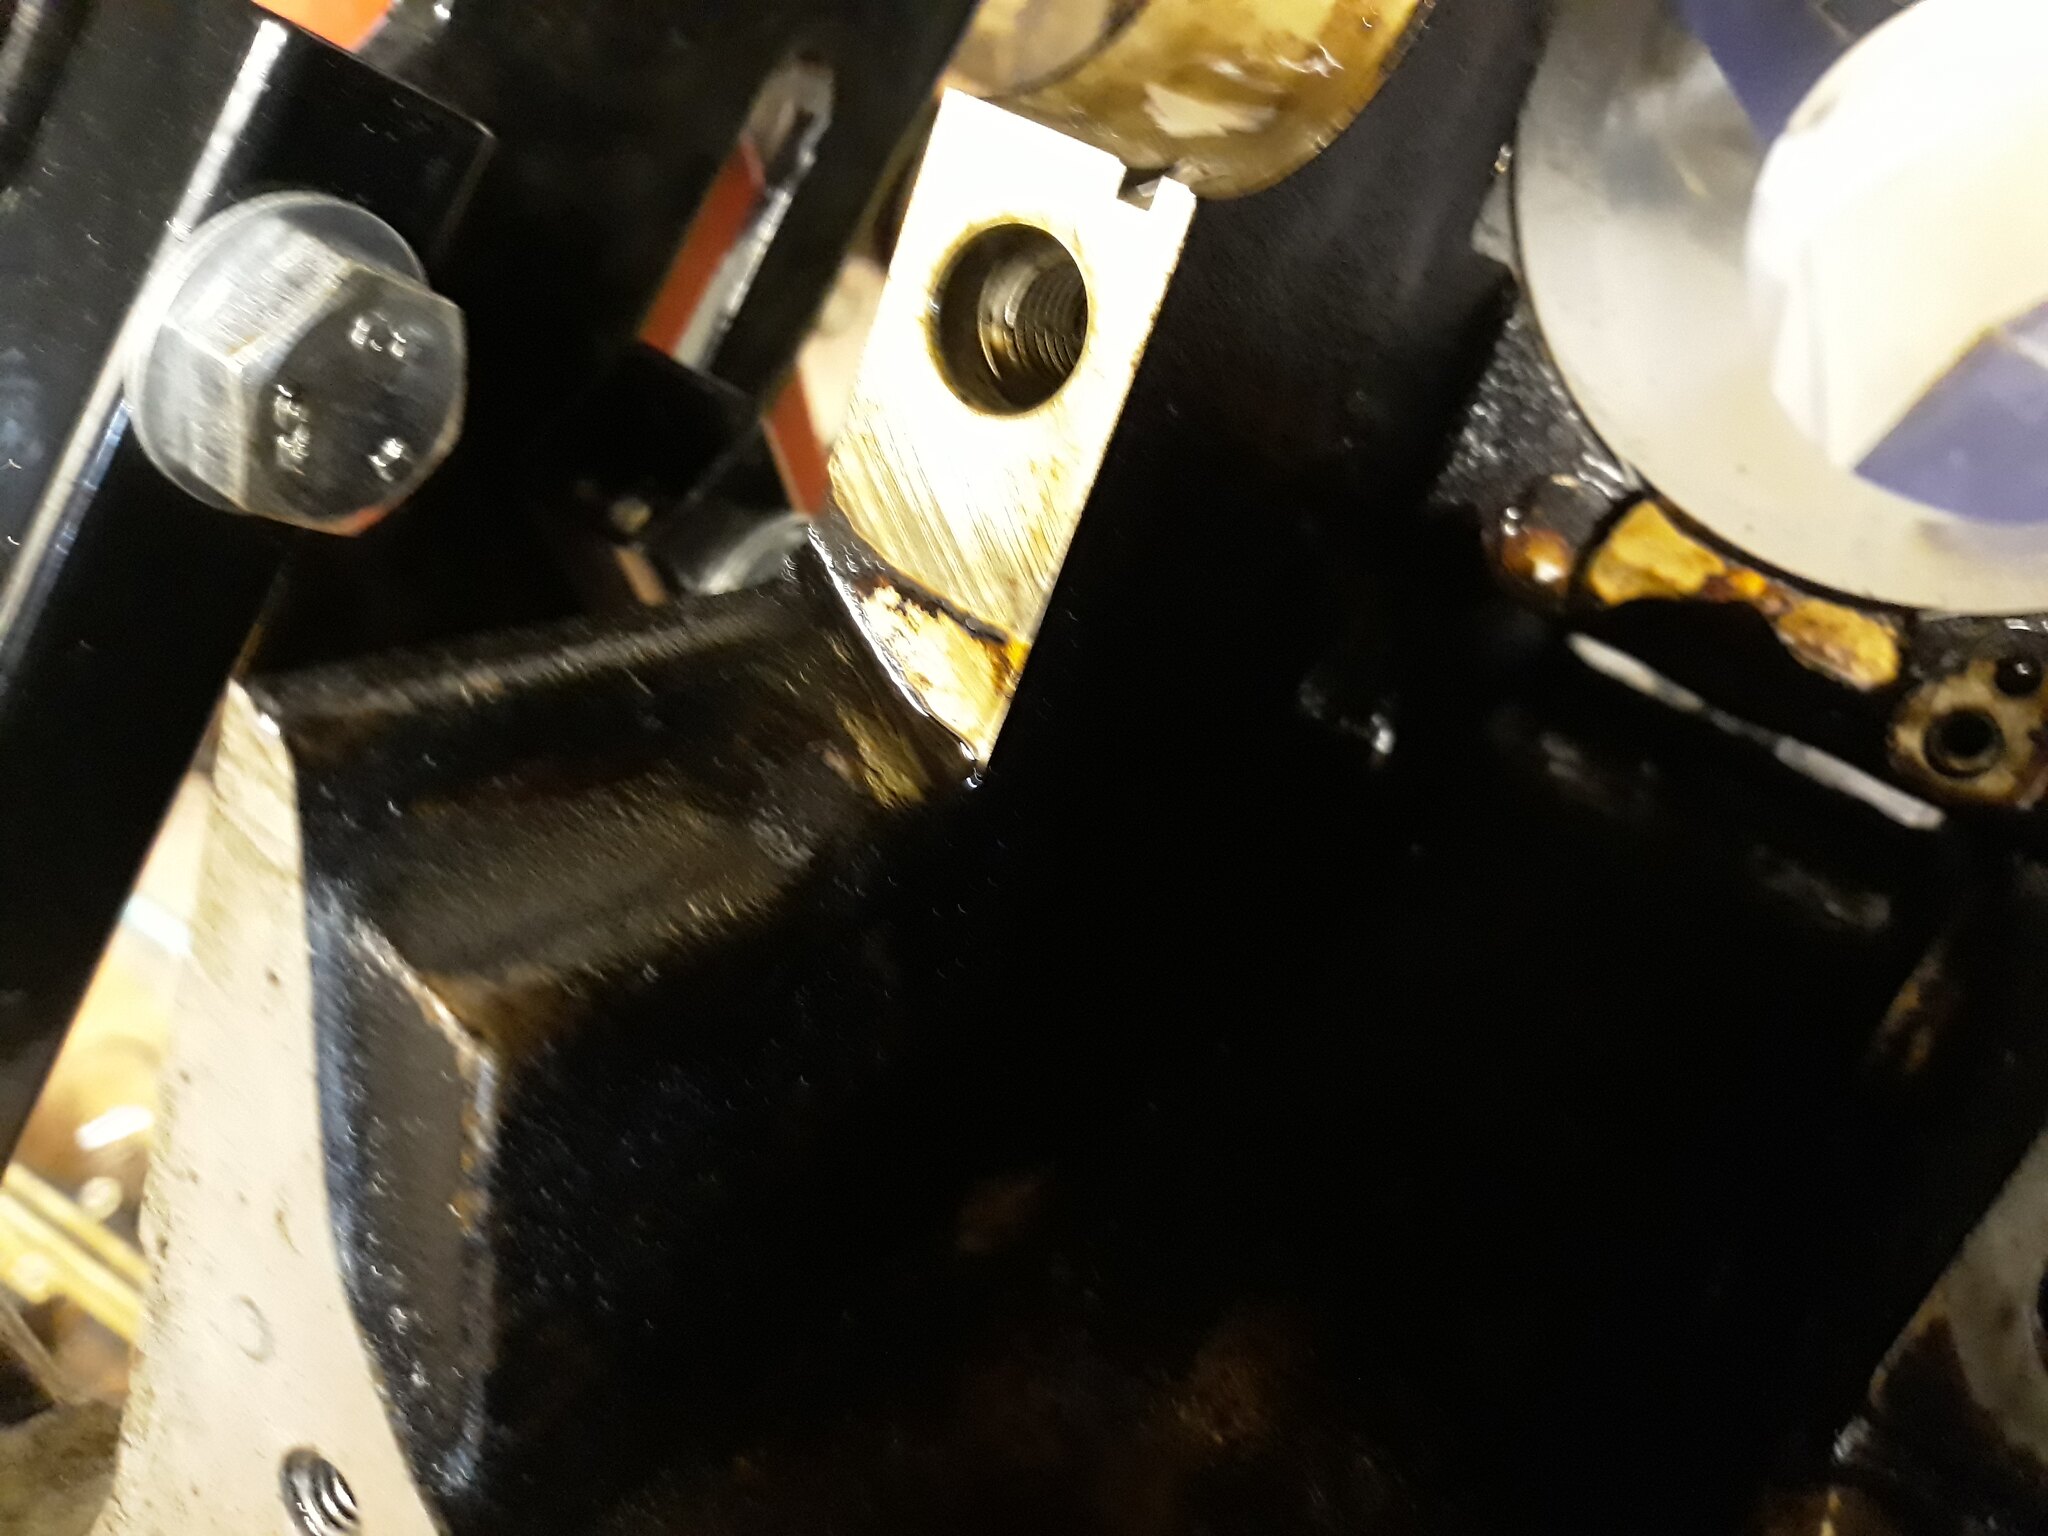
 20180907_191338 by Paul Crake, on Flickr
Err, thats not original.
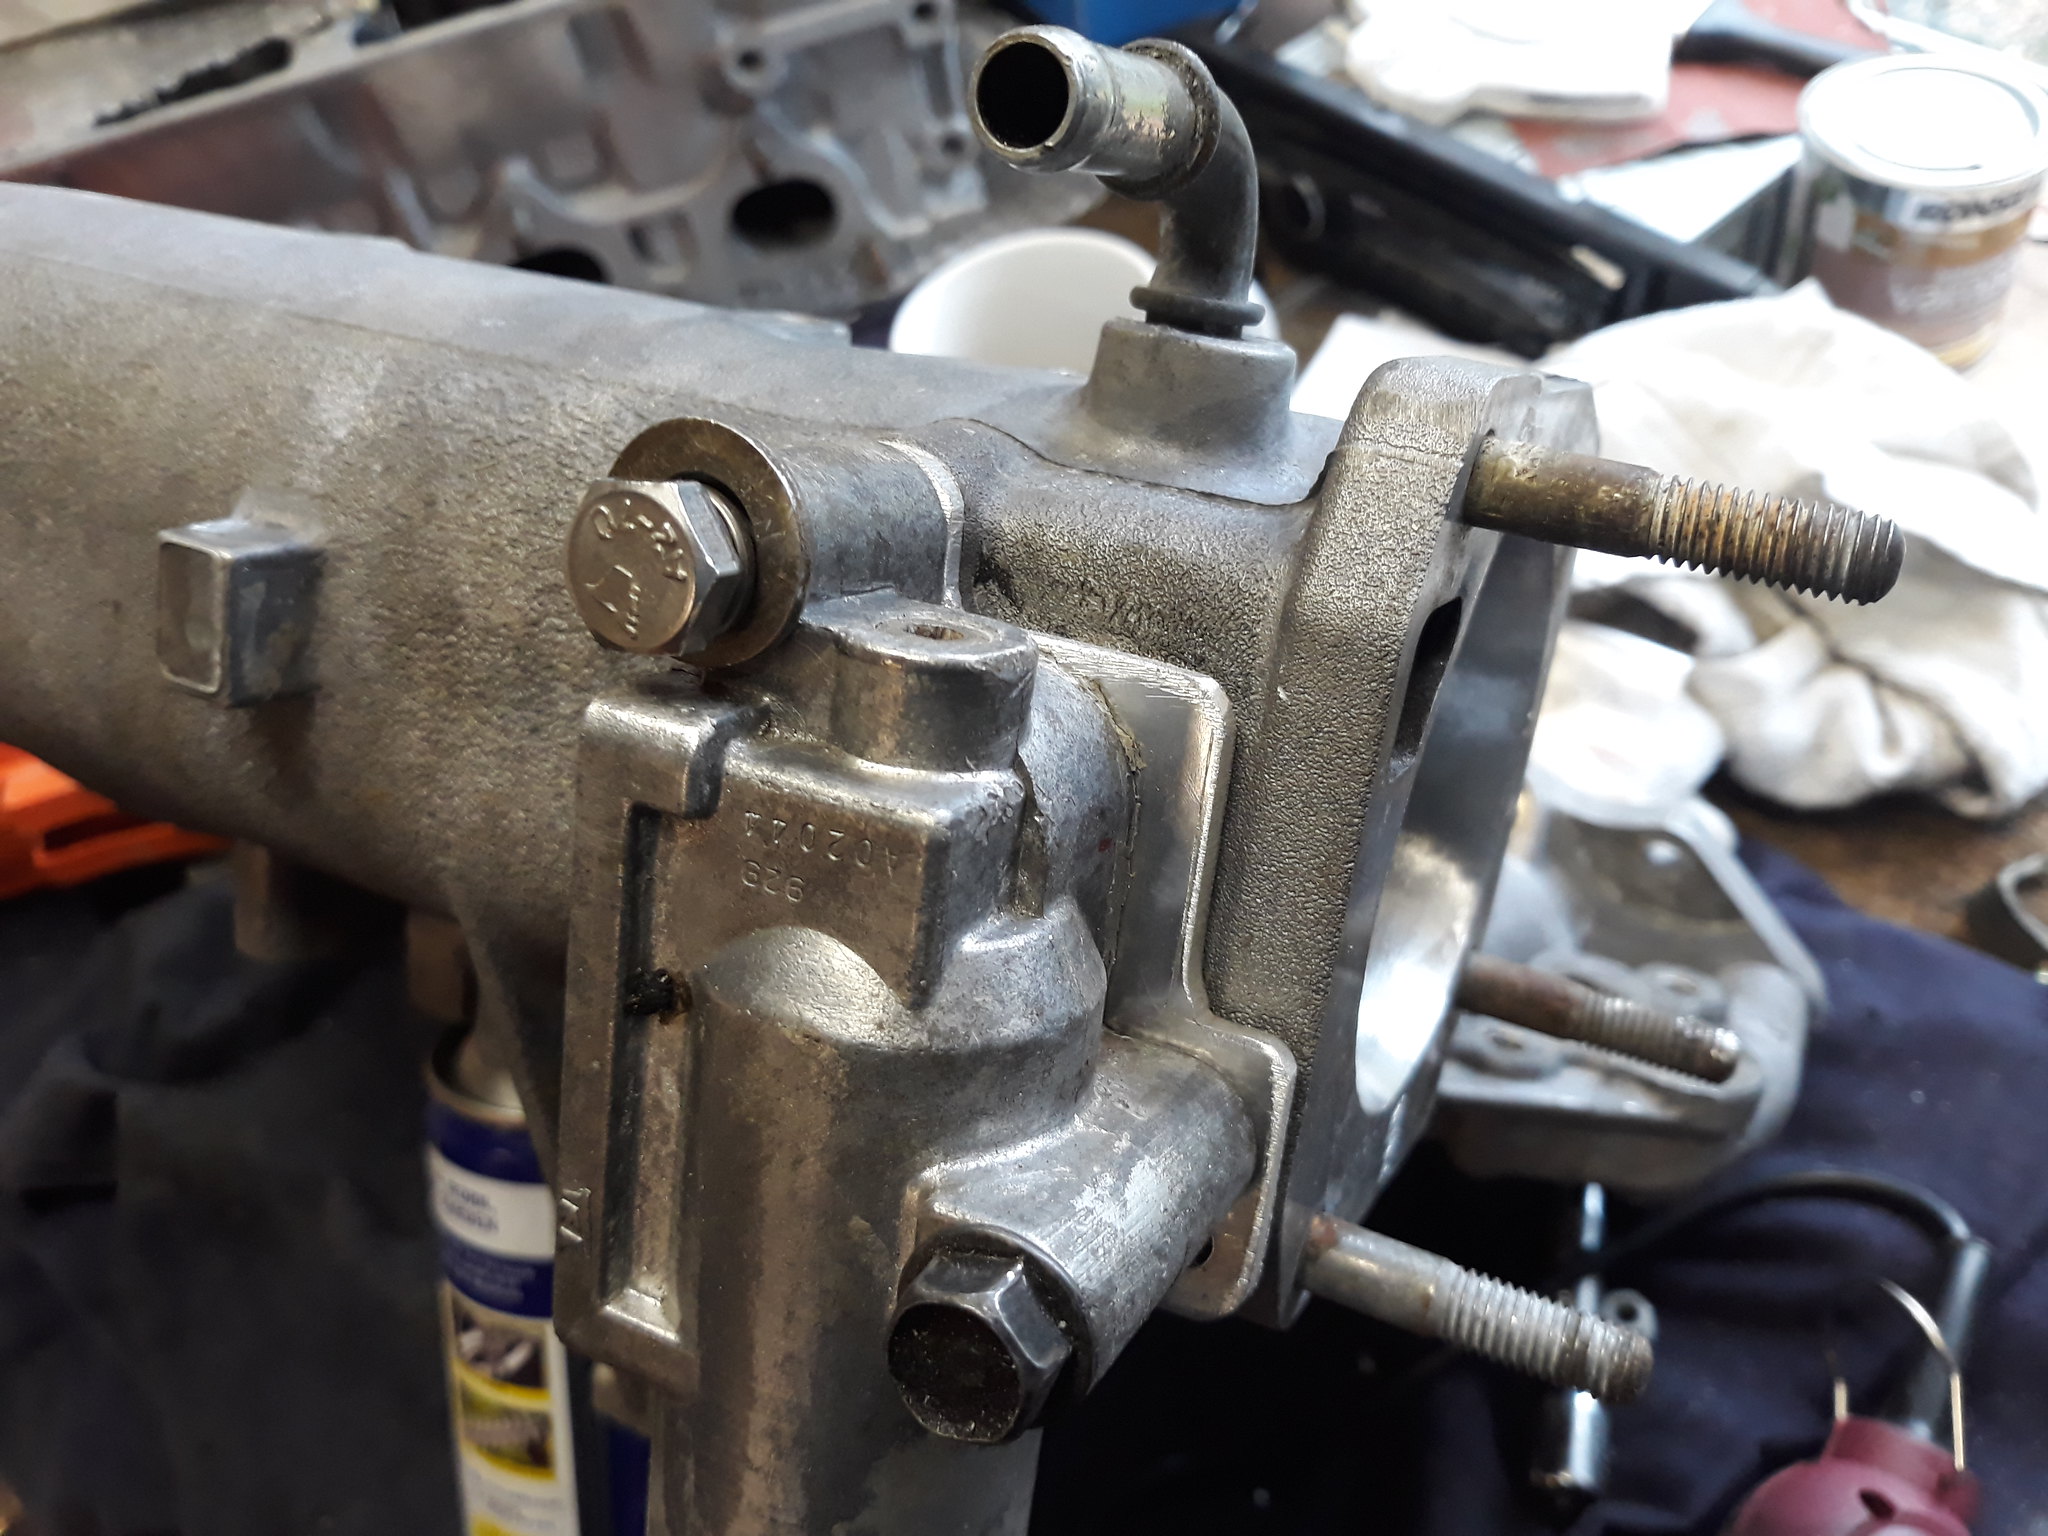
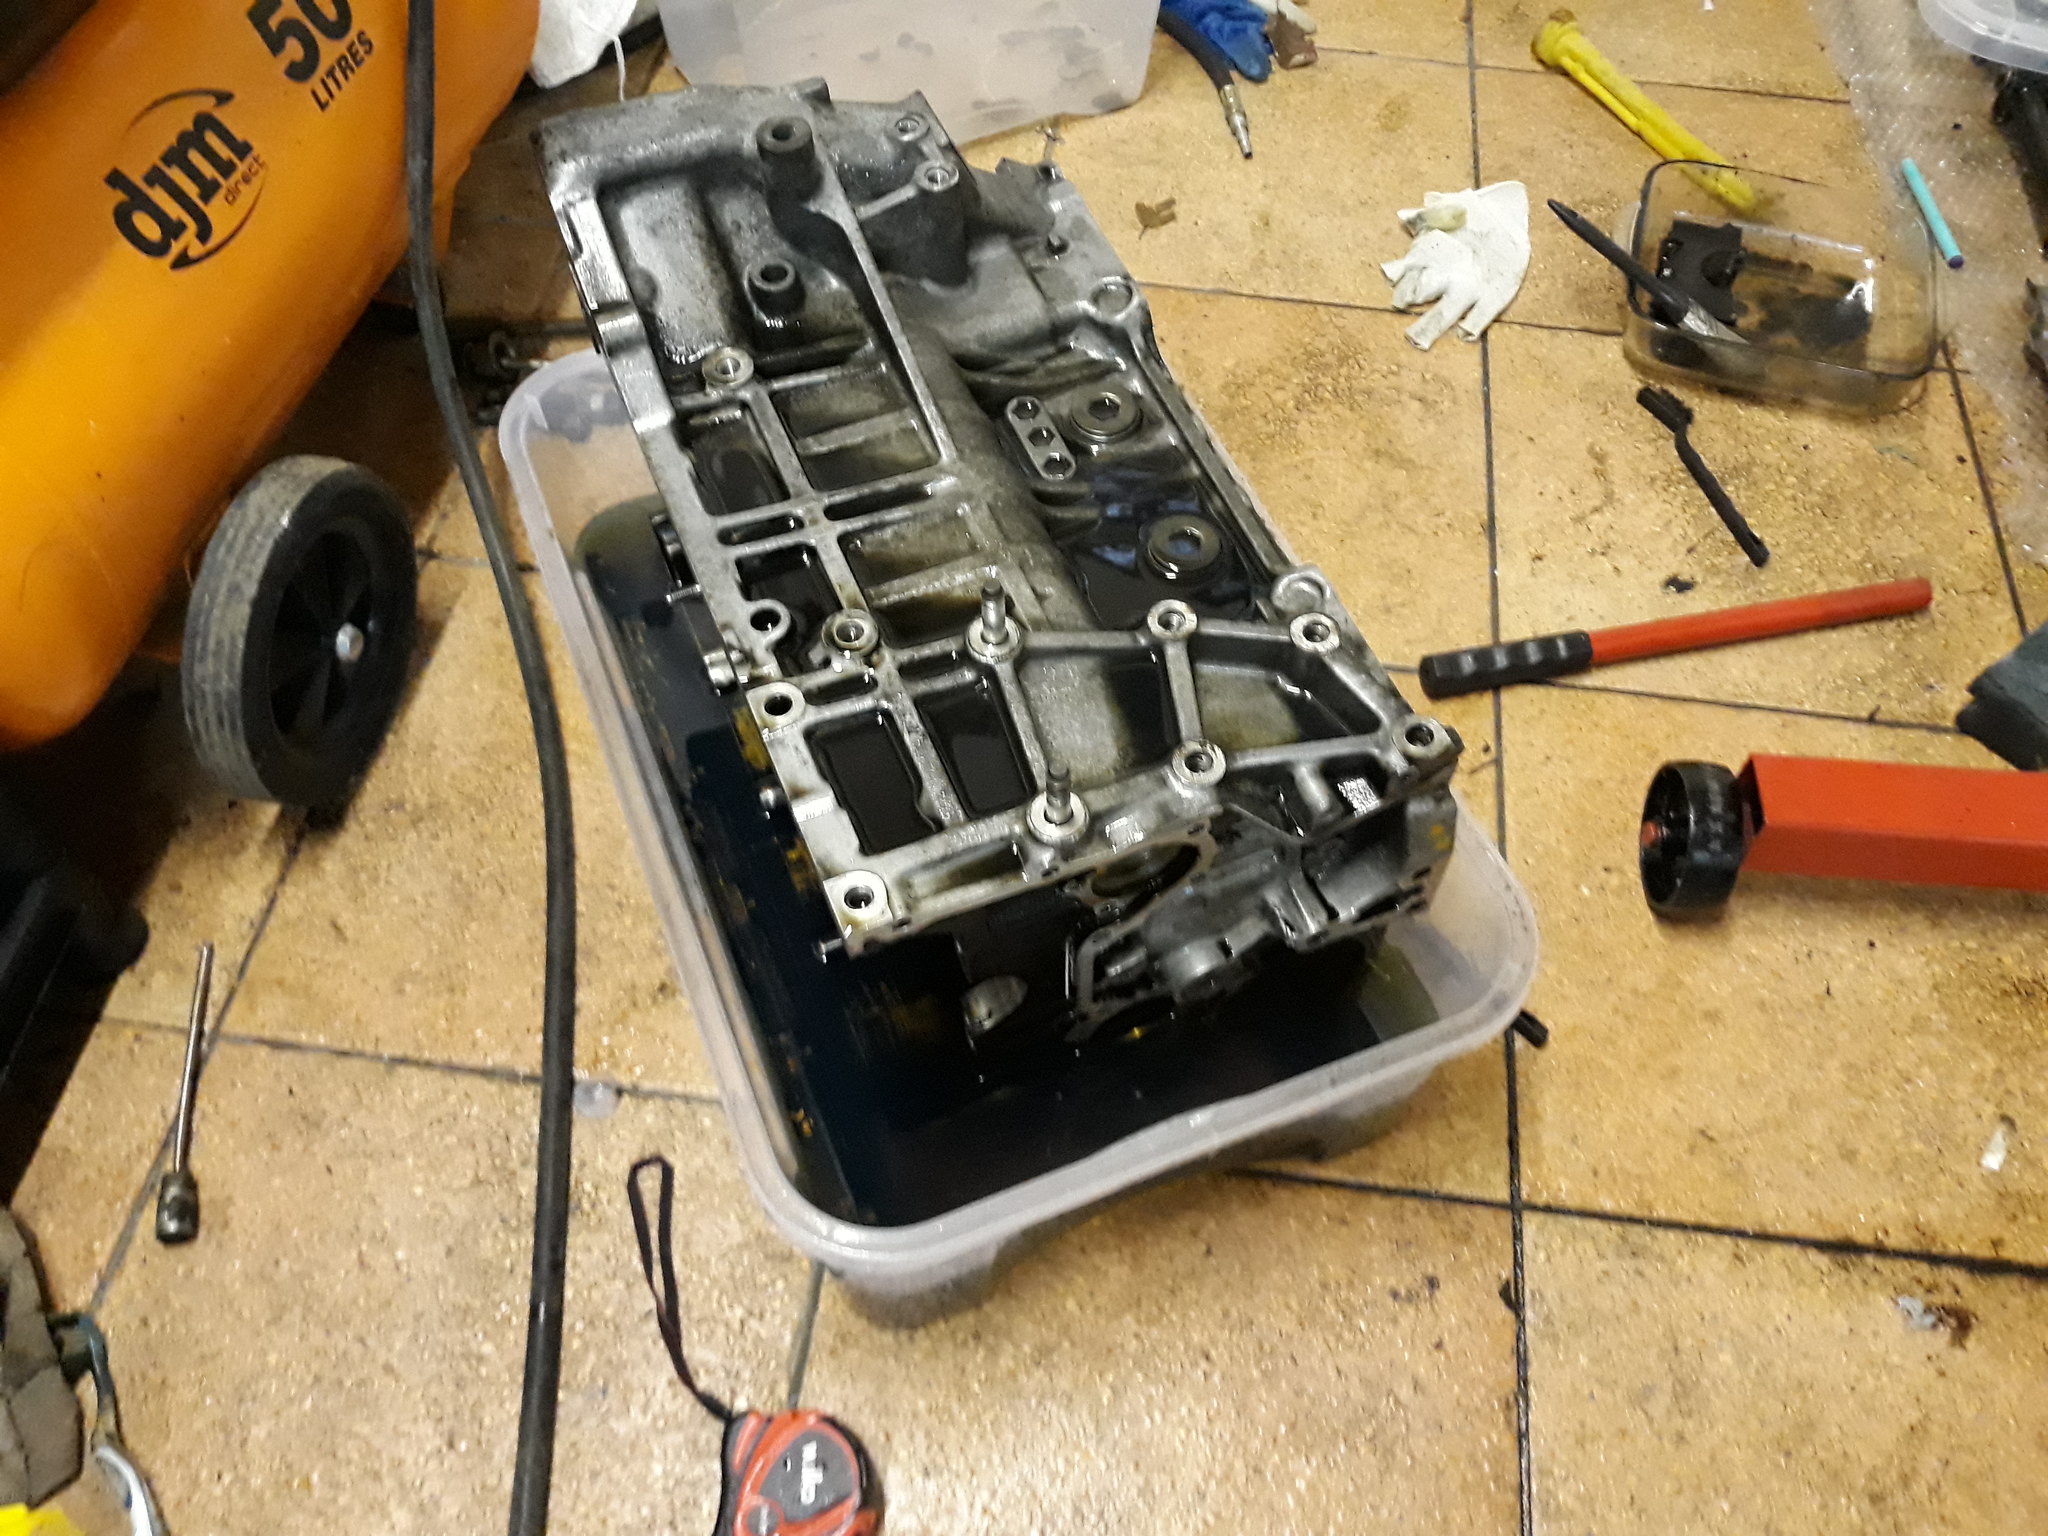
 20180907_192106 by Paul Crake, on Flickr
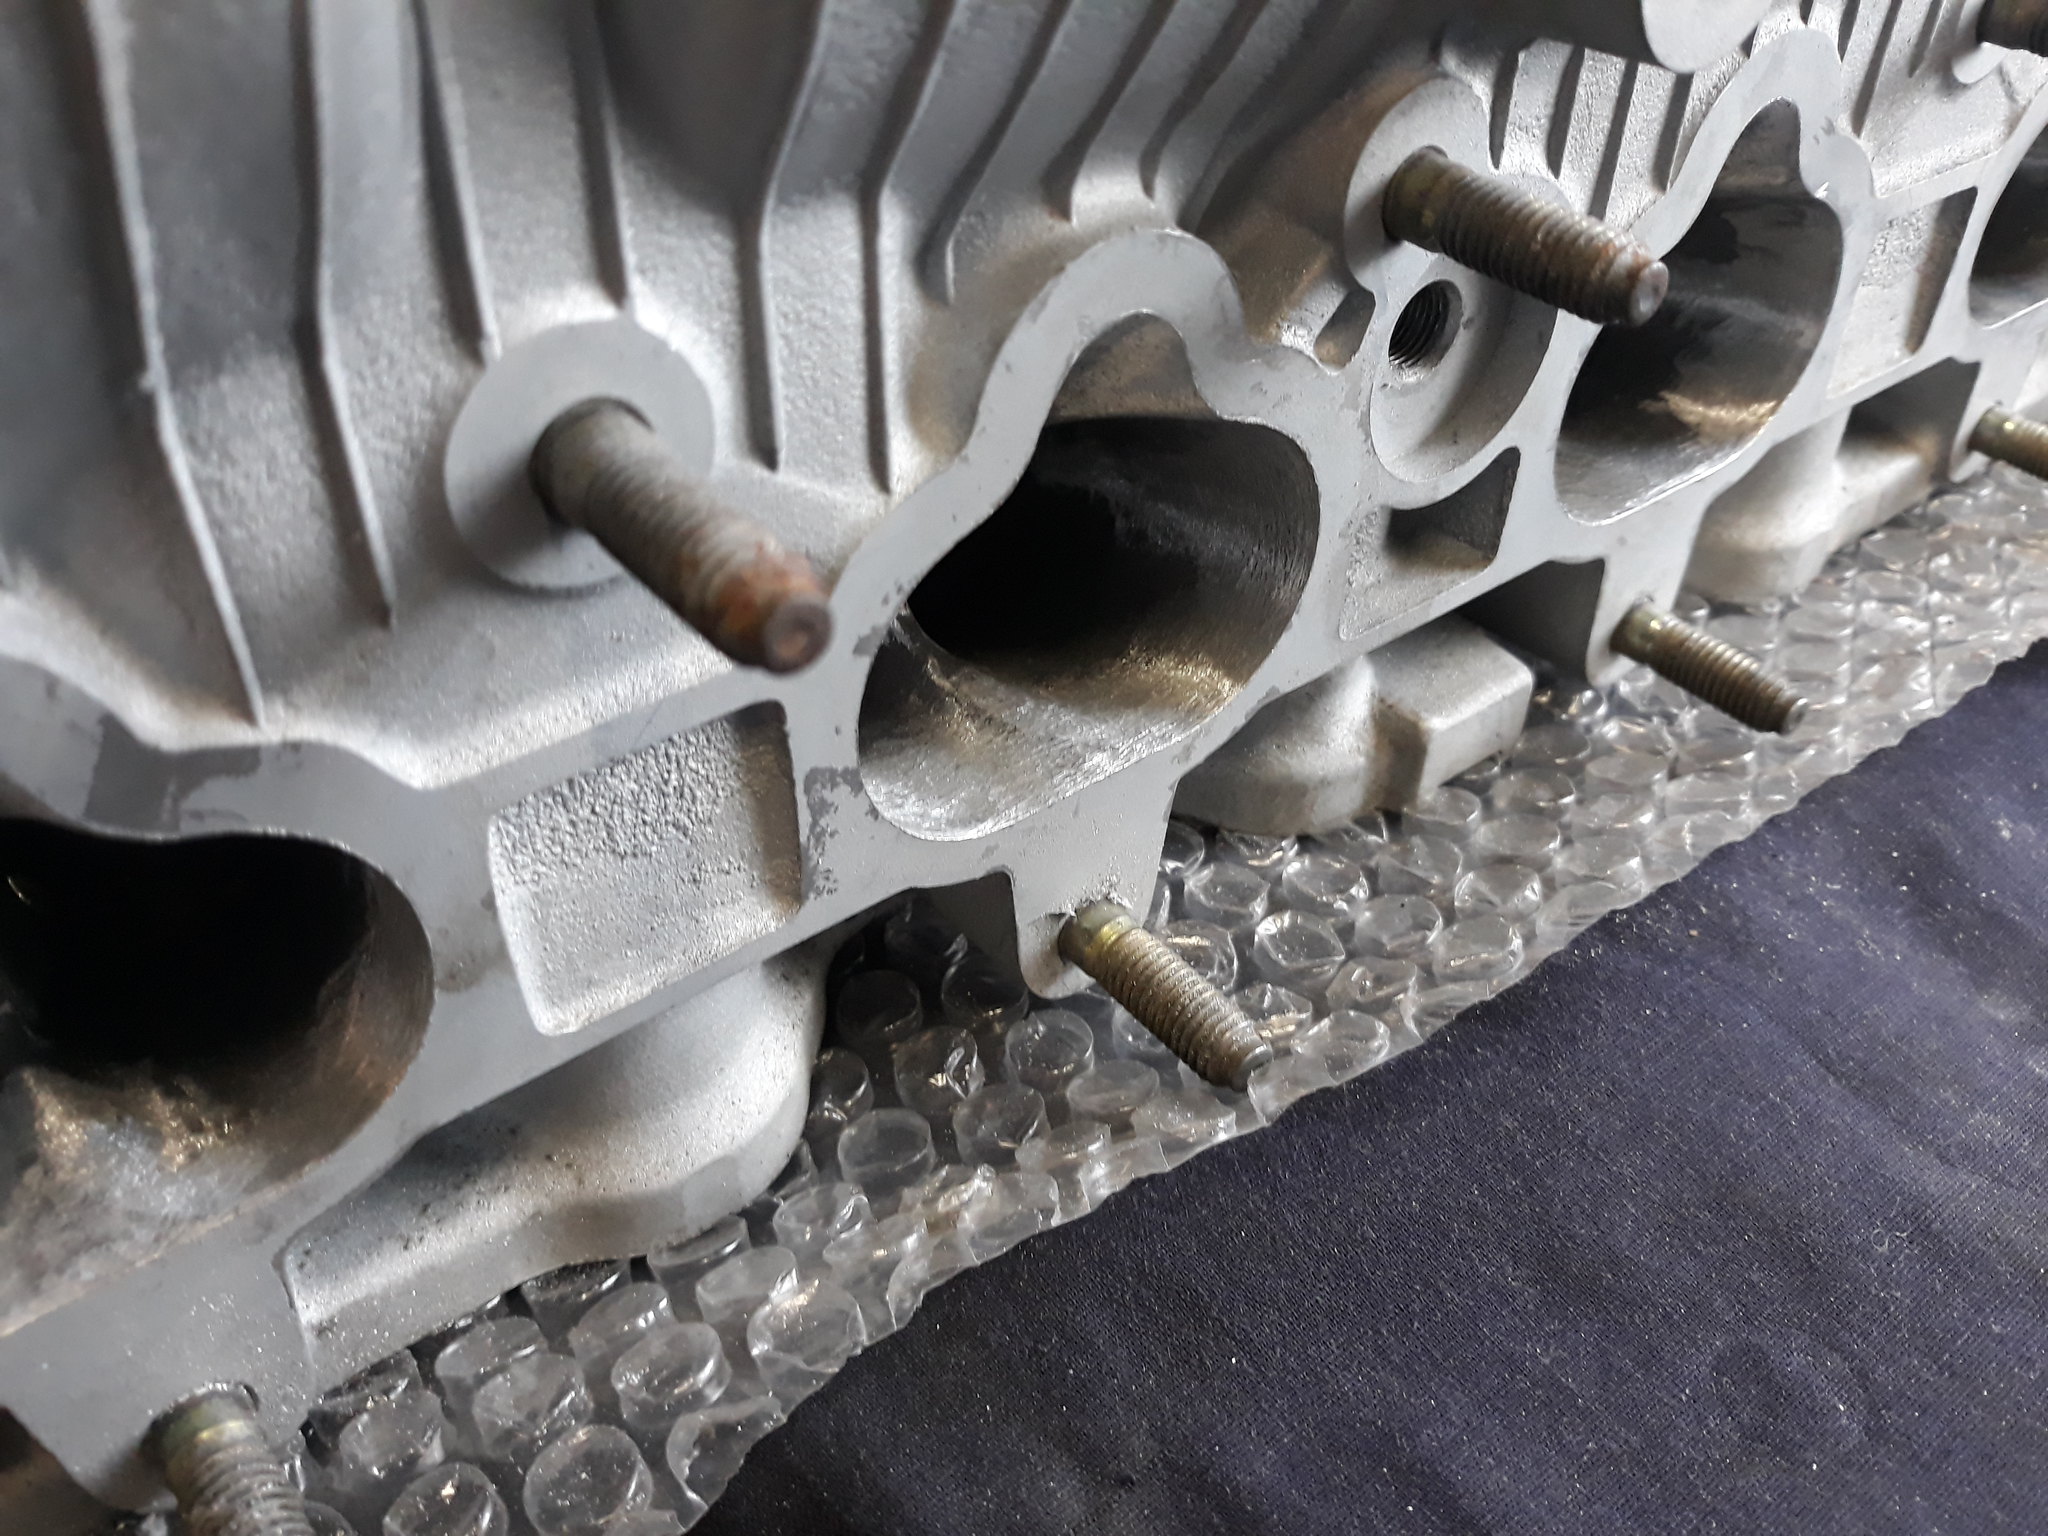
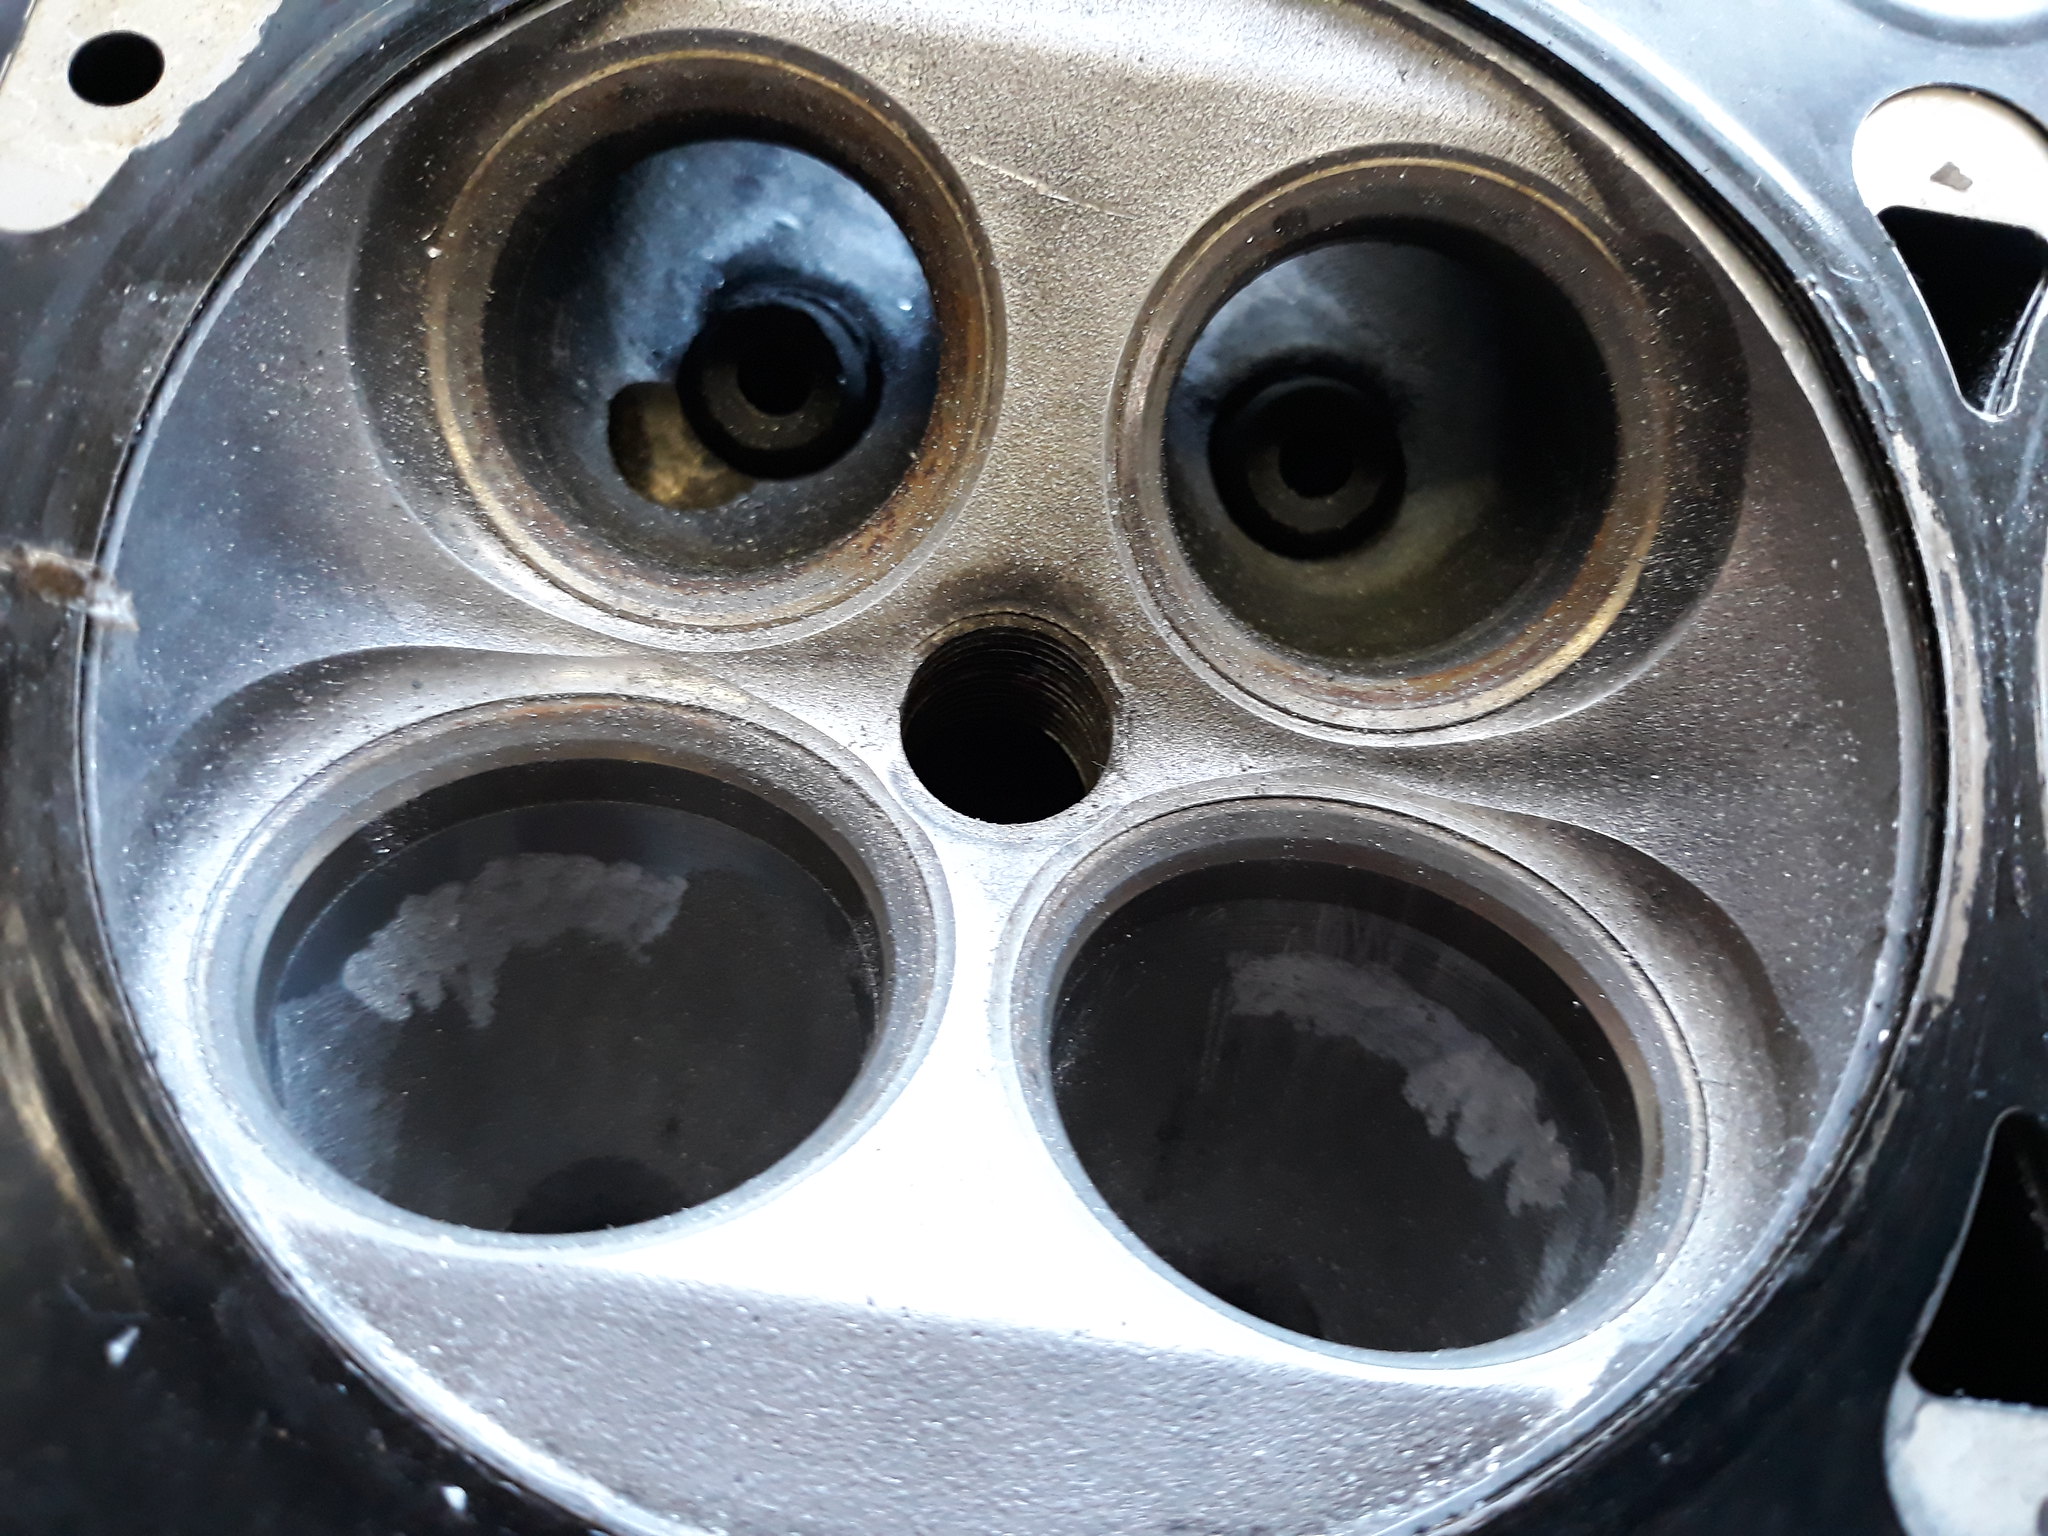
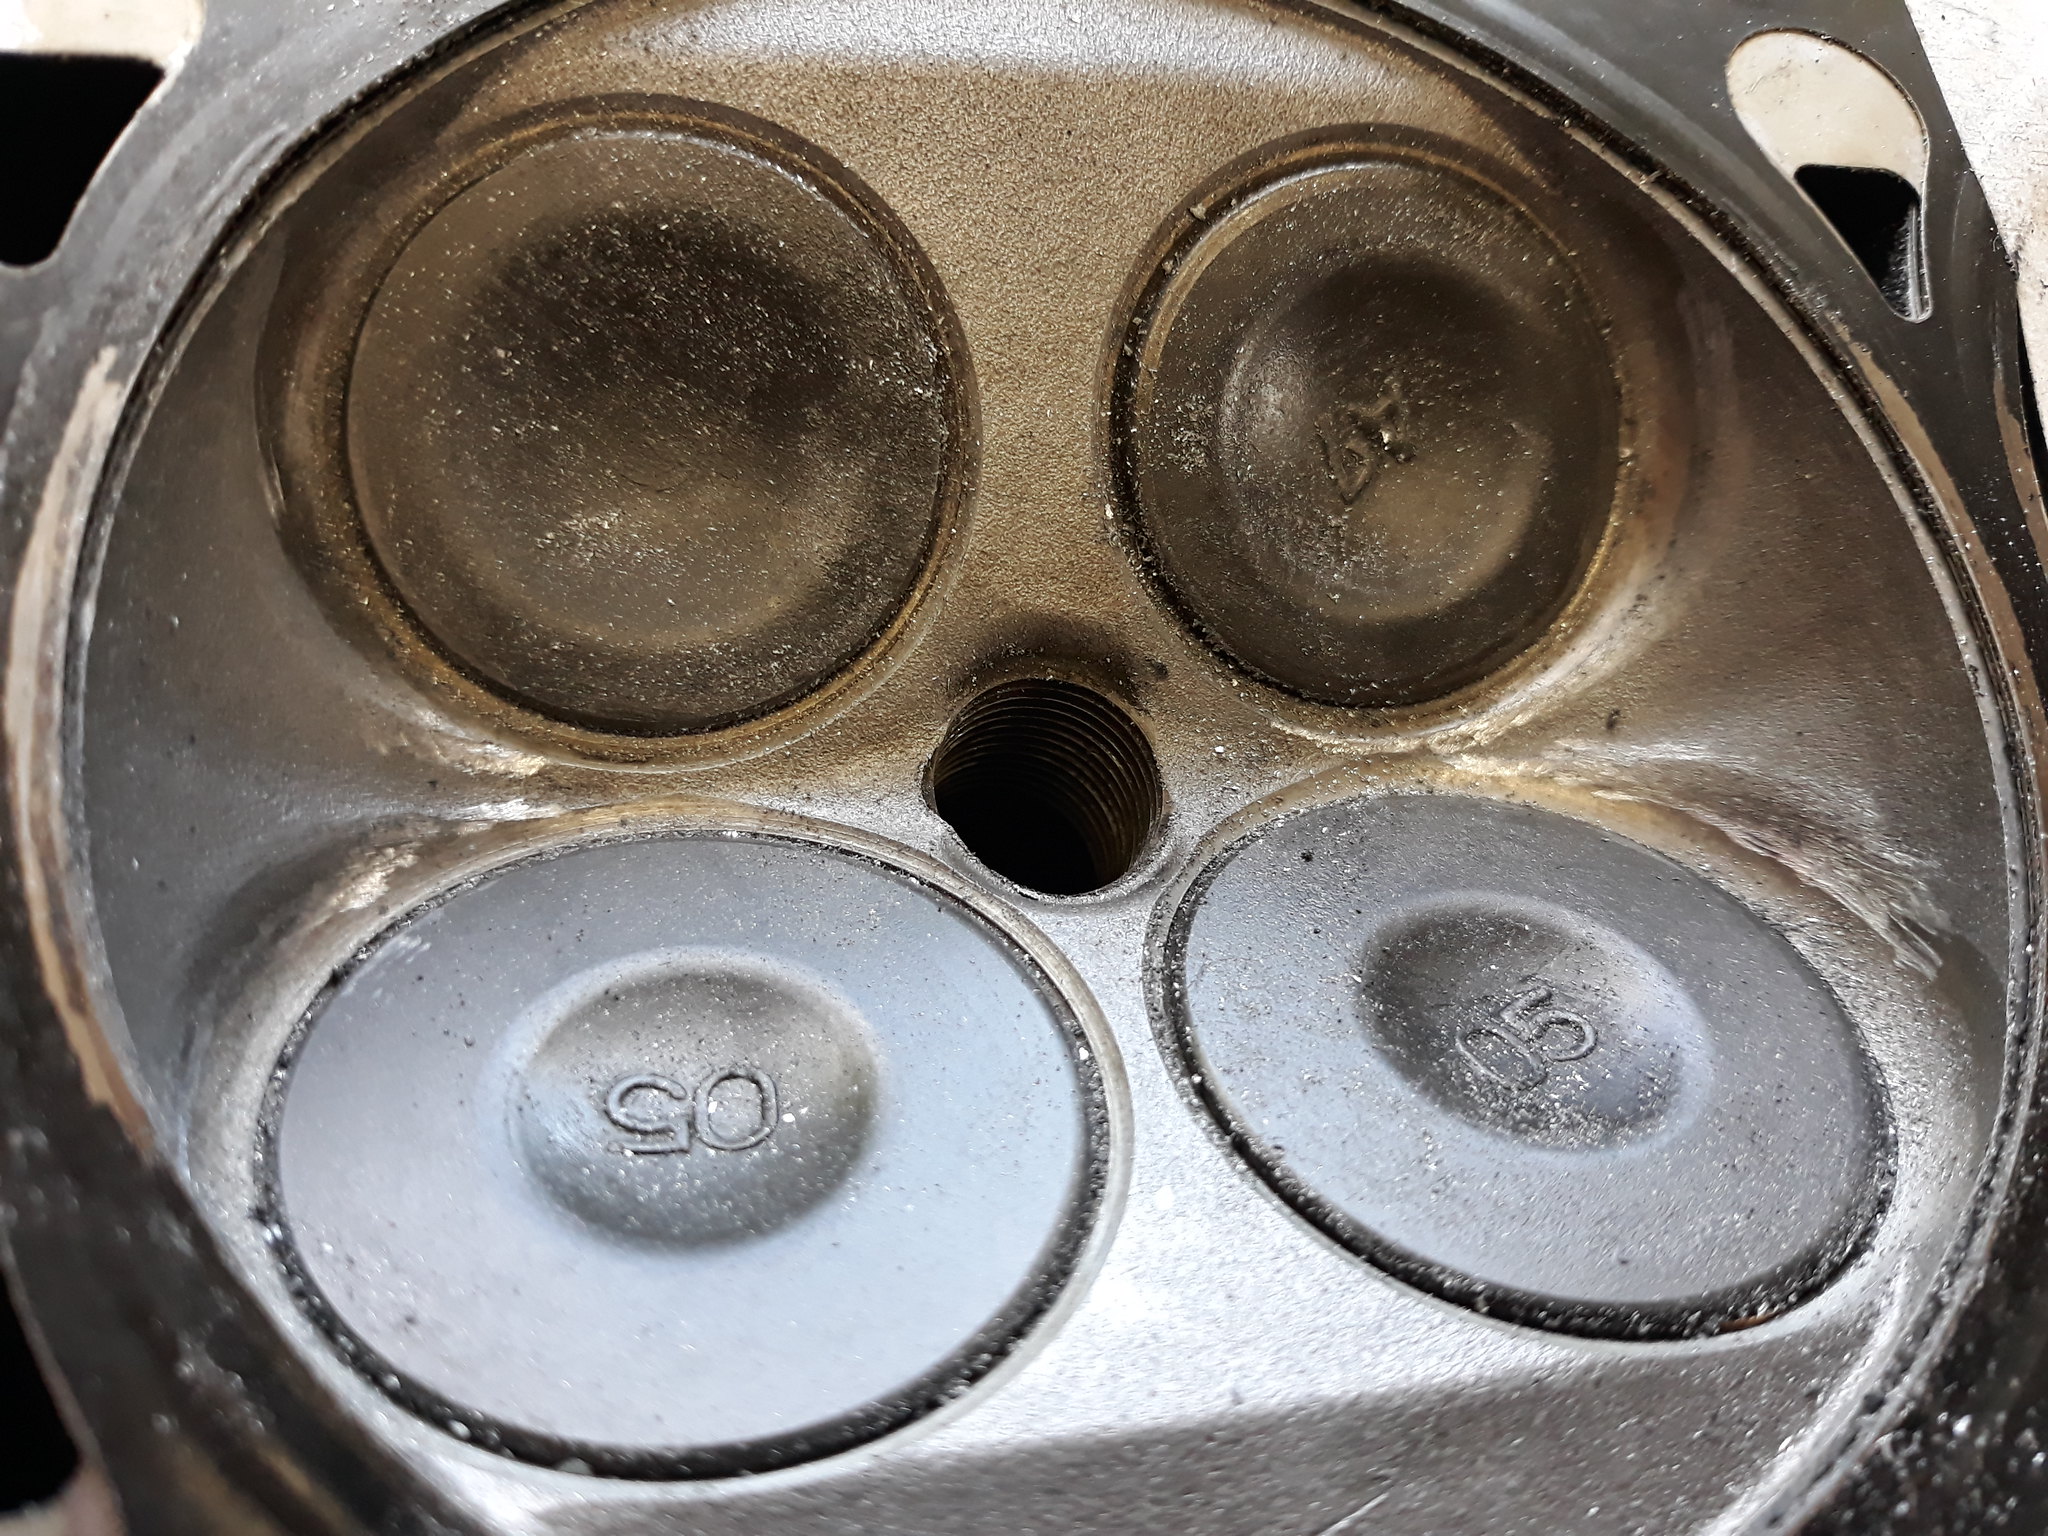
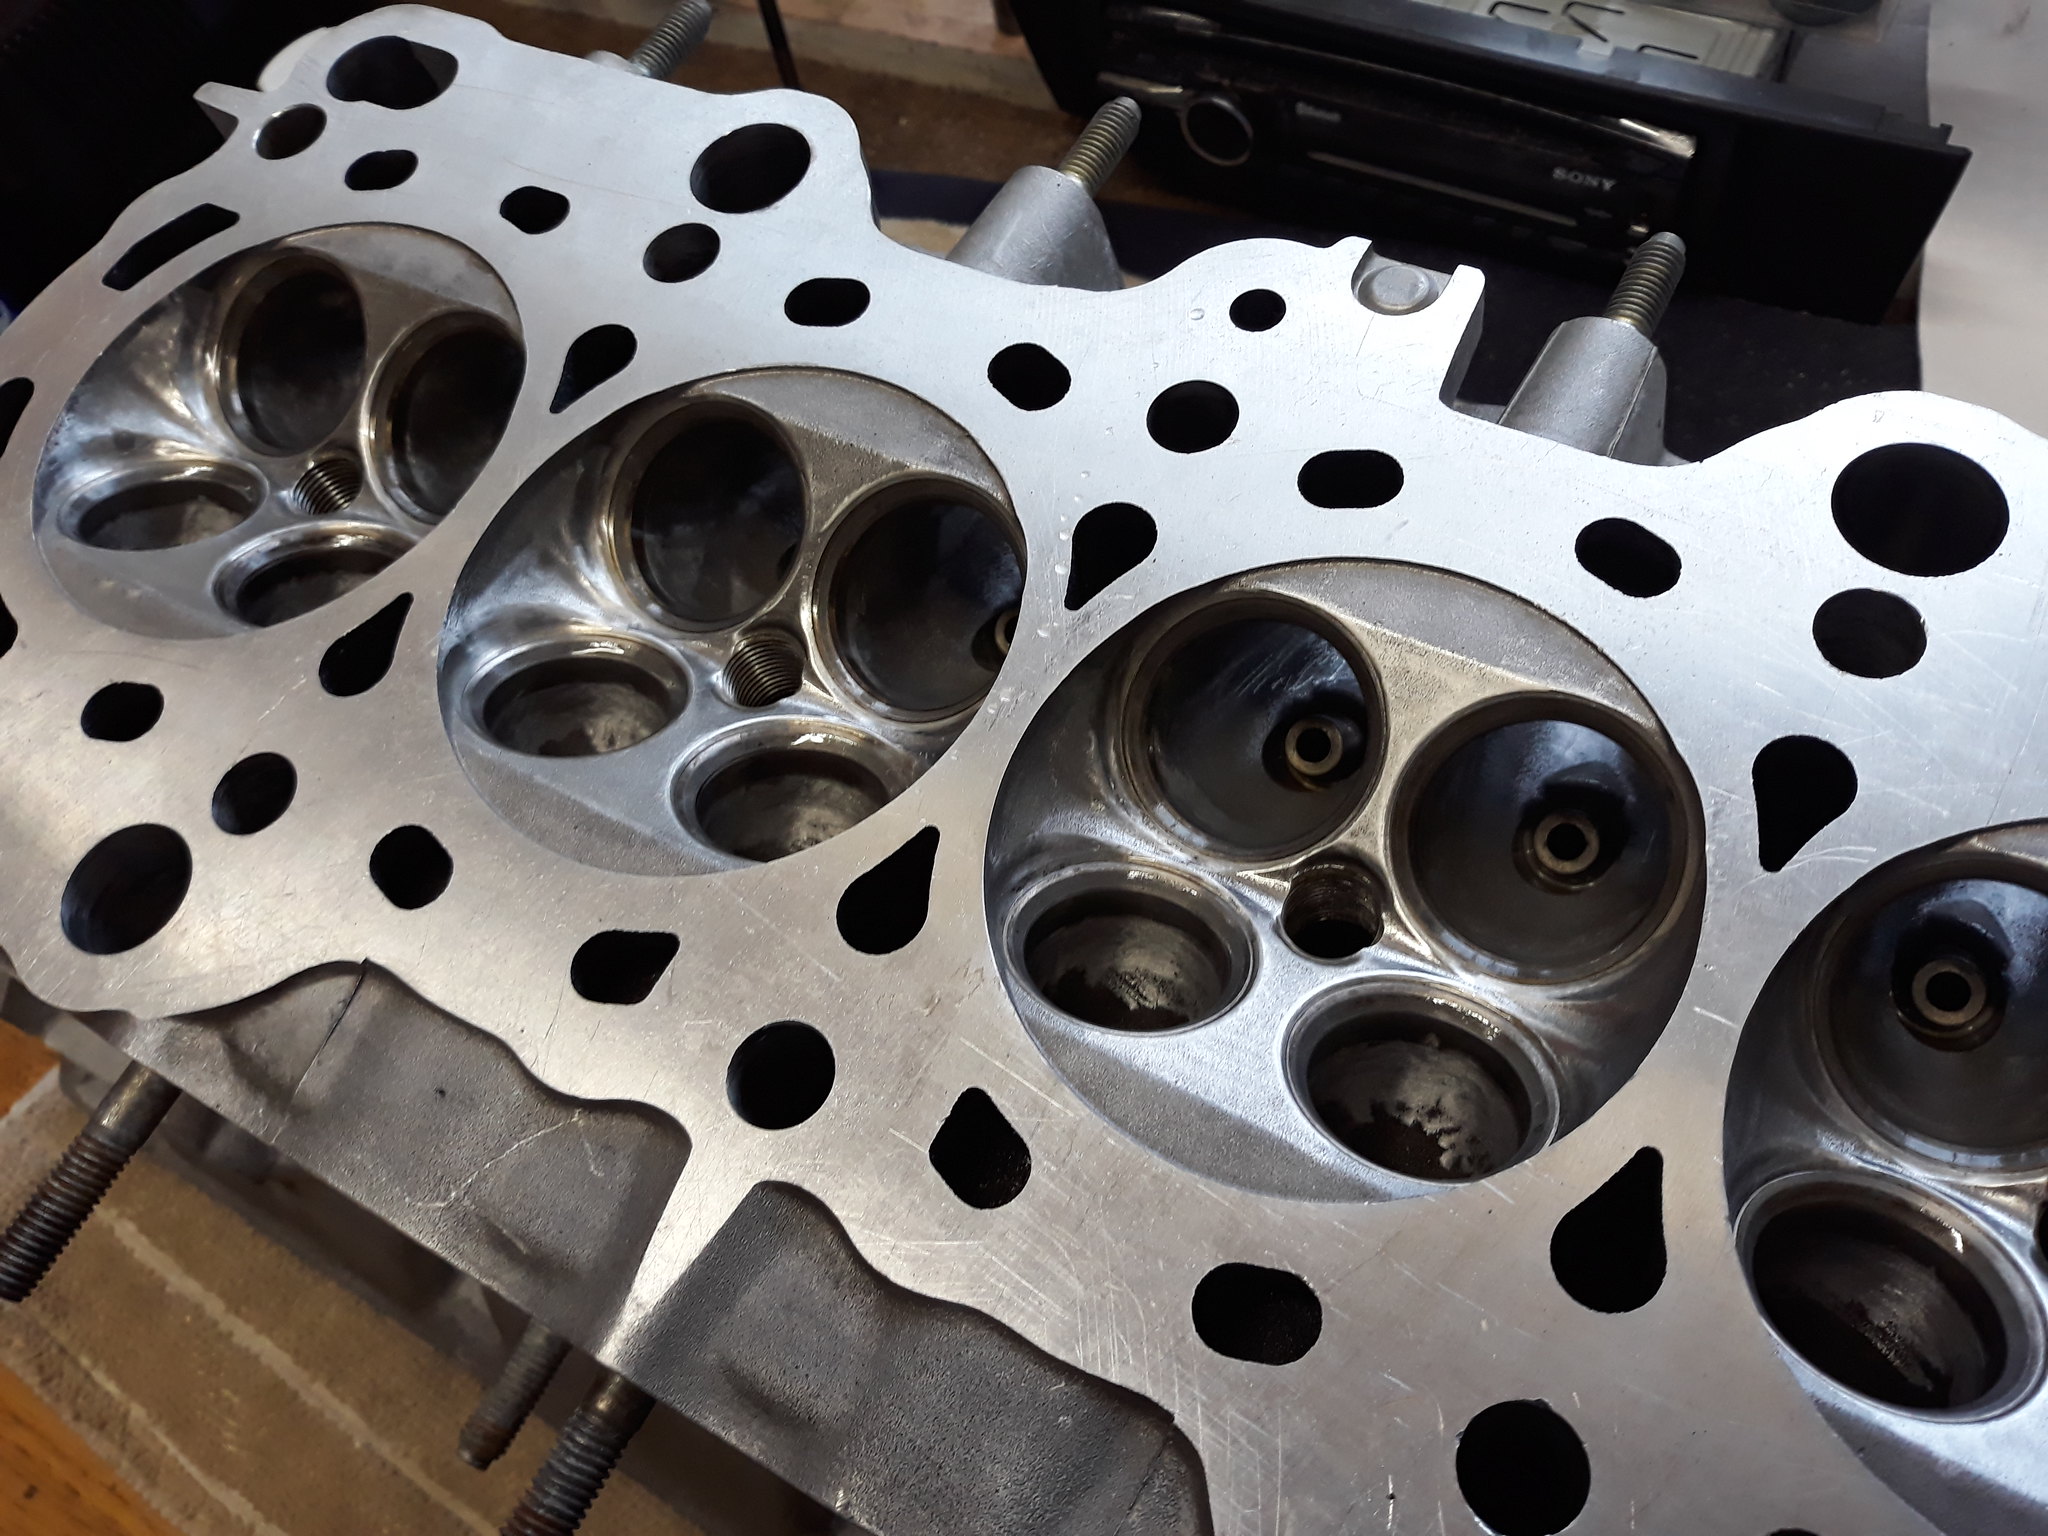
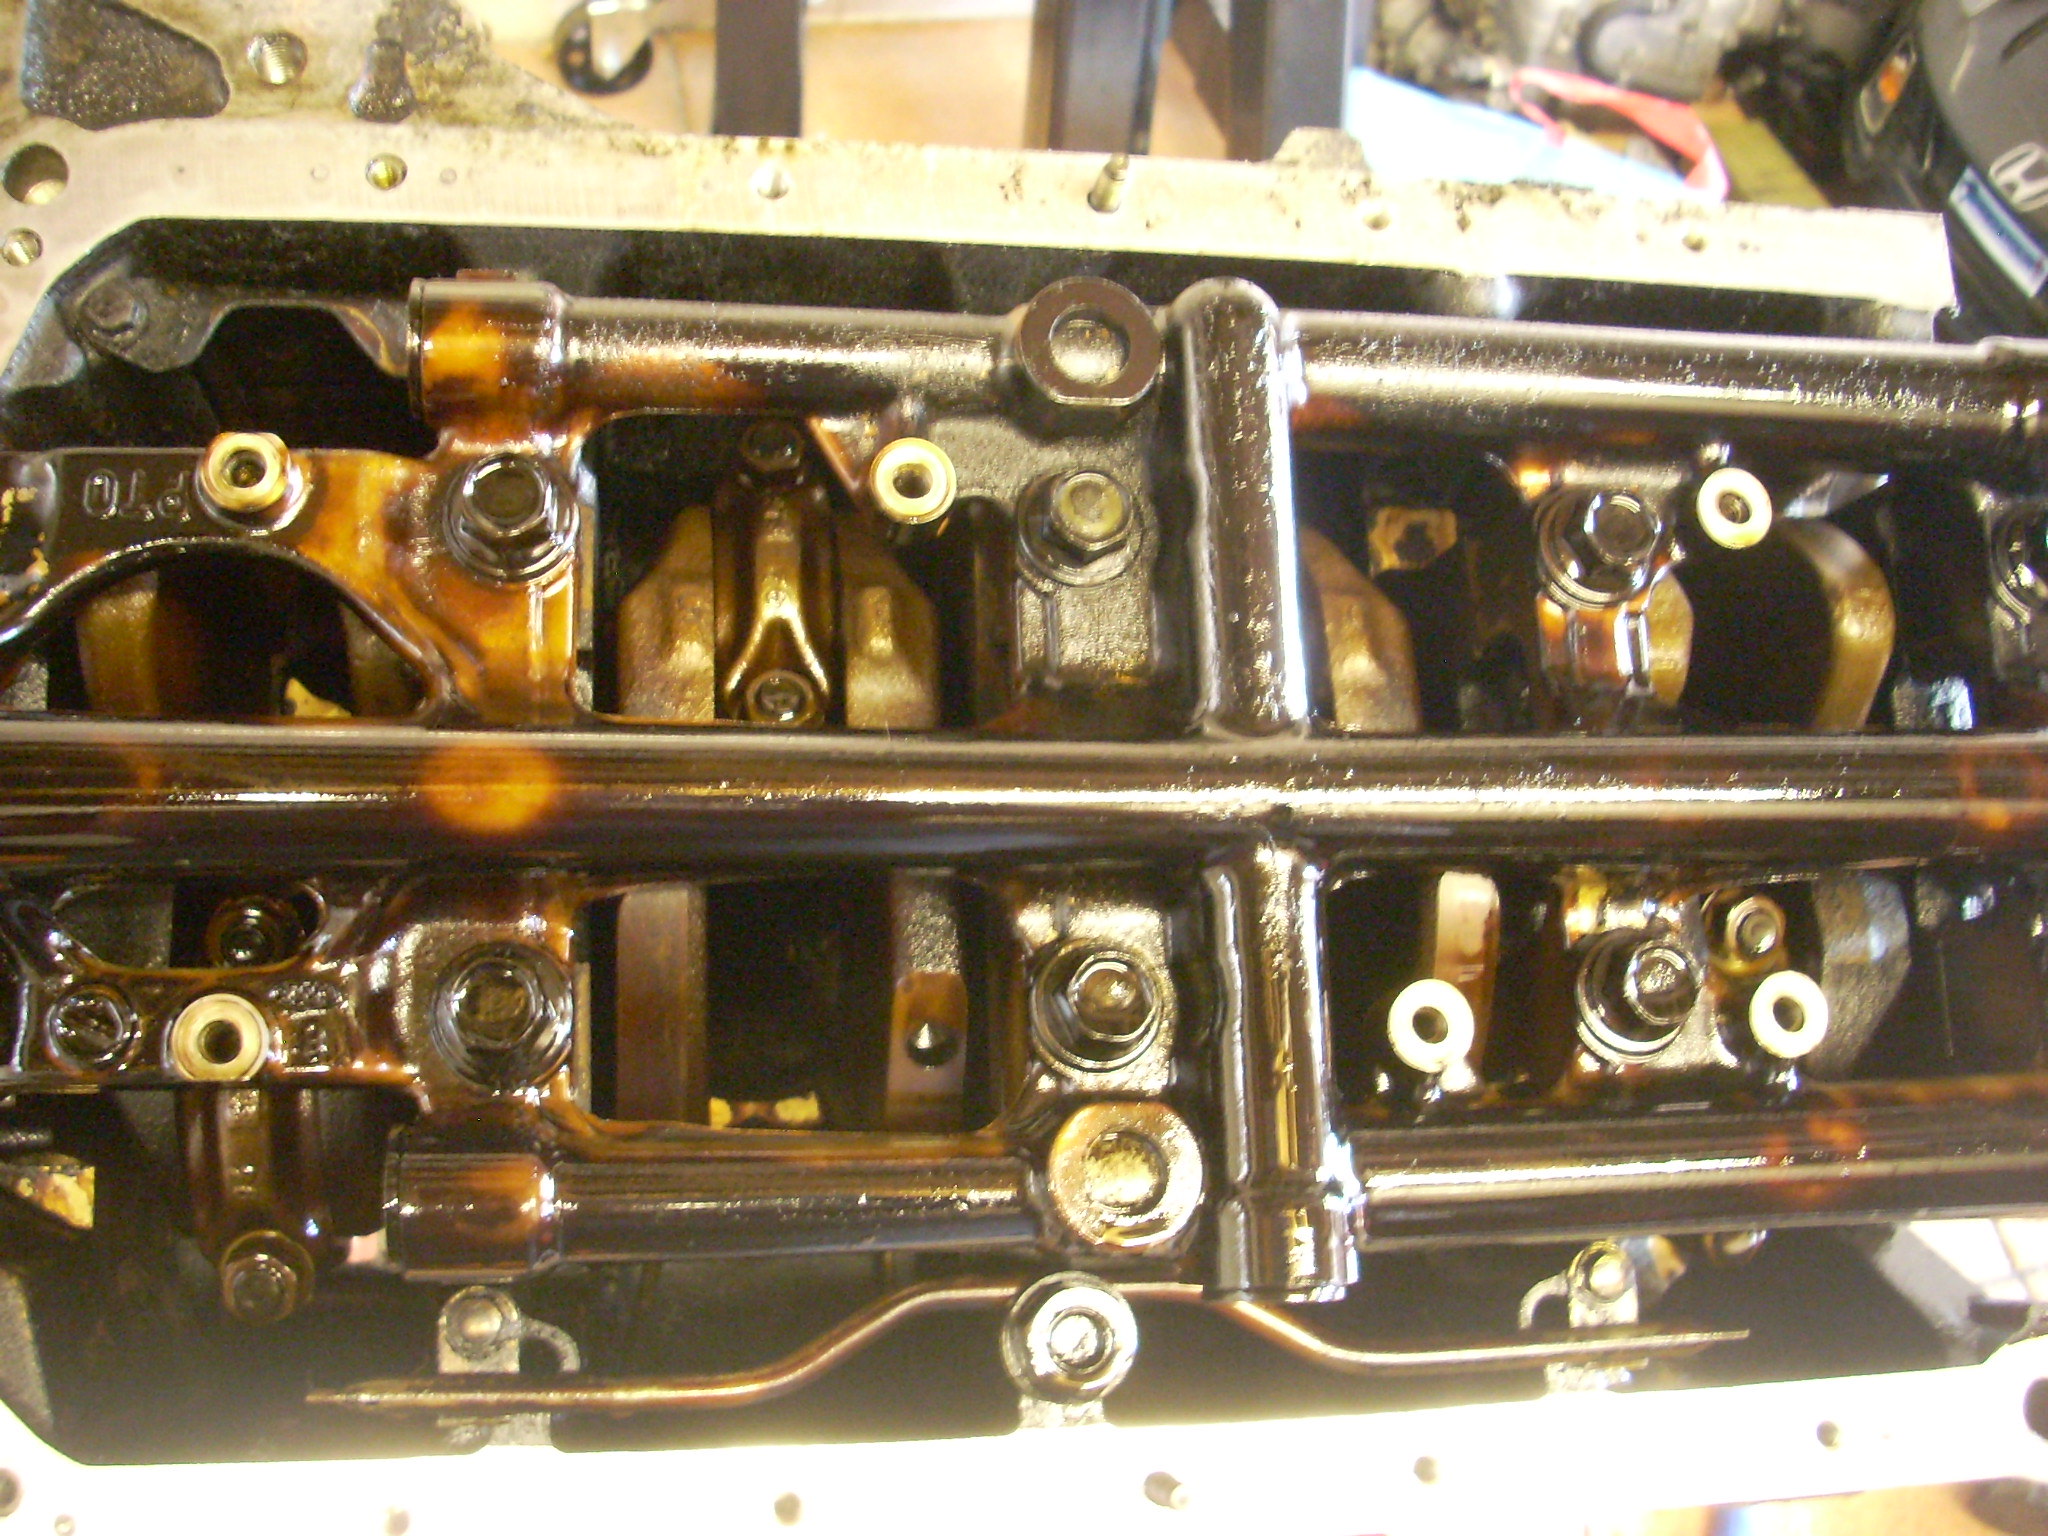
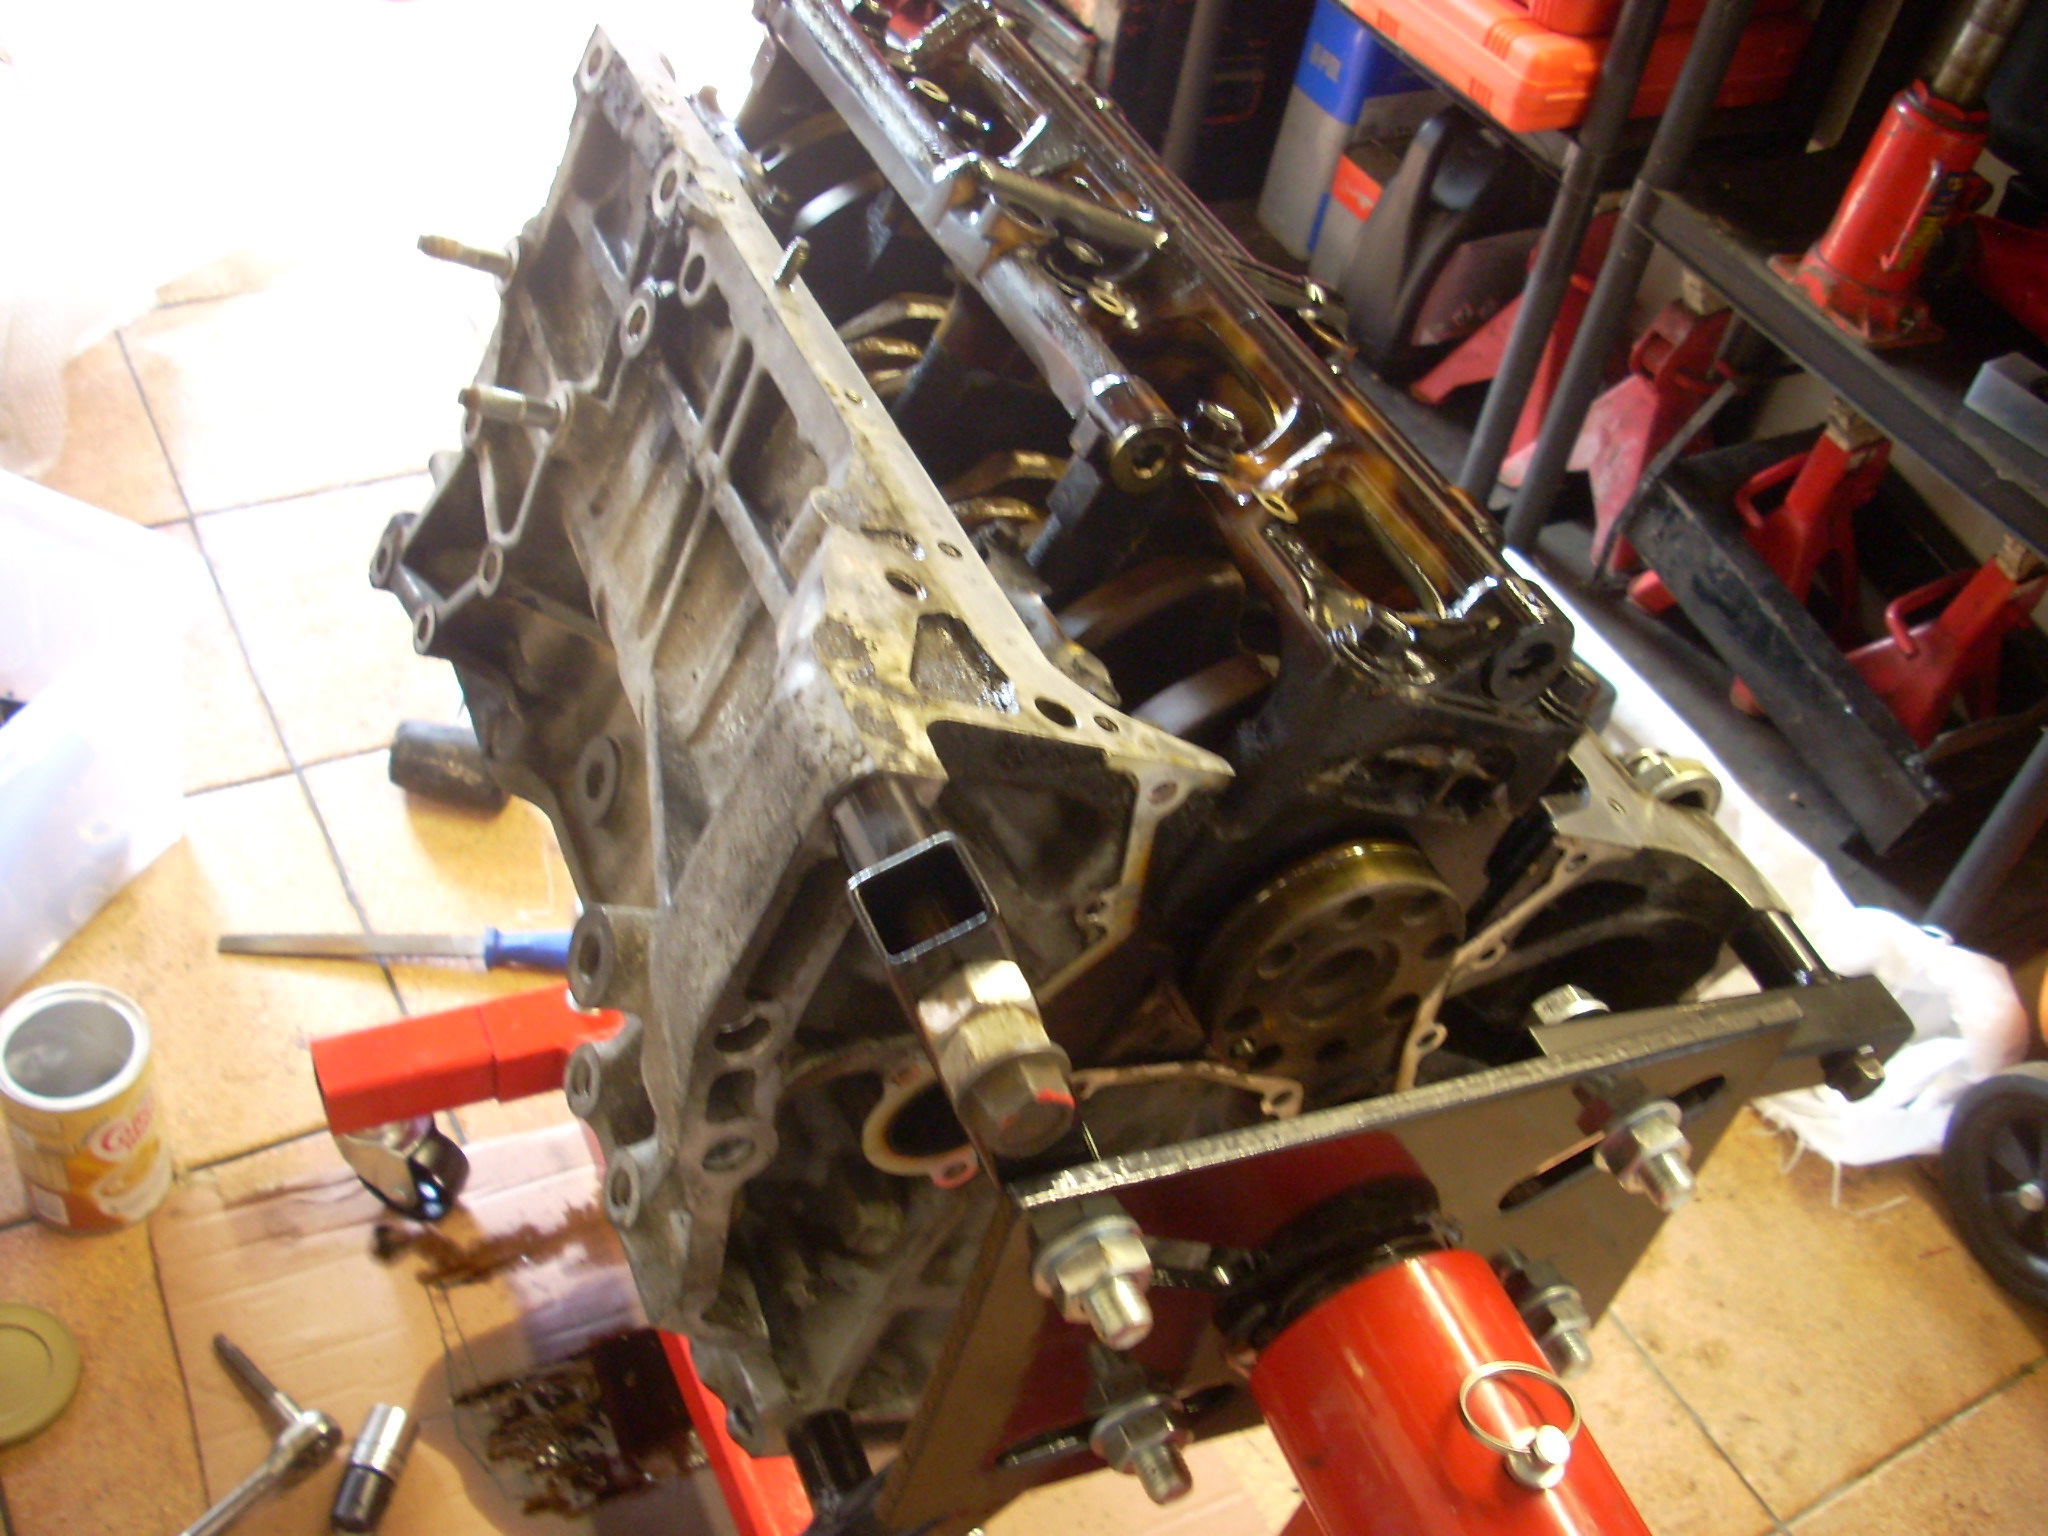
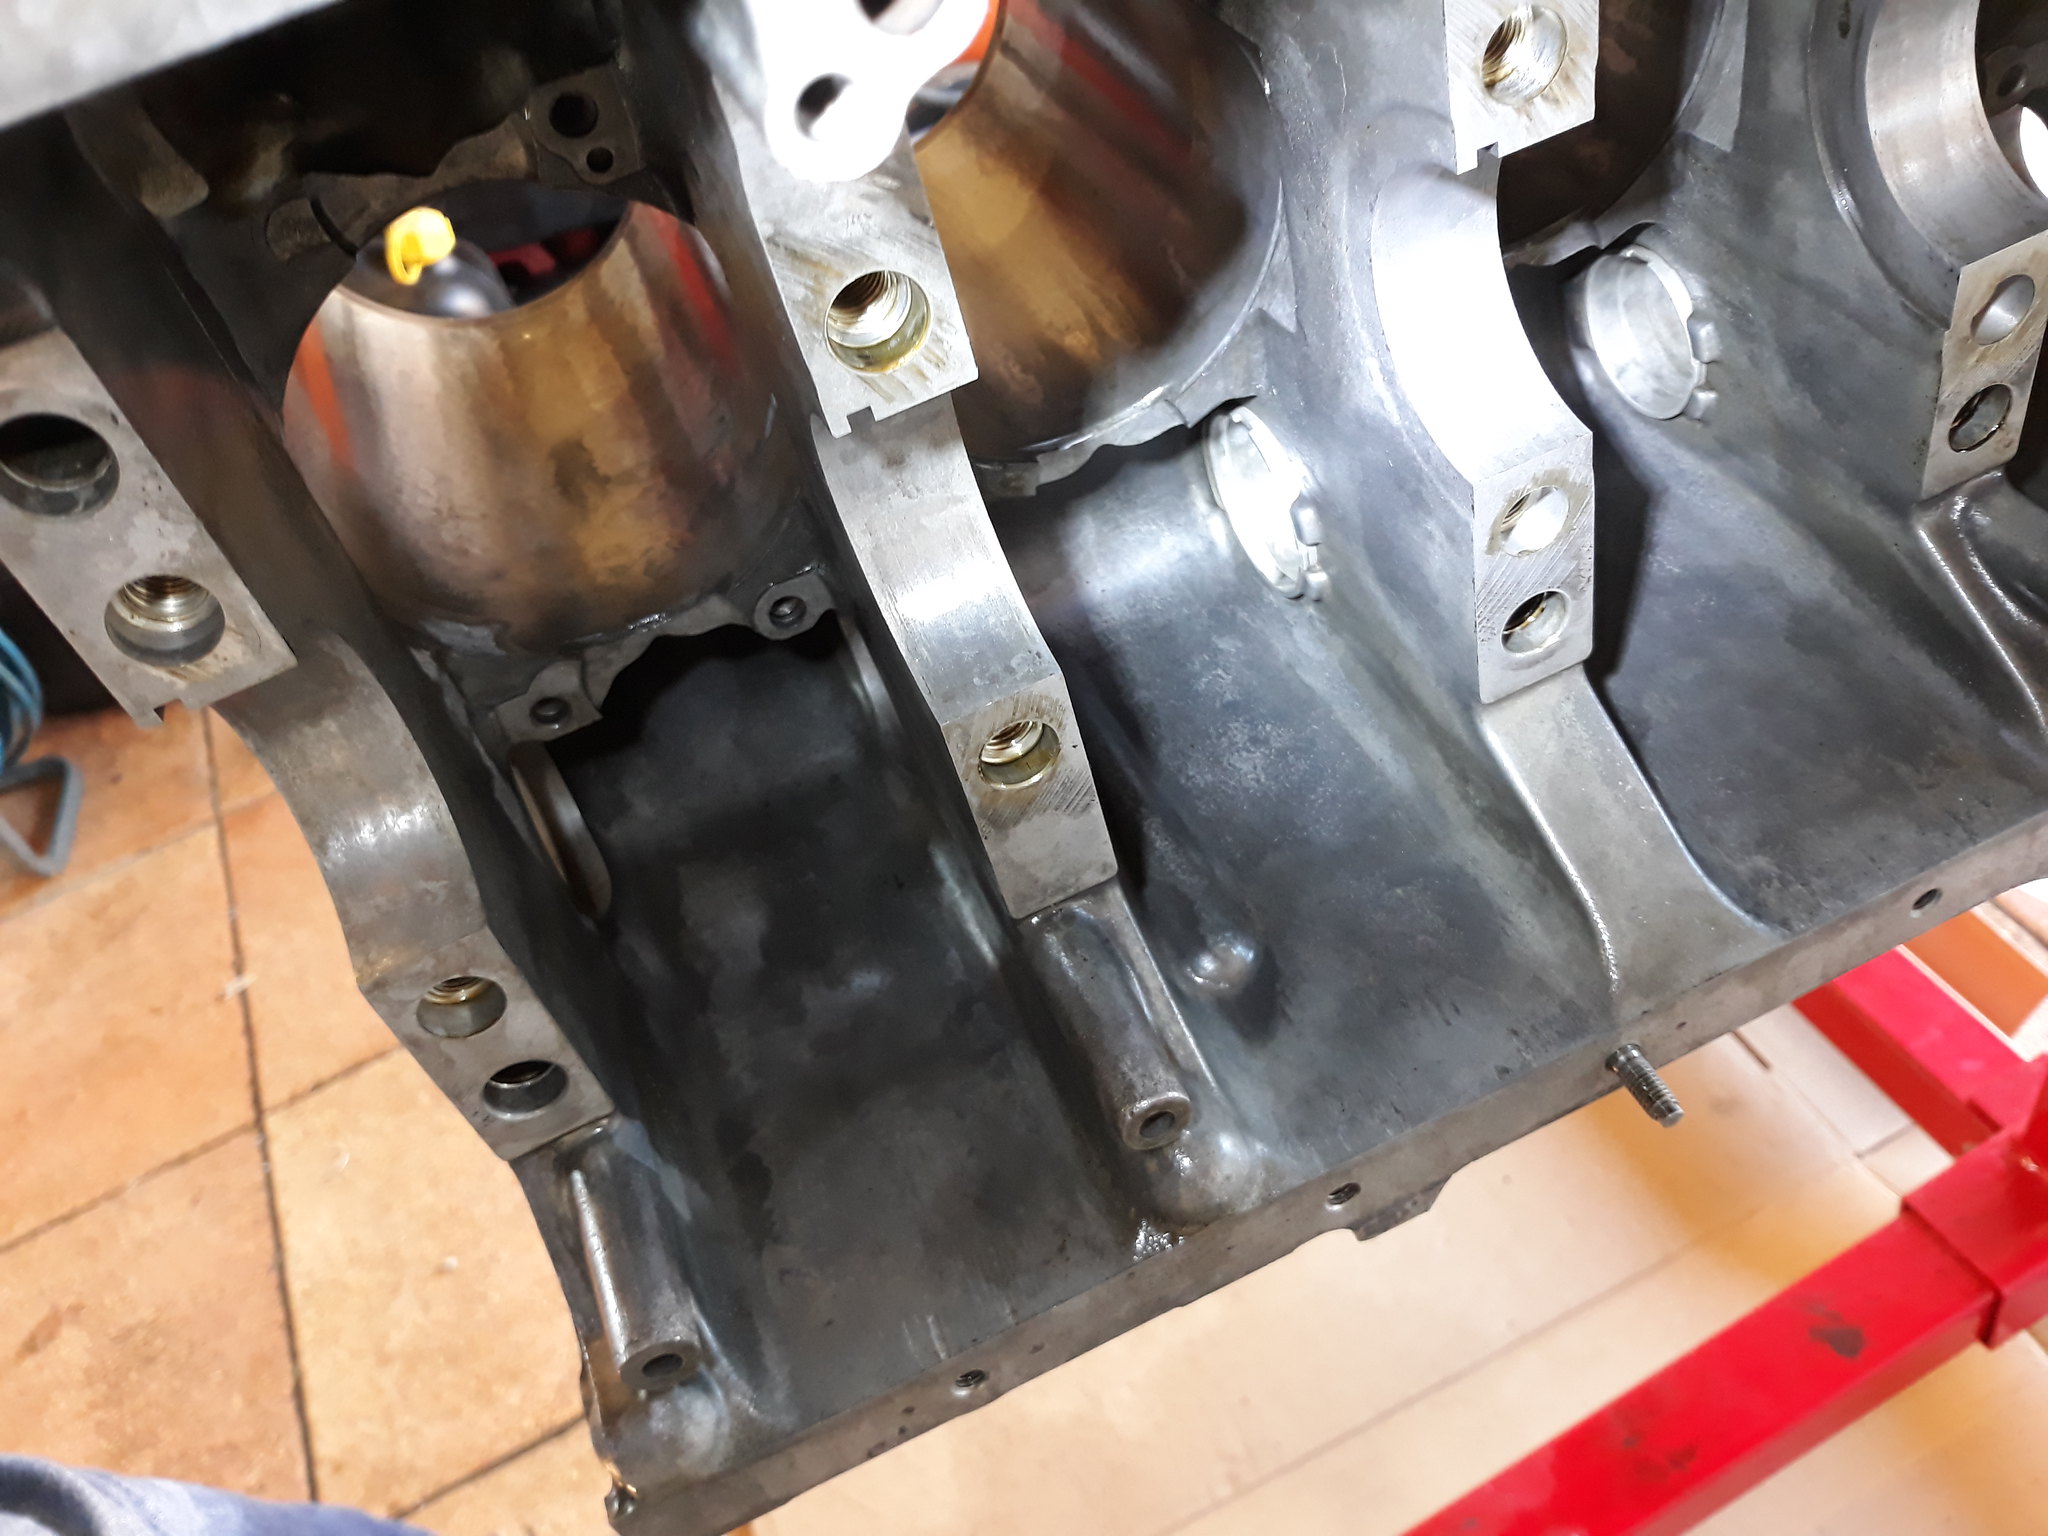
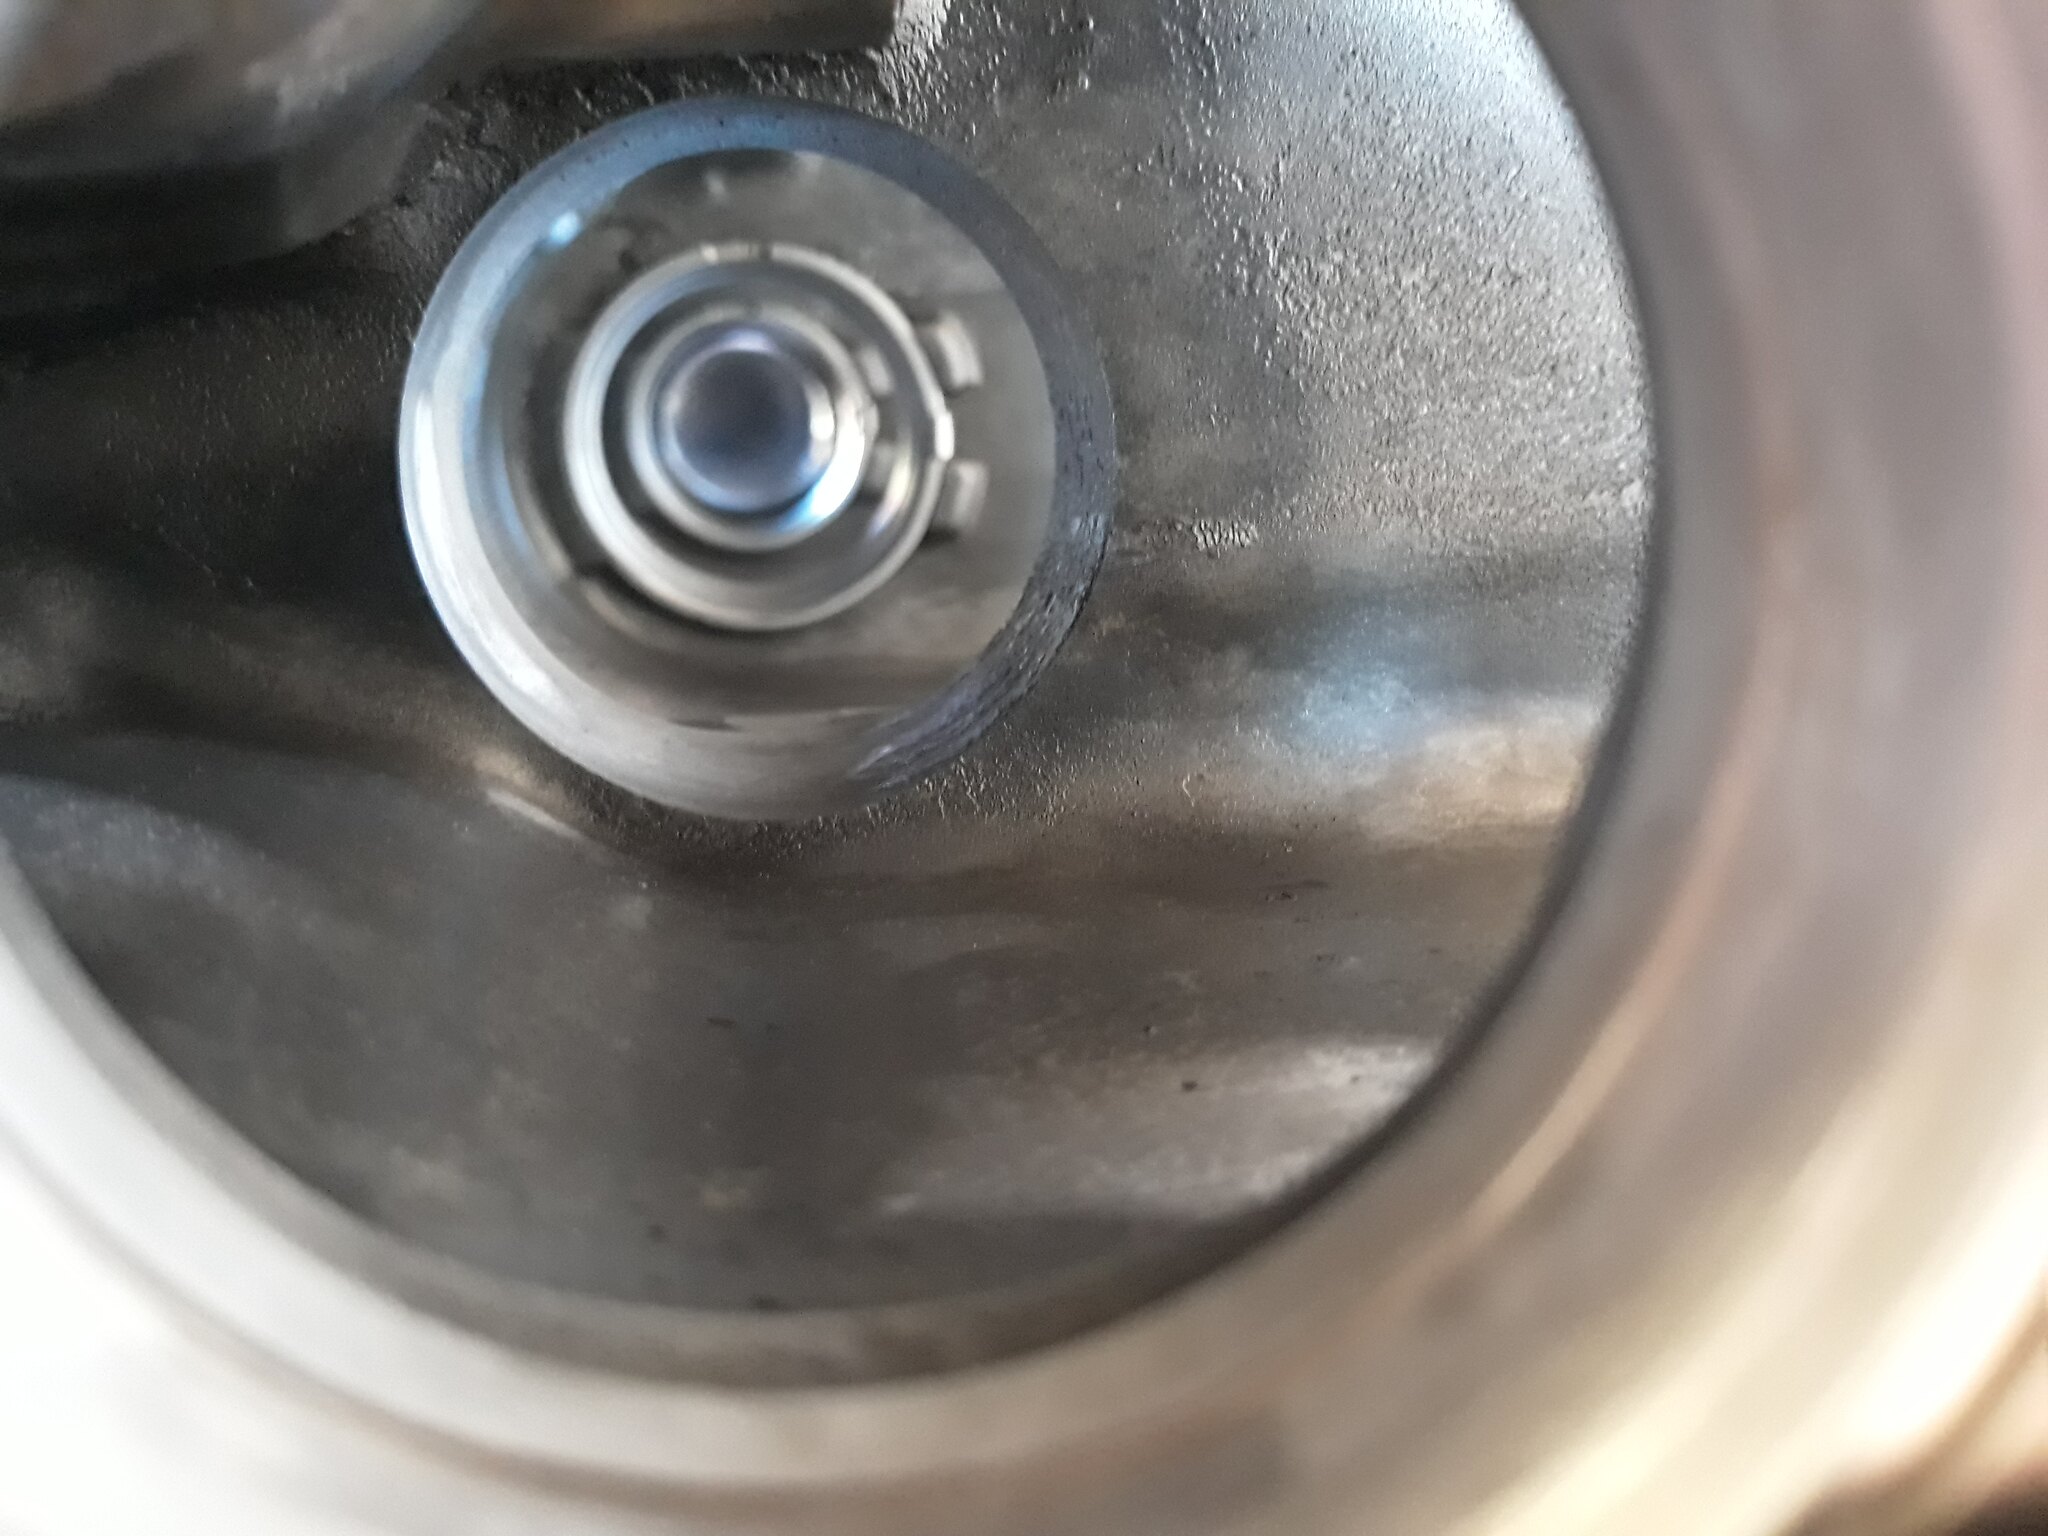
Till eventually I'd only gone and taken the whole bloody thing to bits.
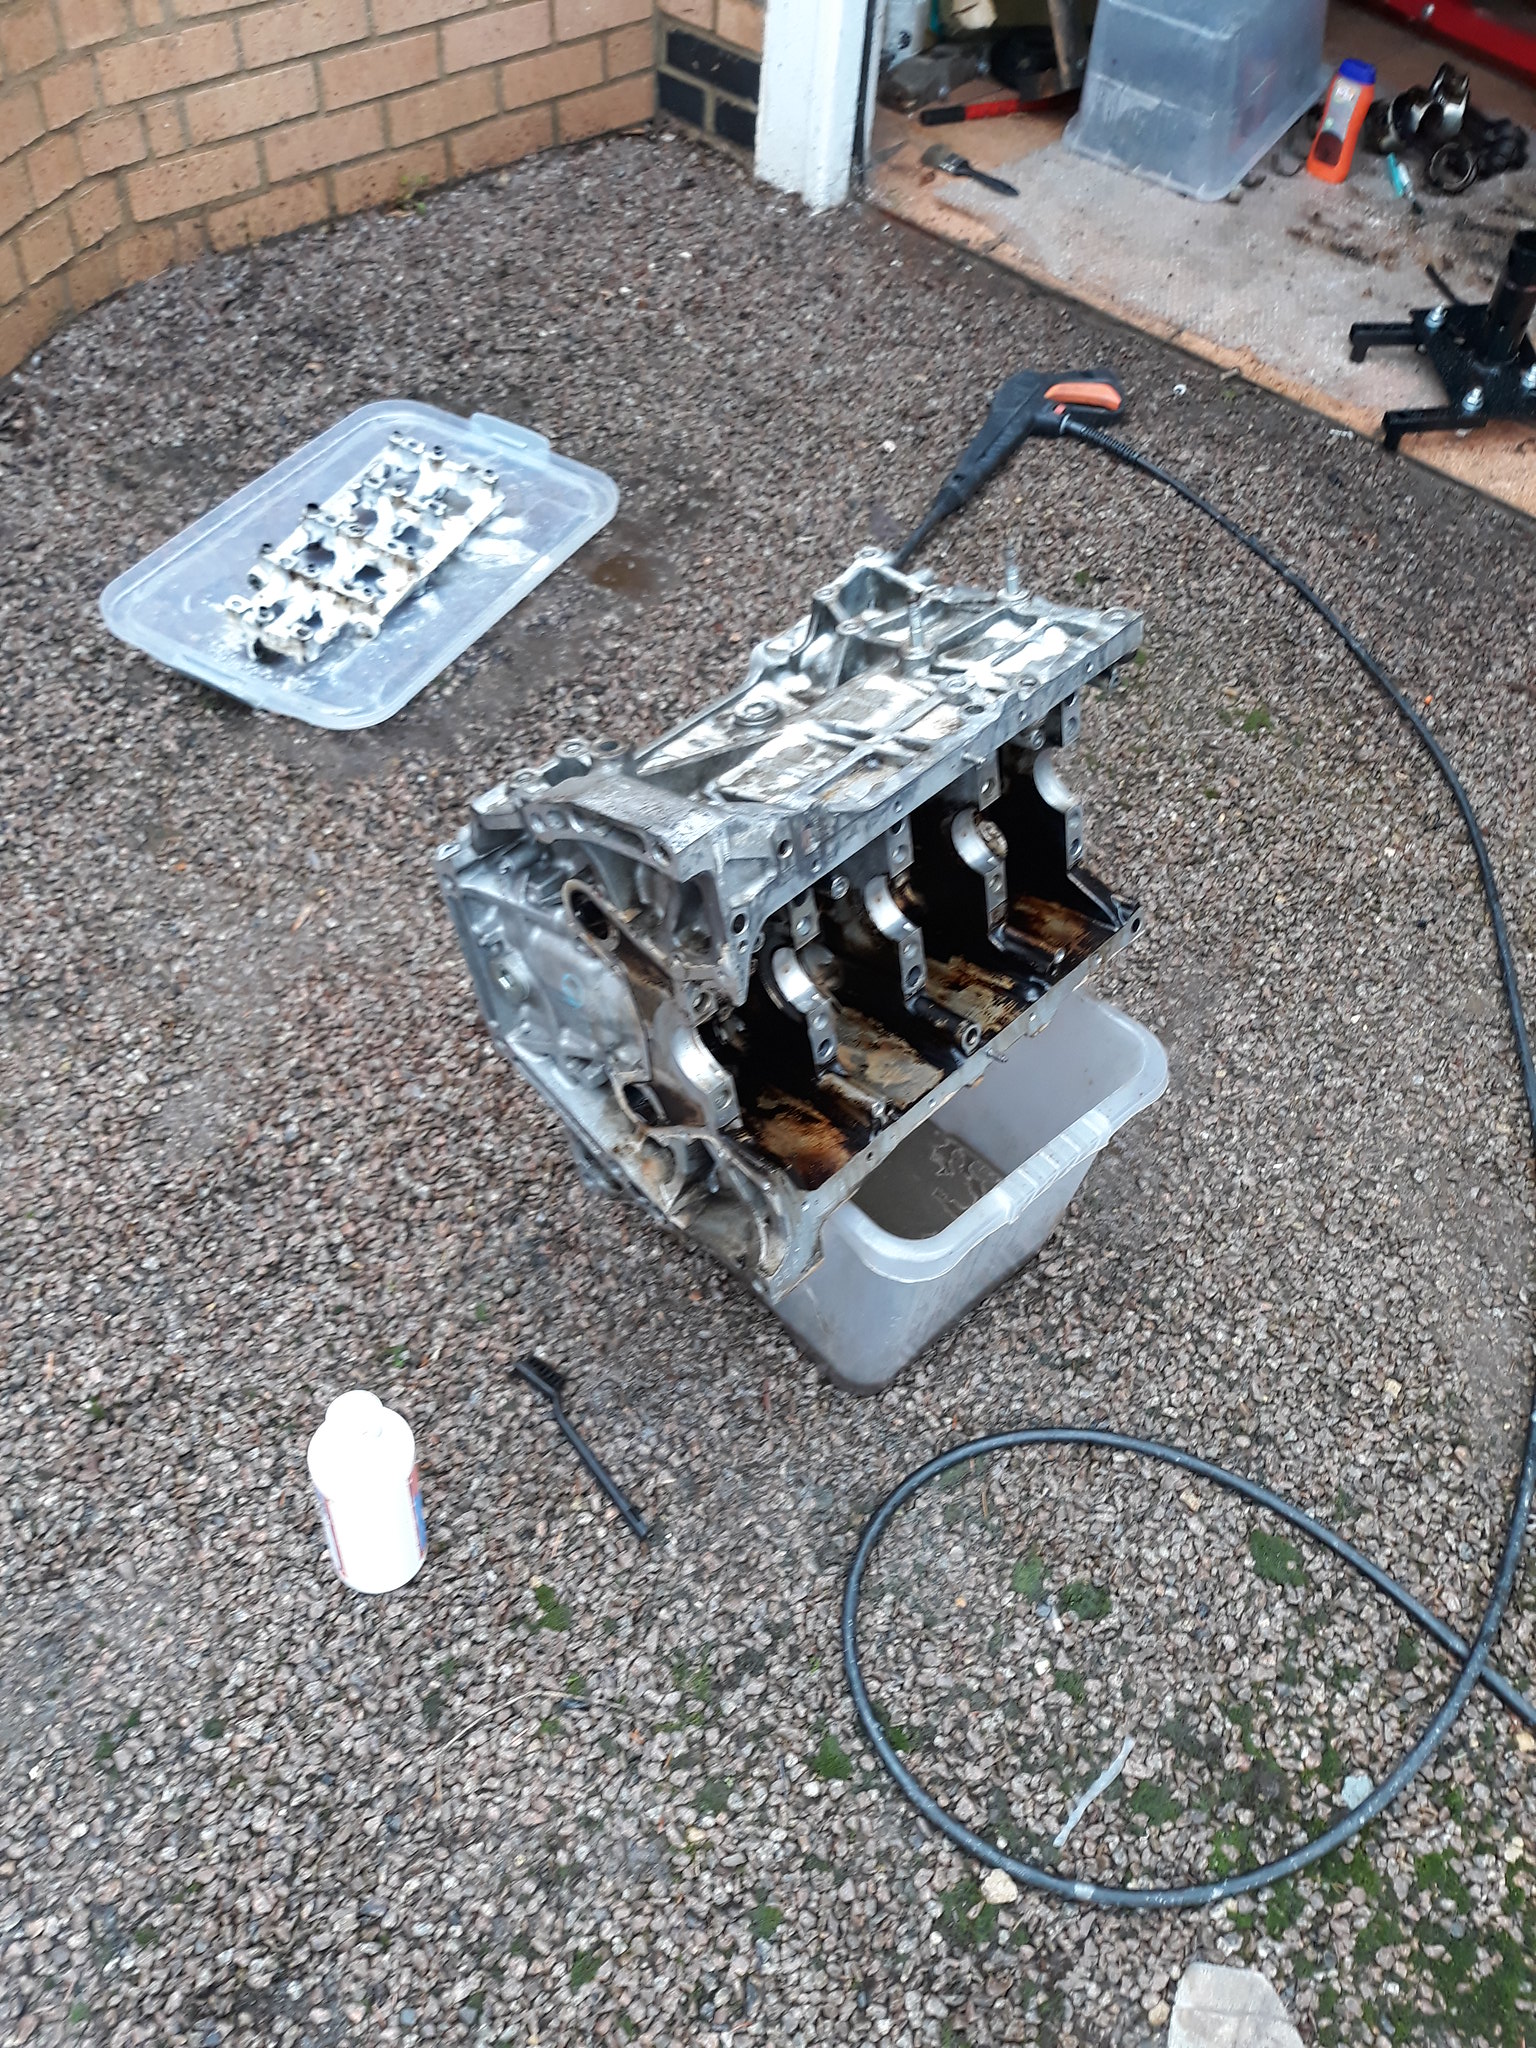
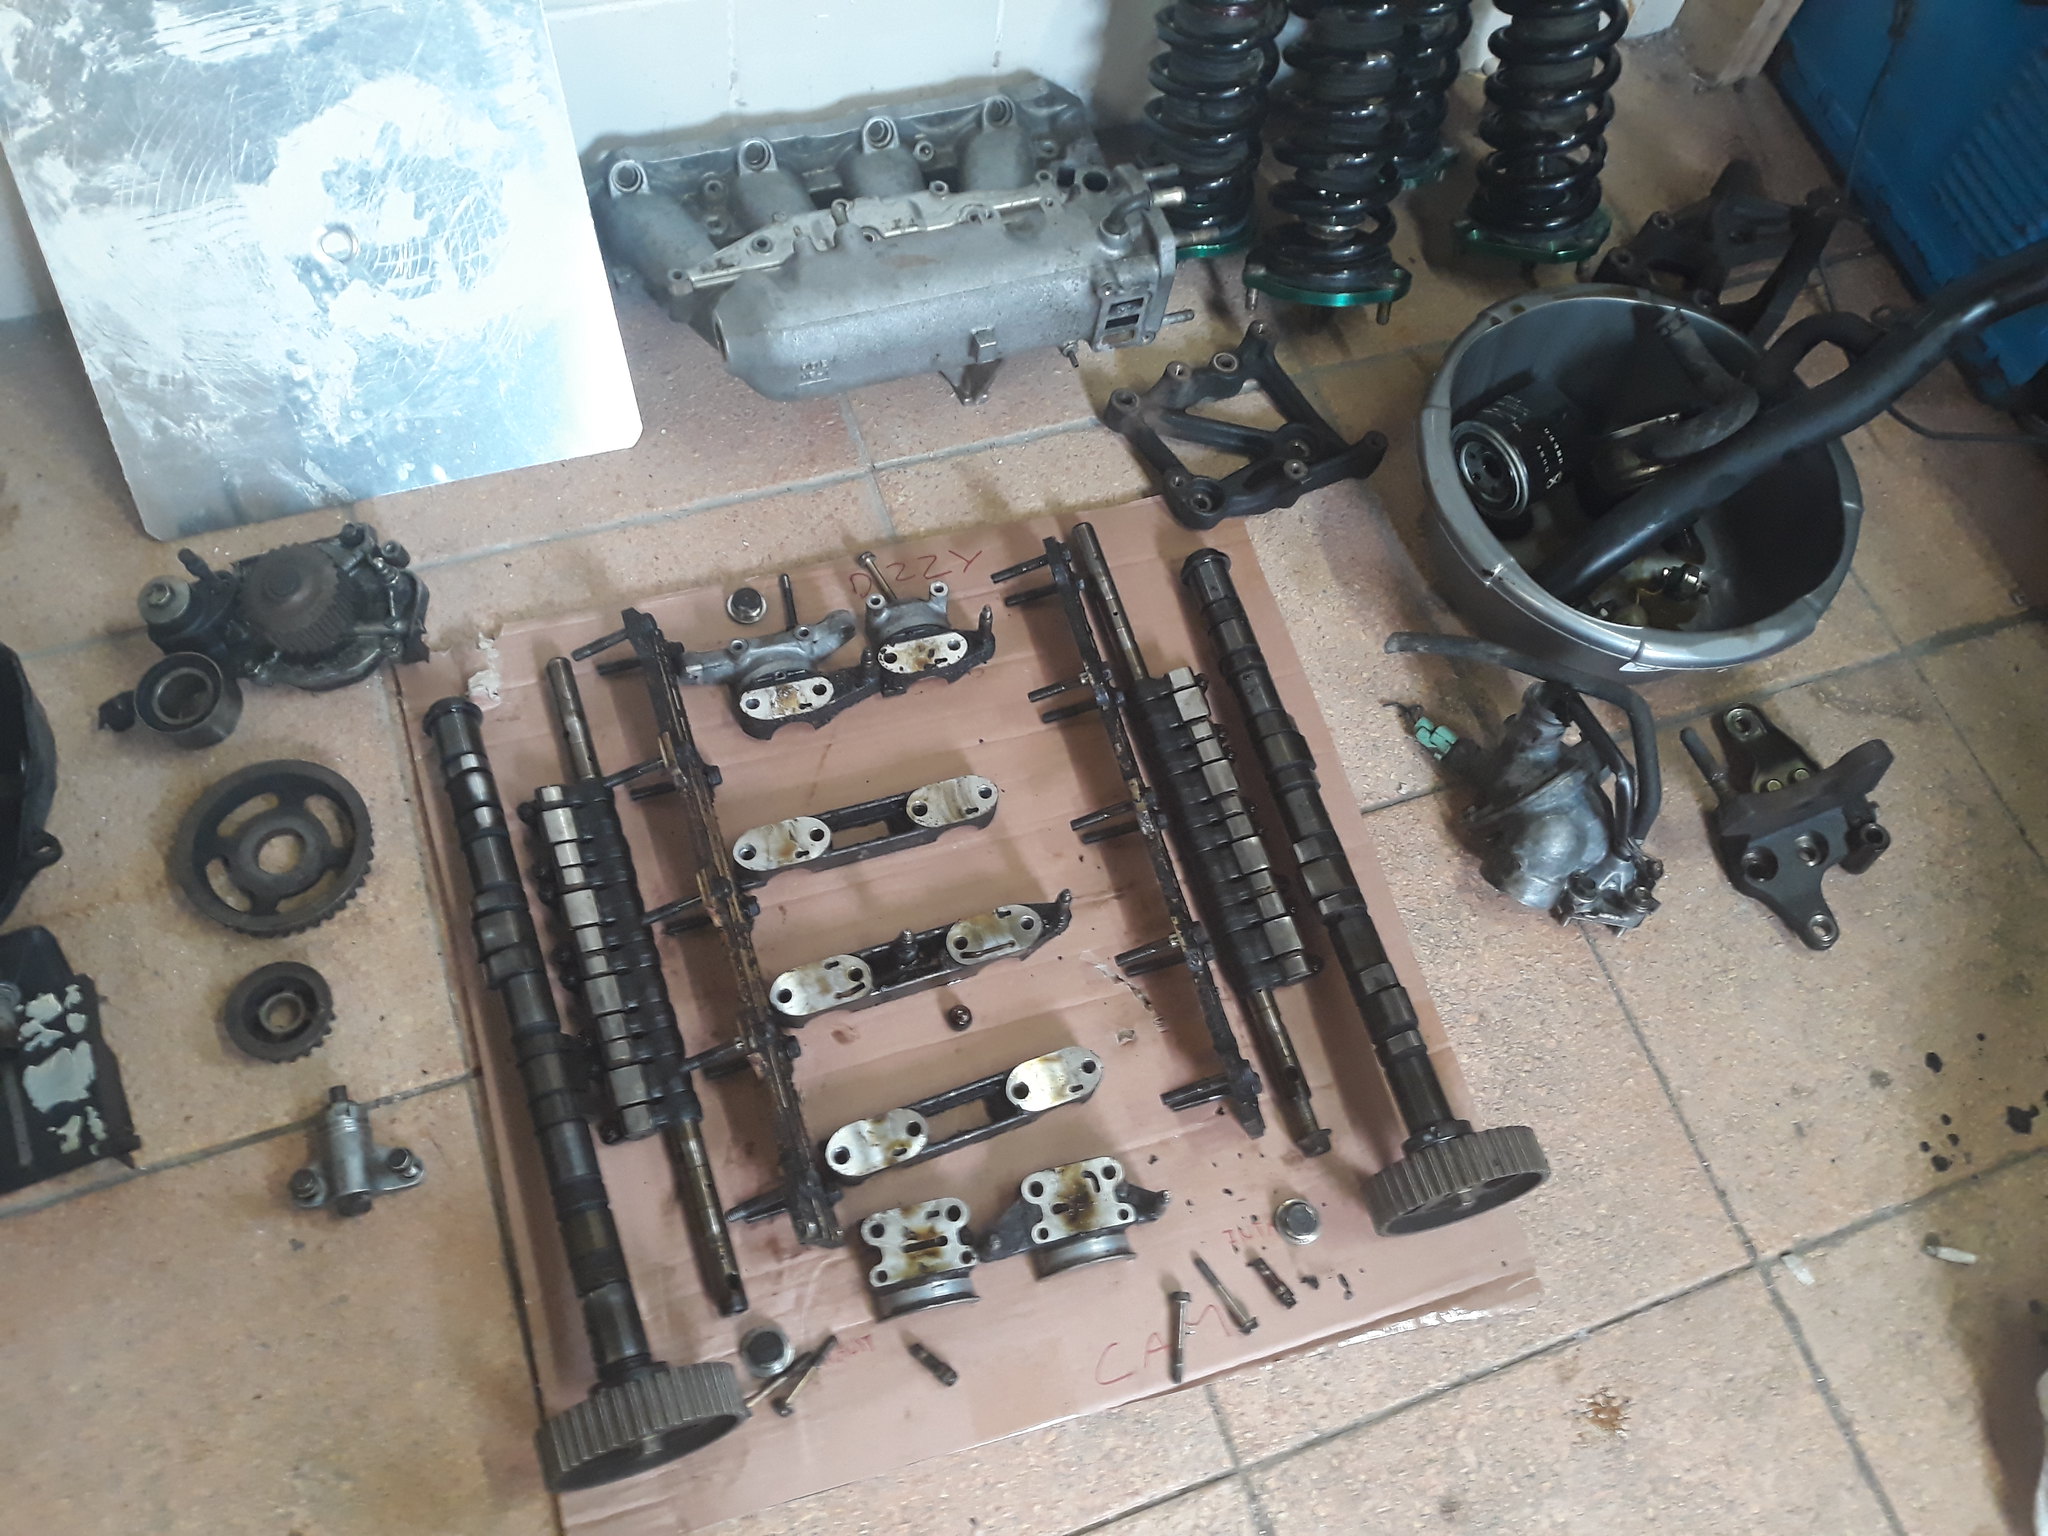 20180908_173224 by Paul Crake, on Flickr
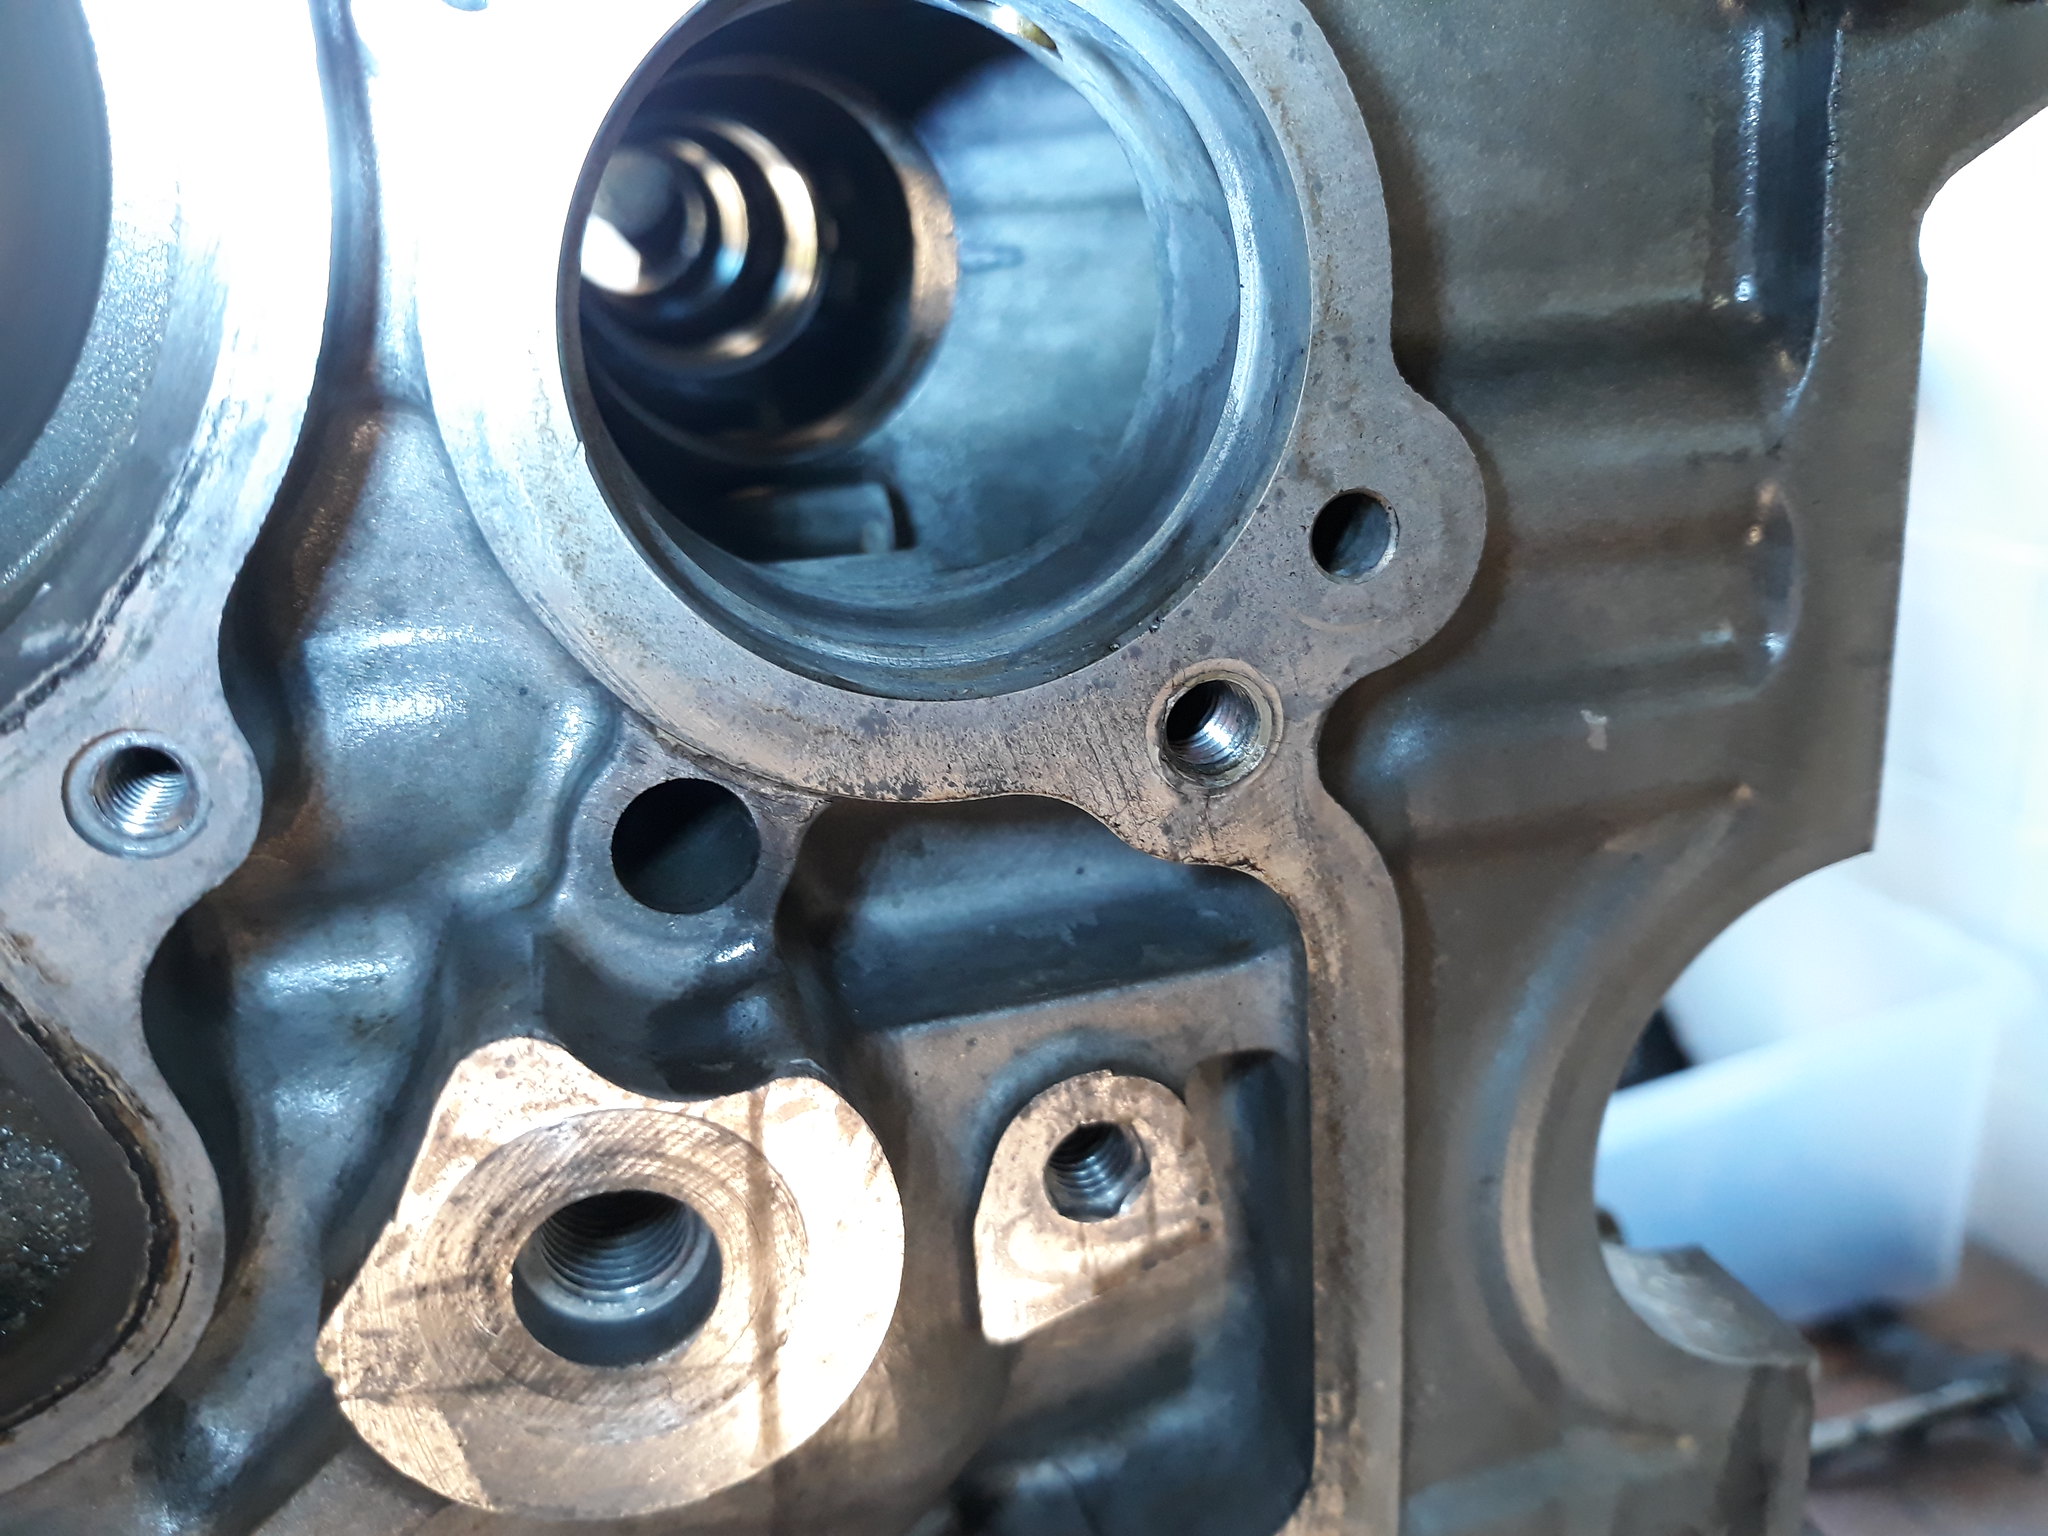
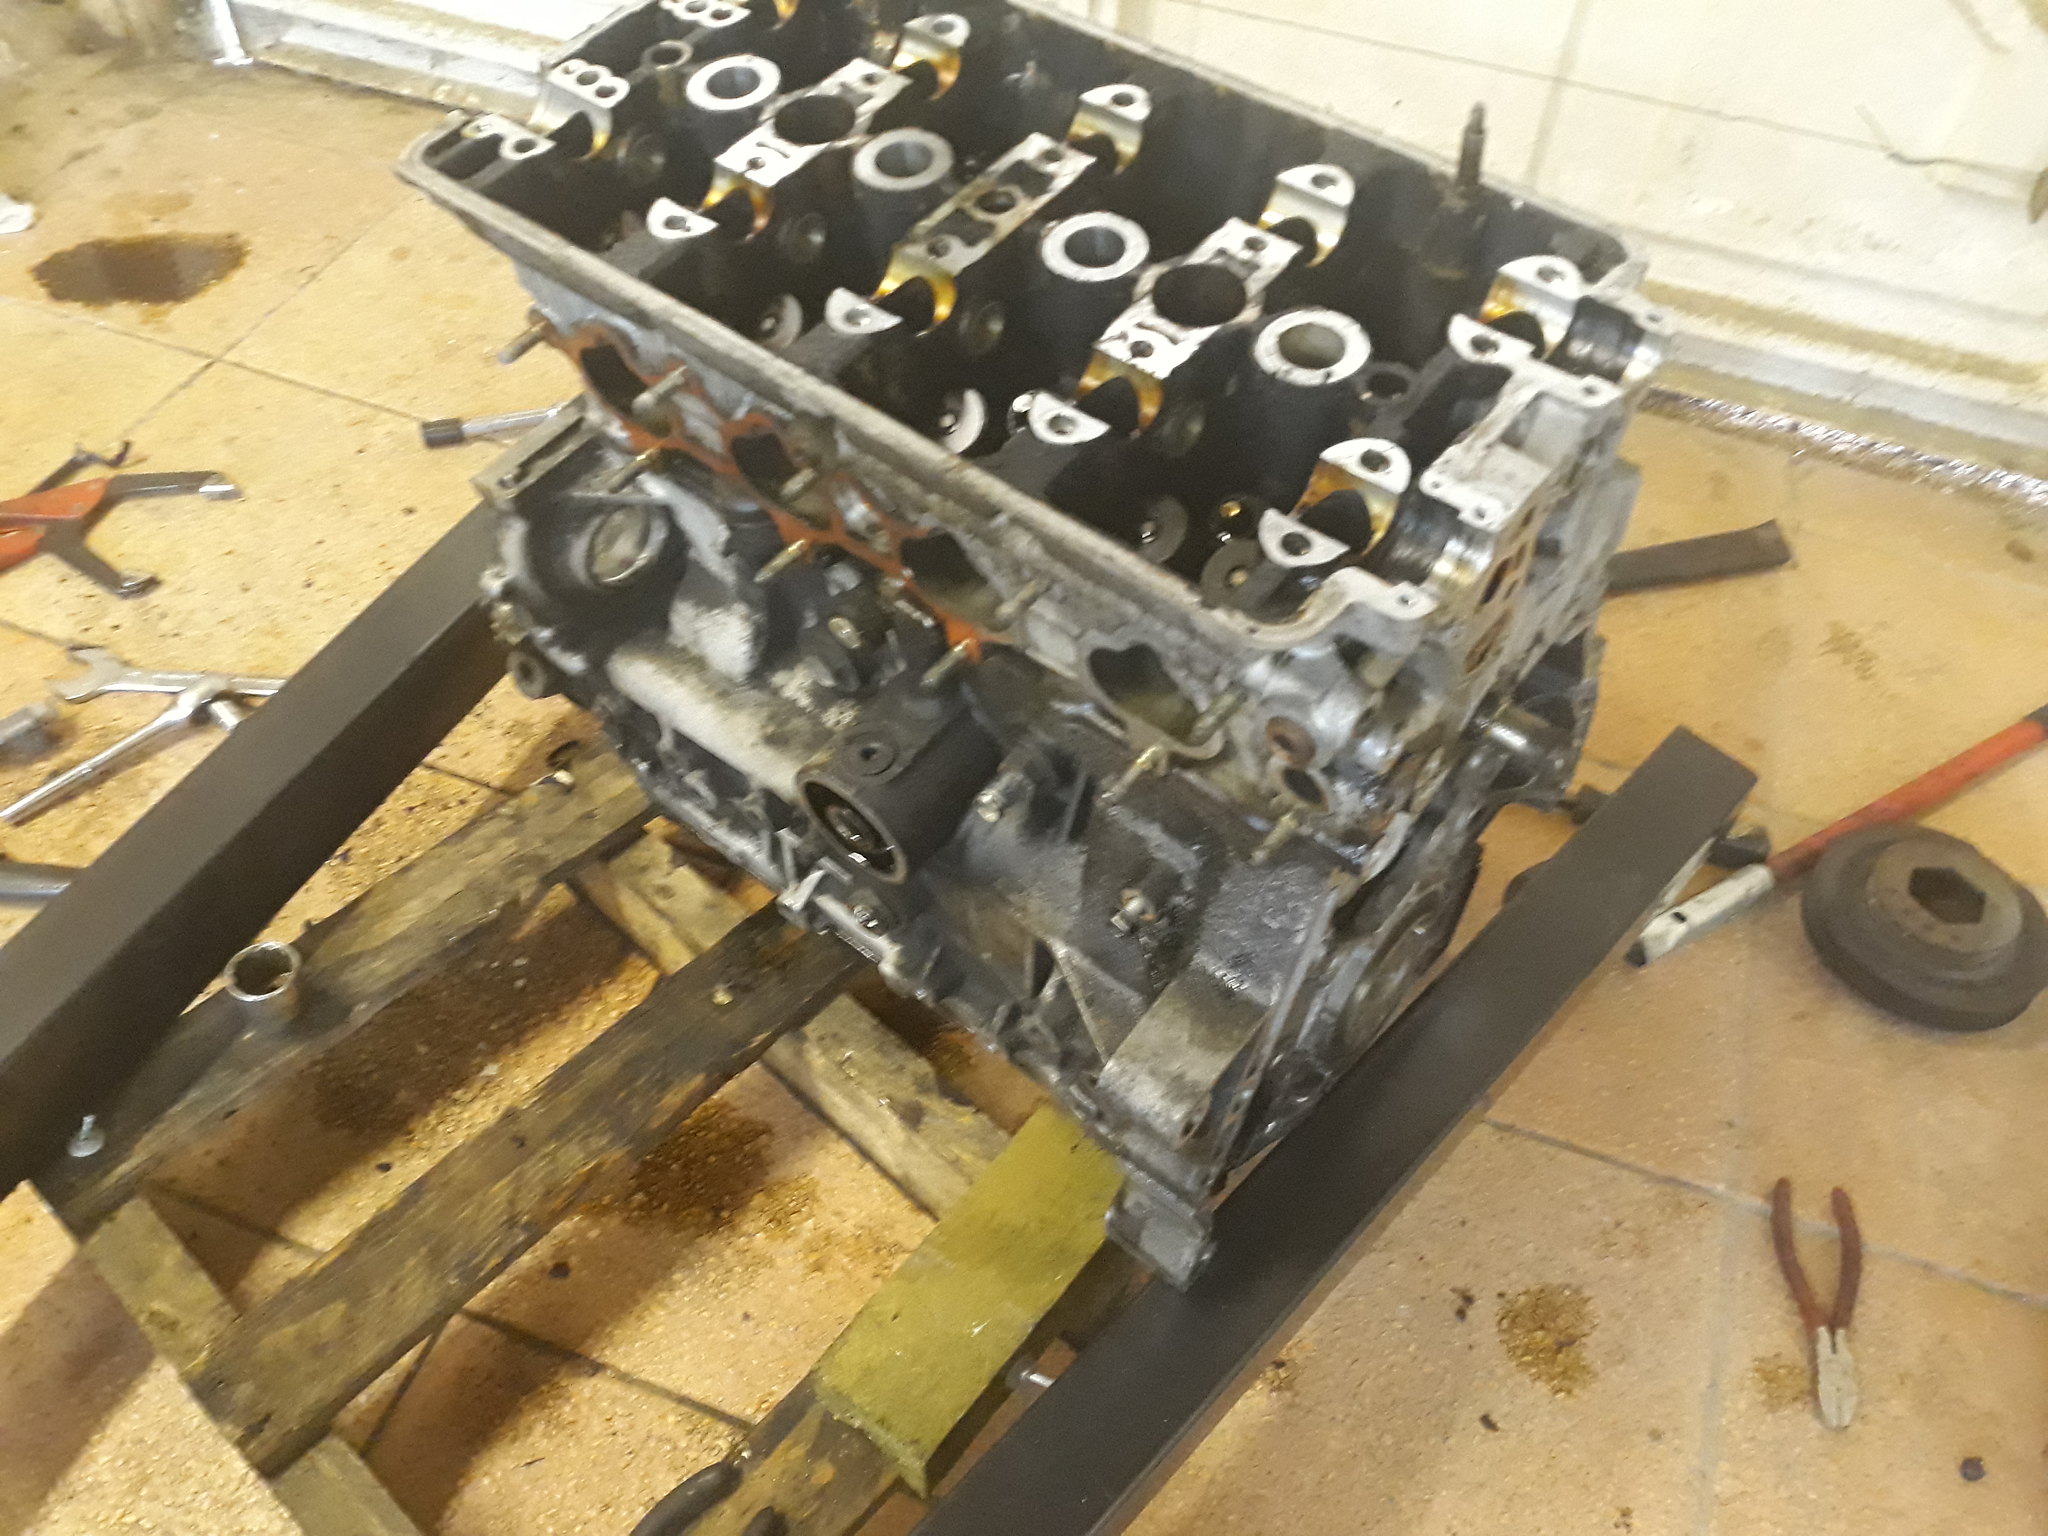 20180908_173236 by Paul Crake, on Flickr
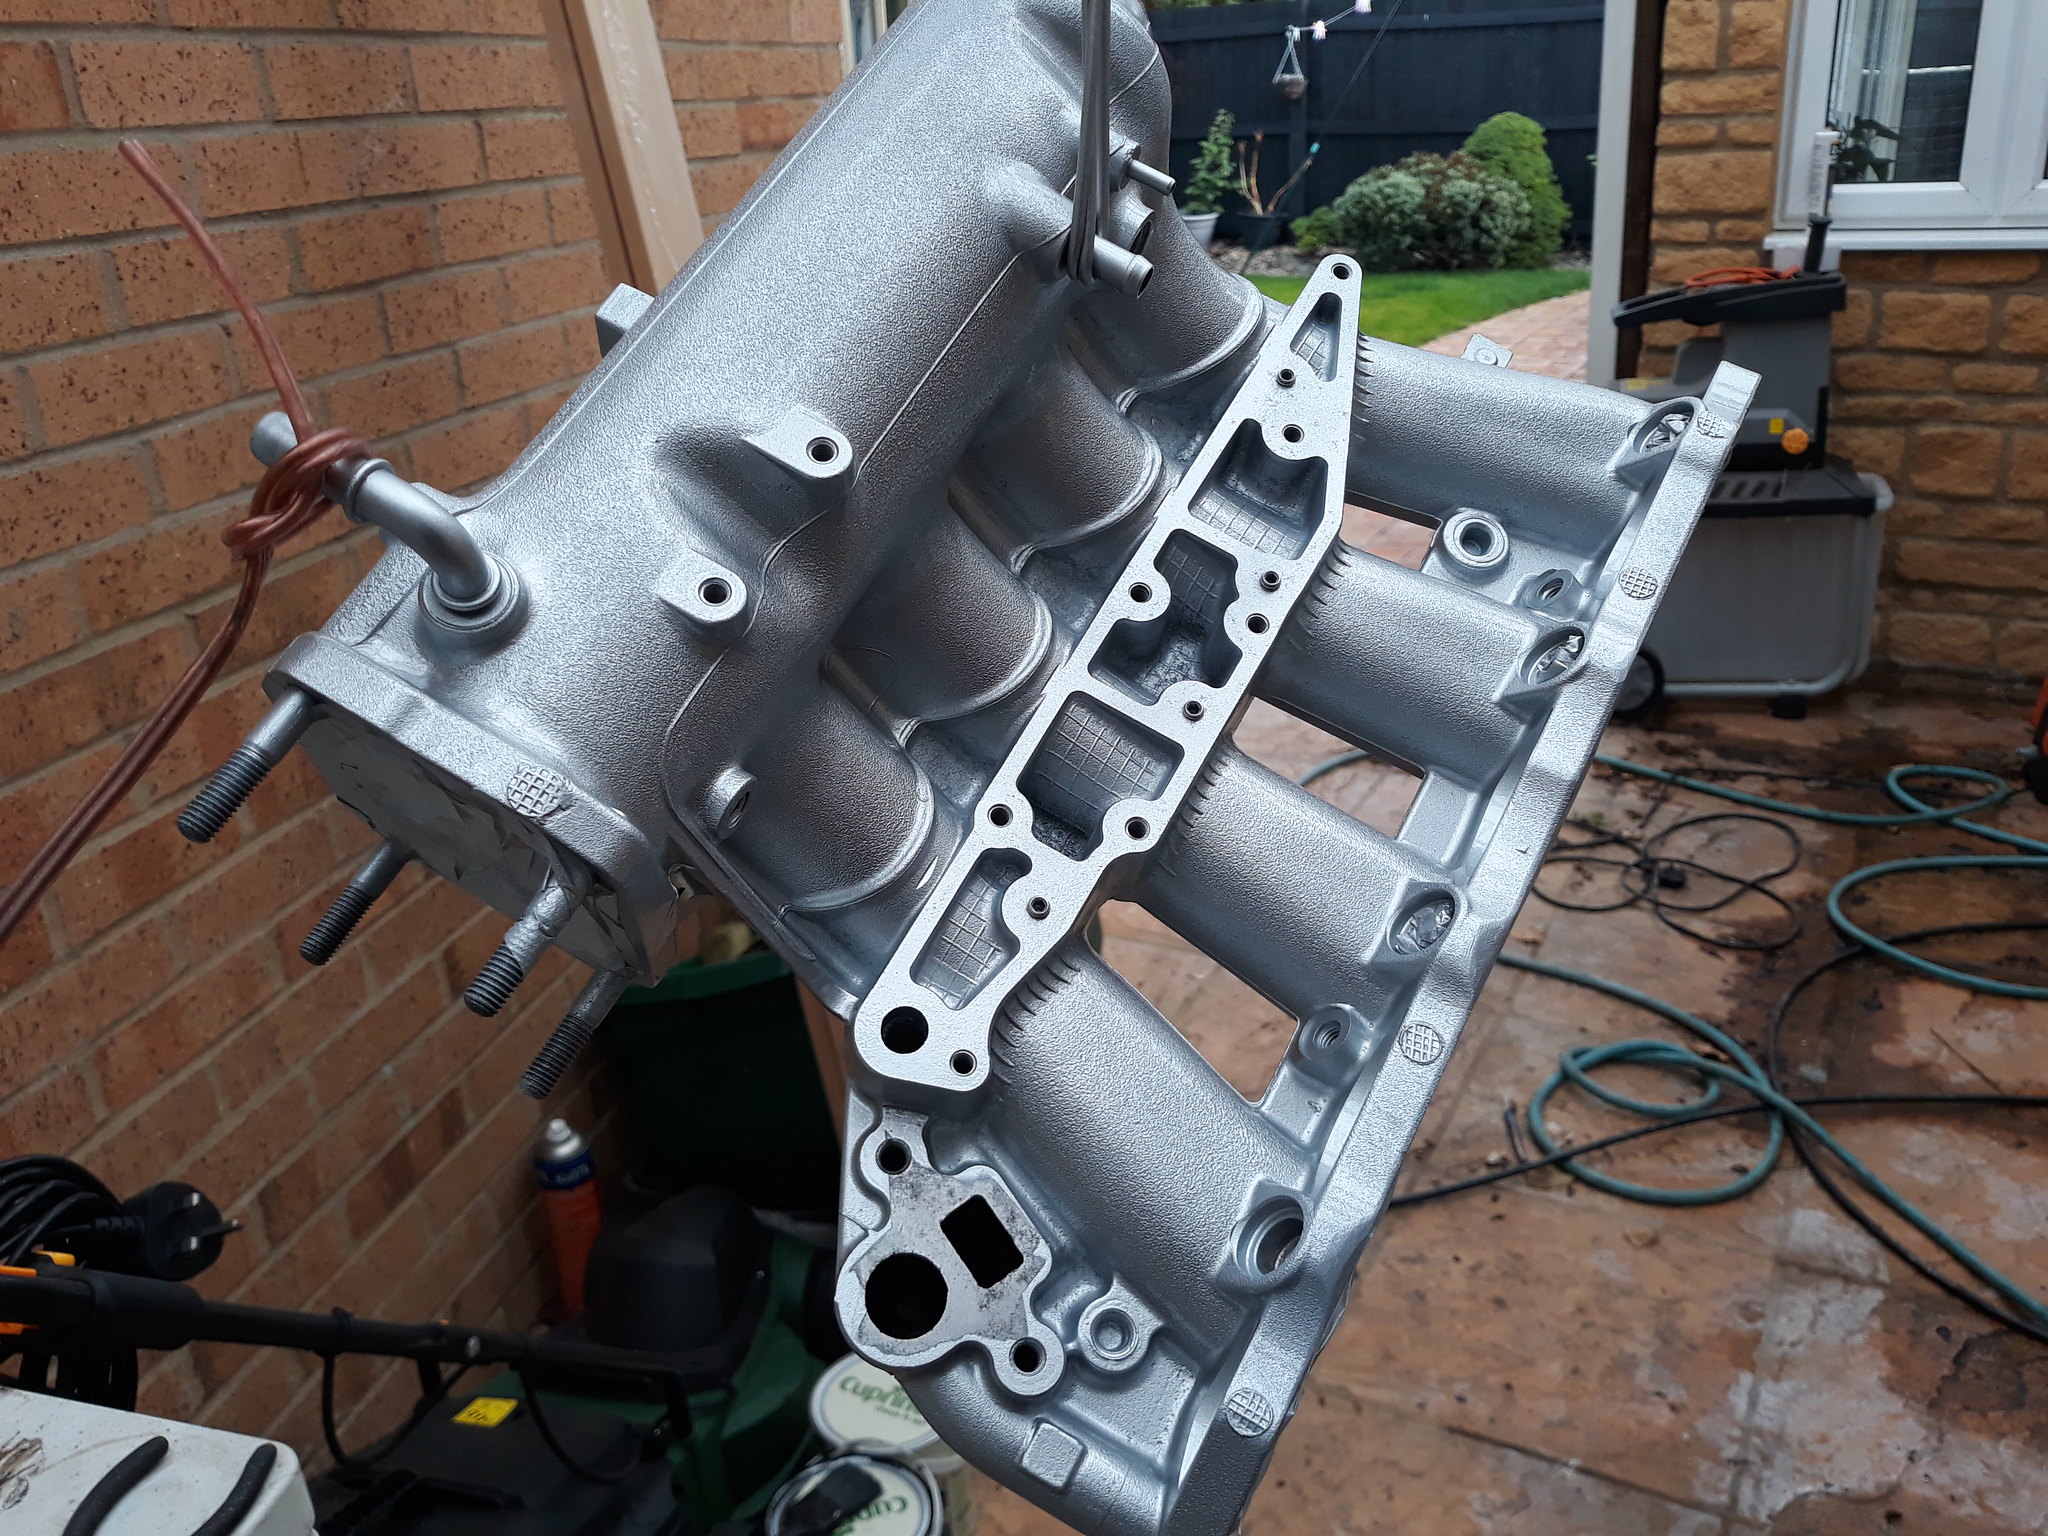
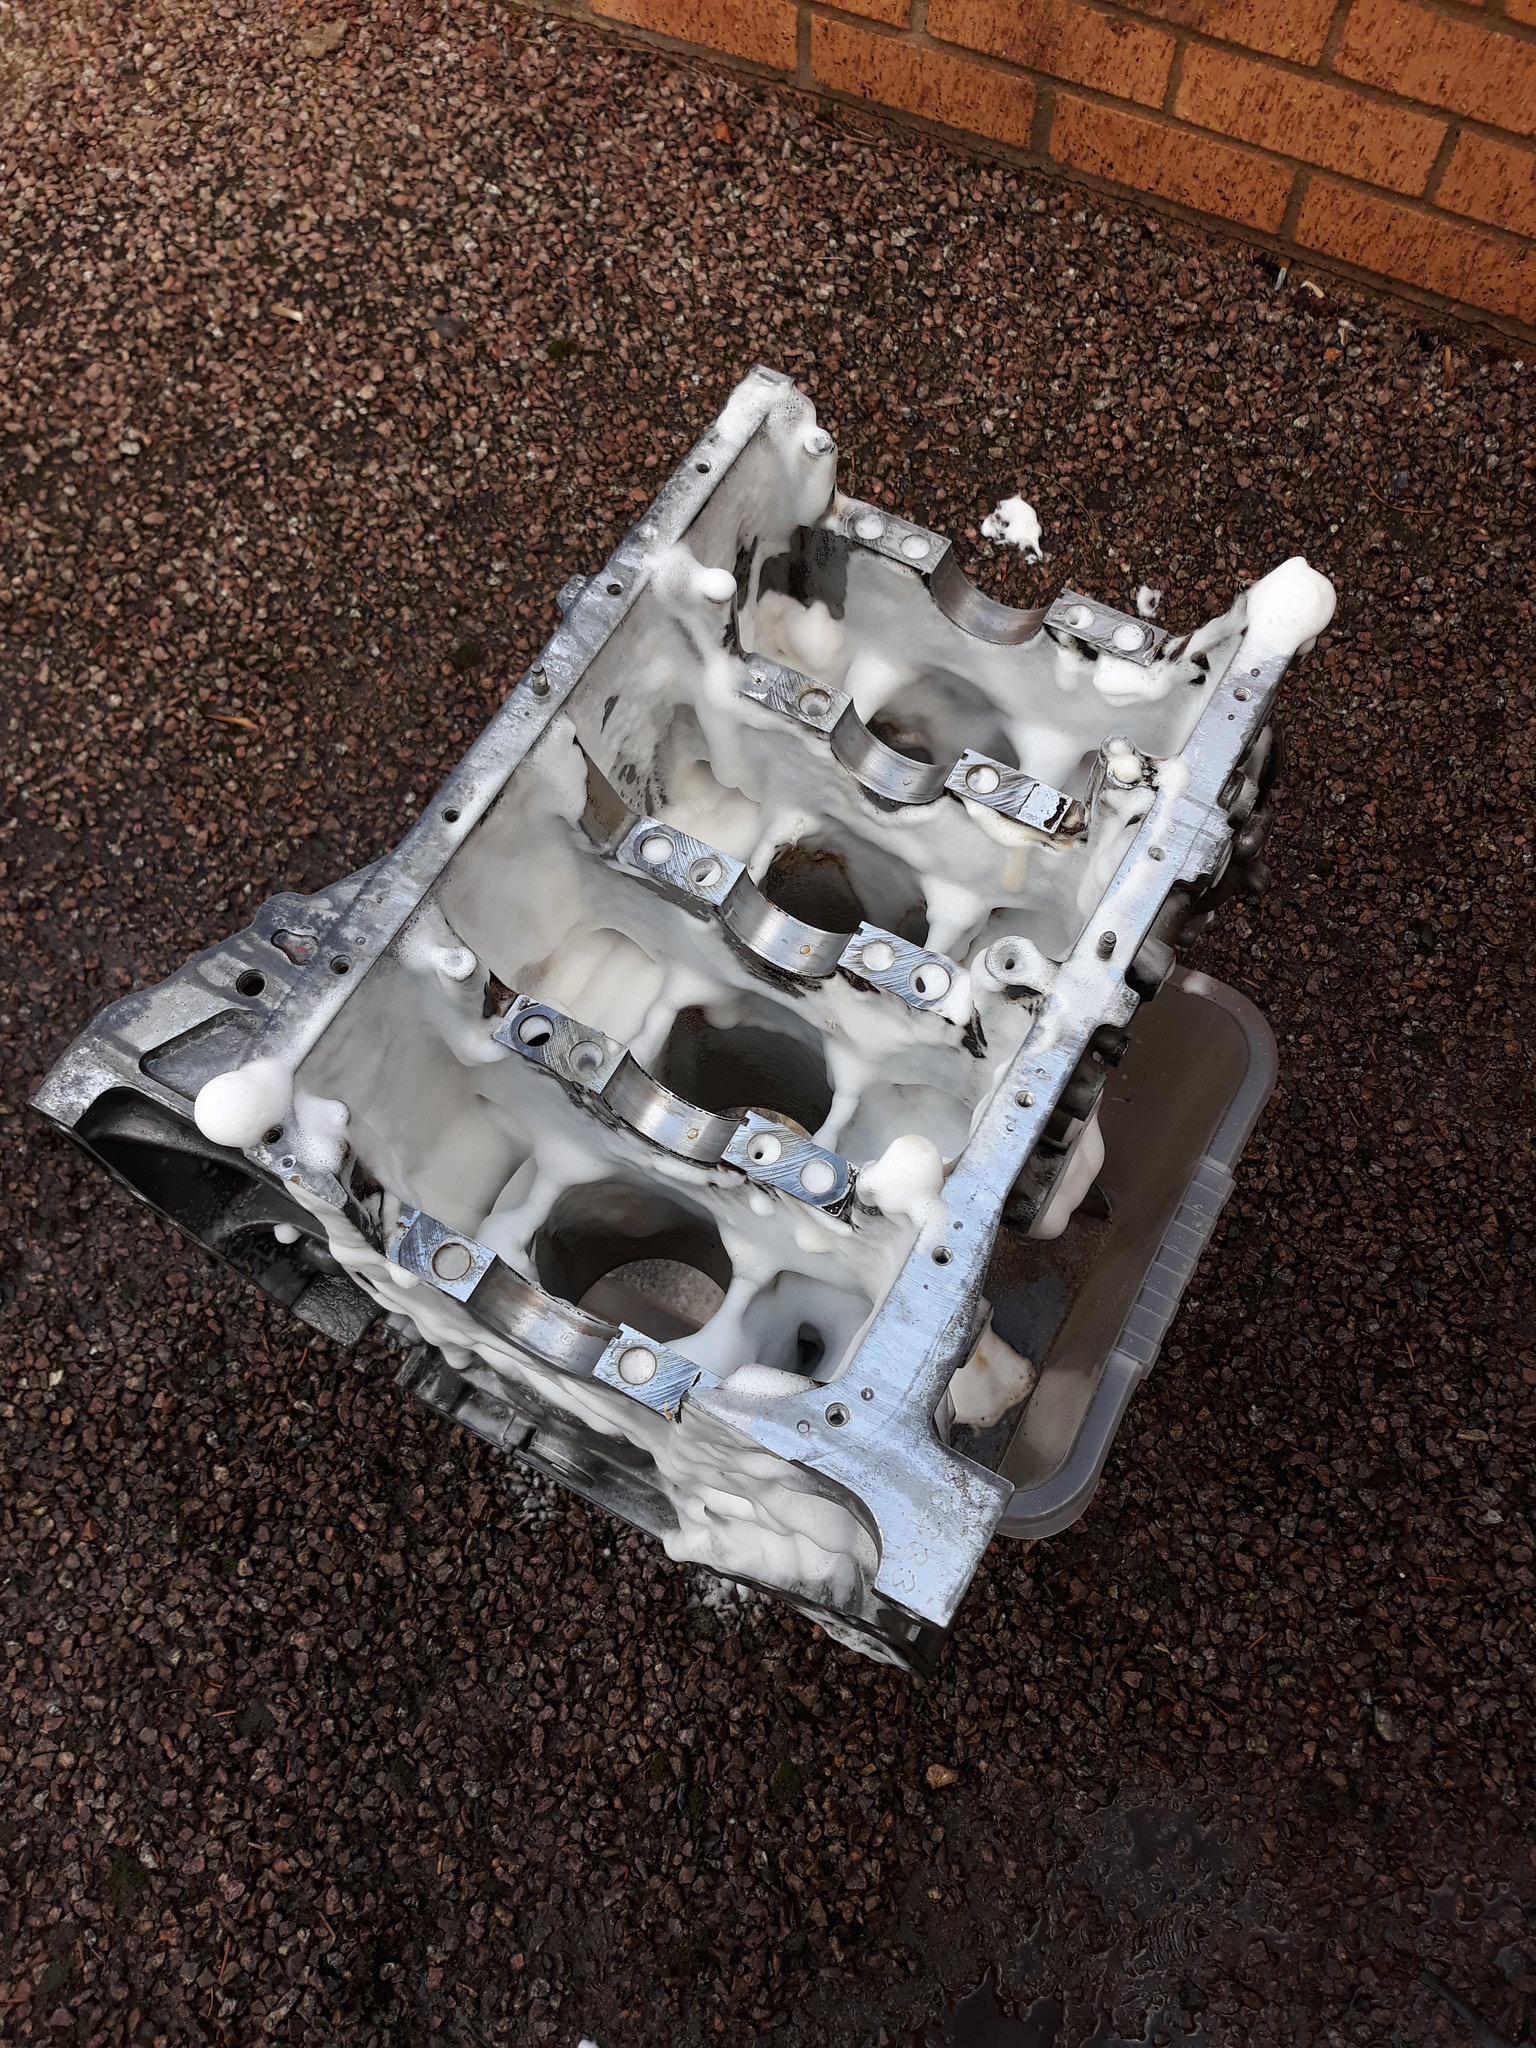
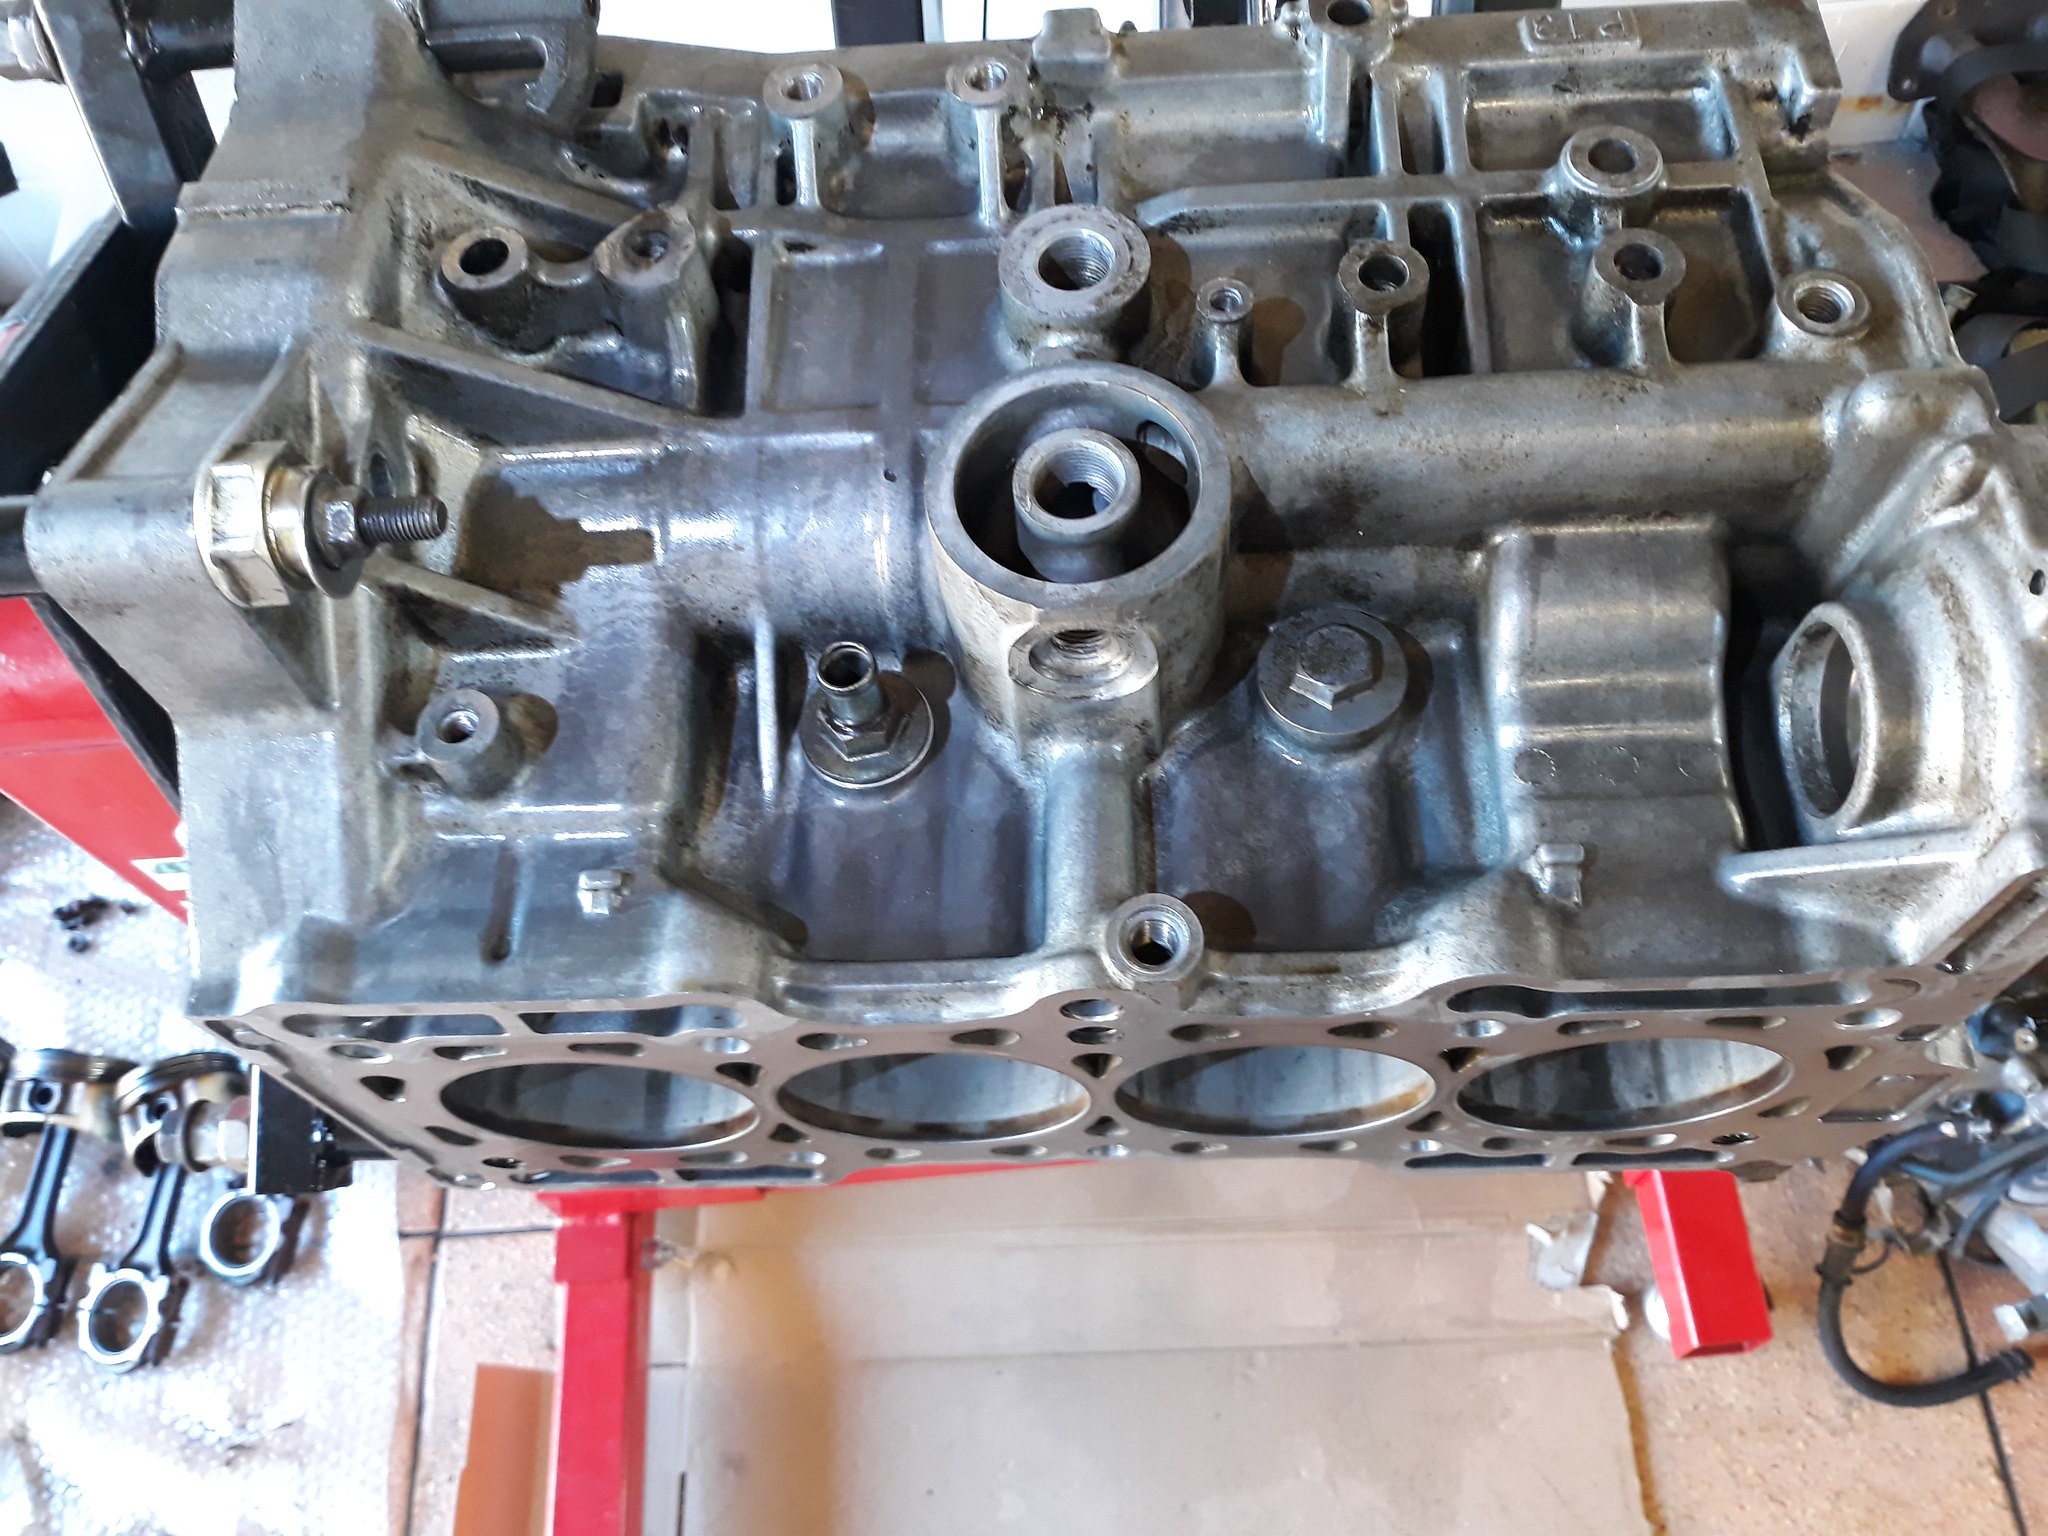
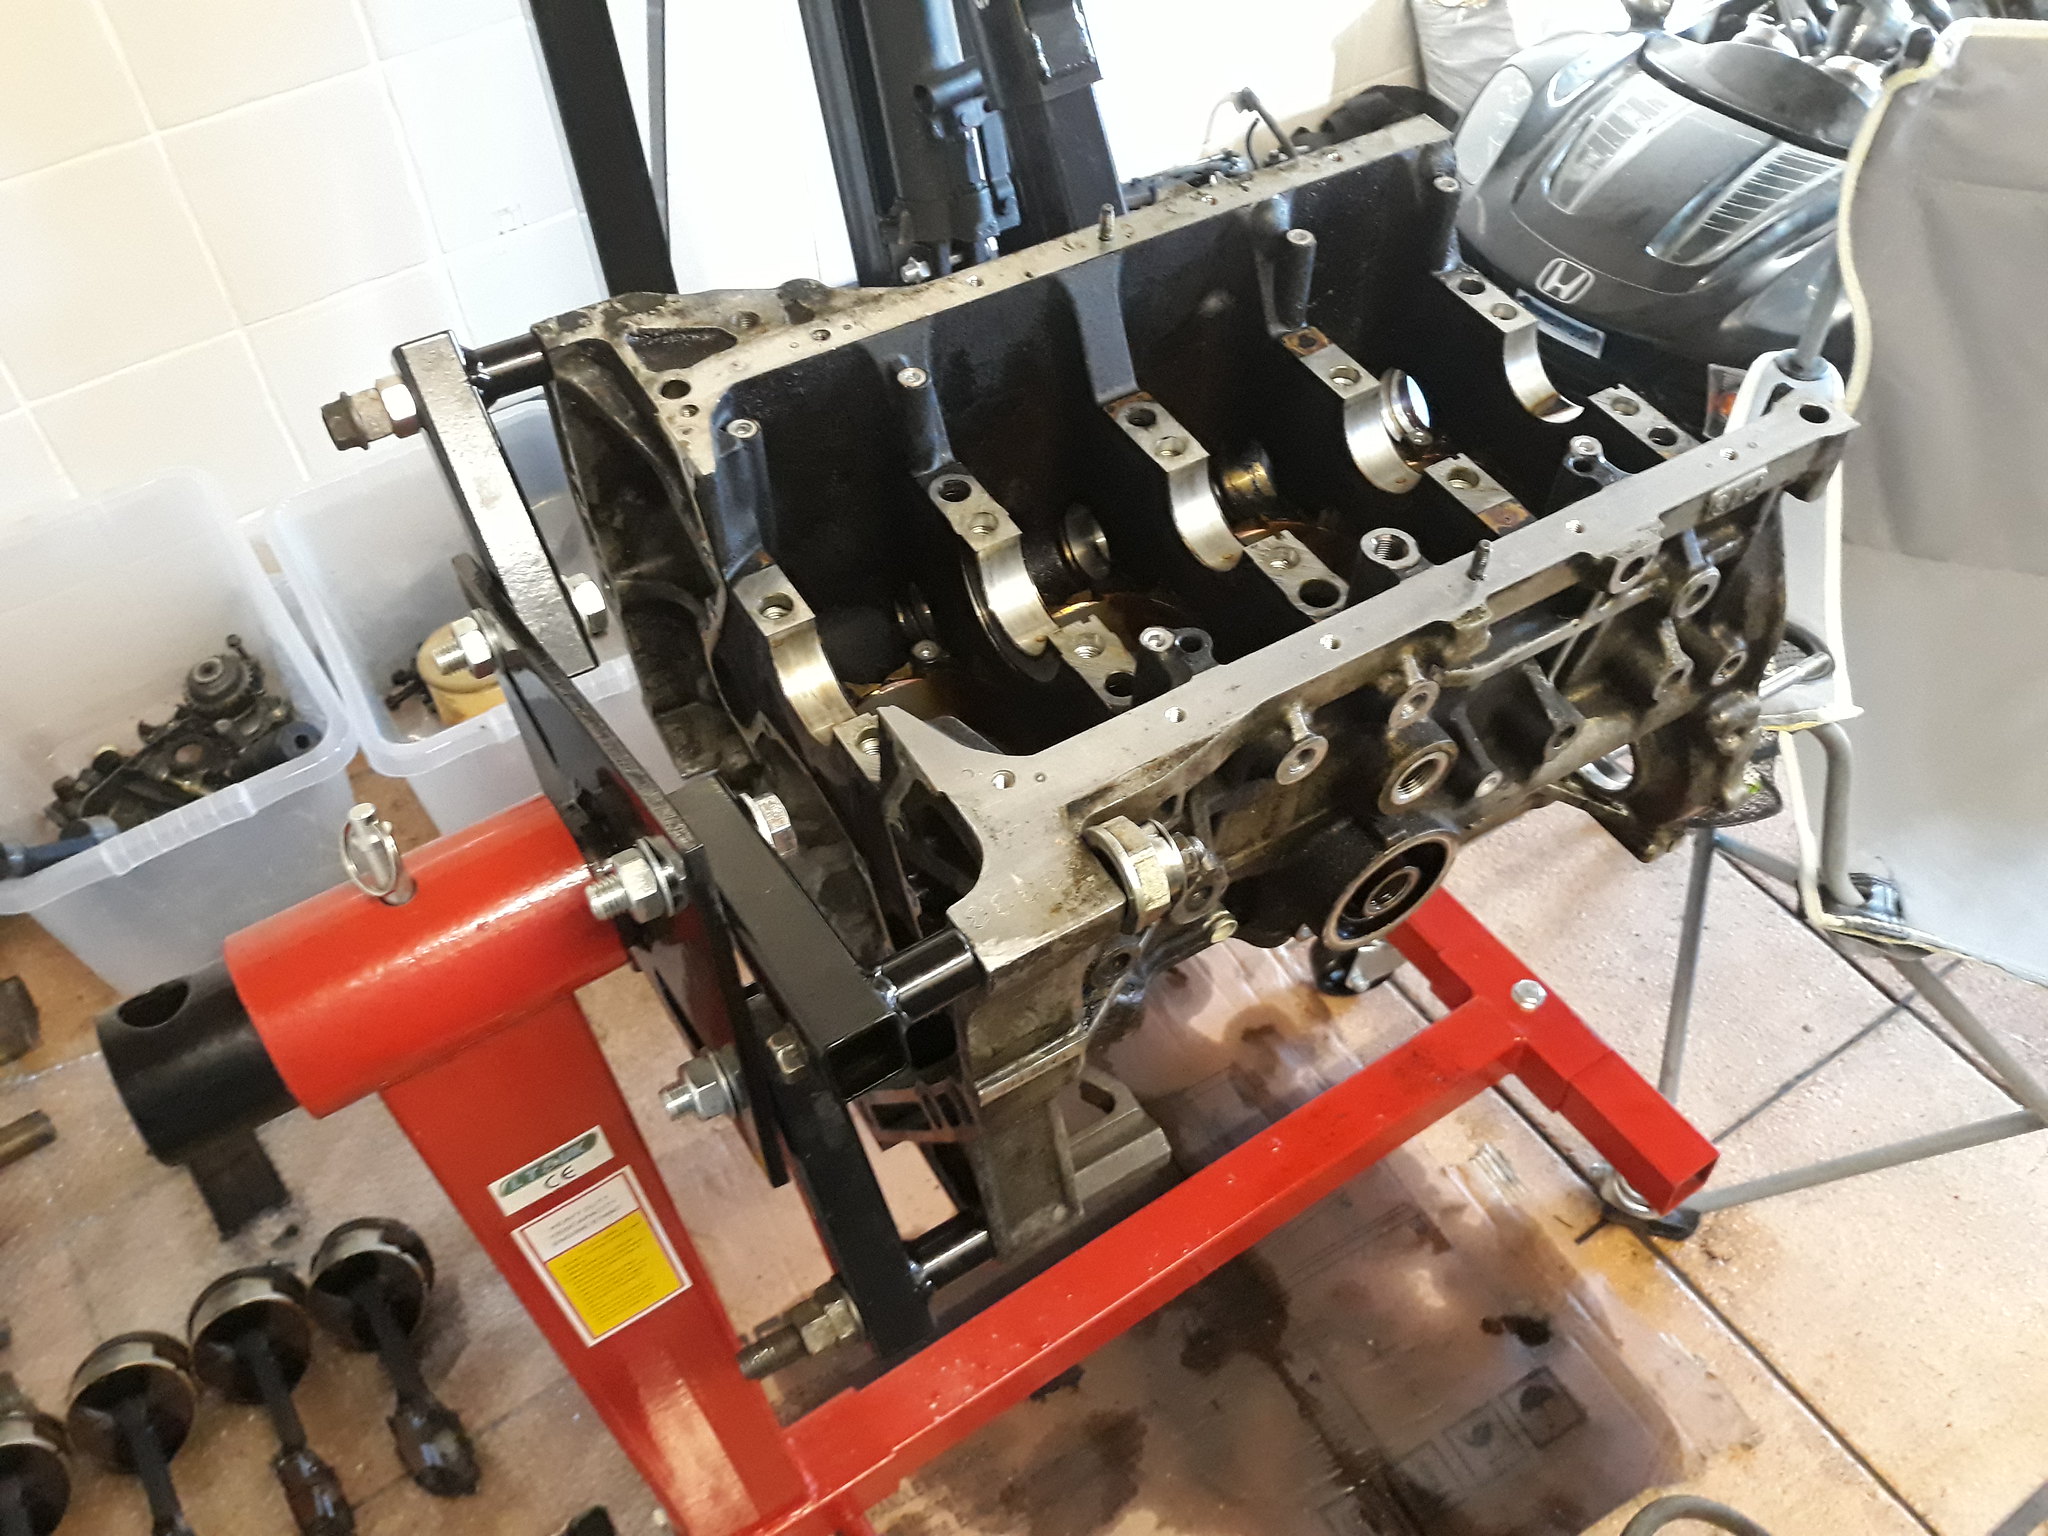 20180927_144738 by Paul Crake, on Flickr
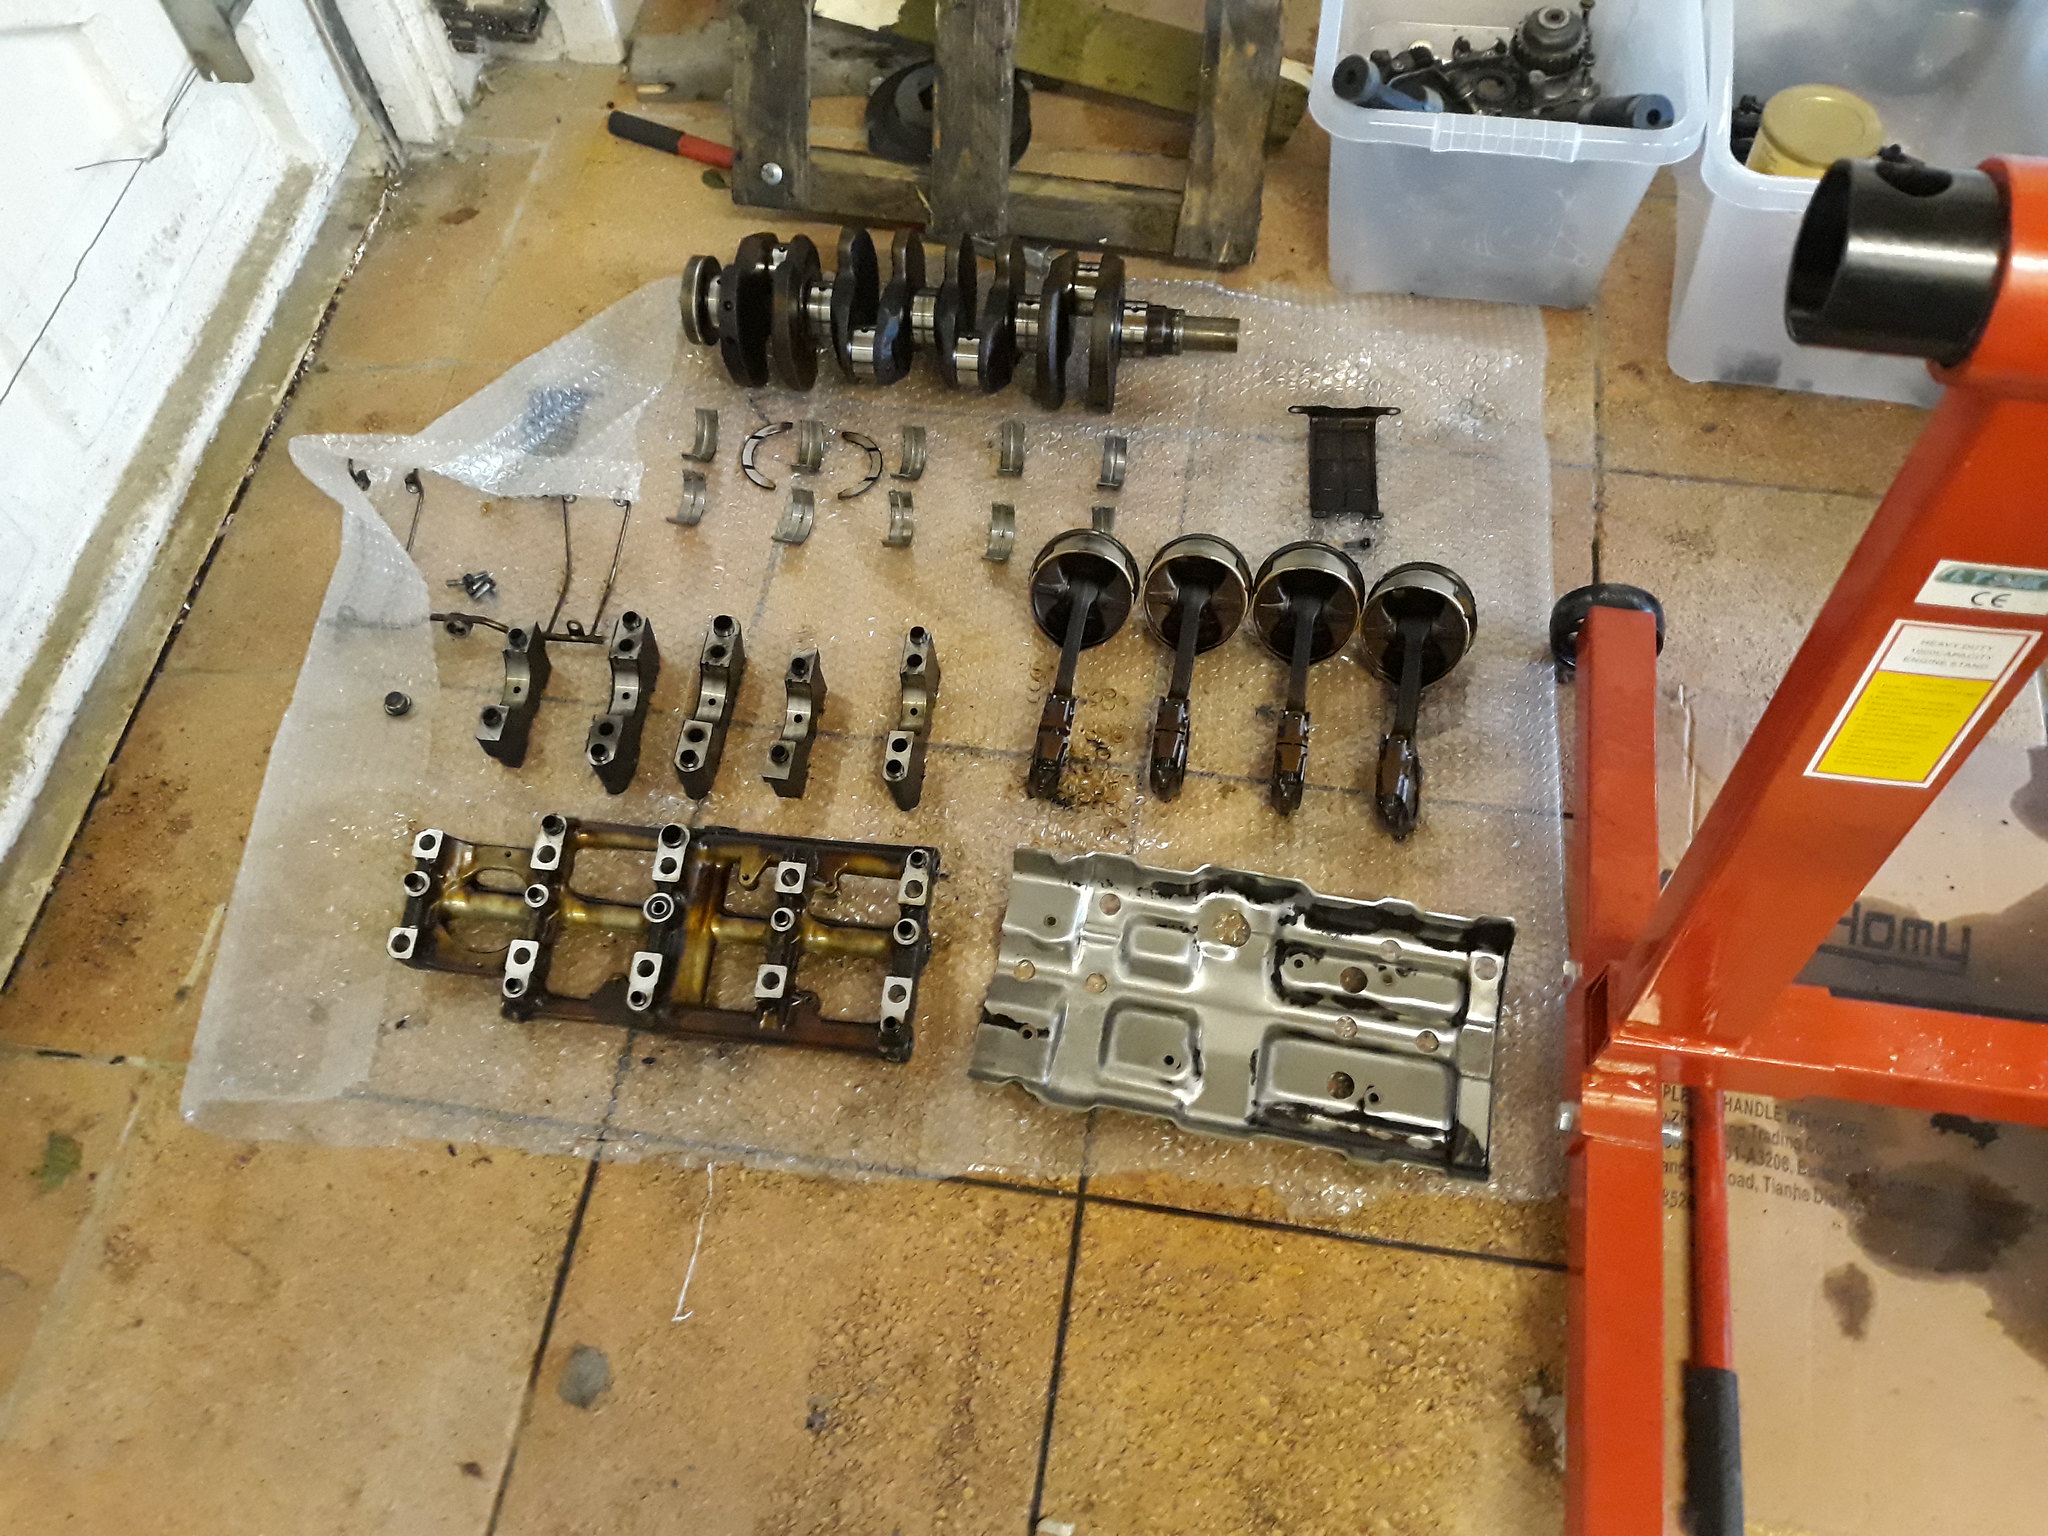 20180927_144733 by Paul Crake, on Flickr
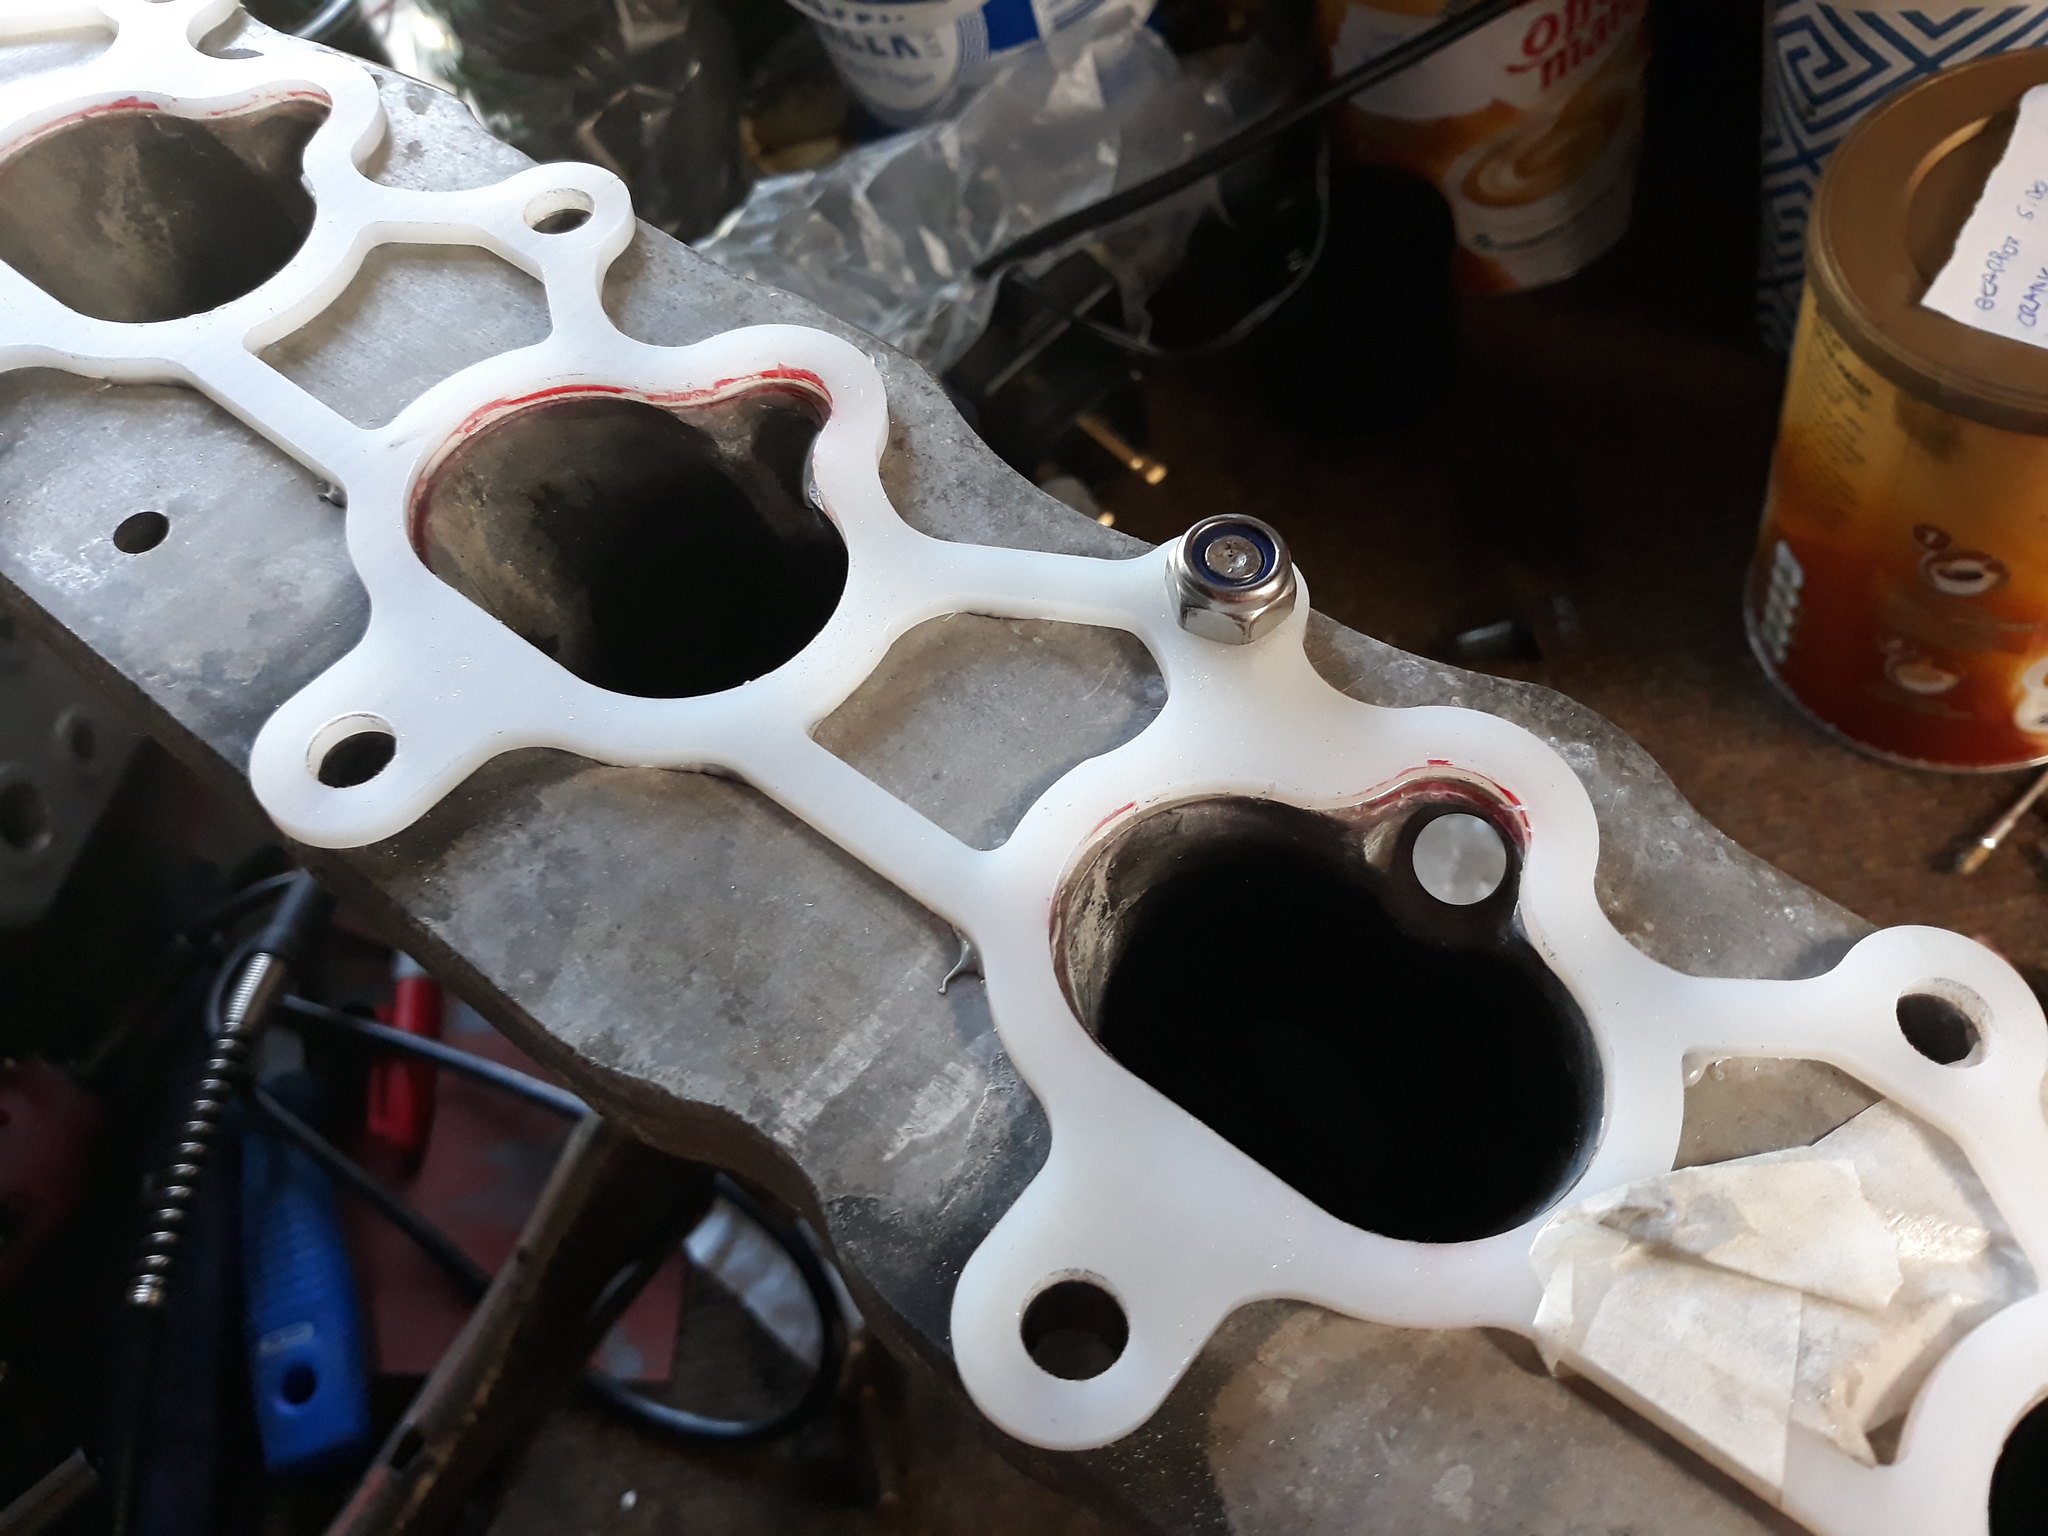
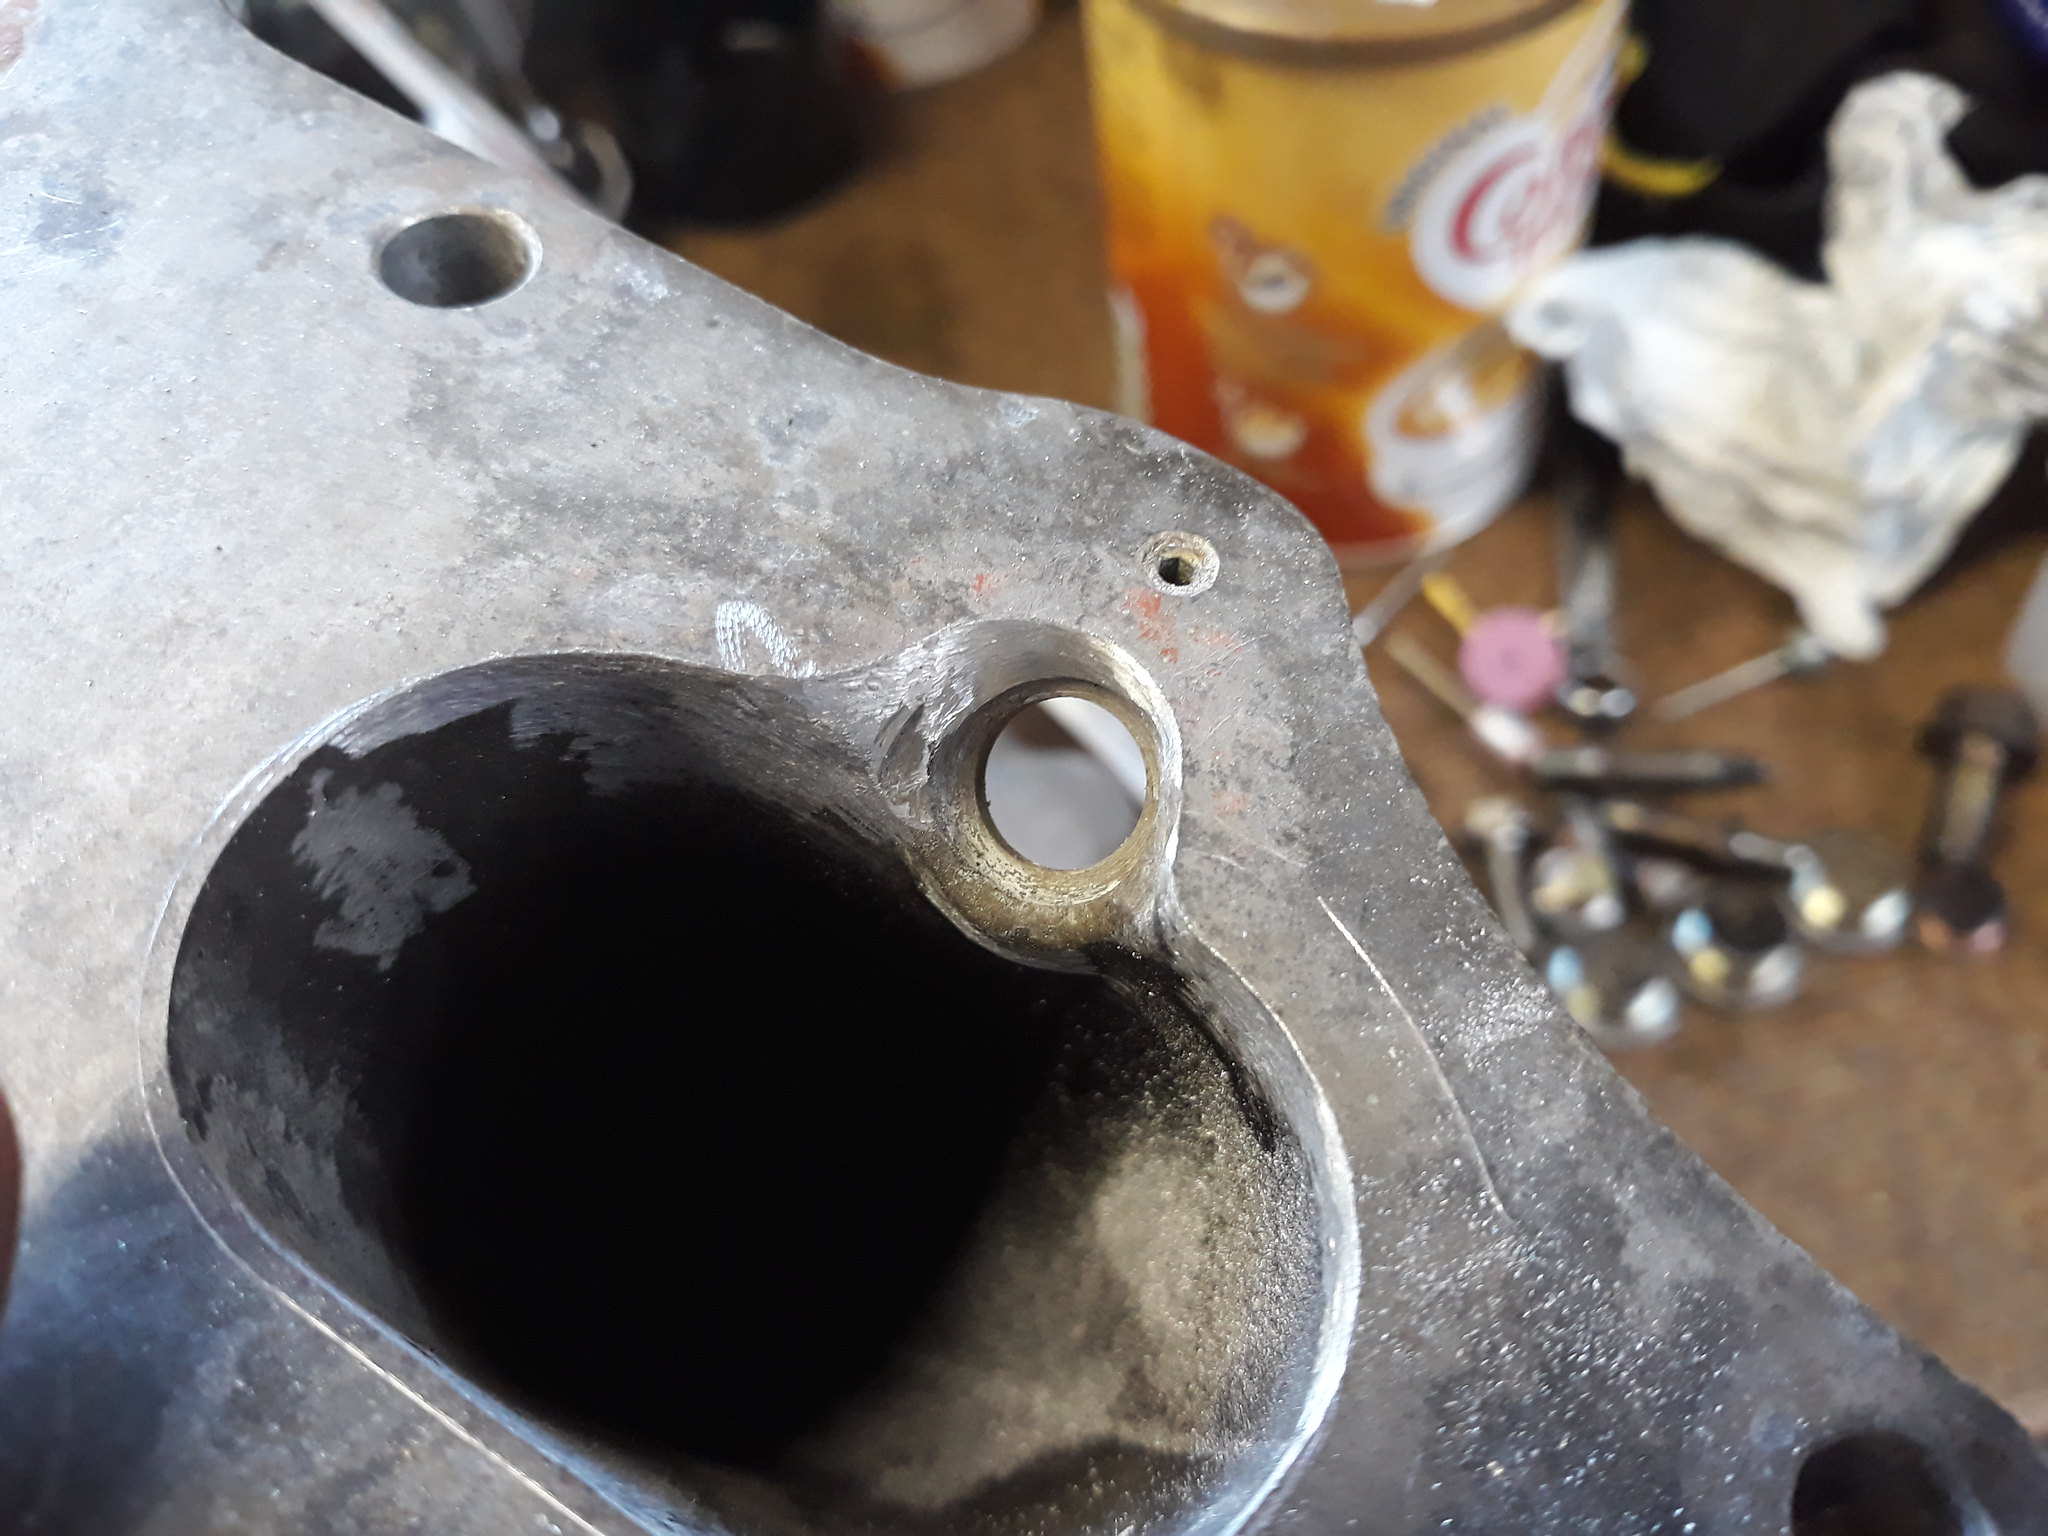
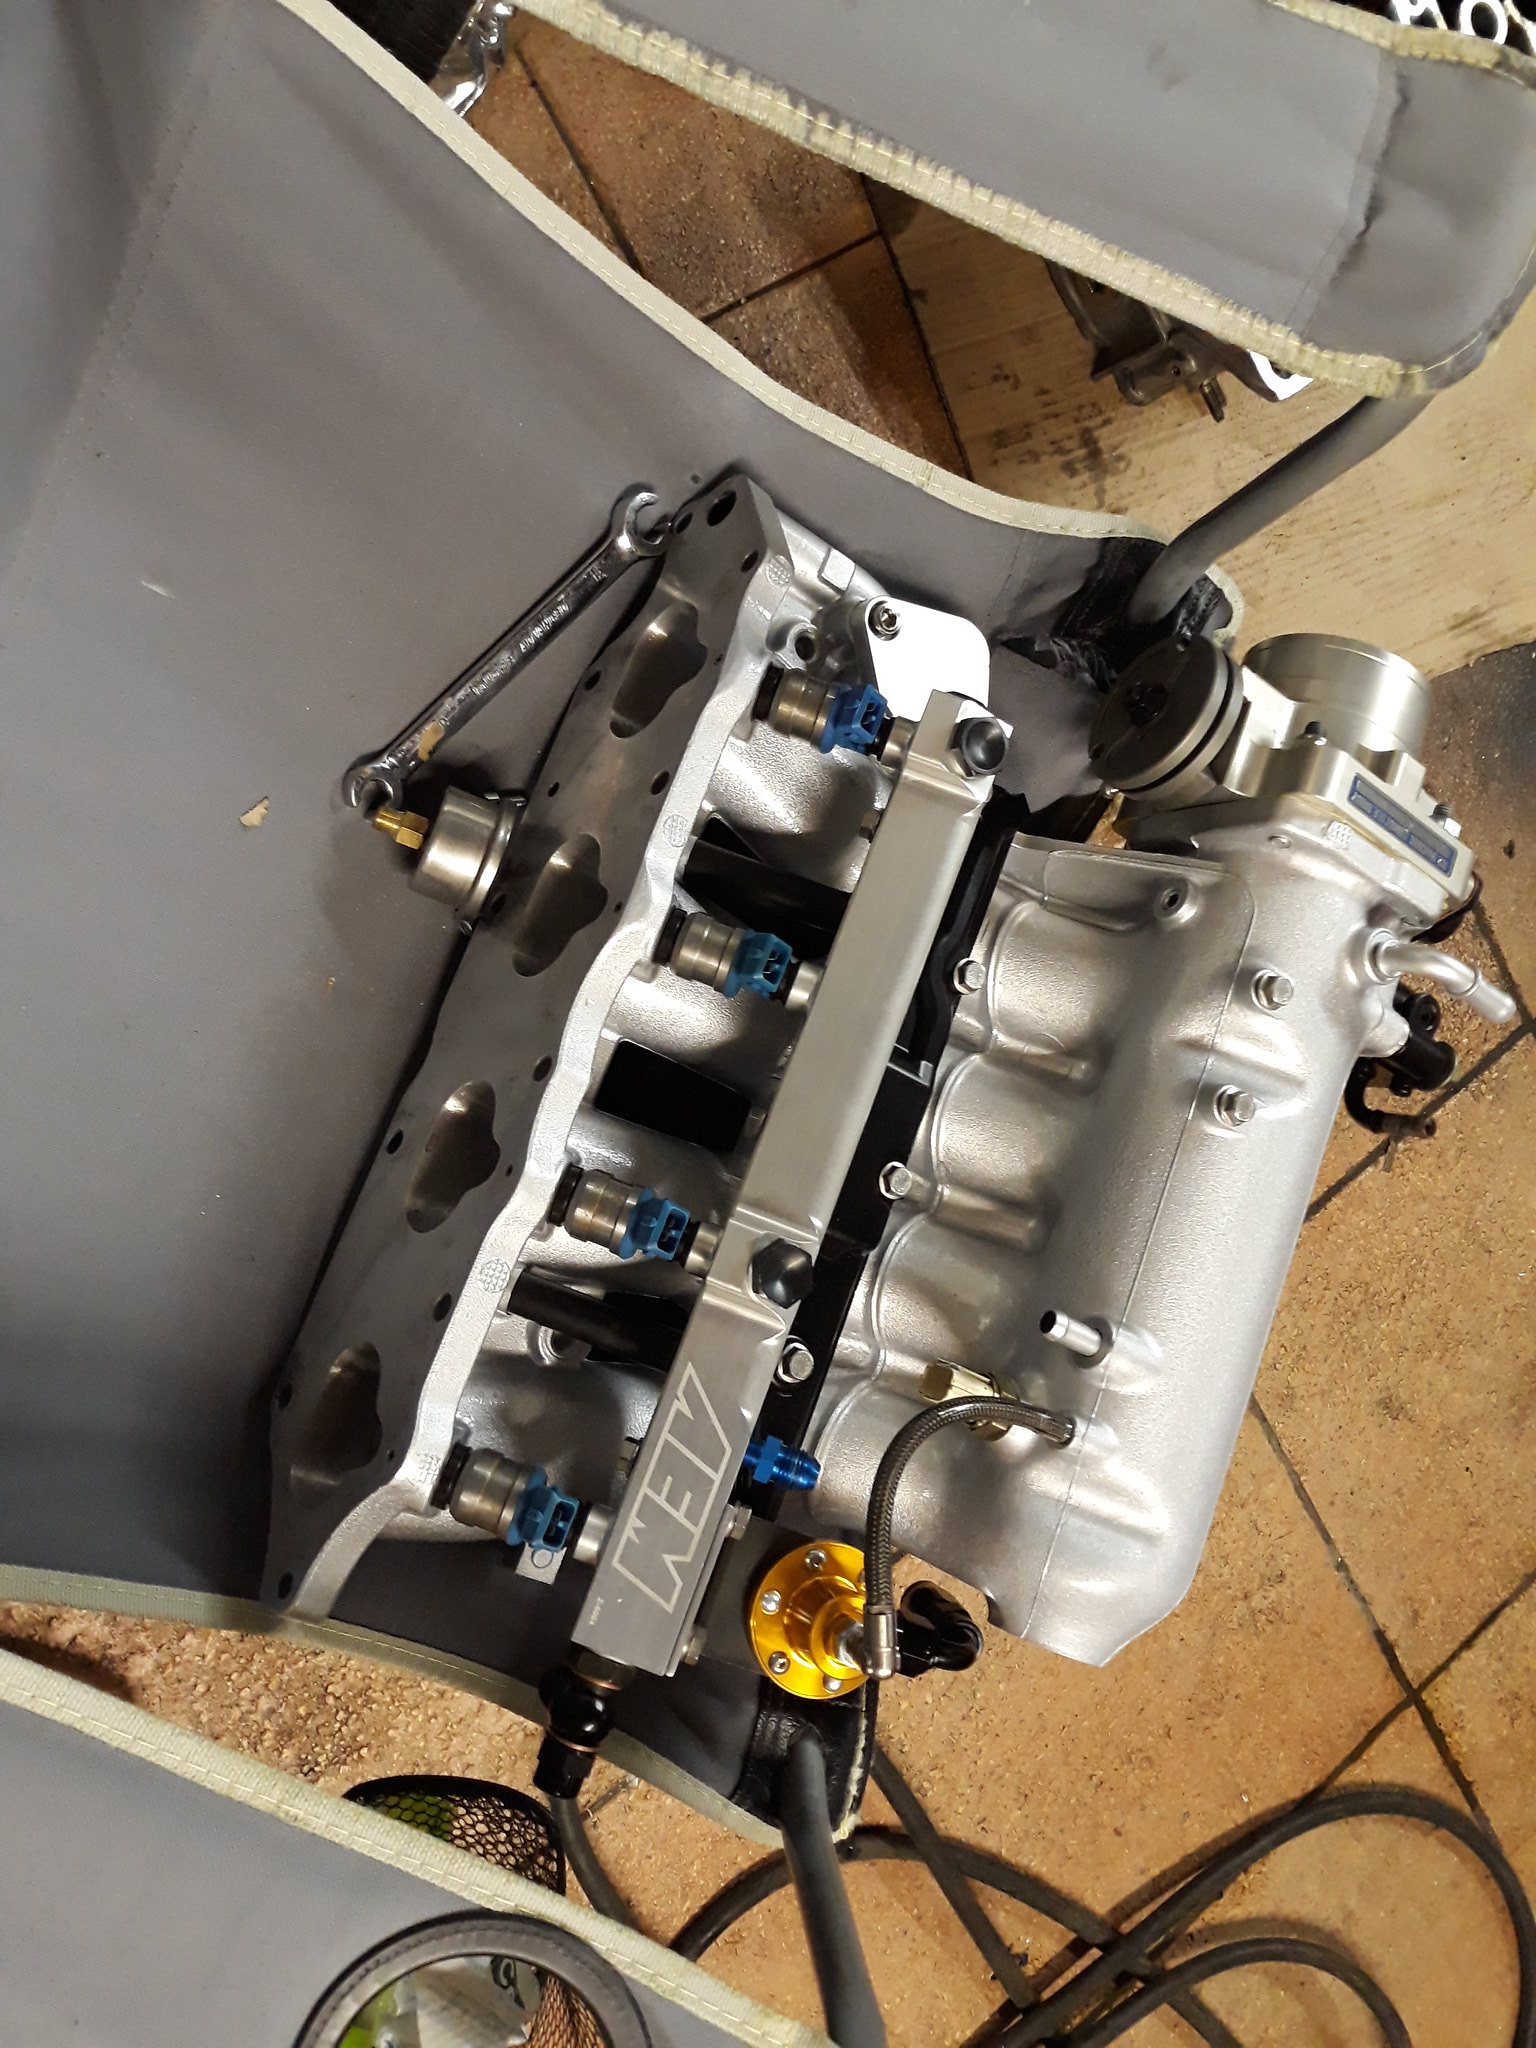
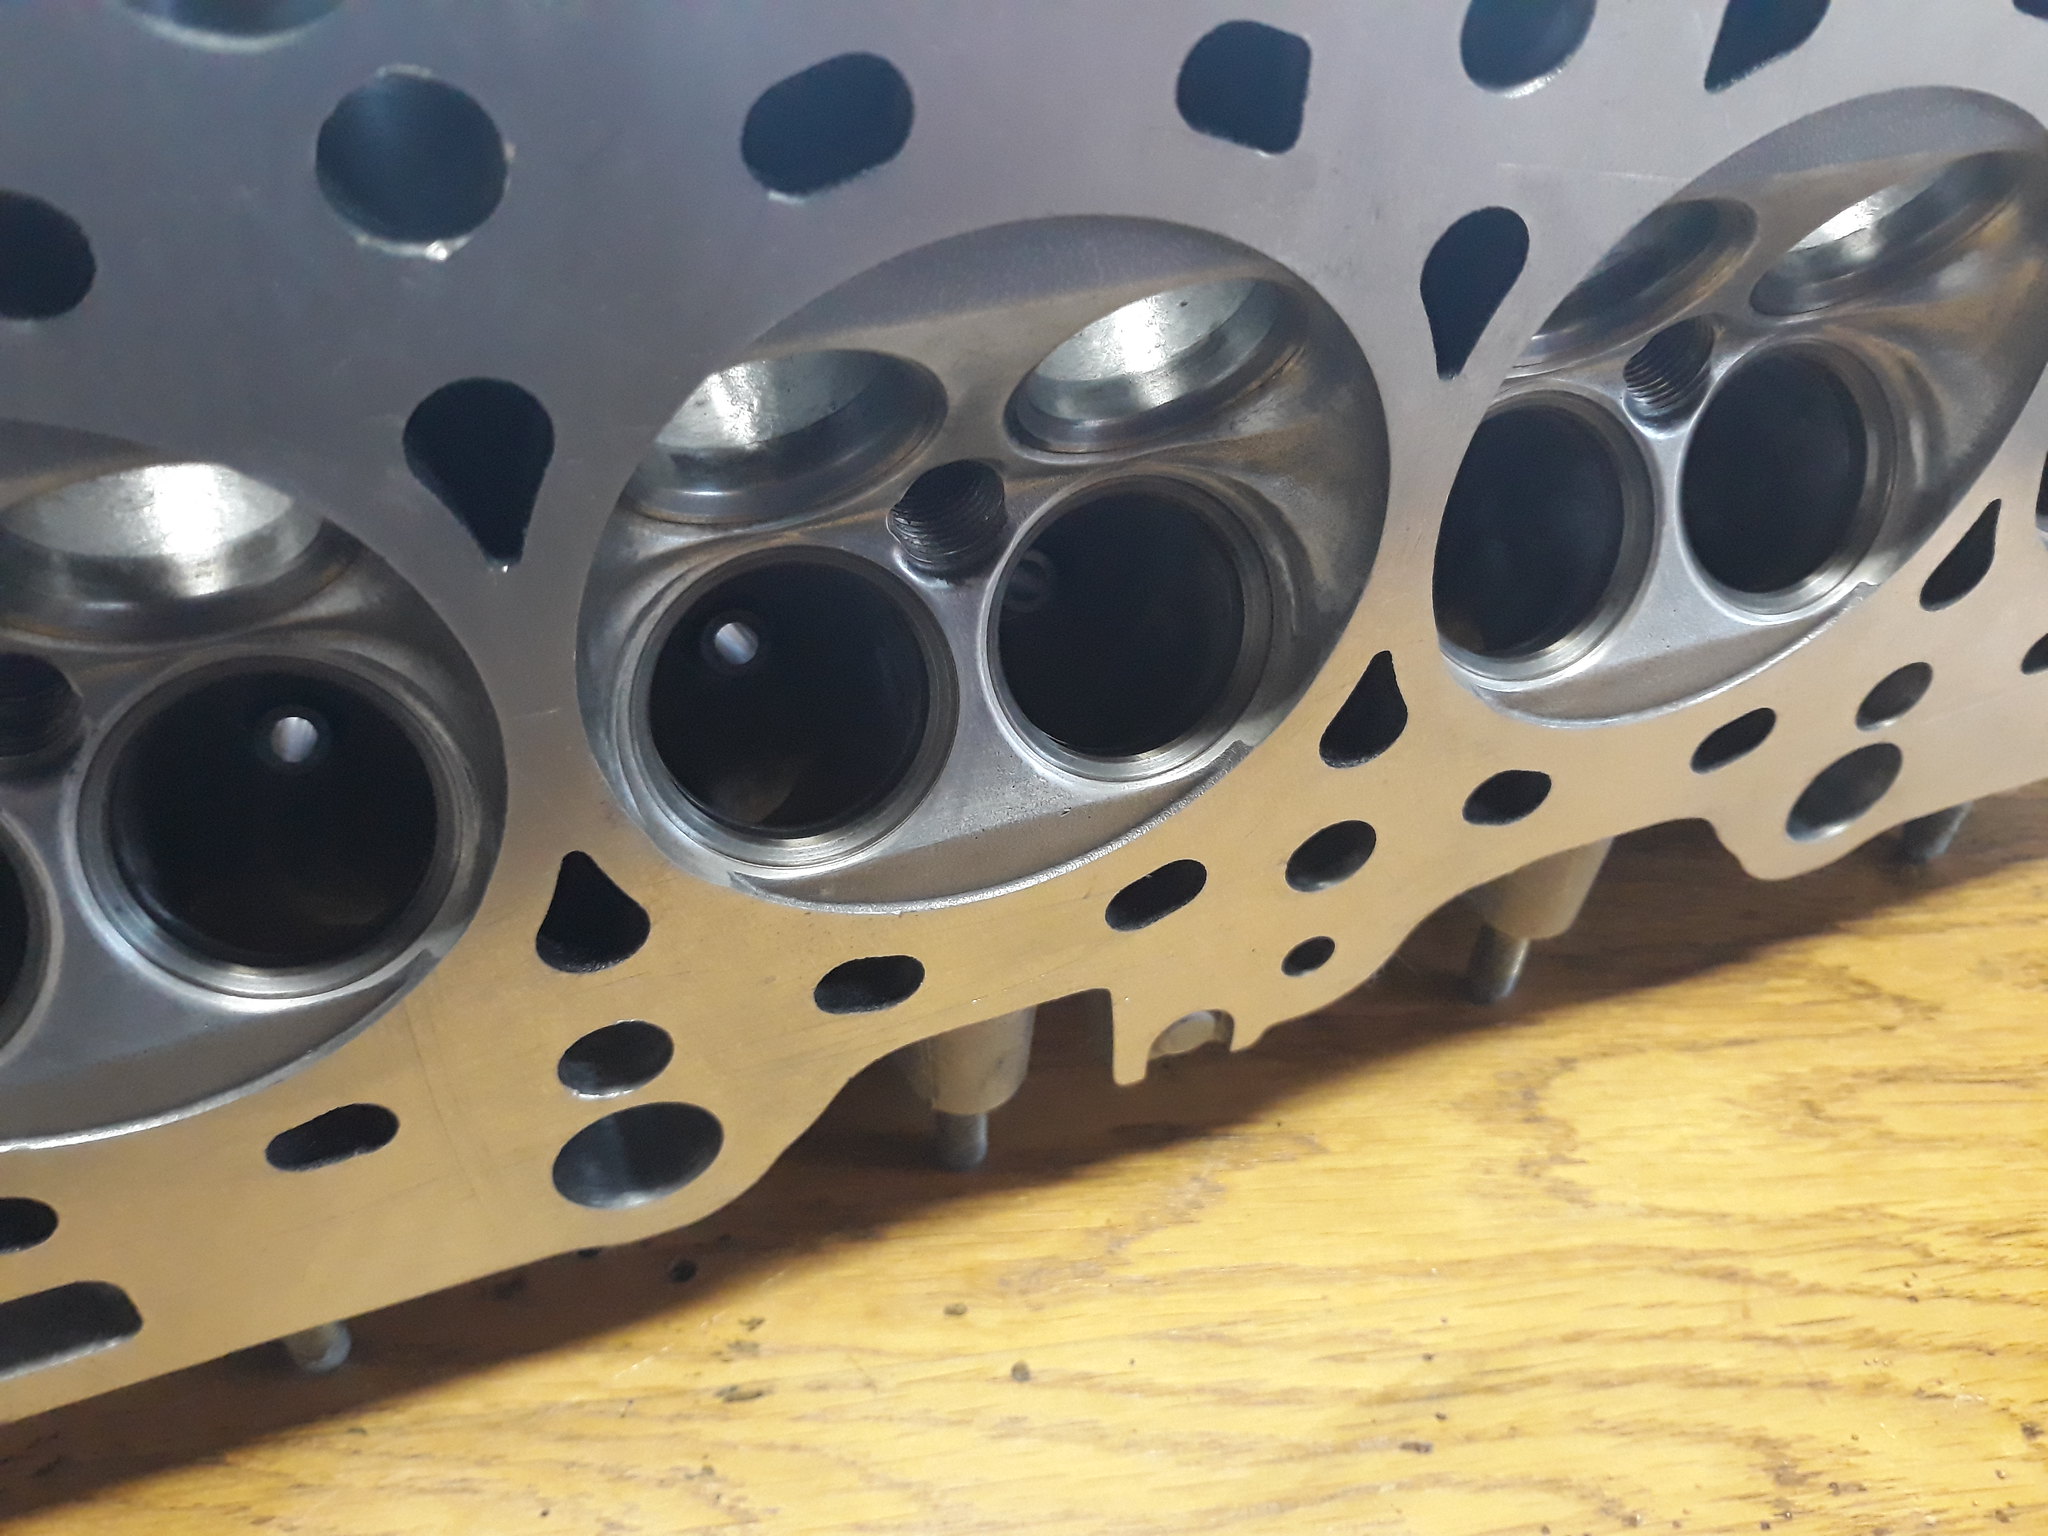
Then I stepped back and thought that I could just rebuild it, but effectively thats a lot of work just to get rid of an oily smell at traffic lights. While I'm in there I should really make some 'improvements'.....
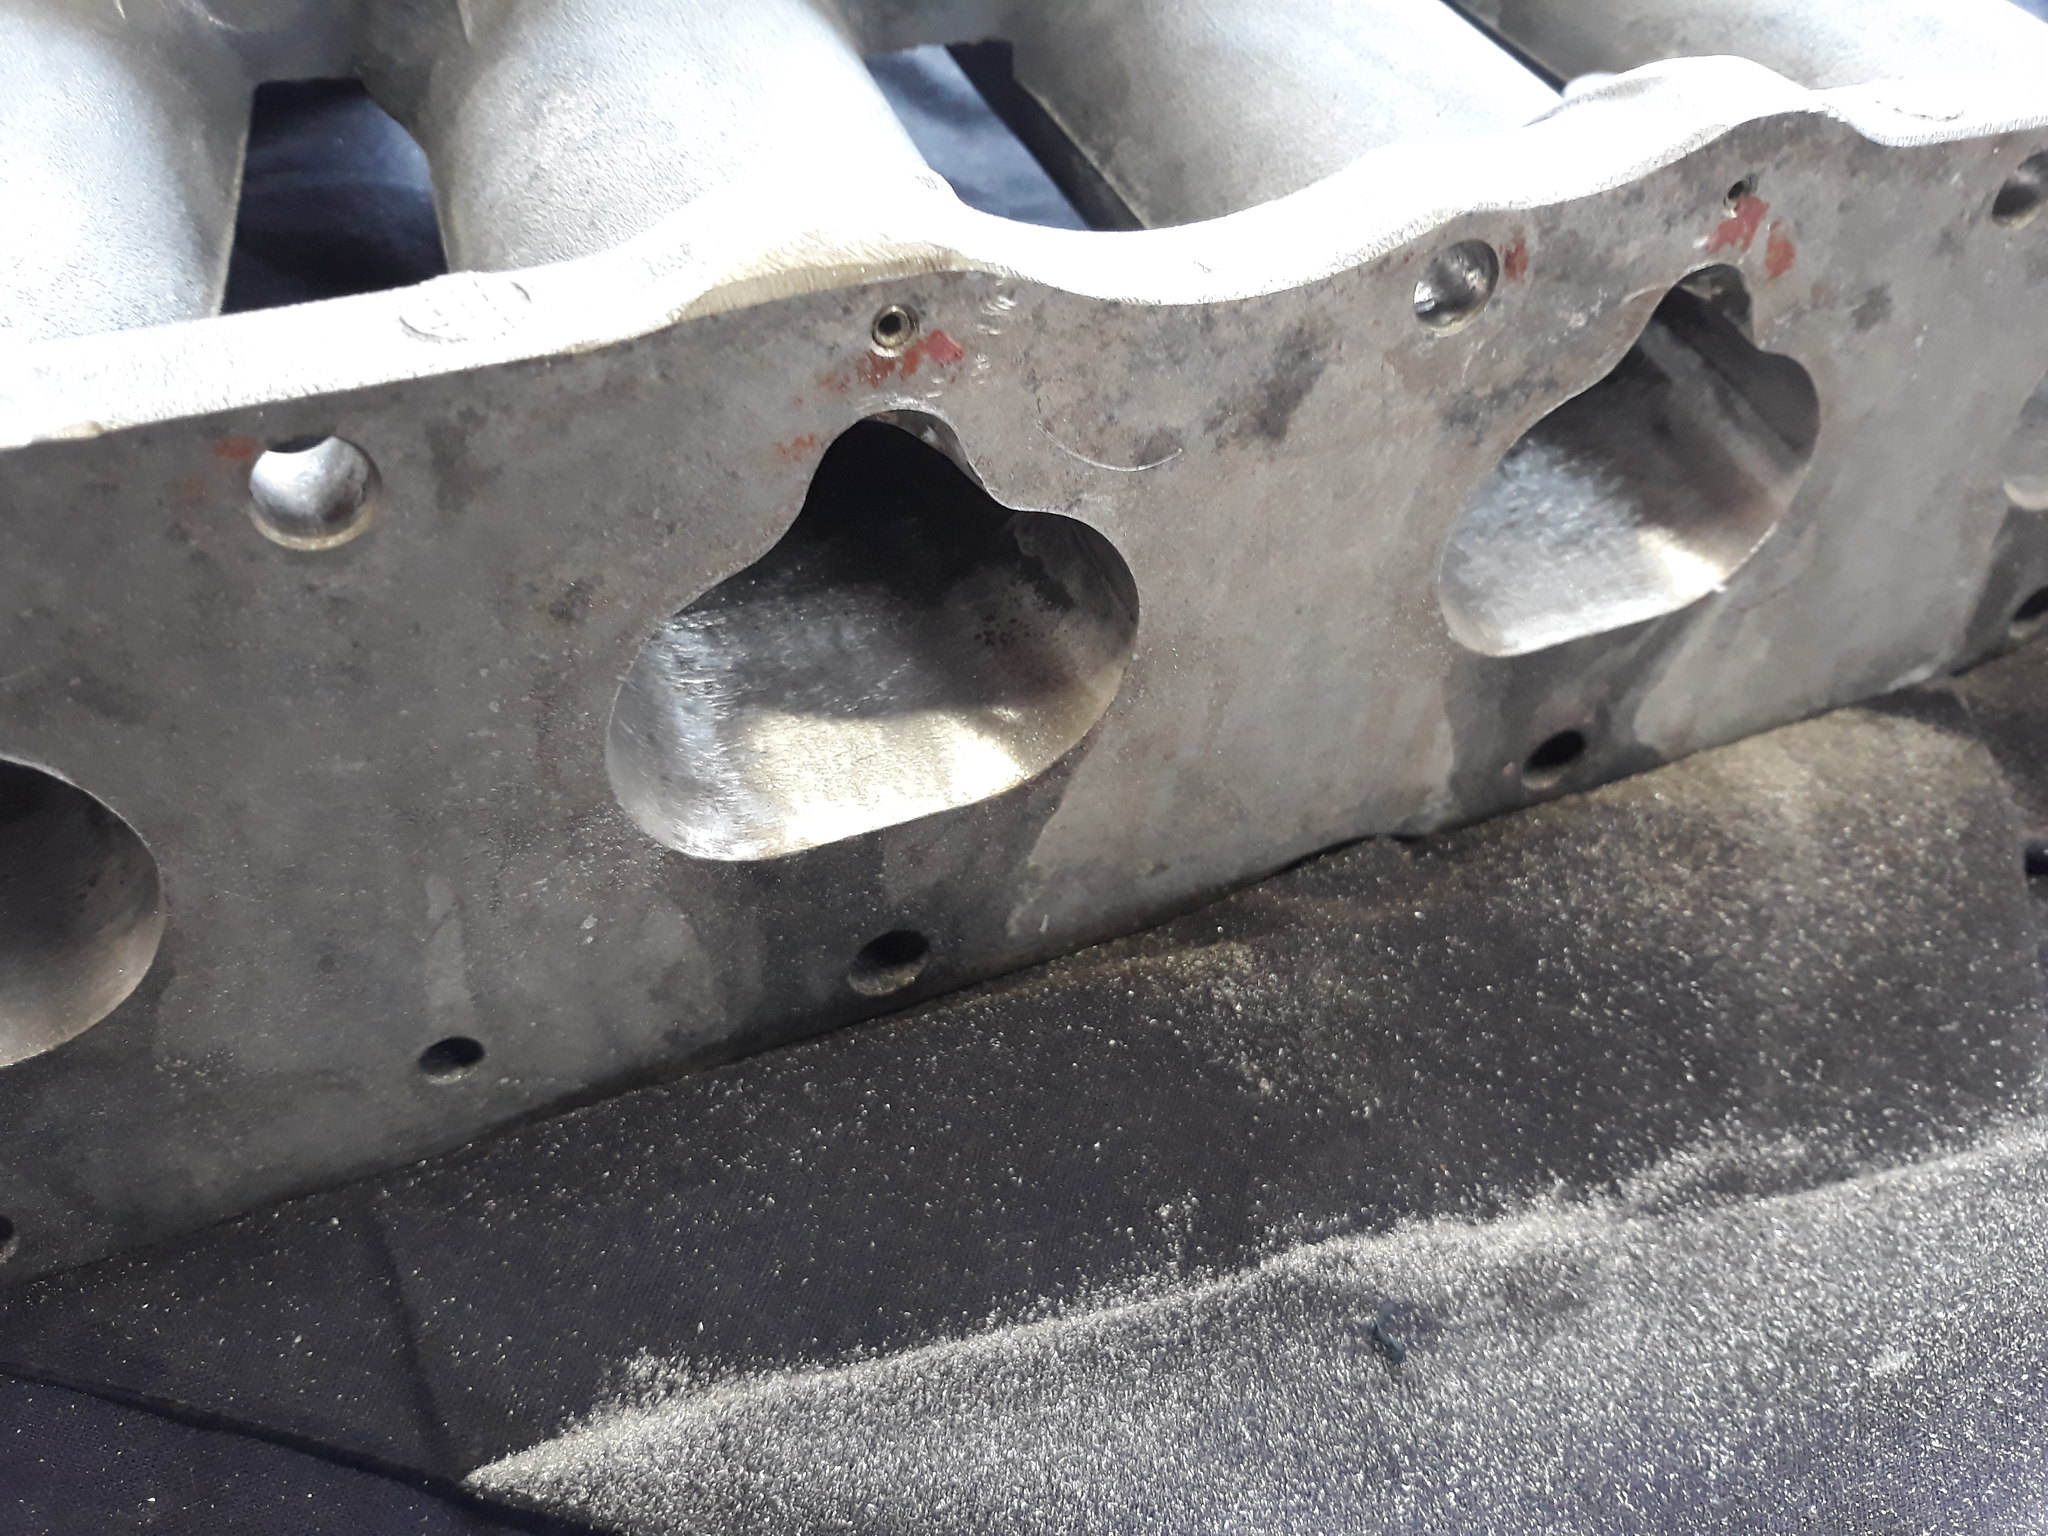
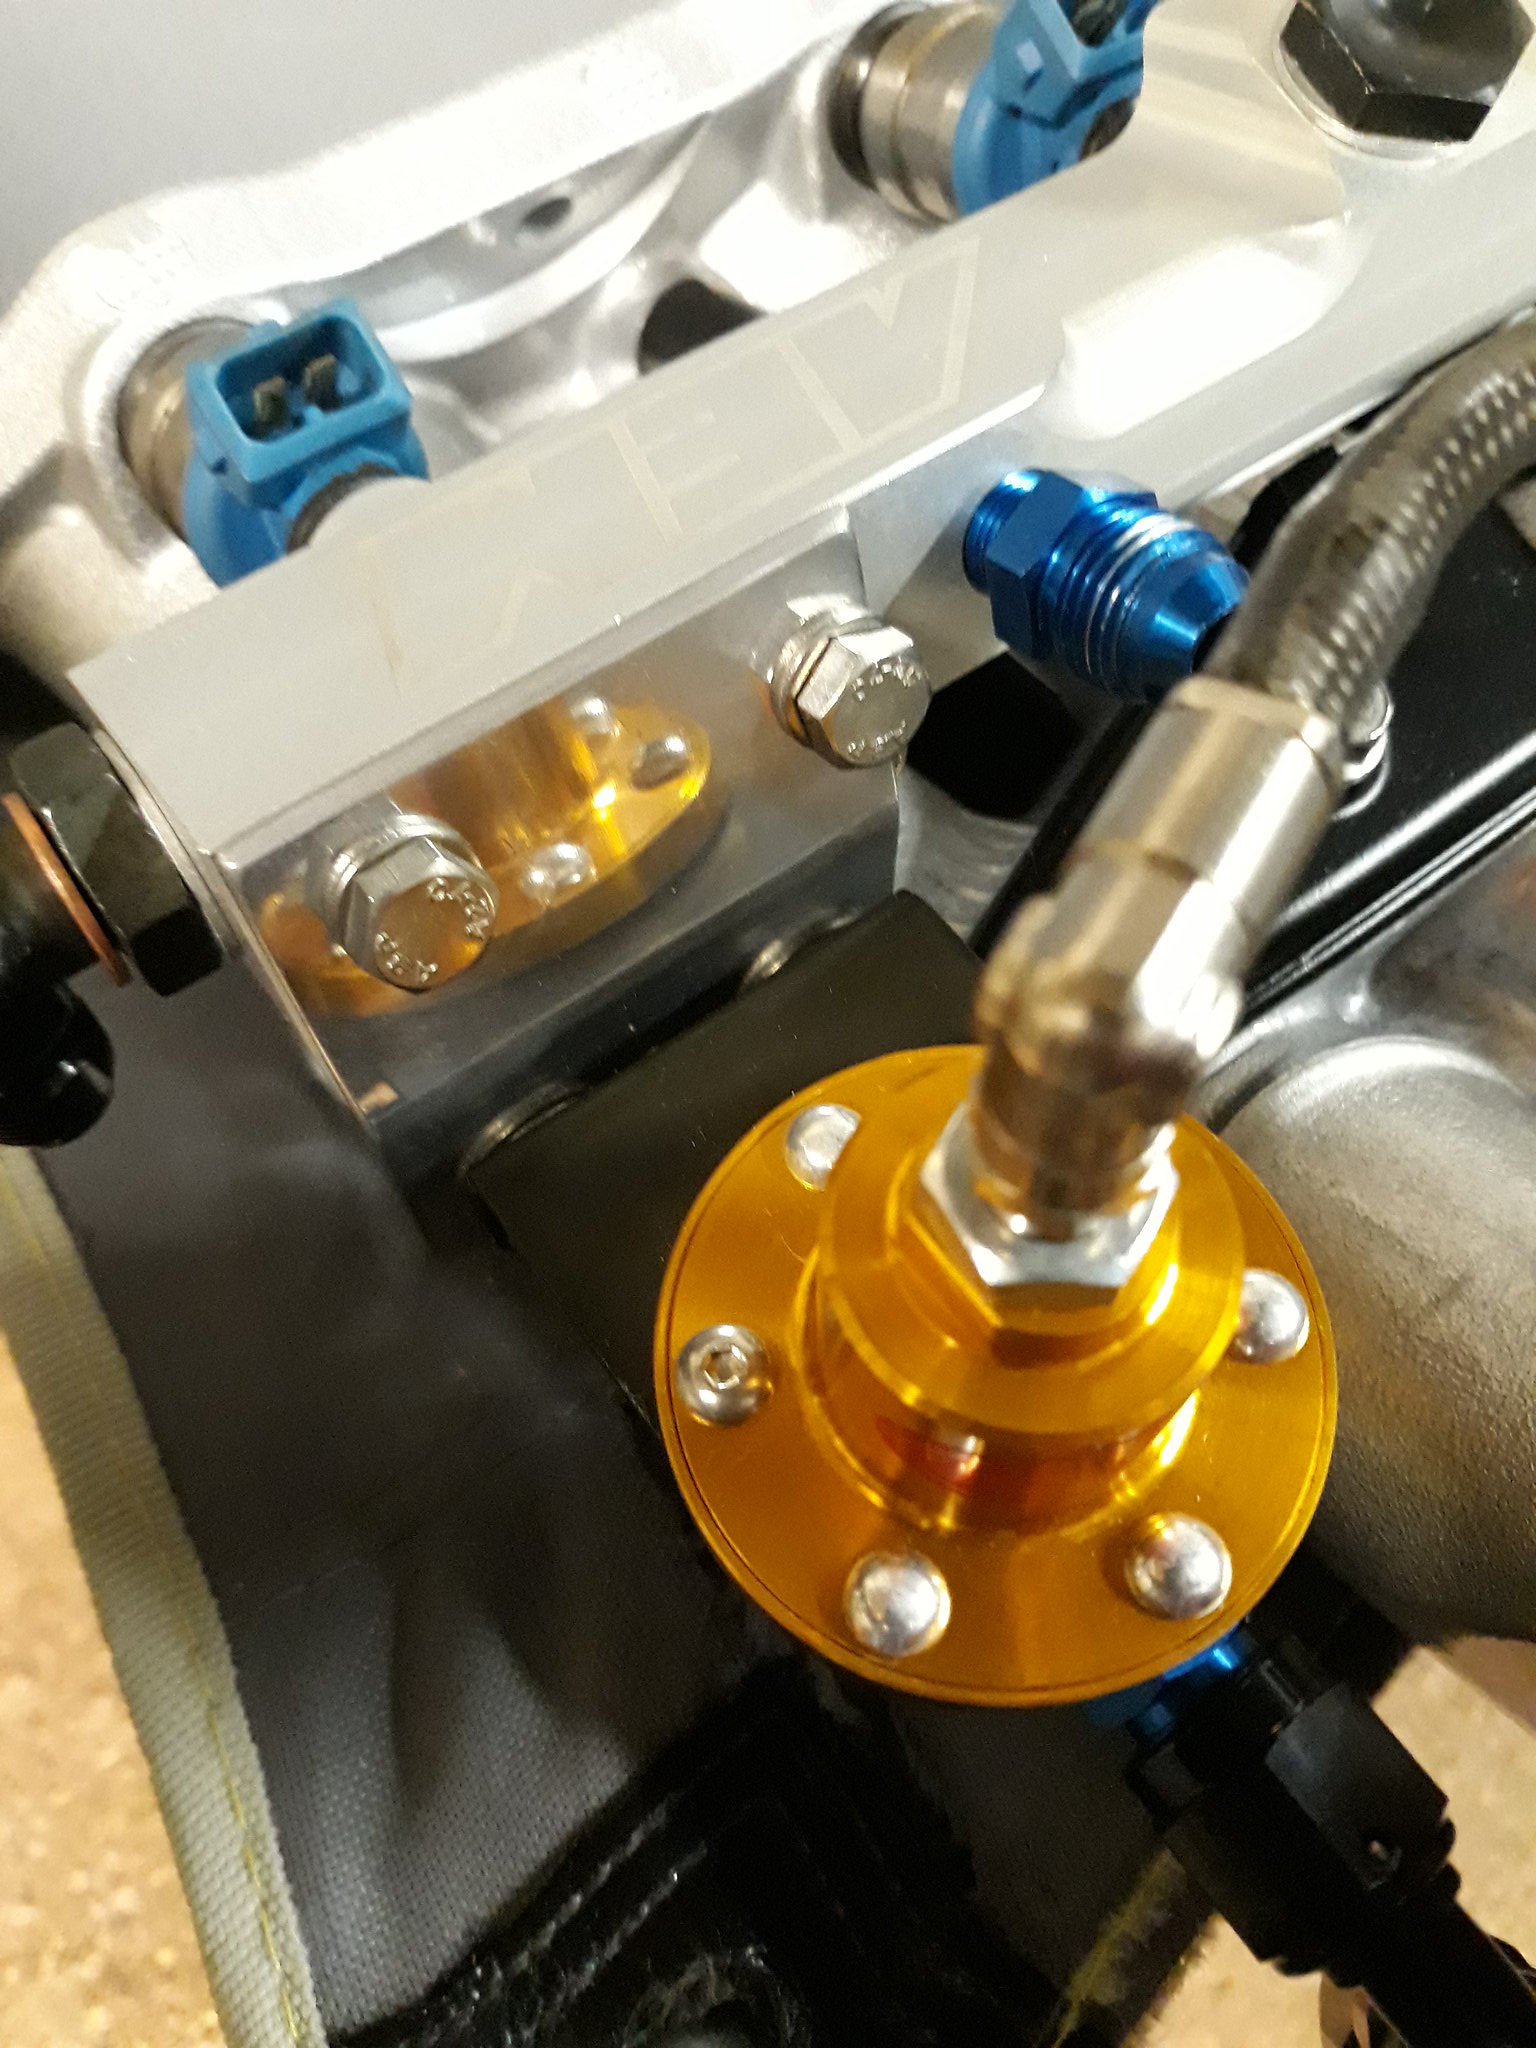
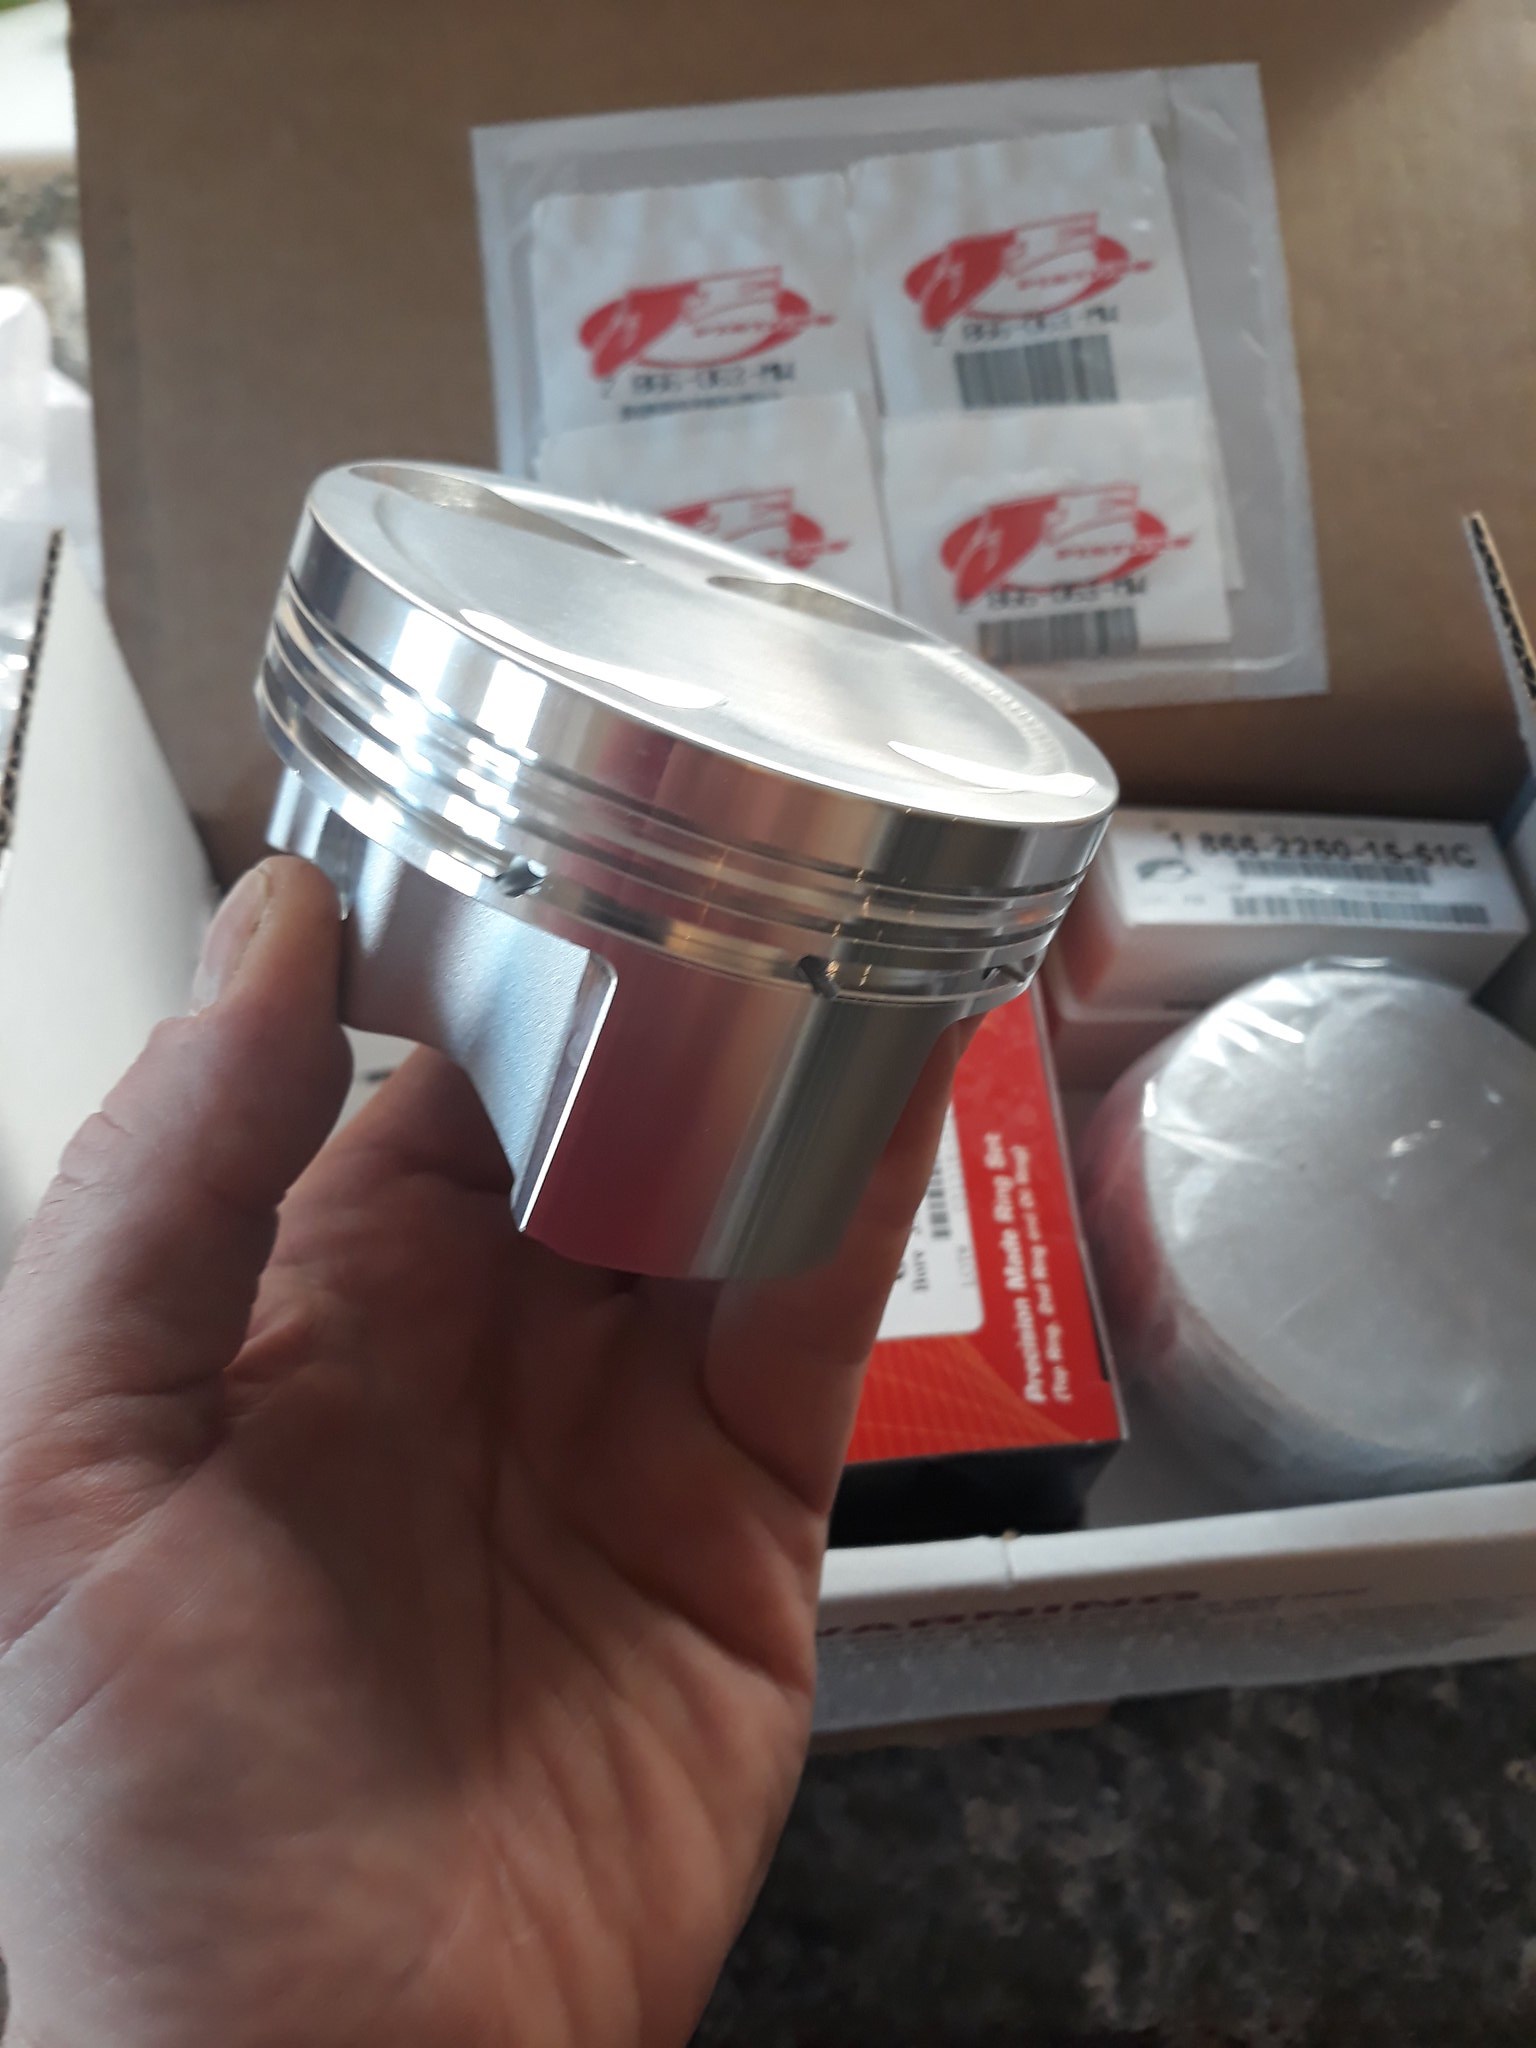
So at first I thought I'd do a decent NA build, started to amass some stuff to make it happen, but eventually realised that I'd be spanking a significant amount of cash and could still end up wanting more...
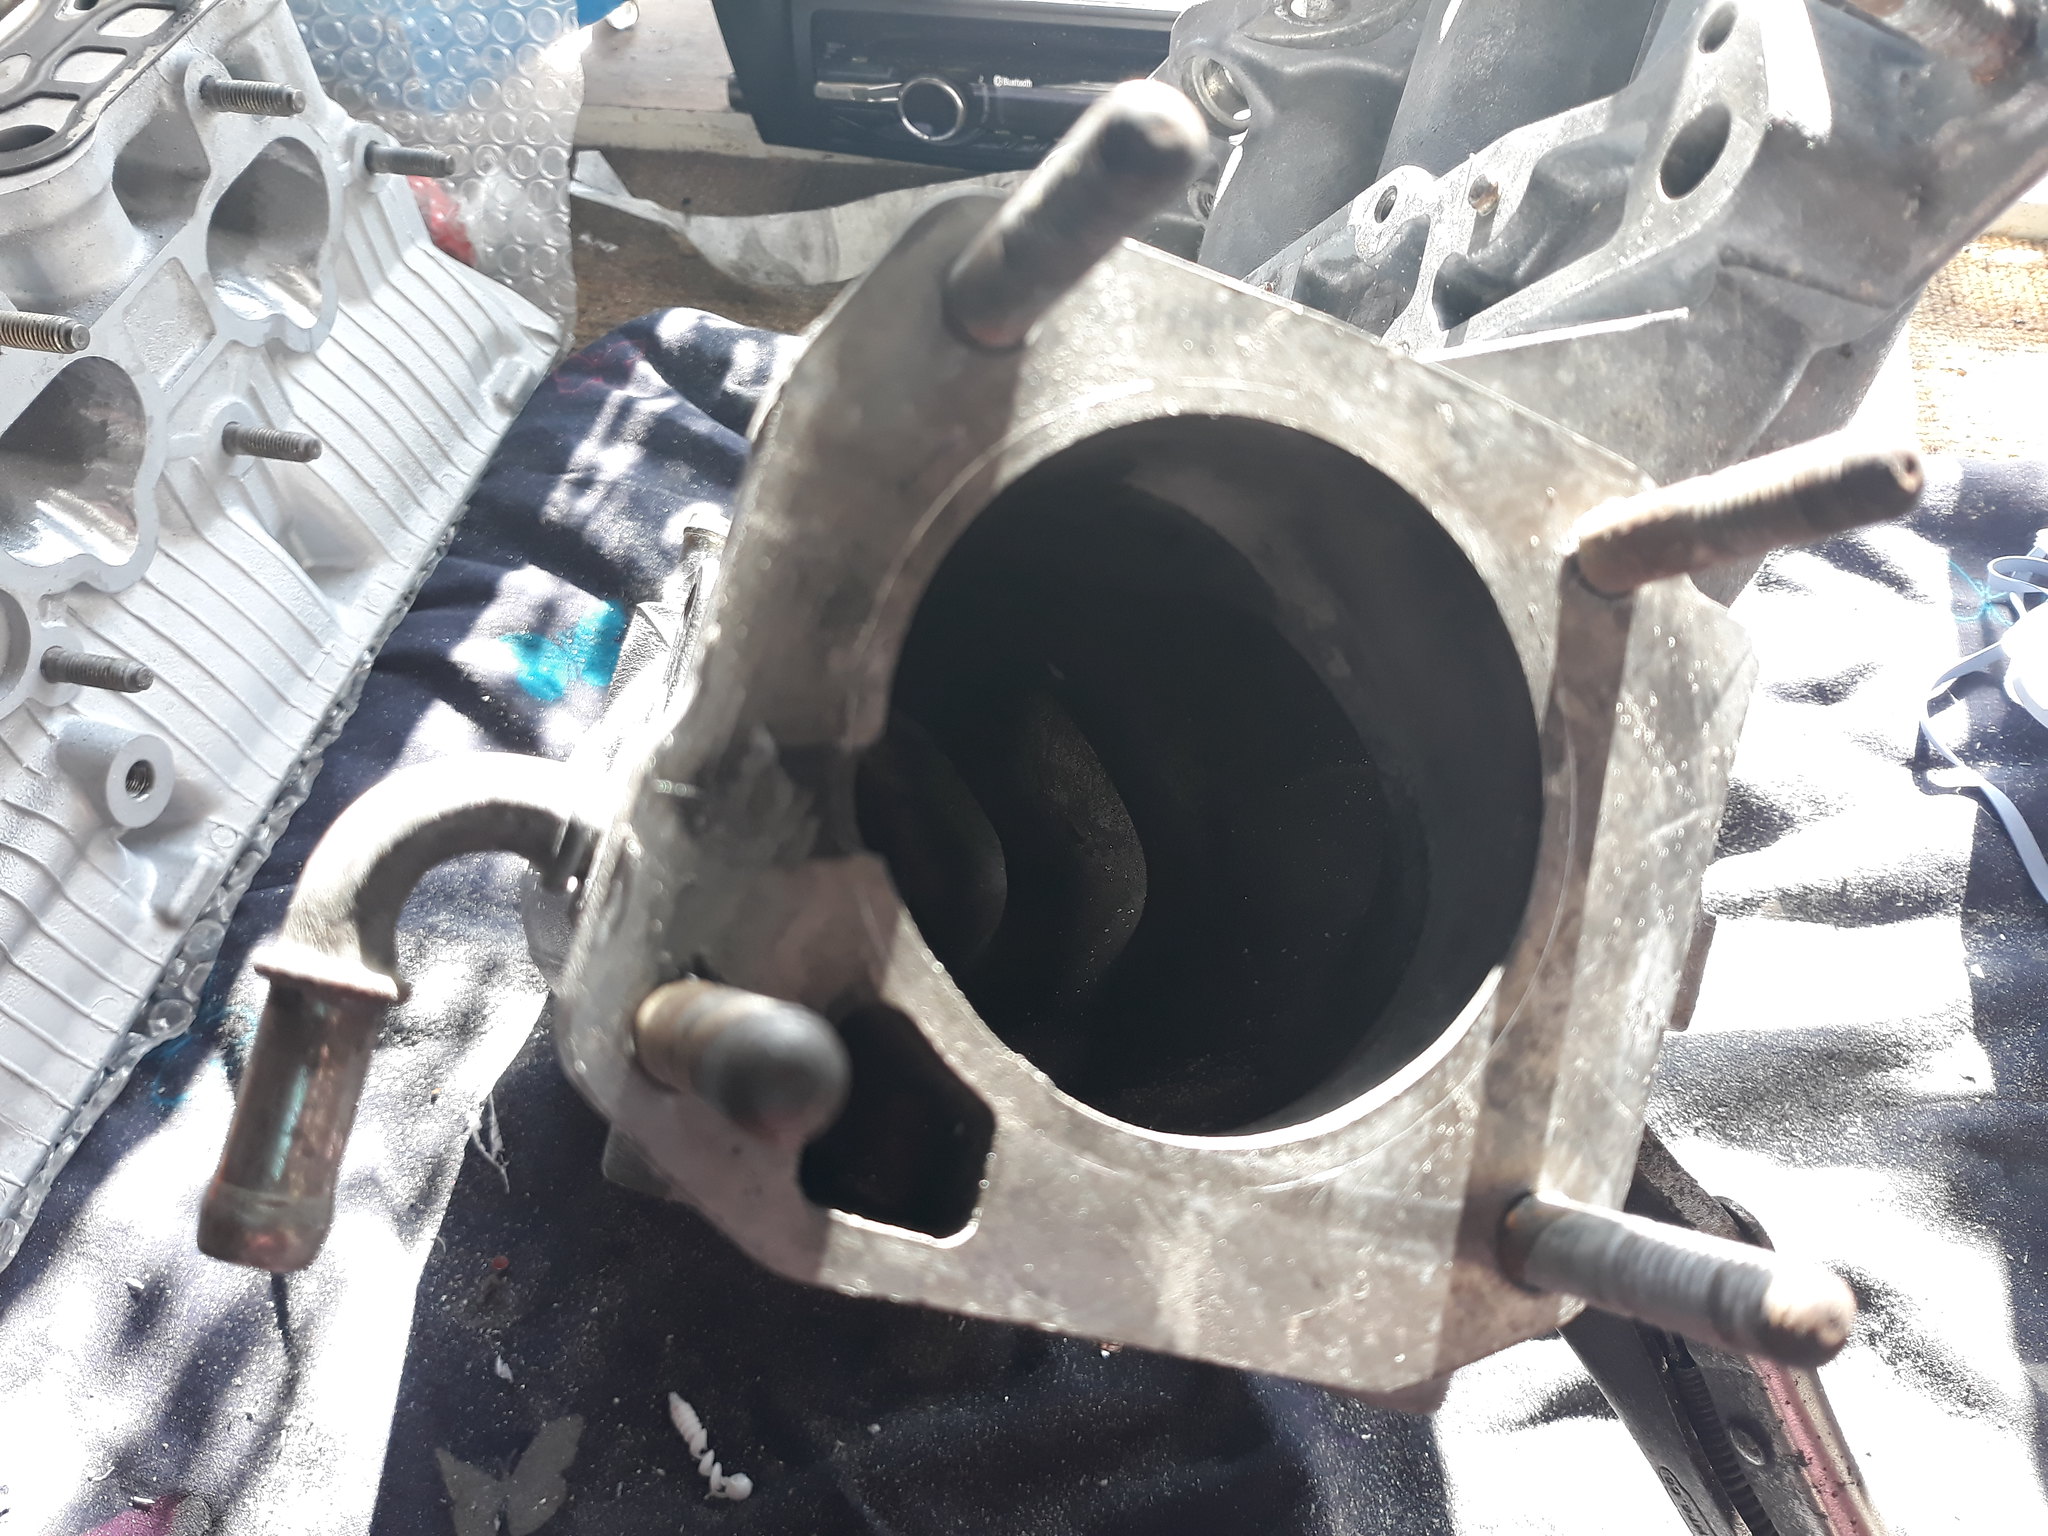
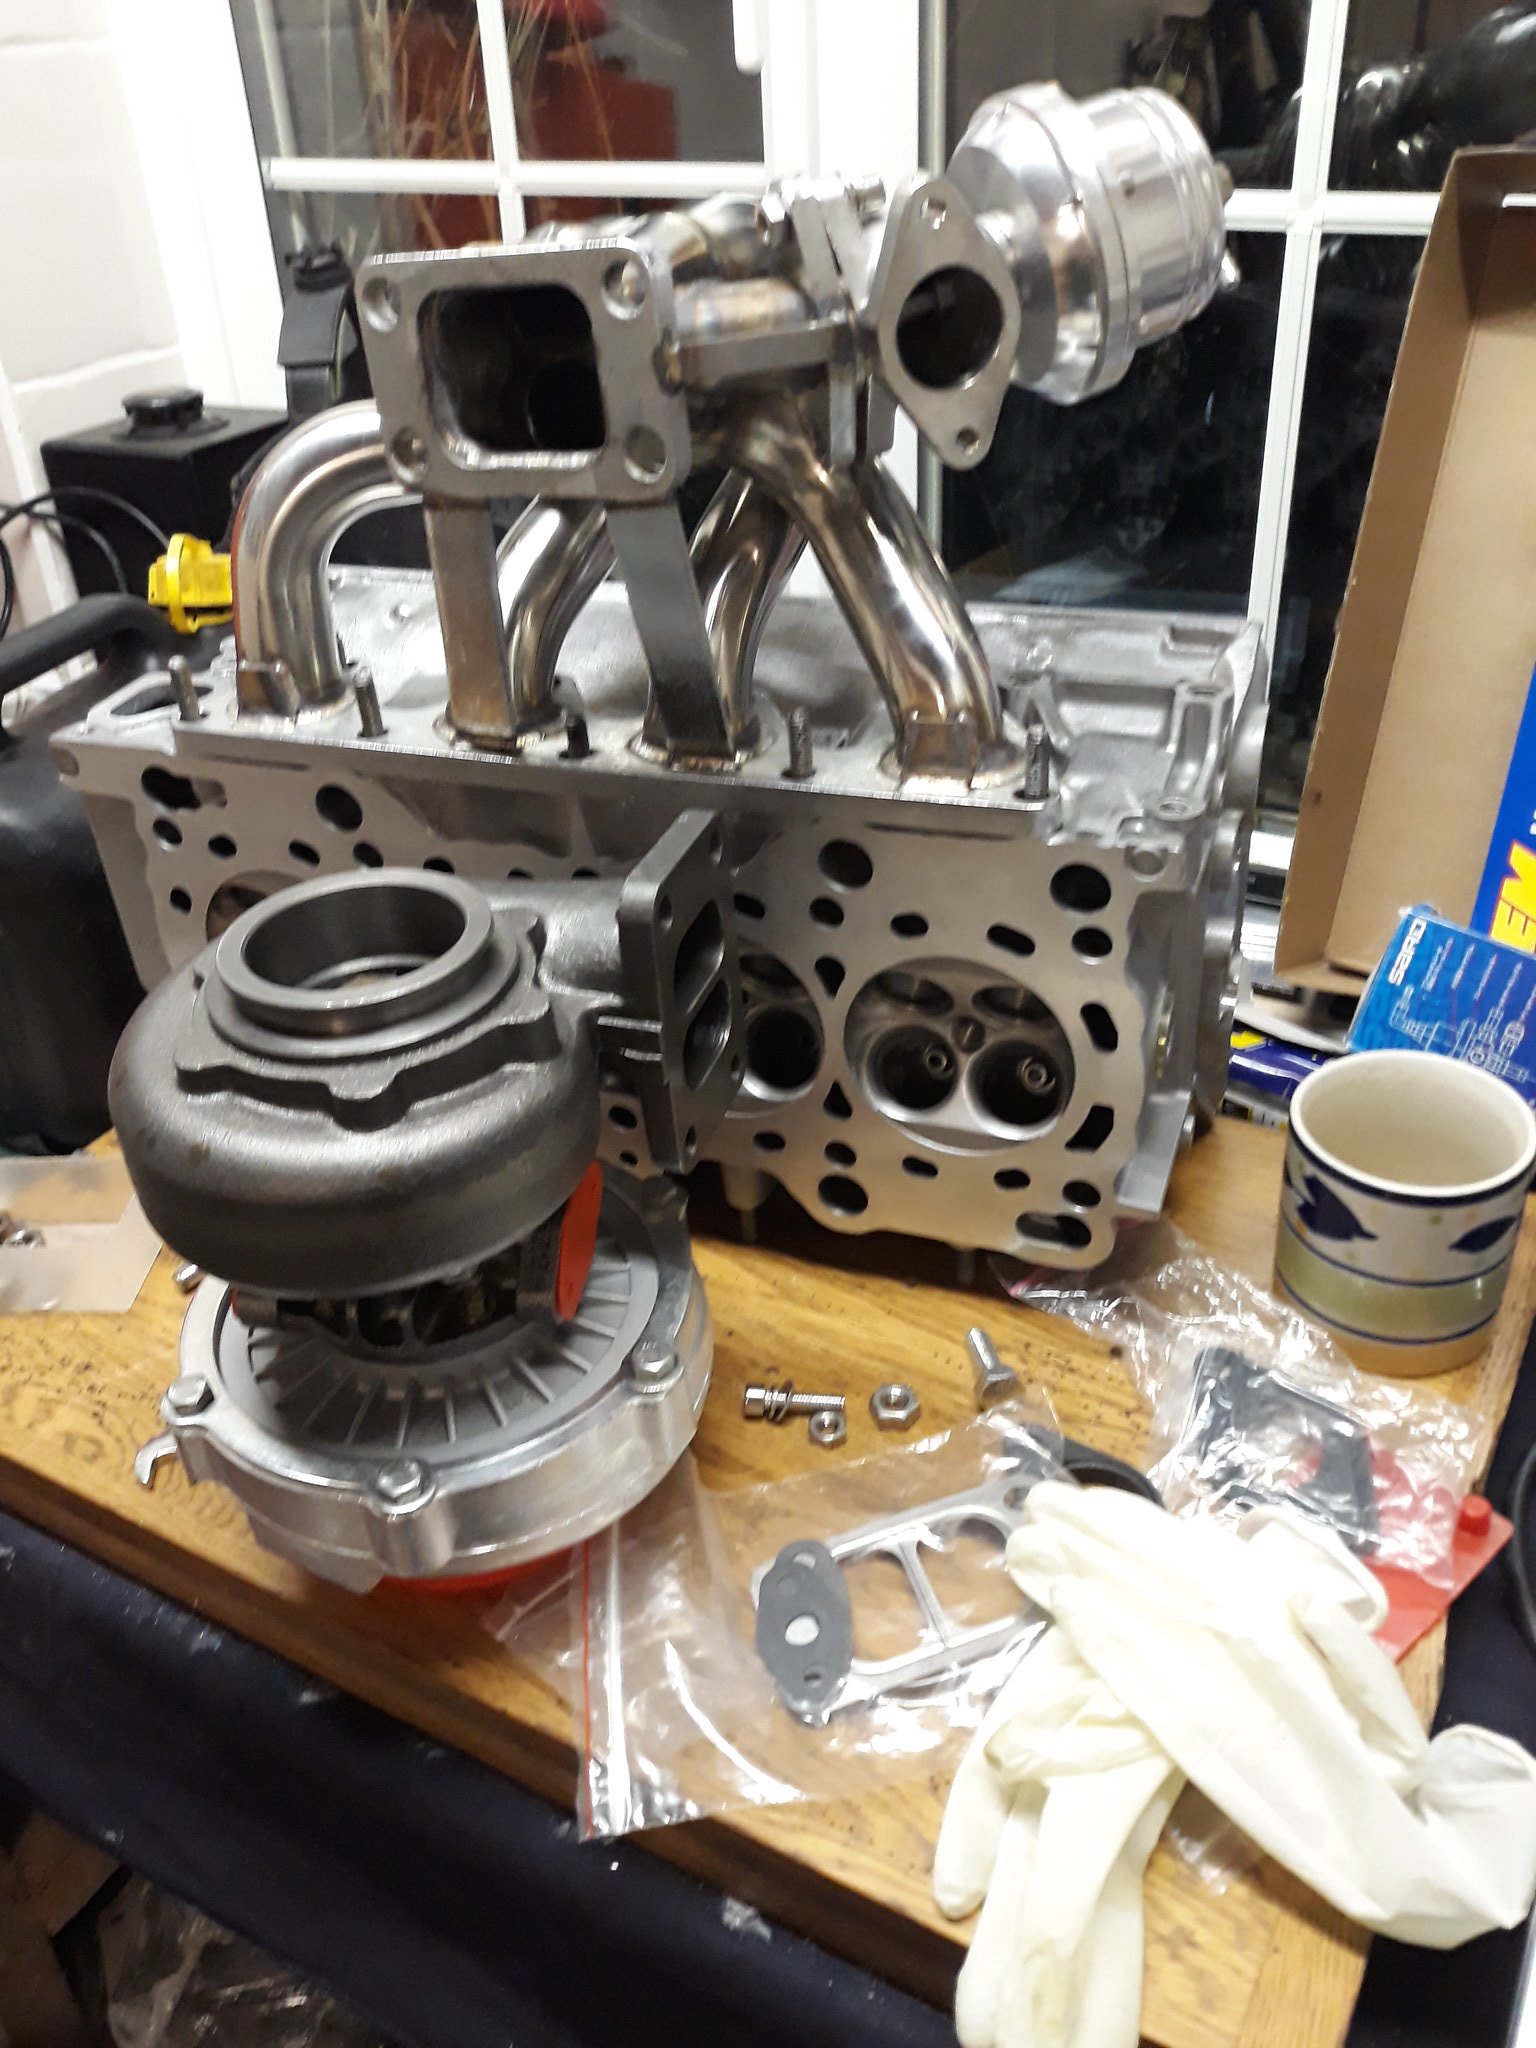
So I changed my plans again and decided to go full retard and slap a turbo into the engine bay.